The smartphones of today are all about providing options along with convenience to the user. Android undeniably rules the list Smartphone Operating Systems due to the choices it provides, and sets benchmarks for other Mobile Operating Systems to breach in the field. One of the primary additional feature of an Android device is its ability to allow it’s users to flash new custom ROMs. Many users will doubtlessly find these words a bit confusing and for them here are some small explanations to clarify things.

ROM, Flashing and Recovery
A ROM in terms of the Android OS is the OS interface, including apps and firmware that have been loaded into the read-only memory of the device. Users can change this firmware and interface by changing or updating the ROM. This process is called ‘flashing a ROM’. During flashing, users load the new ROM in a manner similar to installing manual updates to the device. This installation is done through a recovery – a dedicated and bootable partition on your smartphone device that can install new updates too your device.
Requirements

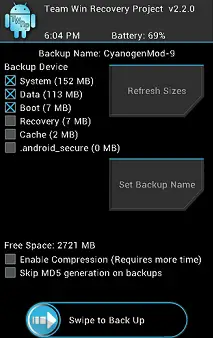
The first and foremost requirement for flashing a custom ROM is an Android device, with a custom recovery. A custom recovery is a customized version of your stock device recovery and allows you to easily flash updates, take backups, wipe data etc. Some of the more popular custom recoveries are TWRP and CWM recoveries.
Secondly, users must choose a Custom ROM to install to your device, depending on the features they would want to have with that ROM. For a detailed look at the advantages provided by a custom ROM, users can have a look at our article on the advantages of flashing custom ROMs.
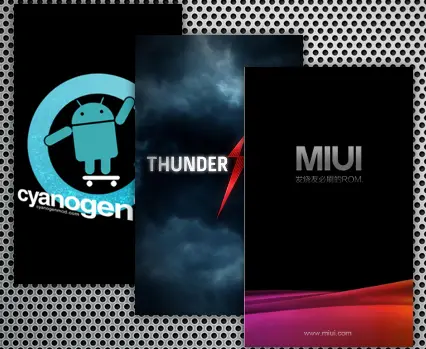
Also, users can read our article on how to select the best custom ROM to install a good ROM. Users should note here that it is advisable to take utmost precautions while selecting a ROM and they should only choose ROMs which have been developed specifically for their device model. Choosing and flashing ROMs not developed for their specific device model might cause software problems with the device, and may also lead to soft/hard bricks.
Procedure
Step 1
Before starting with the actual flashing, it is advisable to take proper backups of your applications and data. Users can use different methods to backup as per our article on taking backups depending upon whether the device is rooted or not. Backups make sure that users can return to a pre-flash stage if something goes wrong with the process and not lose their precious apps and data.
Step 2
The next step in this process is determining whether the device has an unlocked bootloader or not. A Bootloader is the program which loads the OS into the Phone memory once the device is booted or started, and a locked bootloader will only allow an OS with an approved OS signature to load, in process blocking any custom OS. Thus it is important to unlock the bootloader before a ROM is flashed.
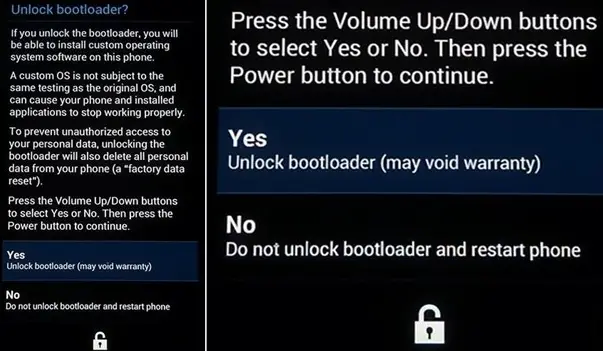
Given that users flashing a custom ROM generally use a rooted device, there is a very high probability that the bootloader will already be unlocked. However, rooting does not necessarily require an unlocked bootloader. Many devices come with unlocked bootloaders from factory, and therefore users with these devices can skip this step. Users with devices having locked bootloaders can google or take help from various Android forums such as XDA-developers to get the device specific steps to unlock the bootloader on their device.
Step 3
Users can now reboot their devices to recovery, in order to wipe device memory and storage. Each device has a specific key combination, which when pressed during boot will take them to the recovery console. Here users should wipe cache, dalvik cache and factory reset their device, which essentially implies cleaning apps and existing firmware.
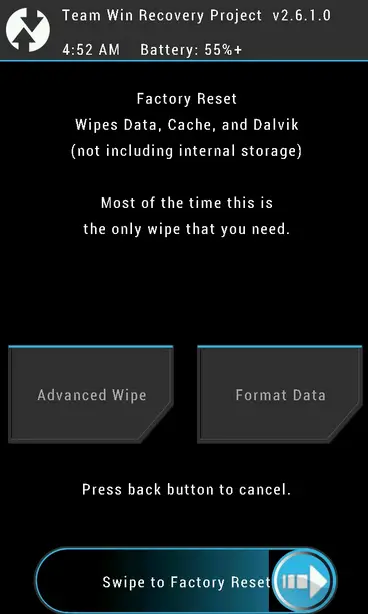
Users who are upgrading from one version of a custom ROM to another might even skip the step to factory reset their device before flashing the new ROM, which is known as a ‘dirty’ wipe in developer slang. However, developers generally insist on a ‘clean’ wipe, in order to successfully remove any portion of the older firmware which might conflict with the new ROM and cause errors.
Step 4
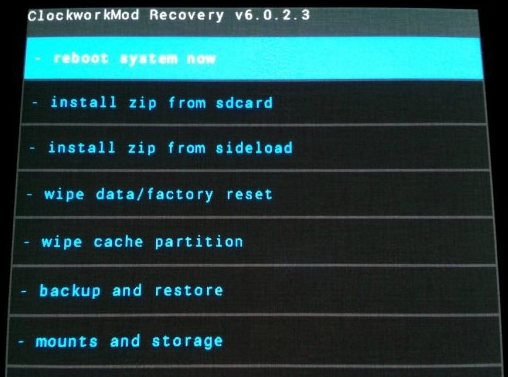
Once the user has wiped the storage and memory of his device, he can go ahead to install and flash the custom ROM to his device using the custom recovery. Some ROMs might be flashed simply using the recovery console, some may have inbuilt installers such as the AROMA installer which will start and allow users to customize options during the installations.
Once the ROM has been flashed, users can reboot to the system. The first boot after a flash might take some extra time, and users are advised to be patient. In case users find their device in in a bootloop or a Softbrick, they can always reopaeat the process, or restore a NANDroid backup of their device taken during Step 1.
Conclusion
There is no universal method to flash a ROM – different steps may be used depending upon the device, manufacturer, user and the ROM itself. The steps mentioned above are generalized but important measures to flash a ROM, and almost every ROM in essence is flashed using this.
The flashing process for different ROMs differ on small but extremely significant points – therefore it is very important for the reader to go through the concerned developer’s instructions provided along with the custom ROM. A clean, stable ROM will provide users with an error-less and bug-less experience, which in turn will enhance the user’s Android adventure.