Font plays a significant role in your phone’s overall UI design. Thanks to huge customizability on offer, Android lets you change your font type to suit your taste and add a refreshing feel to the device. So if you wish to change the font style on your Android, here’s how to do it.
Change Font Style on Your Android
A lot of smartphone manufacturers like Samsung, Huawei, Xiaomi, LG, and more, amongst others, let users change the font style as per their needs. In that case, you get a bunch of pre-loaded font types to choose from in your phone’s settings.
The good thing is that even if your phone doesn’t offer custom fonts, it’s still possible to change fonts on Android.
1. Using Built-in Options
As noted, a lot of OEMs offer the ability to change system fonts without installing any third-party apps. So, if you have a phone running custom skin like OneUI, MIUI, EMUI, RealmeUI, etc., it’s quite easier to switch to different font designs.
Now, while the steps may not be the same on every device, you’ll generally find the option in the ‘Display’ section in your phone’s Settings. It may also be hidden in the themes section on some devices.
-
- EMUI
-

- OneUI
-

- RealmeUI
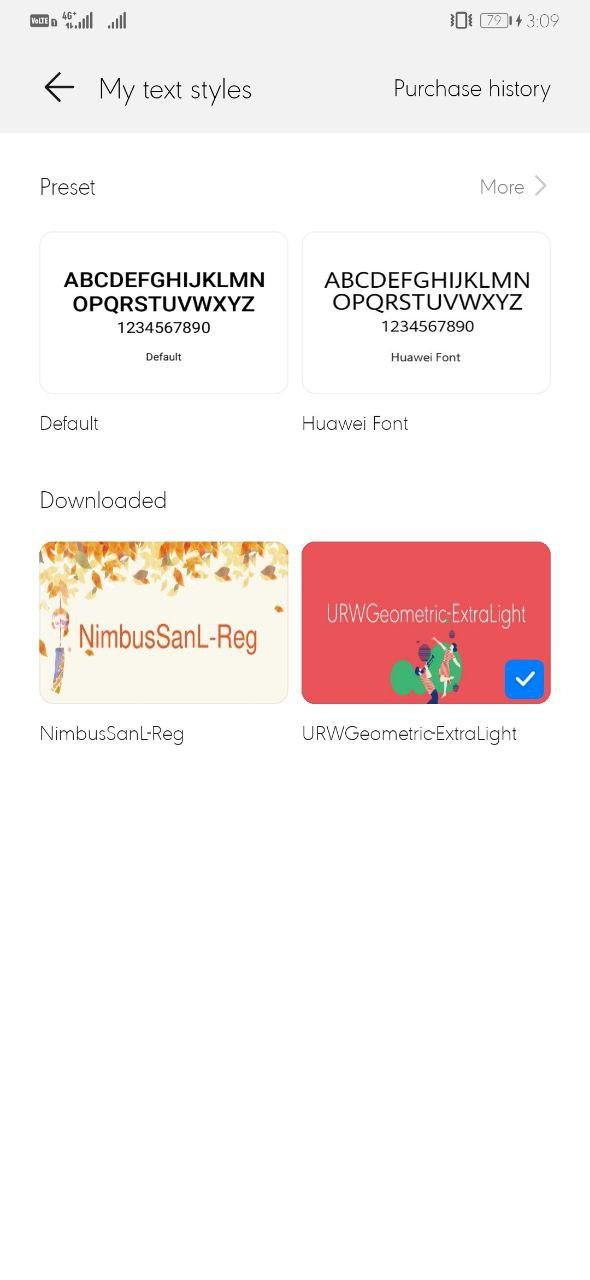
For instance, Samsung users can locate it in Settings < Display < Font Size & Style < Font Style. Similarly, phones running RealmeUI offer the feature under Settings > Display > Font. Huawei and Honor users, on the other hand, need to download text styles through the built-in Themes app.
Usually, there’s a simple font style (default), accompanied by a few stylized ones. Besides, you can download extras from your phone’s theme store or online font collection.
2. Using Third-Party Launchers
If your phone doesn’t have a built-in font changer, you can use third-party launchers that let you play with different fonts. However, note that it won’t apply system-wide, meaning that the text style in the notification shade, settings, and other apps will stay the same as before.
There are a lot of launchers that support custom fonts. Some of the popular ones include Nova, Action Launcher, Lawnchair, Apex, Go Launcher, and more. For those who prefer Android’s material design, Lawnchair 2 is one of the ideal choices though you can go for either of the mentioned apps.

- Download LawnChair 2 from Google Play Store. Set it up.
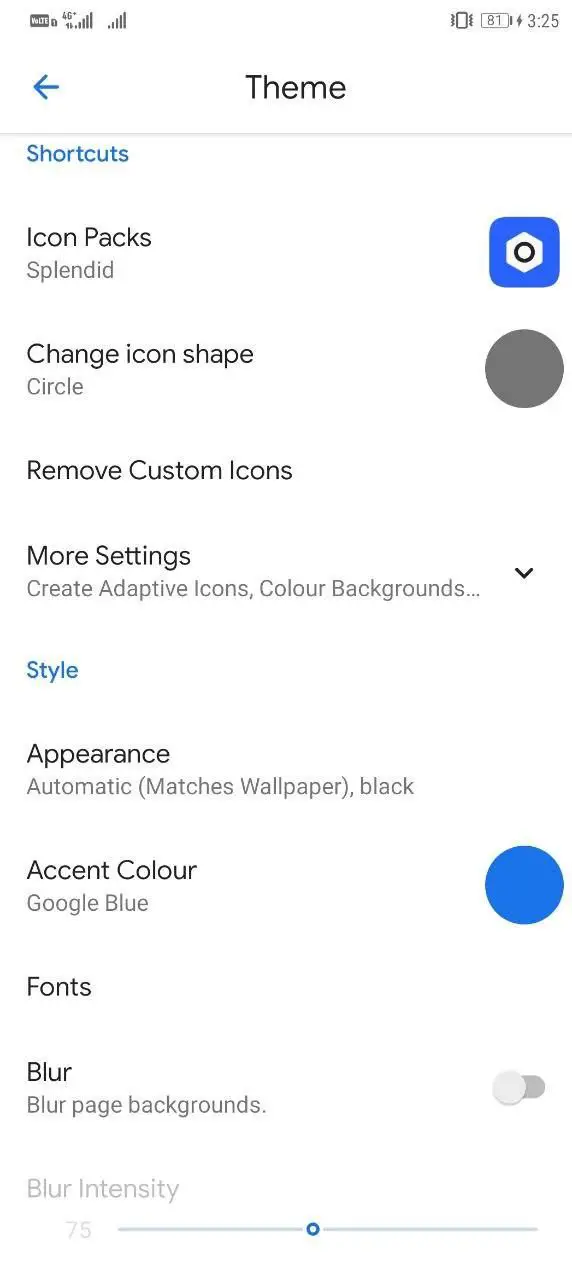
- Long-press the homescreen and select Home Settings.
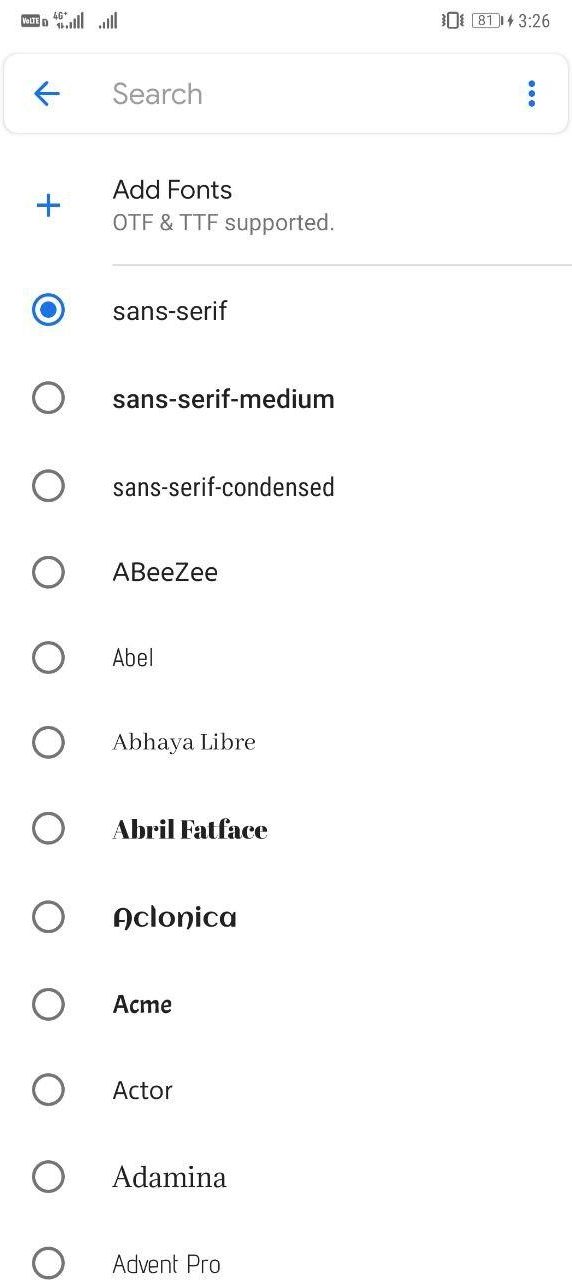
- Click Theme and then select Font.
- Here, you can select from different fonts for desktop and app drawer. While there’s a pretty huge collection, you can add other OTT and TTF fonts of your choice.
3. Change Fonts With Root


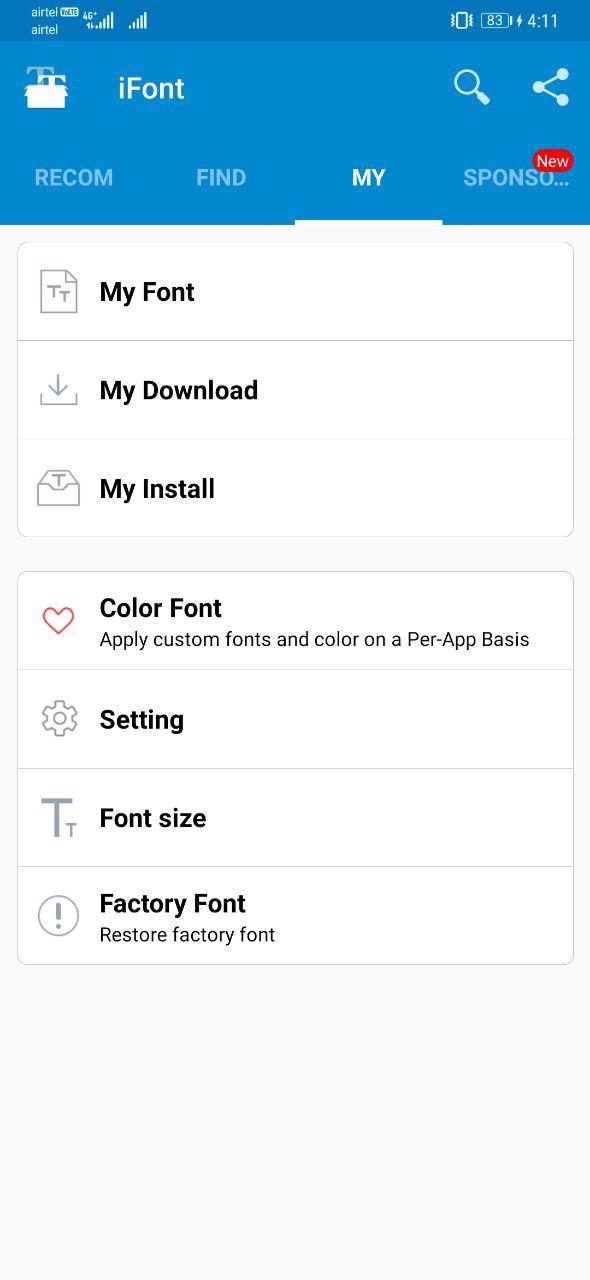
The other option is to root your phone and install font changer apps like iFont and FontFix to be able to use any font on the system level. Interestingly, iFont works even on some non-rooted Samsung Galaxy devices. However, it works best on rooted phones.
Simply install the app, grant permissions, select your font, and reboot the device. Both the apps let you set custom fonts through TTF files that can be downloaded from the web. Note that setting custom fonts via iFont requires the paid version.
Wrapping Up
This was all about how to change font type on Android, be it with root or without root. Anyway, which method did work the best for you? Have anything else to recommend? Do let us know in the comments below. Also, feel free to reach out in case of any doubts or queries on the topic.
Also, read- Top Three Ad-free Launchers for Android