Microsoft released the final stable build of Windows 11 today. Microsoft already announced that it’ll be a free upgrade to those who are currently using Windows 10, however, to run Windows 11, your system needs to fulfill some basic requirements, such as Intel 8th gen or AMD Zen 2 and later CPUs, and 4GB memory, etc. The update will roll out in phases, but you can still install it and in this tutorial, I will discuss all such ways to upgrade to Windows 11 for free and without any wait.
Also, read | How to Quickly Reset Windows 11 Without Losing Files
Upgrade Your PC to Windows 11 For Free
Windows 11 is a phased roll-out that will roll out on eligible devices by mid-2022. You can follow one of these mentioned methods to upgrade to Windows 11 without waiting.
Also, see | 3 Ways to Install Windows 11 on Unsupported PC
Requirements
Before we go further, you should once again check if your system really supports Windows 11 update. As per the company, it will work only with compatible 64-bit processors, at least 4GB RAM, 64GB storage, UEFI secure boot, and TPM 2.0. You can use the PC Health Check App to check if your PC is eligible for the free upgrade.
Note: Before you install Windows 11, make sure to save your data and back up your PC.
1. Check for Update and Download
The very first method is just too obvious. You can upgrade to Windows 11 by manually checking the update on your PC. First of all, make sure your Windows 10 PC is running version 2004 or later, and has September, 2021 or later servicing update installed.
In order to check the update is available for your specific device by :
1. Open “Settings” on your PC and go to “Update & Security”.
2. Now click on “Windows Update” and then select “Check for updates”.
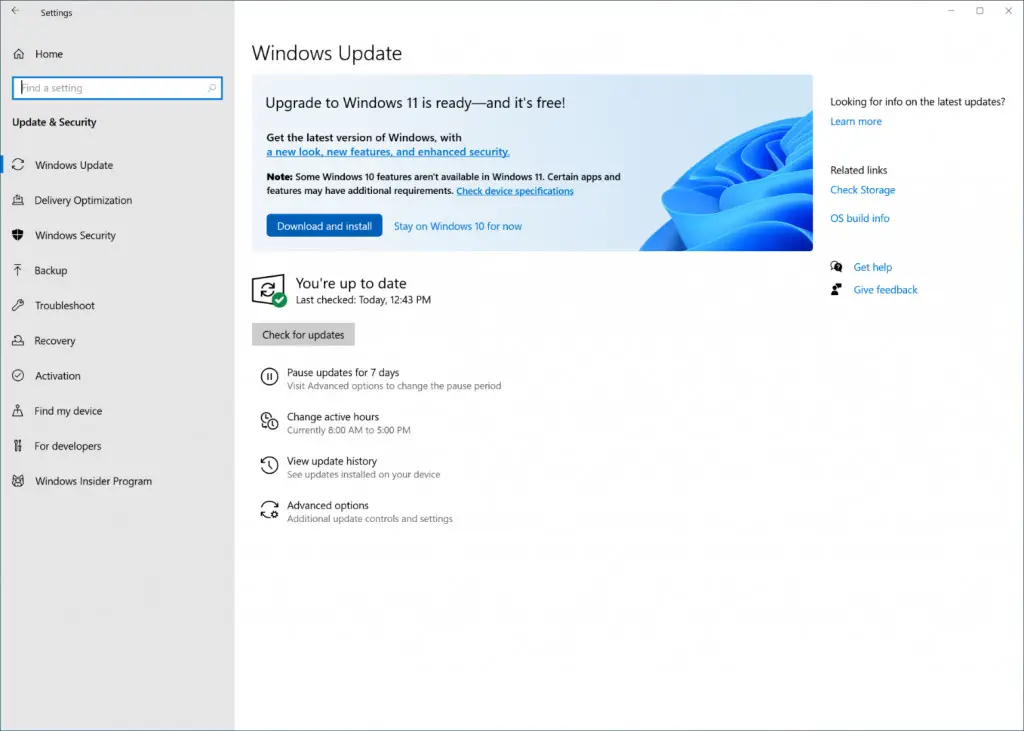
If your device meets all requirements, you will see Windows 11 update and the option to download and install. You can simply select “Download and install”.
However, as mentioned above, you might have to wait for this update on your PC.
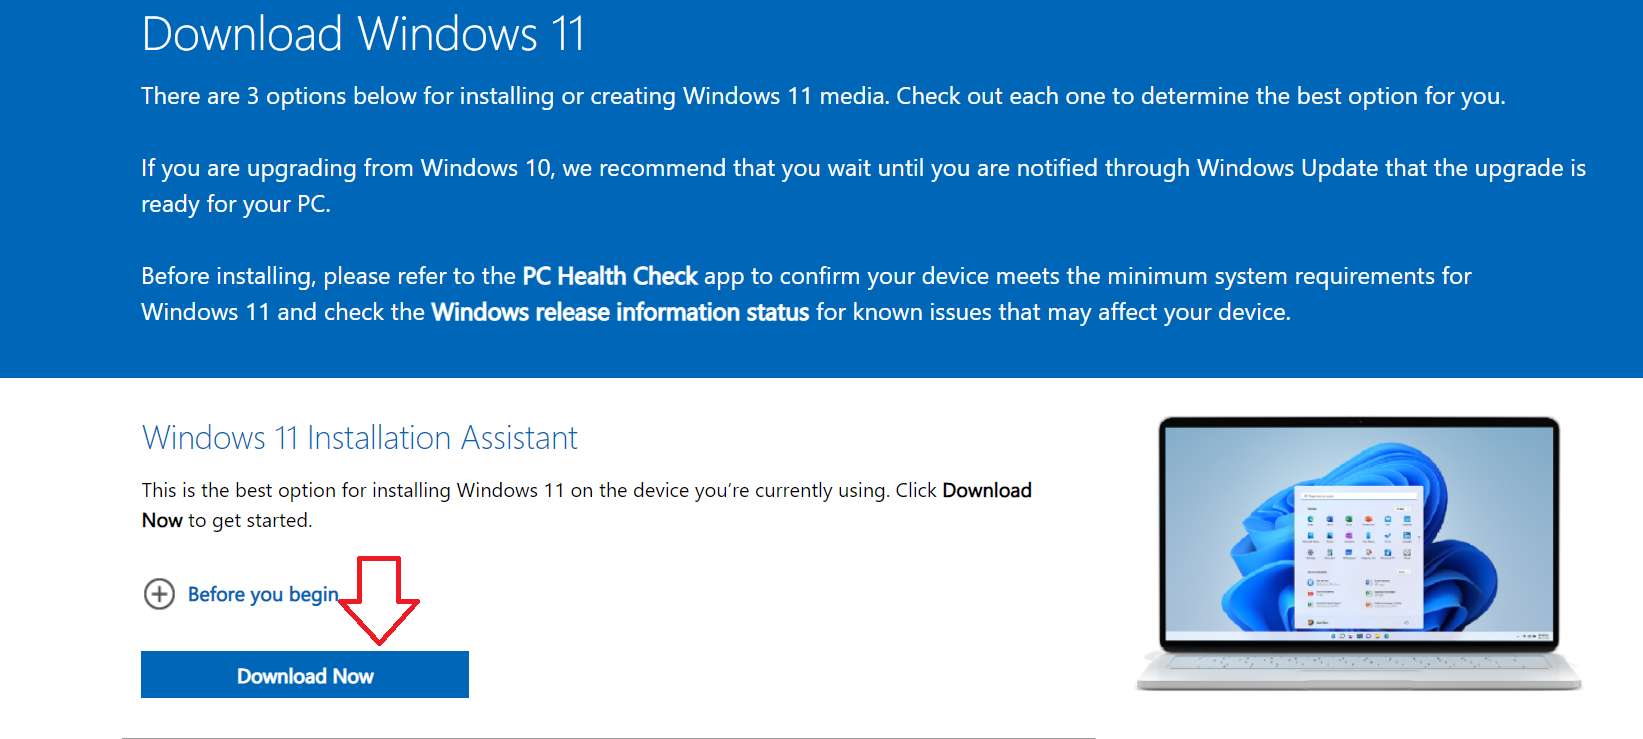
2. Download Installation Assistant
Another option to upgrade to Windows is to use Microsoft’s Windows 11 Installation Assistant that downloads the update on your device and you can start the installation. Here’s how to download this tool and install the update:
1. Visit Microsoft’s Windows 11 download page.
2. Here, you will see “Windows 11 Installation Assistant” as the first option.
3. Click on the “Download” button below it to download the tool.
Once the tool is downloaded, run it on your PC. Follow the on-screen instructions and it will download the Windows 11 update and install it on your PC.
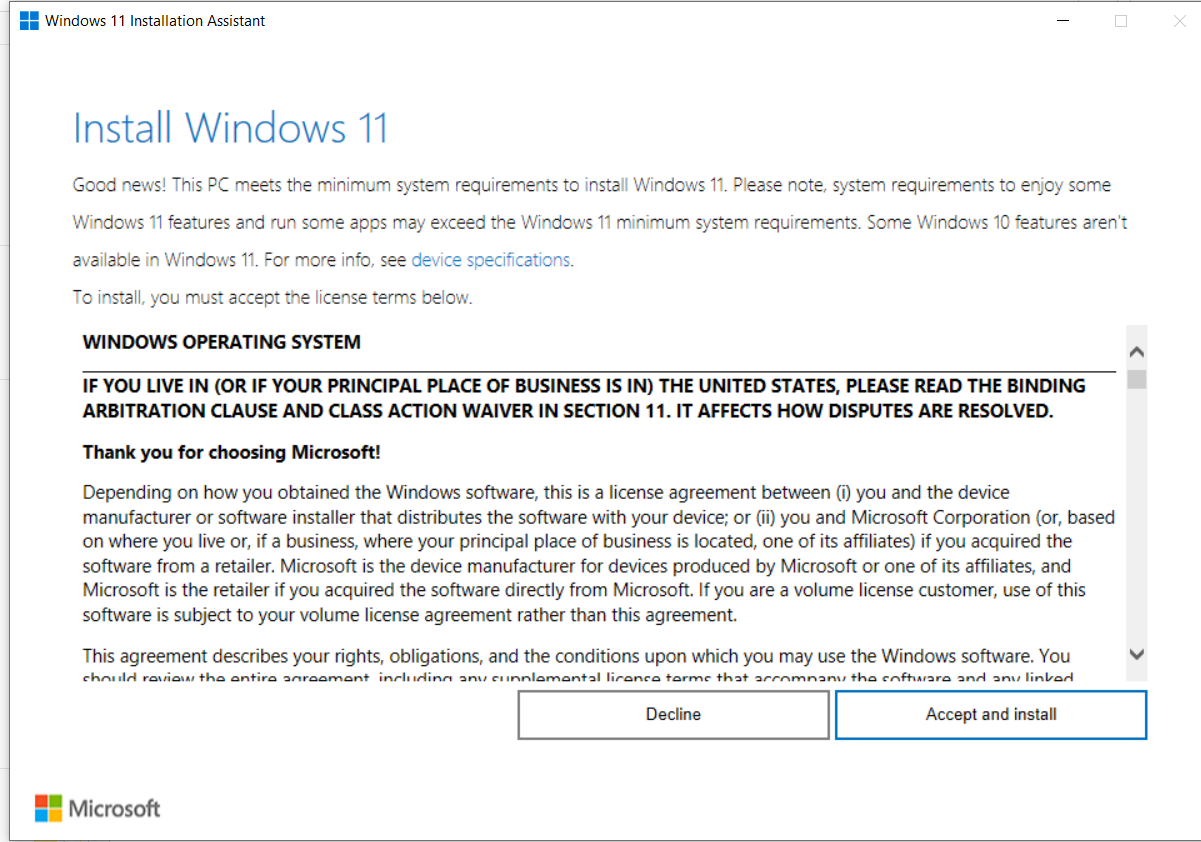
Your PC will restart and you will be on Windows 11. But, not all users will be able to install it on their PCs too.
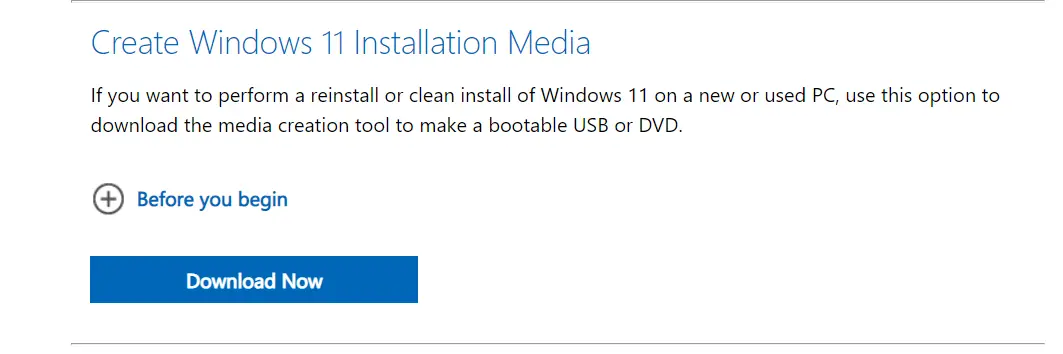
3. Make a Bootable Windows 11 USB
So if you want to Windows 11 on a new PC, or reinstall it later on your own PC, you can make a bootable USB drive of Windows 11. Microsoft offers this option by using its own Media Creation Tool to make a bootable USB. Let’s find out how it works!
First of all, make sure you have an active internet connection, sufficient storage on the computer, a USB drive with at least 8GB to create a bootable disc. You should use a blank USB because its data will be deleted during installation.
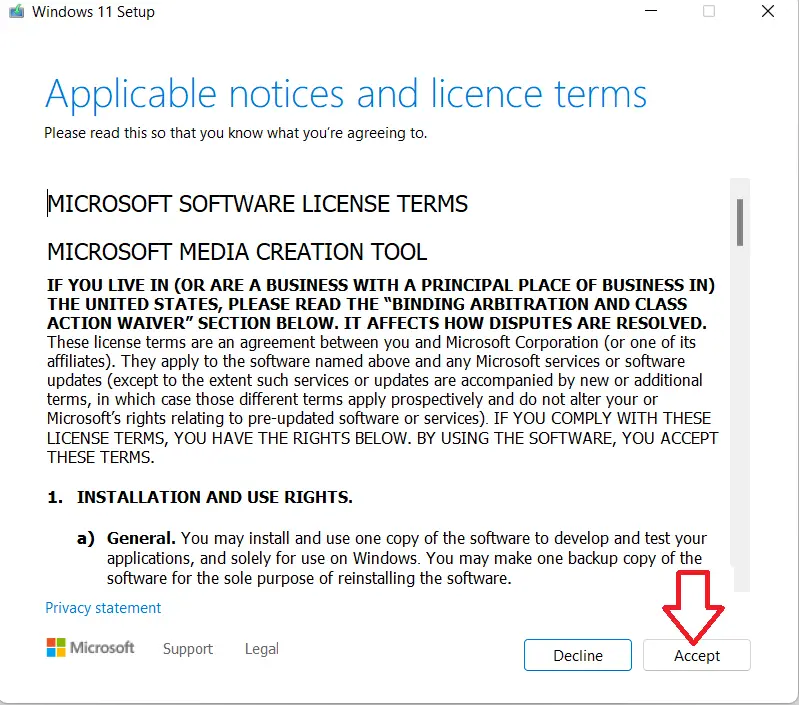
1. After downloading the Microsoft Media Creation Tool, open it or run it as an administrator.
2. Click on “Accept” and on the next page, select “Create installation media for another PC”, and click ”Next”.
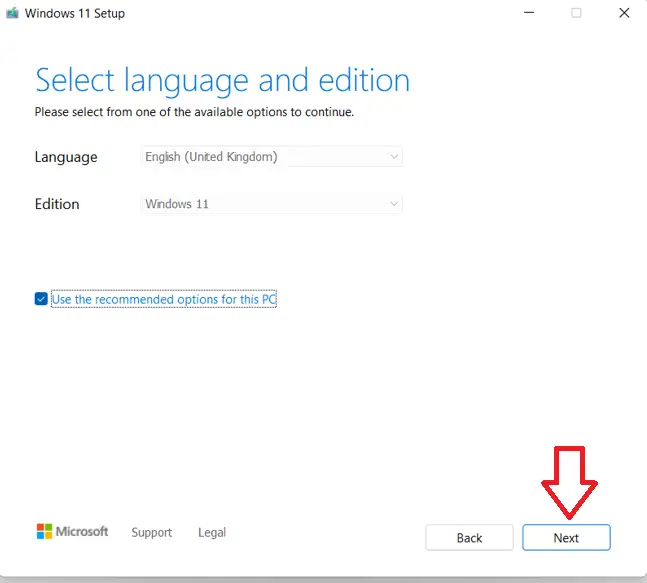
4. Select the language and Windows edition and click “Next”.
5. Now, on the next page, select which media you want to use- USB drive or ISO file.

- If you choose a USB flash drive, attach a blank USB flash drive ( Min 8GB) and click on “Next”.
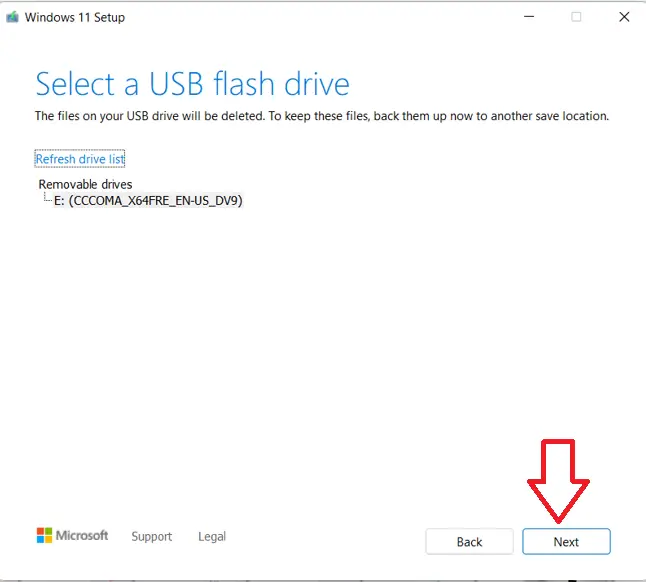
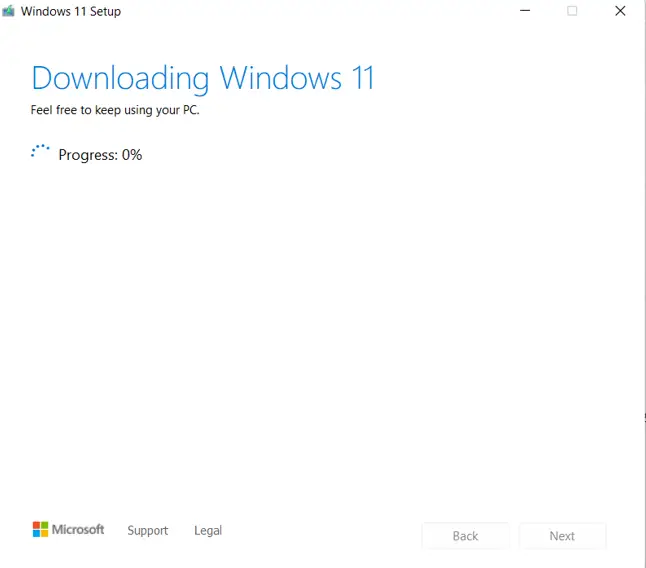
Now, Windows 11 setup will start to download on your USB drive.
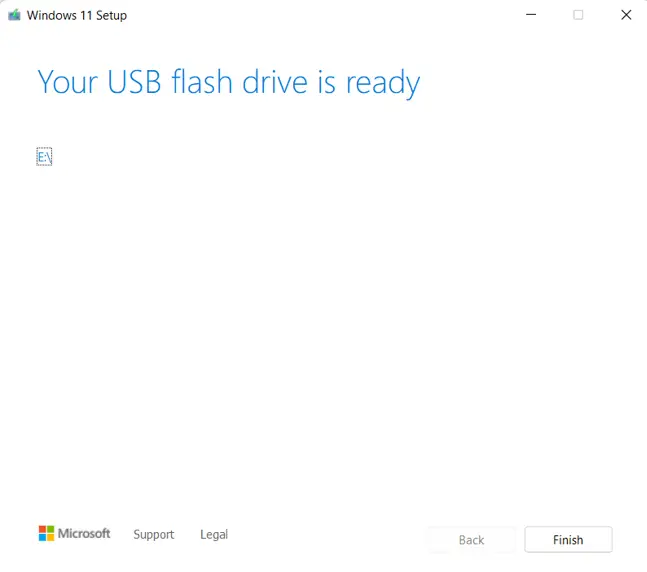
When the installation setup is created on your USB drive, you will see the “Your USB flash drive is ready” message, click on “Finish” and remove it from the PC.
Now, here’s how to use this flash drive to install the Windows 11 update on any supported PC:
1. Attach the USB flash drive to that PC.
2. Now, restart the PC and it will open the Windows 11 installation setup.
3. Start by selecting your language, time, and keyboard preferences, and click “Next”.
4. Now, select”Install Windows”.
If your PC does not automatically boot to the USB media, you’ll need to open a boot menu manually using your PC’s BIOS settings. To open a boot menu, you’ll need to press a key (like F2, F12, Delete, or Esc, depending on the model) right after you turn on your PC.
After that, you can follow the on-screen instructions to complete the setup.
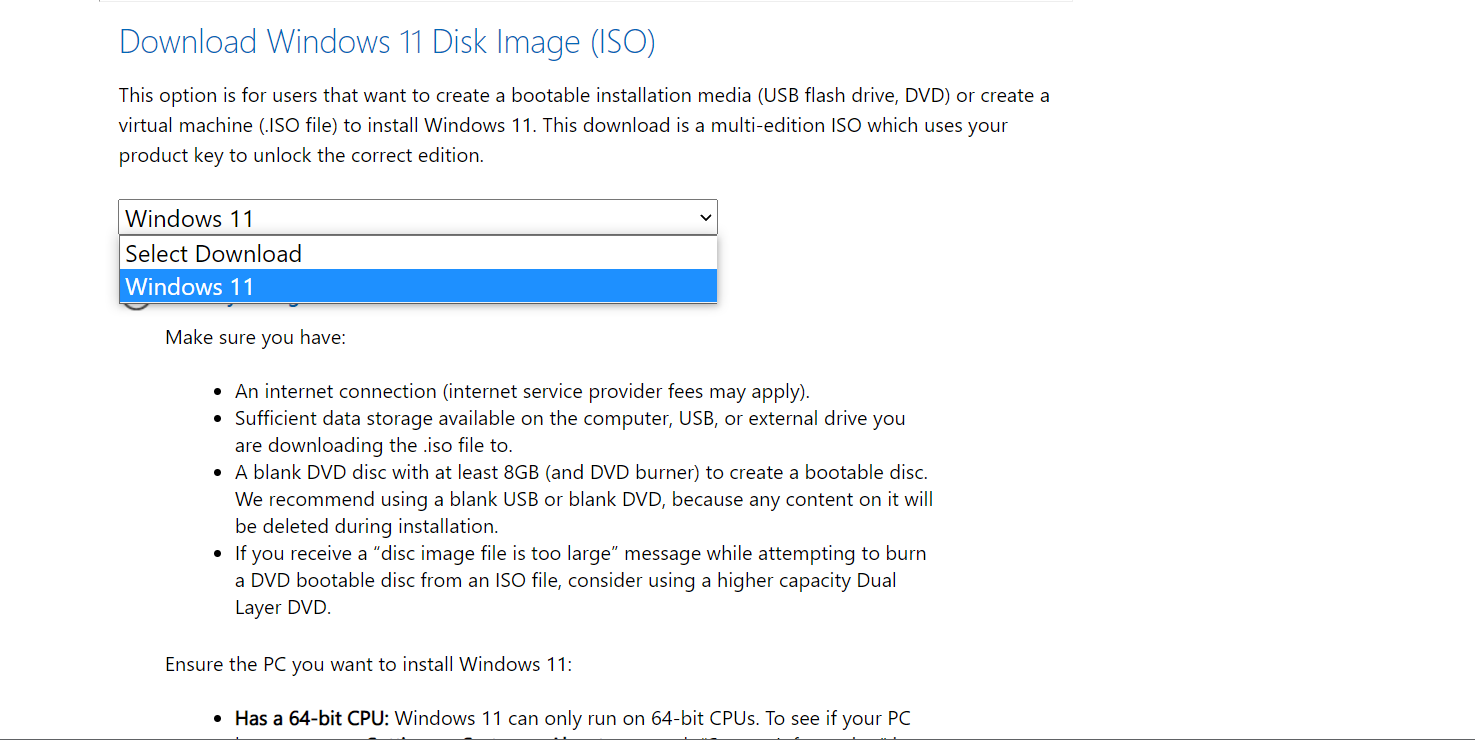
4. Download Windows 11 ISO
You can also download the Windows 11 ISO file on your PC and after that using a DVD burner and following the instructions burn it to make a bootable Windows 11 DVD or USB and install it. Follow the steps below to download ISO and install the setup:
1. Download the Windows 11 ISO file from here or from the above-mentioned step.
2. Now, right-click on the ISO file and select “Properties”.
3. Under the “General” tab, click “Change” next to Opens with and select “Windows Explorer” from the menu and “Apply”.
If you want to use a third-party DVD burner, you can right-click on the ISO file and choose Open with after that select that program from the list.
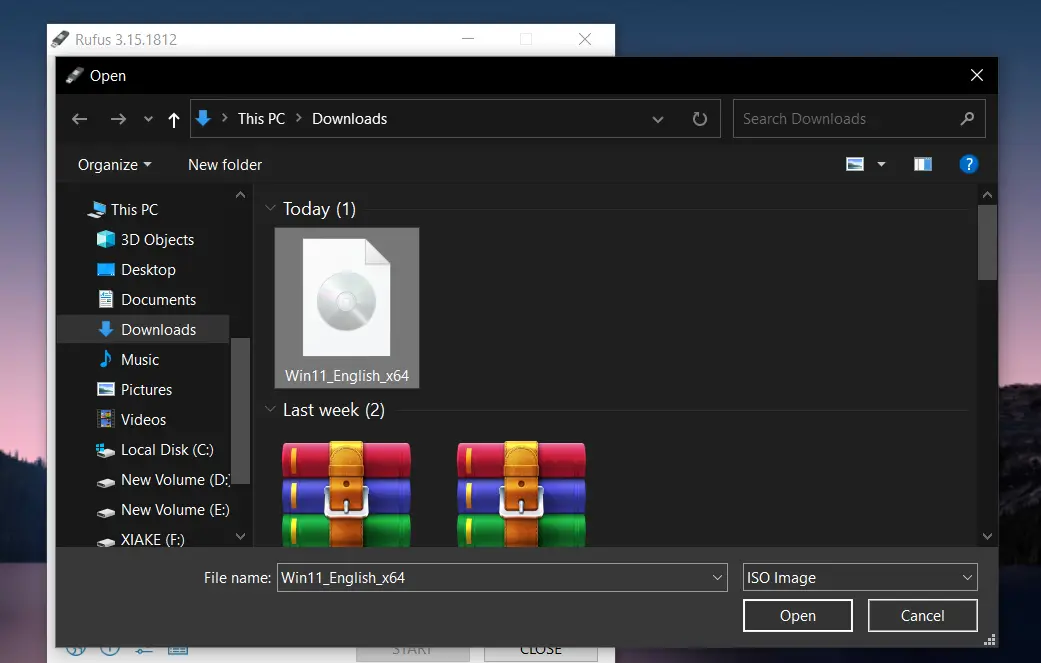
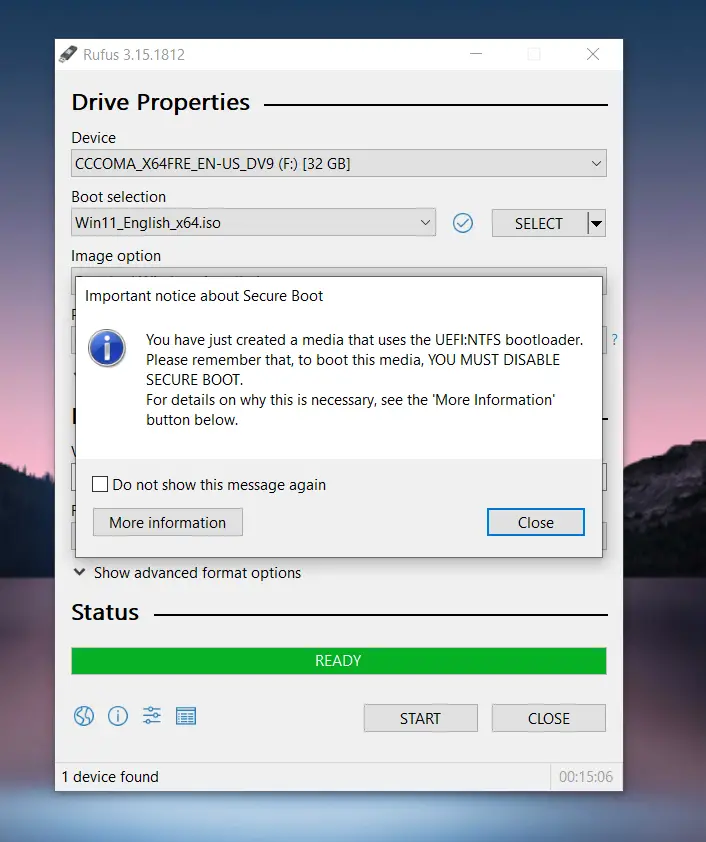
Choose a few more options including Boot selection, select ISO from the list. Click on “start” and this will enable the Burn and your flash device will be ready.
You can also install Windows 11 directly from the ISO file without using a flash drive. For this, you’ll need to mount it on your PC. In order to mount the ISO file:
1. Go to the downloaded ISO file, right-click on it, and then click on ”Properties”.
2. On the “General” tab, click ”Change” and select “Windows Explorer” and ”Apply”.
3. Now, right-click the ISO file and select “Mount”.
4. This will create a virtual bootable disc on your PC, open it to view the files. a
5. Here double-click on the setup.exe file to install the Windows 11 setup.
After that, follow the on-screen instructions to complete the setup. Your PC will restart and it will be running on Windows 11.
So these were the ways to download Windows 11 update and upgrade your eligible PC. Tell us in the comments which method did you use to upgrade to Windows 11!
Also, read | 7 Ways to Make Windows 11 Faster and Improve Performance
Windows was announced back in June and brings a simplified design and user experience, a Start menu in the center, new tools like Snap layouts, Desktops, and a new more-intuitive redocking experience. To know more Windows 11 features click here.
You can also follow us for instant tech news at Google News or for tips and tricks, smartphones & gadgets reviews, join GadgetsToUse Telegram Group, or for the latest review videos subscribe GadgetsToUse Youtube Channel.