After the October 31st, 2021 update for Microsoft Windows 11 beta and release of preview channels, users have reported issues while launching the snipping tool. As per Microsoft, this happened due to an expired Microsoft Digital Certificate. In this article, you’ll learn ways to fix Windows 11 snipping tool not working issue on your system.
Also, Read| 4 Ways to Show Hidden Files and Folders in Windows 11
What is the reason behind this issue?
Most of the Windows 10 users who have recently updated and migrated to Windows 11 reported this issue with the message stating that ‘This App can’t Open’. According to Microsoft, this happened due to an expired digital certificate which affected various input-providing tools including the snipping tool. But, worry not for we have handpicked and tested the best 5 ways to troubleshoot this existing issue.
Ways to Fix Windows 11 Snipping Tool Not Working
Check Windows for Update to Fix this Issue
Microsoft has already rolled out updates to fix this issue with its Windows update feature which is known by the name of Windows 11 KB5008295. If you haven’t received this update yet, you need to manually check and update your system to remove this bug affecting the tool. Follow these simple steps to check for updates on Windows 11.
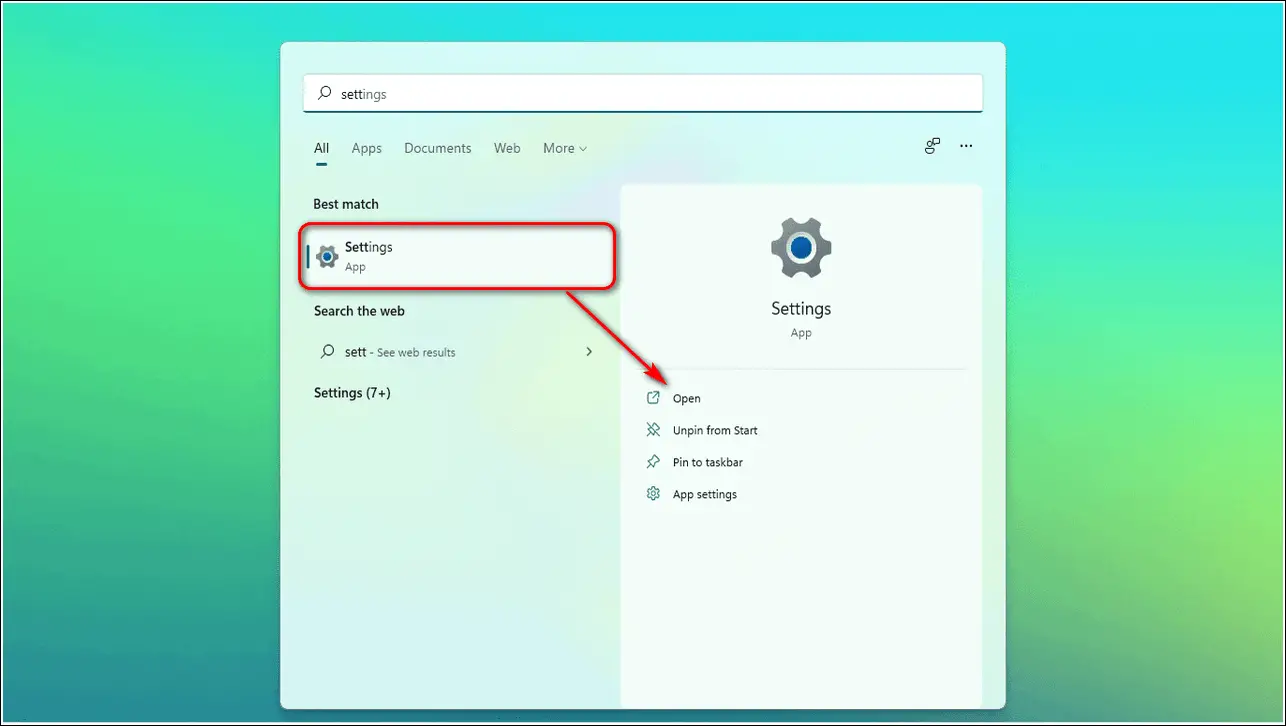
- Press the Windows key, search for the Settings app and open it.
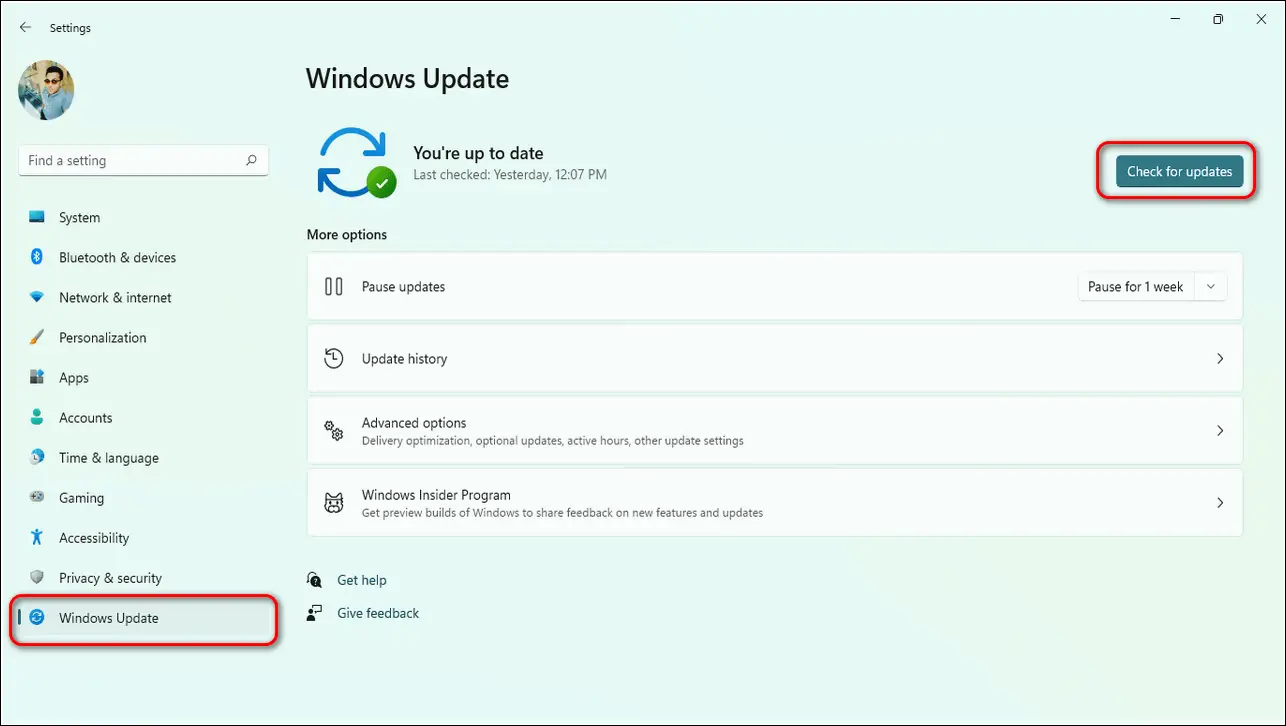
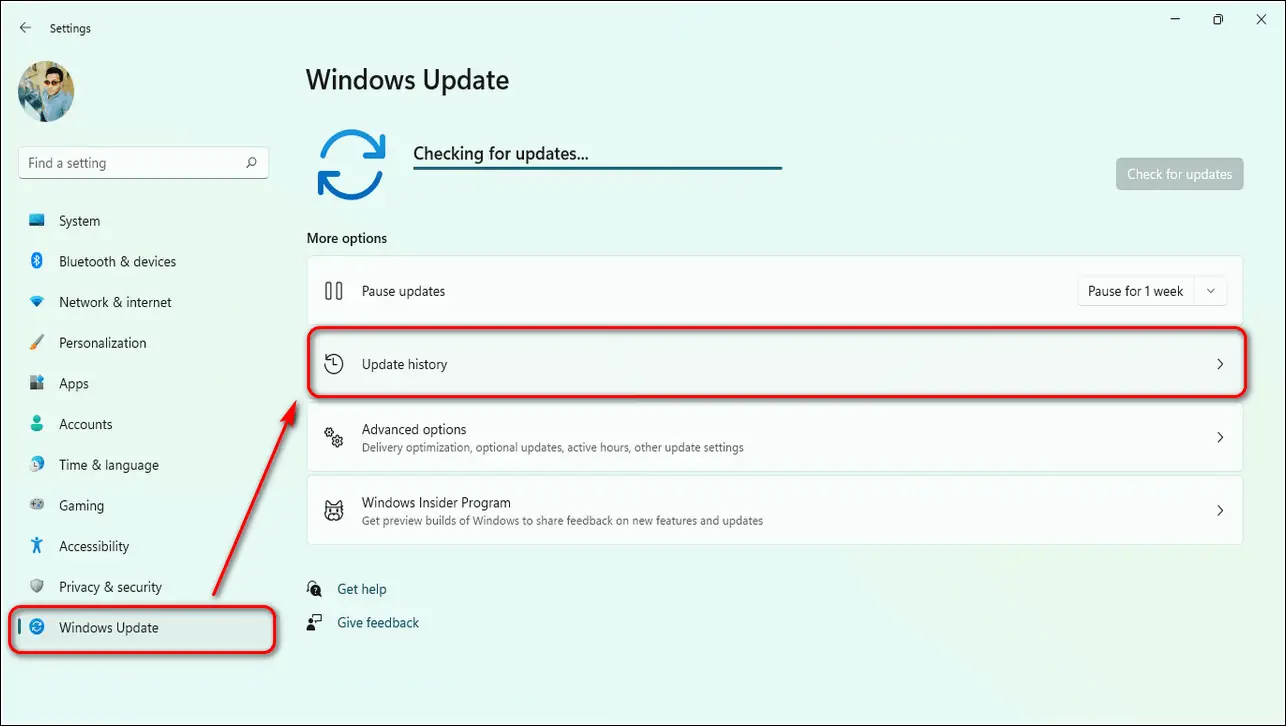
- In the top right corner of the screen, click on Windows Update to open it.
- Click on Check for Updates button to check and download any new updates available for your system.
Force Close Snipping Tool and Restart it
If you are facing issues in opening the snipping tool in Windows 11, then one of the most effective ways to fix it is to manually close the running app and reopen it. In this way, a fresh instance of the tool will be provided to the user for work. Follow these easy steps for a quick fix.
- Press the Windows key, search for the Task Manager app, and open it.
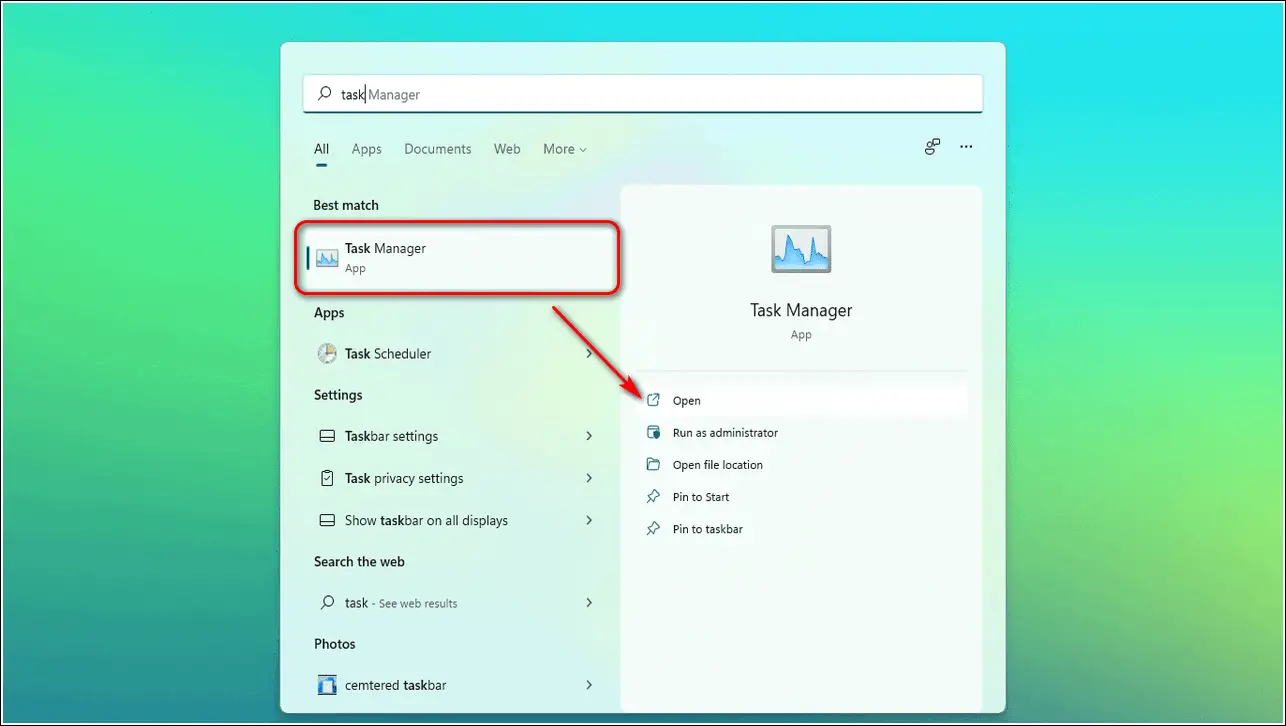
- Alternatively, you can press the Ctrl+Shift+Esc button simultaneously to open the Task Manager app.
- Search and Locate Snipping Tool and Press End Task button to close it.
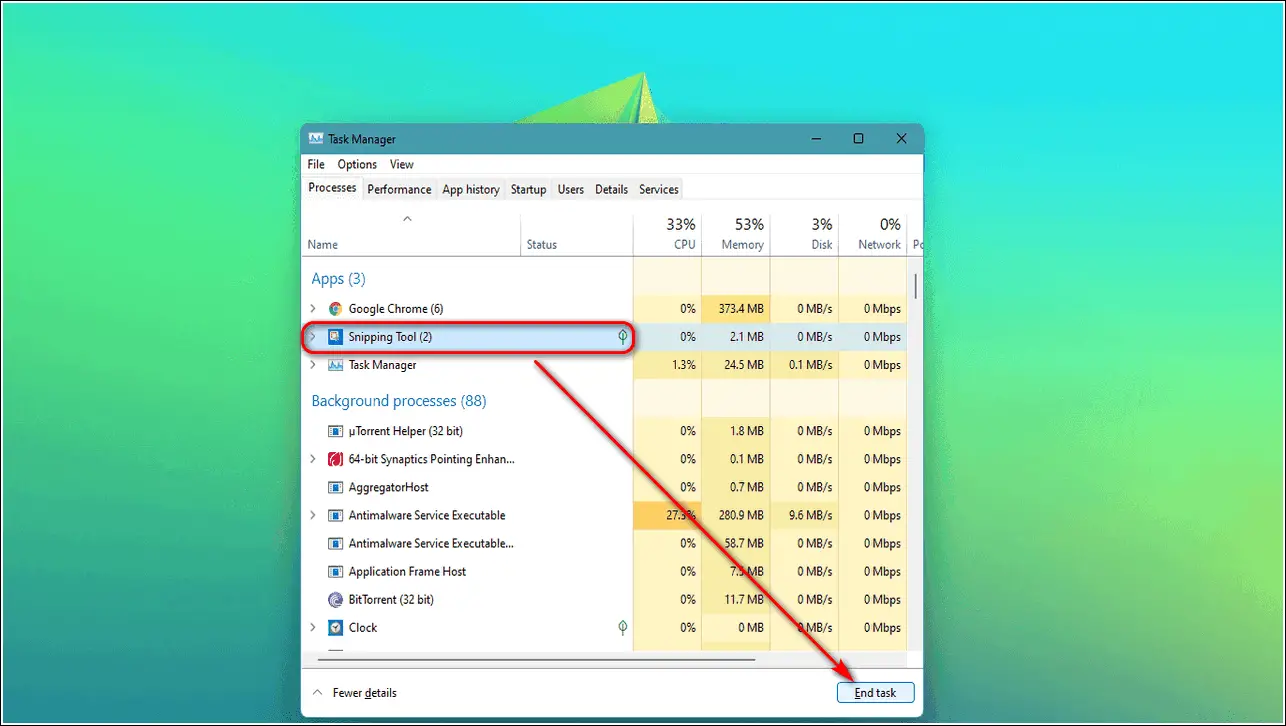
- Relaunch the app to open the snipping tool and check if the app is working properly.
Provide Permission for Background Apps
Sometimes, insufficient access privileges can cause issues while launching the snipping tool in Windows 11. You need to ensure that you provide the required background apps permission for the app to work properly. Follow these steps to do the same.
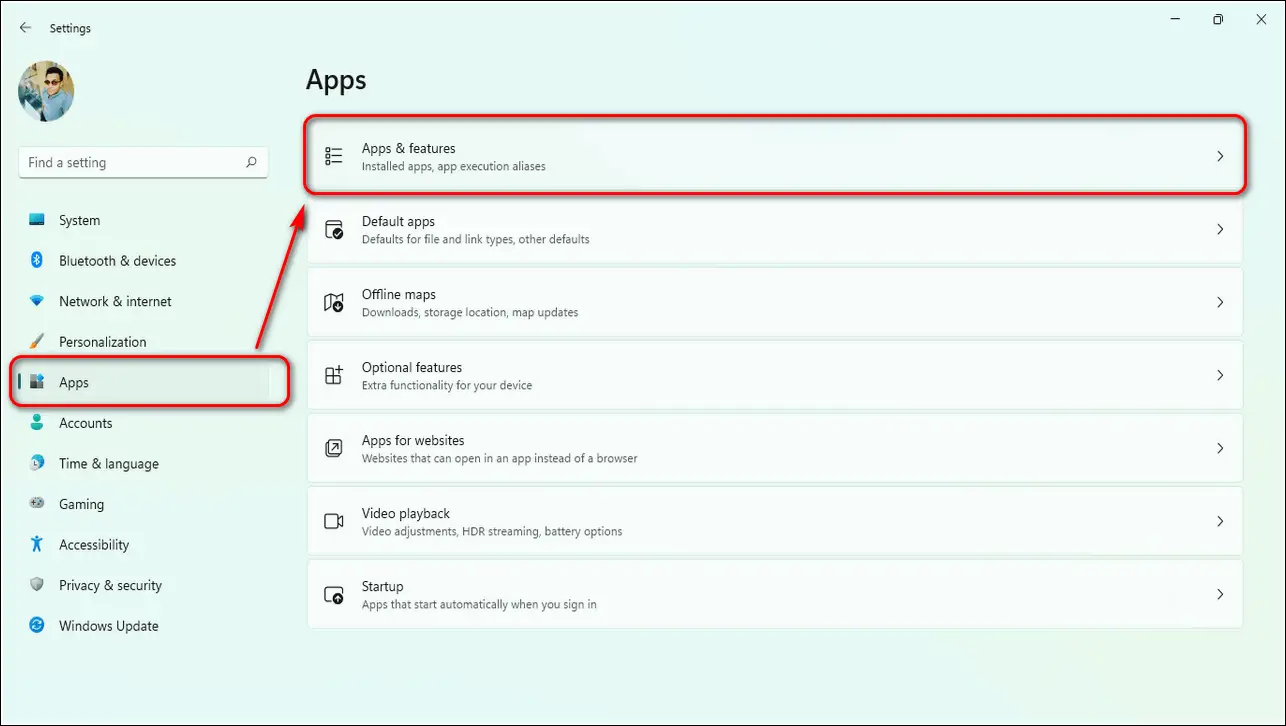
- Open the Settings app on your Windows 11 PC.
- Expand Apps in the left sidebar and click on Apps and Features.
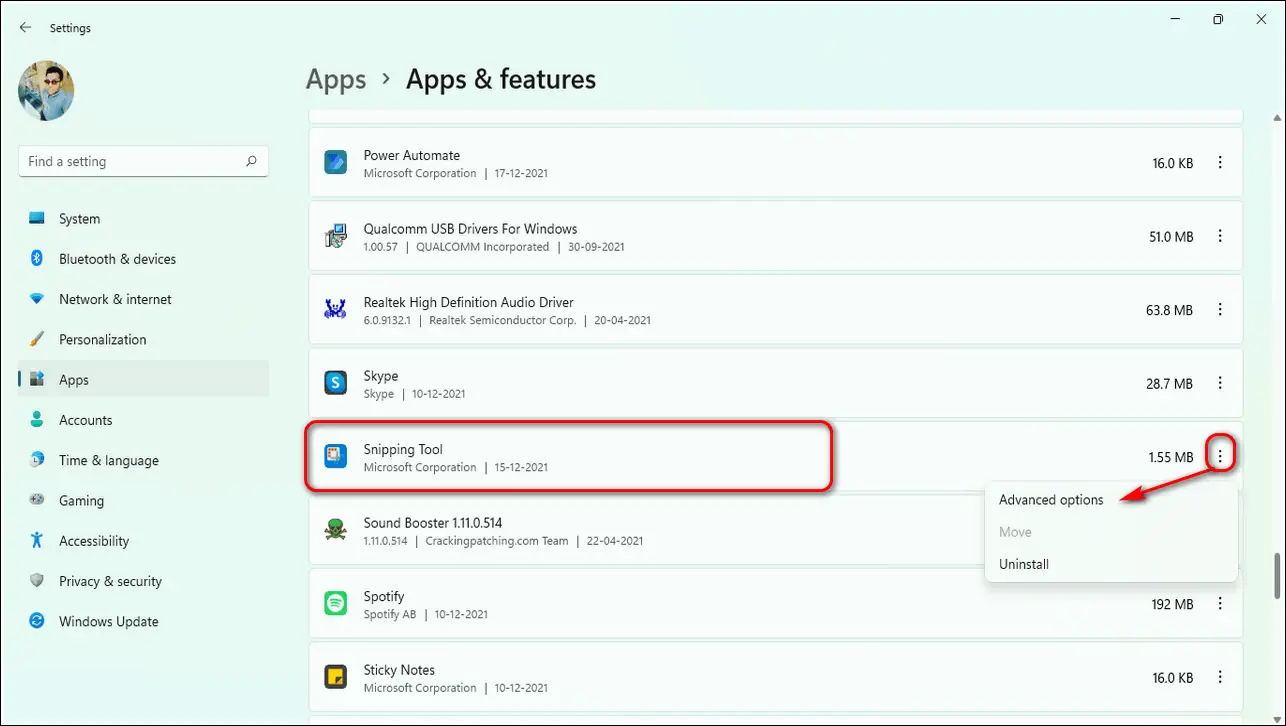
- Scroll down to locate Snipping Tool and click on the three-dot icon in front of it.
- Click on Advanced Options.

- Under background apps permissions, Set ‘let this app run in background‘ to ‘Always‘.

Repair and Reset the Snipping Tool
Windows 11 provides in-built features to repair and reset the app itself if it has stopped working or malfunctioned. Follow these easy steps for a quick fix.
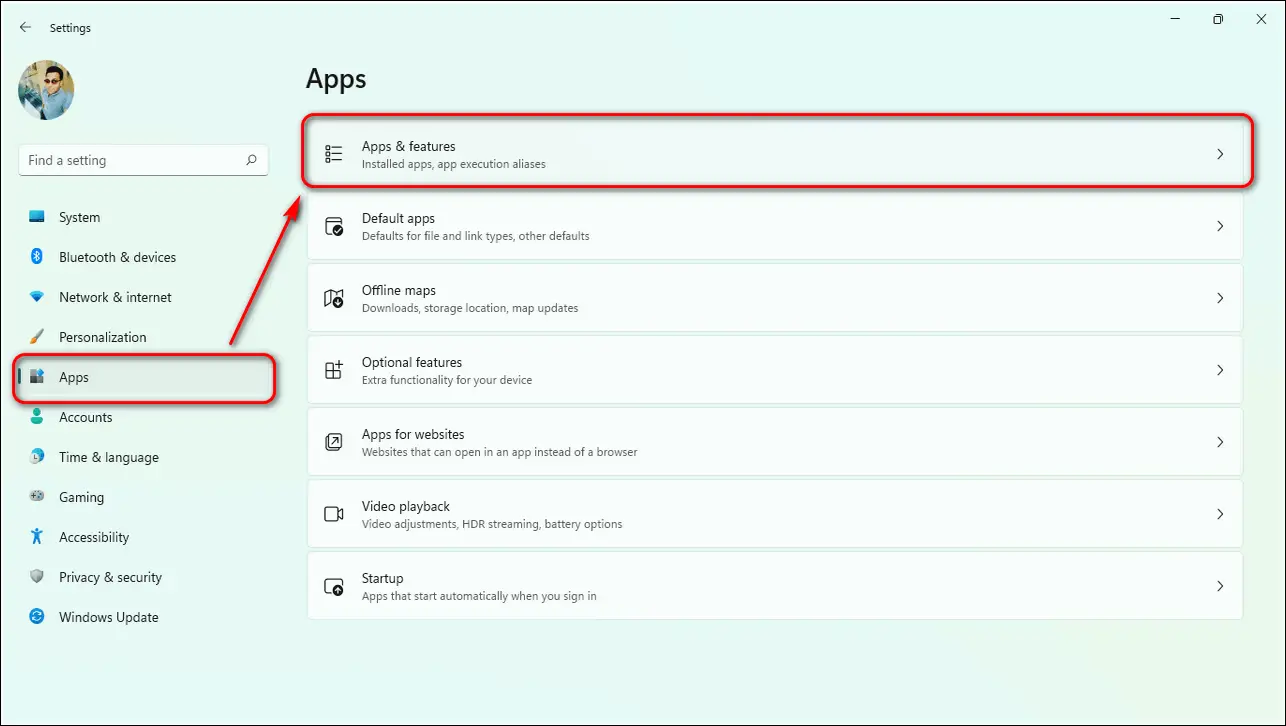
- Open the Settings app on your Windows 11 PC.
- Expand Apps in the left sidebar and click on Apps and Features.
- Scroll down to locate Snipping Tool and click on the three-dot icon ahead of it.
- Click on Advanced Options.
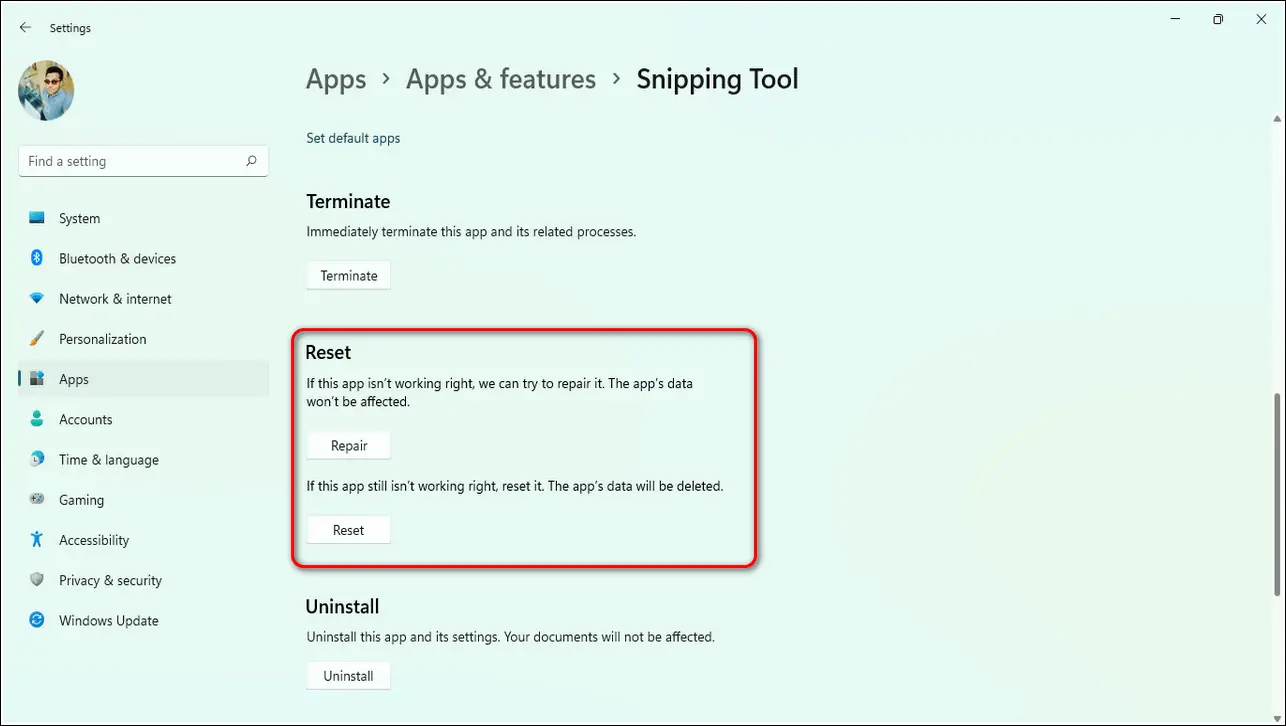
- Scroll further down to locate the Reset section and click on the Repair button to launch the troubleshooter.
- After Windows has performed repair, click on the Reset button to reset the app.
Manually Change System’s Date
If the issue with the snipping tool on your Windows 11 system has not yet been resolved even after trying the above fixes, then you should try this working trick mentioned on the Microsoft Community to fix this issue.
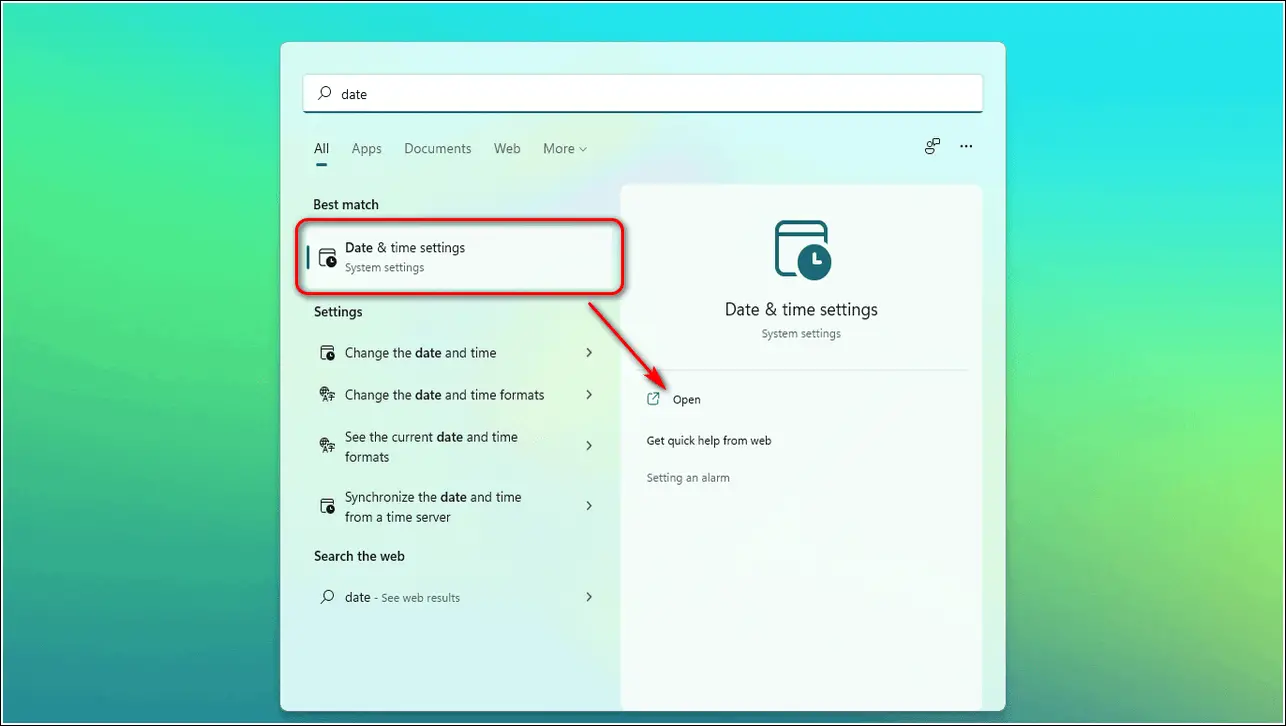
- Press the Windows key, search for Date and Time and open it.
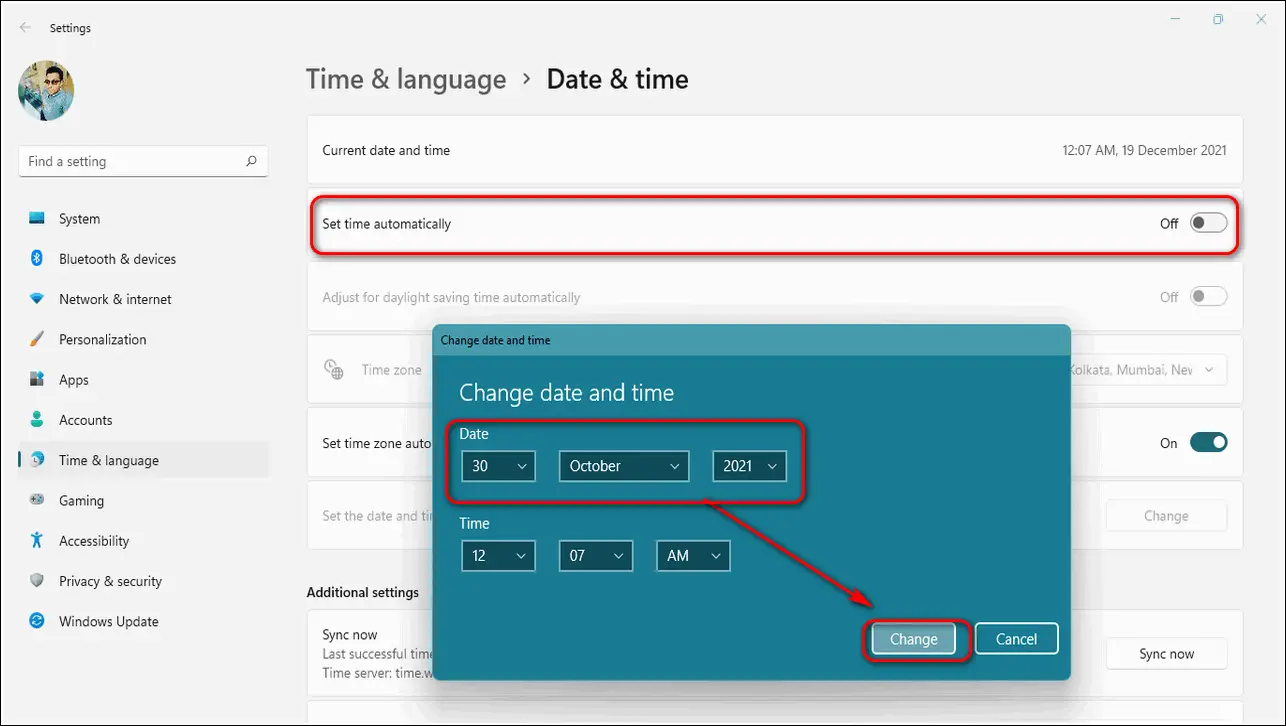
- Turn off the toggle for setting time automatically.
- Click on the ‘Set the date and time manually‘ and change the date to 30 October 2021. There’s no need to change the time on this date.
- Save changes by pressing the Change button.
- Now, relaunch the snipping tool. Hopefully, the snipping tool will launch and work perfectly.
- You can now revert back your date to the current date to set the correct date and time.
- Congratulations. You have successfully fixed the snipping tool issue.
Bonus: Uninstall the security update that caused this Issue
Many users on the Microsoft Community have reported that they started observing issues with the snipping tool after they’ve updated their system to Security Update KB5006674. However, it also uninstalls significant Windows updates including updates for the File Manager app and other performance fixes. Follow these steps to uninstall this specific update.
- Open the Settings app in your system.
- Expand Windows Update in the left sidebar by clicking on it.
- Click on Update History.
- Scroll all the way down to click on Uninstall updates.

- Select the update named KB5006674.
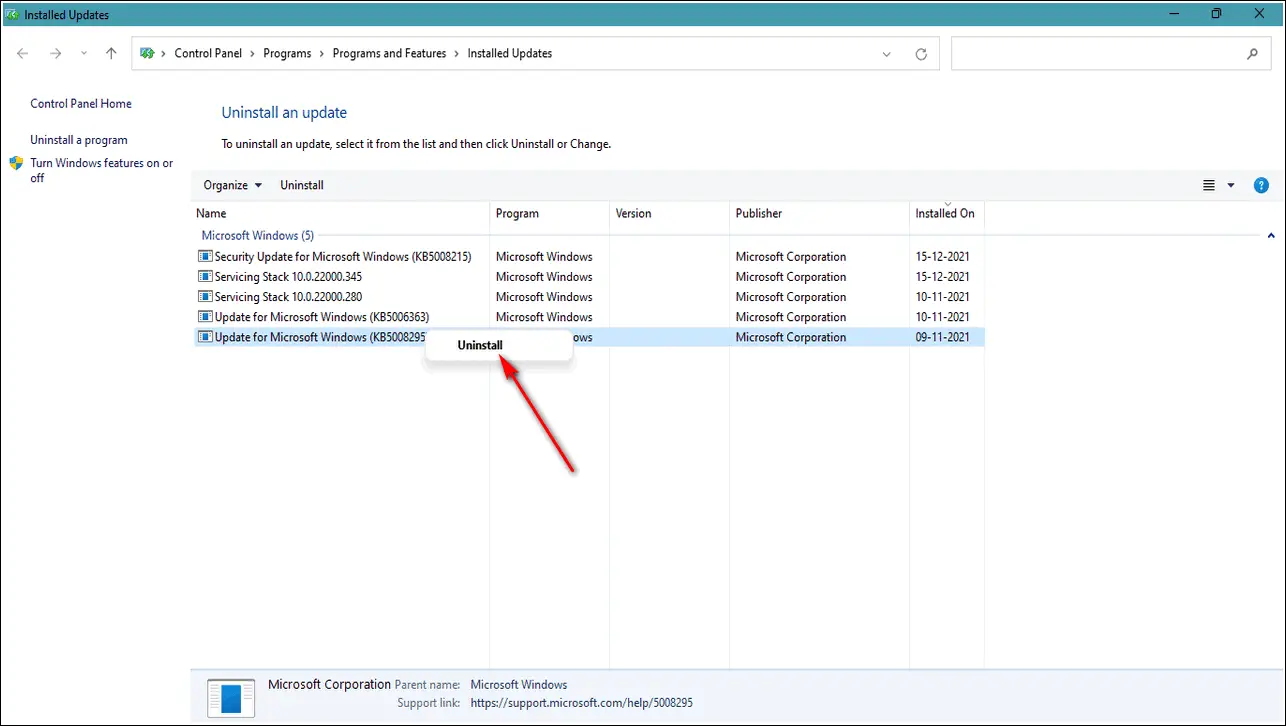
- That’s it. Restart your system.
Wrapping Up
That’s all for the 5 working ways to fix Windows 11 snipping tool not working in your Windows system. If this article has helped you in reviving proper functionality for the snipping tool, then hit the like button and share this article among your friends to help them resolve this issue. Stay tuned for more troubleshooting guides like this.
You can also follow us for instant tech news at Google News or for tips and tricks, smartphones & gadgets reviews, join GadgetsToUse Telegram Group, or for the latest review videos subscribe GadgetsToUse Youtube Channel.