If you often capture screenshots for your work, you must have felt the need to edit them to highlight a certain part. To further make screenshots more engrossing, you can add a variety of effects and annotations such as blur, text, and arrows. Today we will be covering a complete guide to editing screenshots with blur, text, arrows, and presentations across different platforms. Furthermore, you can learn to blur part of a photo before posting it on social media platforms.
How to Add Blur, Text, Arrows, and Presentation to Screenshots?
Editing images such as screenshots is as important as capturing one especially if you’re using it to demonstrate something. With the help of various annotations, arrows, and effects such as blurring, you can make screenshots more eye-catchy and create a more profound impact on your work. So, without further ado, let’s get started.
Edit Screenshots on Android
There are lots of Android apps that offer to edit screenshots with various effects and annotate them using their powerful tools. One such remarkable app goes by the name of Screen Master through which you can capture and edit your screenshots through one single app. Here’s how you can use it to your advantage:
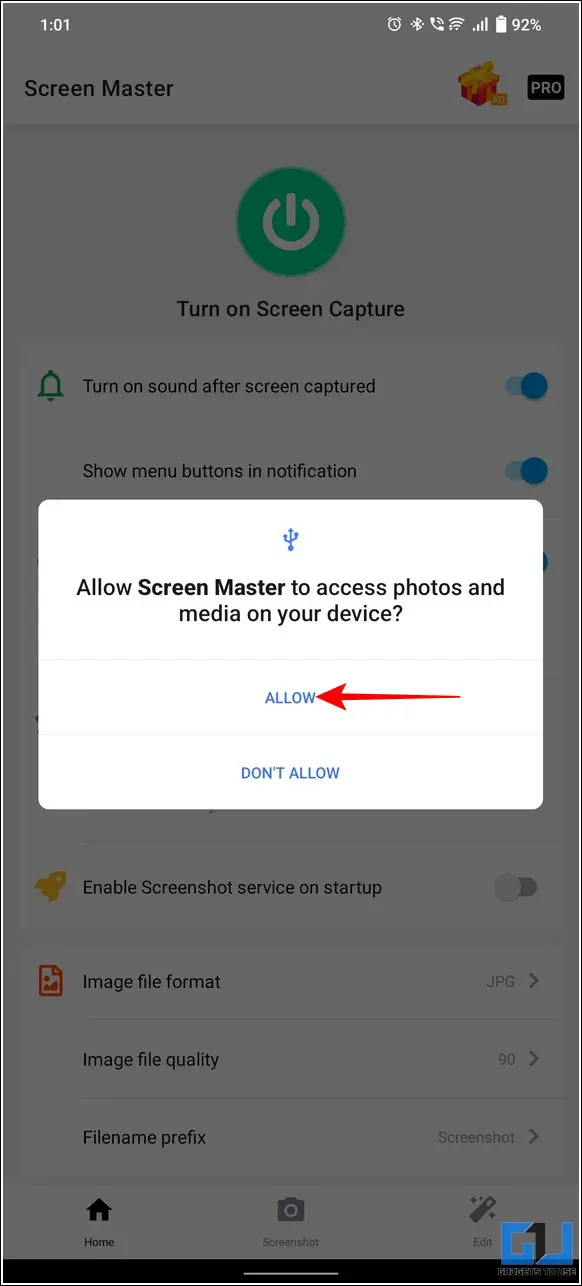
1. Install the ScreenMaster app to your Android device and tap on the Allow button to provide the necessary file access permissions.

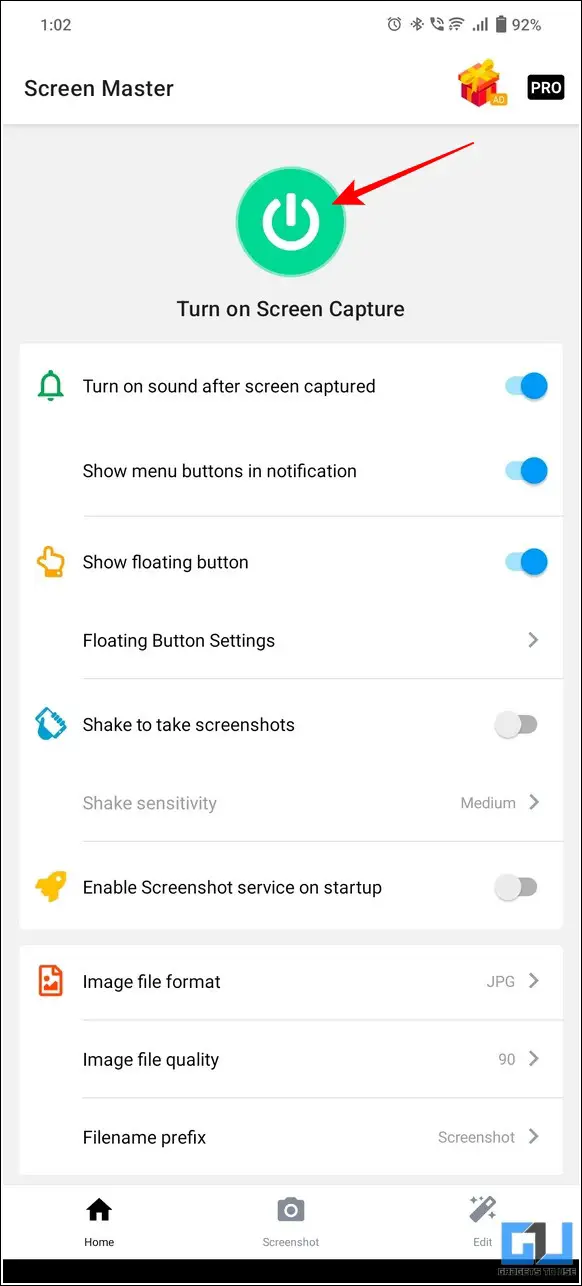
2. Next, tap on the Turn on Screen Capture button and follow the on-screen instructions to capture a screenshot of the current image.
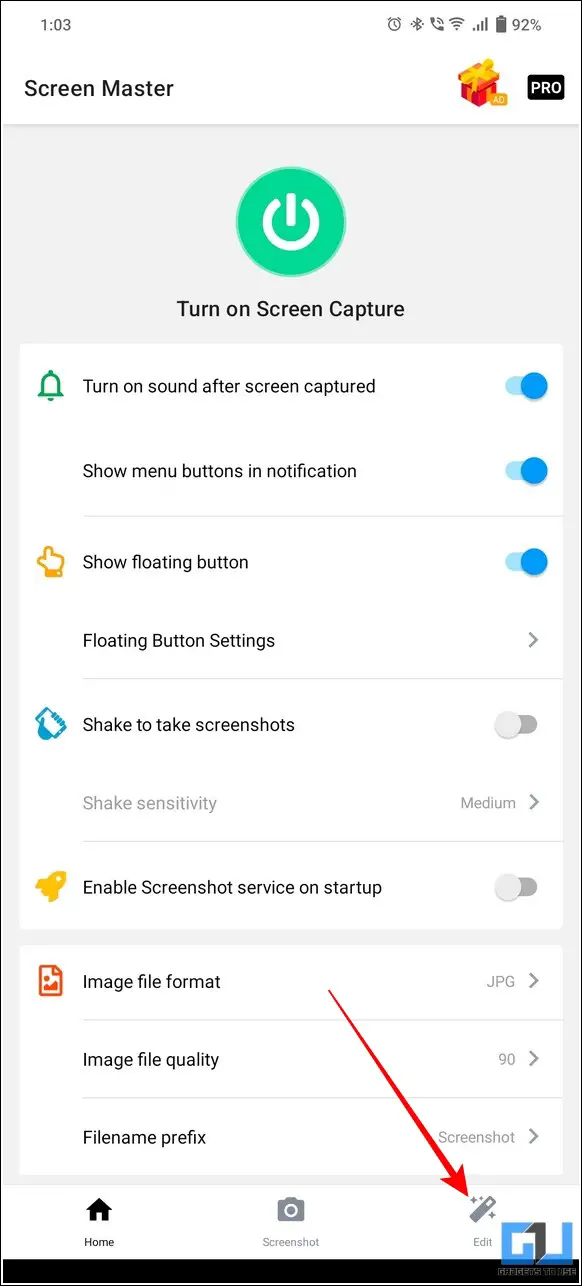
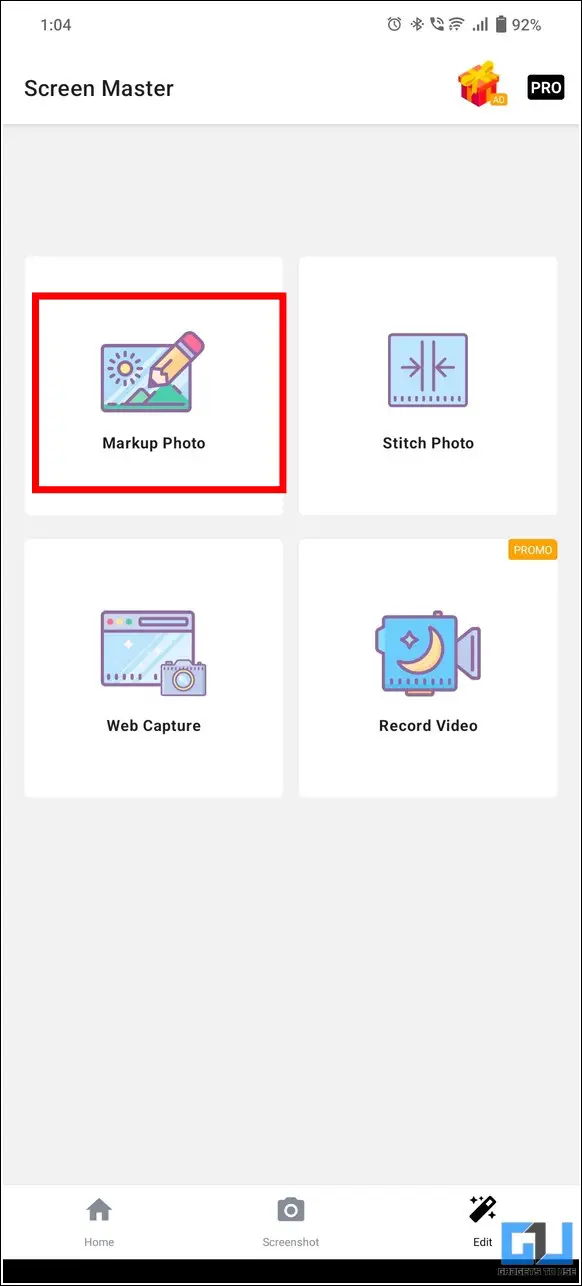
3. Once captured, tap on the Edit tab at the bottom-right corner and press the Markup Photo option.
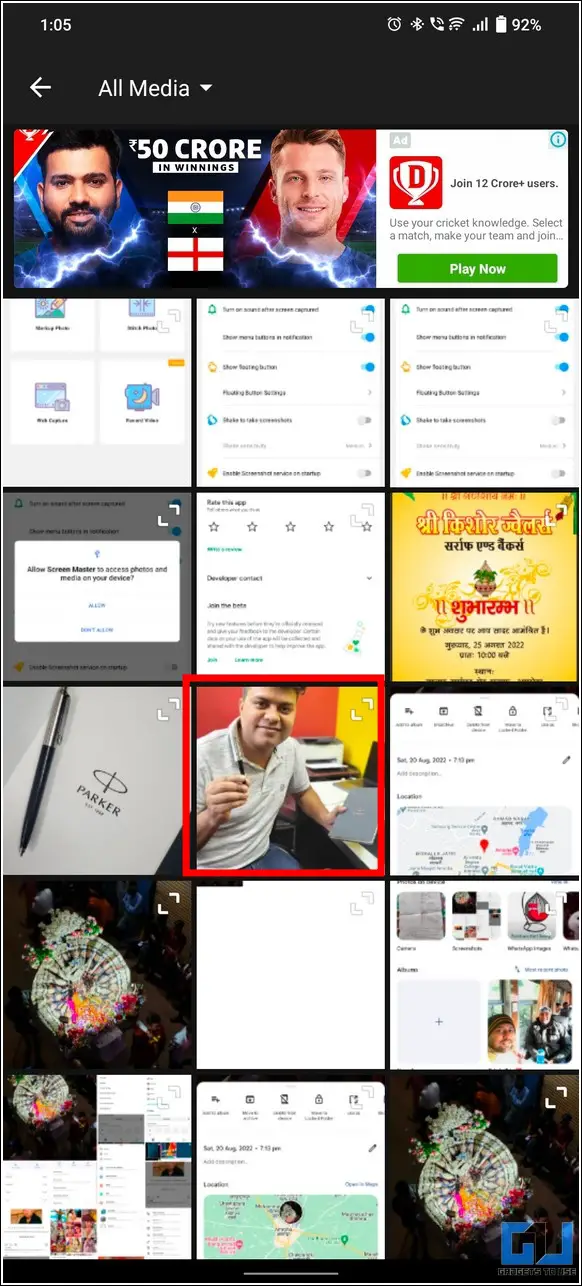
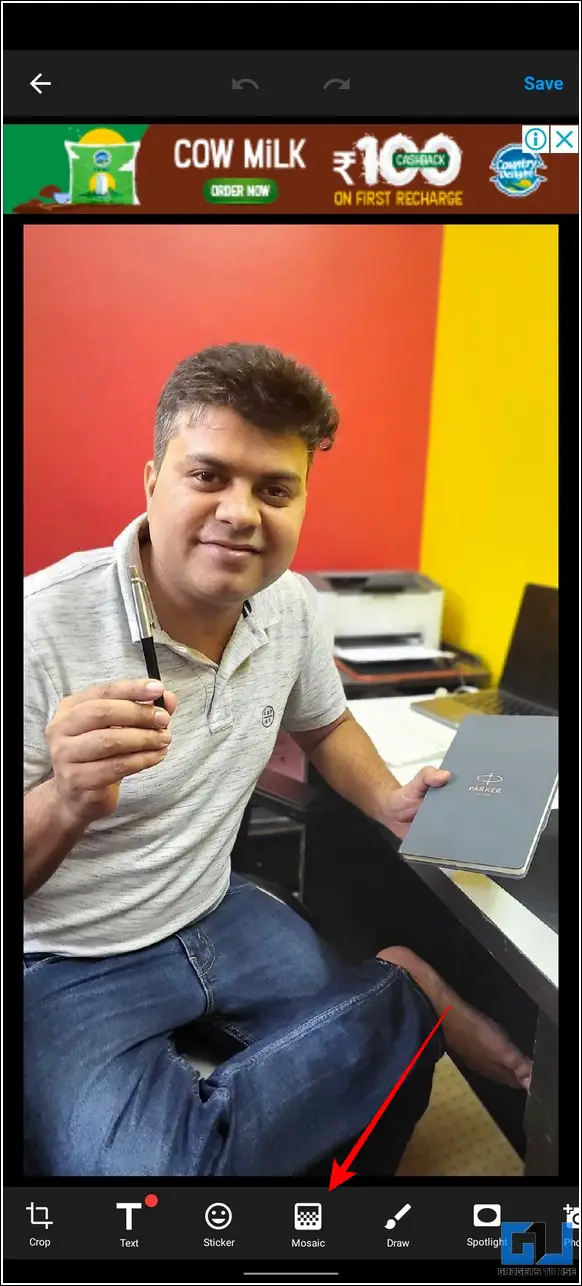
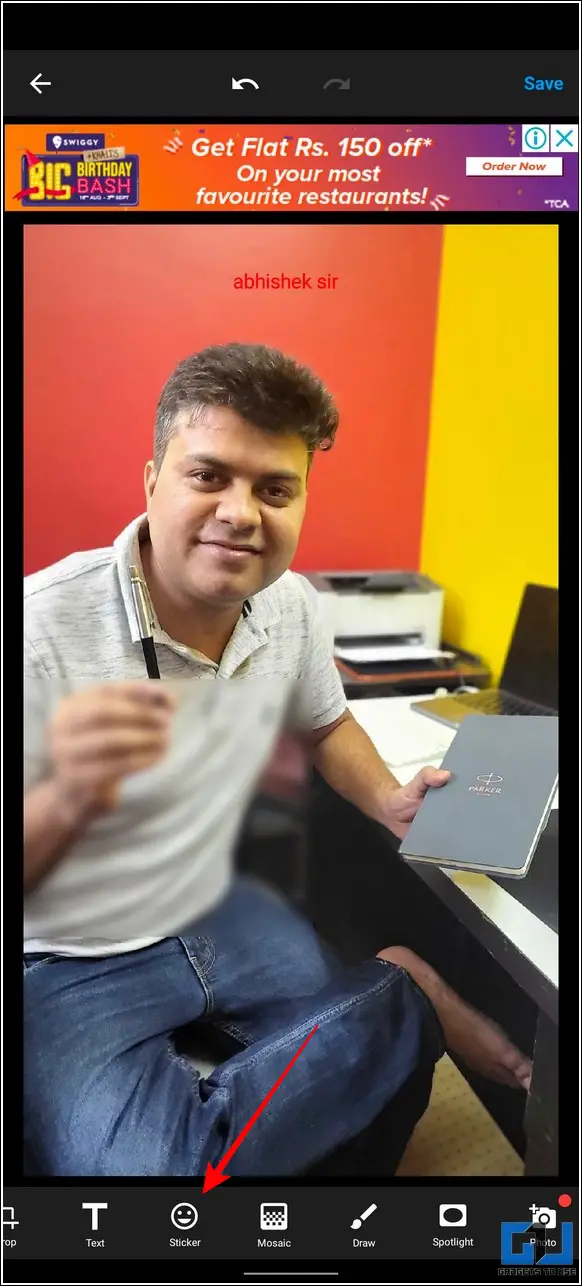
4. Here, select the captured screenshot. On the next page, you can see the toolbar at the bottom offering various editing tools to add blur, text, arrows, and presentation effects.
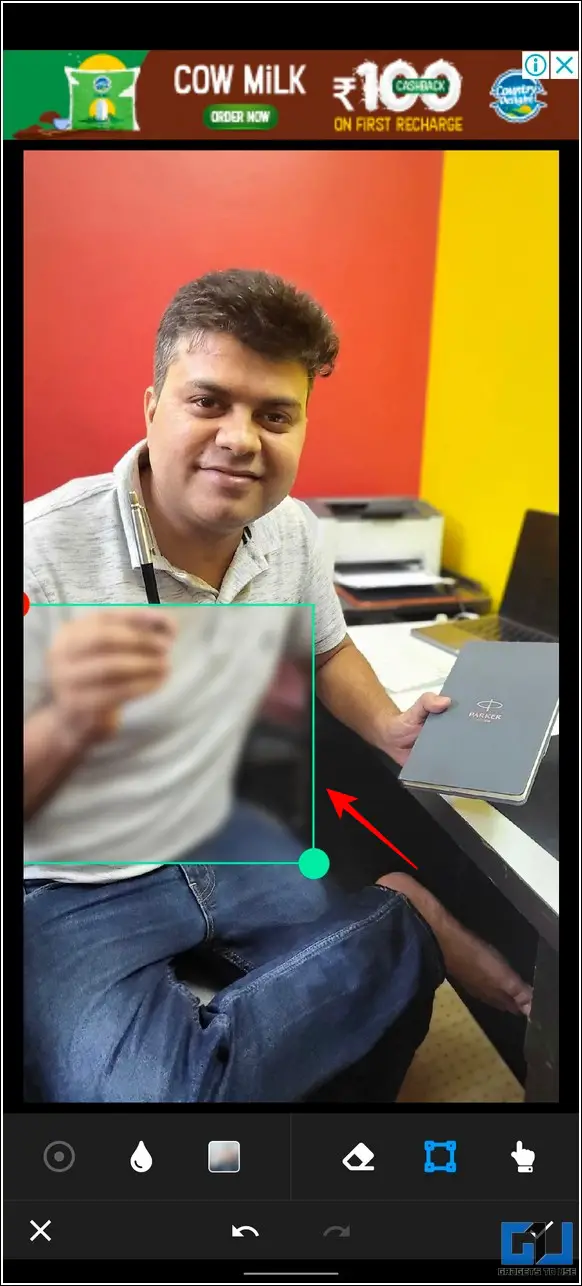
5. To add blur to your selected screenshot, tap on the Mosaic tool and drag your finger across the screenshot to select the area you wish to blur out. Once done, tap on the tick button at the bottom-right corner to save changes.
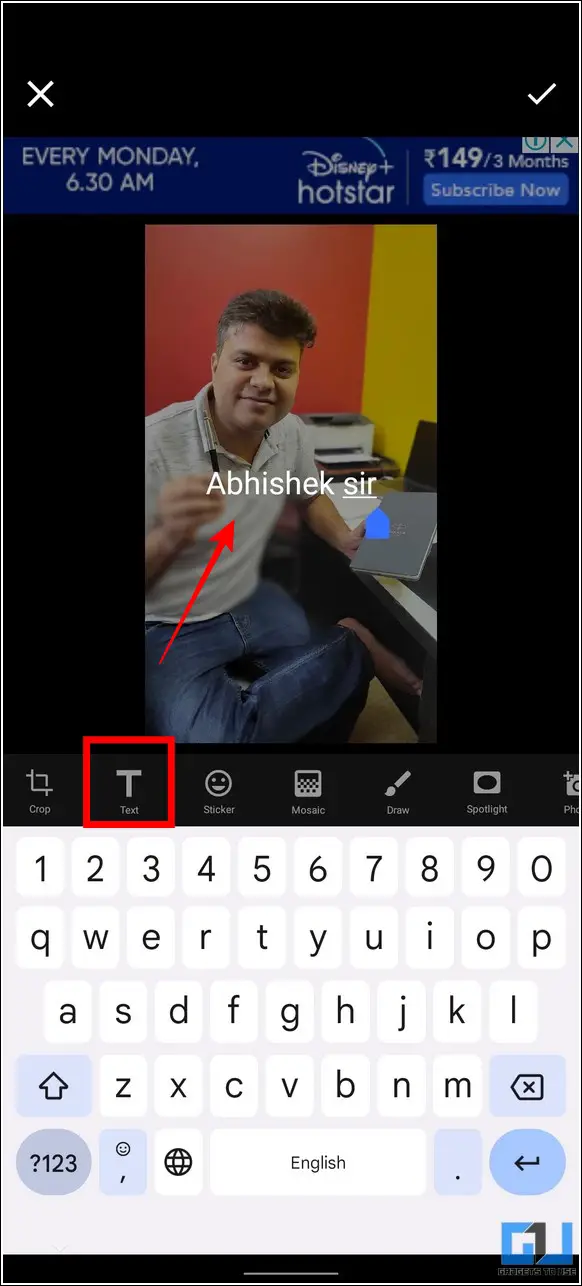
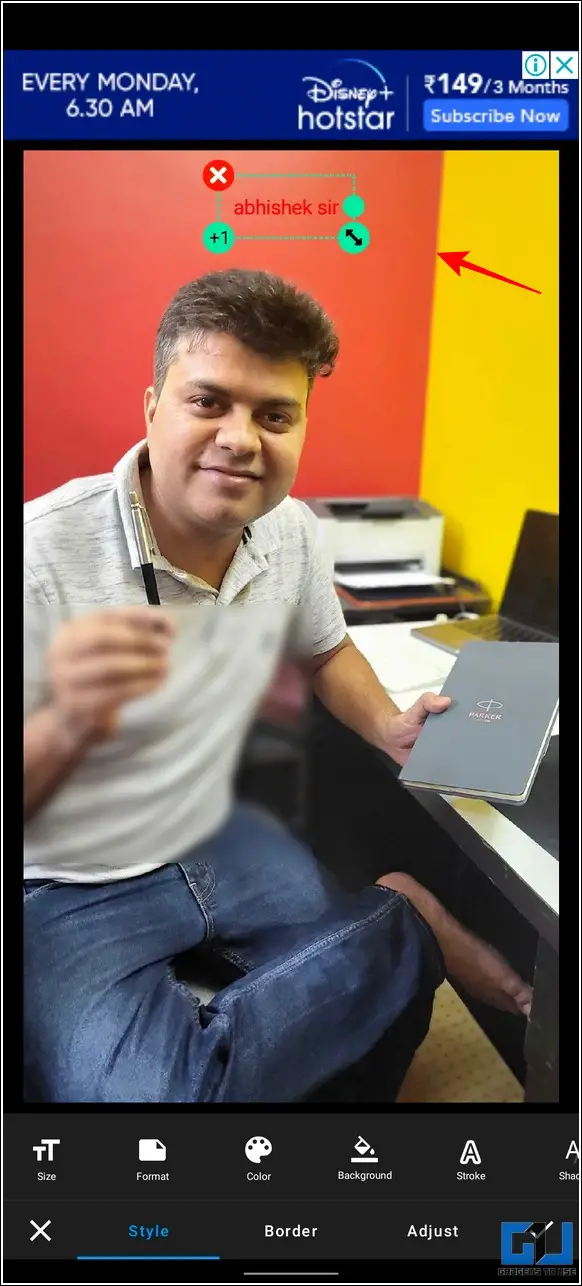
6. Next, press the Text button at the bottom to add your desired text to the image. Once done, drag the text to your desired location, and adjust the size and tap on the tick button to save changes.
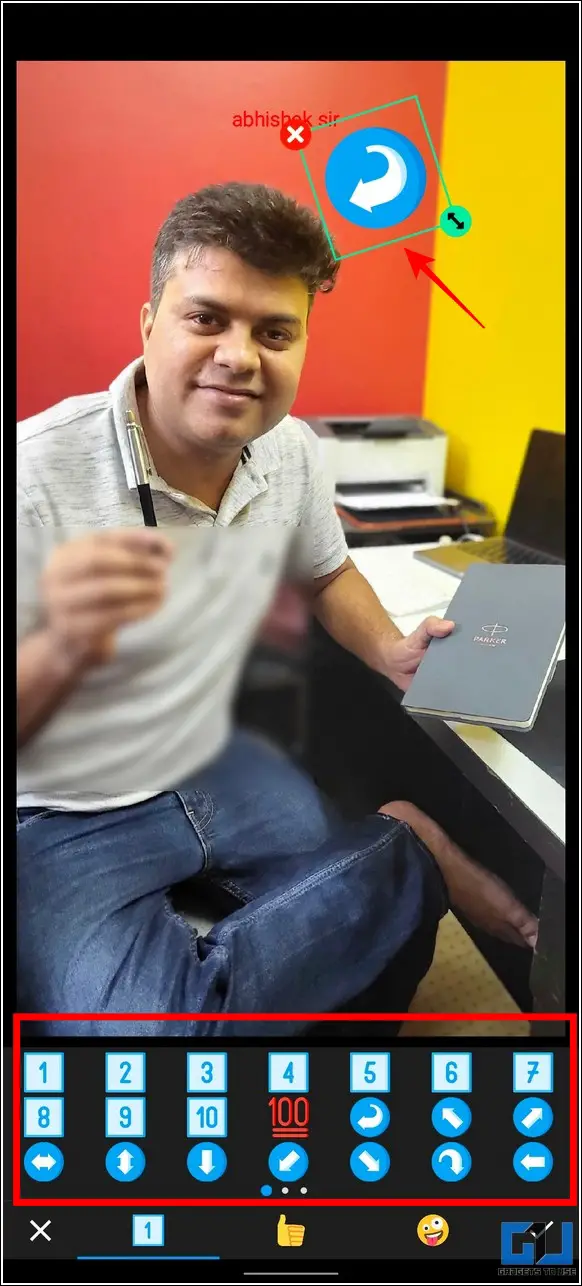
7. Further, to add arrows to your screenshot, tap on the Sticker button and choose your desired arrow style to add it. Drag and position your arrow over the screenshot and press the tick button to save changes.
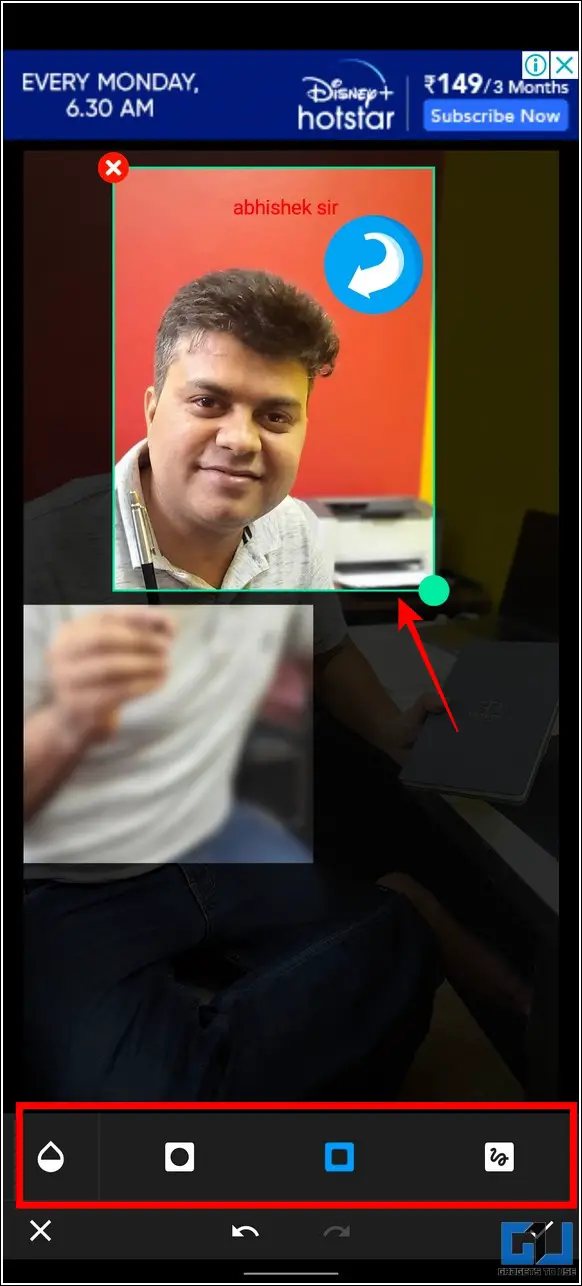
8. Finally, you can add presentation effects by tapping on the Spotlight button. Drag the presentation frame over your selected screenshot and press the tick button to finalize the effects.

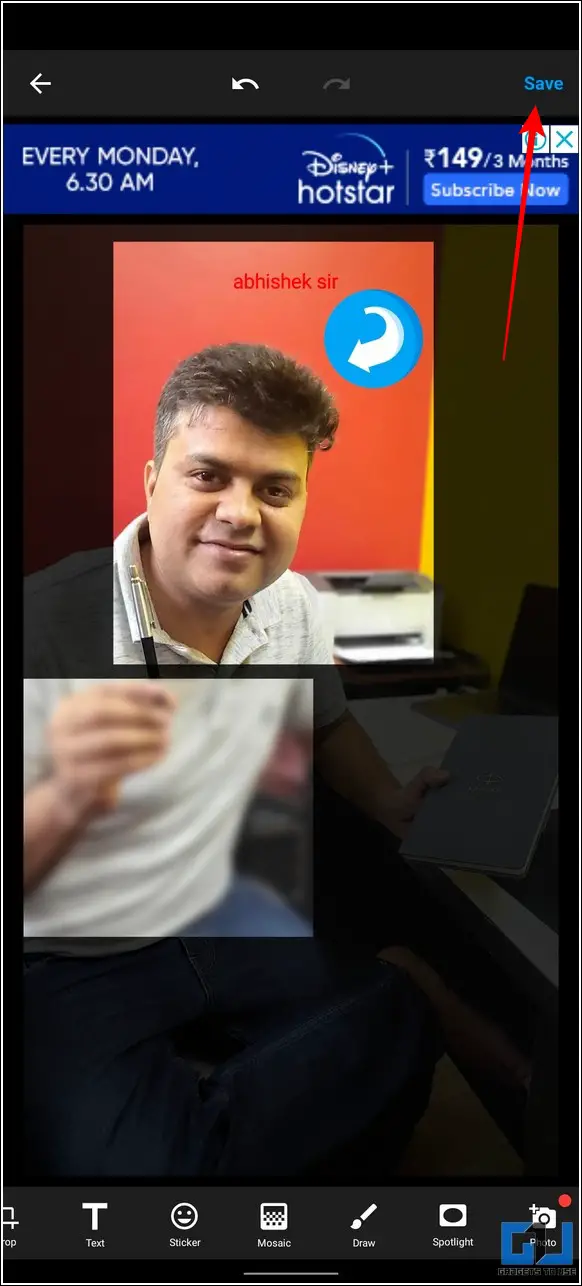
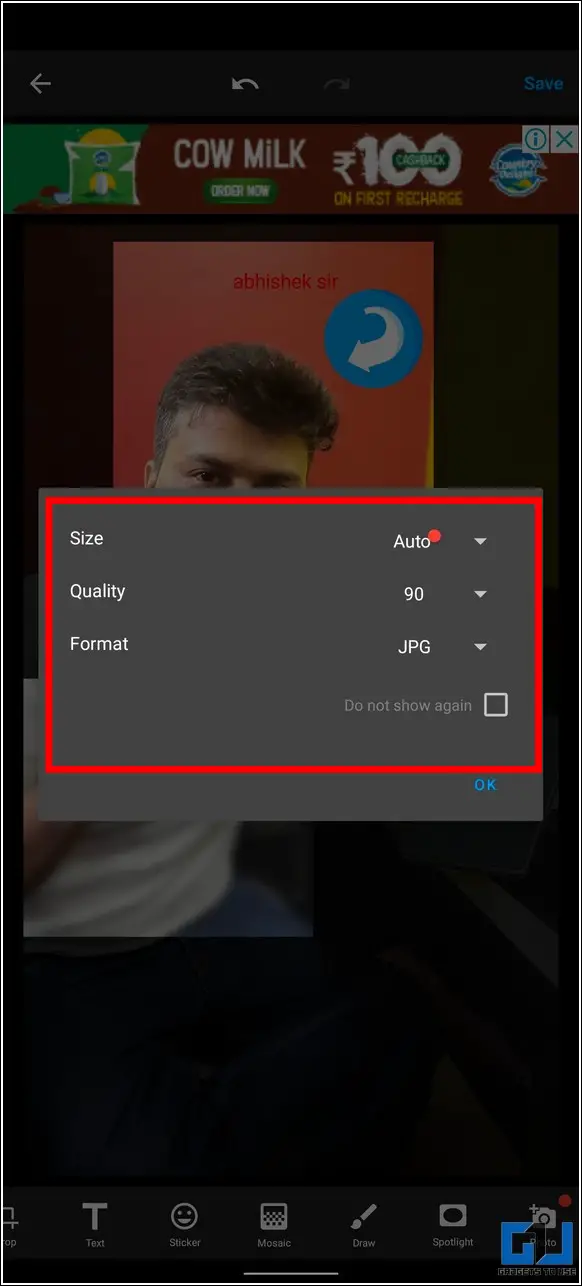
9. To export the final screenshot to your device, tap on the Save button and choose the desired size, quality, and format. Press the OK button to save the screenshot to your phone.
You can also check out our detailed guide to Edit, Crop, and Add Text to Screenshot on Android to learn about other effective tools to achieve similar results.
Edit Screenshots on iOS
Similar to Android, there are lots of photo editing apps for iOS that offer to edit screenshots on iPhone. PicsArt is one such marvelous editing app that helps to easily make screenshots with blur, text, arrows, and presentation effects. Follow these easy steps to use this tool on iOS devices:
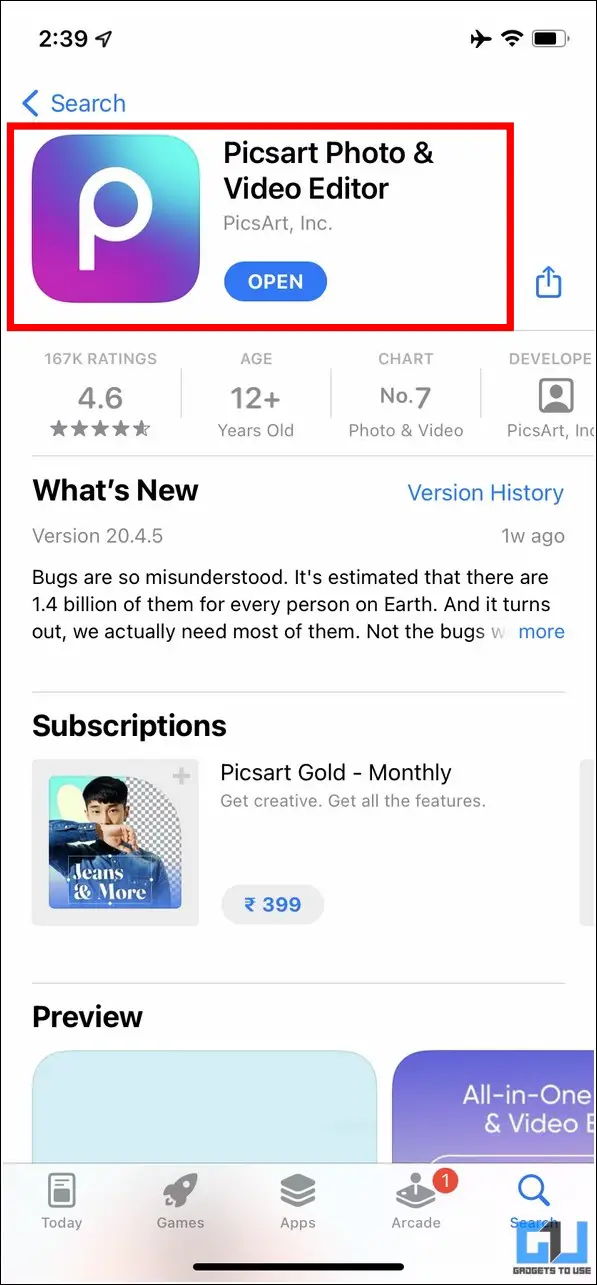
1. Install the PicsArt Photo editor app from the Apple App store and provide necessary photo access permissions to it.
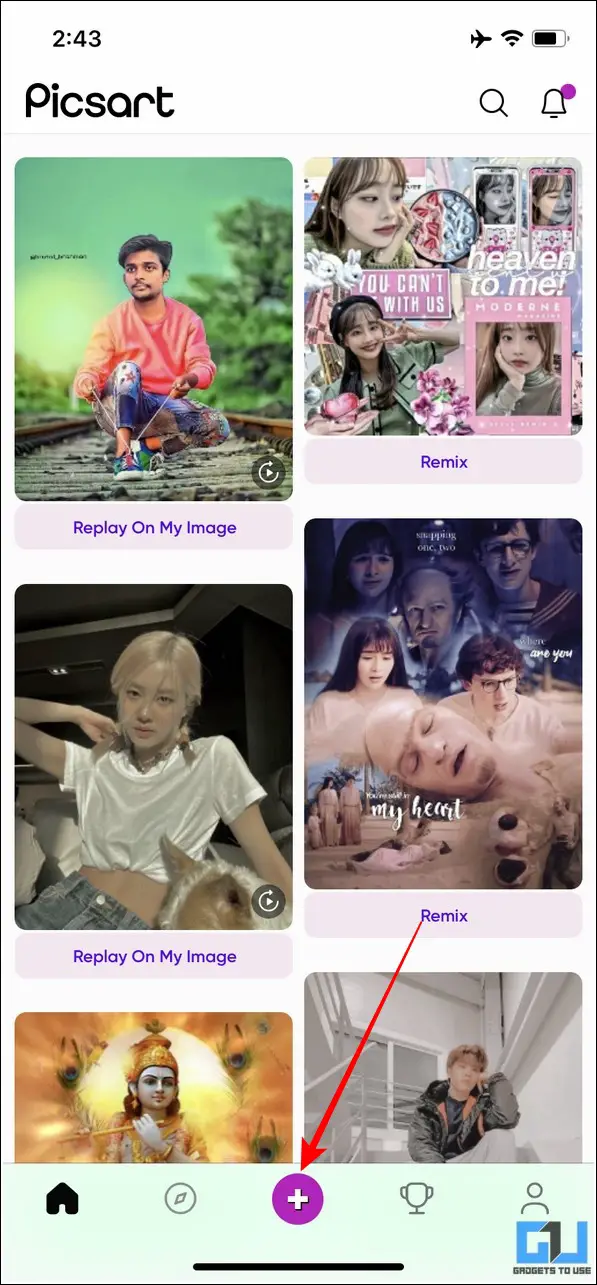
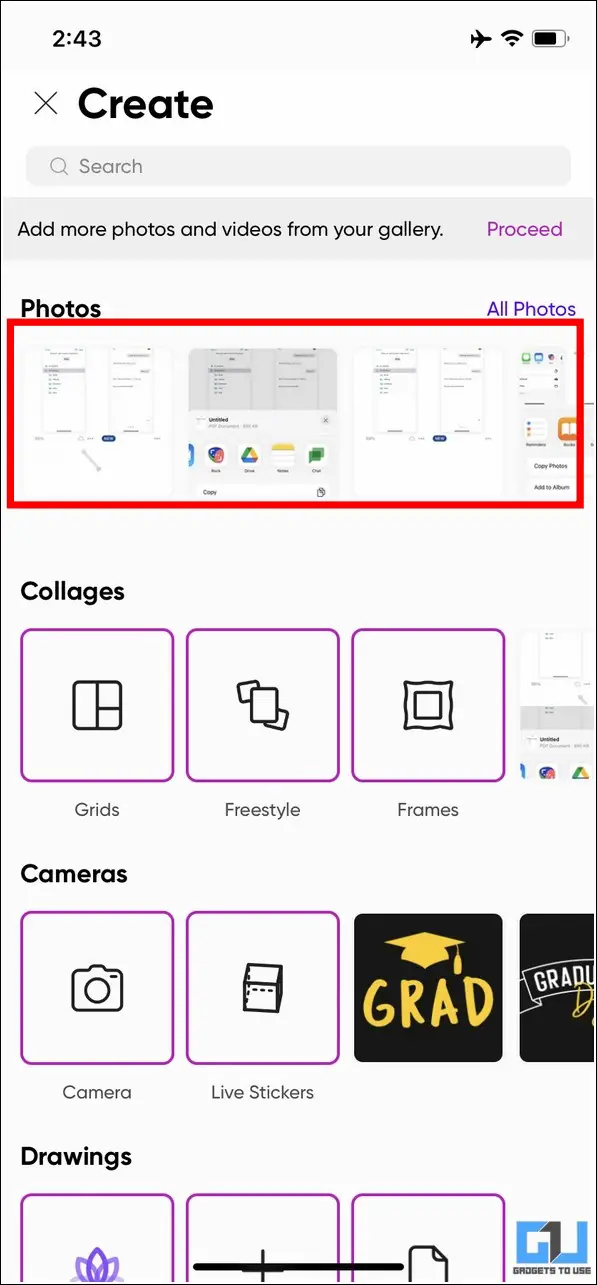
2. Next, tap on the + button placed at the bottom-right to open the ‘Create‘ tab and choose your desired screenshot.
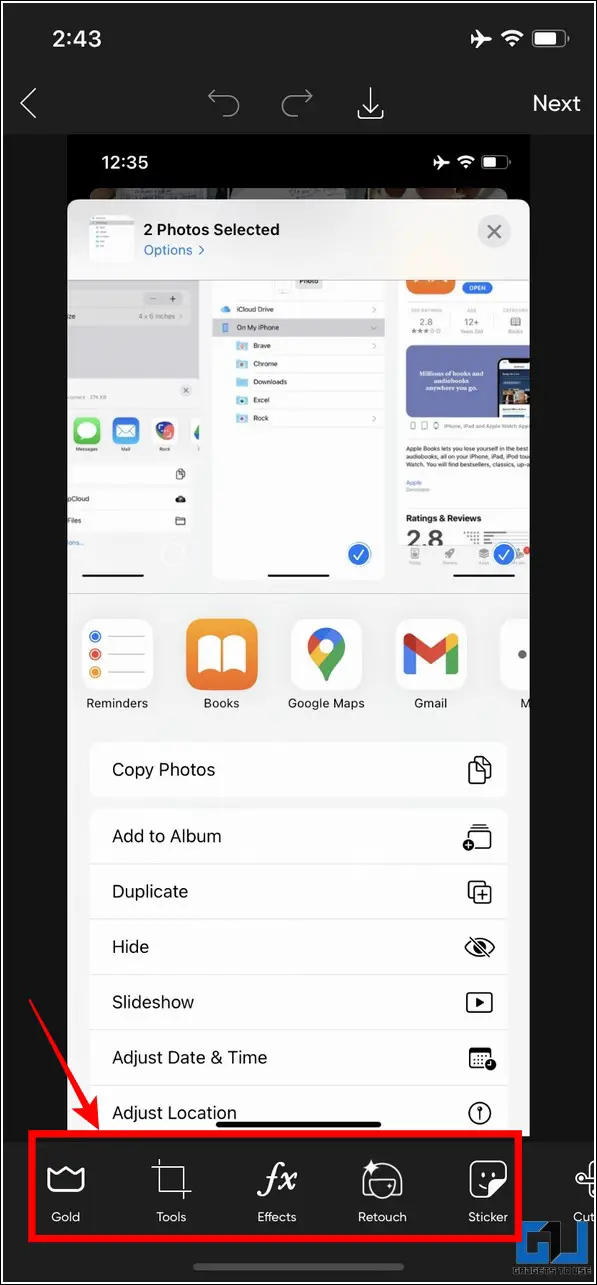
3. You can clearly see a toolbar at the bottom containing various options to edit your opened image.
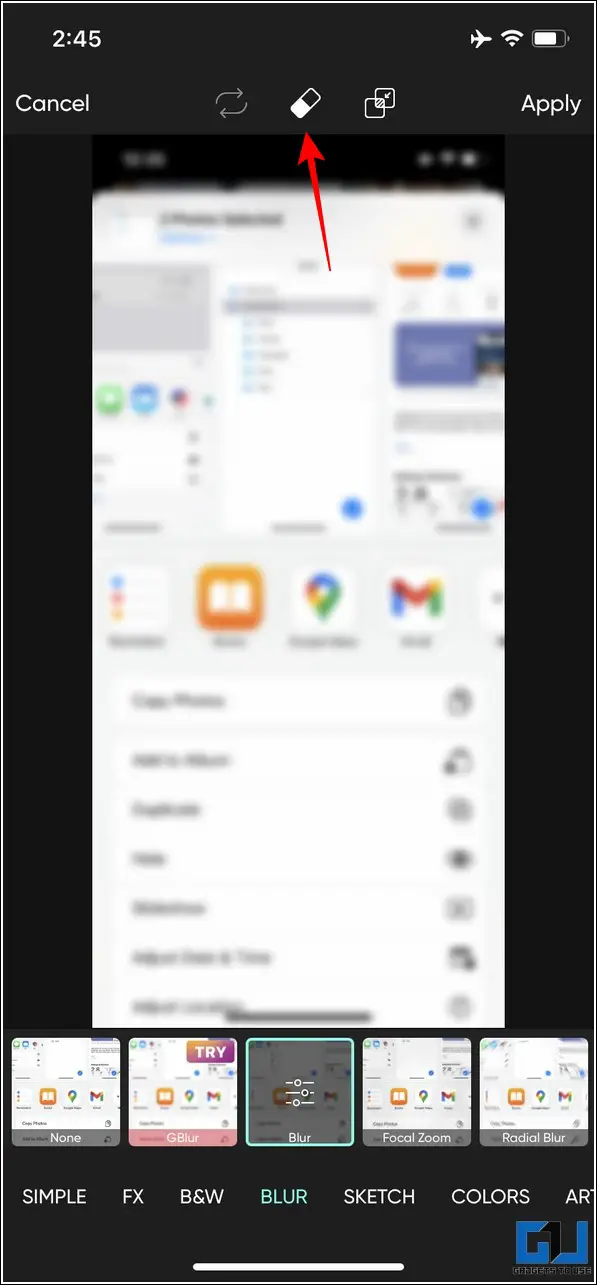
4. To add the blur effect to your screenshot, tap on Effects and press the Blur option to blur the entire screenshot.


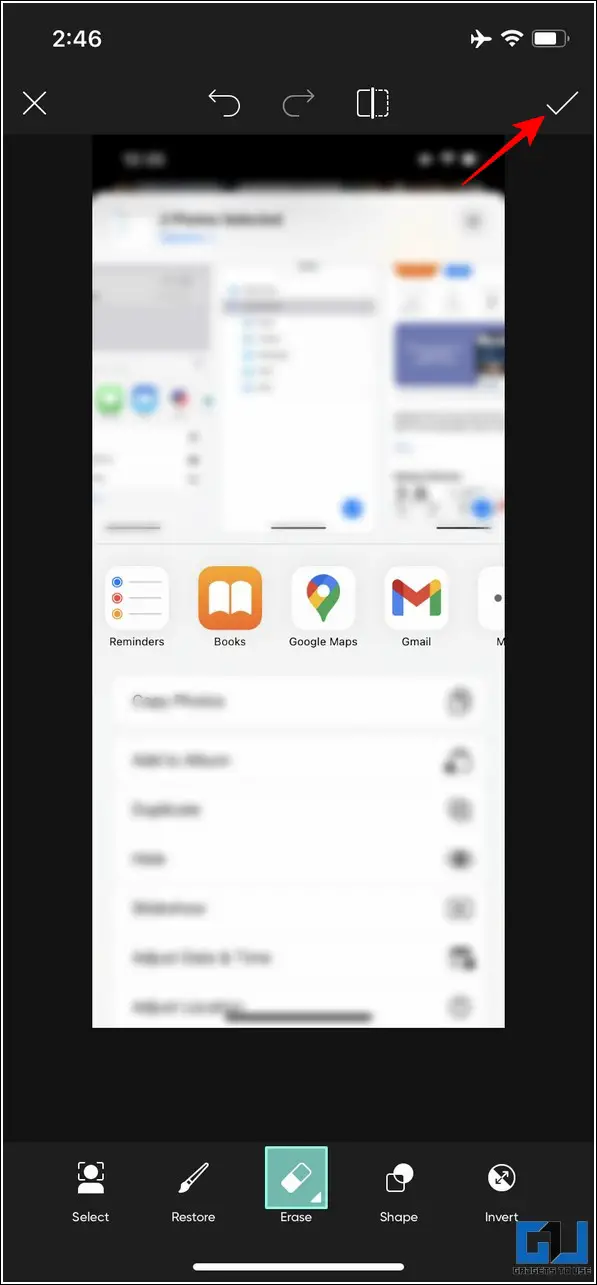
5. Next, tap on the Eraser button at the top to erase the unnecessary blur from portions to focus on the main subject, and click on the done button to save changes.
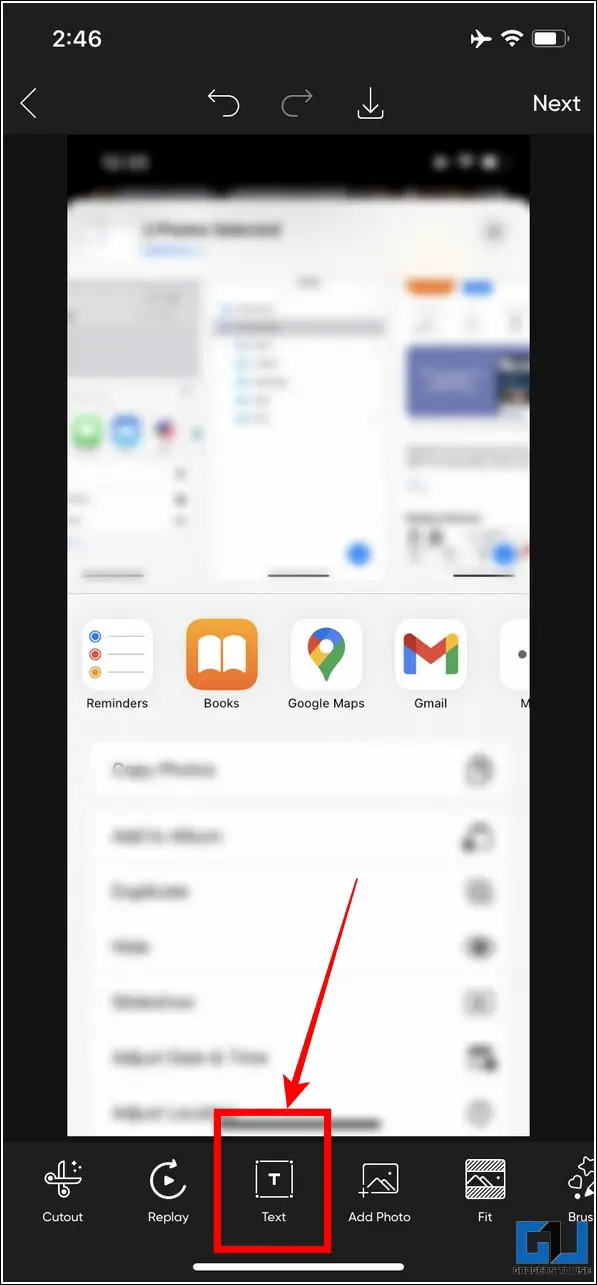
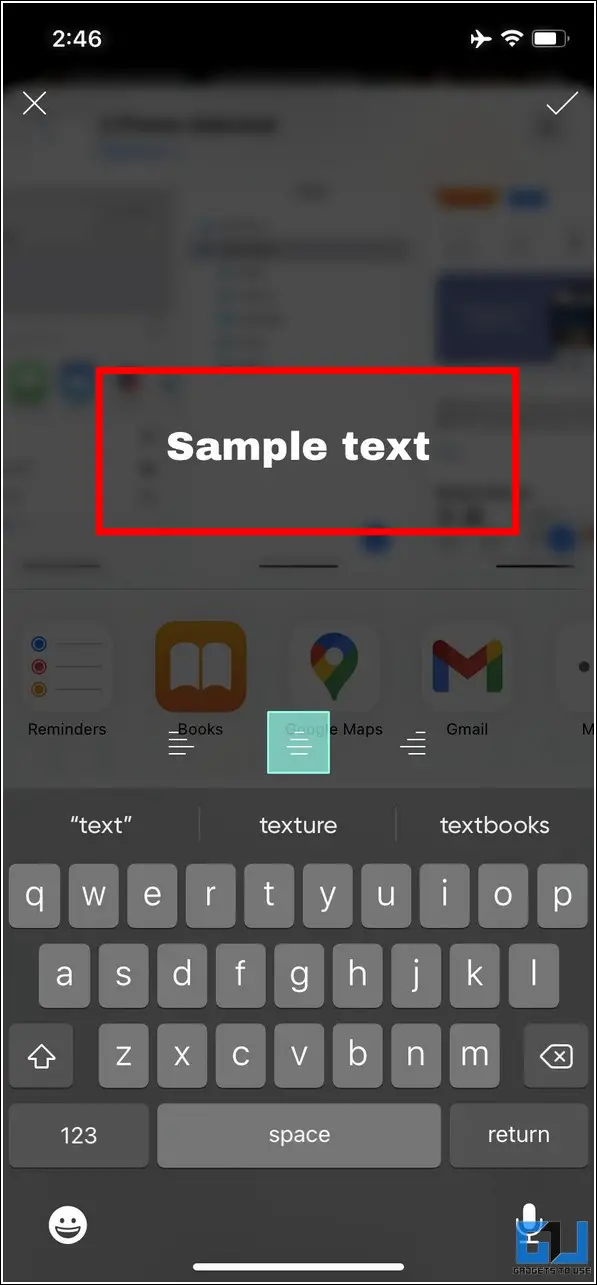
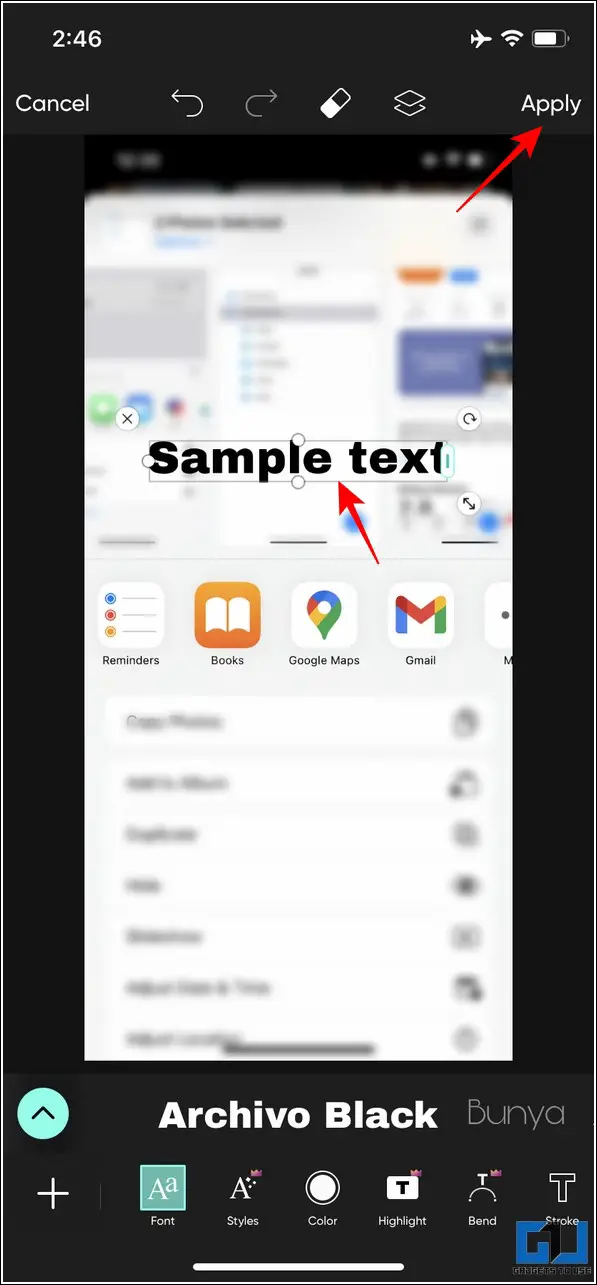
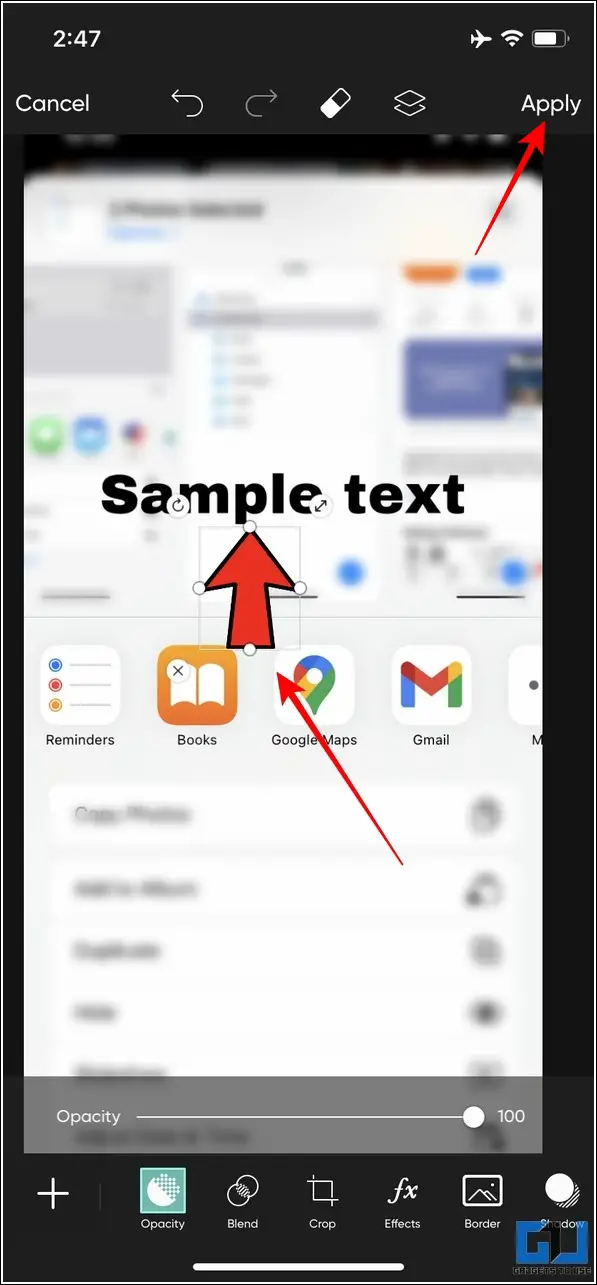
6. Now, to add text to your screenshot, tap on the Text button in the bottom toolbar and add your desired text to it. Once done, adjust the text position on the selected screenshot and press the Apply button at the top-right corner to save changes.
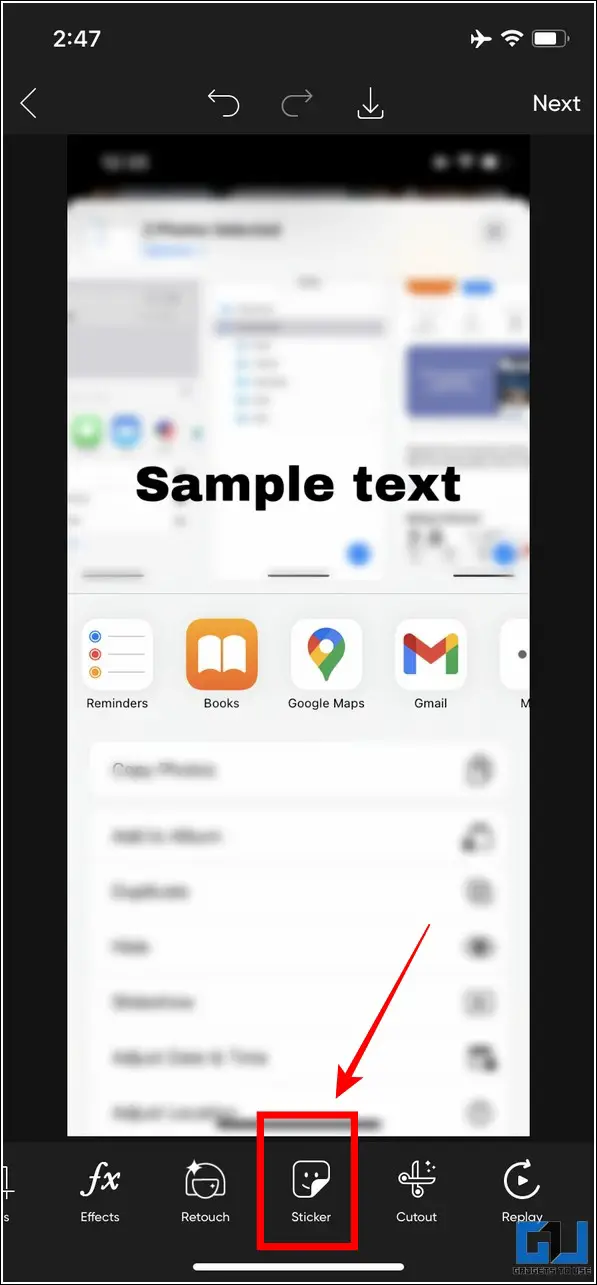
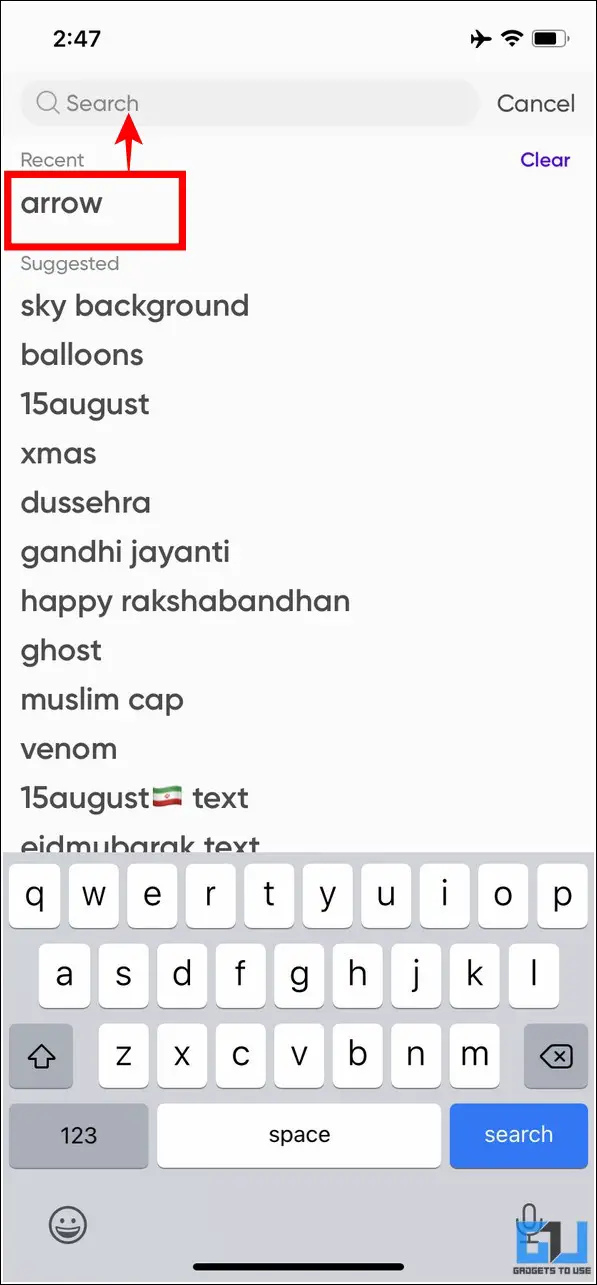
7. Further, tap on the Sticker button at the bottom to search for different arrow designs that you can add to your image.
8. Choose your preferred arrow design and drag it across the image to place it. You can also rotate the arrow in any direction. Once done, tap on the Apply button to save changes.
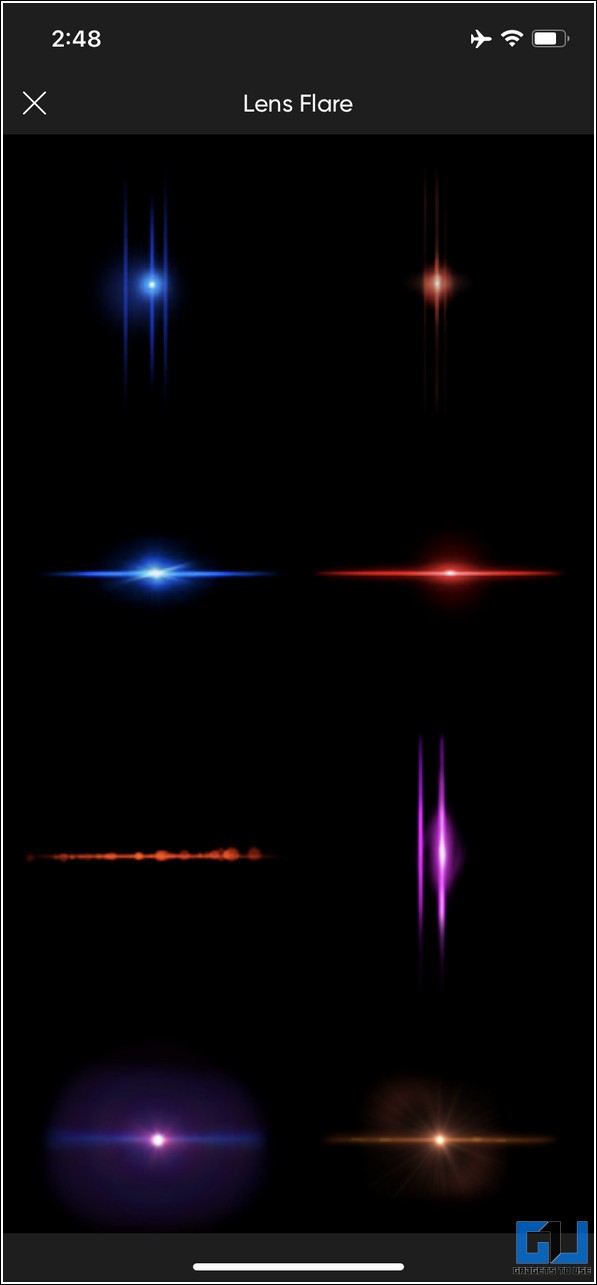
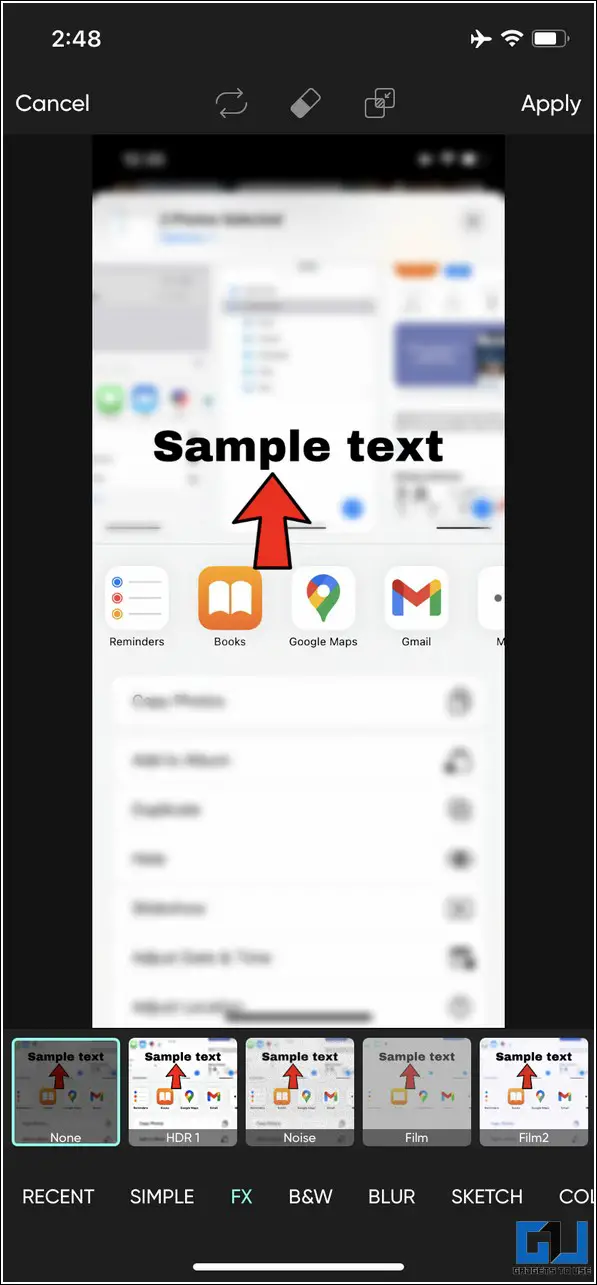
9. Finally, you can add a variety of presentation effects by tapping on the Lens Flare and Effects button in the bottom toolbar.
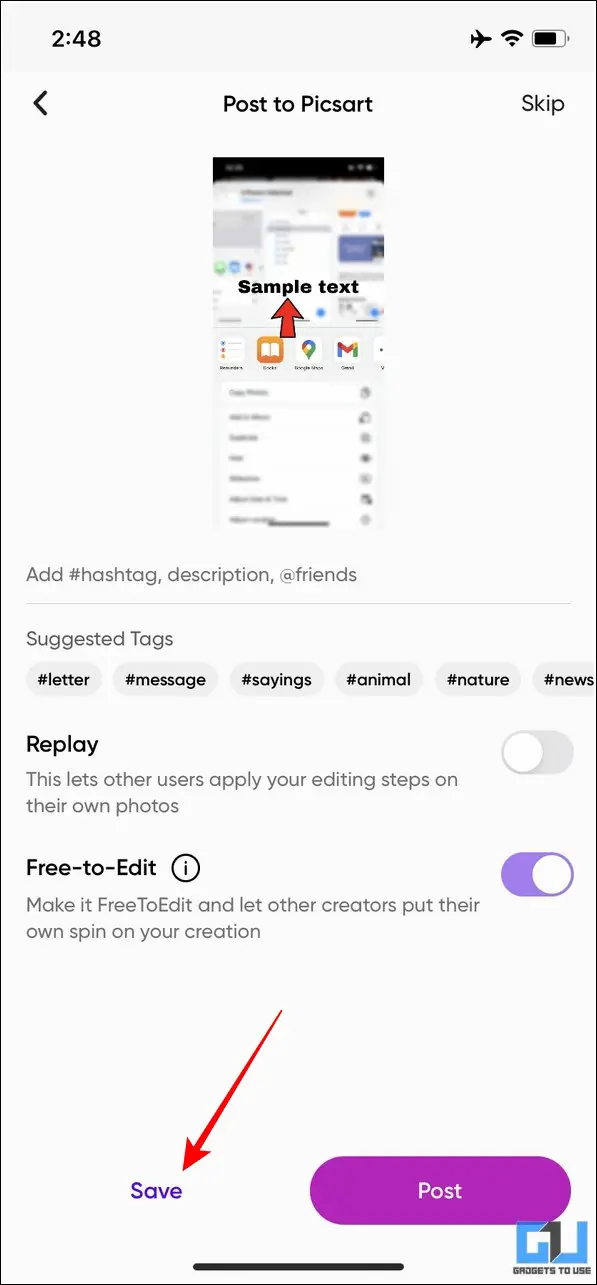
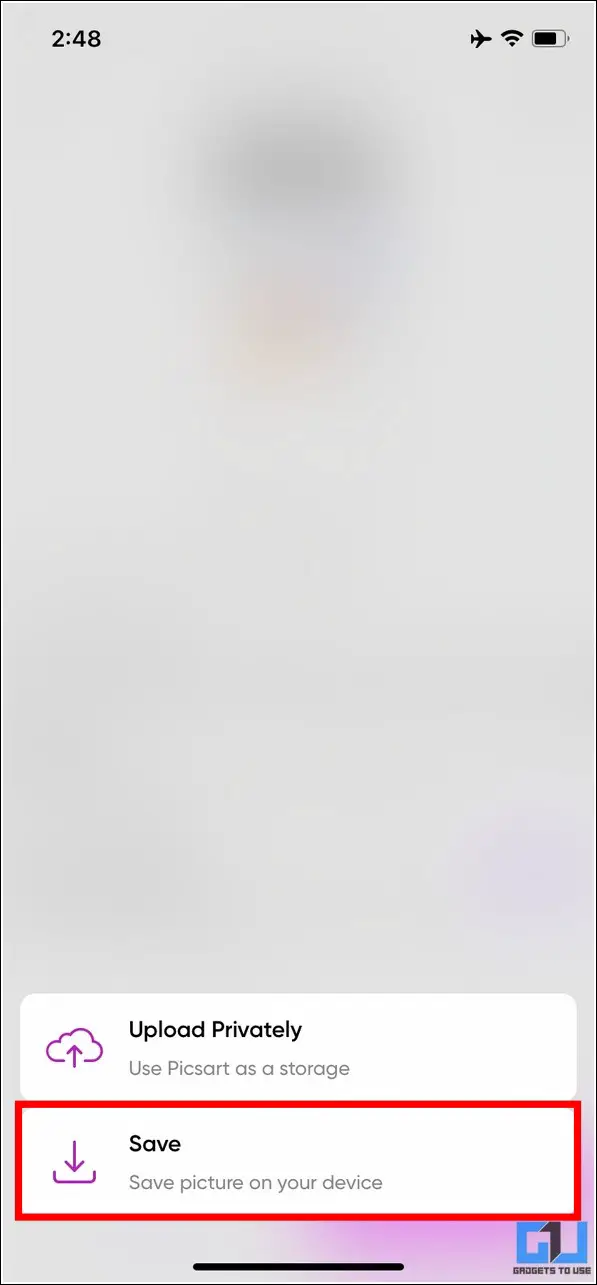
10. To export the final edited screenshot to your iPhone, tap on Apply at the top-right corner and press the Save button. Confirm your action by tapping on the Save to Device option.
Edit Screenshots on Windows
If you are a Windows user and wish to edit your screenshots to add blur, text, arrows, and presentation effects to it, then the PhotoScape X tool is truly a one-stop solution. Follow our easy steps to install and use this tool to edit screenshots quickly on your Windows PC or laptop.
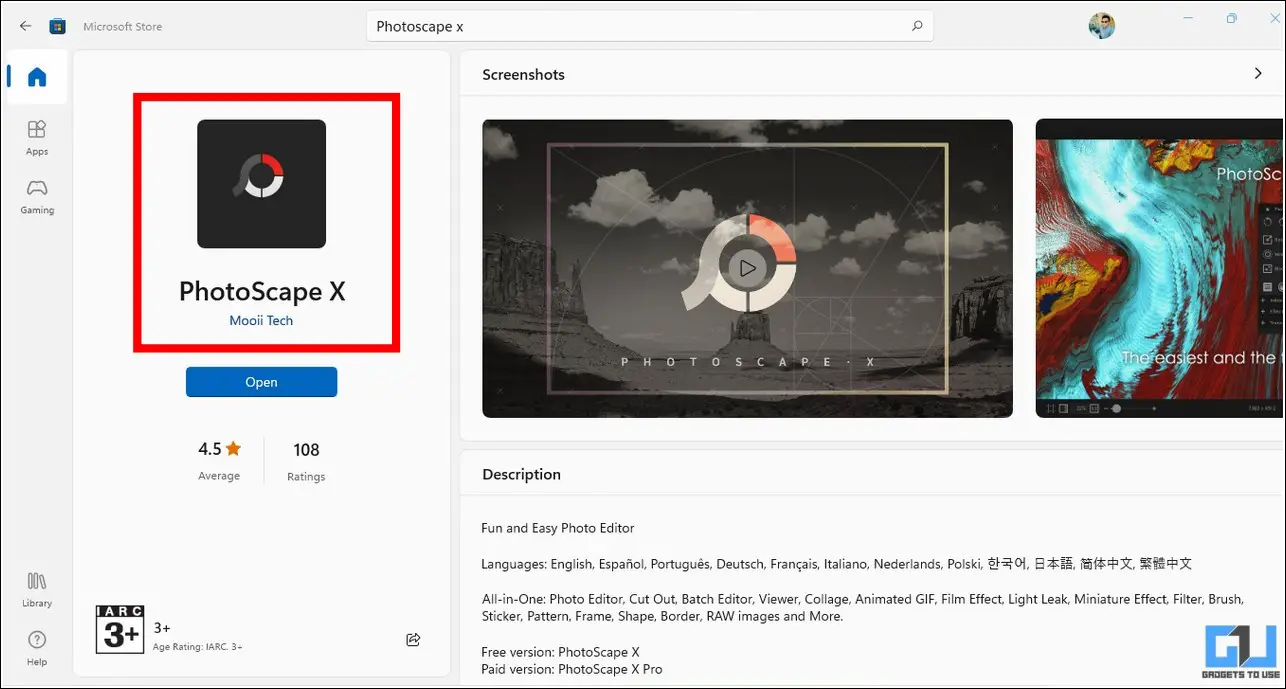
1. Install the PhotoScape X tool from Microsoft Store on your Windows system and open the app.
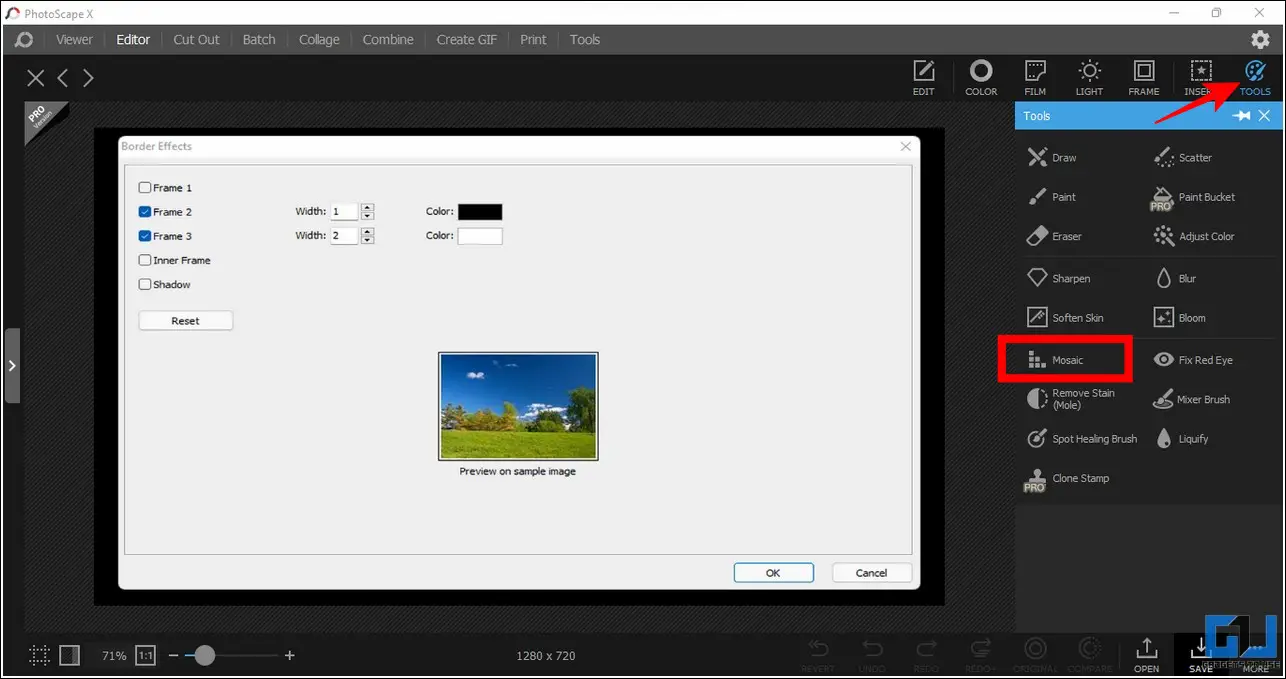
2. Next, select the screenshot that you wish to edit and click on the Tools button at the top-right corner to press the Mosaic tool.
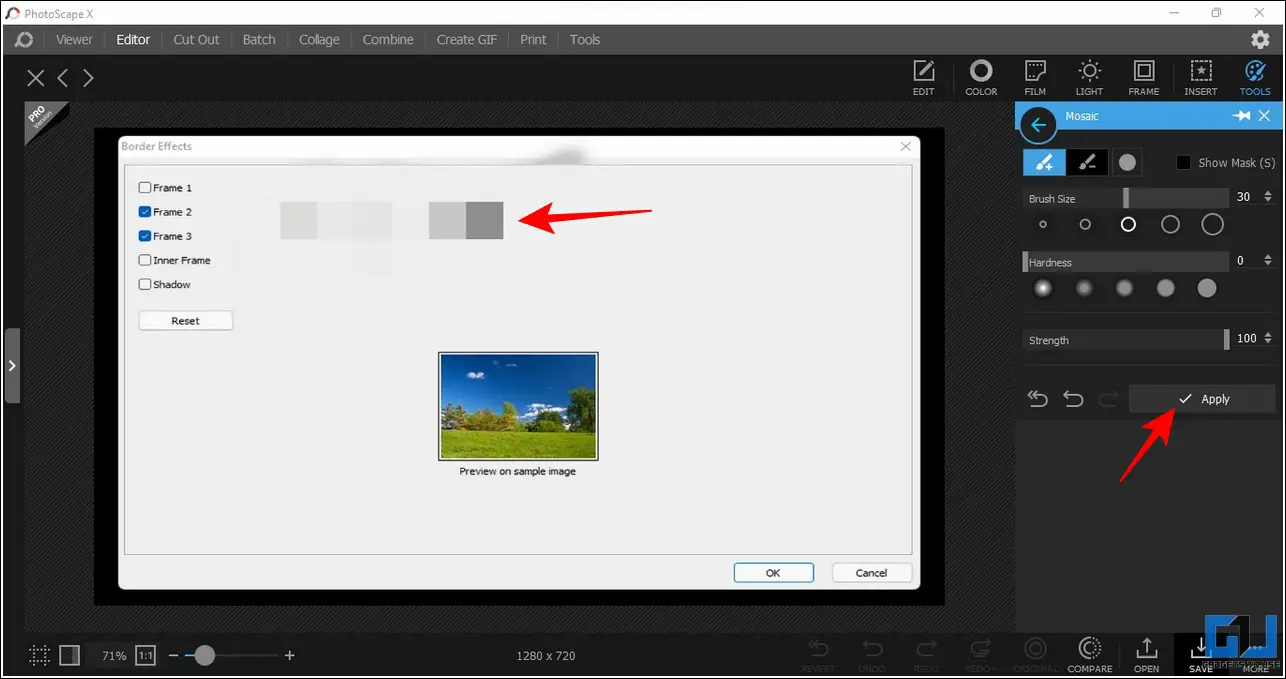
3. Drag the mouse cursor over the desired screenshot area and press the Apply button to blur the selected part.
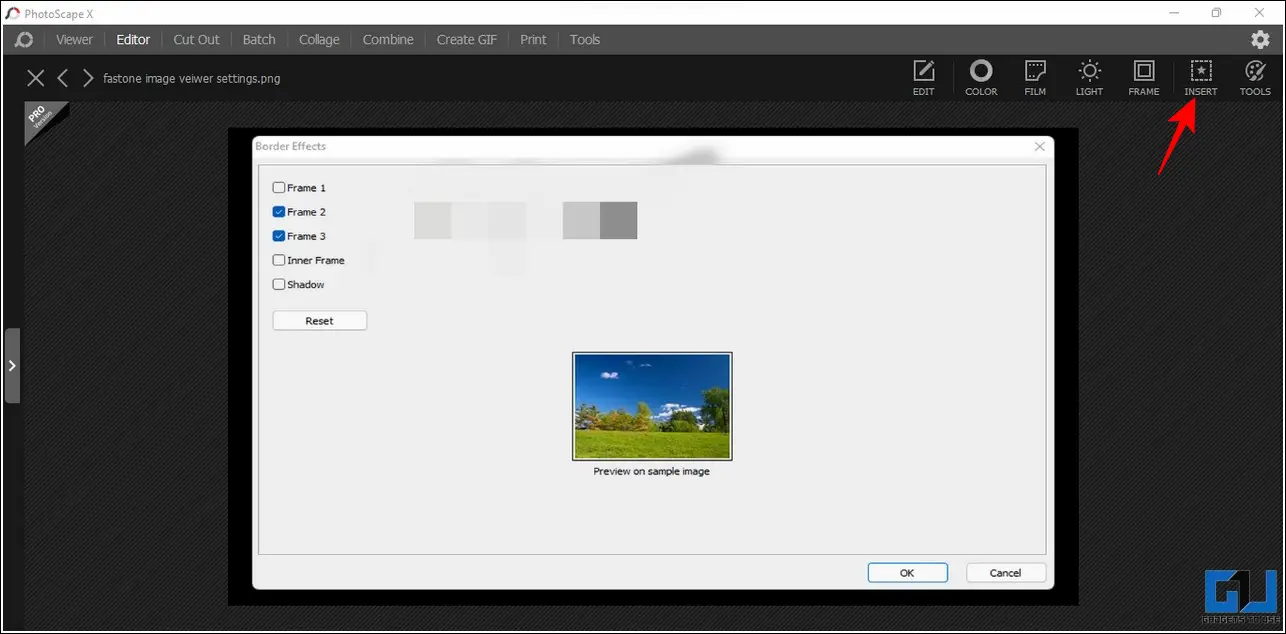
4. Now, tap on the Insert button to view the associated options.
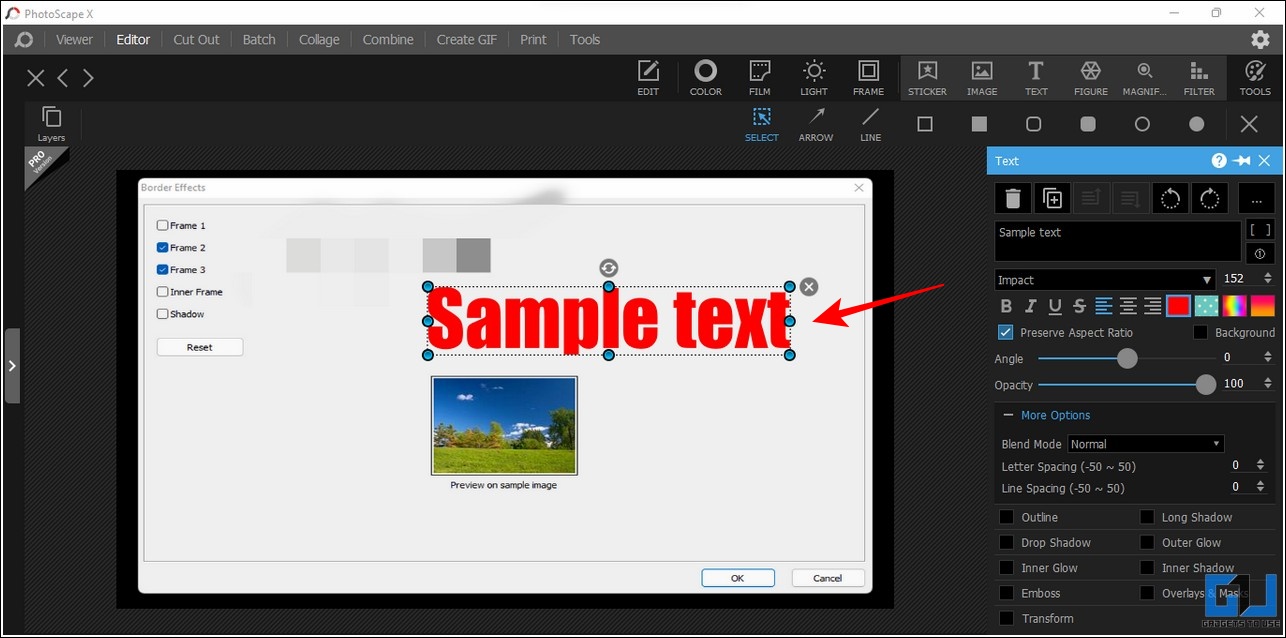
5. Further, press the Text button and add your desired text to the screenshot.
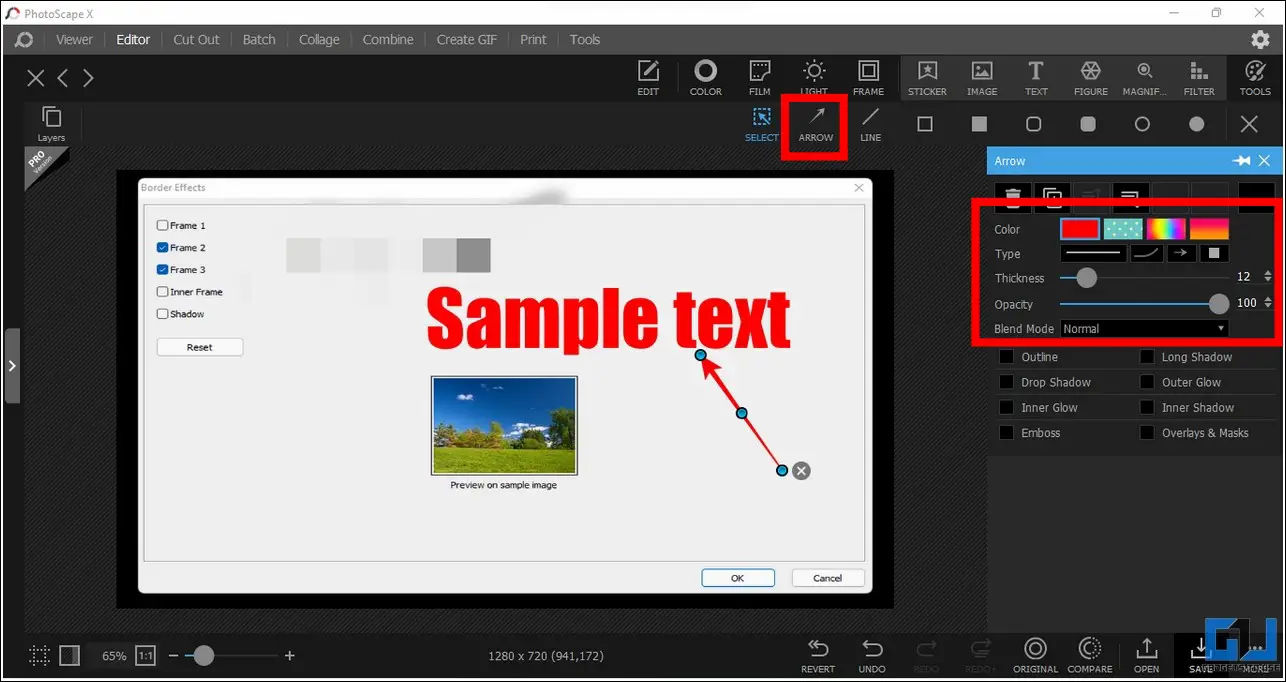
6. Now, choose the Arrow button and drag it across the image to draw an arrow. You can also adjust color, type, and thickness by altering its settings in the right sidebar.
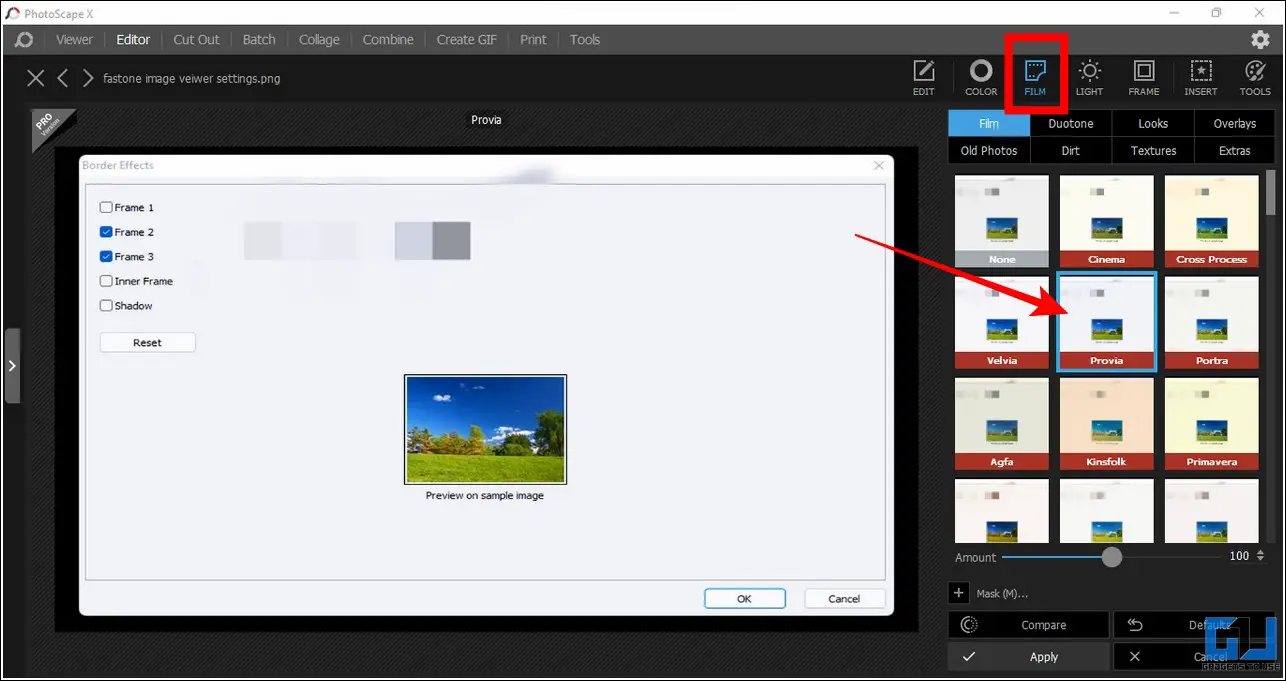
7. Finally, tap on the Film button and choose from the available presentation presets. Once selected, tap on the Apply button to save changes.
8. To export the final screenshot to your Windows system, tap on the Save button and provide a new name to it. PhotoScape X also allows to make bulk changes to multiple screenshot at once. Additionally, you can learn to use Fastone Image Viewer to achieve similar output results.
Edit Screenshots on Mac
Similar to Windows, you can also make screenshots with blur, text, arrows, and presentation effects on your Mac using the Skitch tool. Here’s how you can use this app:
1. Install the Skitch tool on your Mac using the App Store.
2. Next, open your desired image and tap on the Mosaic tool to apply blur on the screenshot. Drag the mouse cursor across the image to blur out the required image portion.

3. To add text to your screenshot, tap on the Text tool button and type your desired text. Reposition the entered text and click outside it to save changes.
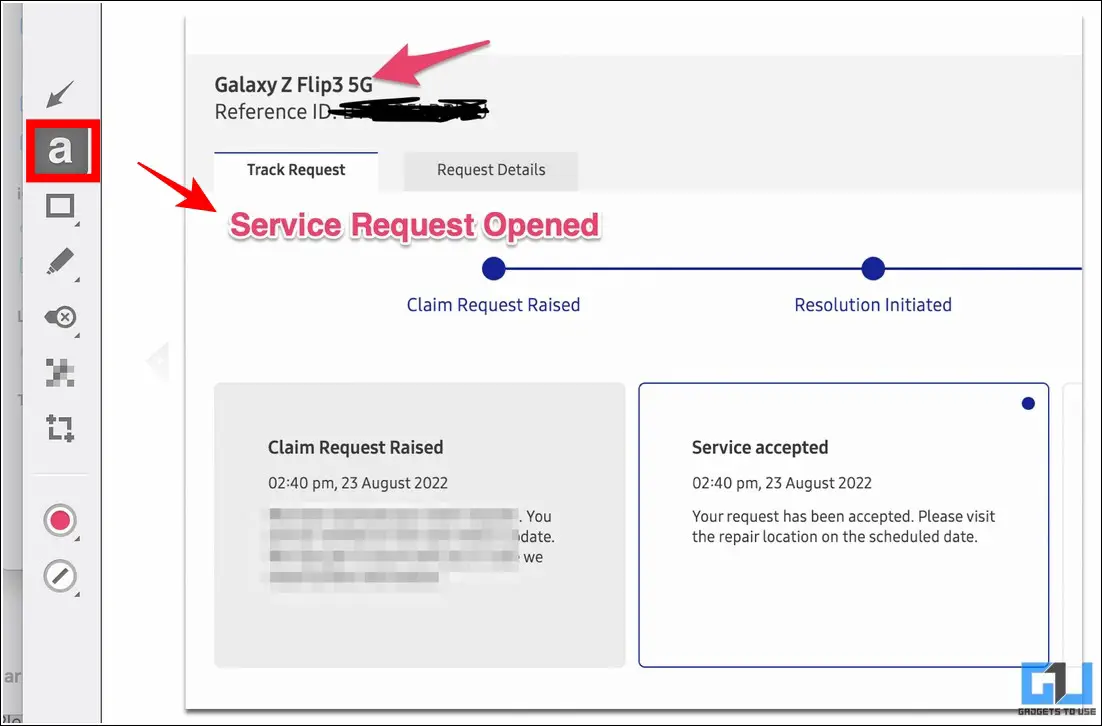
4. Finally, you can add arrows to your screenshot by clicking on the Arrow icon in the left toolbar.
![]()
Wrapping Up: Add Blur, Text, Arrows to Screenshots
So, that’s all for the complete guide on making screenshots with blur, text, arrows, and presentation effects across different platforms. We hope you’ve found this read helpful; if you did, then hit the like and share it. Check out other useful tips linked below, and stay tuned for more such helpful guides.
You might be interested in:
- 5 Best Ways to Quickly Resize Images for Free in Windows 10 and 11
- 4 Ways to Enhance Image Quality Online for Free without installing any app
- 6 Ways to Tell if an Image has been Edited or Photoshopped
- How to Take & Edit Webpage Screenshot in Google Chrome on Android
You can also follow us for instant tech news at Google News or for tips and tricks, smartphones & gadgets reviews, join GadgetsToUse Telegram Group, or for the latest review videos subscribe GadgetsToUse Youtube Channel.