The new Moto E has been launched with a lot of promise and is already making waves in the Indian Markets. The device provides excellent hardware and software at a very affordable price and is expected to rule the market at it’s price range.
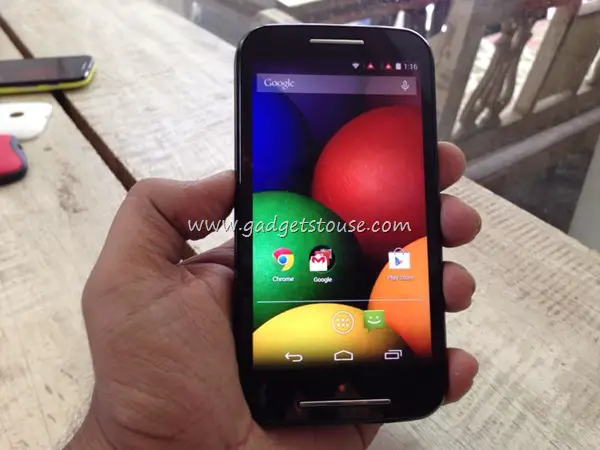
Now, with the help of a few creative Android developers, users can Root their Moto E and enjoy all the benefits a rooted device offers to the user, mentioned in our article on the benefits of rooting your device. To help users who are interested in Rooting their Moto E device, here are the steps needed to Root the Moto E.
Step 1
Before rooting, flashing a mod, unlocking the bootloader etc it is always advisable for the user to take proper backups. Users can refer to our article on taking effective backups to backup their device. Also, Users can download proper Motorola USB drivers from Motorola’s Website, and enable USB debugging from ‘Settings > Applications > Development > USB debugging’ on the device. Download the Super SU file which will be later user to provide administrator access to your apps, and copy it into the root directory of your internal storage.
Step 2
The next step comprises on unlocking the bootloader on the device. A bootloader is a program which loads the OS into the device on booting the smartphone. Motorola devices generally come with a locked bootloader, and therefore users have to unlock the bootloader before they can attempt to modify the OS. Motorola provides users with the option to unlock the bootloader on their official website and users can look at the article on unlocking the bootloader to proceed.
However, rather than downloading the Android SDK software provided in the link, users can download the msfastboot-v2 zip file, extract it on their PC, and use it in place of the Android SDK tools wherever mentioned. Also, users should note that unlocking the bootloader will wipe the device, and end the warranty.
Step 3
Once the device bootloader is unlocked, the next step comprises of flashing a custom recovery on the smartphone. A custom recovery will allow users to make Nandroid backups, flash updates, mods and ROMs without using the PC etc. Users can download the TWRP custom recovery, which is one of the most famous custom recovery available for Android devices. Extract the contents of this file in the same folder where the contents of msfastboot-v2.zip were extracted.
Step 4
Users should connect the smartphone to the PC with the extracted files and boot the smartphone into Download mode. This can be done via switching off the device and then holding down the Volume Down + Power button key combo for 5-6 seconds.
Step 5
Users should then open the directory on their PC where they have extracted all the downloaded zip files and then press Shift + Mouse right click to select ‘Open a Command window here’ , and run the command “fastboot flash recovery recovery.img” , without the quotes.
Step 6
Users should now Press Volume Down to select recovery on fastboot menu, and then press Volume Up to confirm booting into recovery. The device might get locked automatically, and users can press the power button and swipe it to unlock it in the usual fashion.
Step 7
Now, users can select install and find the SuperSU file which had been downloaded into the internal storage in the first step. After selecting this file, swipe to confirm flashing it, and once the file has been flashed, reboot the device. The device is now rooted.
Users can affirm from their app drawer the presence of the SuperSU app. Further, users can install various apps like Titanium Backup, ROM Manager etc. and enjoy the benefits they provide along with other advantages of rooting.
If users face any problems such as a Boot loop or a Soft Brick, they are advised to re-start this update process. Users can also comment below in case they have any queries regarding the procedure.
Disclaimer: Rooting voids the warranty of the device, and has a very slight chance of resulting in software/hardware problems, as mentioned in our article on the Advantages/Disadvantages of rooting in the beginning of this article. We hold no responsibility for any kind of damage which might take place and users should try the procedure at their own risk.
Credits : How to Root moto E by deej_roamer at XDA-Developers Forum