Quick Answer
- I personally love this feature as it helps in sending timely emails to recipients from different time zones or even planning it for business hours in advance on a Saturday night.
- ” Here, select your email and tap the “Cancel Send” button given on the top- you’ve now successfully canceled the email.
- To make changes in scheduled emails- Open the sidebar by tapping on the hamburger menu and click on “Scheduled.
It wasn’t long back when scheduling emails in Gmail was a big headache for many. And even for sorts of basic scheduling, people would have to use third-party add-ons on their computers. Thankfully, Google has now included the feature within its desktop and mobile versions.
Therefore, we are here with a simple guide on how to schedule Emails in Gmail for free.
How to Schedule Emails in Gmail
On Computer
To schedule emails in Gmail on your computer, follow the steps mentioned below.
- Open Gmail in your browser- https://www.mail.google.com.
- Click on the compose button given on the top left corner of the page.
- Create your email.
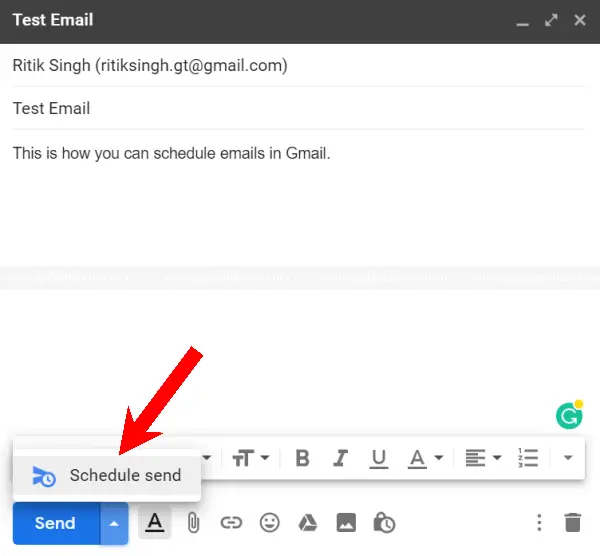
- Instead of clicking on the “Send” button, tap the drop-down arrow [
 ] beside it.
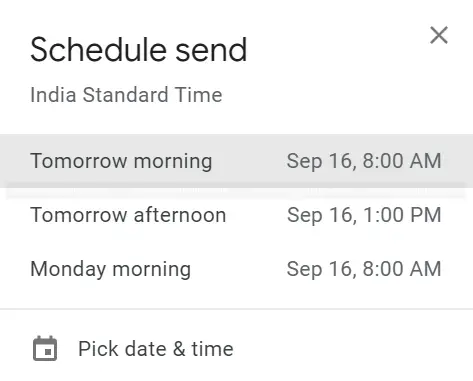
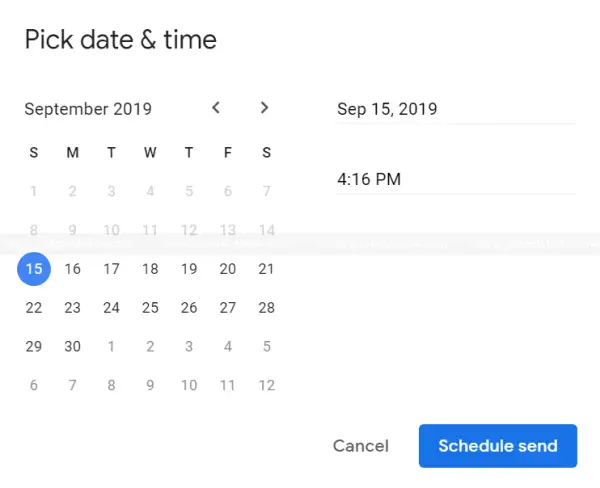
 - Now, click on “Schedule Send” and pick the date and time from suggested options. You can also click “Pick date & time” to customize when exactly you want the message to be delivered.
- That’s it. Your email has now been scheduled for the set date and time.
To view/ change or cancel scheduled emails:
- On your Gmail homepage, open the “Scheduled” section given on the left sidebar.
- Select the email you want to change (by checking the box beside it).
- Tap on the Cancel button at the top right of your email.

- The email will now be pushed back into the drafts section where you can make necessary changes and re-schedule it.
On Android
- Open the Gmail app on your Android phone/ tablet.
- Tap the Compose button (+) at the bottom right corner.
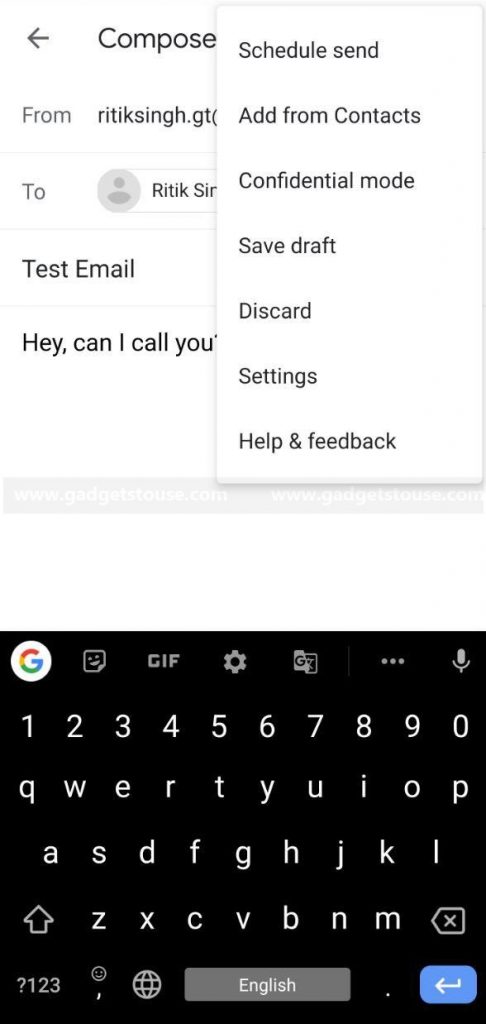
- Create your email and then click “More” (three dots) given on the top right.
- Select “Schedule Send” from the available options.
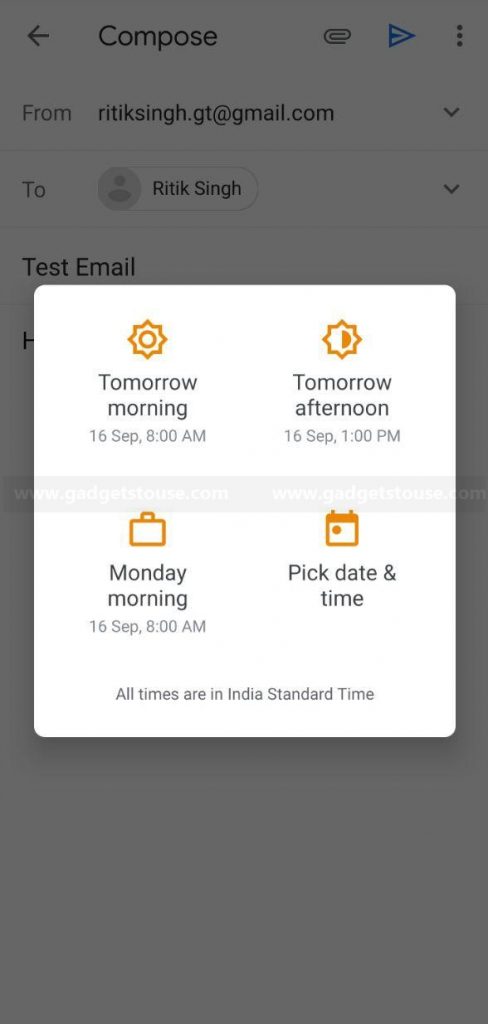
- Now, select the desired date and time, and you’re good to go.
To make changes in scheduled emails- Open the sidebar by tapping on the hamburger menu and click on “Scheduled.” Select your email and then hit the “Cancel Send” button given on the top. You can now tap the “Go to drafts” button, select your email again, and re-schedule it after making the required changes.
On iOS (iPhone / iPad)
- Open the Gmail app on your iPhone/ iPad.
- Tap the Compose button (+) at the bottom right corner.
- Create your email and then click “More” (three dots) given on the top right.
- Select “Schedule Send” from the available options and set the desired date and time.
Change/ cancel scheduled emails- Open the hamburger menu and click on “Scheduled.” Here, select your email and tap the “Cancel Send” button given on the top- you’ve now successfully canceled the email. To make changes and re-schedule it, go back to the drafts section.
Wrapping Up
So, this was all about how you can schedule emails in Gmail for free. I personally love this feature as it helps in sending timely emails to recipients from different time zones or even planning it for business hours in advance on a Saturday night. By the way, what are your thoughts on the same? Let us know in the comments below. Moreover, feel free to reach us in case of any doubts or queries.
Also, read How to send confidential emails on Gmail.