Quick Answer
- The HDR+ enhanced mode, on the other hand, can be enabled manually by going into the Advanced section in Settings and turning on Pixel AWB in HDR+.
- Here’s a detailed guide on how to download and install the Google Camera APK on Redmi Note 9 Pro.
- For starters, the Google Camera mod, aka GCam Mod, is a ported version of the camera app that comes pre-loaded on the Google-Pixel series.
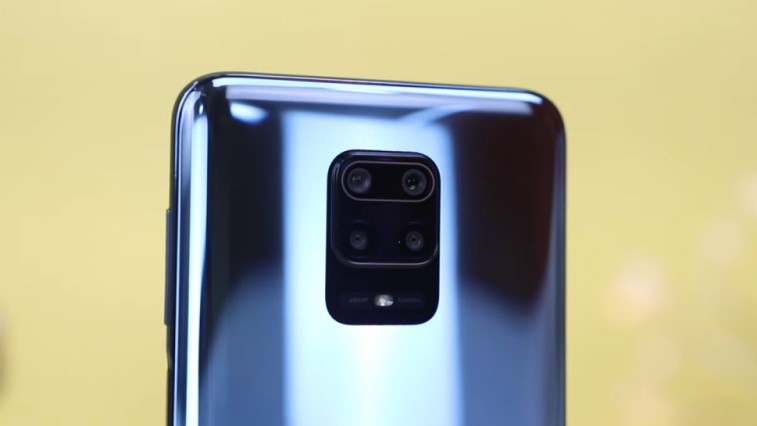
The new Redmi Note 9 Pro brings impressive specifications to the table, including Snapdragon 720G chipset, massive 5000mAh battery, punch-hole display, and more. However, the 48-megapixel quad-camera tends to fall short of the competition, especially in the low-light. Anyway, if you’ve got one, do not worry- you can still boost your camera performance by using GCam mod. Here’s a detailed guide on how to download and install the Google Camera APK on Redmi Note 9 Pro.
Install Google Camera APK on Redmi Note 9 Pro
For starters, the Google Camera mod, aka GCam Mod, is a ported version of the camera app that comes pre-loaded on the Google-Pixel series. It employs a bunch of post-processing algorithms by Google, including HDR+, HDR+ enhanced, NightSight, and other trickeries.
Following the same, the shots usually turn out to be better than the stock camera app. Pictures are contrasty, have more detail, and better dynamic range. Plus, the NightSight further enhances the low-light prowess of the device. Google has been yielding amazing portraits even with the single-camera on Pixel 2 and Pixel 3 devices and the same can be achieved on several mid-range smartphones with the help of Gcam.
Now, opposed to the Note 8 Pro, the Redmi Note 9 Pro comes with a Qualcomm chip. Hence, it was comparatively easier to get a working GCam mod for Note 9 Pro. Follow the guide below to install the same on your device.
Steps to Install GCam Mod on Redmi Note 9 Pro
1] Firstly, you need to download the compatible Google Camera mod APK for Redmi Note 9 Pro using the links given below.
Download GCam Mod 7.3.018 Urnyx05-1.1 for Redmi Note 9 Pro
2] Once downloaded, install the app on your device. Allow installation from other sources if prompted.
3] Now, open the GCam mod and grant all the necessary permissions, including access to the camera, microphone, storage, etc.
4] This Google Camera APK, in particular, doesn’t require any config settings. And you can directly start clicking pictures on your phone.
To enable wide-angle support, click on the down-facing arrow on top and select Settings. Now, click on Advanced, head to Auxillary Settings, and flick the toggle next to wide-angle. You’ll soon get a 0.6x option in your camera interface.
However, as of now, it isn’t very stable and crashes the moment you try to click pictures. The same is the case with the Night Sight and Astrophotography mode. Plus, there’s no option to enable the macro camera.
So, what’s working? Well, you can use the primary 48-megapixel camera to click photos. The resultant images are rich in detail and have excellent color accuracy. The portrait mode, too, works fine in this version. The HDR+ enhanced mode, on the other hand, can be enabled manually by going into the Advanced section in Settings and turning on Pixel AWB in HDR+.
Wrapping Up
So this was a simple guide on how you can install Google Camera APK on Redmi Note 9 Pro. In our experience, the mod performed better and was more consistent than the built-in MIUI camera. Though, it’s still in beta and doesn’t support the wide-angle or macro lenses. You can keep checking the link given for the updated versions.
Anyway, what’s your preferred choice for clicking pictures- GCam or stock camera? Let us know in the comments below. Moreover, feel free to reach out in case of any doubts or queries.
Also, read- POCO X2 vs Redmi Note 9 Pro vs Realme 6 Pro: Which one to Buy?