Quick Answer
- If you’re on a Mac computer having the M1 Chip, you can use the iMazing app to run Clubhouse on your Mac computer.
- But, in this case, we just need it to download and install the Clubhouse app on a Mac machine.
- The app needs to be installed on your iPhone or iPad before you install it on your Mac.
The popular audio-chat social platform Clubhouse was initially available only for iPhone users. Later, it arrived on Android. However, we still don’t have an official desktop version of the Clubhouse app, which might disappoint people who want to access the platform on their laptops or desktop. But that doesn’t make it impossible. Here are three easy ways to use the Clubhouse app on your Mac or Windows PC.
Related | Enable Dark Mode in Clubhouse App (Android, iOS)
Download, Install and Use Clubhouse Audio-Chat App On Mac or Windows PC
With hundreds and thousands of listeners joining, it gets difficult for moderators to manage the rooms, especially on the small screens of mobile devices. And hence, they prefer using Clubhouse on the larger screen of their PC.
At the same time, some people prefer listening or speaking in the rooms directly from their PC. And thankfully, it’s very much possible. Below are three different methods to use Clubhouse on your computer’s large screen.
Method 1- Using Clubdeck
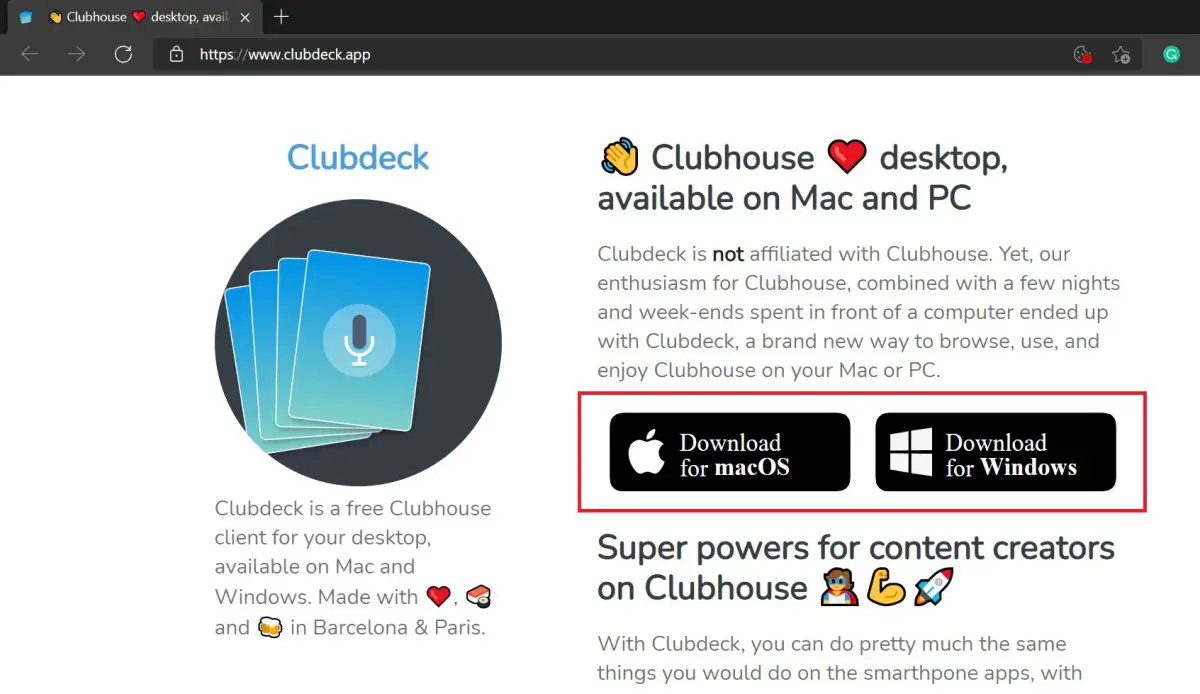
Clubdeck is an unofficial desktop client for the Clubhouse app. Using it, you can access the Clubhouse app on your Windows or Mac computer within a few simple taps. It also offers special features for moderators to moderate the room efficiently.
- Visit Clubdeck’s website on your browser.
- Download the Clubhouse desktop app for Windows or Mac.
- Once downloaded, run the setup and complete the installation.
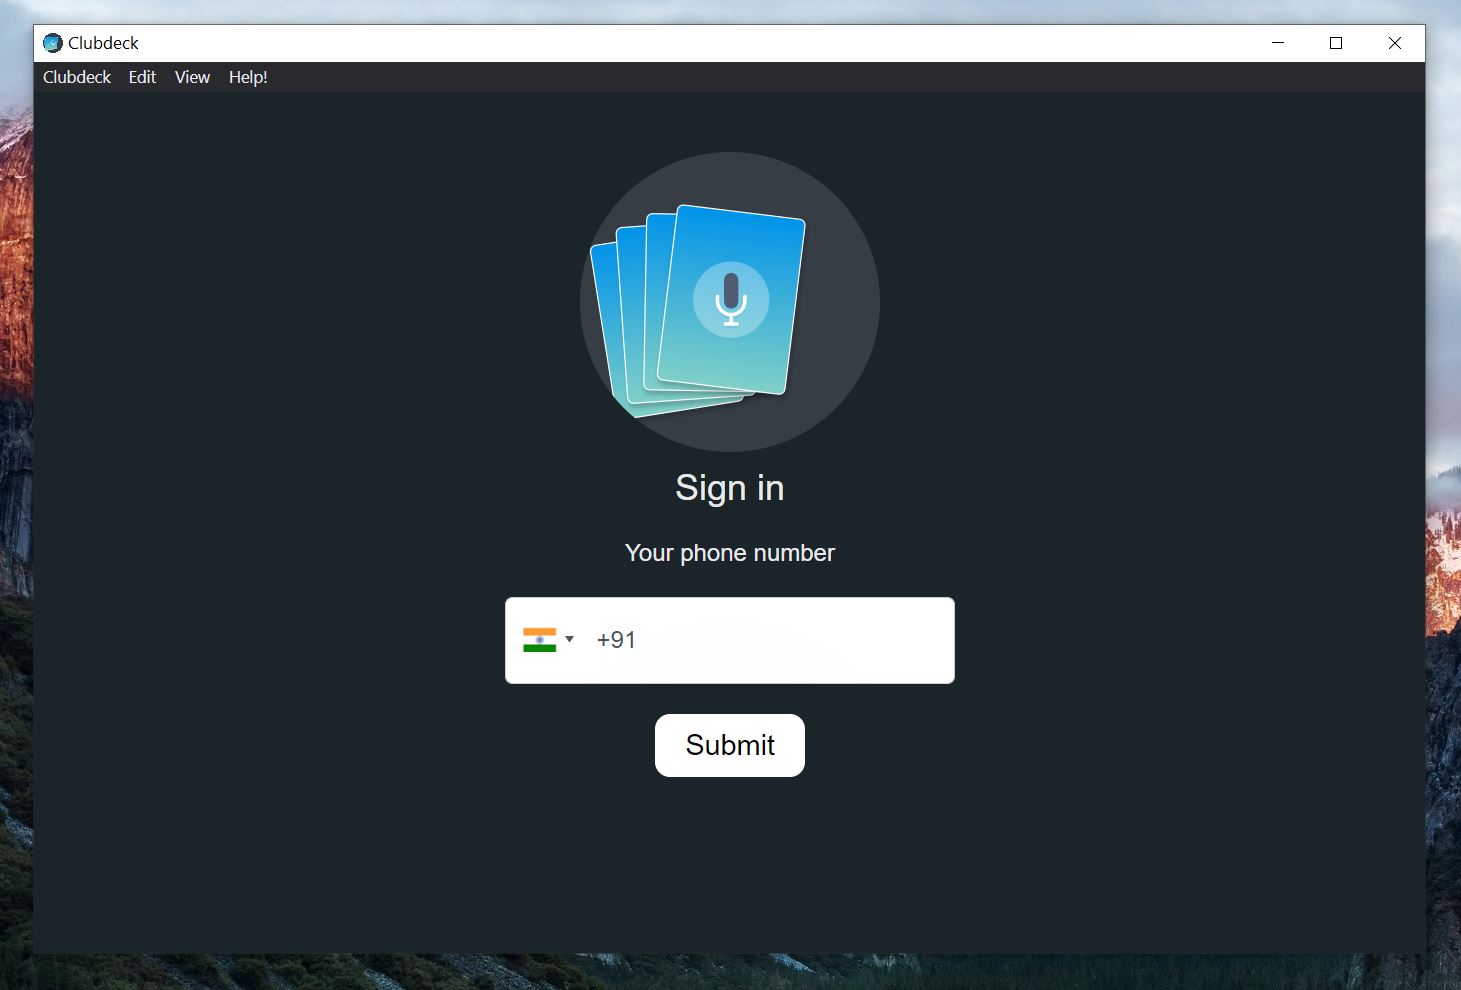
- Open the app, enter your number and click on Submit.
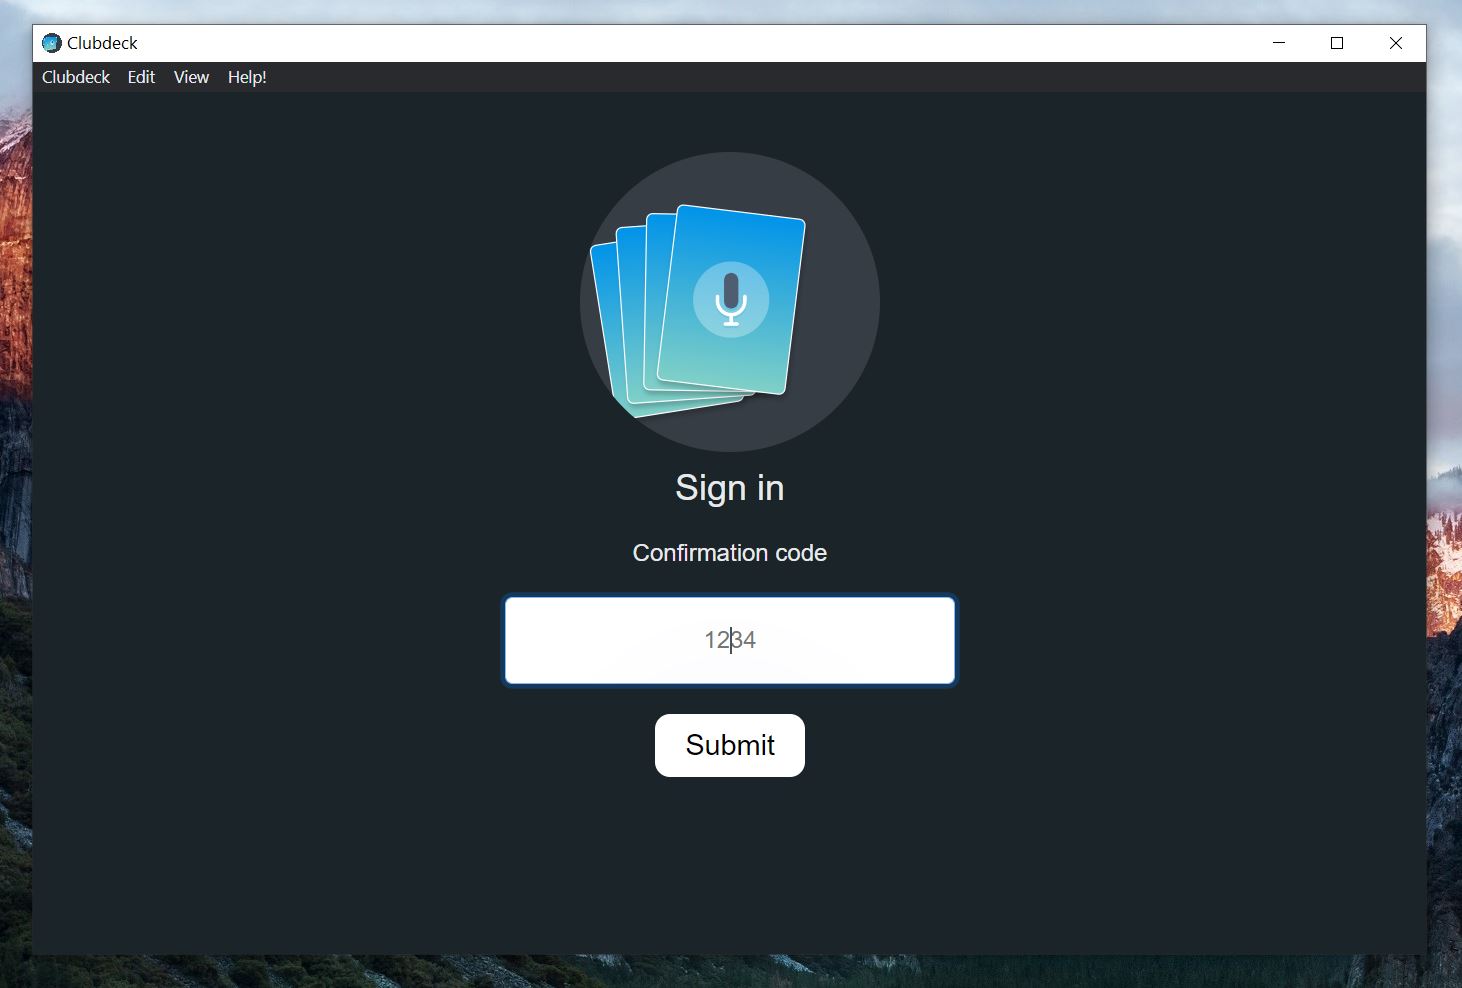
- Enter the OTP and tap Submit.
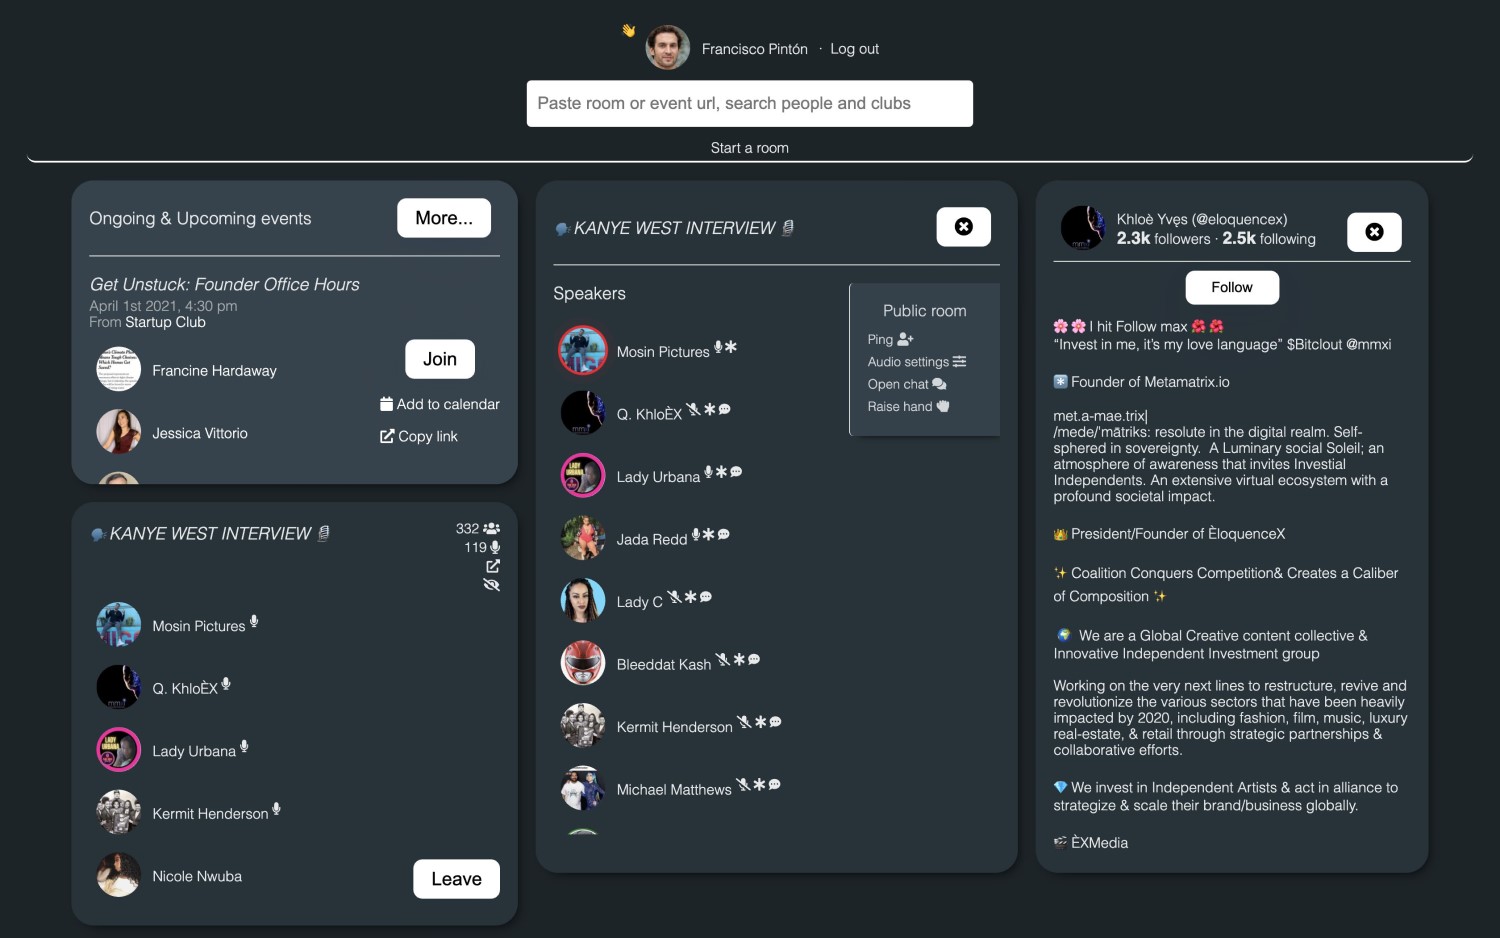
You’ll now be able to use the Clubhouse app on your PC without any issues. With Clubdeck, you can do pretty much everything you do on Clubhouse mobile app along with the additional features mentioned below.
- Use a professional microphone for better audio quality.
- Reroute audio through software like Loopback or Blackhole.
- Play custom sound and jiggles from local files or YouTube.
- Record and re-stream the Clubhouse room on social media.
- Get real-time insights about the audience.
- Set up a backchannel chat to coordinate live with co-moderators.
- Use shortcuts to navigate and moderate Clubhouse like a pro and more.
Method 2- BlueStacks Or iMazing
BlueStacks
Windows users can use BlueStacks, a popular Android emulator for PC, to install and run Clubhouse on their computer.
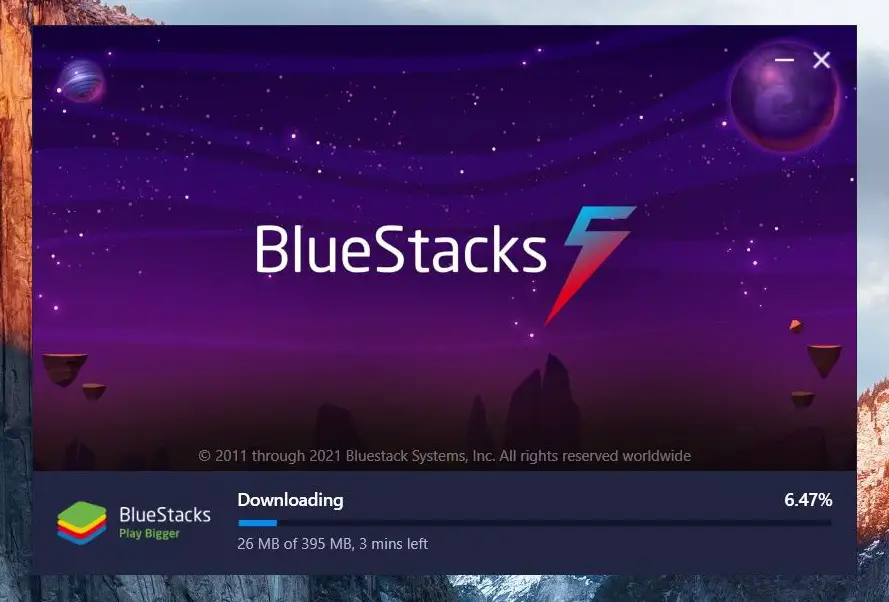
- To start with, download BlueStacks on your PC from the official website.
- Run the setup and wait for it to finish the installation.
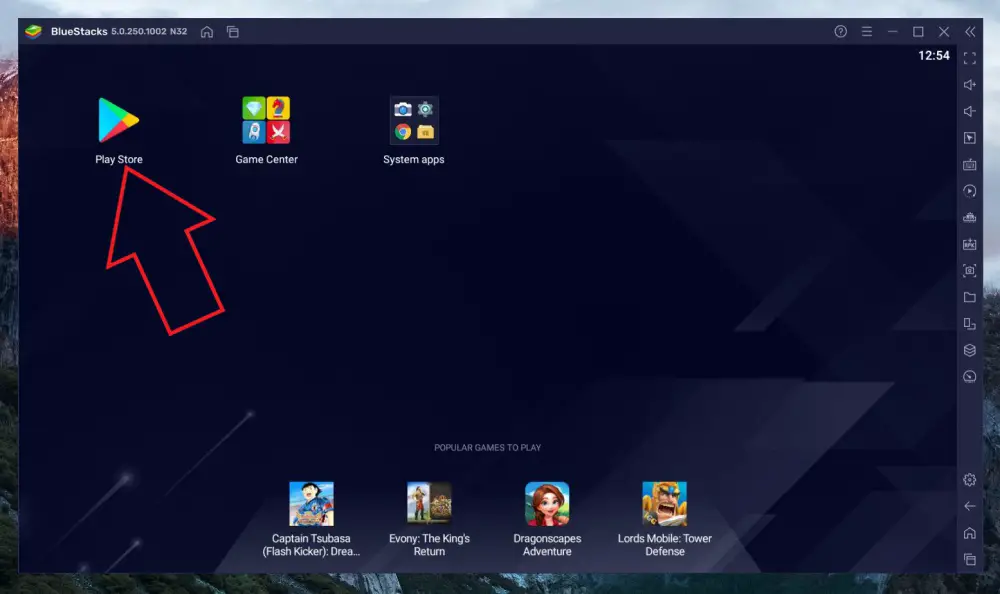
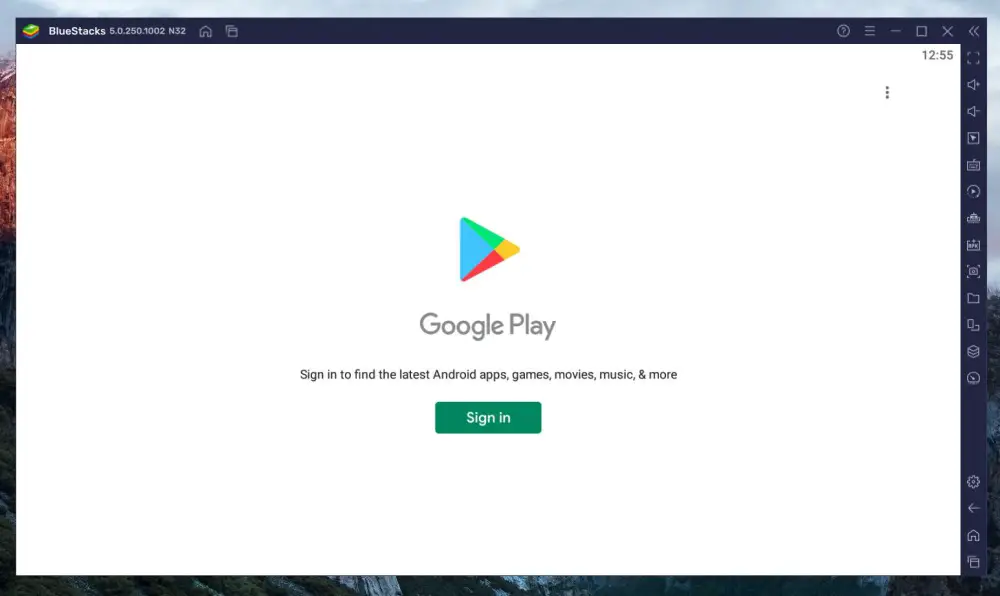
- Now, click on Play Store and sign in with your Google account.
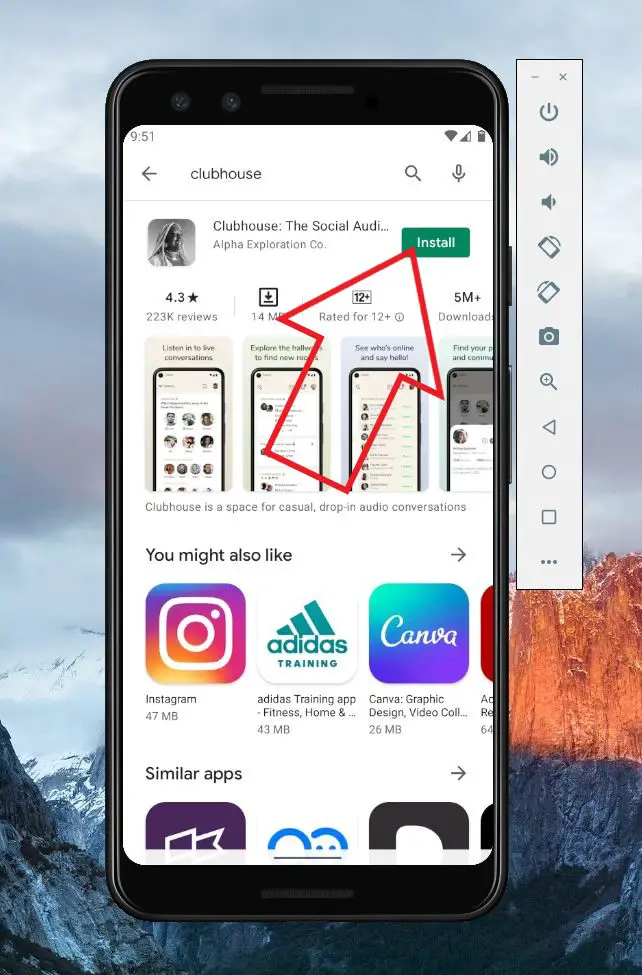
- Then, search for “Clubhouse” from Play Store.
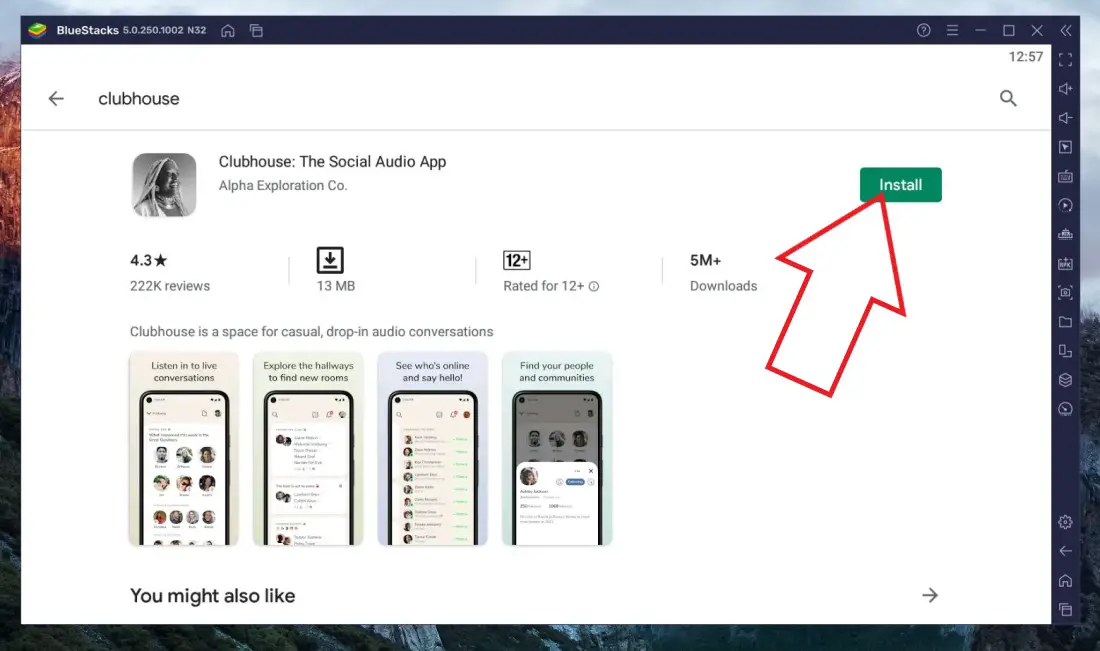
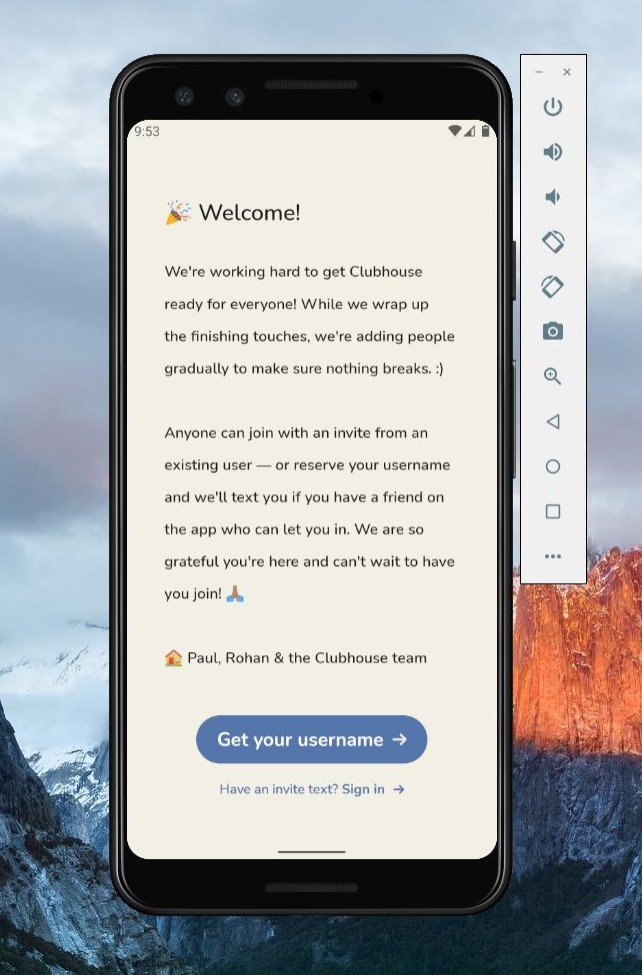
- Install and open the app. If you’re a new user, tap “Get your Username.”
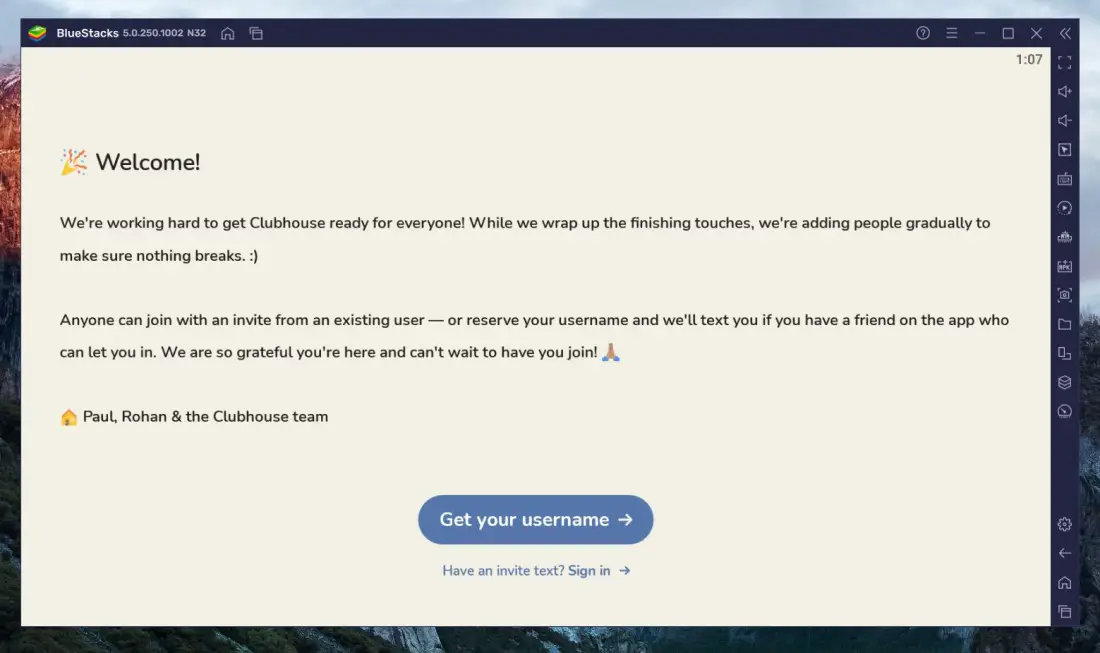
- If you already have an account, sign in with your mobile number and OTP.
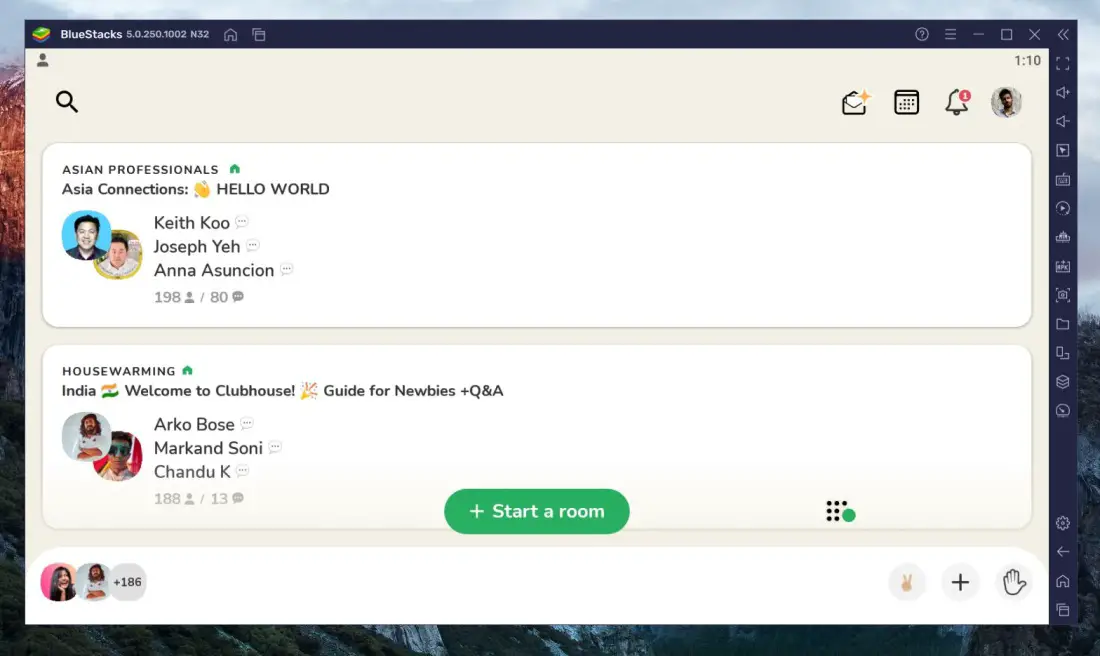
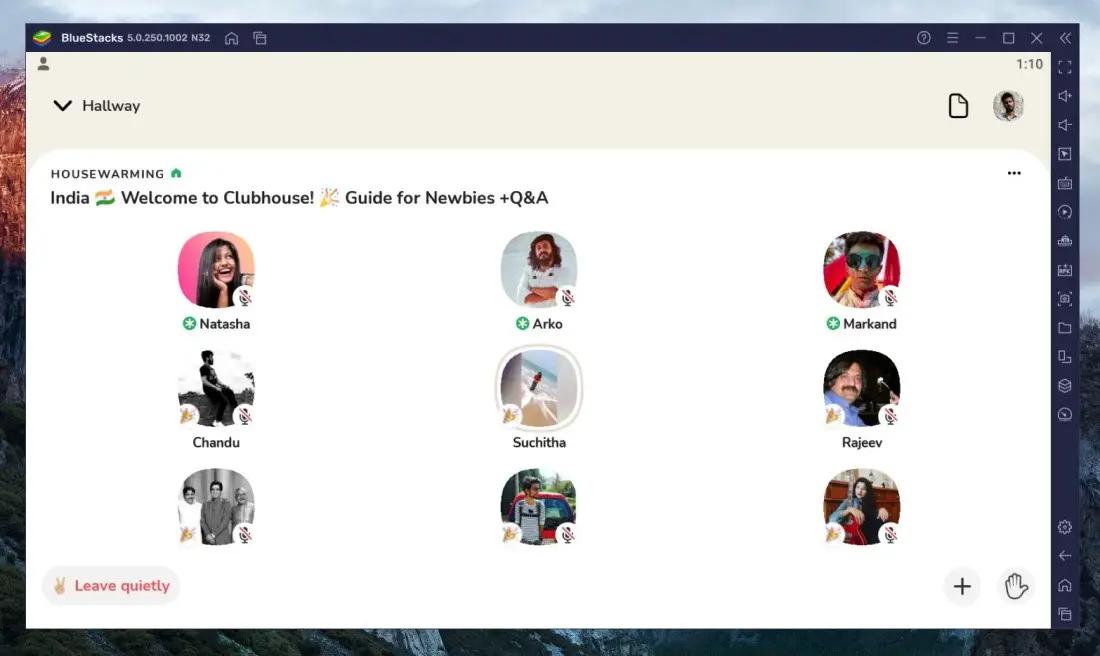
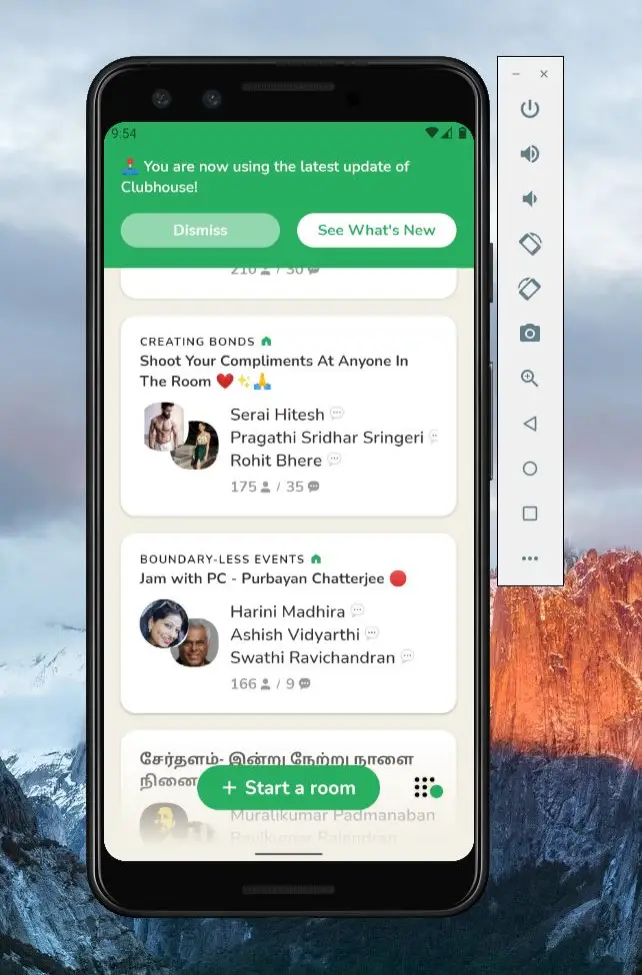
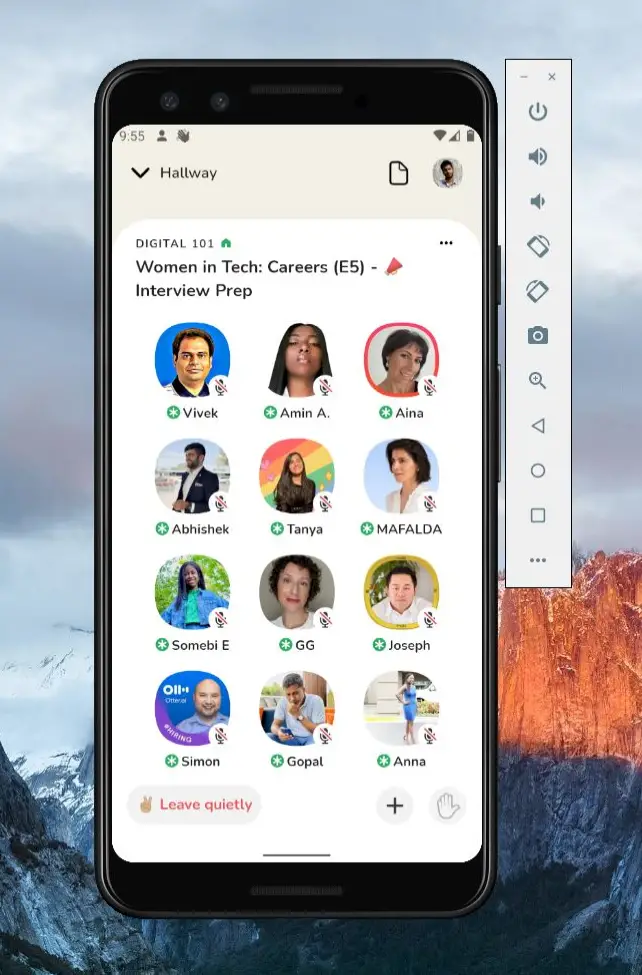
That’s it. You can now enjoy Clubhouse on your PC without any hassles. The app will work exactly the way it works on an Android phone.
The interface will be in landscape mode, giving you more room and ease of use. And don’t worry, there’s no lag or freeze- BlueStacks 5 consumes fewer resources and gets improved performance and responsiveness.
iMazing (For M1 Mac Users)
iMazing is a multi-purpose app that lets you transfer iOS data and backup your iPhone, iPad, and iPod. But, in this case, we just need it to download and install the Clubhouse app on a Mac machine.
If you’re on a Mac computer having the M1 Chip, you can use the iMazing app to run Clubhouse on your Mac computer.
- Download the iMazing software on your Mac from here.
- Once downloaded, double-click the DMG file and complete the installation.
- Open iMazing and tap Continue Trial when asked for a license.
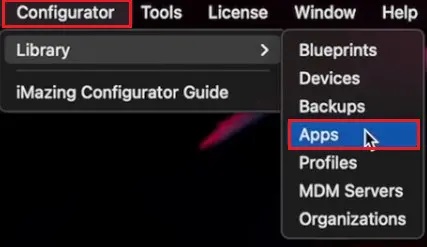
- At the top menu, select Configurator > Library > Apps.
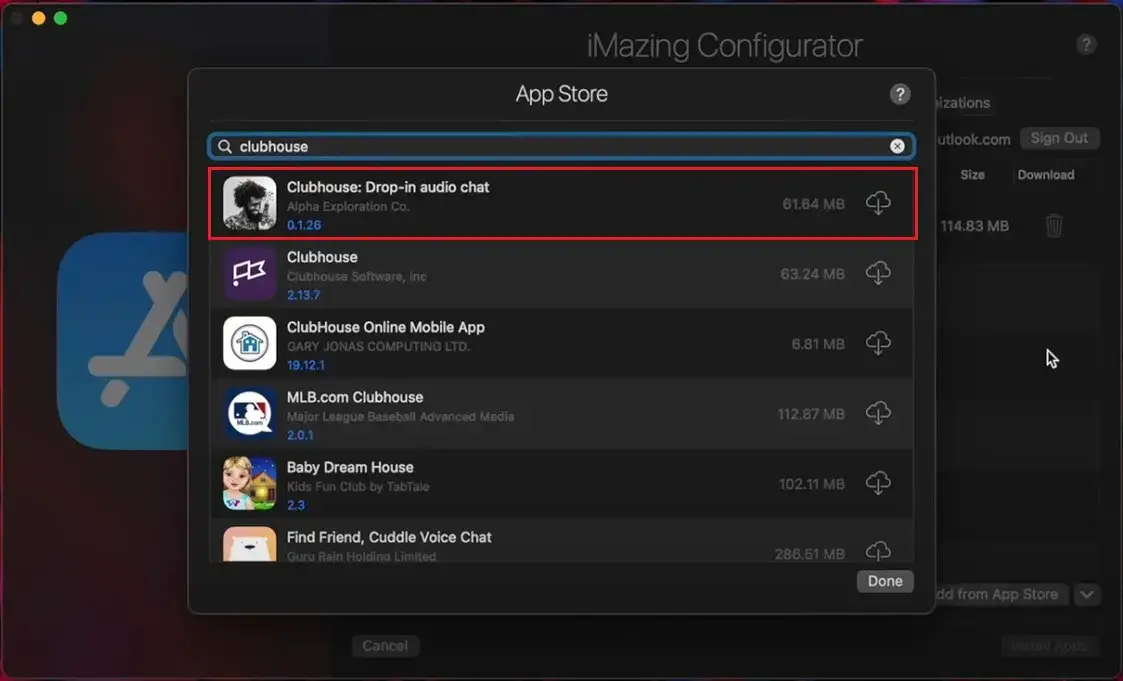
- Click on Add from App Store button at the bottom.
- Now, search for Clubhouse and download the app. Sign in to your Apple account when asked.
- The app needs to be installed on your iPhone or iPad before you install it on your Mac.
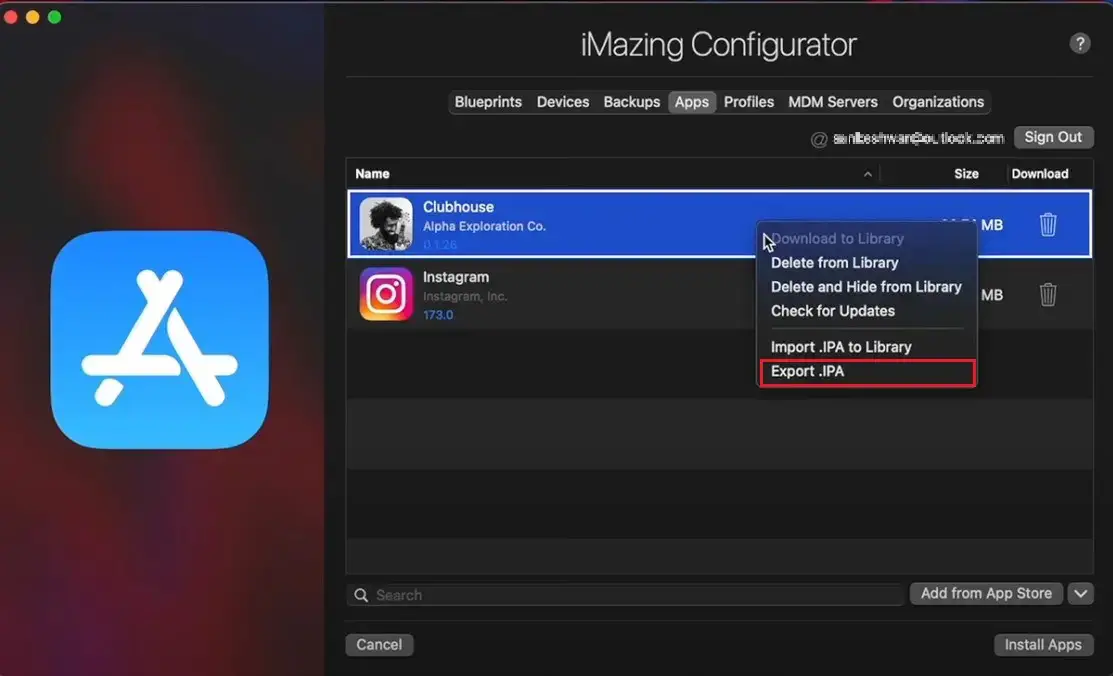
- Once installed, it’ll show up in the Apps tab in iMazing. Right-click the app and tap Export IPA.
- Select your desired destination, say Desktop, and export the app.
- Install the Clubhouse app by double-clicking on the IPA file. It’ll now start appearing in the Applications folder or the Launchpad.
- Please open it and sign in to your Clubhouse account.
- Join the rooms to see if it works fine, including the audio and microphone.
Method 3- Using Android Studio
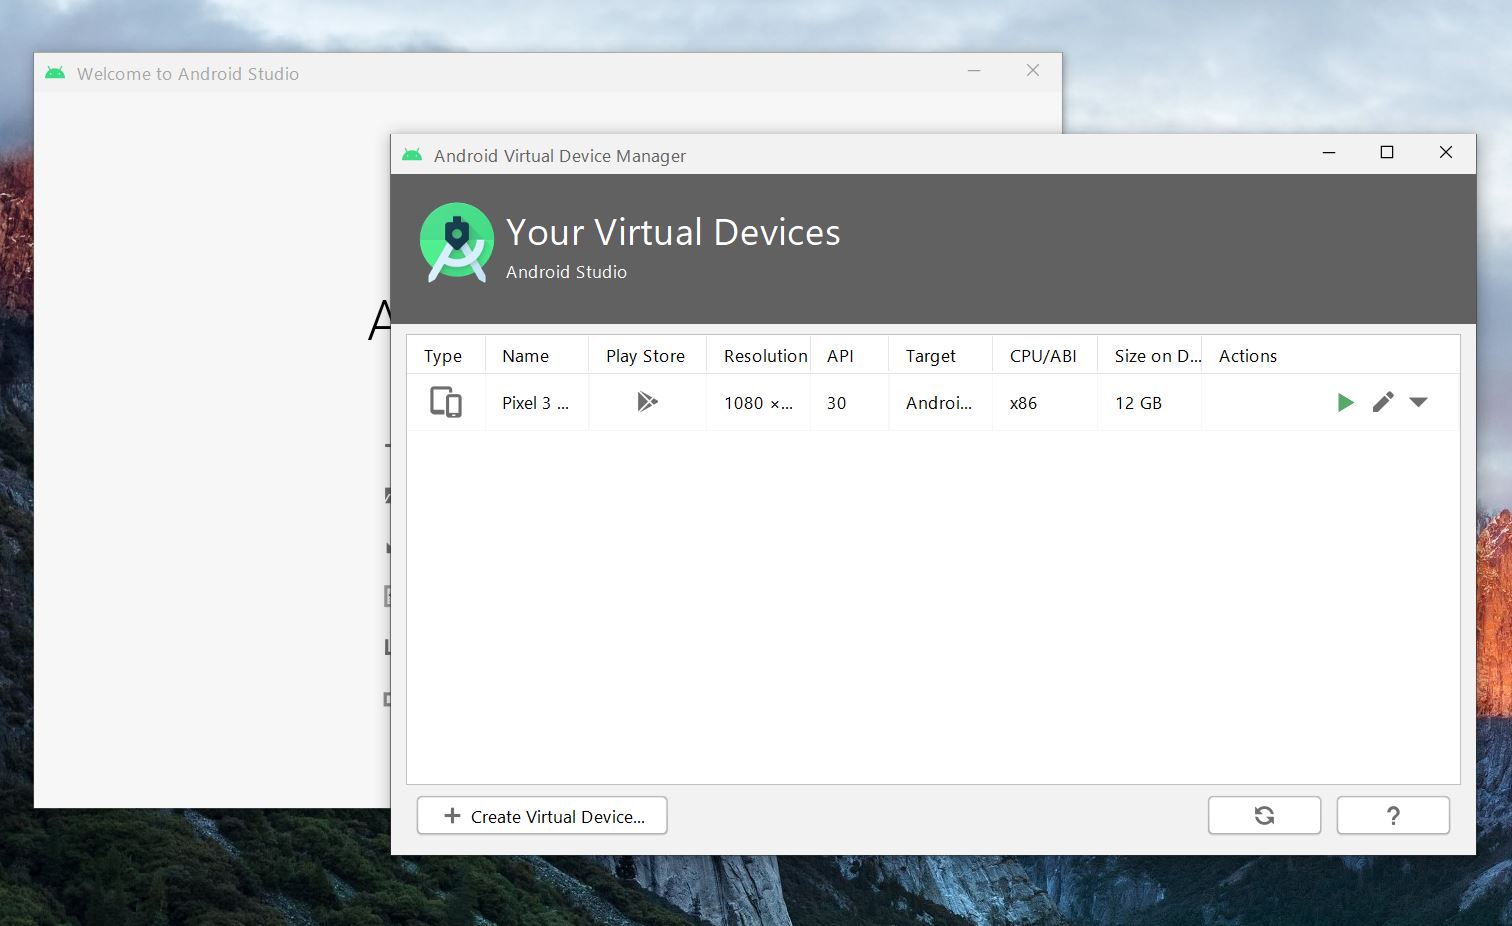
Android Studio is generally used by developers for app testing and development. However, you can use it to emulate a full-fledged Android device on your computer, wherein you can run any app you want to, including Clubhouse.
- To start with, follow our detailed guide on setting up Android Studio.
- Once you’ve successfully run an Android virtual device, open the Play Store and sign in with your Google account.
- Search for Clubhouse and install it normally.
- If you’re a new user, click on “Get your Username.”
- If you already have a Clubhouse account, sign in with your mobile number and OTP.
That’s it. The Clubhouse app will work just as fine on your PC as it’d do on an Android phone. Make sure your computer’s microphone is working fine.
Can I Use Clubhouse on Multiple Devices?
No. You cannot use Clubhouse on multiple devices at the same time. When you log in with your Clubhouse account on your desktop or any other phone, it’ll automatically be logged out from the previous device.
So, if you have multiple devices, you’ll have to go through the OTP verification every time you want to use it on a different device.
Wrapping Up- Enjoy Clubhouse On Desktop
These were three easy ways to install and use the Clubhouse app on your PC, be it Mac or Windows. You can either use the unofficial client Clubdeck or use Clubhouse through emulators like BlueStacks or Android Studio. Do try and let me know your experience in the comments below.
You can also follow us for instant tech news at Google News or for tips and tricks, smartphones & gadgets reviews, join GadgetsToUse Telegram Group or for the latest review videos subscribe GadgetsToUse Youtube Channel.
