Quick Answer
- Now in order to see your history, you need to visit the same page and click on verify button and sign in with your Google account, also if you have enabled Two Factor Authentication or have set up a physical security key to your account, then you need to enter that as well.
- In order to keep your browsing history private, and protect it with a layer of password, so that all other shared devices can’t see it, whether it is a phone, laptop, or tablet, no matter which device you are on you need to follow these steps.
- If you have multiple phones or you share your phone with your family members, then you must be logged in with your Google Account on several phones.
If you have multiple phones or you share your phone with your family members, then you must be logged in with your Google Account on several phones. As Google keeps track of all things you do with your Google Account and syncs it up with all your devices whether is it your phone, laptop, tablet, etc., that means it will also sync up your browsing history, across the devices your Google account is logged in. This means all your browsing history is visible to your family members, that’s not what you or anybody would like to happen.
Also, Read | 5 Ways To Use Google Search Without Being Tracked
Google understands that your browsing history should not be shared with anyone, that’s why they gave you an option to protect it behind a password. That’s what we are going to discuss today, i.e., how to password protect your Google Search history.
How to Password Protect Your Search History on Shared Devices
In order to keep your browsing history private, and protect it with a layer of password, so that all other shared devices can’t see it, whether it is a phone, laptop, or tablet, no matter which device you are on you need to follow these steps:
- Go to activity.google.com here you can manage and control your web & app activity, location history, and YouTube history.
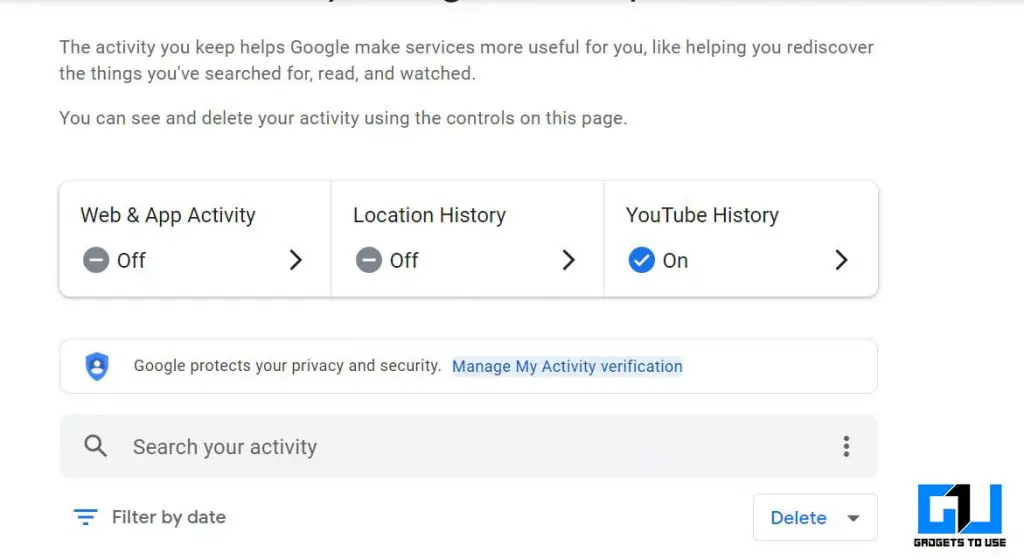
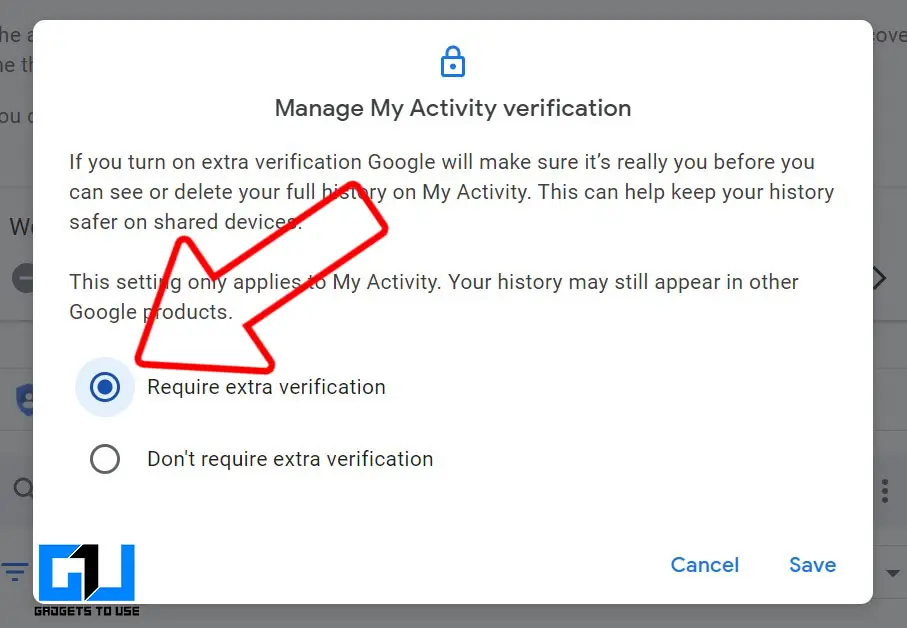
- Click on manage my activity verification, as soon as you click on it a pop-up will be in front of you
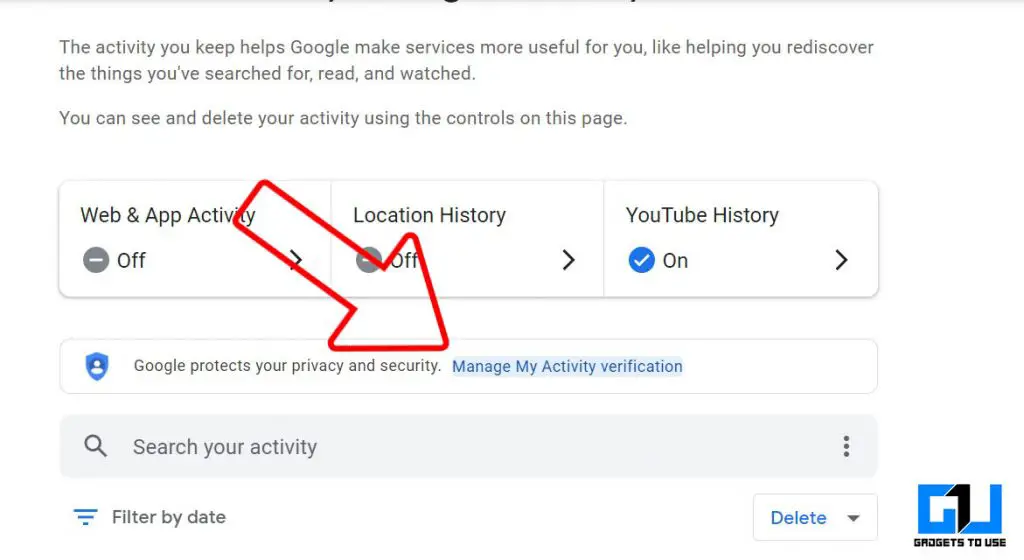
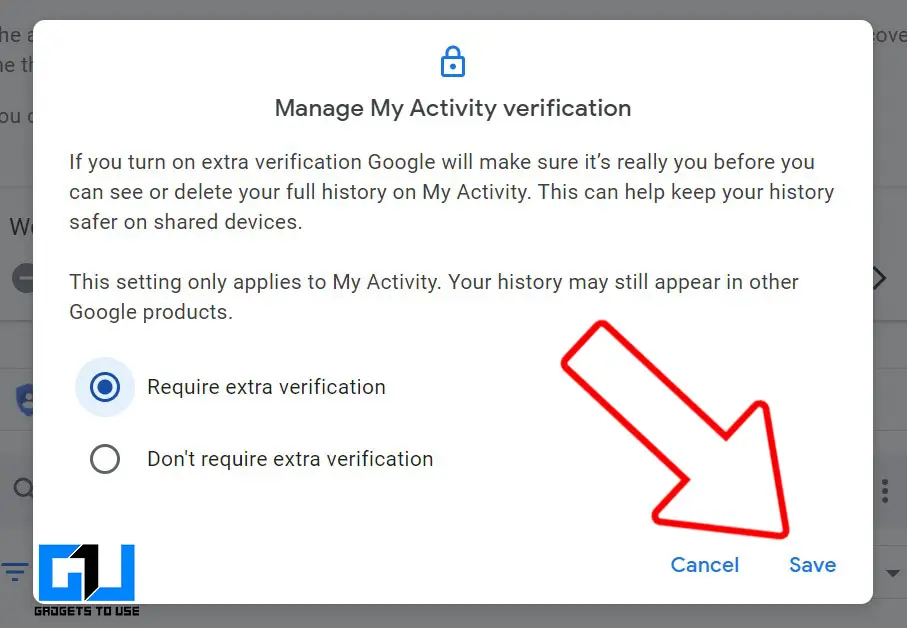
- Choose Require extra verification, and click on save.
- Now, you need to login into your account for authentication
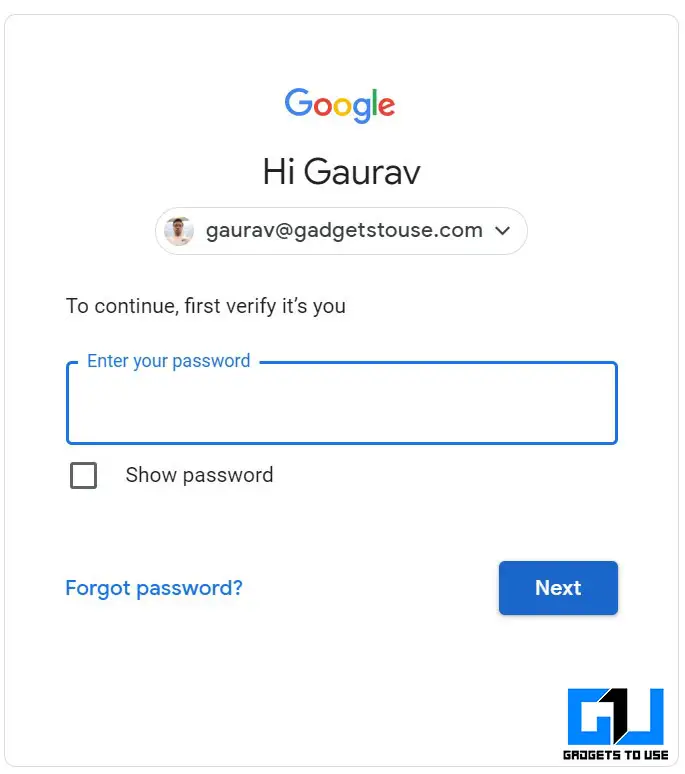
- Once you complete your authentication, all your history will get hidden
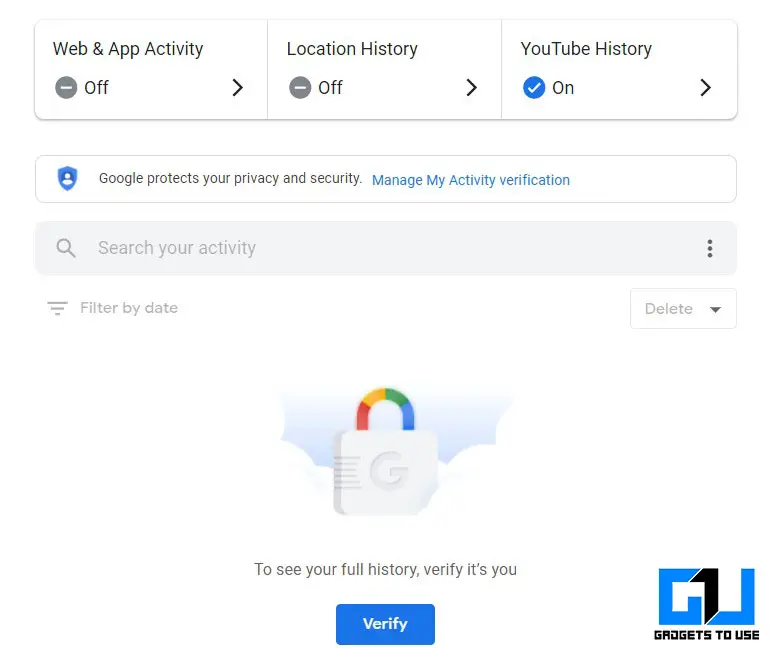
Now in order to see your history, you need to visit the same page and click on verify button and sign in with your Google account, also if you have enabled Two Factor Authentication or have set up a physical security key to your account, then you need to enter that as well.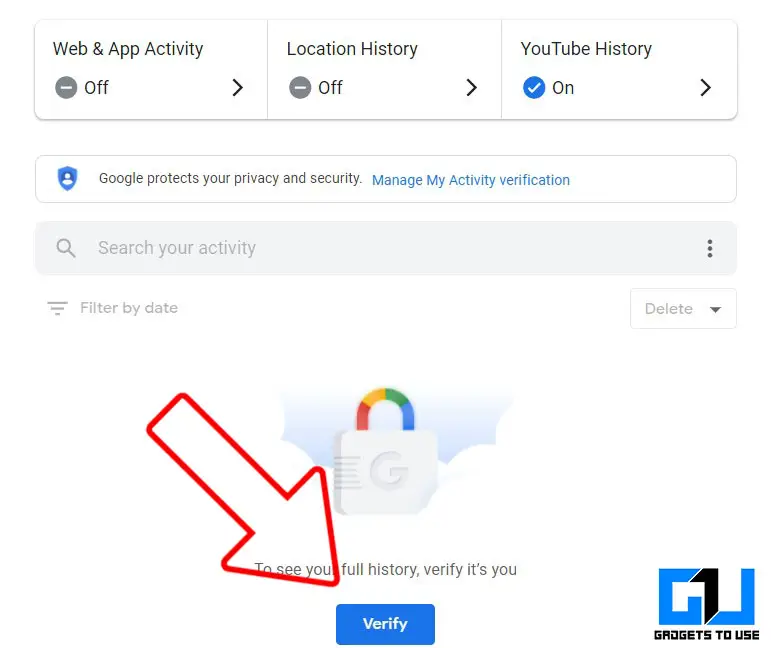
Wrapping Up and How to Disable the Password Protection
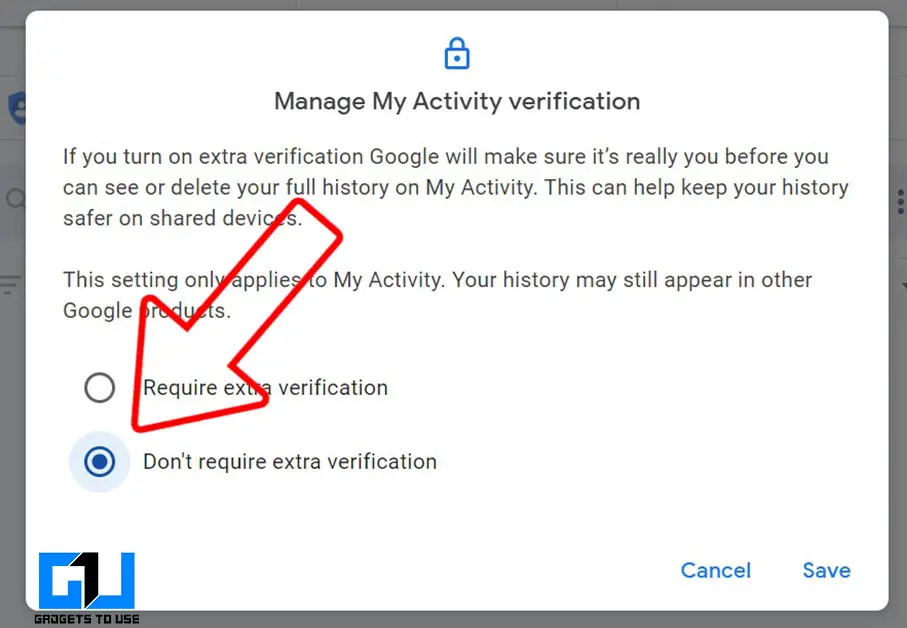
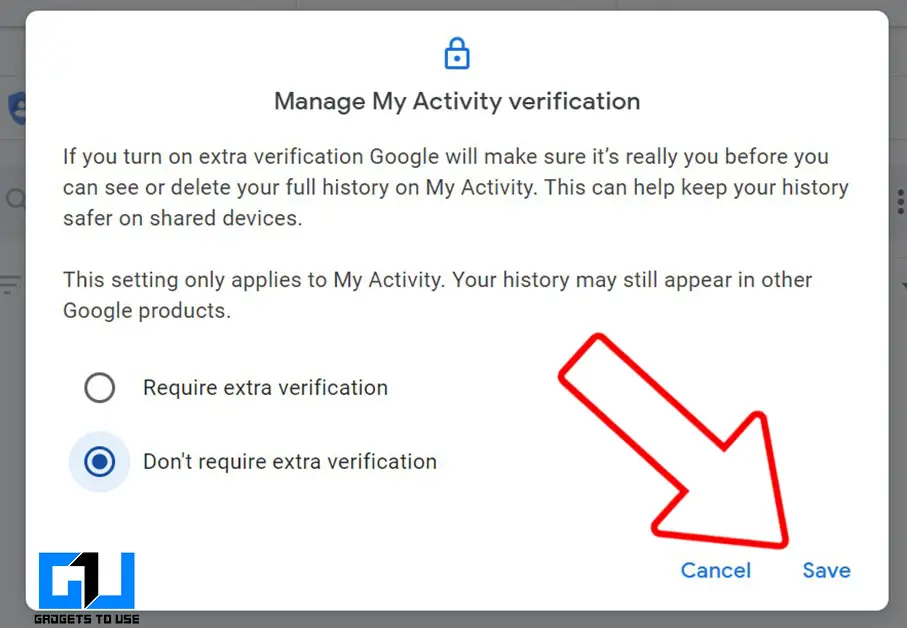
This way you can password protect your Google Search history so that anyone sharing the same device can’t look into what you were doing. If you want to disable this additional layer, then you need to visit activity.google.com again, repeat the steps, and select Don’t require extra verification.
You can also follow us for instant tech news at Google News or for tips and tricks, smartphones & gadgets reviews, join GadgetsToUse Telegram Group or for the latest review videos subscribe GadgetsToUse Youtube Channel.
