Quick Answer
- You can choose to stop the video while you present your screen to provide the necessary bandwidth to the app for seamless screen sharing.
- To ensure a smooth meeting experience and flawless screen sharing, you need to verify the presence of a high-speed and stable internet connection on your system.
- If you’ve joined a zoom meeting as a participant, then you have to ask the meeting host to enable this feature for screen sharing.
Screen Sharing has turned out to be the most significant part of our meetings in this work-from-home era. However, users using Zoom for screen sharing and meetings have reported issues while presenting their screens to the participants. In this article, you will learn 6 ways to fix zoom screen sharing not working on windows. Additionally, you can learn to remove background noise in zoom calls.
Also, Read| Use your Phone as a webcam for Zoom Video Calls
Fix Zoom Screen Sharing Not Working on Windows
Terminate all Running instances of Zoom App
If you are facing issues during screen sharing on the Zoom app, it might be due to interference produced by several running instances of the same app. Terminating all these instances using window’s task manager and then restarting the app might fix this problem. Follow these simple steps for an easy fix.
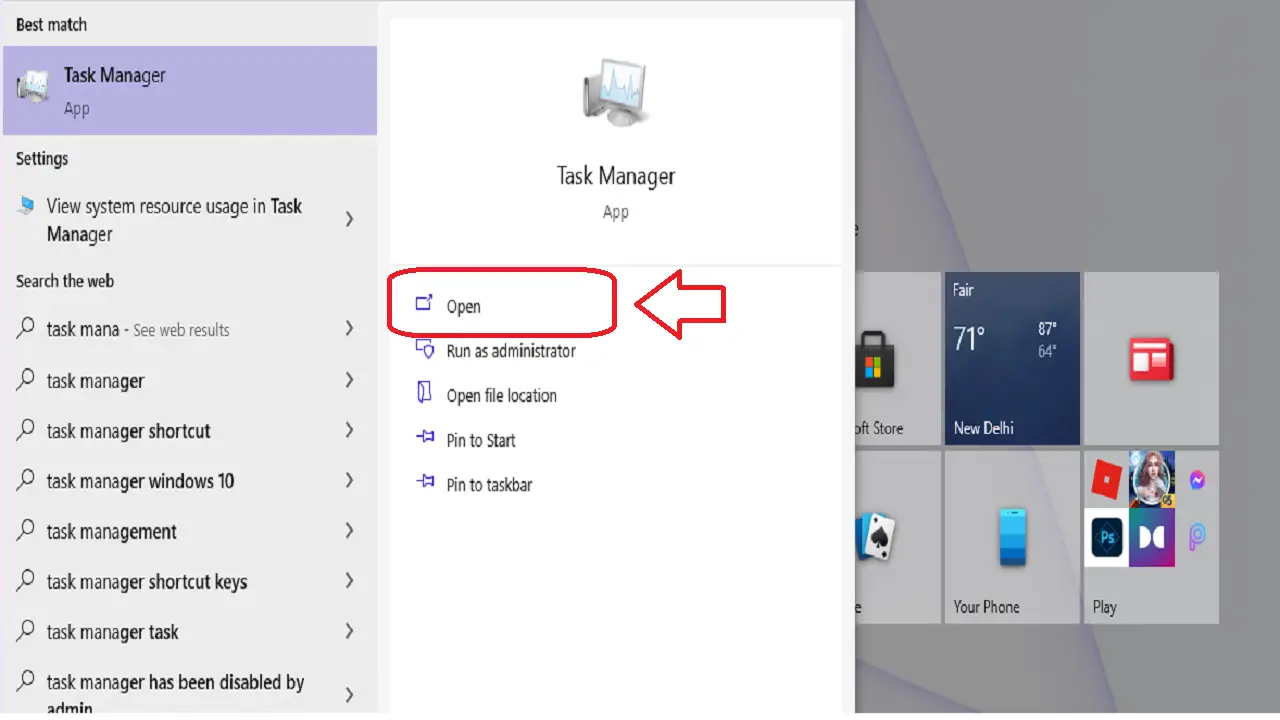
- Hit the Windows key Button.
- Search for Task Manager and open the app.
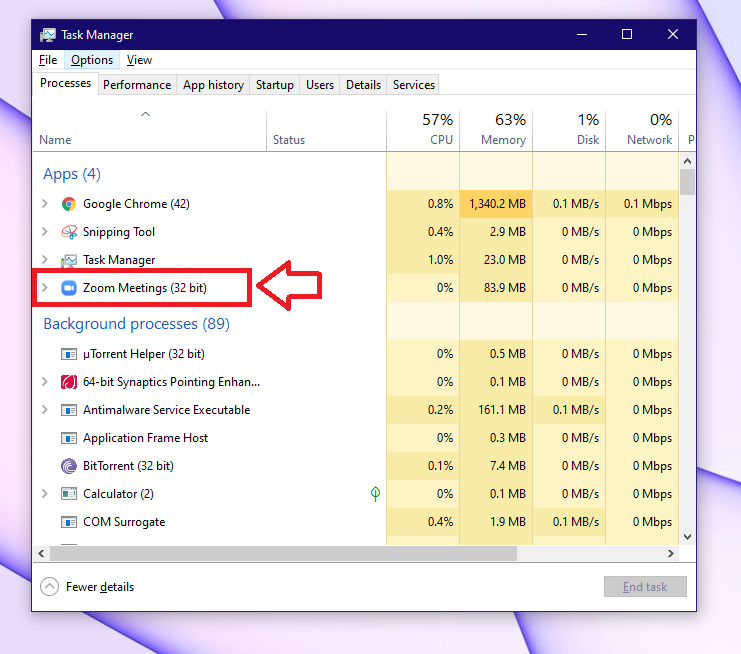
- In the task manager app, locate all Zoom Meetings instances and select.
- Click on End task button to end all such instances.
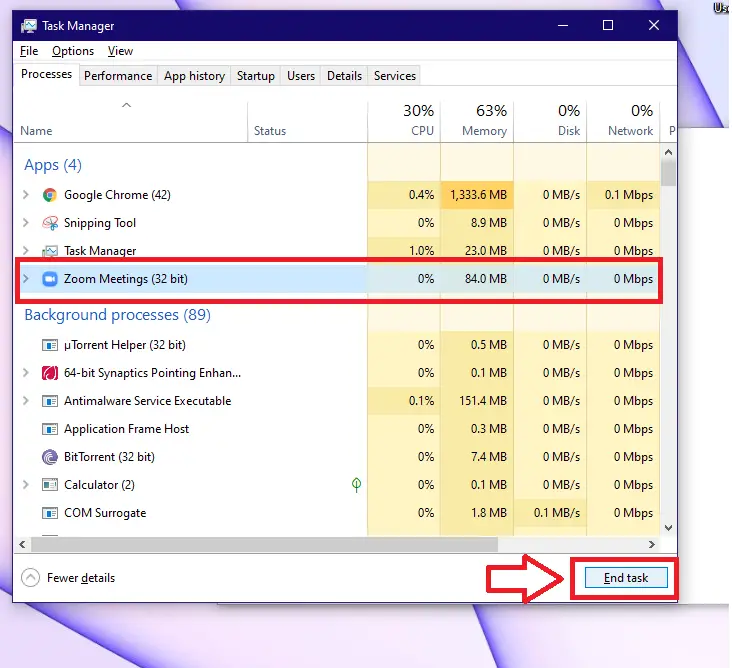
- Reopen the Zoom app.
Check if Screen Sharing is Enabled
Zoom by default disables screen sharing for its participants. If you’ve joined a zoom meeting as a participant, then you have to ask the meeting host to enable this feature for screen sharing. To enable screen sharing for your participants, follow these simple steps.
- To enable screen sharing for your participants on the zoom app, open the app.
- Create your meeting and add all the participants.
- Click on Security in the bottom control bar.
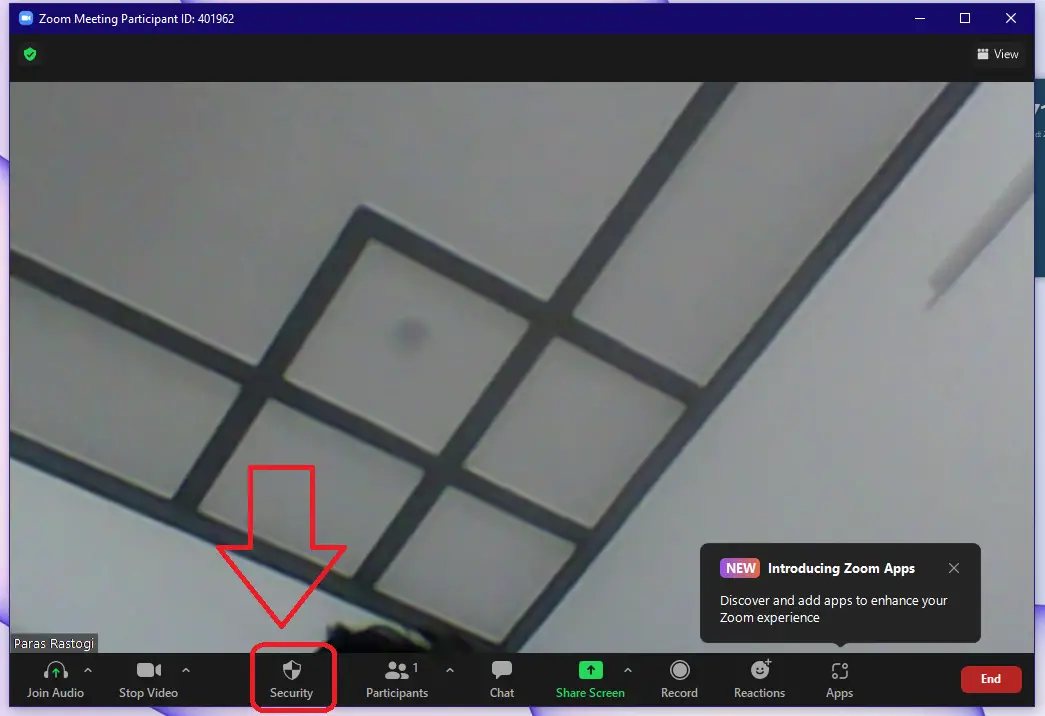
- Enable the share screen option for participants.
- Now your participants can easily share screen during the meeting.

Ensure a Stable Internet Connection
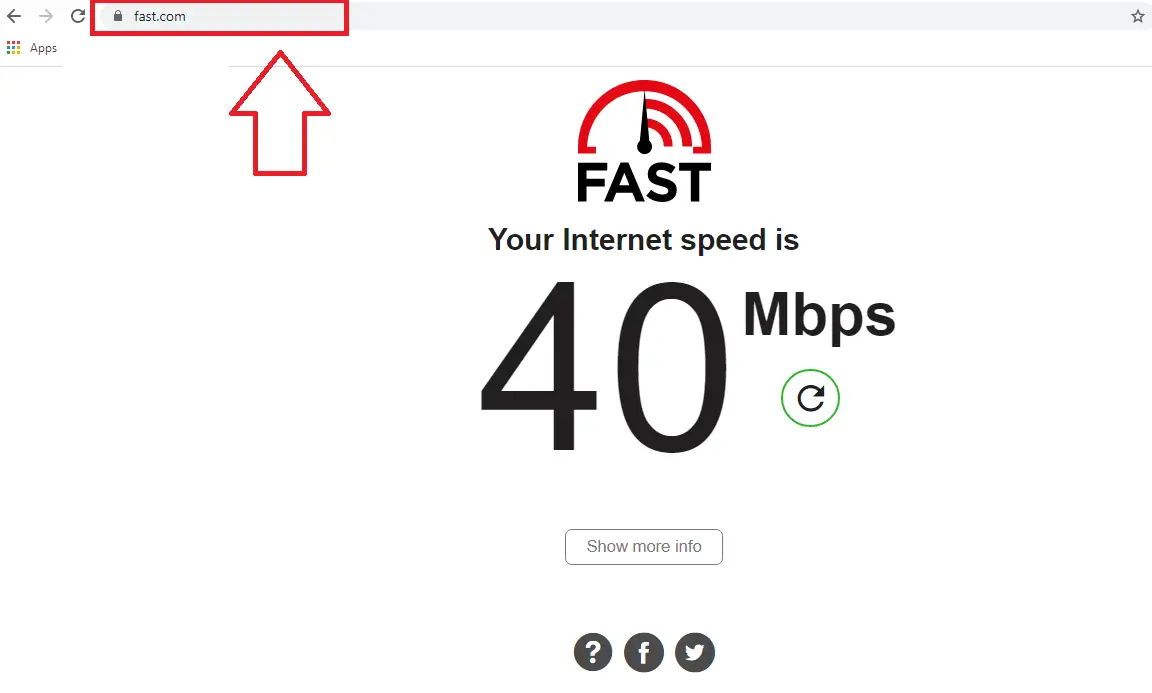
Zoom uses both audio and video data that is transmitted over the internet during its usage. To ensure a smooth meeting experience and flawless screen sharing, you need to verify the presence of a high-speed and stable internet connection on your system. Make sure to connect to a 5Ghz Wi-Fi frequency band if available. Follow these simple steps to check your internet speed for the same.
- To check your internet connection, open your web browser.
- In the search bar, type fast.com and hit enter.
- The website will measure your existing internet connection and speed to check its suitability for a zoom call.
Turn on Hardware Acceleration for Screen Sharing
Hardware acceleration is a feature that ensures great efficiency while performing a task. Zoom also uses hardware acceleration feature to provide good efficiency and smooth visuals to its users during screen sharing. By default, hardware acceleration is enabled but, you can verify the same through these simple steps.
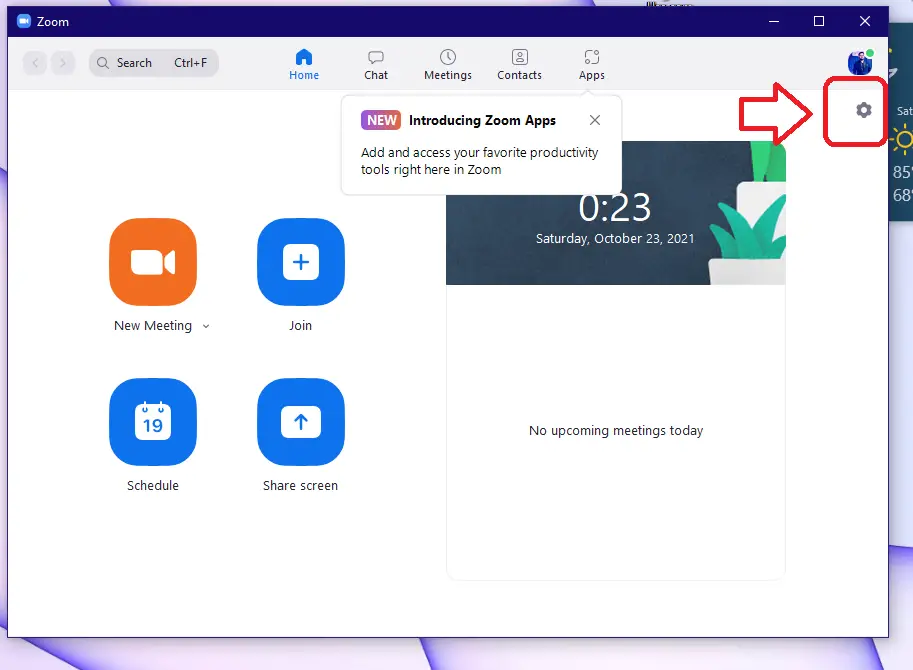
- Open the zoom app on your windows system.
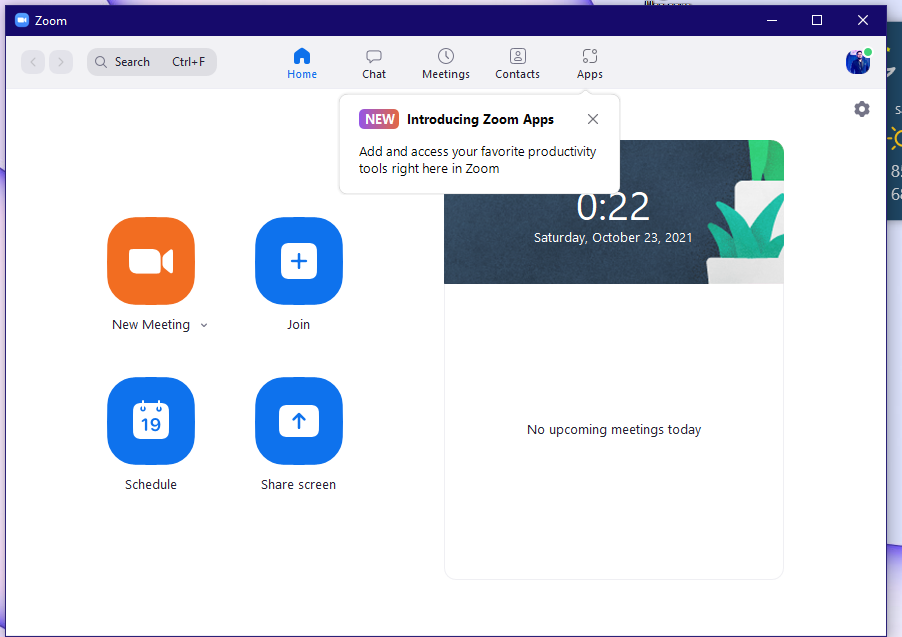
- Click on the gear icon to open zoom settings.
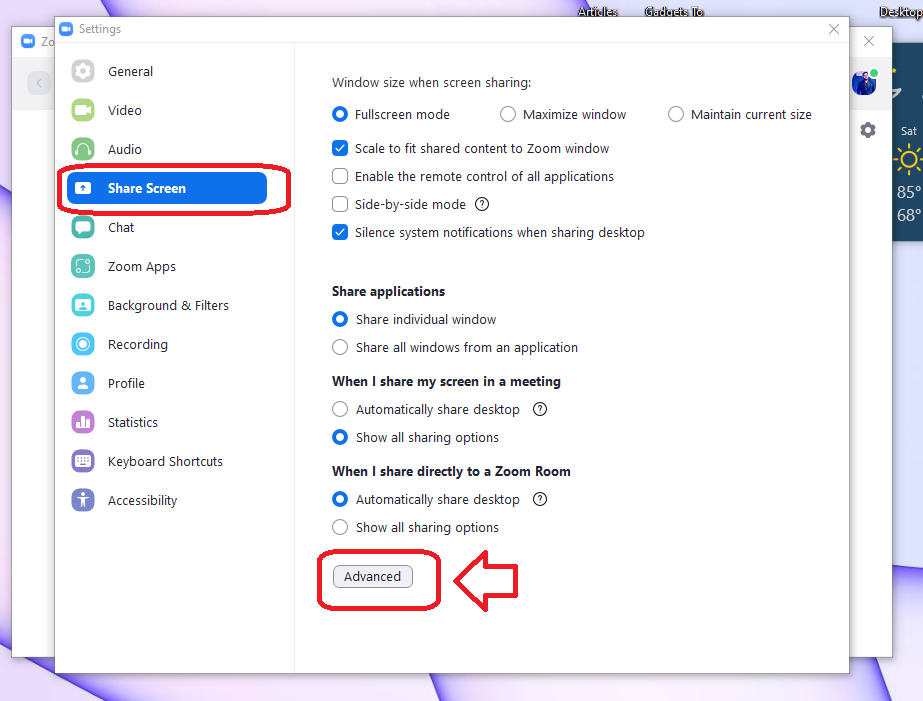
- Navigate to Share Screen settings in the left panel.
- Click on the Advanced Button.
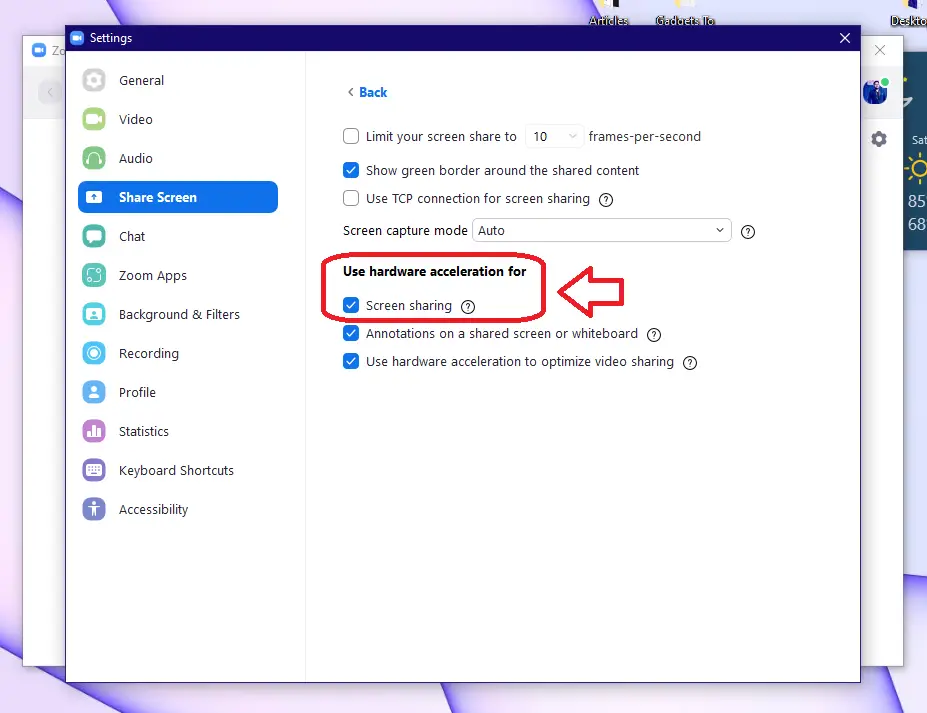
- Ensure that hardware acceleration is enabled for screen sharing.
Stop Video before Sharing your Screen
Zoom meetings and screen sharing are heavily dependent on your internet bandwidth. By default, videos are enabled for meetings while you are sharing your screen which leads to the heavy requirement of internet bandwidth. This can result in sluggish screen sharing as video occupies more bandwidth as compared to screen sharing. You can choose to stop the video while you present your screen to provide the necessary bandwidth to the app for seamless screen sharing. Follow these simple steps to do the same.
- Open the Zoom app on your system and join the meeting for screen sharing.
- In the bottom navigation bar, click on stop video to stop the video feed during the meeting.
- Click on Share Screen to start presenting your screen to the participants.
- Disabling video will provide the entire internet bandwidth to screen sharing for a smooth presentation experience.

Clear all Zoom app cookies and local data
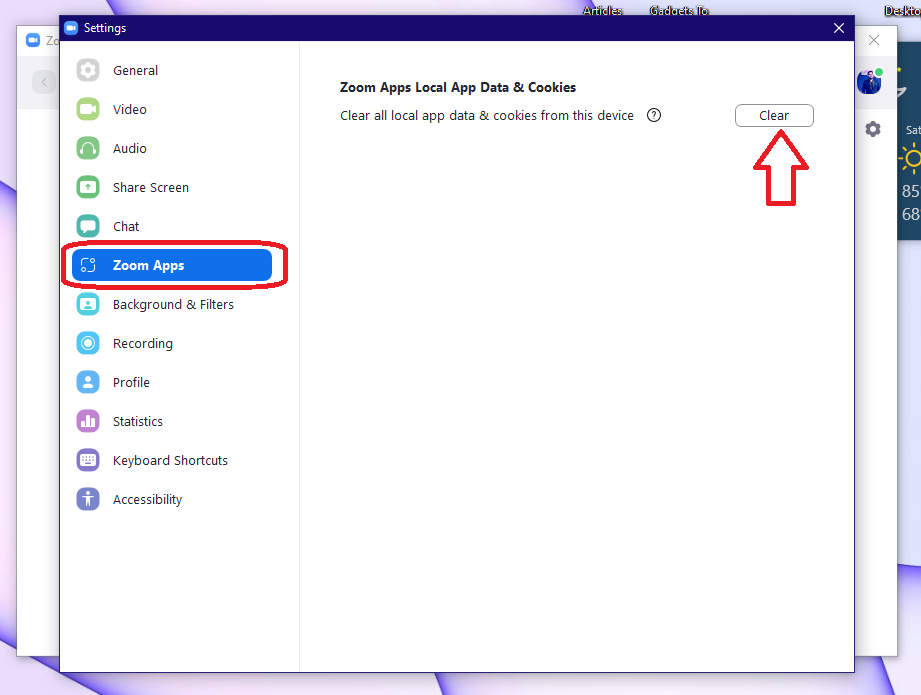
Zoom just like other windows apps, uses cookies and local system storage for storing app-related files. Over time, these files get accumulated in large amounts and start creating issues with the app environment and its features. Zoom offers to clear all cookies and local data to avoid the occurrence of such cases. Follow these simple steps to do the same.
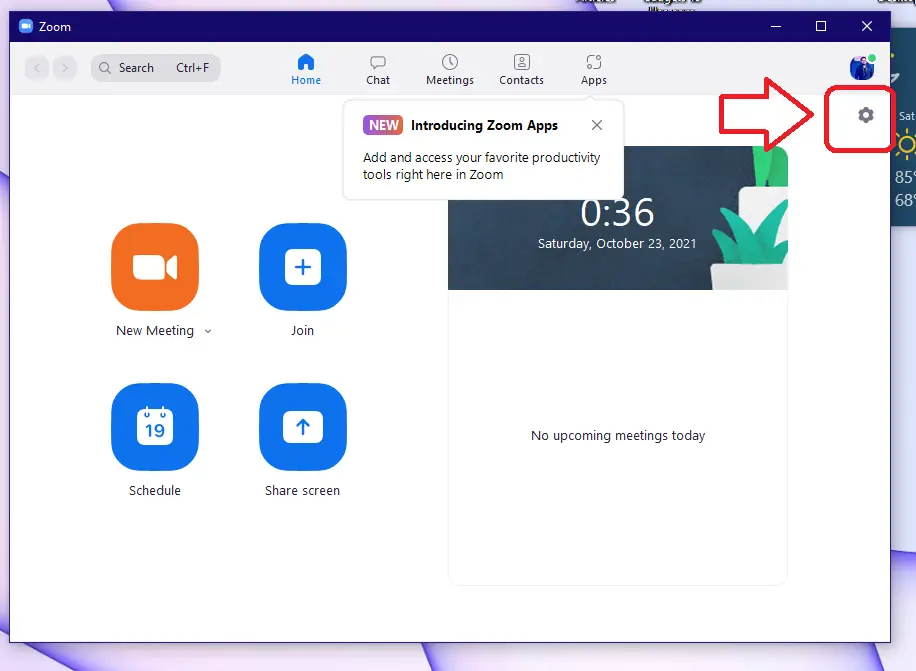
- Open the zoom app in your Windows system and click on the gear icon for settings.
- Navigate to the Zoom Apps section on the left.
- Click on Clear Button to clear all cookies and app-related local data.
Wrapping Up
In this article, you have learned 6 ways to fix zoom screen sharing not working on Windows systems. If this article has helped you in troubleshooting this issue, then hit the like button and share this among your friends to help them fix their issues during zoom meetings. As always, stay tuned for more awesome articles like this one.
You can also follow us for instant tech news at Google News or for tips and tricks, smartphones & gadgets reviews, join GadgetsToUse Telegram Group, or for the latest review videos subscribe GadgetsToUse Youtube Channel.