Quick Answer
- You can capture the whole screen or a part of it, write or annotate on the screenshot, copy it to the clipboard, or share it directly without any hassles.
- At times, you may want to capture your laptop or desktop screen to save an image of an online webpage or a new app to show other people.
- You can then attach the image in an email, edit it in an image editing software before it’s saved, or directly paste and share it in instant messaging apps like Telegram.
At times, you may want to capture your laptop or desktop screen to save an image of an online webpage or a new app to show other people. Like previous versions, Windows 11 packs multiple ways to take screenshots. You can capture the whole screen or a part of it, write or annotate on the screenshot, copy it to the clipboard, or share it directly without any hassles. Besides, we also have third-party tools to capture screenshots with more convenience and features. Here, let’s look at some quick and easy ways to take a screenshot on your Windows 11 PC.
Related | Top 5 Ways to Clean Junk Files on Windows 11 PC
How to Take a Screenshot on Windows 11
There are multiple ways you can take screenshots on Windows 11. You can use the built-in Snipping Tool, the traditional Print Screen method, Web Capture feature in Microsoft Edge, and whatnot. All the methods are detailed below.
Method 1- Take Screenshots with Snipping Tool
Windows 10 had two different tools to take screenshots: Snipping Tool and Snip & Sketch. On Windows 11, both these classic apps have been replaced by a new Snipping Tool that offers the best of both apps.
Here’s how you can use the new Snipping Tool to take a screenshot on Windows 11:
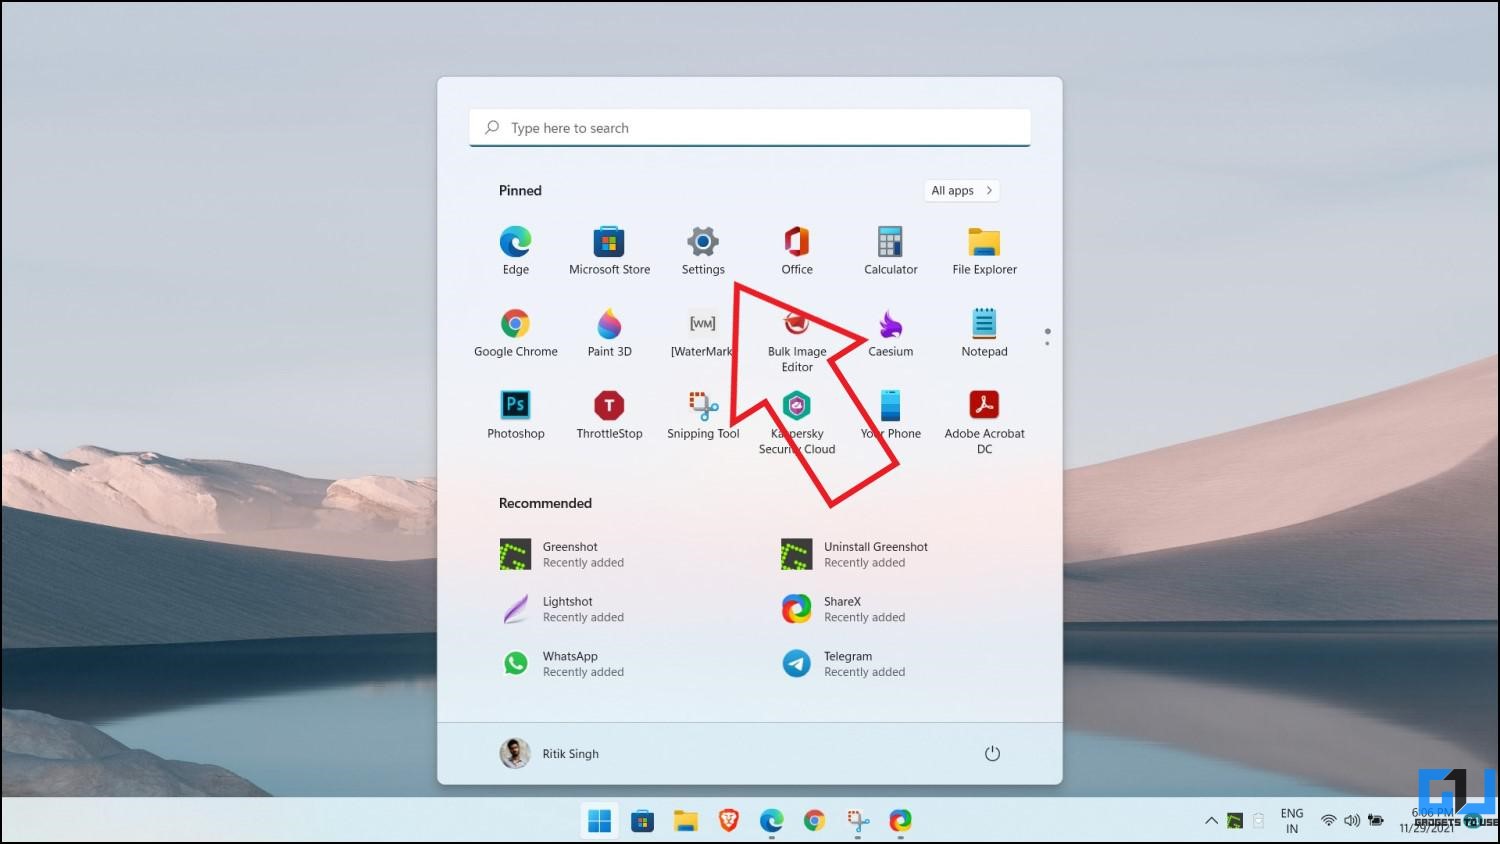
- Open the Start menu on your PC.
- Here, search for “Snipping Tool.”
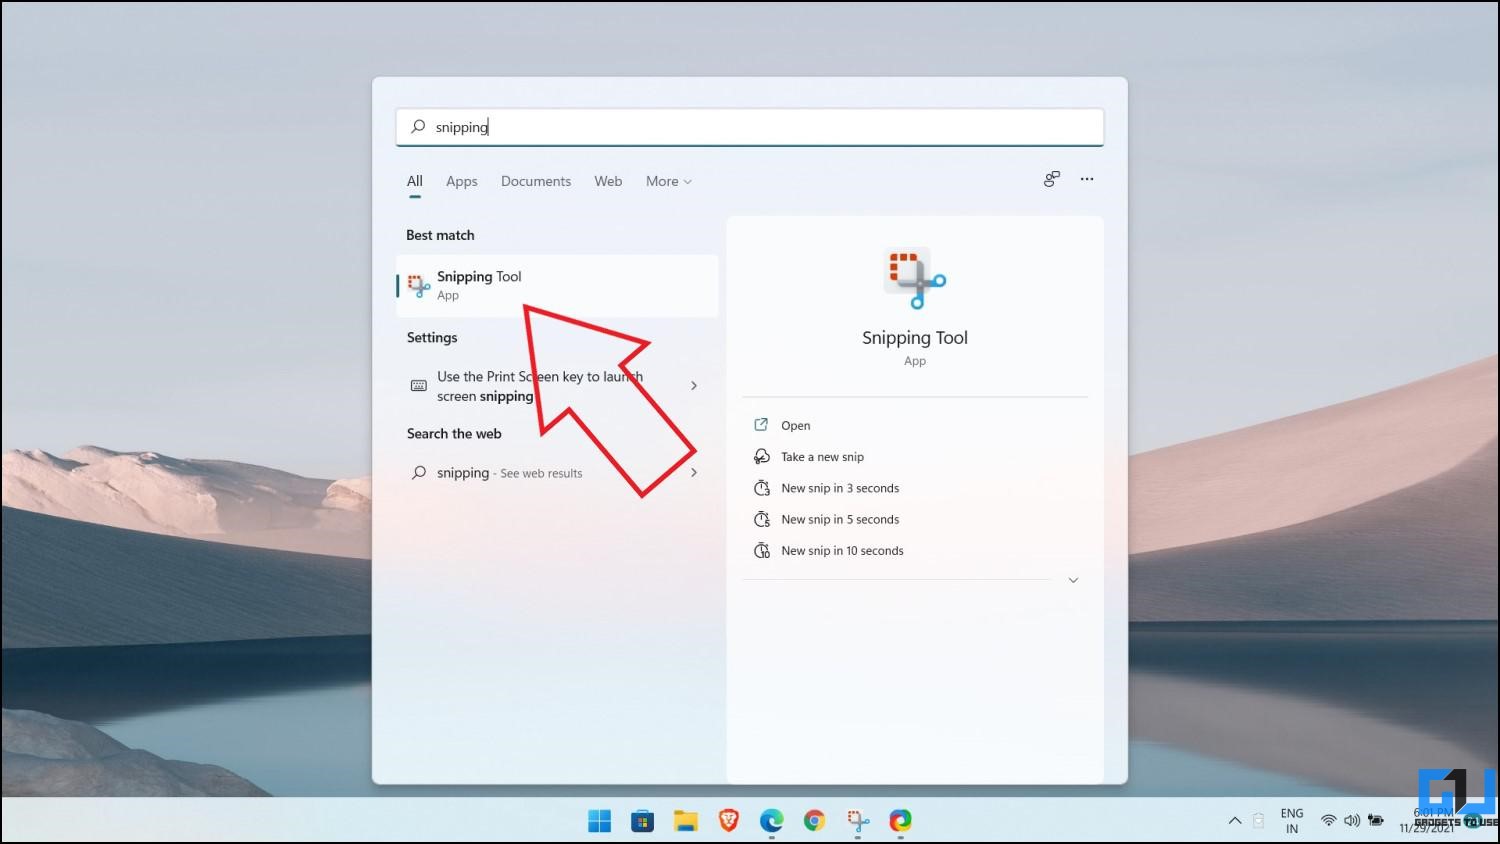
- Click on Snipping Tool from the search results.
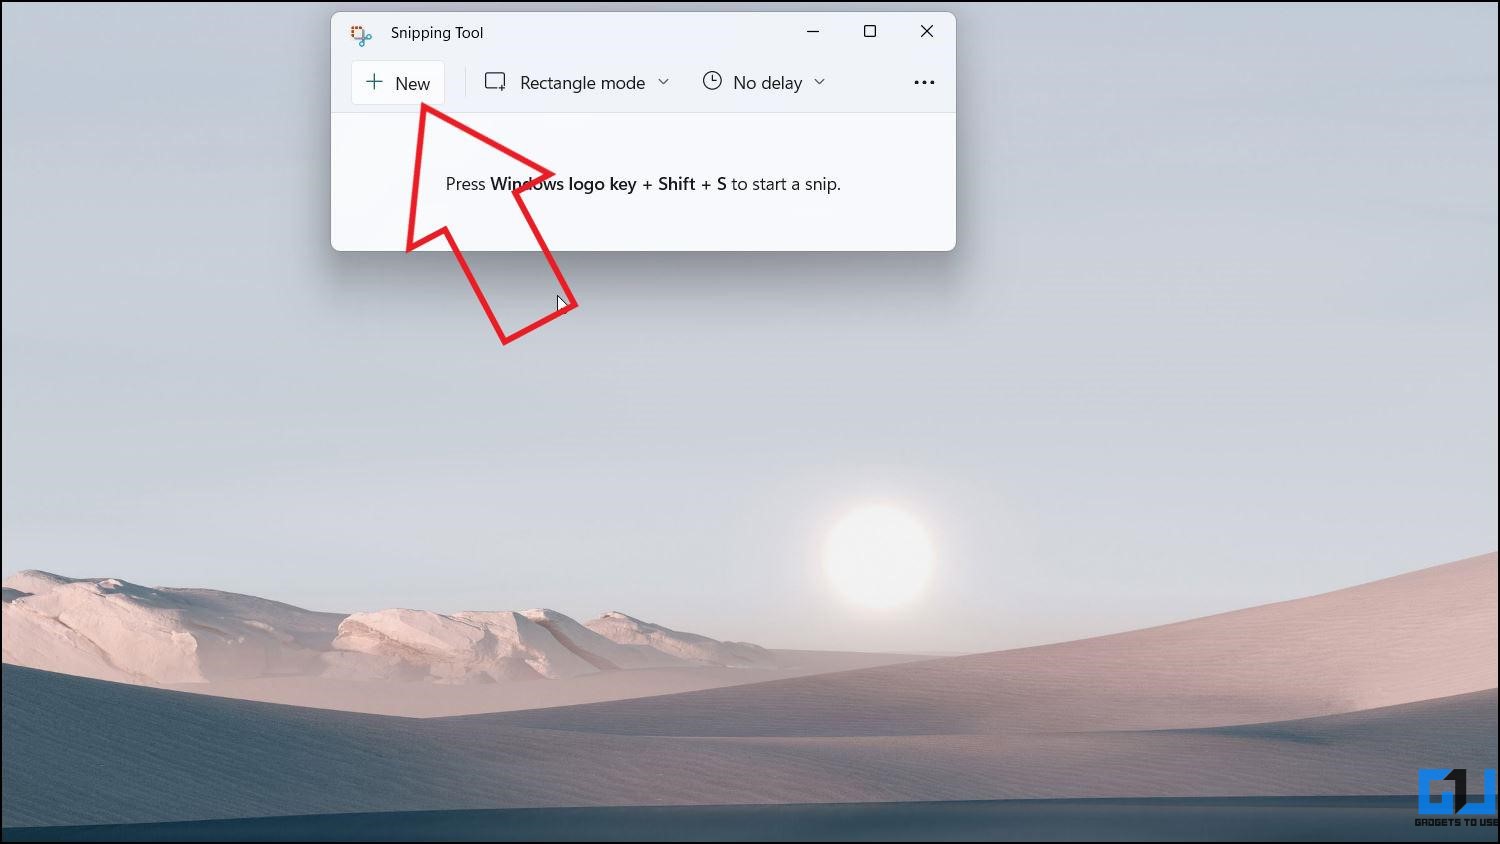
- Once the window opens, click on New to enter the screenshot mode.
- Now, select the area you want to capture using your cursor.
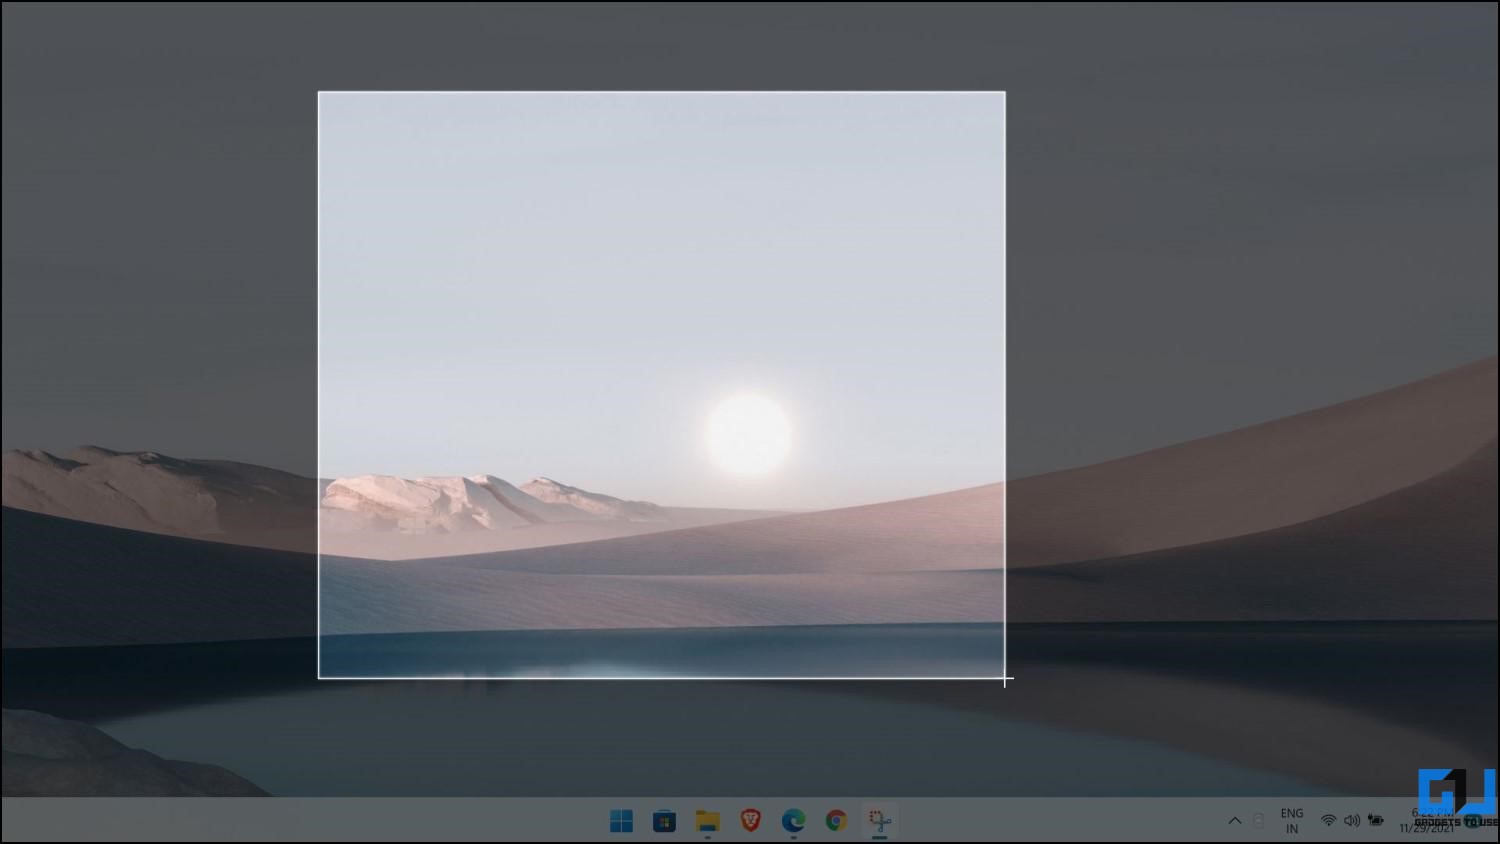
- As you release the cursor, it’ll capture a screenshot of the selected area.
When using Snipping Tool, you’ll see different ways to capture screenshots, shown below. You can select either based on your requirement.
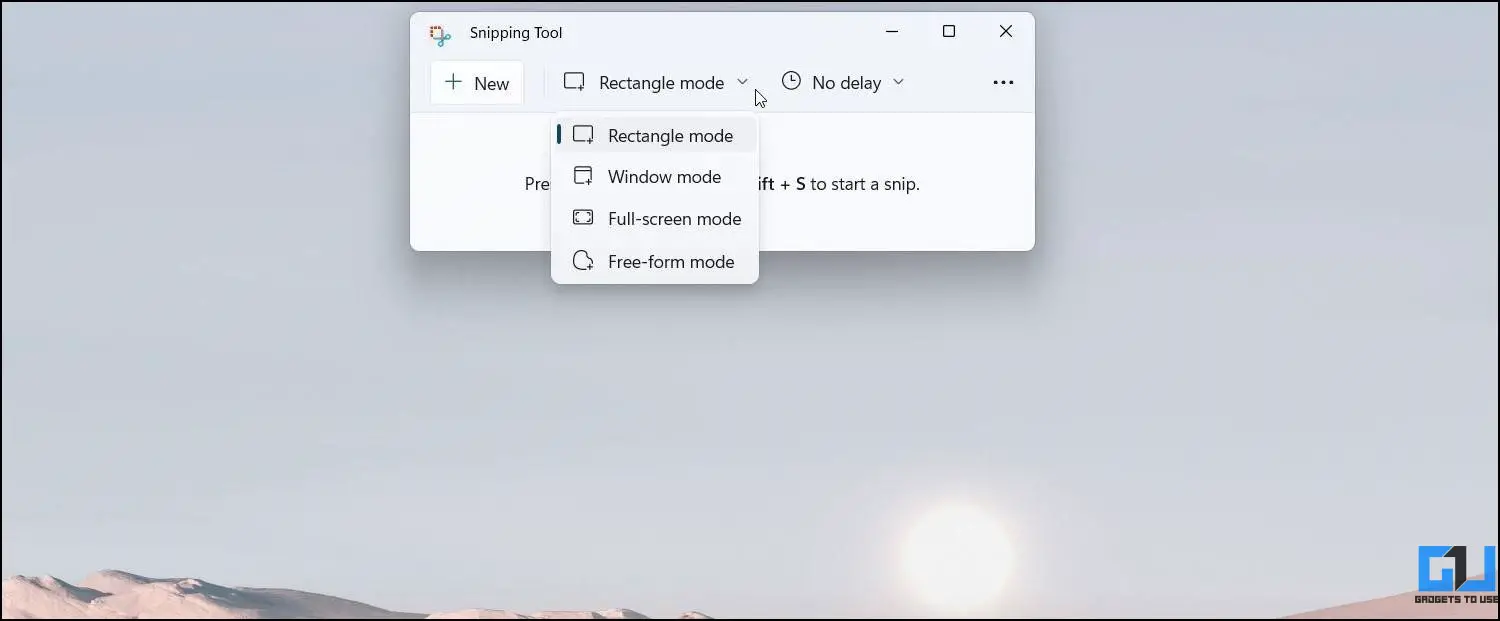
- Rectangle: Selected by default. Use it to take a screenshot of a rectangular area.
- Freeform: Select and capture a screenshot of an irregular area with your mouse.
- Windows: Take screenshots of a particular window or menu on the screen.
- Full-screen: Quickly capture an image of the entire screen.
Once done, it will open in a separate editing window where you can draw on, save, or share the screenshot. To save the screenshot, tap the Save button at the top right. Then, give it a name, select the desired location, choose the file type, and click Save.
Start Snipping Tool Quickly Using Win + Shift + S
It can be tiresome to open Snipping Tool each time you want to take a screenshot on your PC. Instead, you can use Win + Shift + S shortcut to open the Snipping Tool. Doing so will directly take you to the screenshot overlay screen, where you can select the area to capture.
Method 2- Capture Full Screen Using Print Screen on Windows 11
Print Screen is one of the traditional ways to capture screenshots on Windows devices. All you need to do is open the screen you want to capture. Then, tap the PrtSc button on your keyboard. Print Screen will quickly capture and copy the screenshot to your clipboard.
You can then attach the image in an email, edit it in an image editing software before it’s saved, or directly paste and share it in instant messaging apps like Telegram.
Since this method does not automatically save the screenshot on your PC, you’ll have to paste the screenshot into any image editing app and then save it on your device. OR paste it in Microsoft Word, then right-click the image > Save as picture to download it.
Set PrtSc Key to Open Snipping Tool Instead
Didn’t like the Print Screen method yet want the convenience to take one-click screenshots on your Windows 11 computer? Well, you can set the PrtSc key to open the Snipping Tool instead of directly capturing the whole screen. Here’s how to do it:
- Open the Start menu and select Settings. Alternatively, you can press Win + I.
- Tap on Accessibility in the sidebar at the left.

- Click on Keyboard and scroll down to the “On-screen keyboard, access keys, and Print screen.”
- Here, enable the toggle for Use the Print screen button to open screen snipping.

Hereafter, pressing the PrtSc key will take you to the Snipping Tool’s screenshot overlay, where you can capture and save the screenshot.
Method 3- Capture, Save Screenshots Automatically With Win + PrtSc
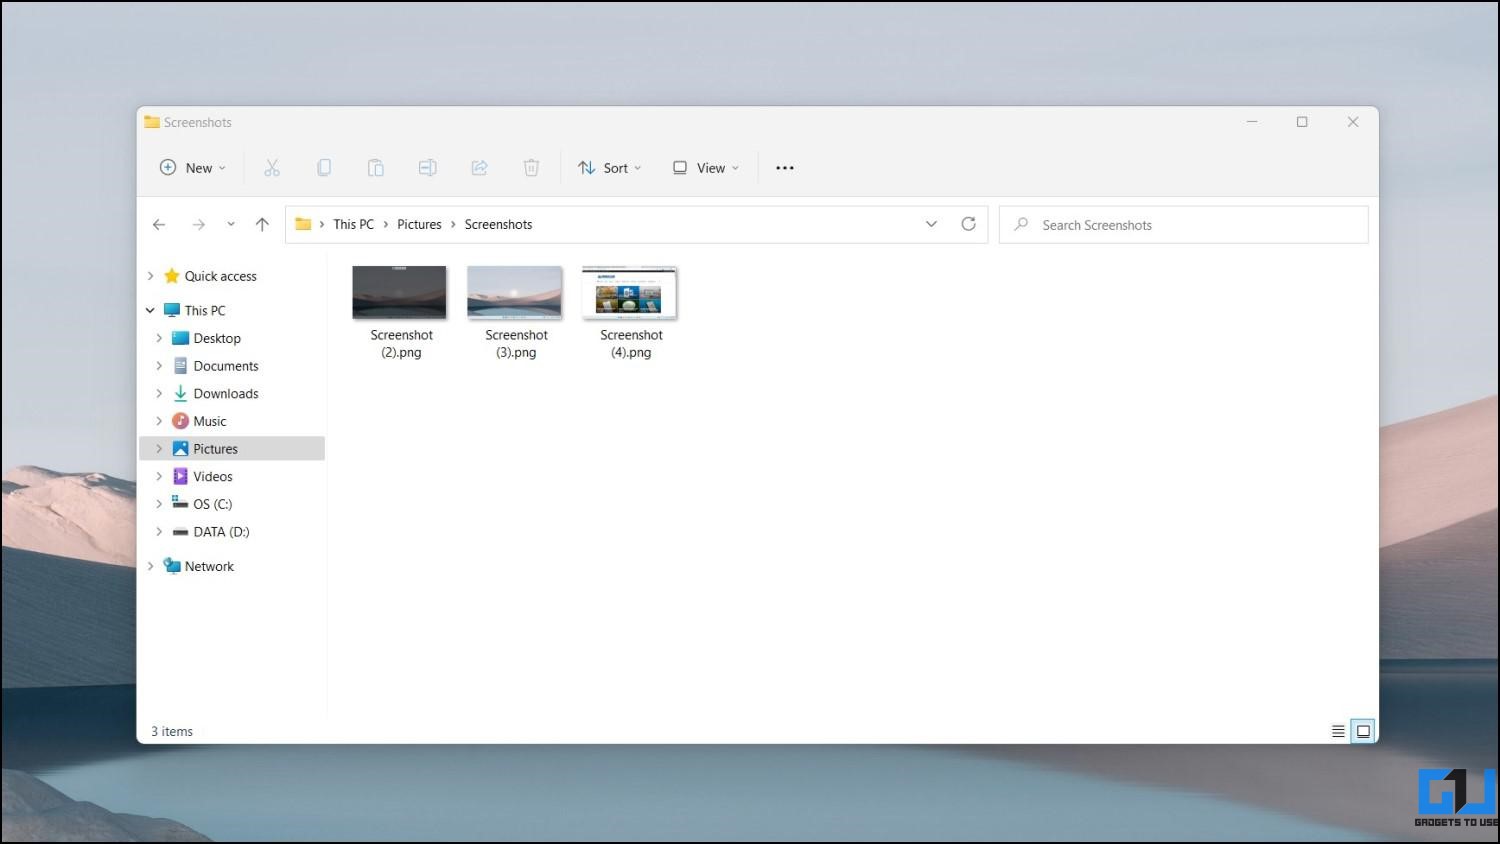
This is indeed the fastest way to capture the entire screen on your Windows 11 device. Instead of pressing the PrtSc key alone, press Win + PrtSc on your keyboard. It will capture the whole screen and save the screenshot automatically.
You can later access all the saved screenshots in Pictures > Screenshots.
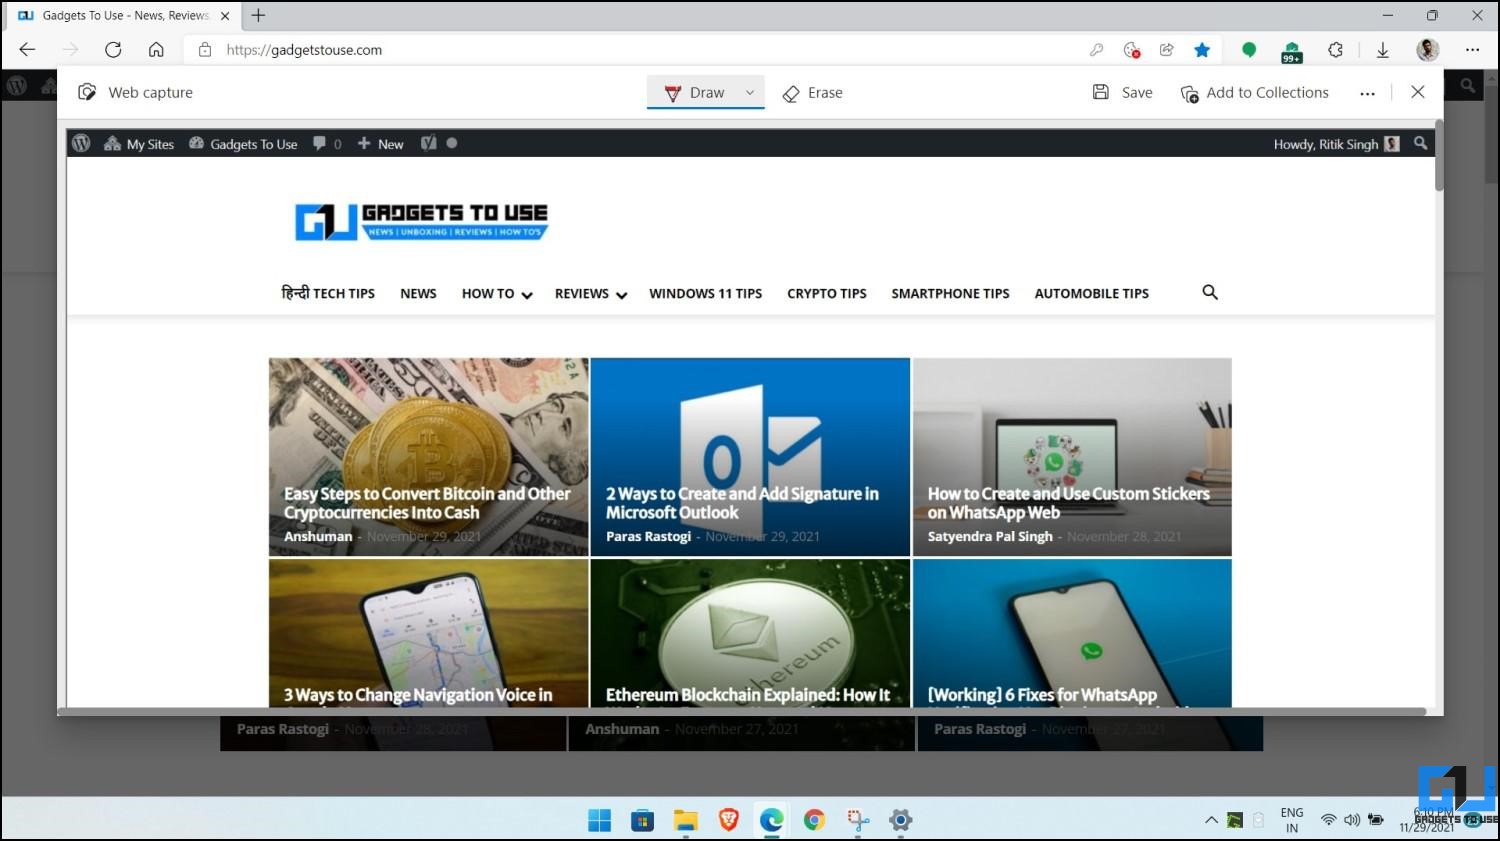
Method 4- Take a Screenshot Using Web Capture in Microsoft Edge
Microsoft Edge is the default browser on Windows 11. Interestingly, it comes with a handy feature called Web Capture to capture anything on the screen while browsing the web. If you want to save an image of the complete screen or a particular part of it while browsing, follow the steps below.
- Open Microsoft Edge and head to the page you want to take a screenshot of.
- Here, click the three-dot menu at the top right corner.
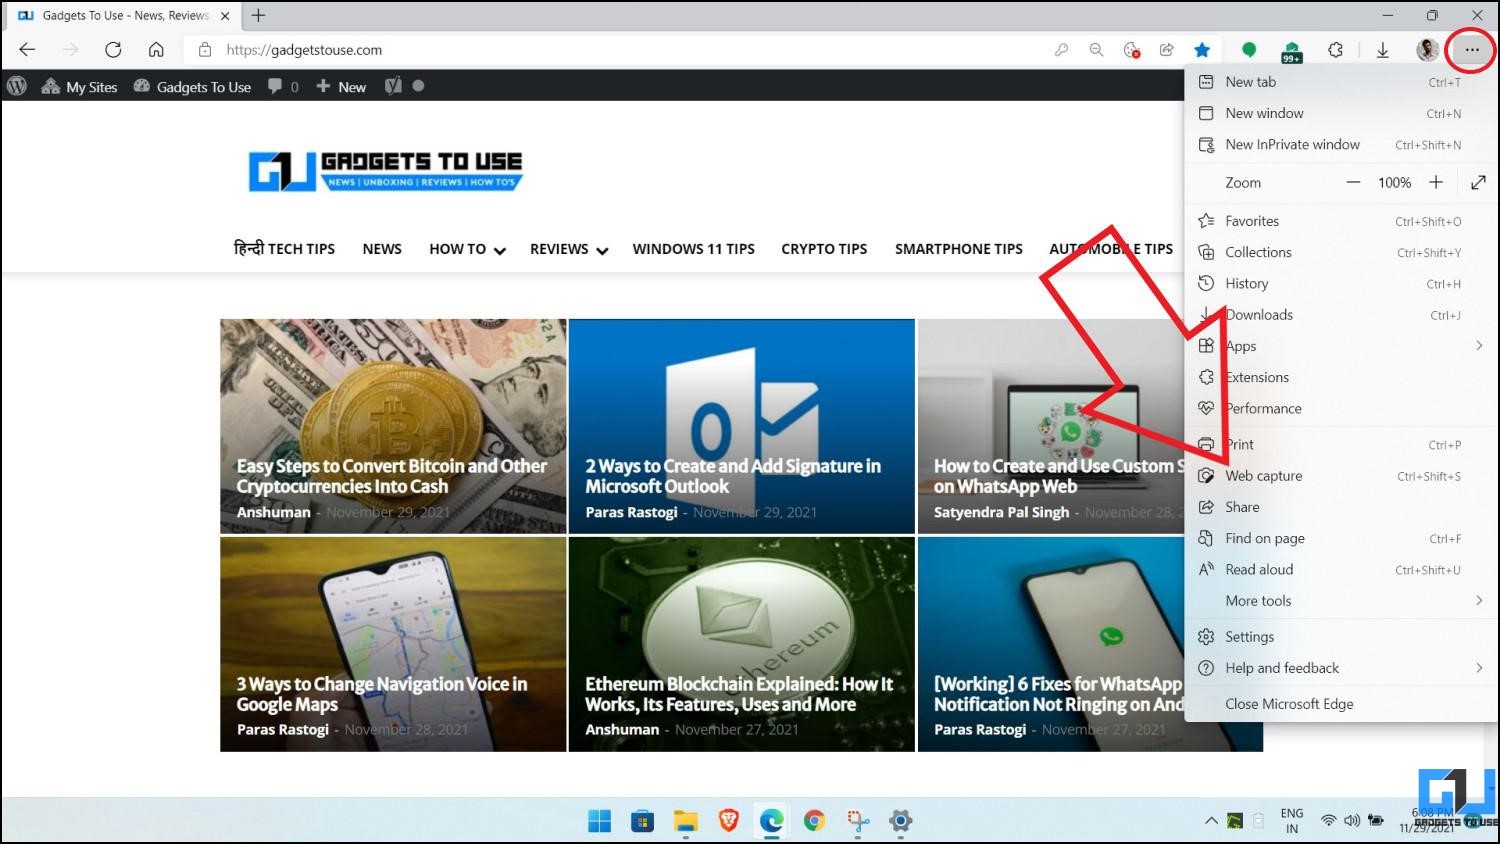
- Tap Web Capture and select whether you want to capture the whole screen or a particular area. You can also toggle it by pressing CTRL + Shift + S.
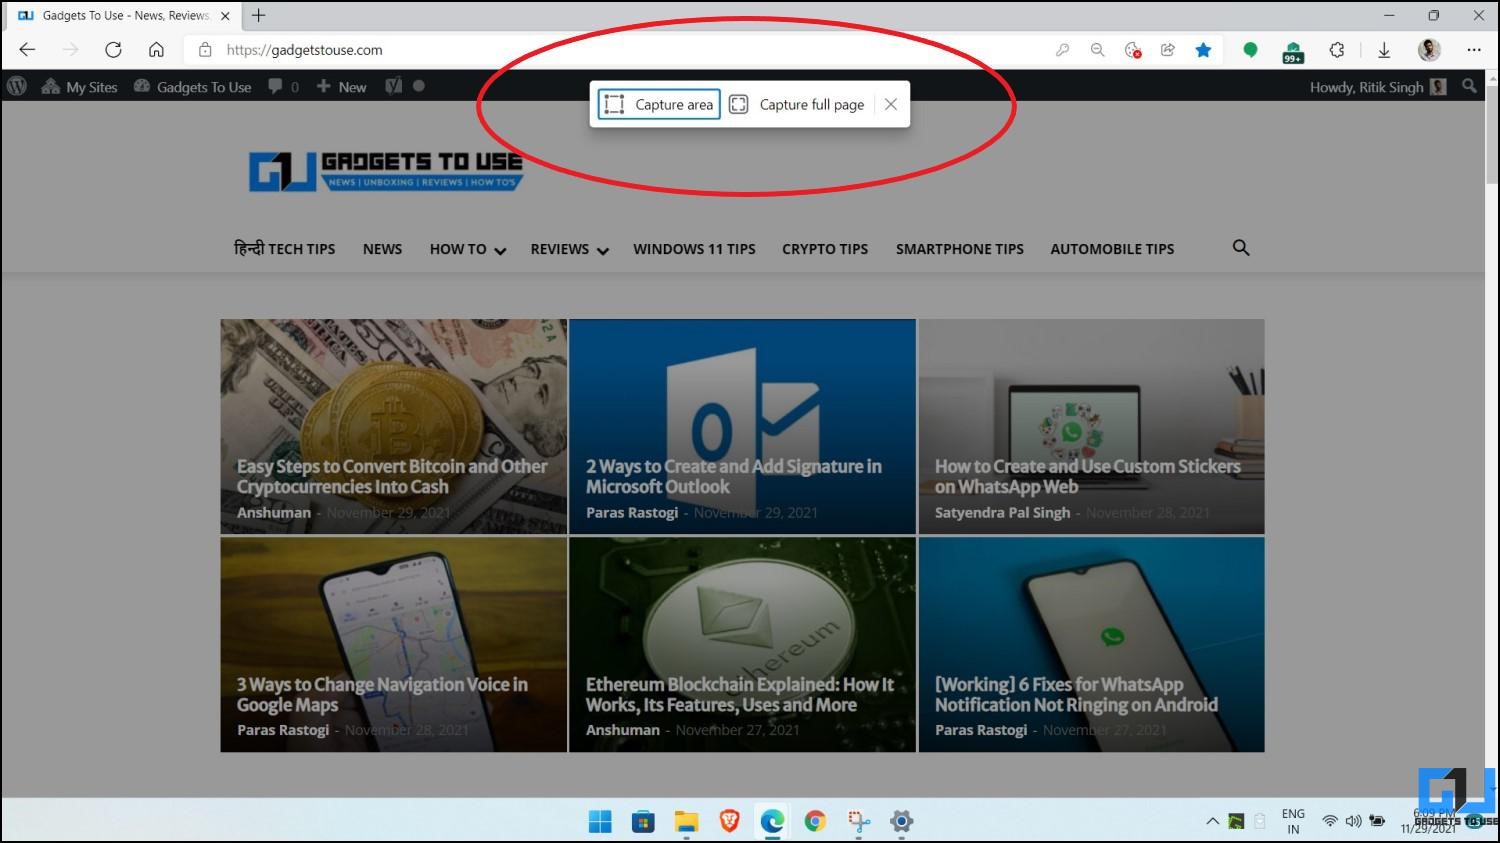
- When you capture a full-page screenshot, it’ll give you options to draw/ annotate and save the screenshot.
- Whereas, for area-specific captures, you can either tap Copy it to save it to your clipboard or select Markup to draw on the screenshot and then save it on your drive.

This method will work only for taking screenshots inside the Microsoft Edge window.
Method 5- Capture, Save Screenshots Automatically Using Game Bar
Xbox Game Bar is another built-in utility on Windows 11 with the ability to capture screenshots. While it’s originally intended to take screenshots and videos while gaming, you can use it to capture anything, as shown below.
- Open the Start menu and search for “Xbox.”
- Click on Xbox Game Bar from the search results. Alternatively, you can press Win + G.
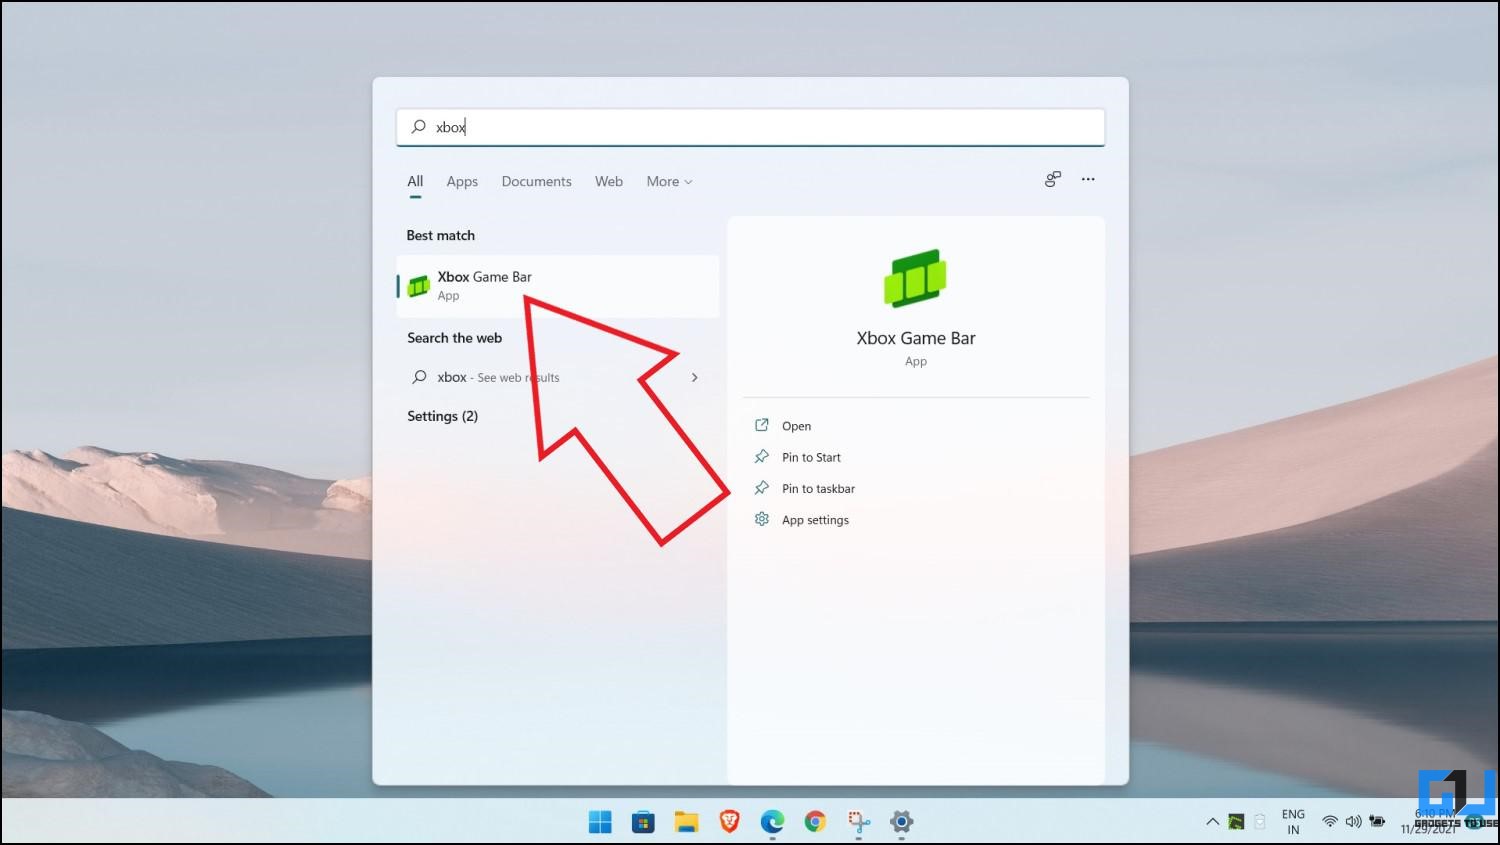
- The Game Bar overlay will appear on your screen.
- Click on Capture to open the screenshot menu.
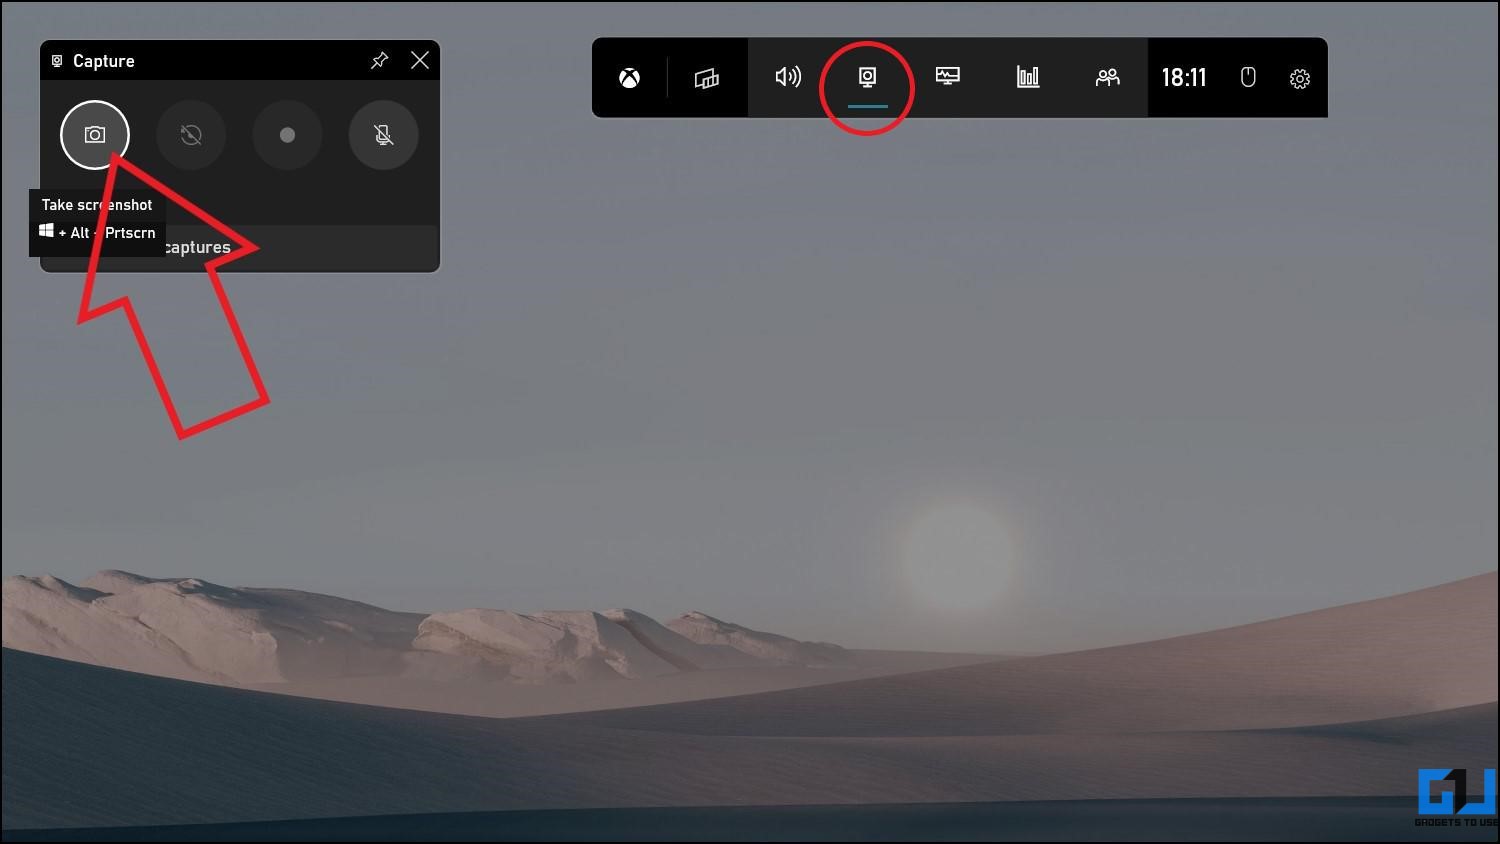
- Then, tap the Camera icon to take a screenshot.
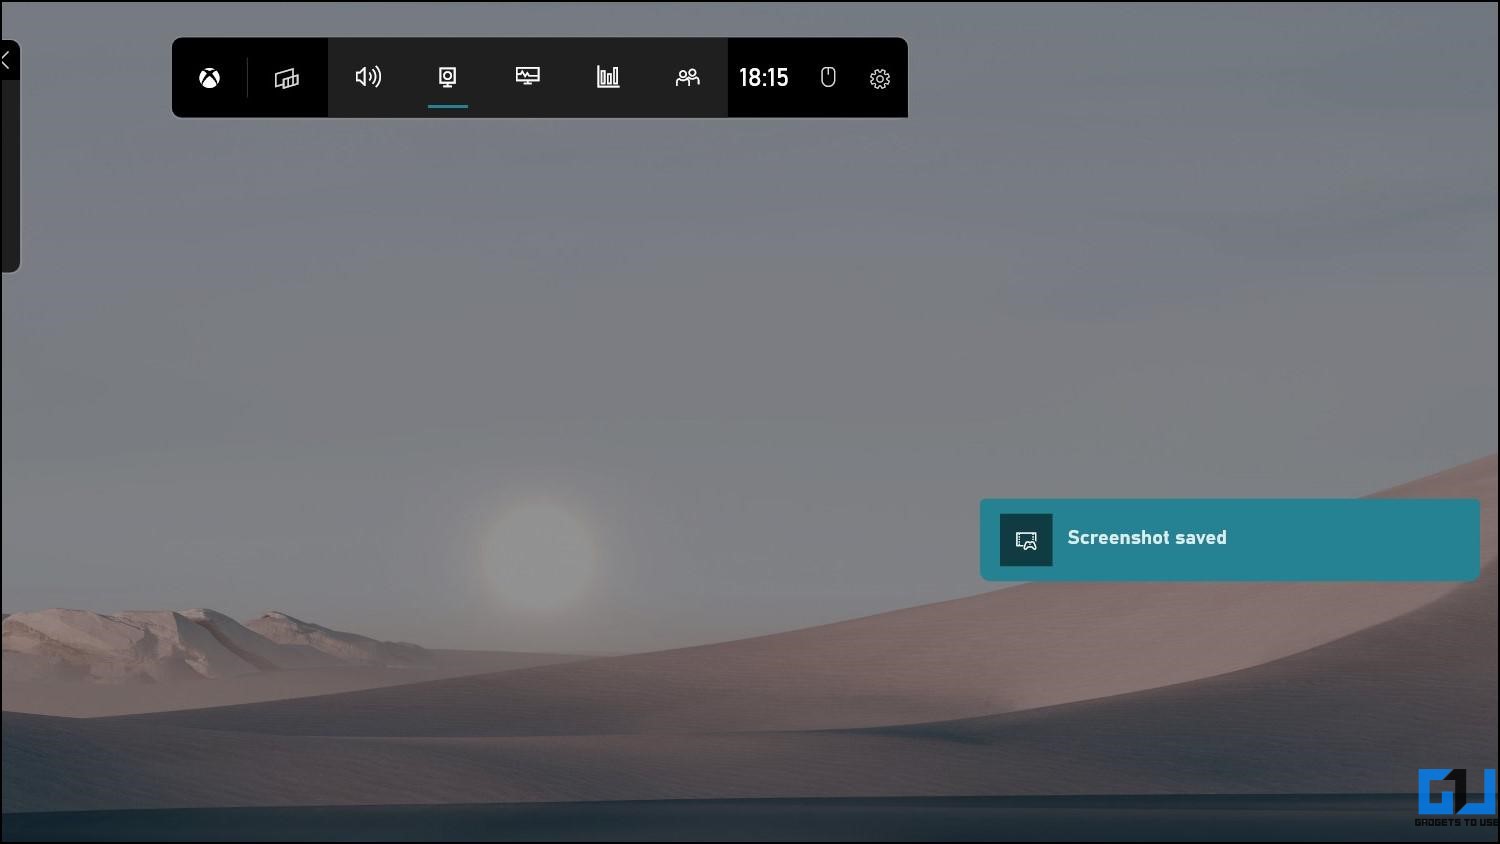
You can also press Win + Alt + PRtSc to capture a screenshot. Once done, it will show a small pop-up saying “Screenshot saved.”
Where to View the Saved Screenshots?
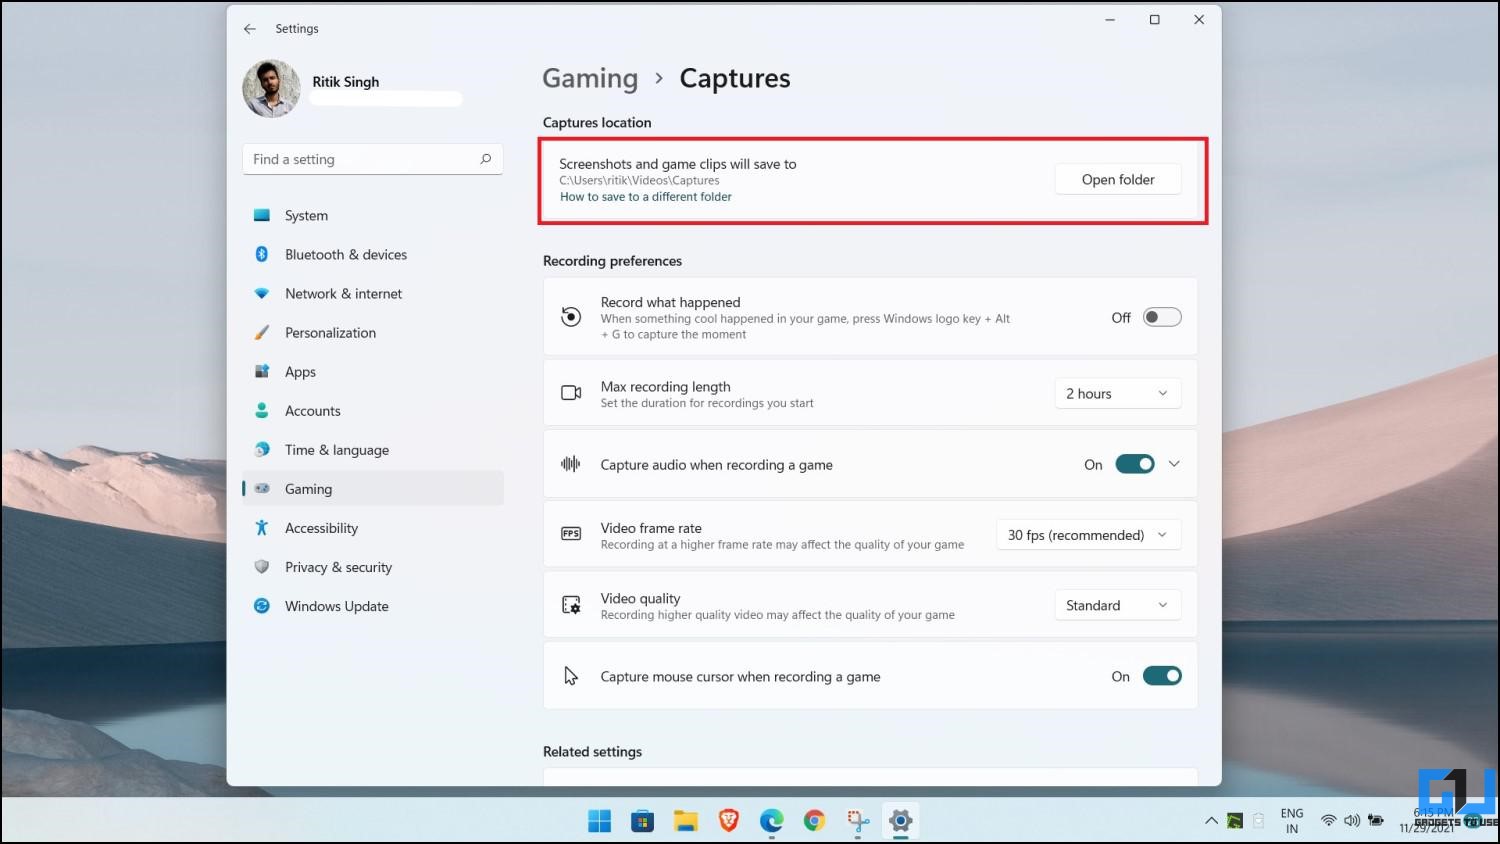
By default, the images will be saved automatically to Videos > Captures. You can directly access this folder from Settings > Gaming > Captures > Open Folder.
Change the Save Location for Screenshots
To change where the screenshots are saved, use File Explorer to move the Captures folder anywhere you want on your PC. Game Bar will continue saving screenshots in that folder, wherever you place it.
Method 6- Take Screenshots Using Third-Party Apps
Apart from the built-in methods above, you can also use third-party apps to take screenshots on your Windows 11 device. Some of the popular ones are mentioned below.
1. ShareX- For Advanced Users
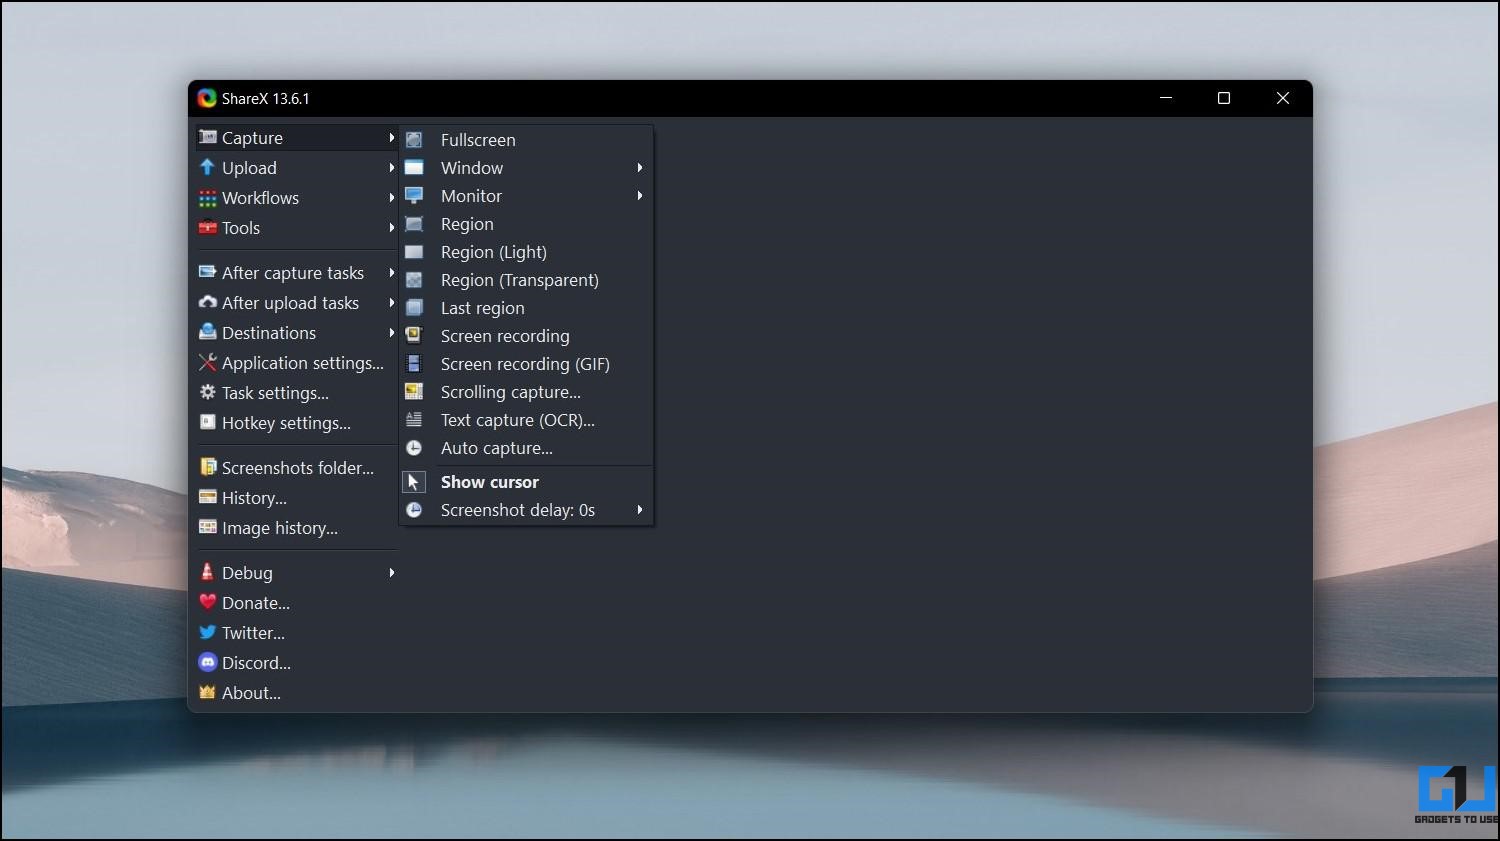
ShareX is a free and open-source screenshot tool that works well on the latest Windows 11. It is a full-fledged application that lets you capture screenshots of the full-screen, a particular window, a specified part of the screen, or even a different monitor.
Once you capture a screenshot, you can edit it with options to annotate, highlight, add text, blur, pixelate, add stickers, and much more.
The tool also packs a Scrolling Capture feature to take scrolling screenshots, followed by screen recording and OCR text capture. Furthermore, you can configure it to perform upload tasks every time you take a screenshot automatically.
Download ShareX for Windows (Free)
2. GreenShot- For Basic Users
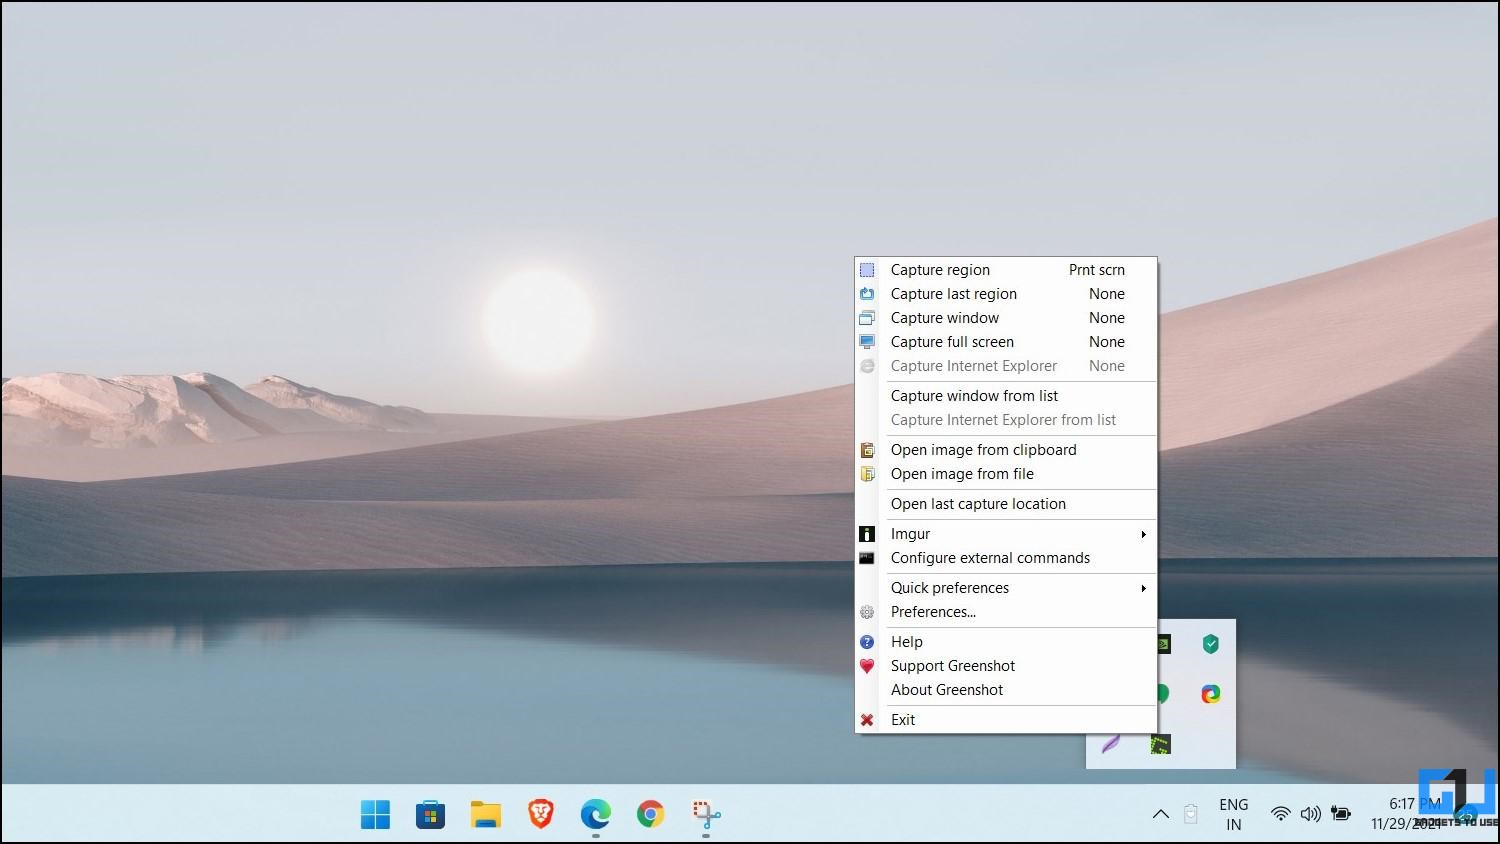
GreenShot is a rather simple, lightweight, and easy-to-use app for taking basic screenshots on Windows. Once installed, it will run in your system tray.
Anytime you want to take a screenshot, open it from the system tray menu or press the set shortcut keys and select an option to capture the screen. Using it, you can capture a screenshot of the complete screen, a particular window, or a region.
You can also explore other options in Preferences like delay while taking screenshots, whether to capture the mouse cursor, image quality, and more. While Greenshot is a relatively old app that hasn’t seen any updates since 2017, it works fine on the latest Windows 11.
Download GreenShot for Windows (Free)
How Do You Take Screenshots on Windows 11?
These were some handy ways to take a screenshot on your Windows 11 PC. I hope this saves you time and effort while trying to capture the screenshot on your laptop or desktop. Out of all, I usually rely on the Snipping Tool to clip the screen. Anyways, which of the above methods do you prefer for capturing the screen on your PC? Have anything else to recommend? Let us know in the comments below.
You can also follow us for instant tech news at Google News or for tips and tricks, smartphones & gadgets reviews, join GadgetsToUse Telegram Group or for the latest review videos subscribe GadgetsToUse Youtube Channel.