Quick Answer
- Want to guide a user on where to click or which option to use on the screen.
- Want to magnify or zoom in on a specific part of the screenshot on your iPhone or iPad.
- Tap the Plus icon and use the pen tools to draw on the screen.
Screenshots are a handy way to capture, save, and share what’s happening on your screen. On iPhone, you can easily take a screenshot by pressing the Side and Volume Up/ Touch ID simultaneously. And interestingly, iOS provides built-in options to edit the screenshots using Markup tools. In this article, let’s see how to magnify, highlight, draw, and annotate screenshots on iPhone.
Related | 6 Quick Ways to Turn Off Camera and Screenshot Sound on iPhone
Magnify, Highlight, Draw, and Write on iPhone Screenshots
You can edit your screenshots like a pro with Markup on iOS. It lets you write and annotate, add shapes and speech bubbles, freely draw, and even highlight and magnify the parts of the image. Here’s how you can use it to get the most out of screenshots on your iPhone.
Magnify a Specific Part of iPhone Screenshot
Want to magnify or zoom in on a specific part of the screenshot on your iPhone or iPad? Here’s how to do it.

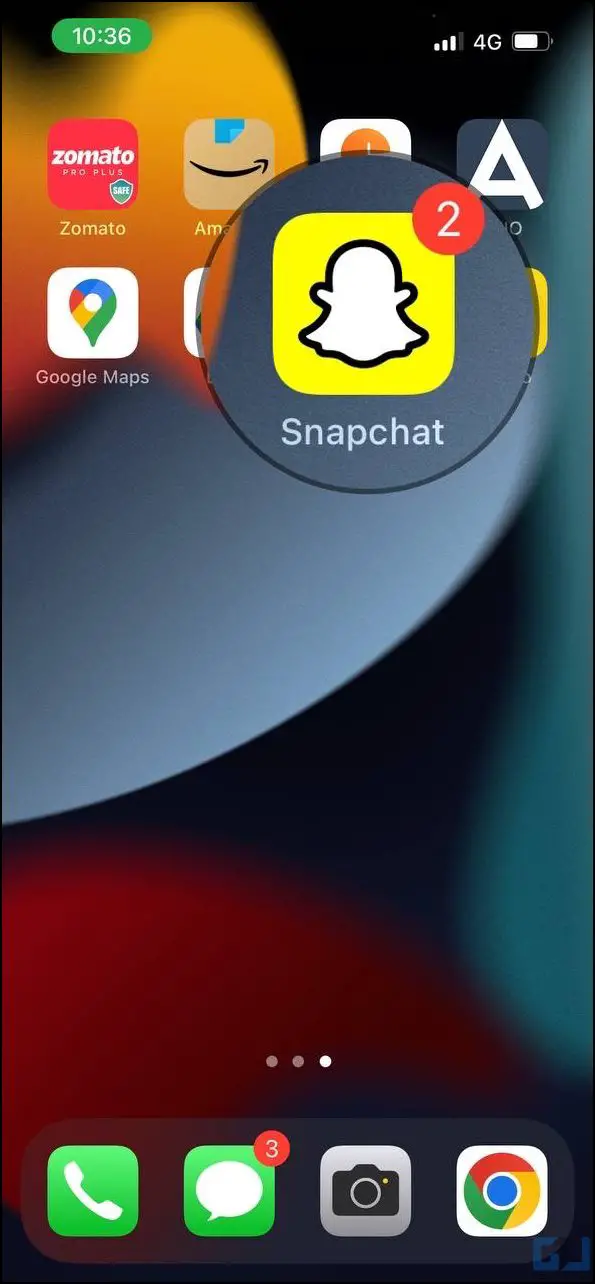
1. Take a screenshot on your iPhone. You’ll hear the sound with a small preview at the bottom left of the screen. Tap the preview.
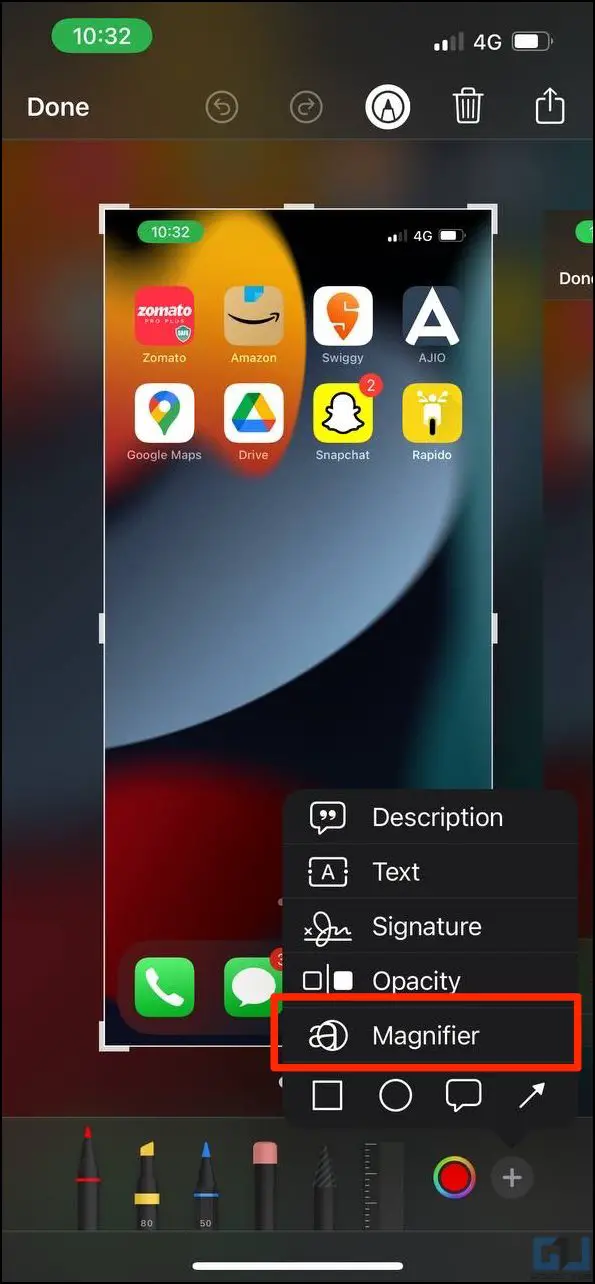
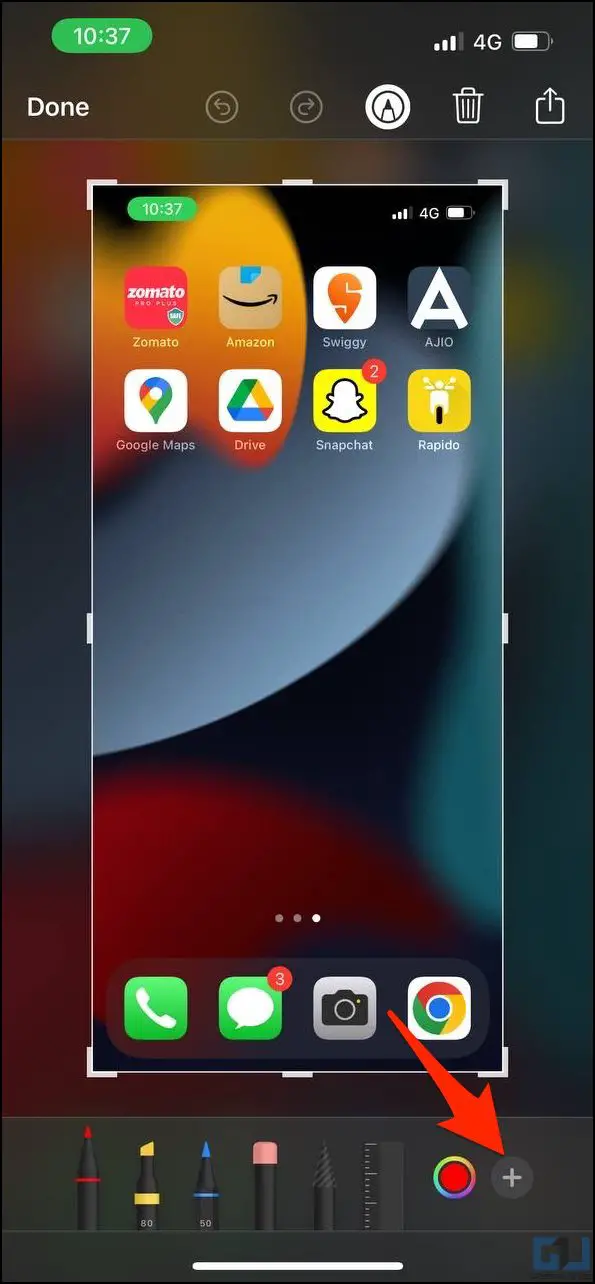
2. The Markup window will open. Tap the Plus icon at the bottom right to reveal options.
3. Click on Magnifier.
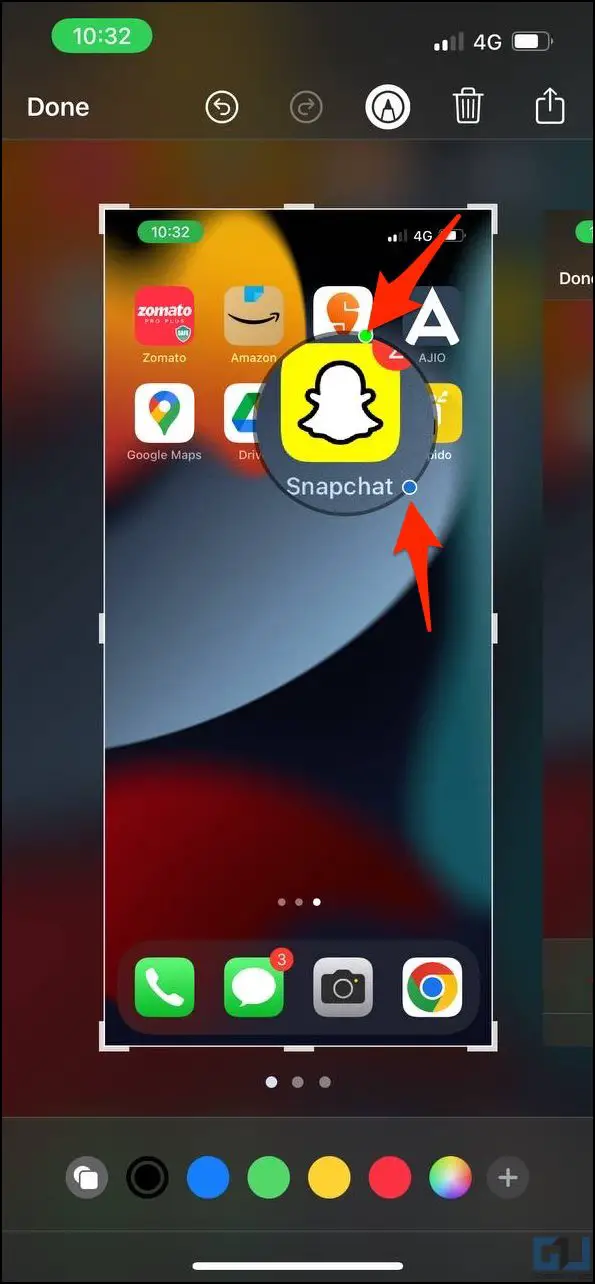
4. A magnifying circle will appear on the screen. Move and drag it around to zoom the part of the screenshot.
5. You’ll see two dots- green and blue. Use the green dot to zoom in and out. Whereas use the blue dot to increase or decrease the magnified area.
6. Next, use the color palette at the bottom to change the magnifier circle color.
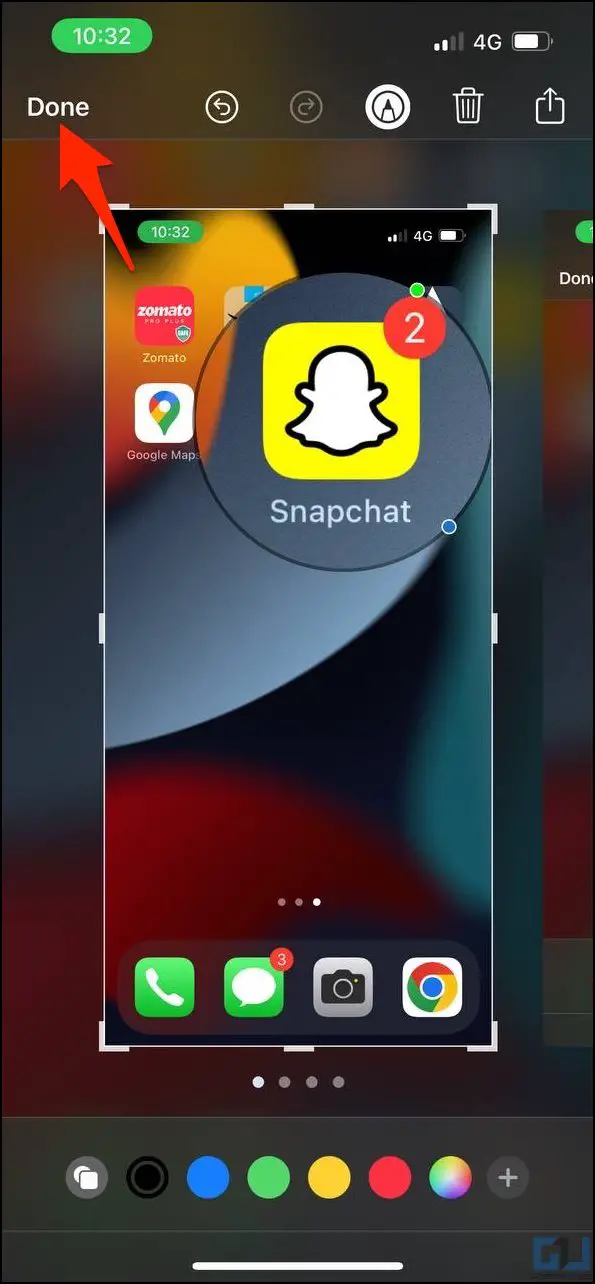
7. Tap Done to save the screenshot.
Annotate, Write Text, or Sign on Screenshots
iOS lets you write text with full freedom to change font style and color and even place your signature on screenshots, as shown below.
1. Tap the preview window that appears at the bottom left after capturing a screenshot.
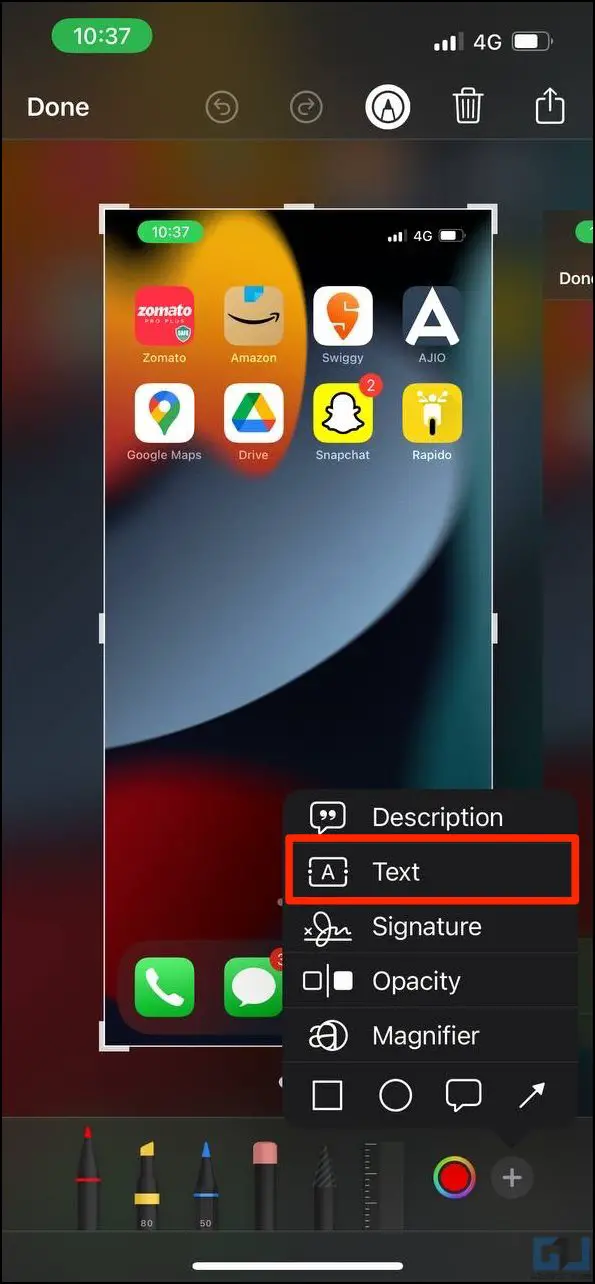
2. Click the Plus icon and select Text.
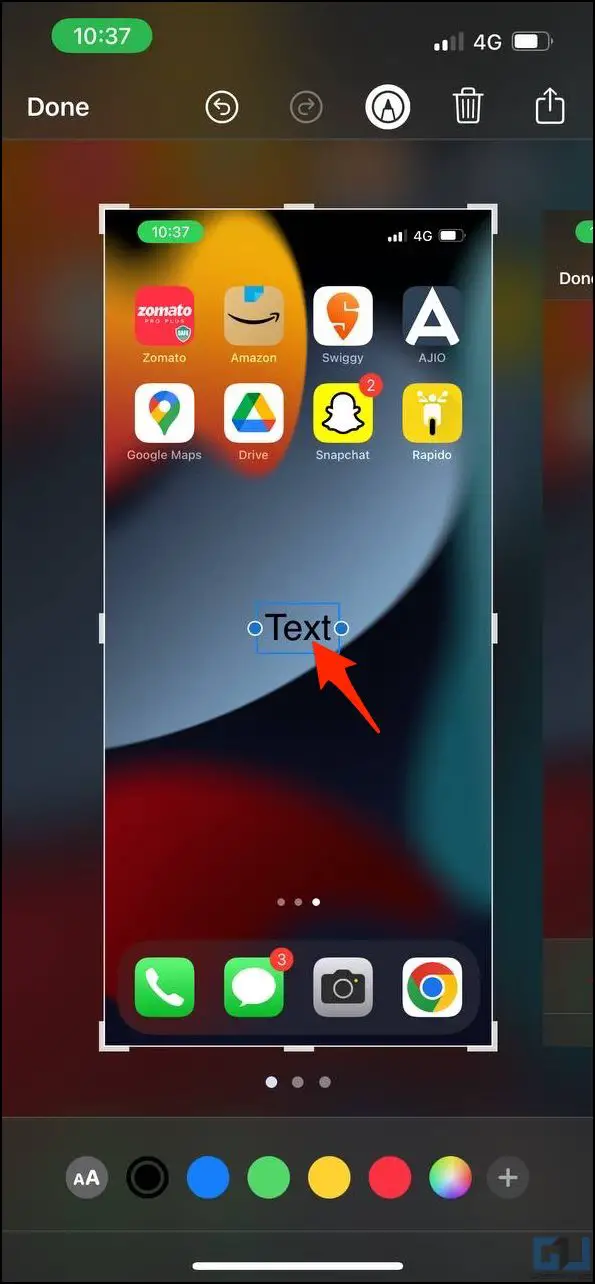
3. Double-tap the box and type what you want. Use the blue dots to expand it or simply drag it to move around.

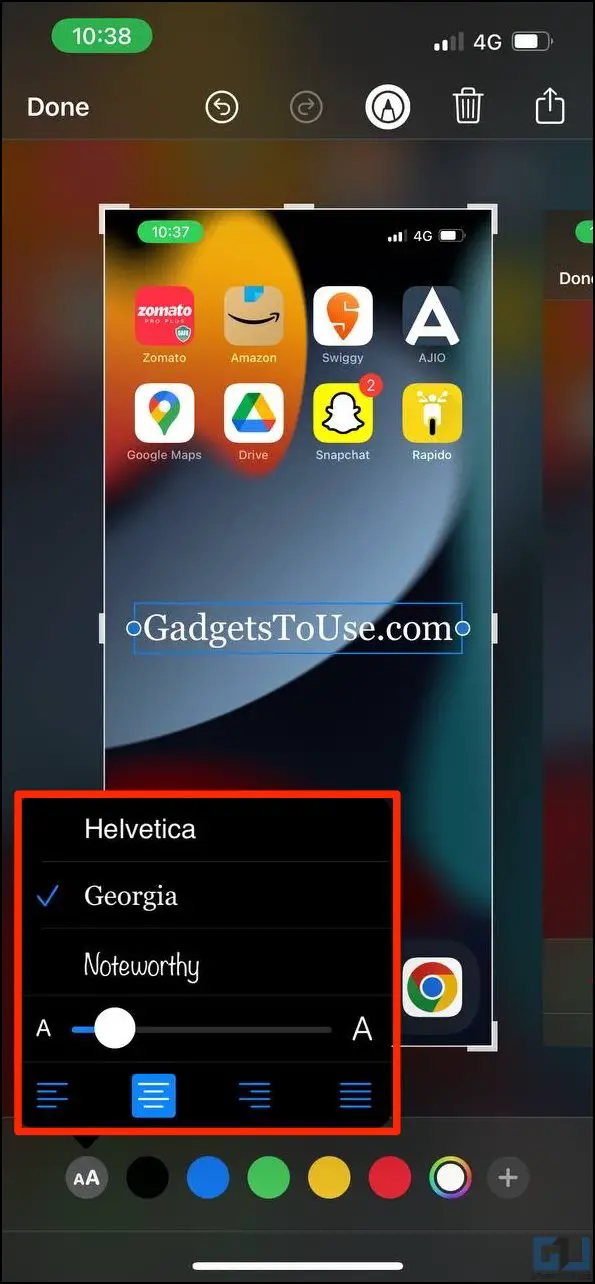

4. Use the aA button at the bottom left to choose the desired font style, size, and alignment. And the palette at the bottom to change color.
5. Markup also lets you add an image description and sign on the screenshot through the given options.
6. Finally, tap Done to save the screenshot.
Insert Shapes or Speech Bubbles on iPhone Screenshots
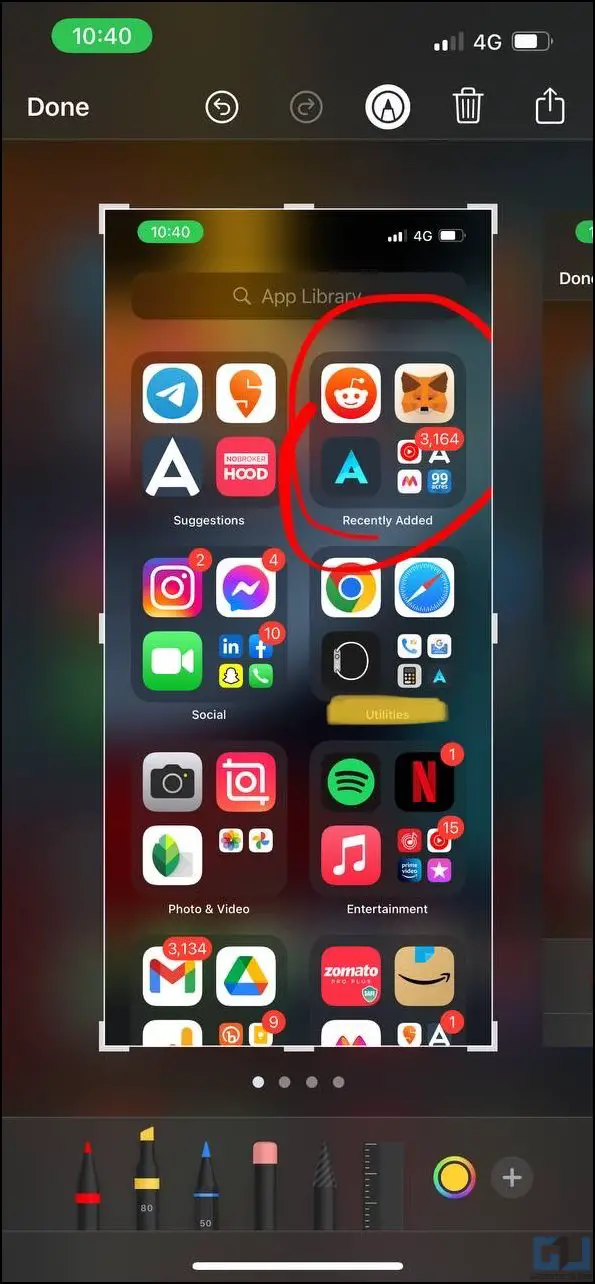
Want to guide a user on where to click or which option to use on the screen? This is where shapes come in handy to encircle a particular part in the screenshot. You can also insert speech bubbles to place text inside.

1. Tap the screenshot preview to enter the edit screen.
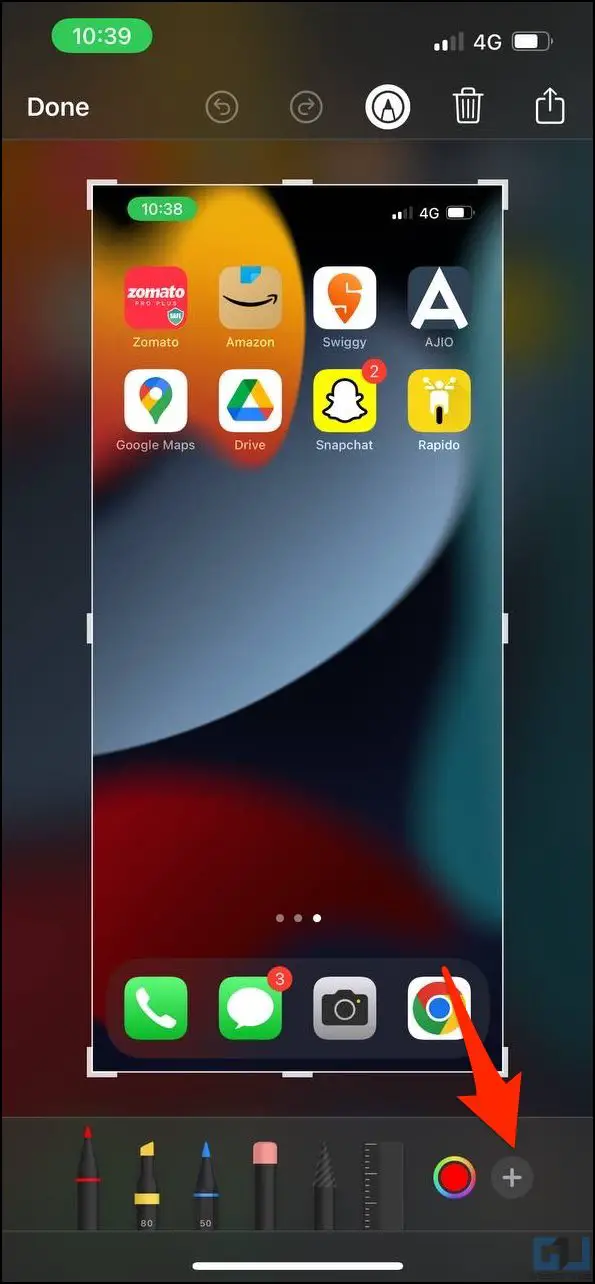
2. Click the Plus icon.
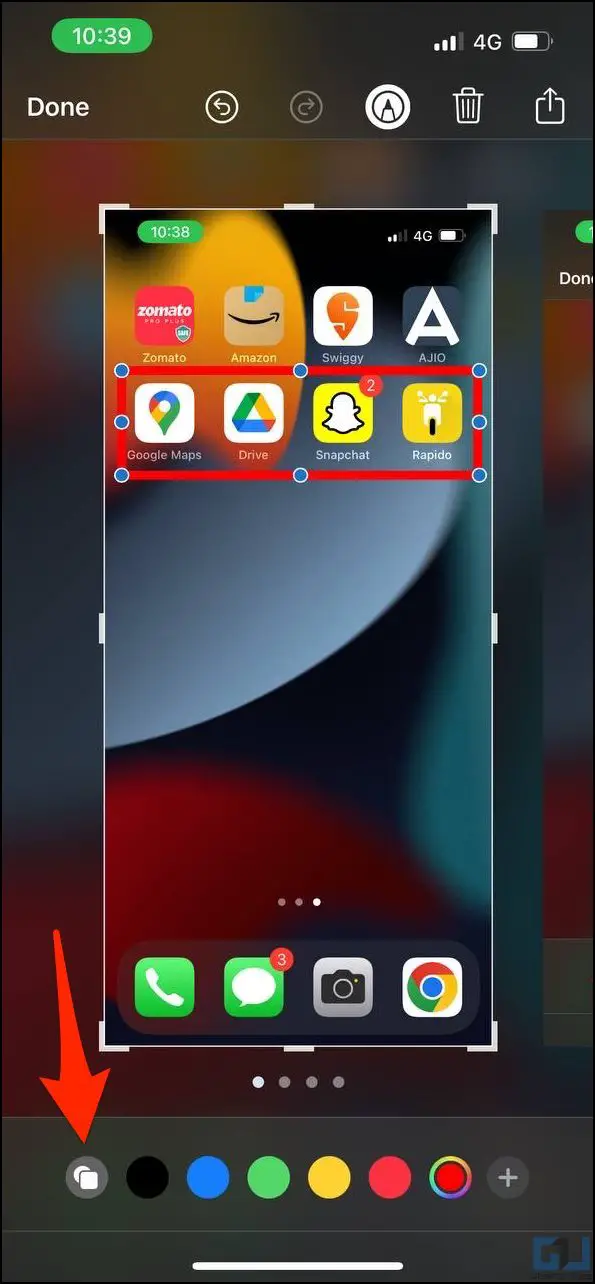
3. Here, you can add shapes like an arrow, rectangle, ellipses, and speech bubbles.
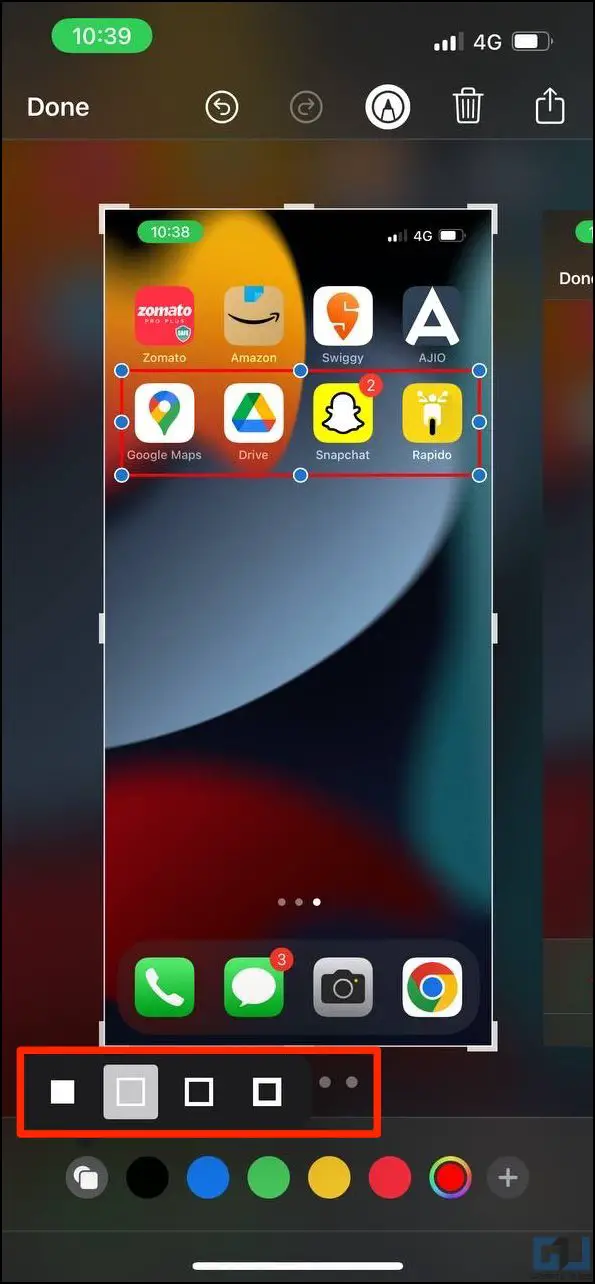


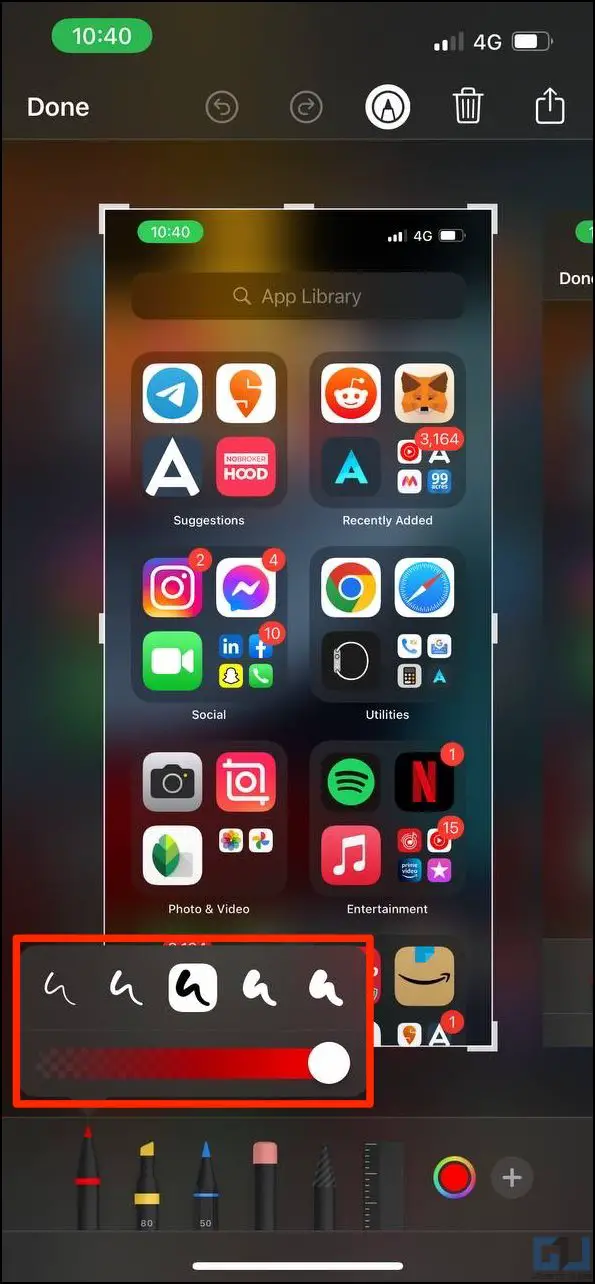
4. Furthermore, tap the options at the bottom left to change the shape style or increase or decrease thickness.
Related | How to Set Any Song As Ringtone on Your iPhone
Draw or Highlight on iPhone Screenshots
Alternatively, you can use the pen tools to draw on the screenshots freely. This can be super useful for people capturing screenshots for giving tutorials.
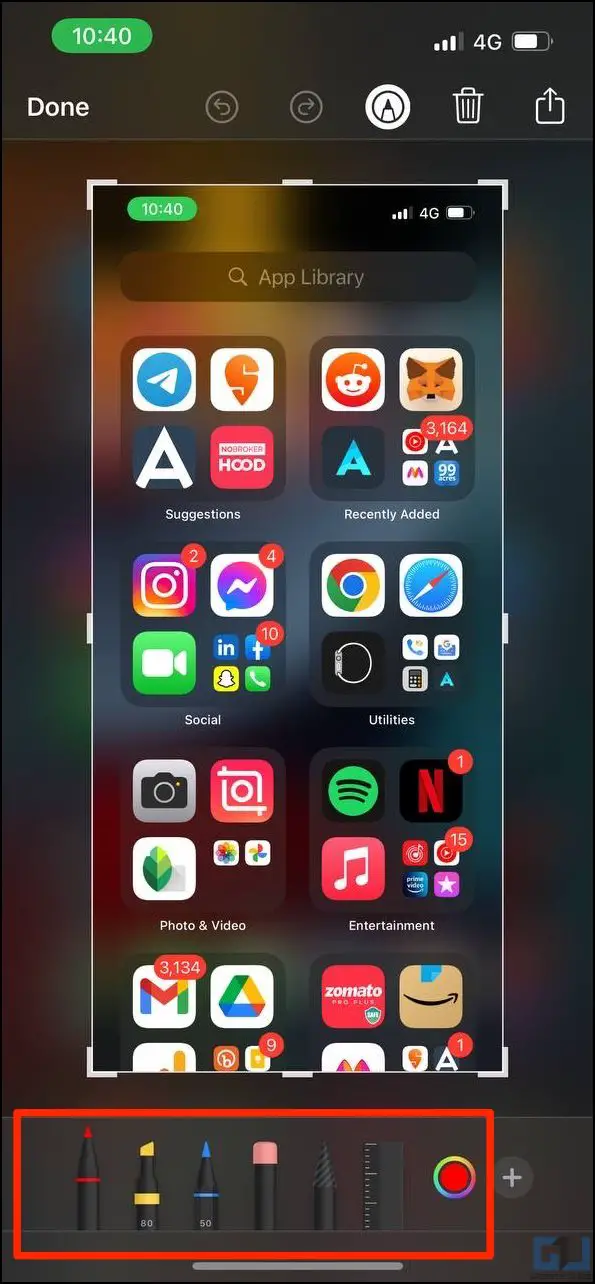
1. Tap the screenshot preview thumbnail.
2. Tap the Plus icon and use the pen tools to draw on the screen. You can erase the drawing by using the pink-tip eraser tool.
3. To highlight a part, use the Yellow color highlighter pen.
4. You can also toggle a virtual scale by tapping the Scale icon.
Decrease Screenshot Opacity
Lastly, you can change the screenshot’s opacity to put more emphasis on your markups. To do so, follow the steps below.
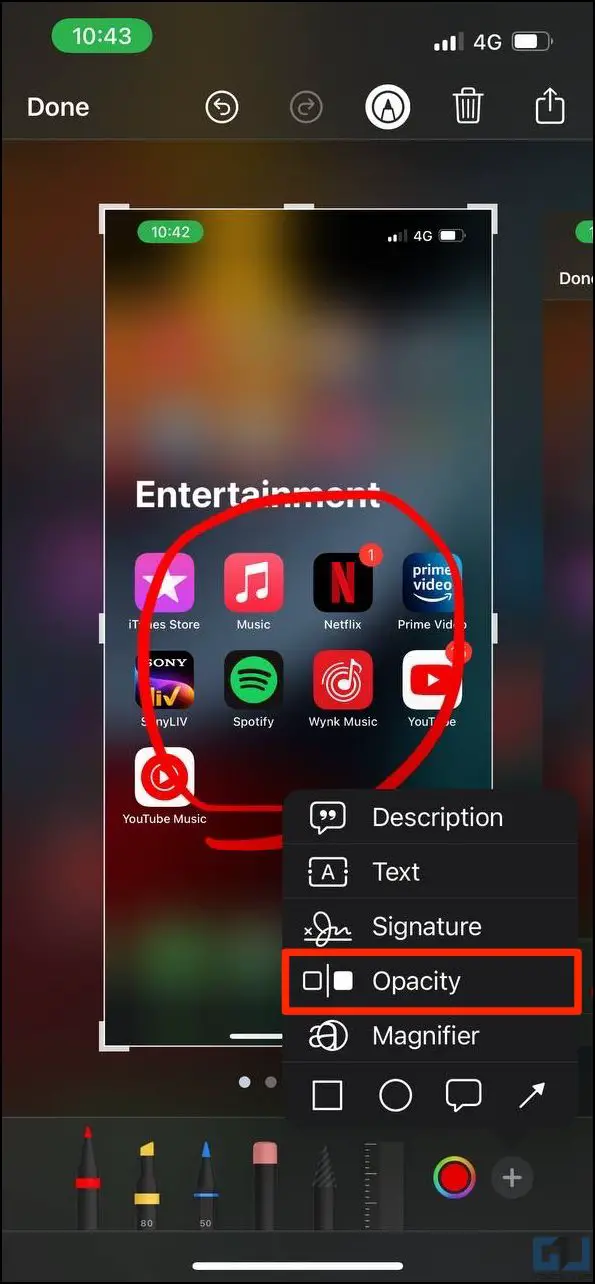
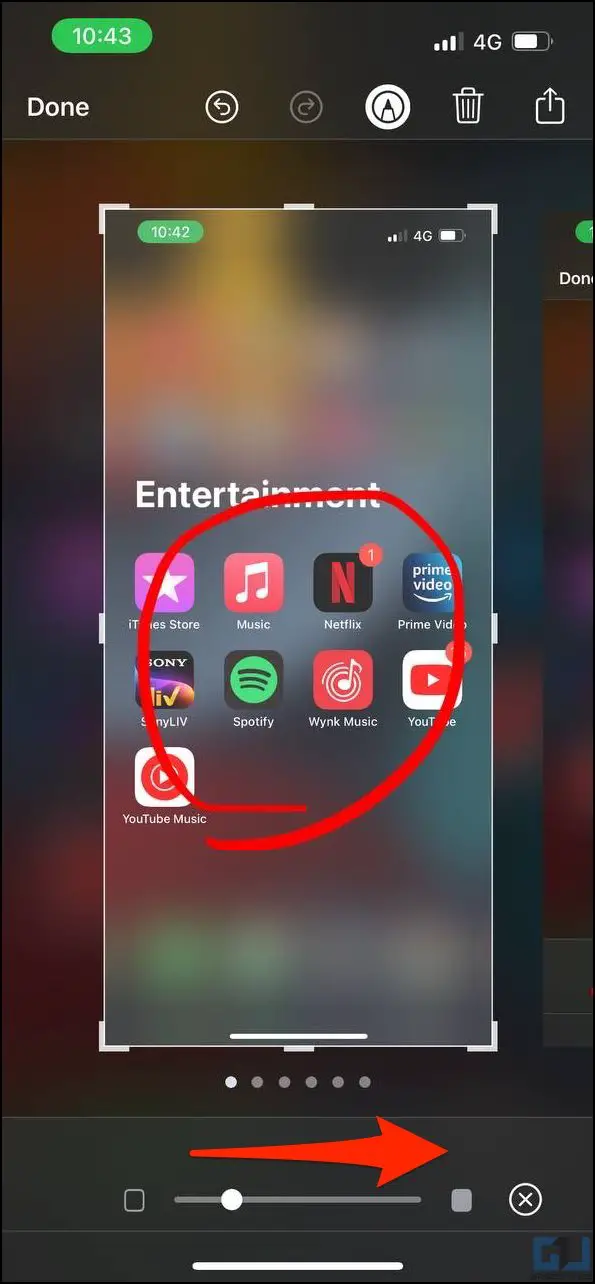
1. Tap the screenshot preview thumbnail to enter Markup tools.
2. Click on the Pen icon and tap Opacity.
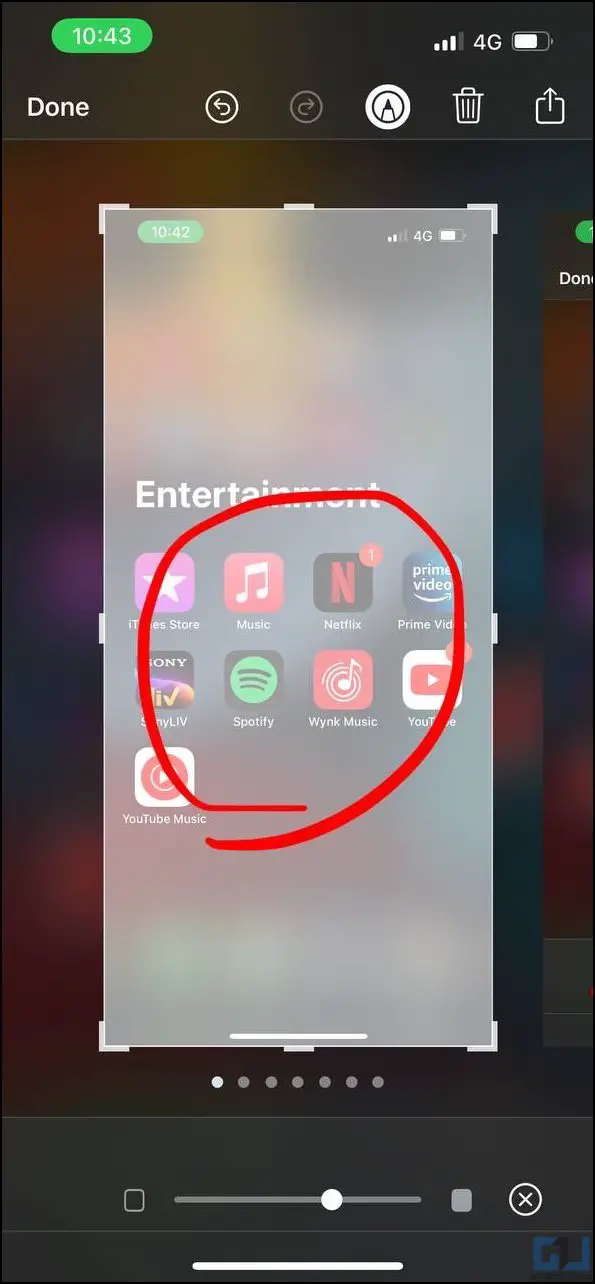
3. Use the given slider to reduce the screenshot opacity or increase transparency.
As you increase it, the screenshot will turn whiter. You can use it to accentuate the markups in the screenshot, especially if the image looks crowded or too cluttered to understand what’s happening.
Wrapping Up
This was all about how you can edit screenshots on iOS with Markup tools. I hope the above guide helps you write or annotate text, draw shapes, and highlight or magnify important parts of screenshots on your iPhone. Stay tuned for more such tips, tricks, and how-tos.
You can also follow us for instant tech news at Google News or for tips and tricks, smartphones & gadgets reviews, join GadgetsToUse Telegram Group or for the latest review videos subscribe GadgetsToUse Youtube Channel.