Quick Answer
- Click on the drop-down menu next to the Search Engine used in the address bar and choose your preferred search engine from the list.
- The first method is to set a default search engine and disable the others from the list of options.
- Click on Manage search engines and site search to reveal a list of all the search engines available in Chrome.
Is your search engine changed out of the blue on Google Chrome? There can be multiple reasons behind it; fret not, as you can prevent these unwanted changes and secure your search engine settings on Google Chrome. Here are six methods that ensure your search engine remains safe and secure and avoids unpleasant surprises while enjoying a better browsing experience.

How Do I Stop Search Engine From Changing in Google Chrome?
It can be frustrating when your browser’s search engine changes to something else. It can happen due to new browser extensions installation, visiting a website that hijacks your browser settings, or someone else using your computer. Here are six methods to lock your browser search engine on Google Chrome.
Method 1 – Set a Default Search Engine and Disable Others
The first method is to set a default search engine and disable the others from the list of options. This way, you can ensure that your preferred search engine will always be used for browsing the web.
1. In Chrome, click the three-dot menu icon at the top right corner and select Settings.

2. In the settings page, click on Search Engine.
3. Click on the drop-down menu next to the Search Engine used in the address bar and choose your preferred search engine from the list.
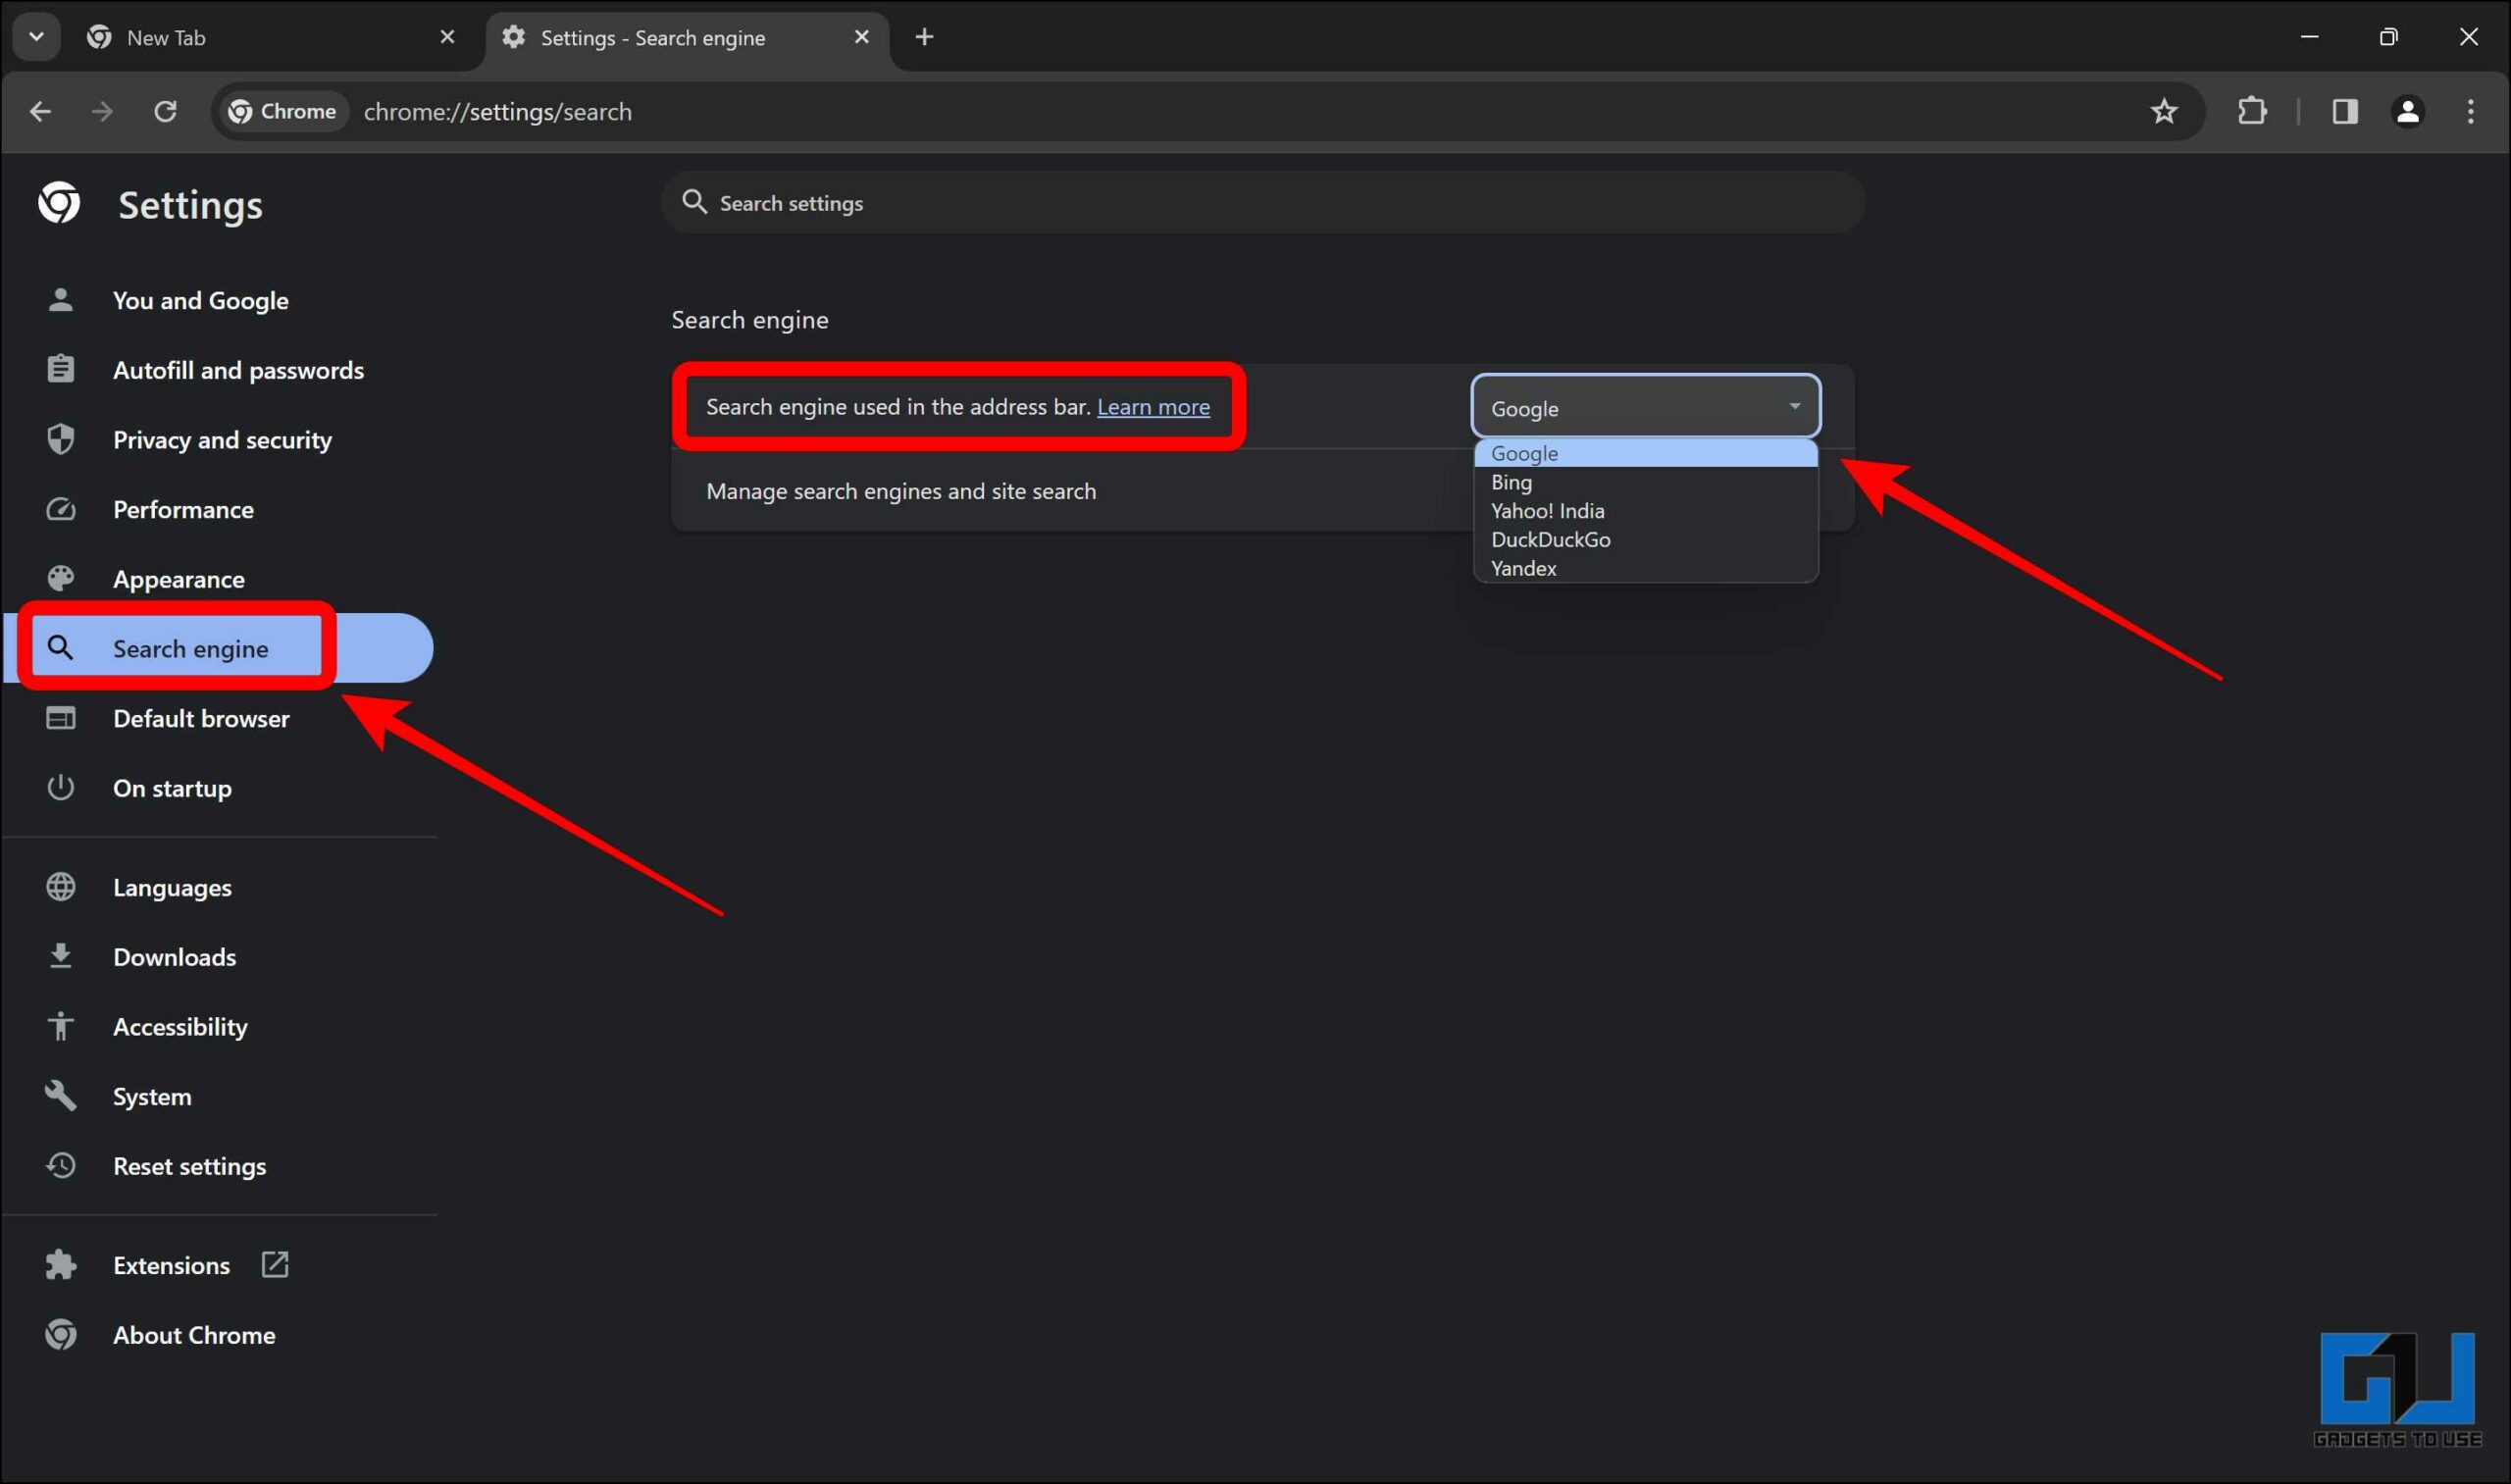
4. Click on Manage search engines and site search to reveal a list of all the search engines available in Chrome.

5. To disable a search engine, click on the three-dot icon next to it and click on Delete.

Repeat this for all the search engines you don’t want to use. This will ensure that only your preferred choice of search engine will be used while browsing.
Method 2 – Remove Any Suspicious and Unnecessary Extensions
The second method is to remove any suspicious and unnecessary extensions from your browser that might change your search engine settings without your permission or knowledge. Such suspicious extensions might also slow your browser’s performance or display unwanted ads or pop-ups.
1. In Chrome, click the three-dot menu icon at the top right corner, go to Extensions, and Manage Extensions, to see all the installed extensions.

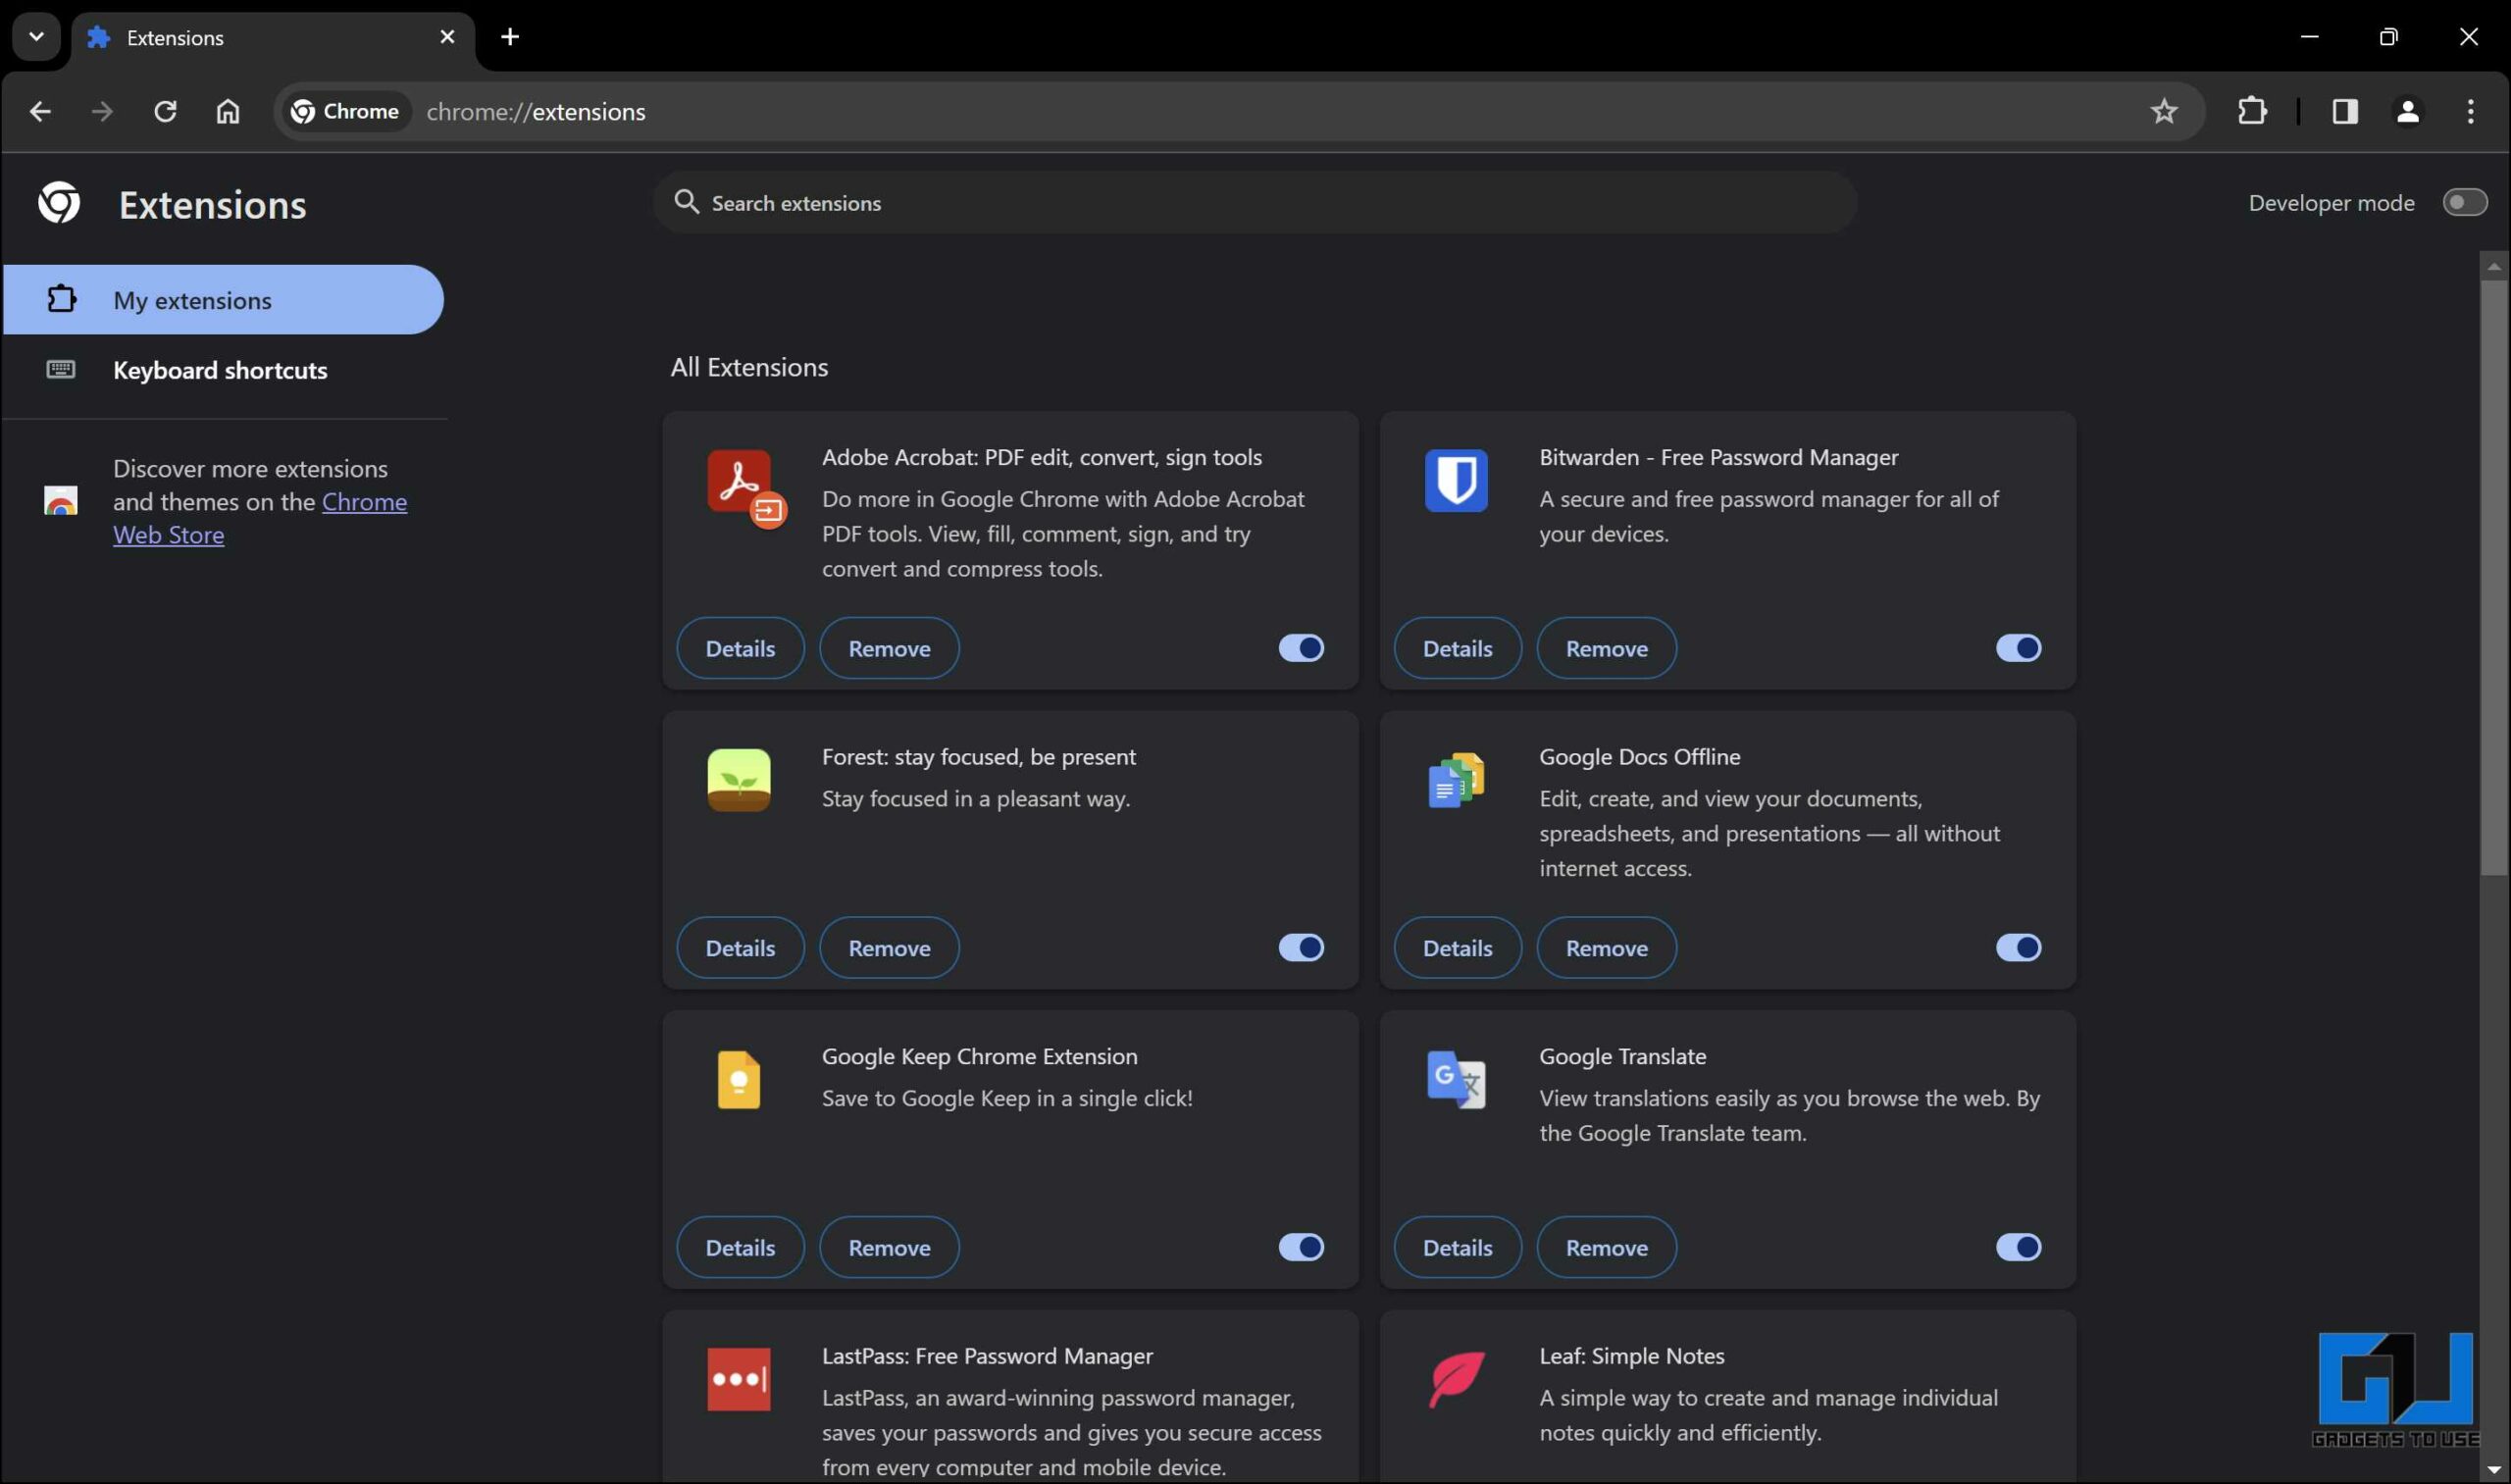
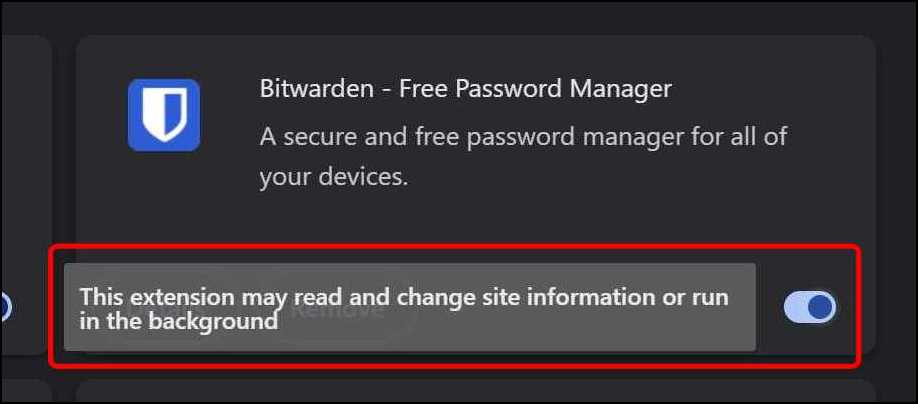
2. To disable an extension, toggle the switch next to it to off.
4. Click the Remove button below to remove an extension.
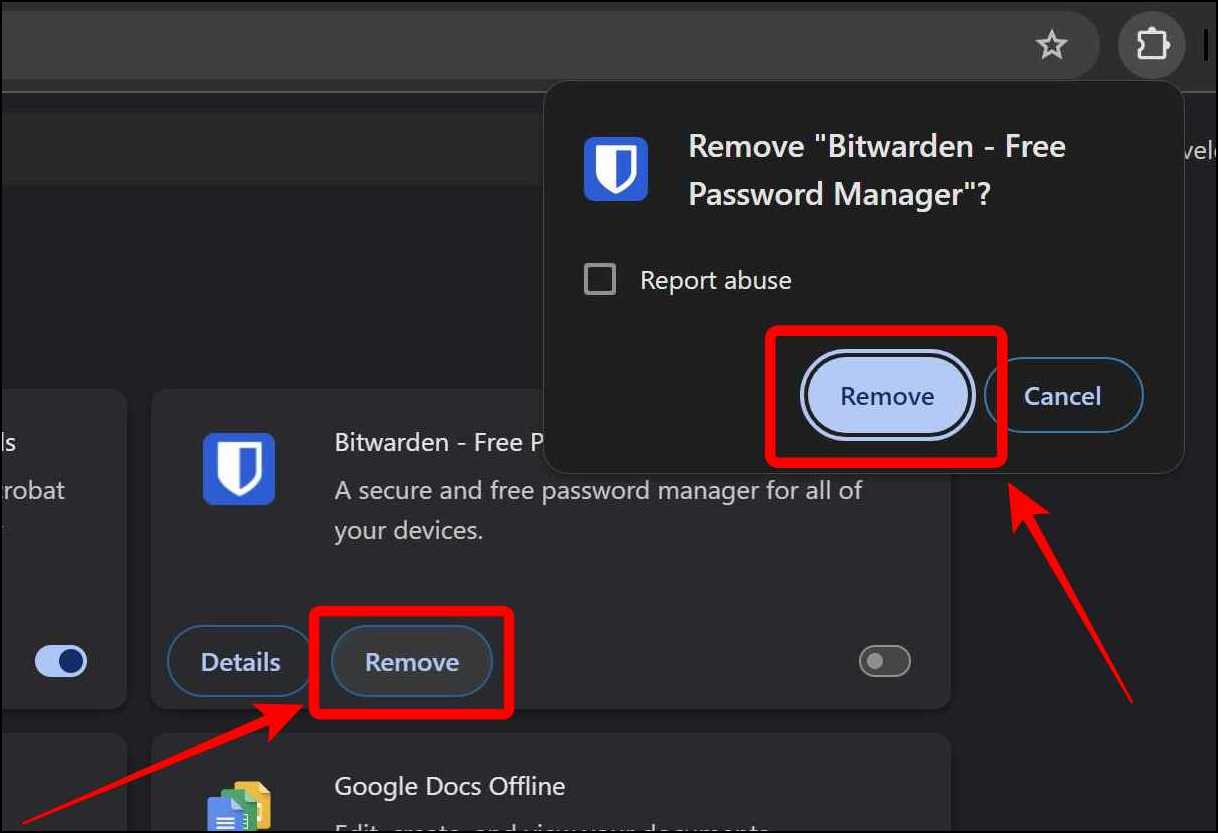
Repeat this for all the extensions that you don’t need or trust. Removing sketchy extensions, especially those you have not added will prevent the search engine from changing.
Method 3 – Clear Temporary Files
The third method we recommend is to remove temporary files from your system. Sometimes malware could be disguised as files in the temp folder, where it could go unnoticed yet override the browser settings. Resulting in changing the search engine of your broswer.
1. Press Win + R to launch the Run window.
2. Type in %temp% and click OK. This will take you to the Temp folder.

3. Delete all the files in this folder and clear them from the Recycle Bin (or you can use the Shift + Del command to delete them permanently).

Method 4 – Uninstall the Software You Don’t Need
The fourth method is to uninstall the software(s) that you don’t need from your computer. Some malicious software might come bundled with other programs or extensions that can change your search engine settings in Chrome. They might also take up space on your hard drive or affect your system’s performance. Here’s how you can uninstall any software from your Windows PC and restore the default search engine on Google Chrome.
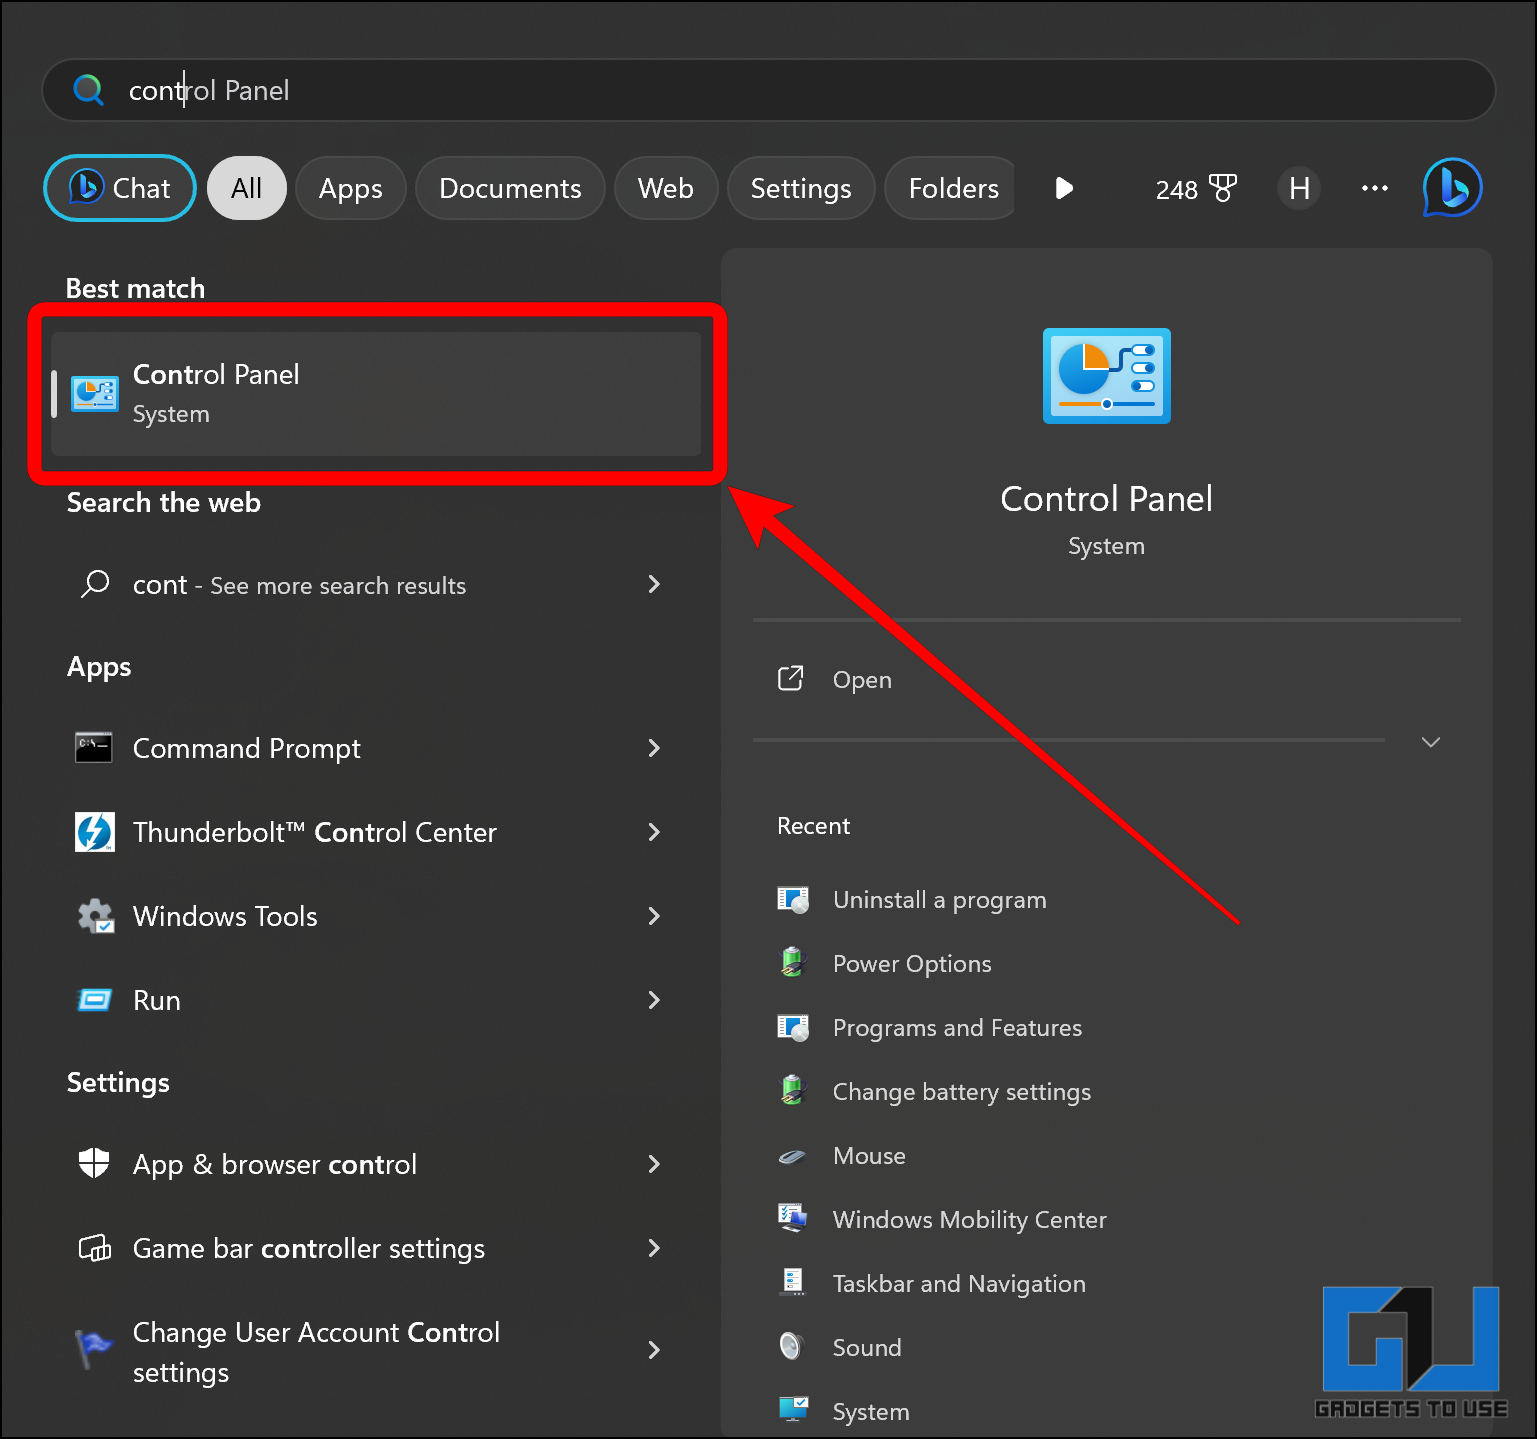
1. Open the Control Panel on your computer.
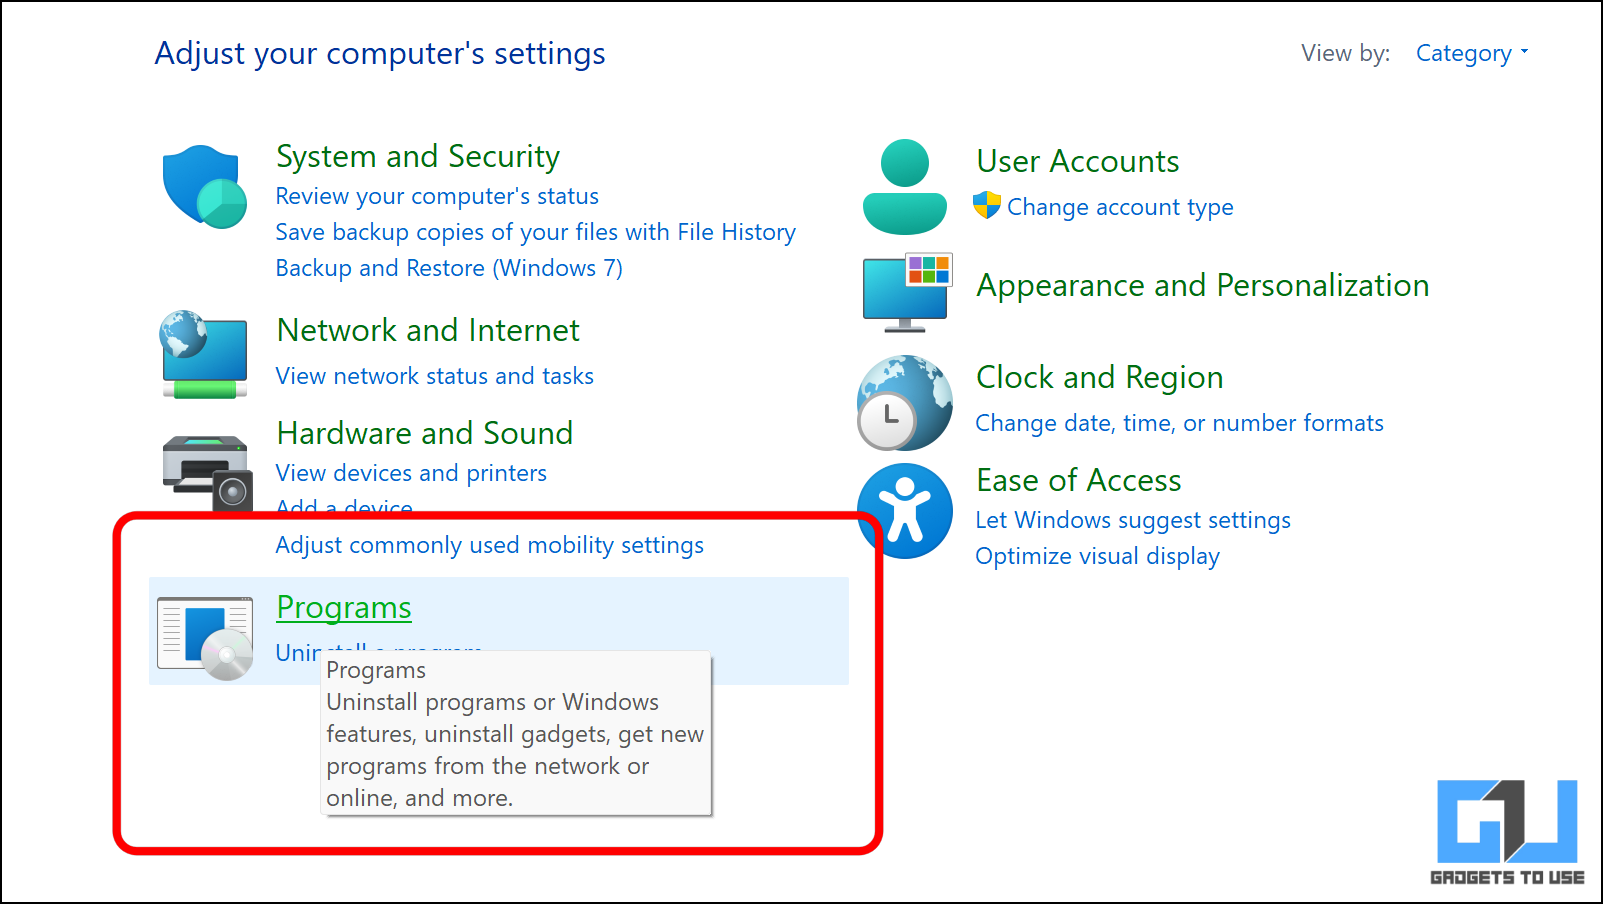
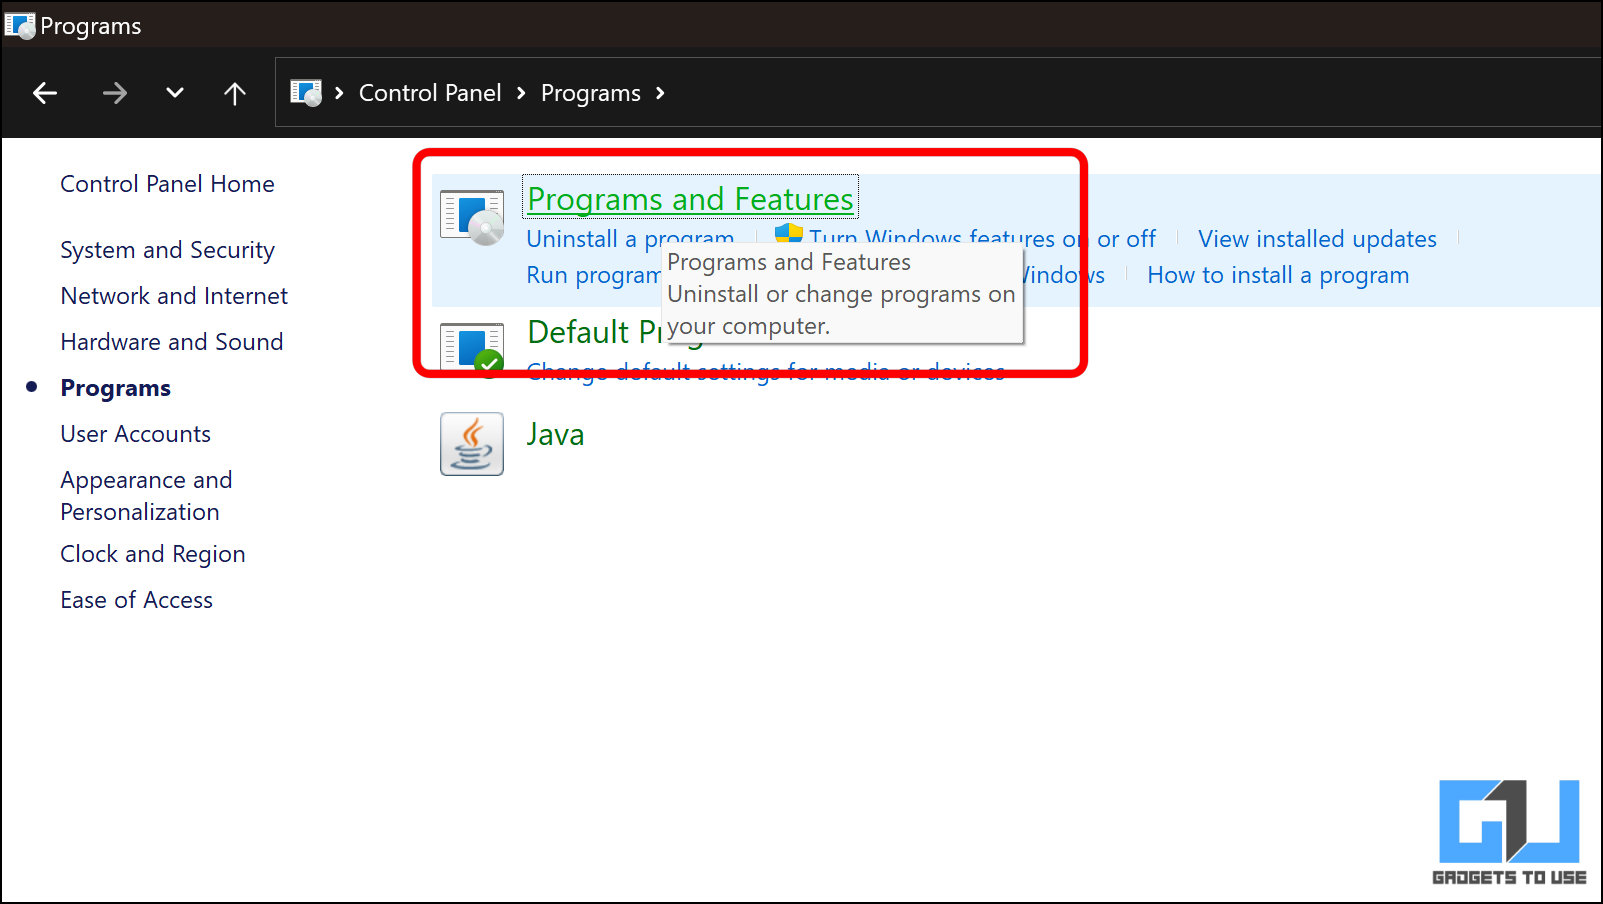
2. Select Programs and then Programs and Features to see all the programs installed on your computer.
3. Right-click a program and select Uninstall from the menu to remove it from your PC.


Repeat this for all the programs that you don’t need or trust. Ensure that you uninstall any suspicious applications that are not required anymore.
Method 5 – Reset Chrome
Last but not least is to reset Chrome to its default settings. This will restore your browser settings to their original state and remove any changes that malicious programs or extensions might have made. However, this will also erase your browsing history, cookies, cache, passwords, bookmarks, and other data. Therefore, you should only use this method as a last resort and back up your data before doing so.
1. Click the three-dot menu icon at the top right corner and select Settings.

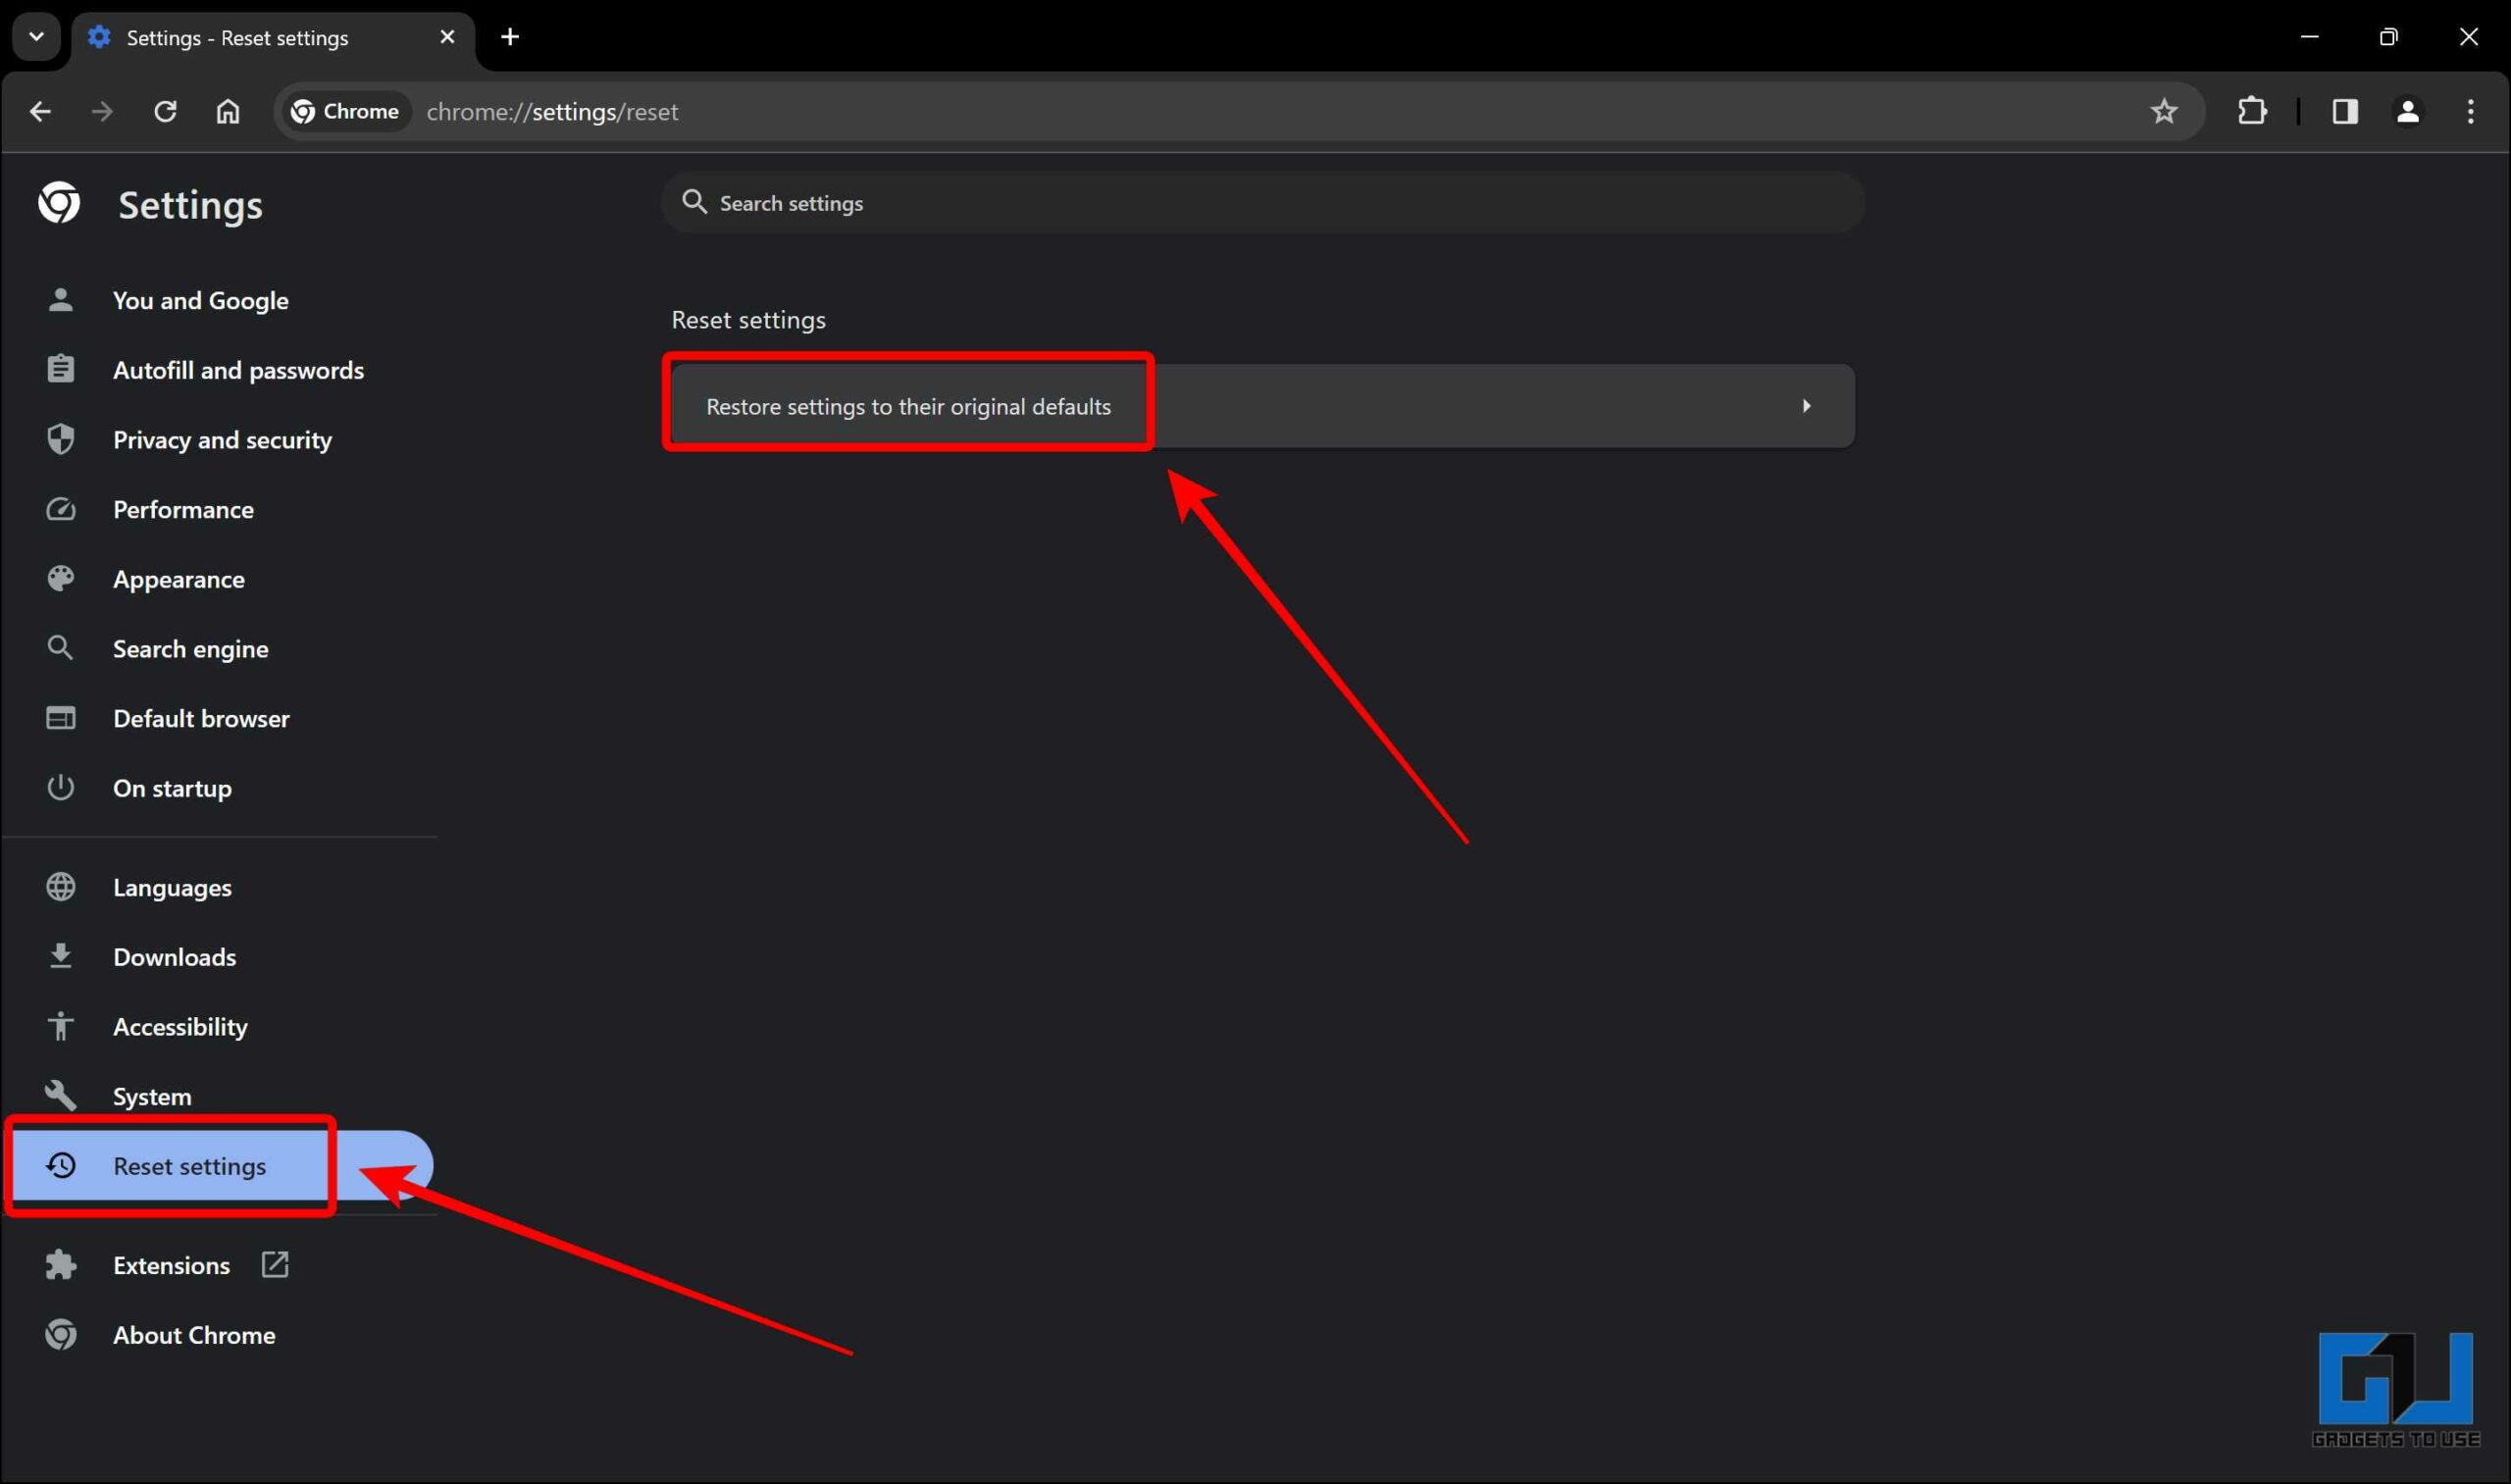
2. Click Reset Settings and then Restore settings to their original defaults.
3. In the pop-up, click on Reset settings to reset Chrome.

Upon resetting Chrome, all settings will be restored to the original state. To bring back any specific settings that you made, go to settings and tweak those to get Chrome back to your taste.
Wrapping Up
Following these methods, you can secure your search engine settings and enjoy a better browsing experience. Be careful about what applications and extensions you install to prevent such issues from popping up again. I hope you found this post helpful and informative. Stay tuned to GadgetsToUse for more such reads.
You might be interested in the following:
- 3 Ways to Stop Chrome From Closing All Tabs Without Warning
- 5 Ways to Block Site Notifications and Popups in Chrome
- 5 Ways to Stop Suggested Videos and Recommendations on YouTube in Chrome
- 4 Ways to Stop Chrome Automatically Opens Apps on Android
You can also follow us for instant tech news at Google News or for tips and tricks, smartphones & gadgets reviews, join the GadgetsToUse Telegram Group, or subscribe to the GadgetsToUse Youtube Channel for the latest review videos.