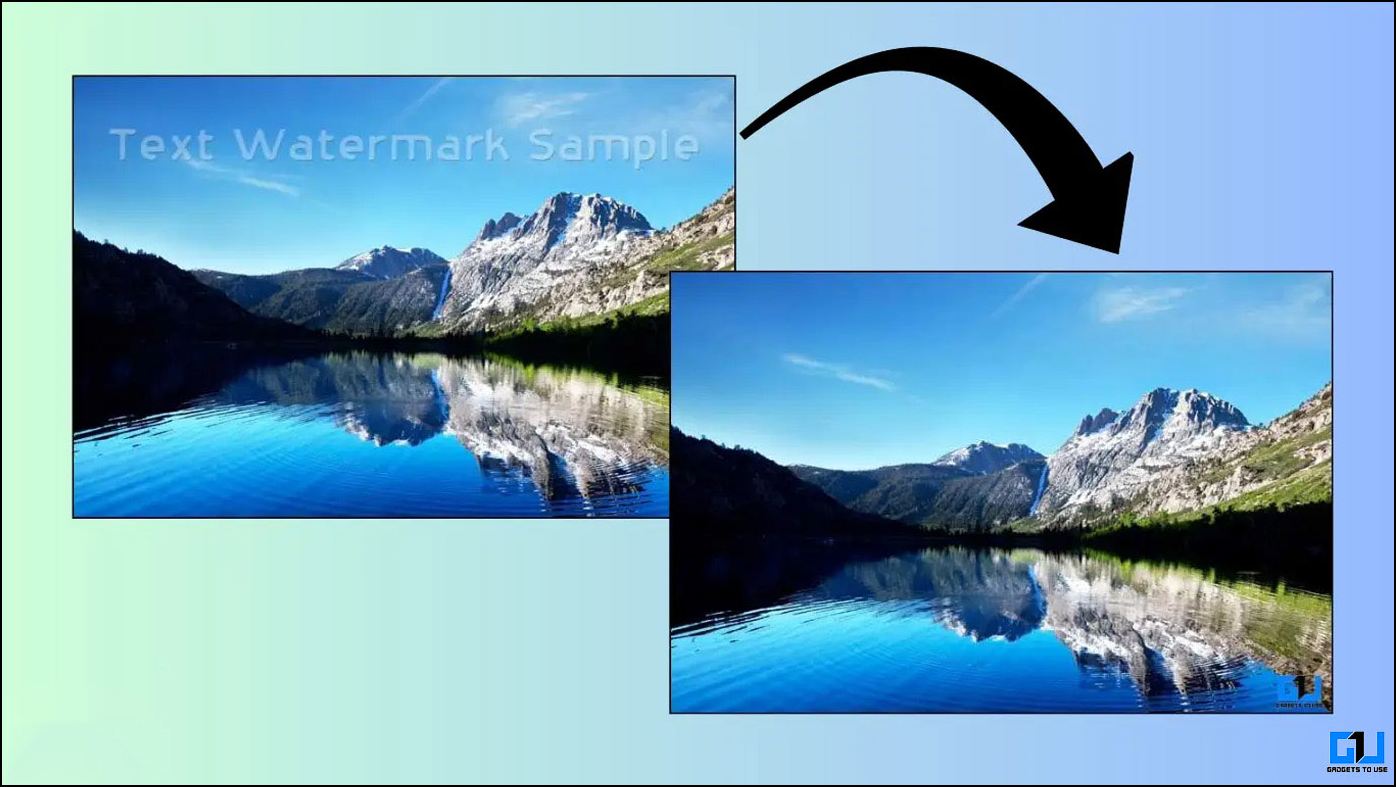
Text is an essential part of any image, whether a caption, a logo, a watermark, or a meme. However, sometimes, you may want to remove any text from an image for various reasons, such as to reuse, edit, or improve the aesthetics. Using different tools and techniques, this blog post will show you five ways to remove any obstructing text from Windows 10 and 11 images.
How Do I Remove Text From an Image on Windows 11?
Removing text from an image can become necessary when the text is blocking something important. There are several ways to remove text from images on a Windows 10 or 11 computer. This post will show five techniques and tools to remove text from images.
Method 1 – Clipdrop
ClipDrop is an innovative AI design platform that creates stunning visuals in seconds. It offers tools like background removal, relighting, upscaling, and text removal. As the name suggests, it also has a Text Remover, useful for removing texts from images.
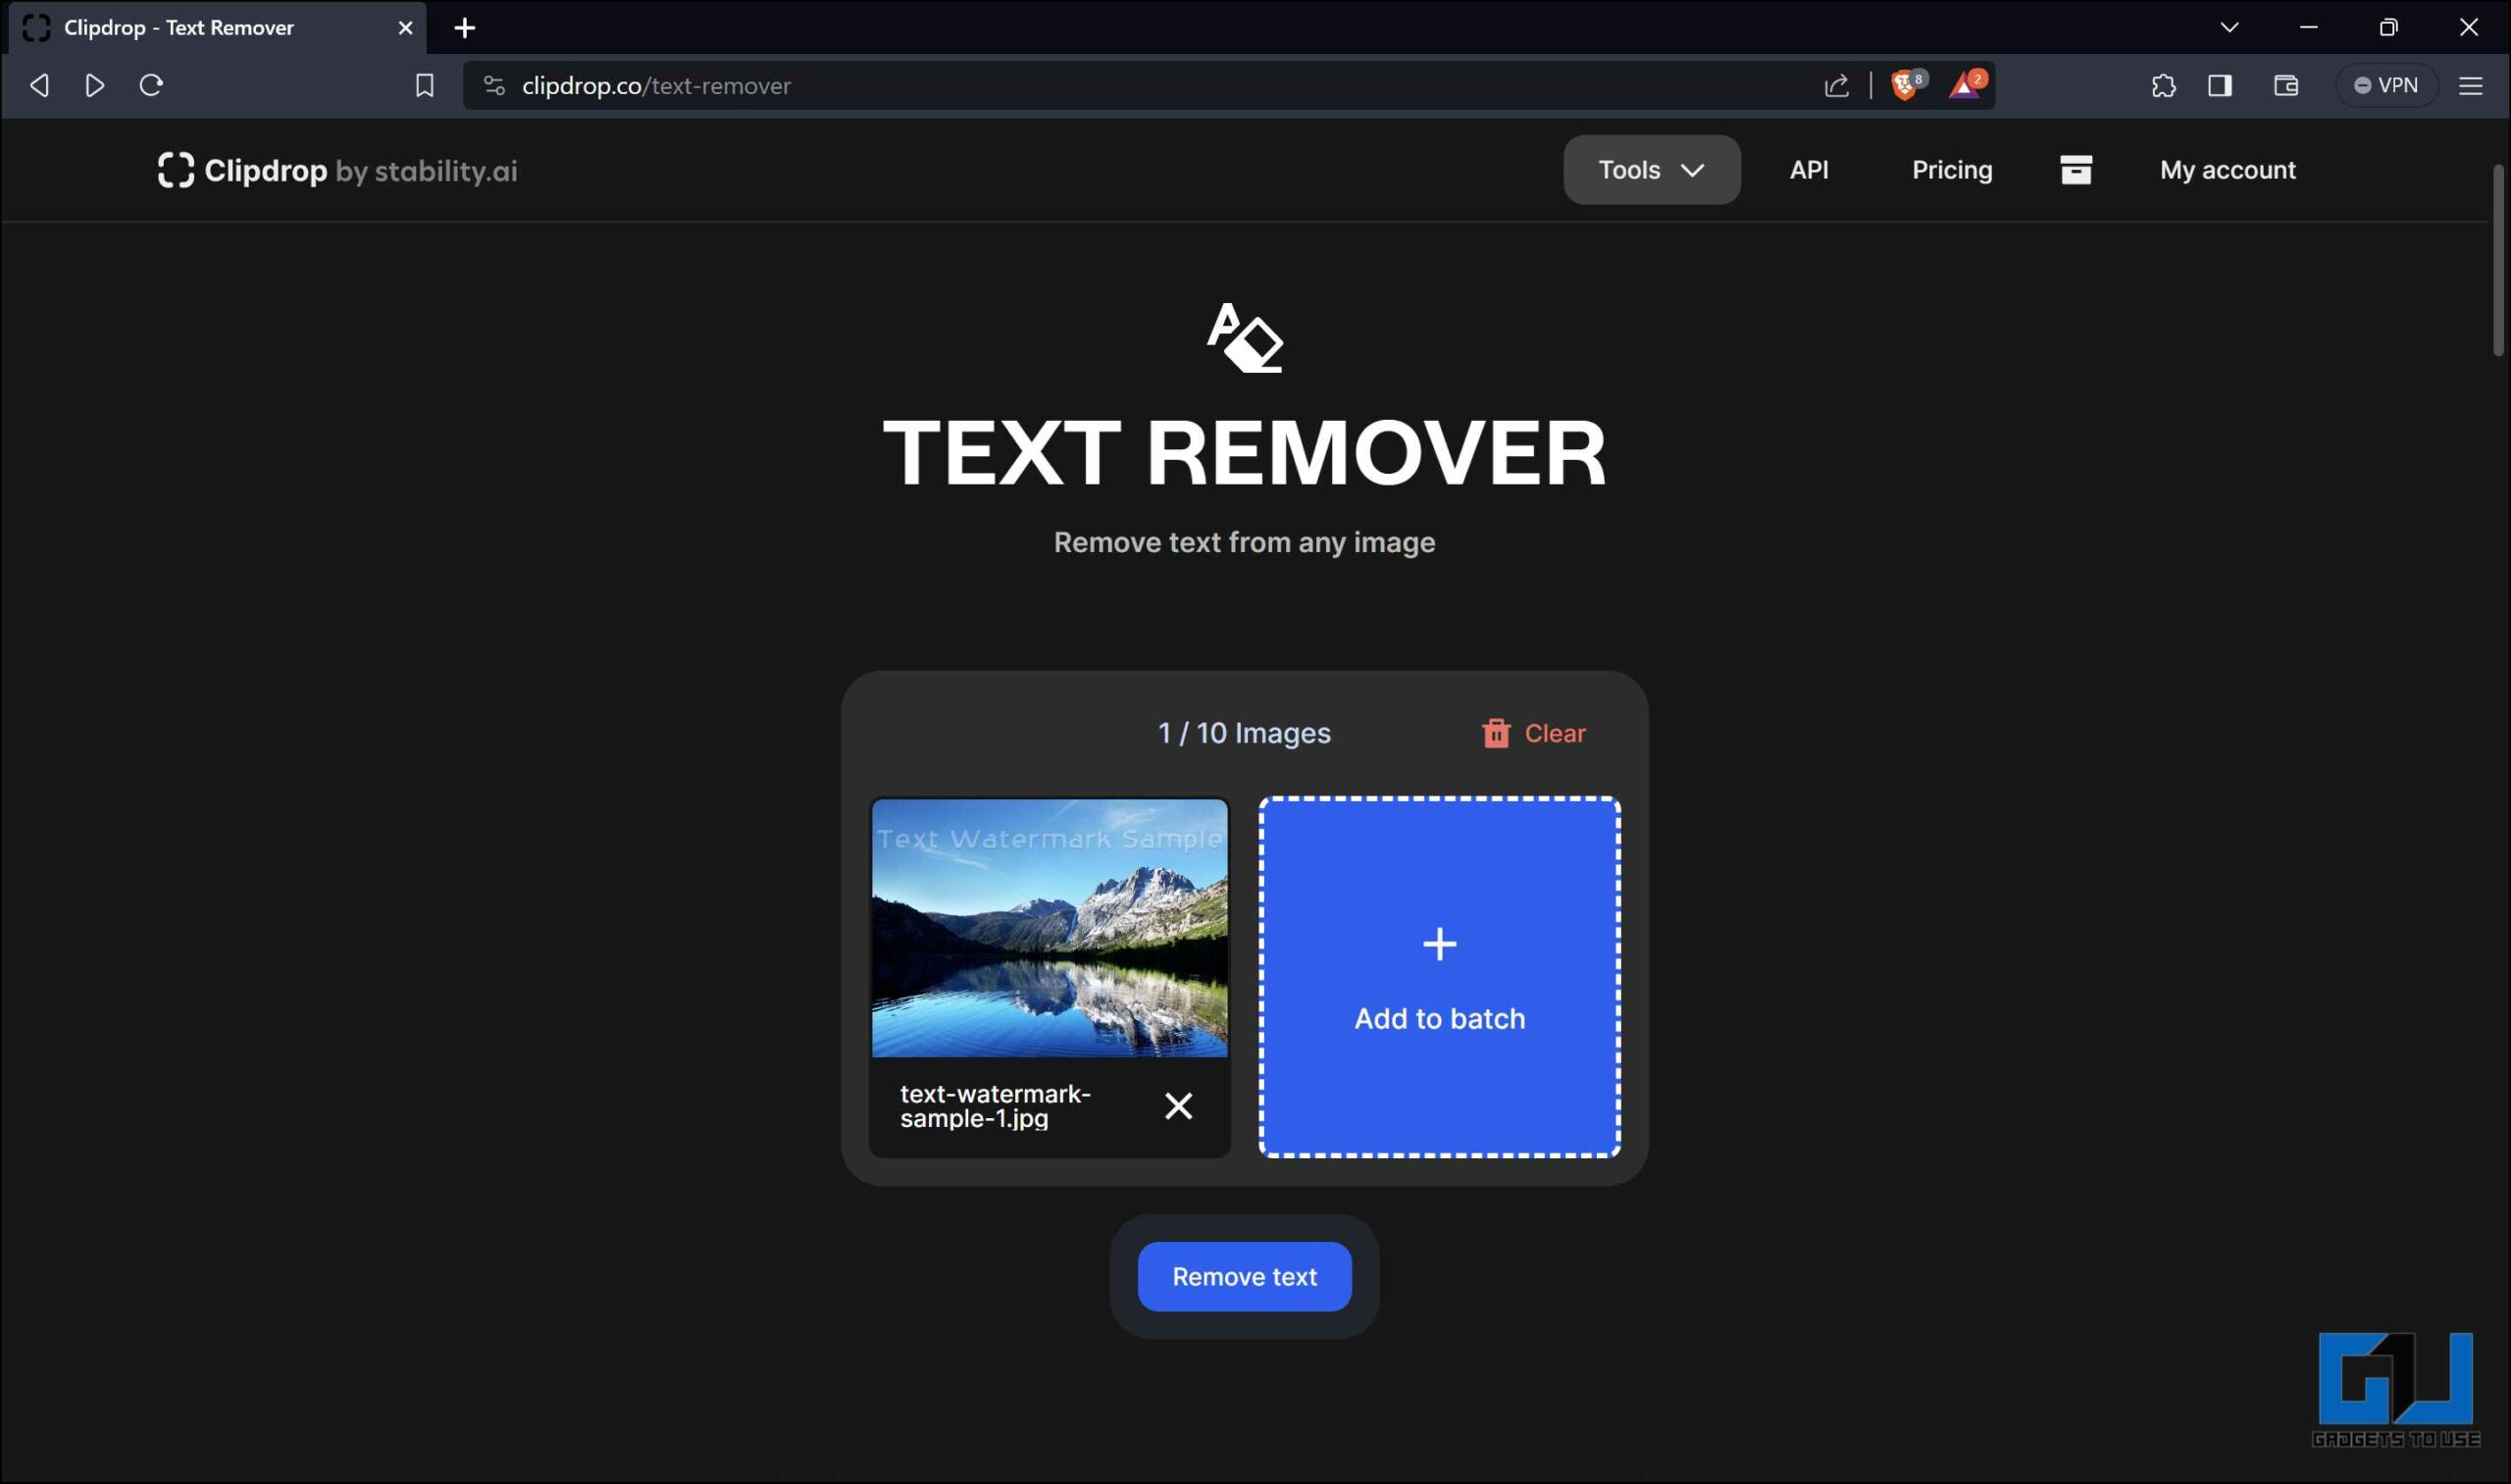
1. Open Clipdrop in your browser.
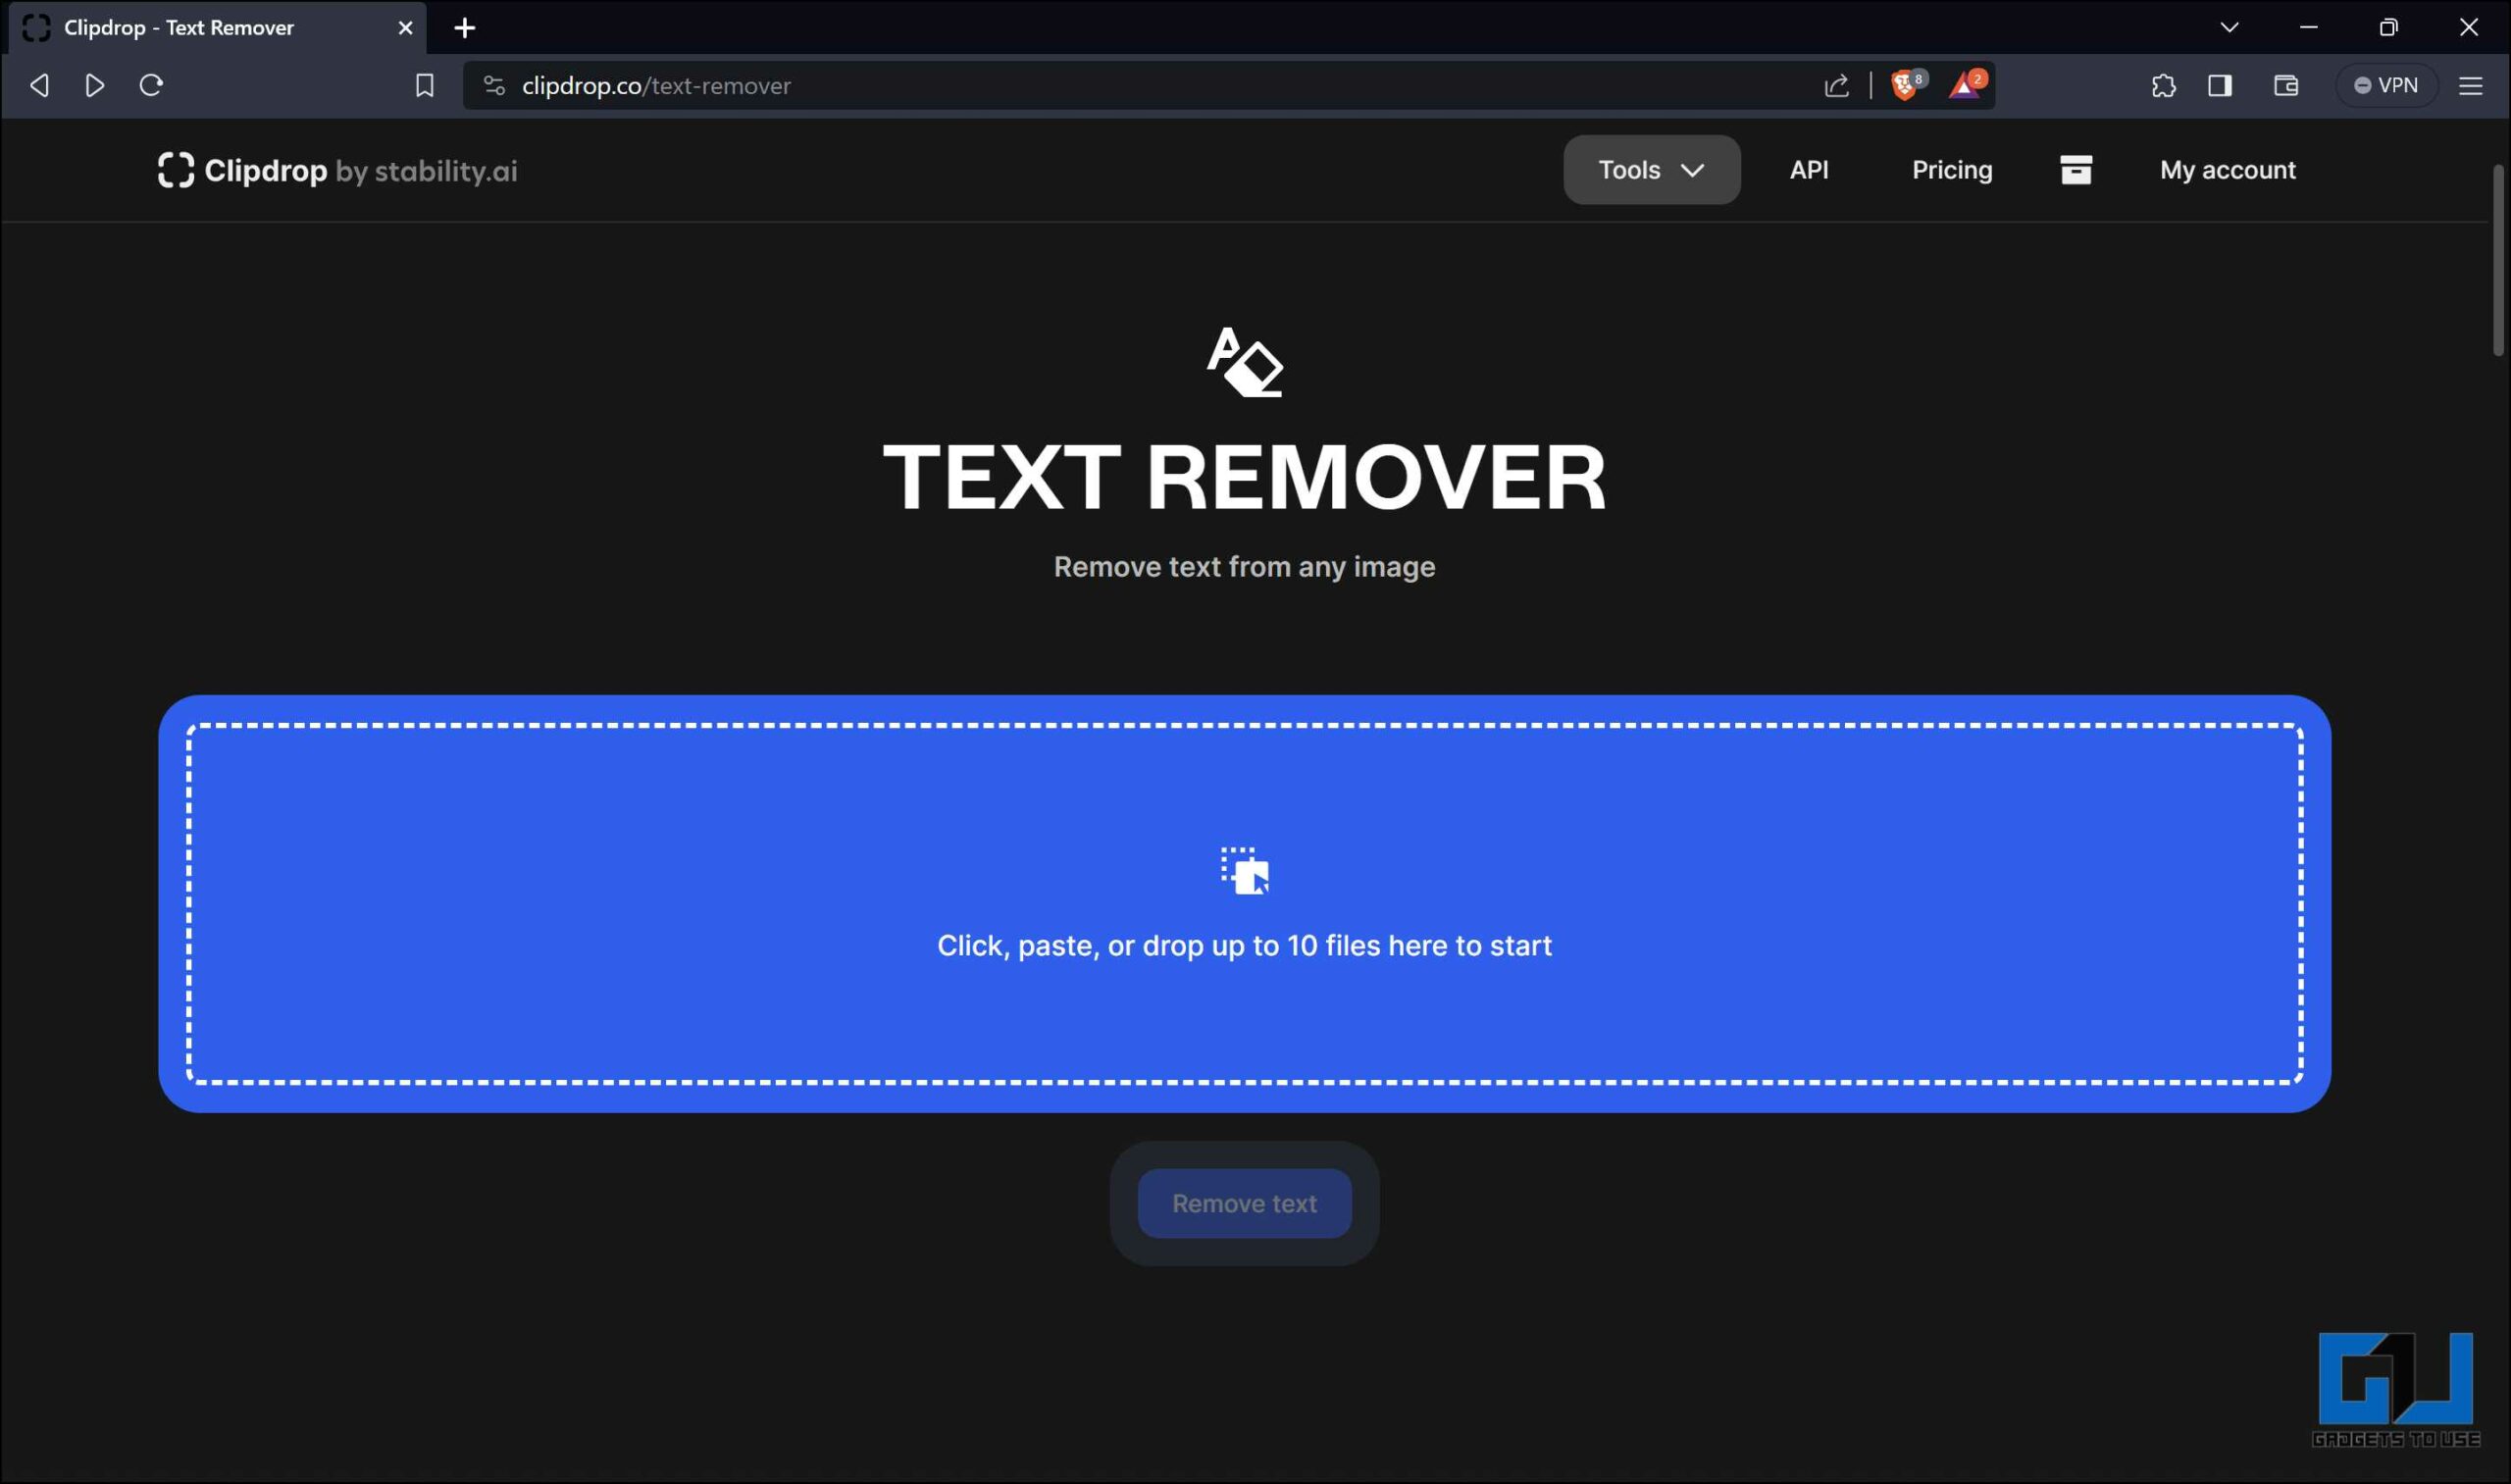
2. Upload the image from which you want to remove the text.
3. Click on Remove Text and wait for the results.
4. Save the edited image to your system.


Our Experience: Clipdrop requires you to log in to access the service. It involves your email ID verification. Once logged in, you can upload the image that you want to edit, and it automatically produces the result without any further input. A maximum of 10 images can be added to a single batch. The text will be removed from the image with minimal artifacts. However, more complex images will produce noticeable artifacts. Clipdrop has various other tools you can explore; however, some are paid.
Method 2 – PicWish
PicWish is another photo editing app that can help remove text from images. You can use it to remove text from images by following these steps:
1. Open PicWish on your Windows PC browser.
2. Upload the image from which the text is to be cleared.

3. Using the brush, hover over the text to be removed. You can also use the rectangle or lasso tool to select the text.
4. Click on Remove to clear the selected text from the image.


5. Click Save and then Free Image to download the result on your device.
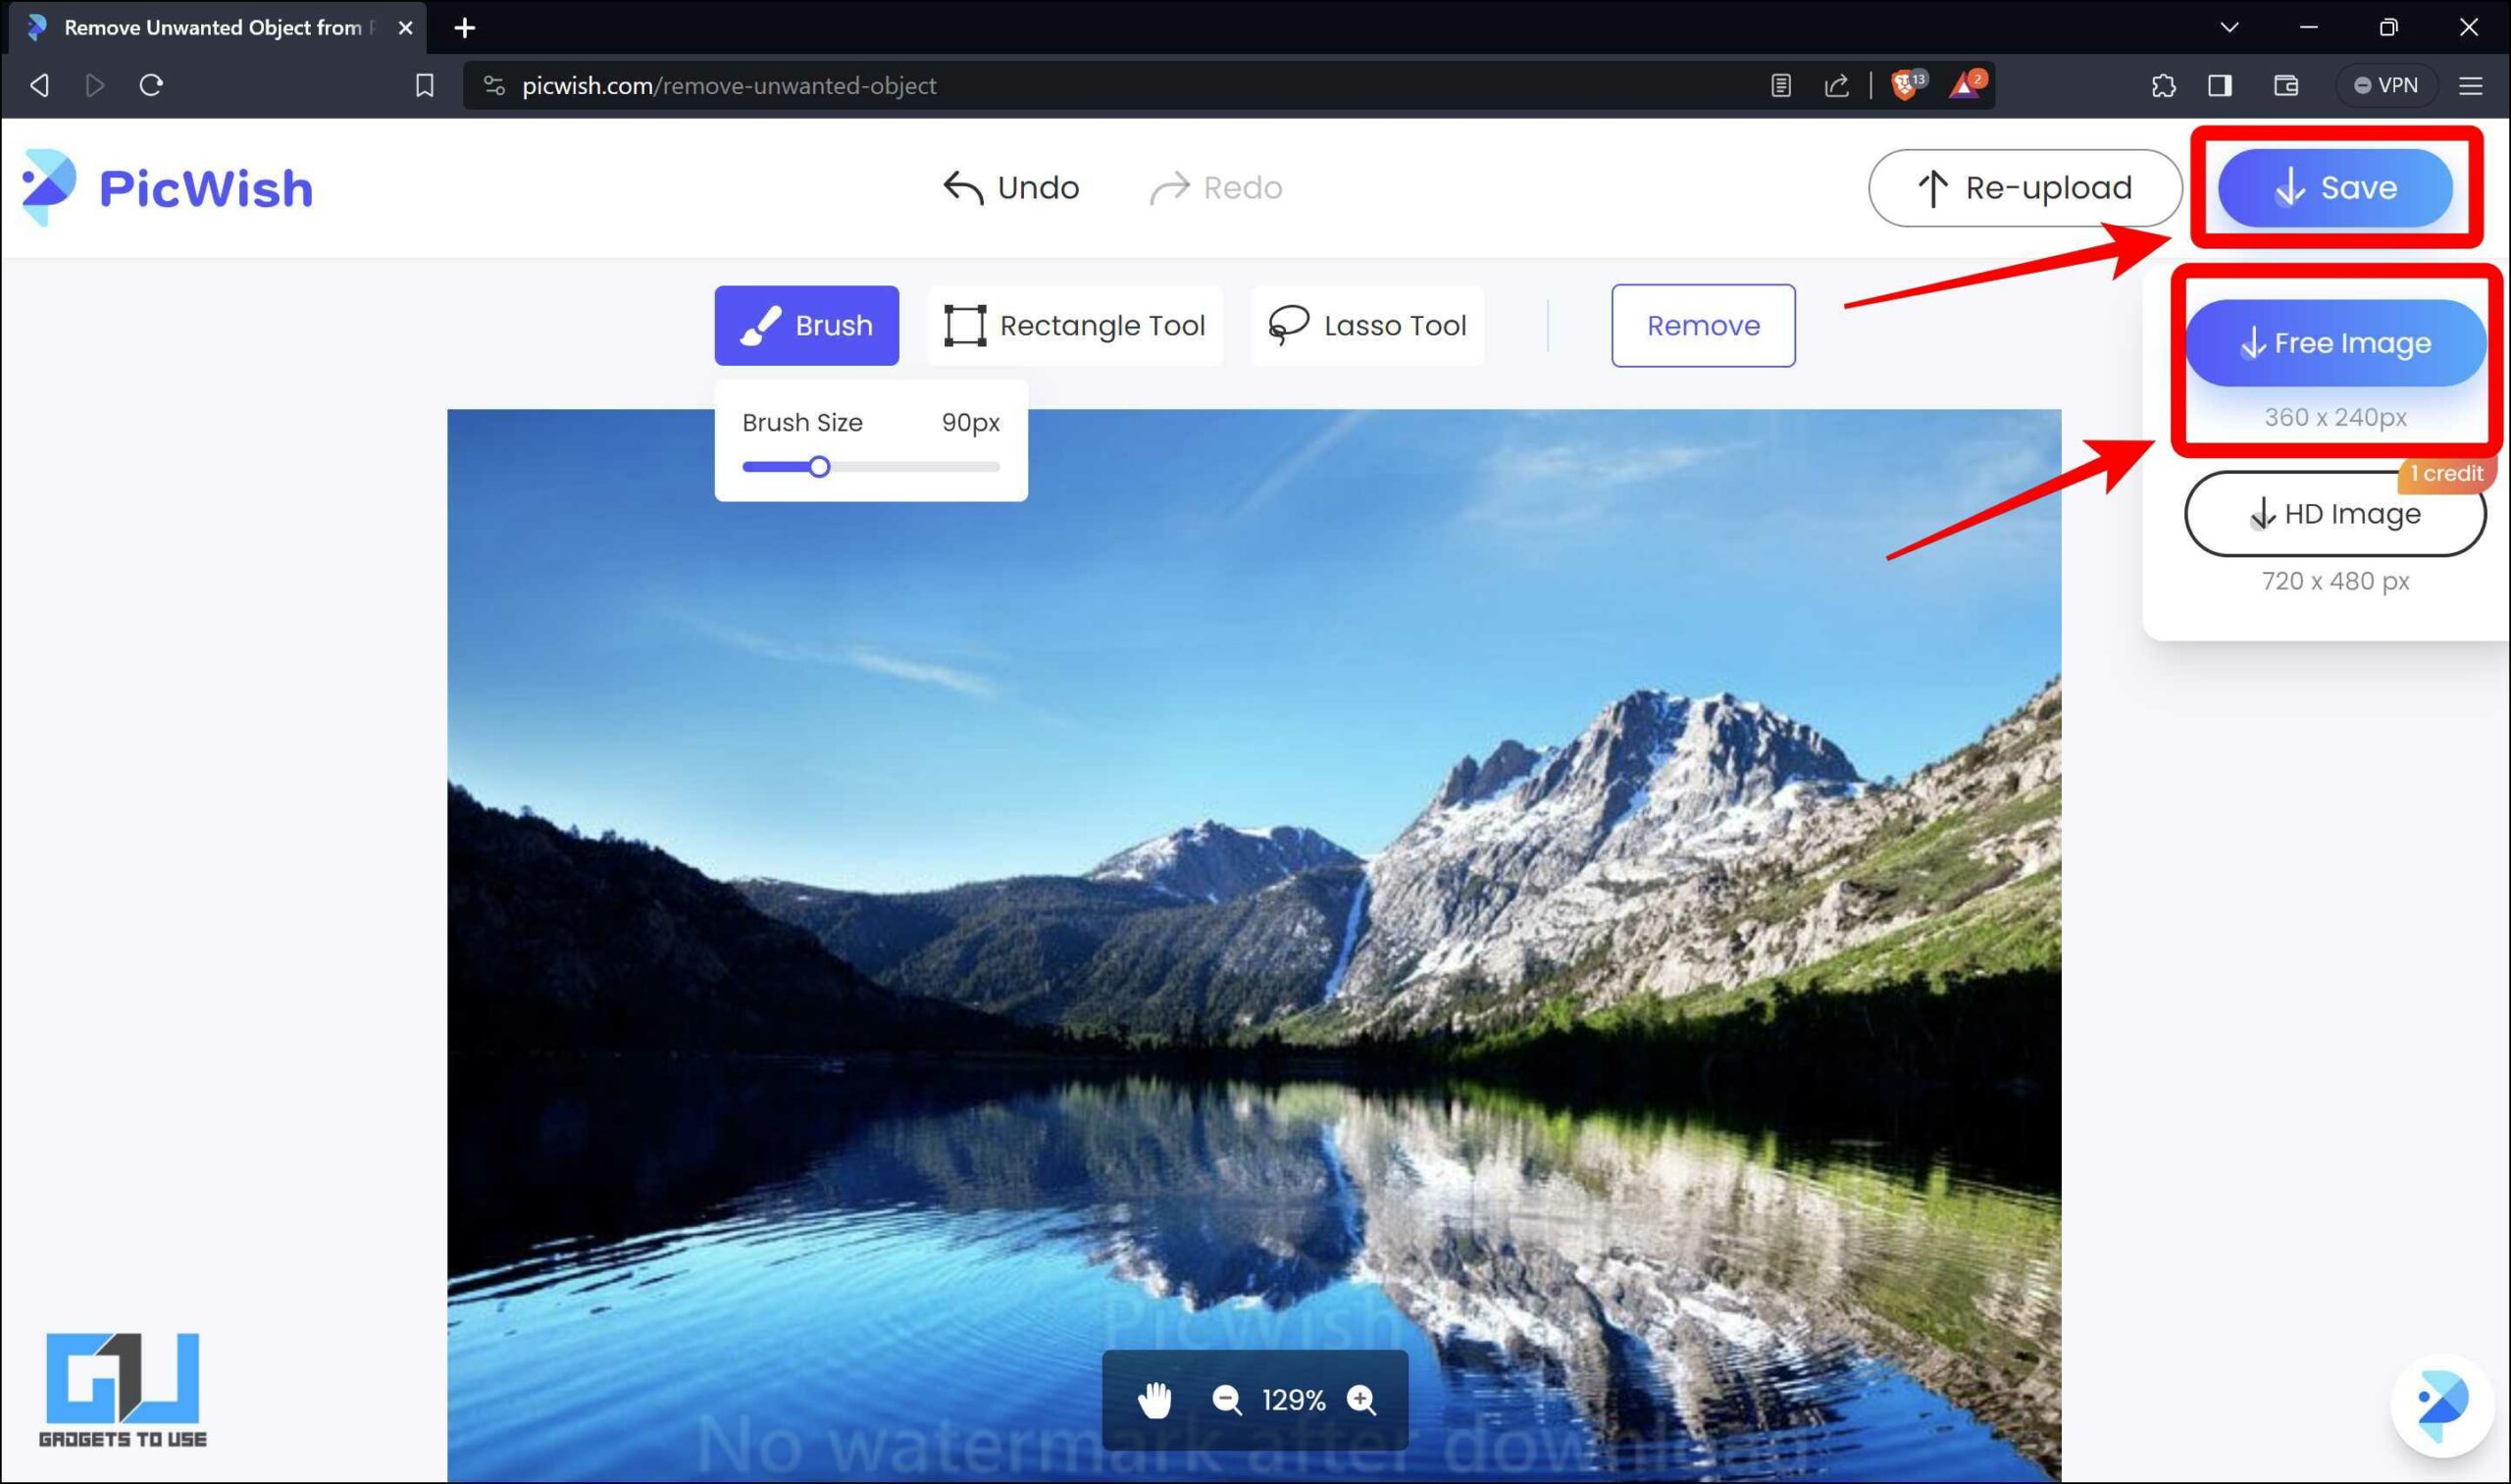
Our Experience: The tool can be accessed online and via an application on Windows, Android, MacOS, and iOS. The online version is free but requires an account to get started. Artefacting is minimal but depends heavily on the complexity of the images used. With the free version, images can only be exported in lower resolution (without a watermark). Depending on your use cases, you can check out the subscription, granting you access to all the other tools and better export quality.
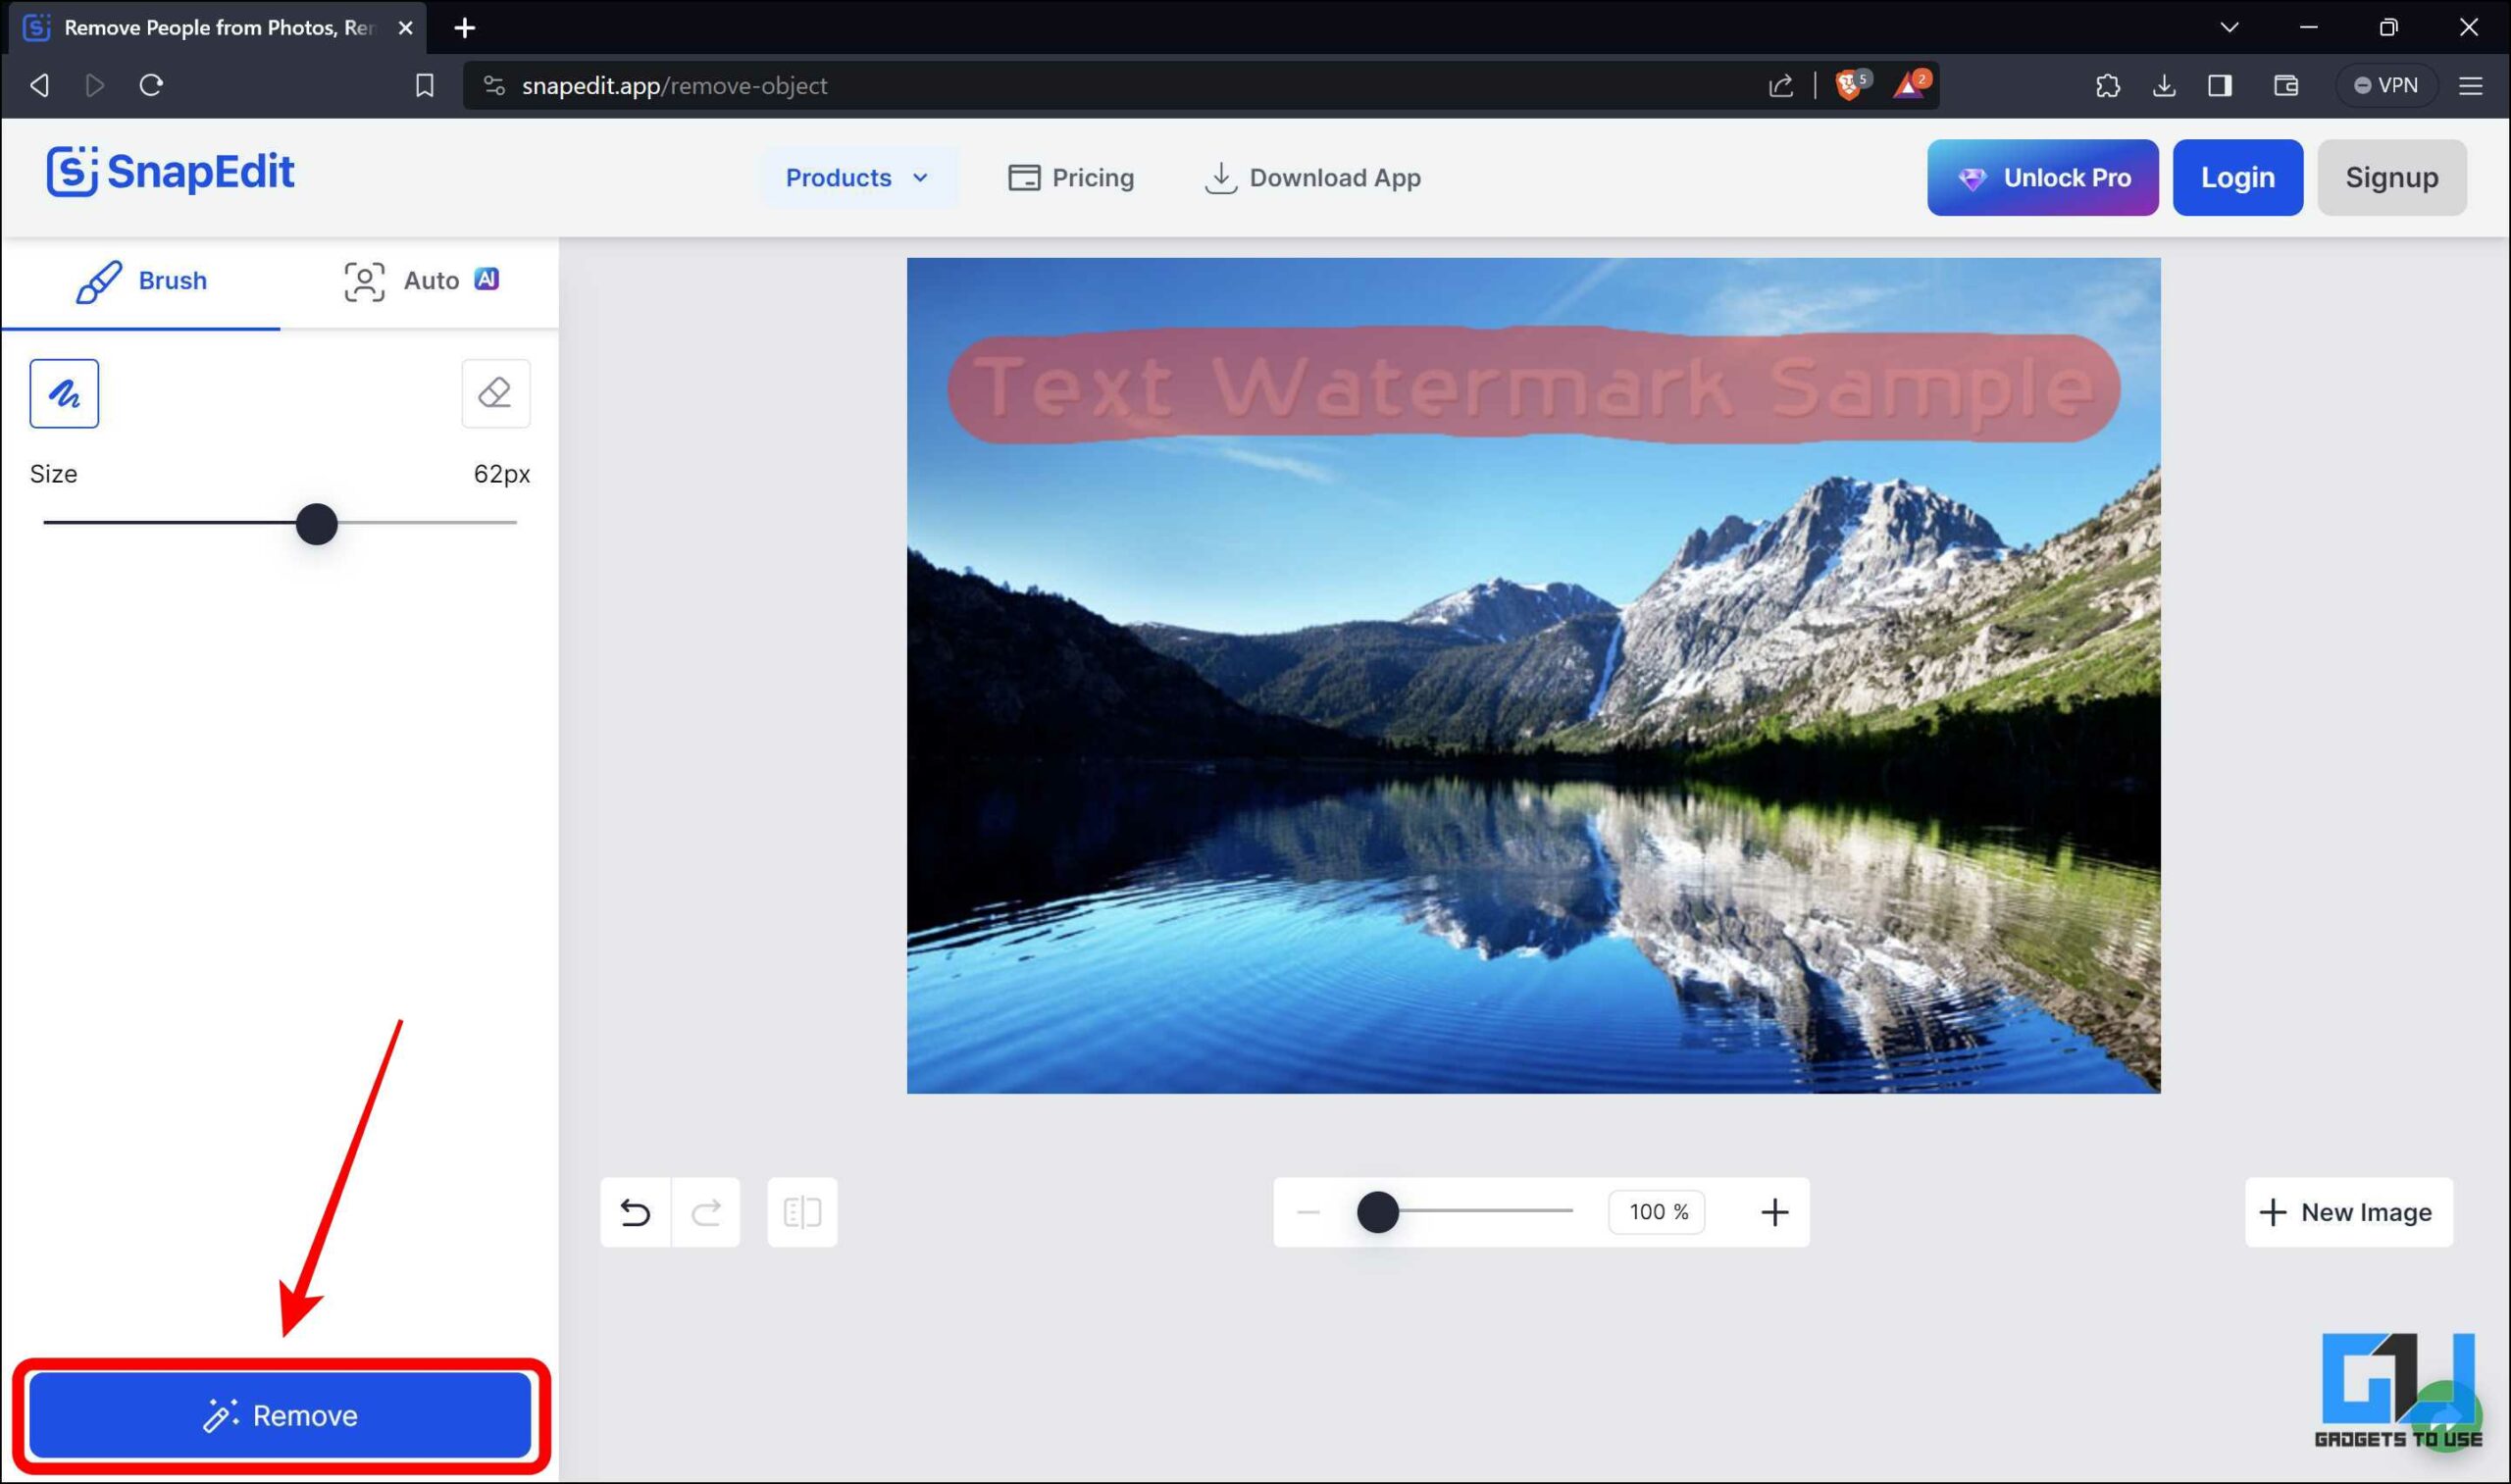
Method 3 – Snapedit
SnapEdit is a visual AI platform that enhances and edits images effortlessly. It features various tools for image editing, including an object eraser that can double up as a quick text removal tool. Here is how to use the object eraser on Snapedit.
1. Open the Snapedit website in your browser.
2. Click the Upload Image to upload the image you want to edit.

3. Use the brush tool to select the text you want to remove, then click the Remove button.
4. Click Download and select the small option to save the image.
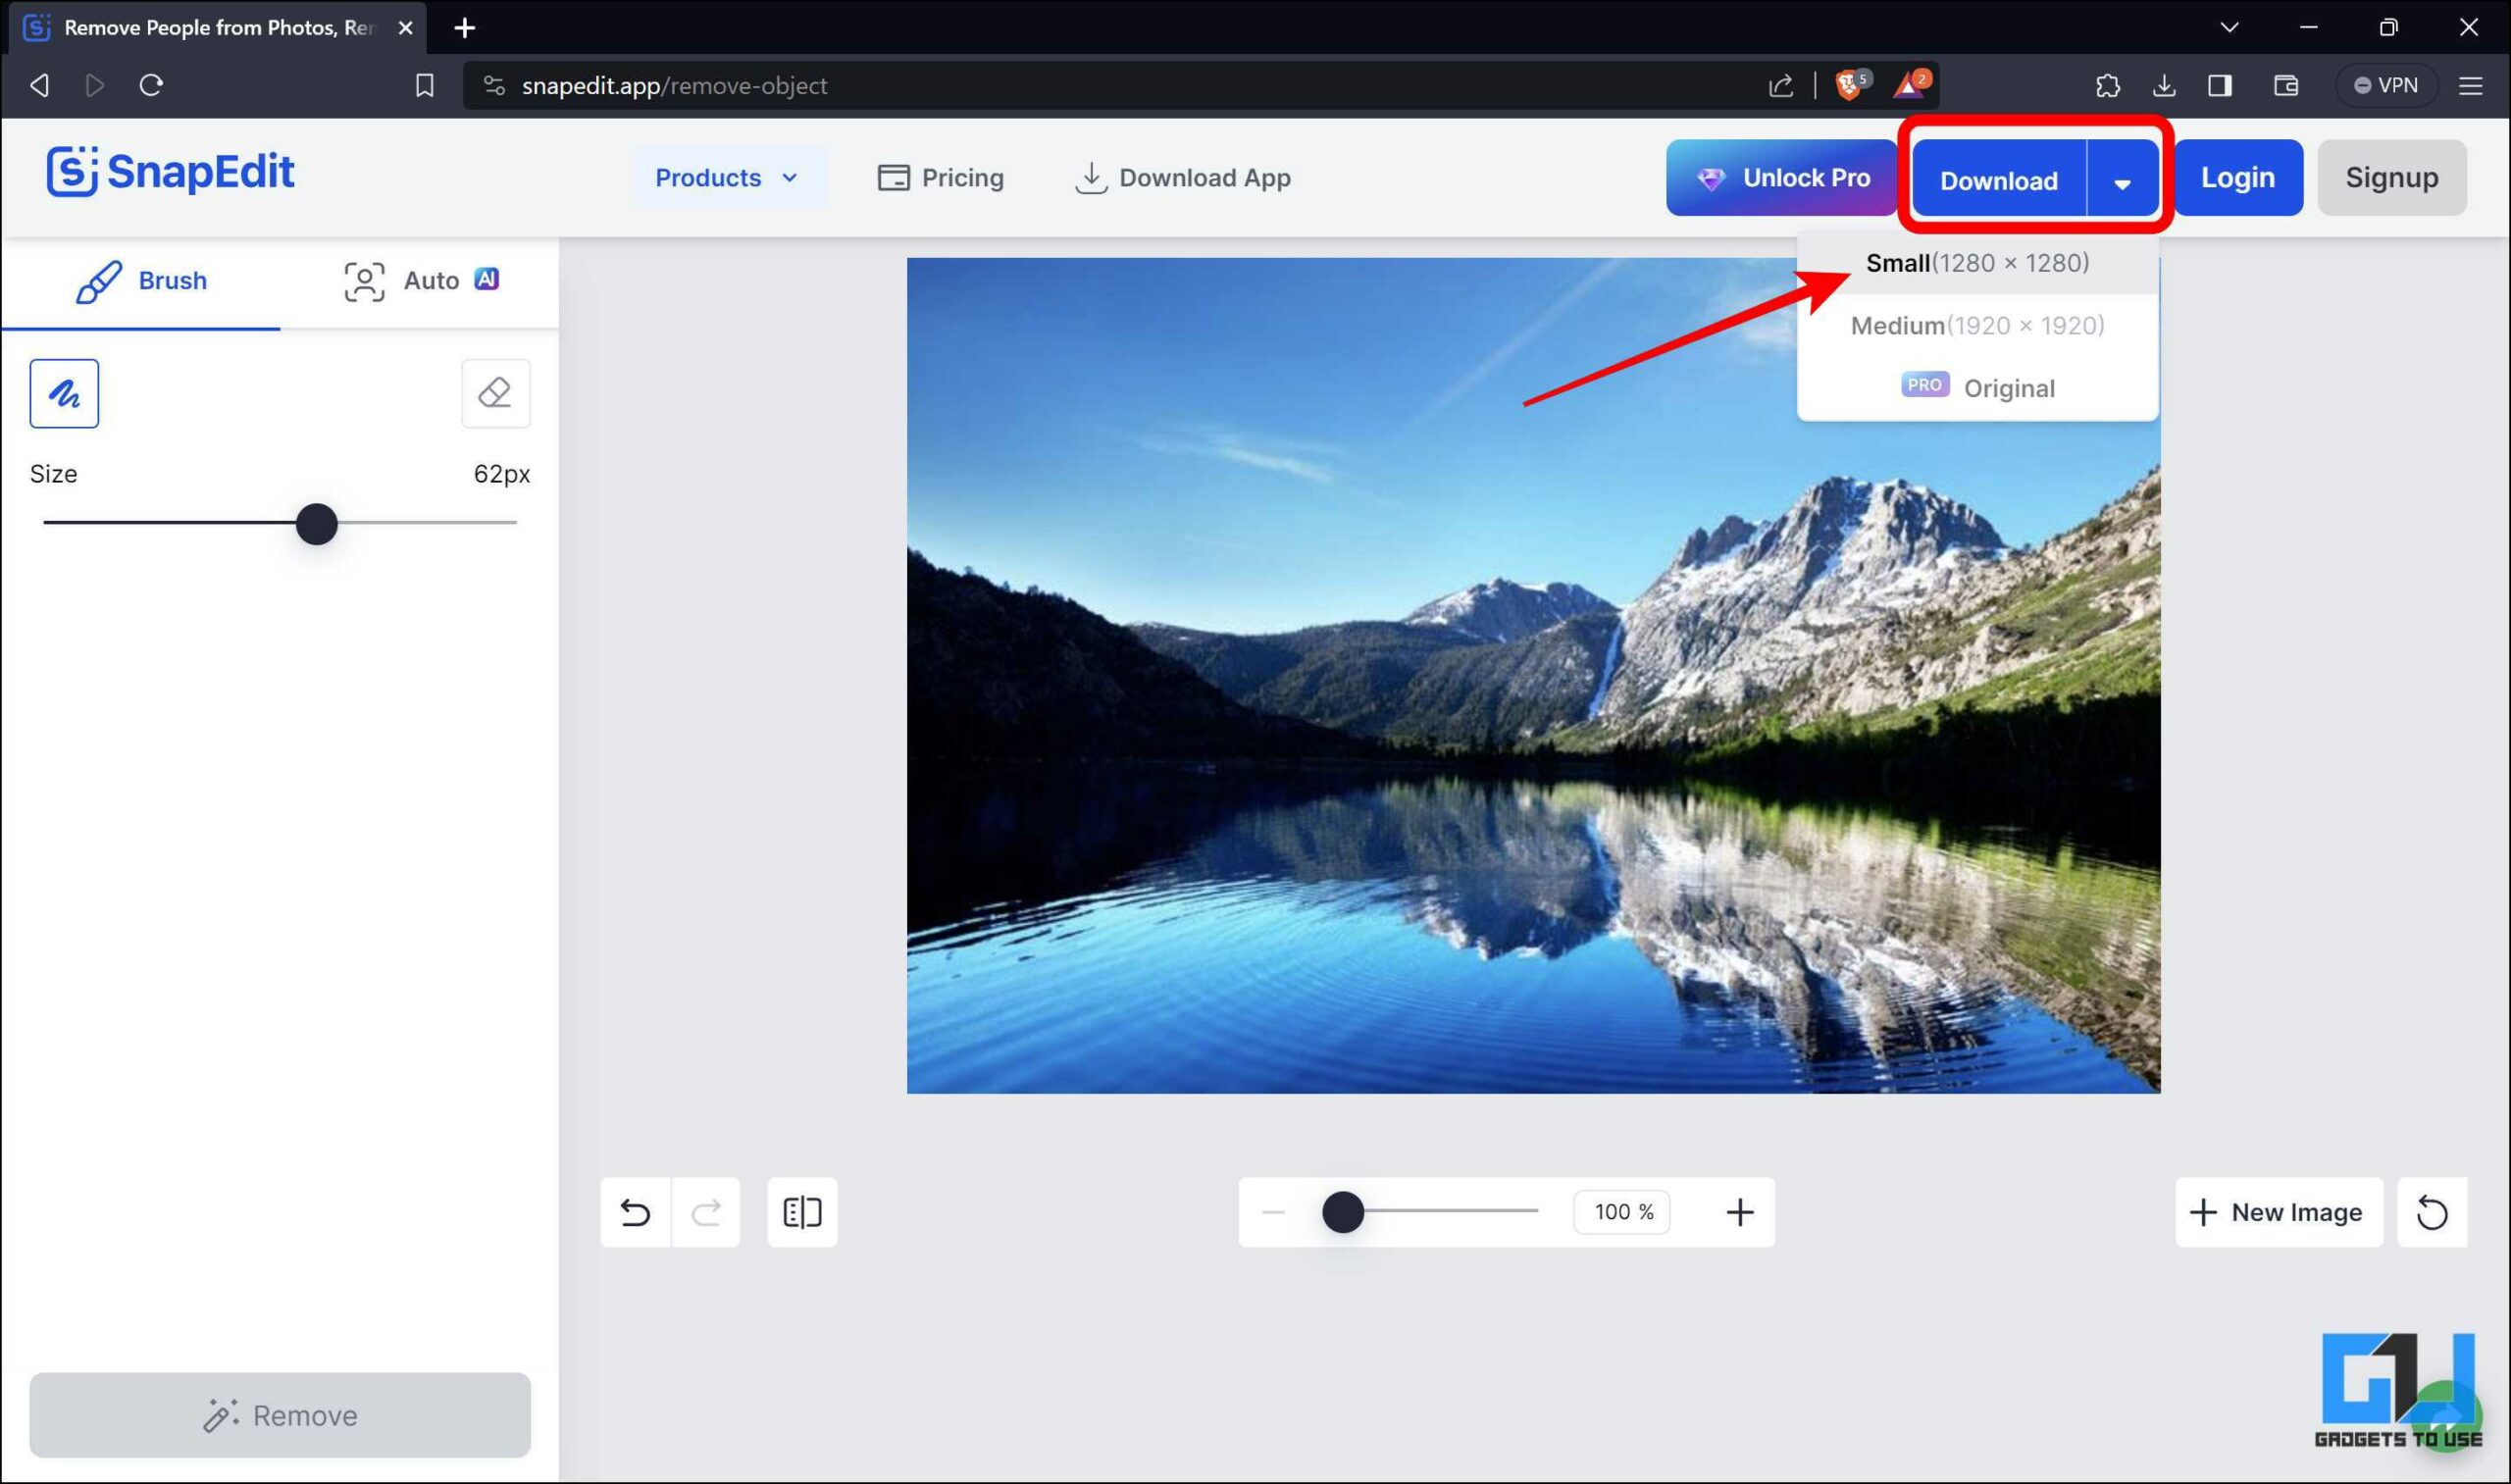
Our Experience: Snapedit does not require you to log in to use the object removal tool, nor does it have any daily limit. However, it only allows you to download the image in small or medium resolution, depending on the resolution of the source image. The Pro subscription to Snapedit provides access to higher-resolution downloads and more tools other than just the object eraser tool.
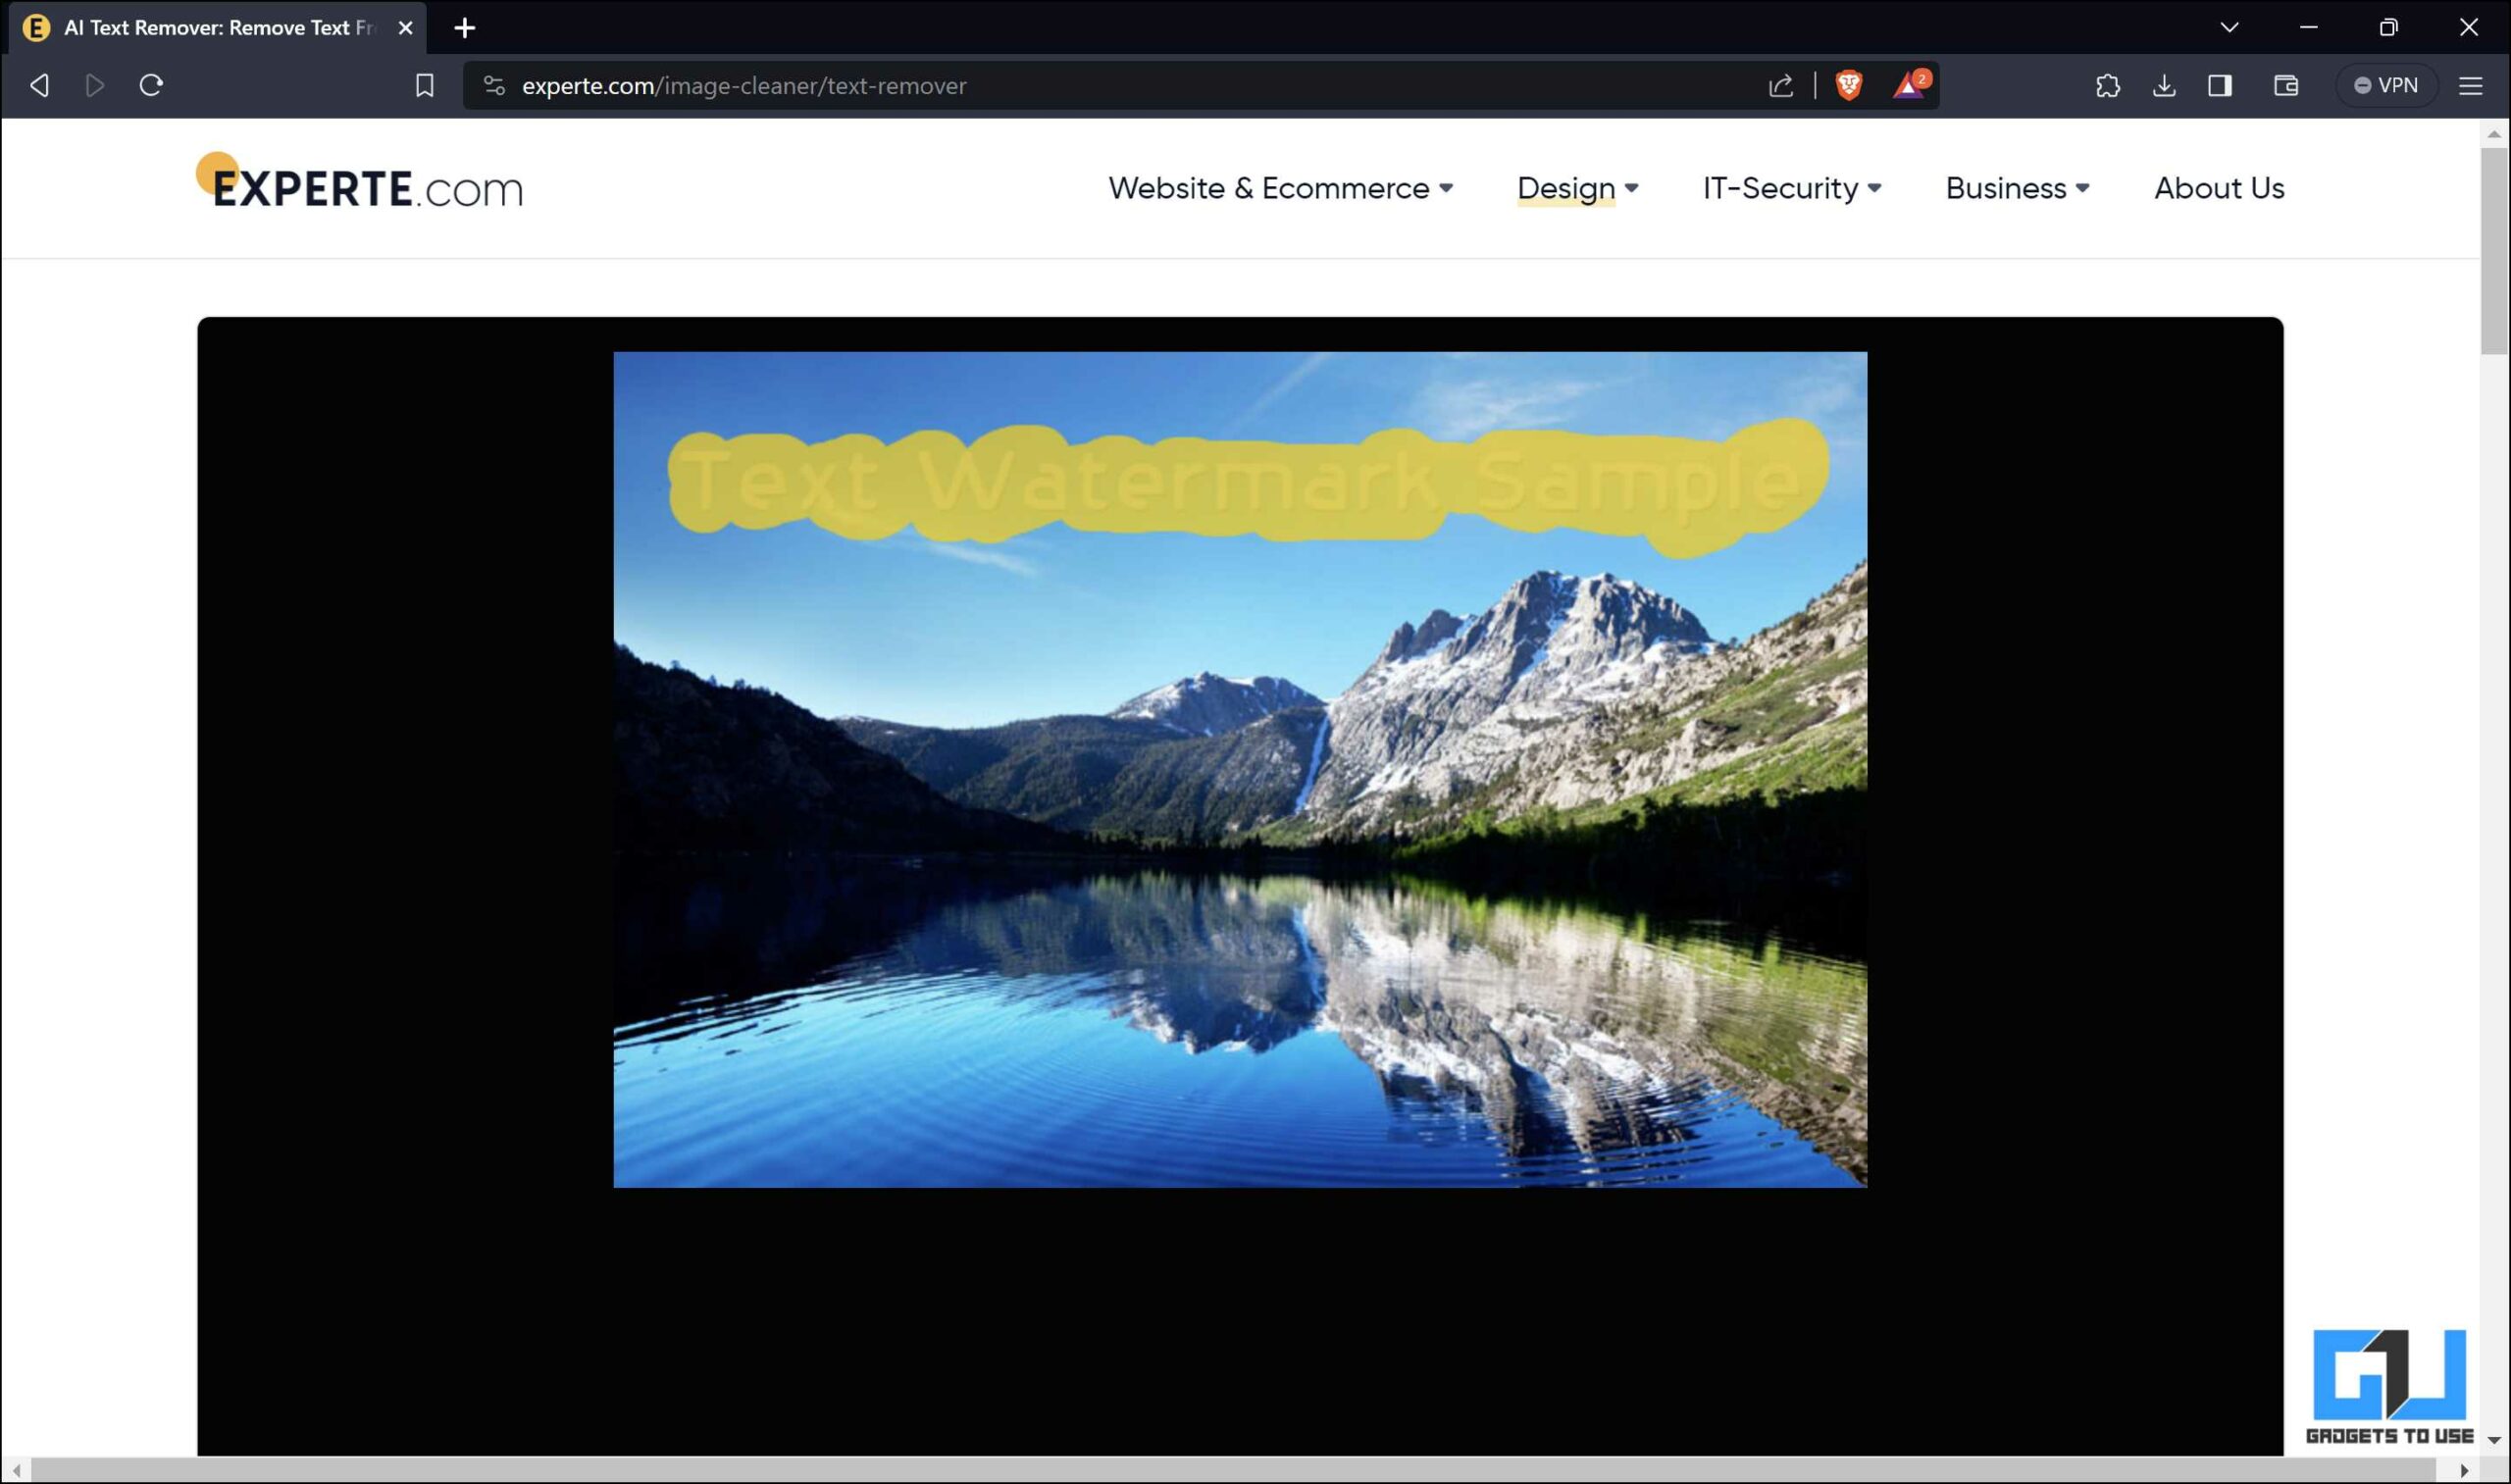
Method 4 – EXPERTE.com Image Cleaner
EXPERTE.com’s Image Cleaner is a user-friendly tool that effortlessly removes unwanted elements from images, perfect for erasing text, objects, and people and even restoring old photos. To erase text from images, follow these steps:
1. Visit the EXPERTE.com website in your browser and upload the image.

2. Use the brush tool to select the text to be removed. After selecting, the website automatically clears the text from the image.
3. Once the text is removed, click the Download button to save the image to your PC.

Our Experience: EXPERTE.com is very easy to use and requires no login, nor does it implement any daily limits regarding the number of images that can be processed or the resolution of the downloaded file.
Method 5 – Retouch in the Windows Photos App
If you don’t want to use third-party tools or online services, you can use a built-in Windows Photos app to remove text from images. Follow these steps to do so:
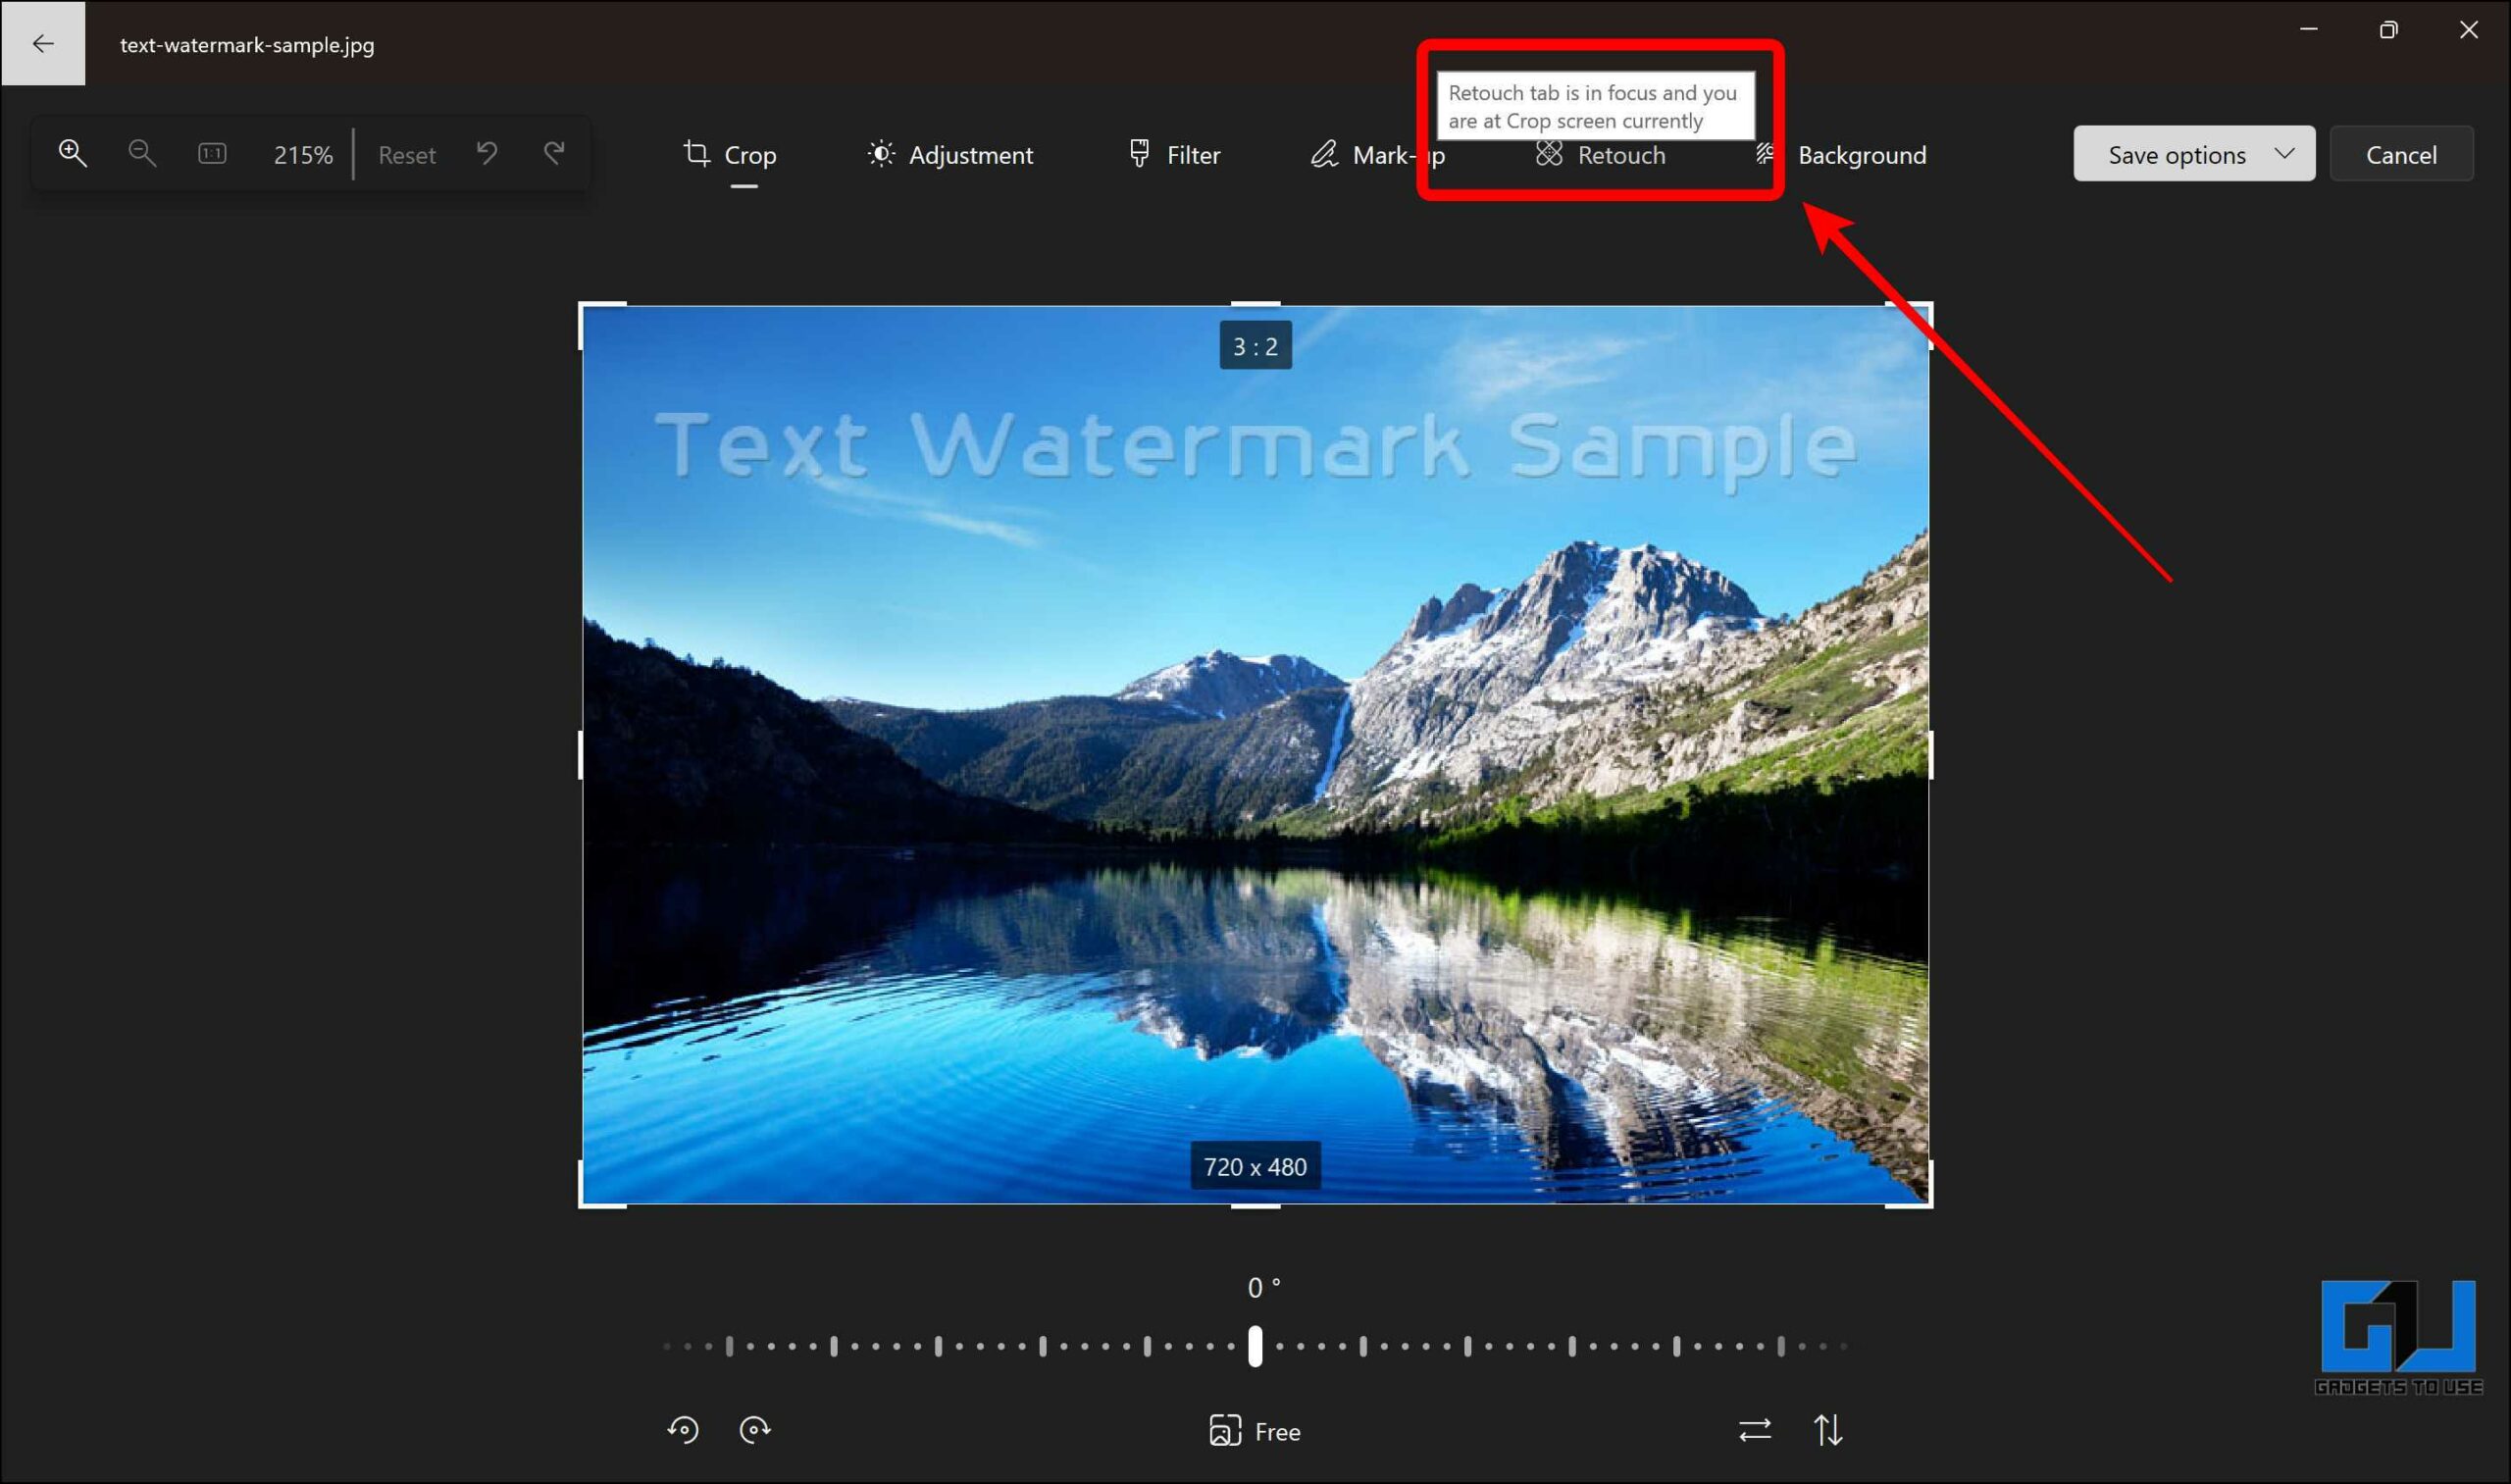
1. Open the image that contains the text you want to remove in the Windows Photos app.
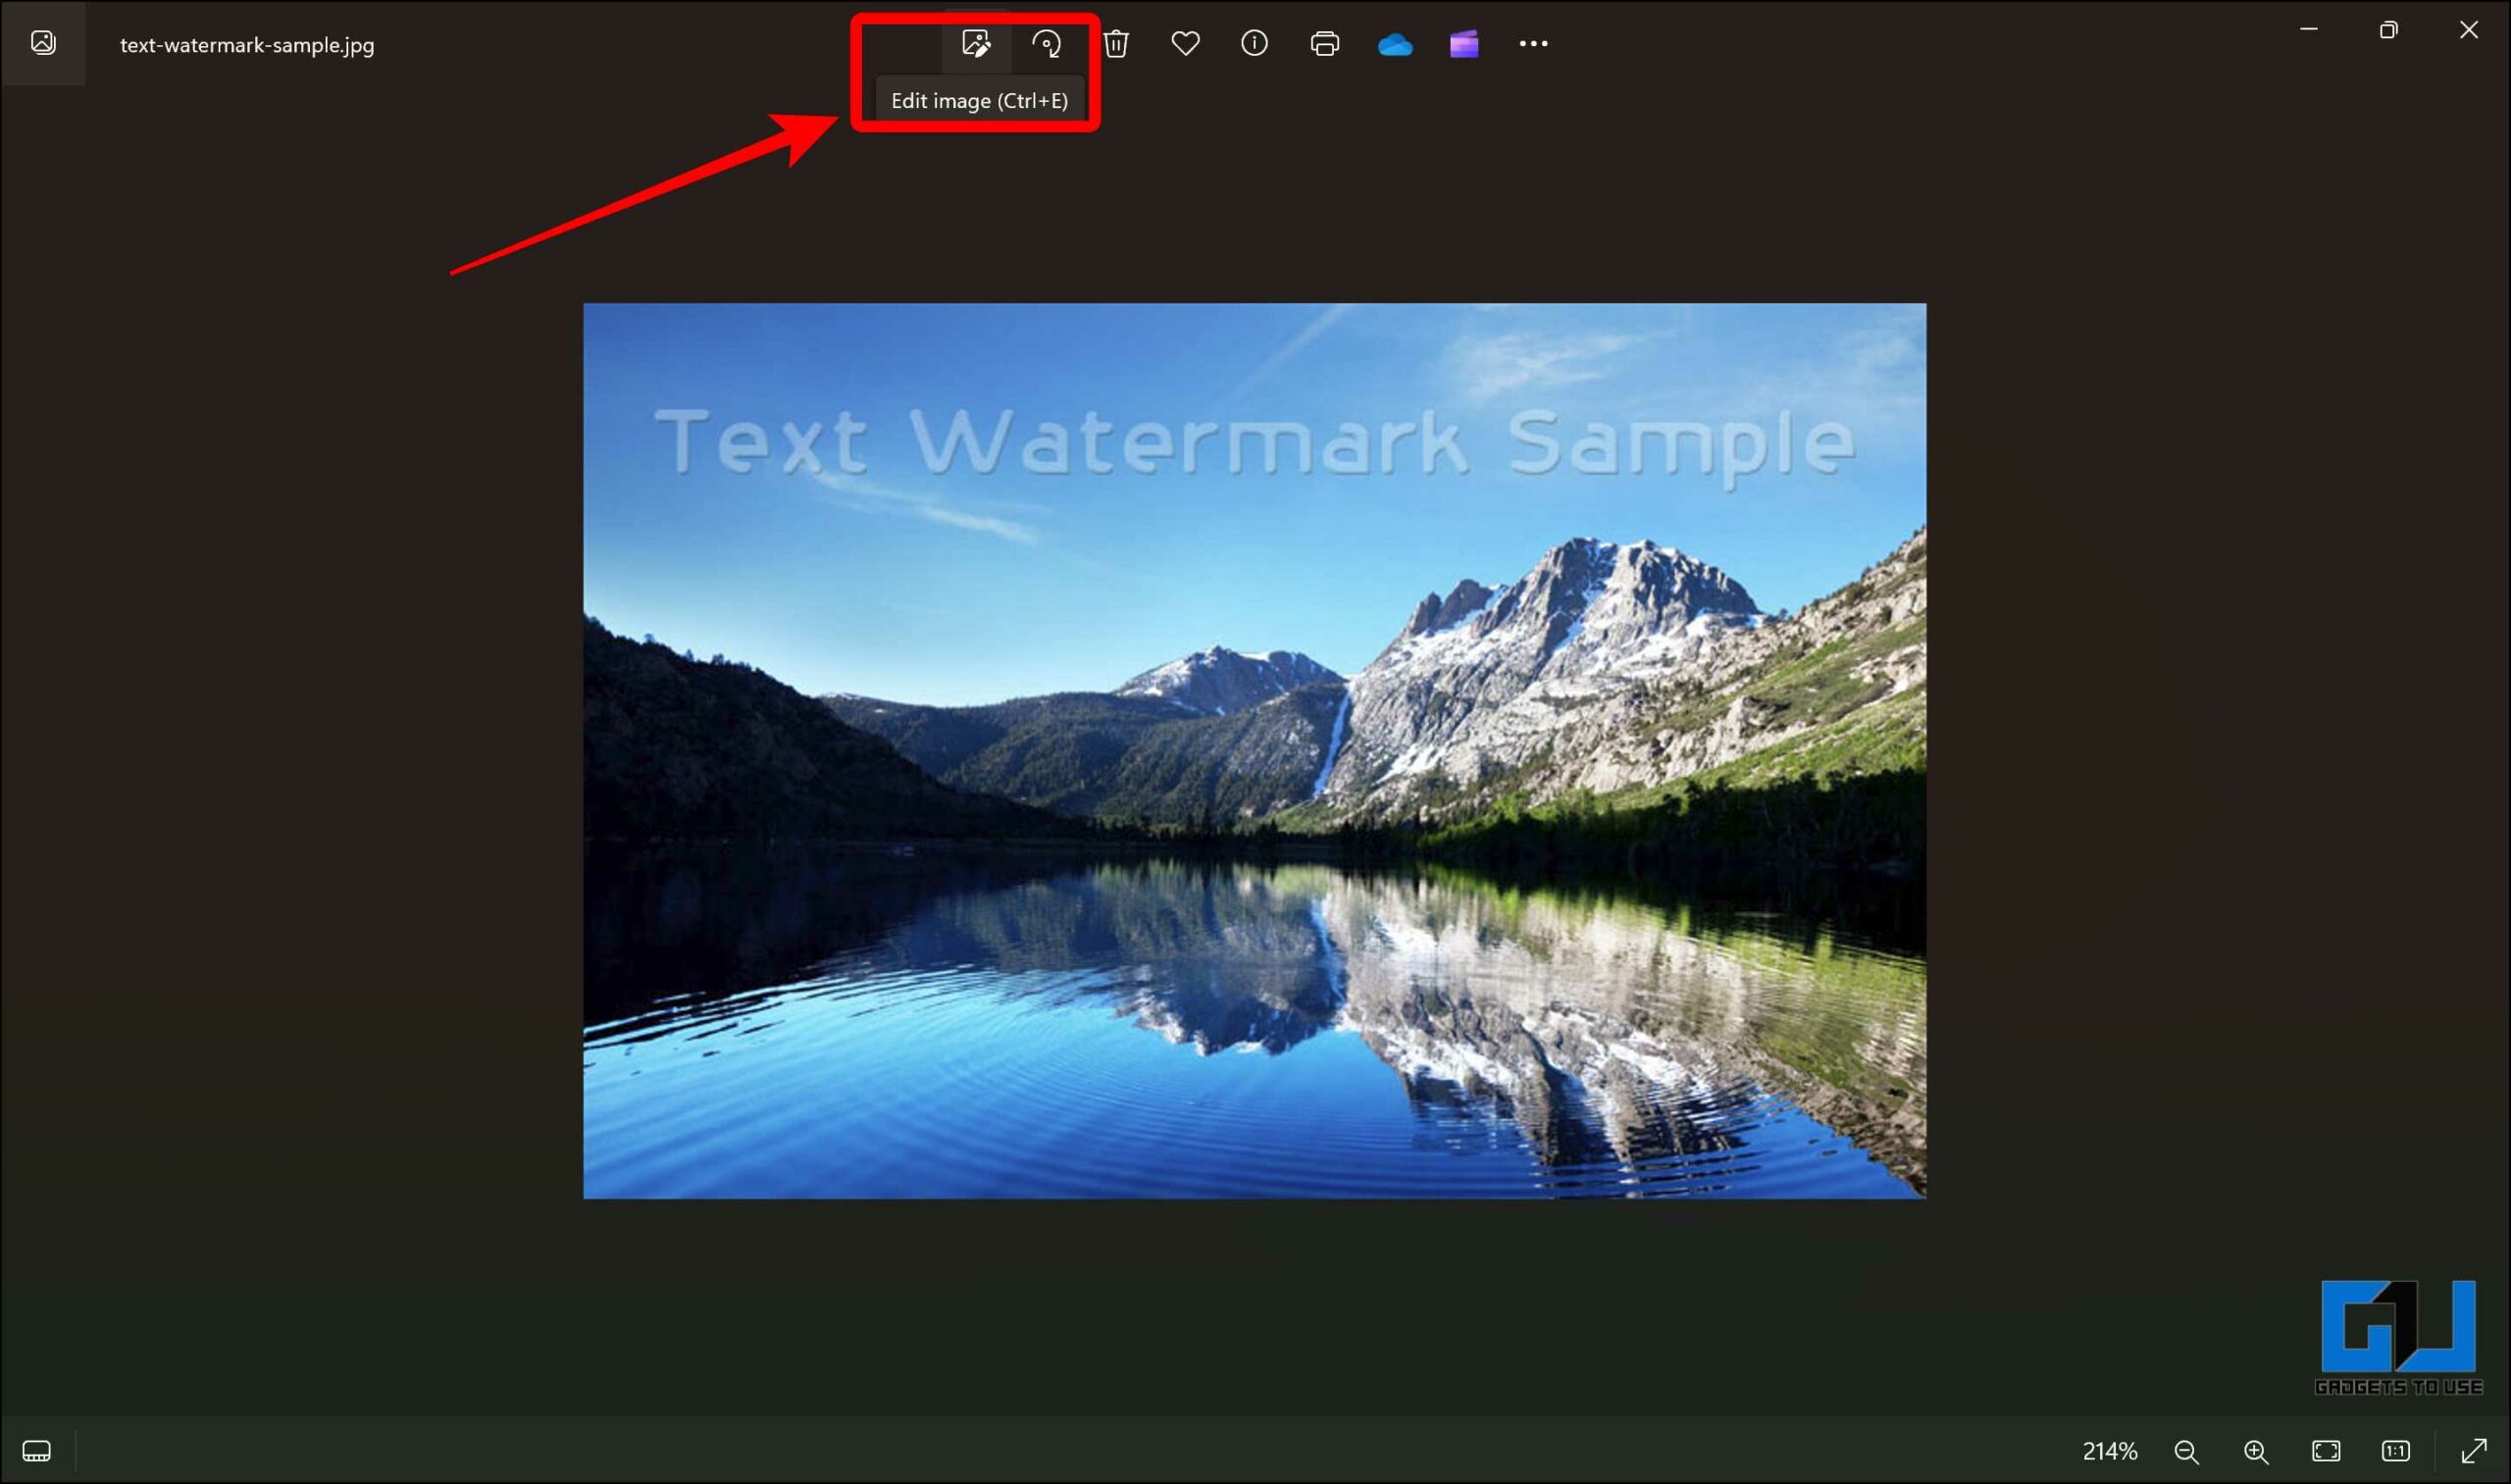
2. Click the Edit icon and select Retouch.
3. Select Spot Fix from the toolbar.
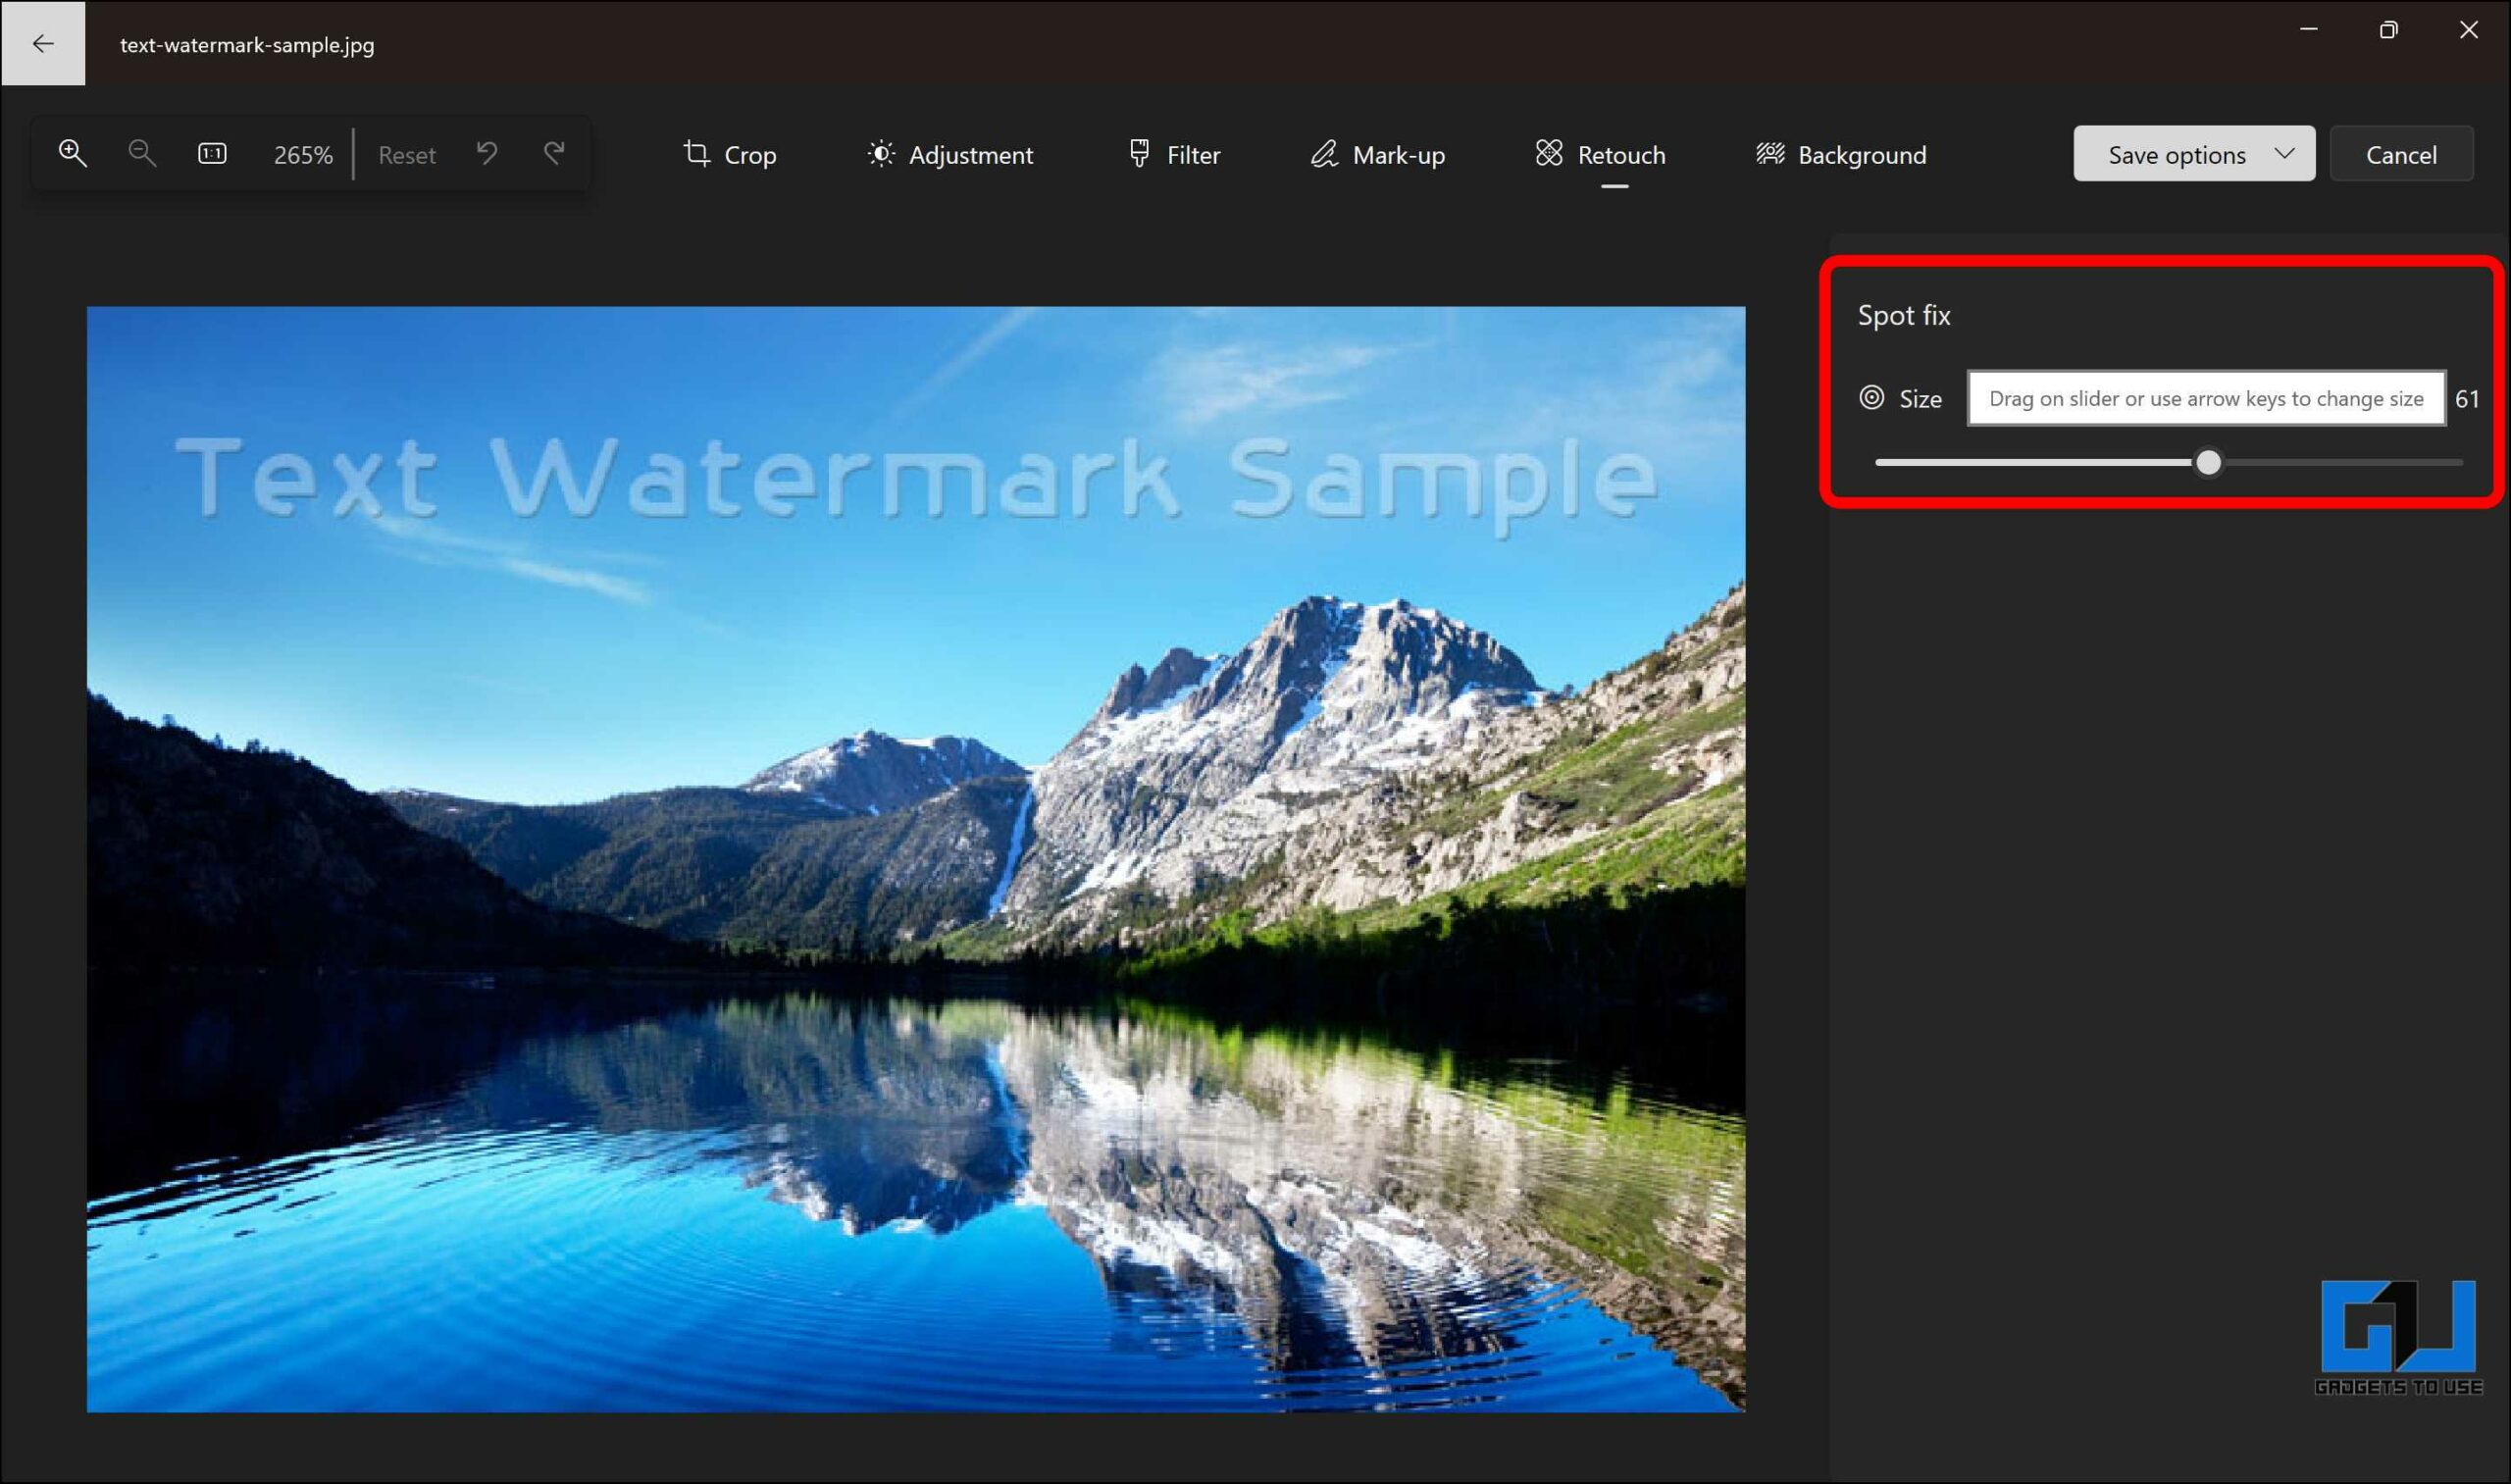
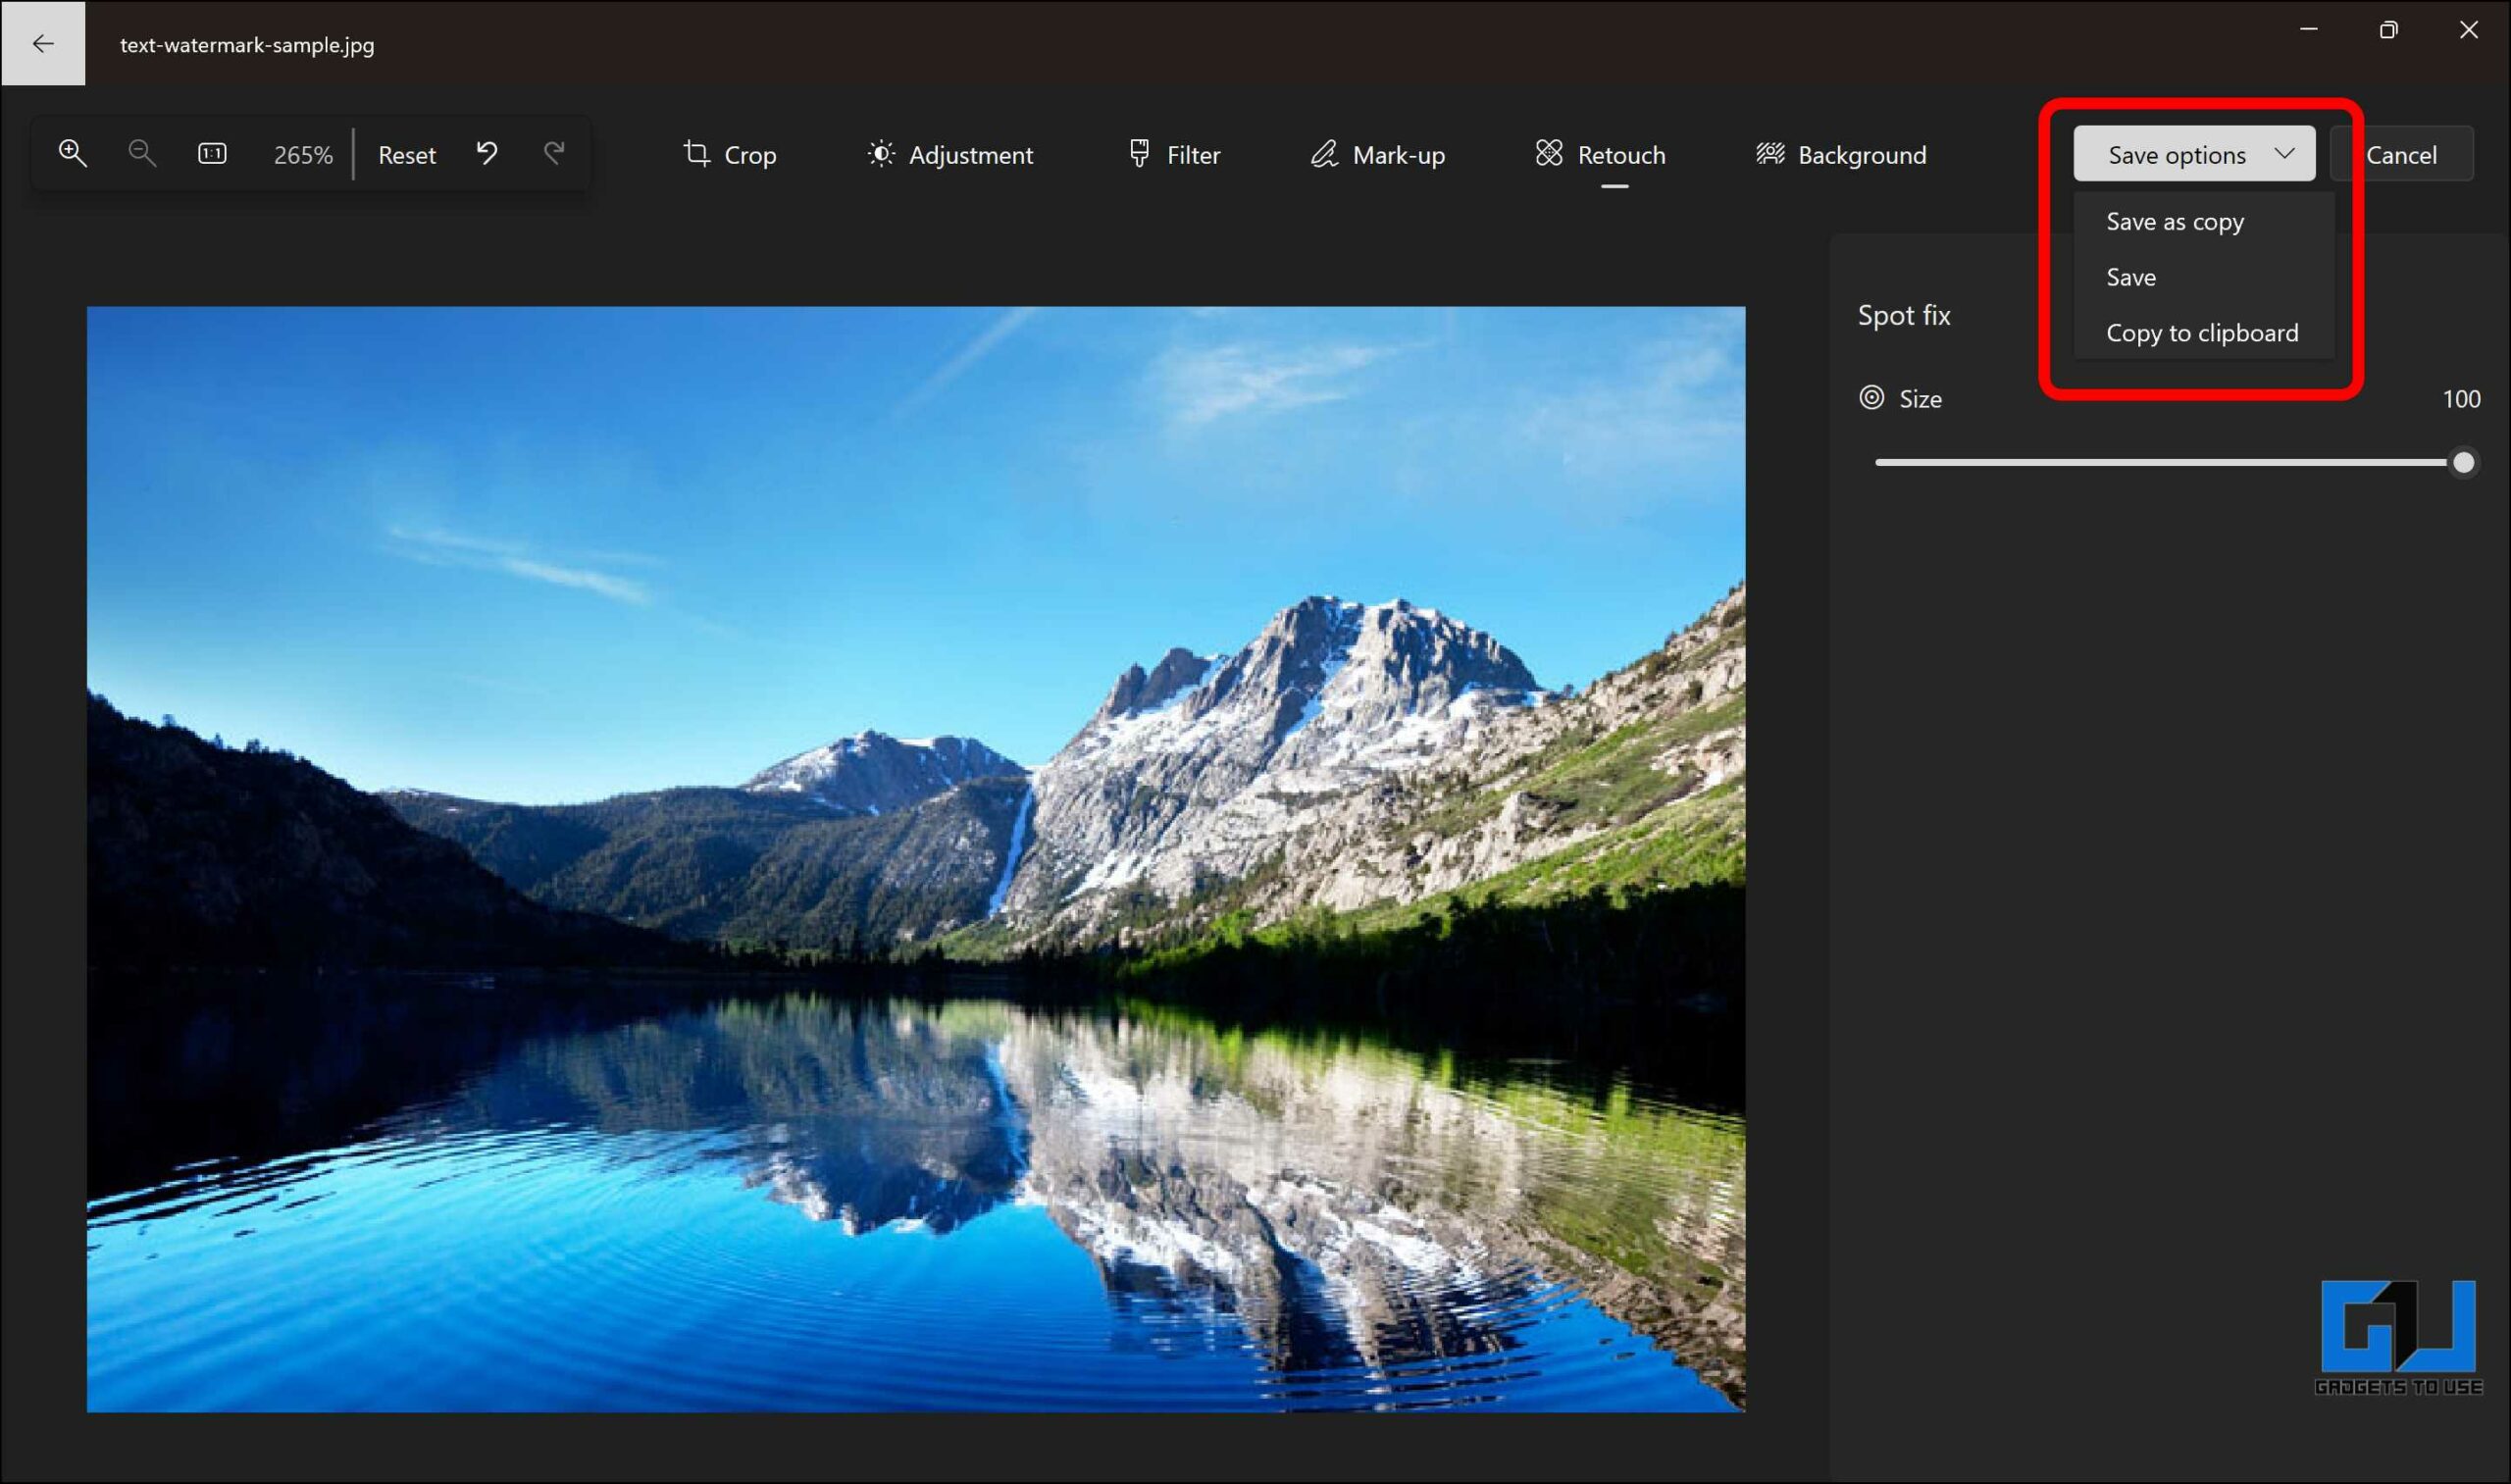
4. Adjust the brush size according to the text size, and click on the text area to erase it automatically. Repeat the steps to remove the text completely removed, and save the edited image.
Our Experience: The Windows Photos app is available on every Windows machine and is free to use with no hidden limitations. Its easy access is a convenience for everyone. However, to erase the text, you must go through multiple clicks to remove the entire text, which is a small inconvenience of this method. The results are decent.
Wrapping Up
All the above-mentioned methods are easy and effective and can help you achieve a clean and professional-looking image without any text. We hope this blog post has helped you learn how to remove text from images on a Windows 10 or 11 computer. Stay tuned to GadgetsToUse for more such reads!
Also, Read:
- 3 Ways to Search for Text in Photos on Android and iPhone
- 5 Ways to Convert Image to Text on PC, Mac or Your Phone
- 4 Ways to Resize an Image Without Cropping
- 3 Ways to Unblur Text in Images on PC and Phone
You can also follow us for instant tech news at Google News or for tips and tricks, smartphones & gadgets reviews, join the GadgetsToUse Telegram Group, or subscribe to the GadgetsToUse Youtube Channel for the latest review videos.