Quick Answer
- As soon as the developer wyroczen updates the mod with a new version, you’ll be able to see the same in the link mentioned above.
- As a result, you ‘ll be able to use the 8MP wide-angle, and 2MP macro camera in conjunction with the 64-megapixel Samsung GW1 primary sensor to click pictures.
- Now that we’ve got a working GCam Mod for Redmi Note 8 Pro, here’s how you can install the same on your unit.
Have you lately bought the Xiaomi Redmi Note 8 Pro and want to install Google Camera on the same? Well, don’t worry, we’ve got your back. Here’s our tried and tested guide on how to install Google Camera on Redmi Note 8 Pro.
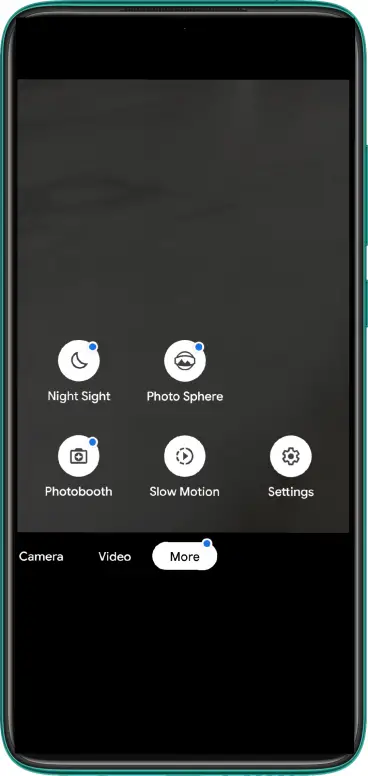
Install Google Camera on Redmi Note 8 Pro
Google Camera, also known as GCam Mod, has always been a boon for mid-range smartphones, helping them enhance the camera quality, exactly the way Google does on its Pixel devices. For starters, Google doesn’t offer very high-end camera sensors in its smartphones. Yet, it tops the results when it comes to camera performance, all thanks to the giant’s sheer image processing algorithms.
GCam Mod is basically a ported version of the same camera app that comes pre-installed on Google Pixel-series, involving the image processing algorithms by Google. Pictures from Google Camera are generally contrasty, have tad more detail and better dynamic range compared to the stock camera app on most phones. Plus, it produces better night shots and portraits in most cases. So, in all, GCam helps you shell the maximum juice out of your camera hardware.
Now, if you’ve got a Redmi Note 8 Pro, you might’ve already been searching for GCam mod all around. But since it gets a MediaTek chip instead of Qualcomm, it took a little time for developers to get around. Now that we’ve got a working GCam Mod for Redmi Note 8 Pro, here’s how you can install the same on your unit.
Steps to Install GCam Mod on Redmi Note 8 Pro
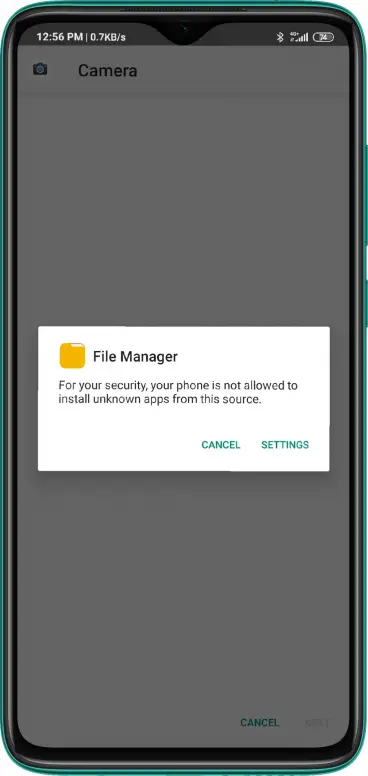
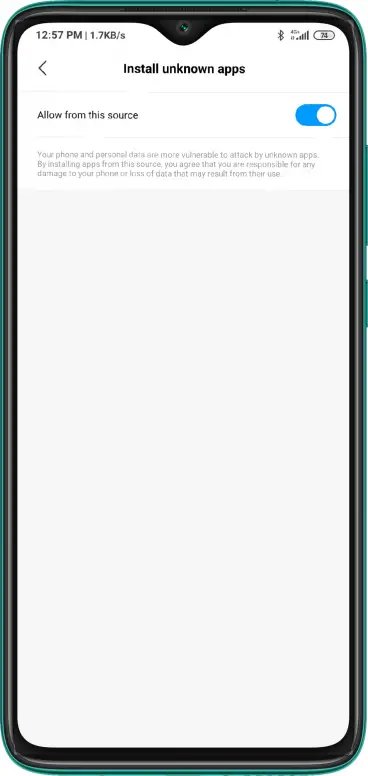
1] Firstly, download and install the Google Camera (MGC_6.1.021_Rn8ProEdition_1.0_Wyroczen_STABLE.apk) from the link given below. You may now be prompted to allow your browser to install third-party apps. Do the same and install the APK.
Download Gcam Mod for Redmi Note 8 Pro

2] Now that you’ve installed the Google Camera, it’s time to apply appropriate settings for it work correctly on your device. To do the same, create a folder named “Gcam” in your phone’s internal storage.
Next, create another folder named “configs” inside the Gcam folder. Download the XML file linked below and copy it to the Gcam > configs directory that we created just now.
Download GCam Settings file for Redmi Note 8 Pro
3] Go back and open Google Camera from the app drawer. Double click the dark area around the Shutter button, select the config file, i.e., wyroczen_rn8pro_3.xml here, and then click on “restore.” If GCam restarts, it means that the config file has been loaded correctly.
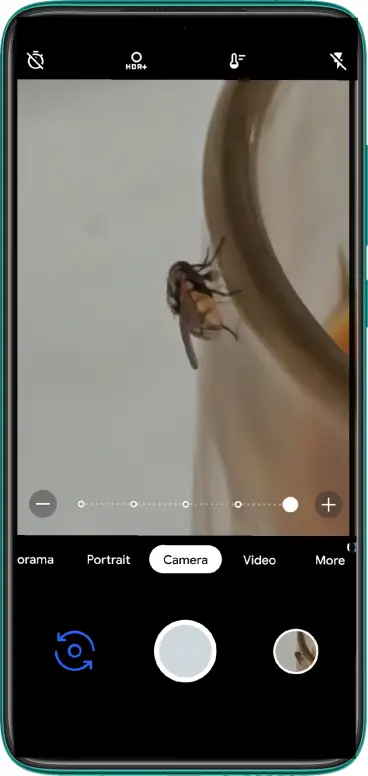
That’s it. The Google Camera is now ready to be used on your Redmi Note 8 Pro. Interestingly, this mod is compatible with all the four lenses on the device. As a result, you ‘ll be able to use the 8MP wide-angle, and 2MP macro camera in conjunction with the 64-megapixel Samsung GW1 primary sensor to click pictures.
The mod, however, cannot record videos in the current build. As soon as the developer wyroczen updates the mod with a new version, you’ll be able to see the same in the link mentioned above.
Wrapping Up
So this was a simple guide on how you can install Google Camera on Redmi Note 8 Pro. By the way, what’s your preferred choice for clicking pictures- GCam or stock camera? Let us know in the comments below. Moreover, feel free to reach us in case of any doubts or queries.
Also, read 8 New Features Redmi Note 8 Pro Brings to Redmi Note Series.