Quick Answer
- In order to get the Android 12 style clock on your phone’s lock screen, all you need is just two apps, one of them is a Lockscreen maker app (KLCK), and a pack of Android 12 themed widgets layouts (Material Komponents), you can download them from the link below.
- Today we are back to share a guide to install another Android 12 feature on your phone, and this time it is the cool-looking clock on your Lock Screen.
- Switch to the Position tab, and change the Anchor to the Top left, and set the X Offset to 45, and Y Offset to 165.
Recently we shared a guide to install Android 12 Style Widgets on your phone for FREE, if you haven’t read it then you can check it out now. Today we are back to share a guide to install another Android 12 feature on your phone, and this time it is the cool-looking clock on your Lock Screen. With the new “Material You” Google revamped the look of the lock screen with such a beautiful looking clock that covers a handful amount of screen estate when there are no notifications. So without any further delay let’s get started.
Also, read | Top 10 Android 12 Tips, Tricks, and Hidden Features
What will you need?
In order to get the Android 12 style clock on your phone’s lock screen, all you need is just two apps, one of them is a Lockscreen maker app (KLCK), and a pack of Android 12 themed widgets layouts (Material Komponents), you can download them from the link below.
Also, Read | 3 Ways to Install Android 12 Style Wallpaper and Clock Widget on Any Android Phone
Guide to Android 12 Style Clock on Lockscreen
Now that we have downloaded both these apps, let’s get to work and create our own Android 12 style lock screen clock. If you have not used or familiar with how to use any Kustom maker app, for example, KWGT, then I do recommend checking out the Android 12 Widgets Guide linked at the top of this article.
Steps to Get Android 12 Style Clock
Now, that you have read the article above, and you are familiar with how these app work, let’s quickly add that sweet clock on the lock screen.
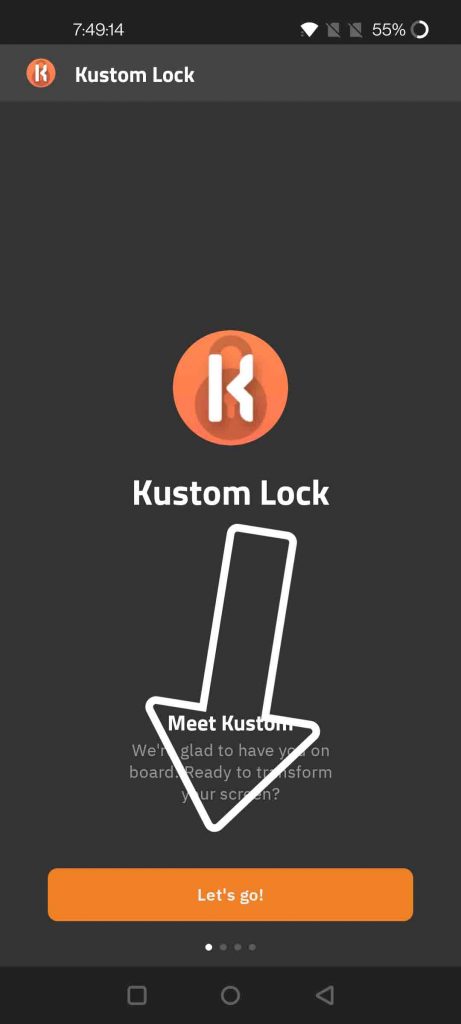
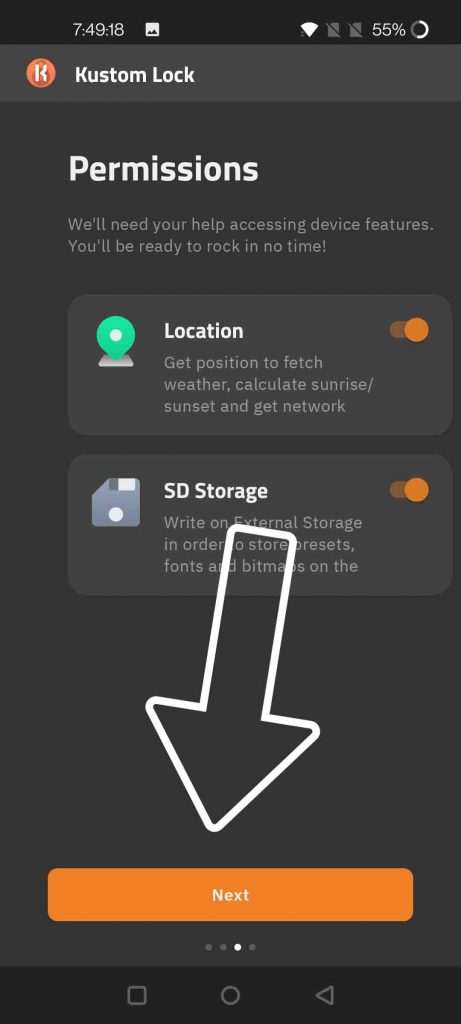
- Open the KLCK app, and allow the permissions for Location and Storage.
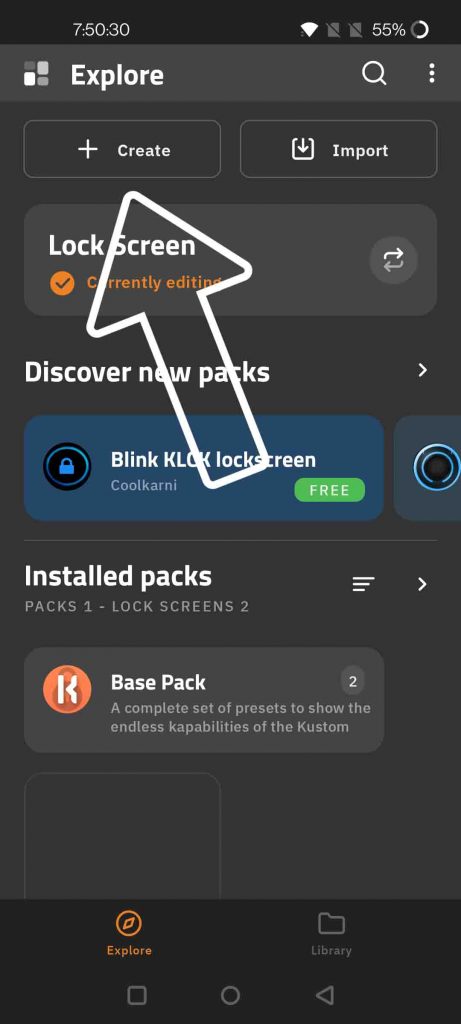
- Click on the Create Button.
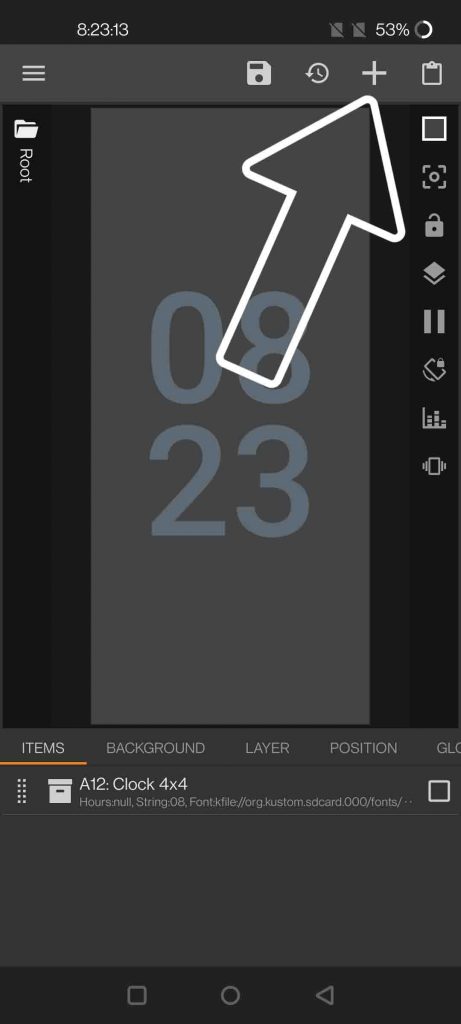
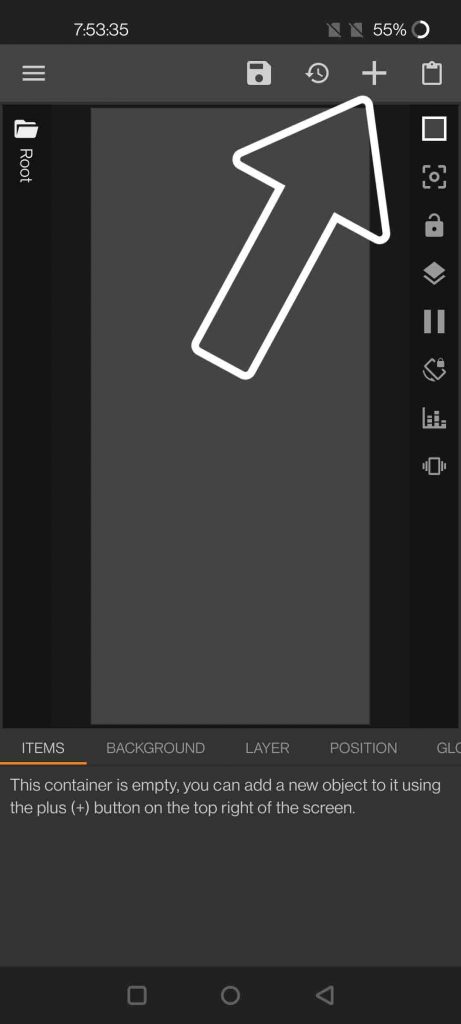
- Once you see this screen, tap on the Add (Plus) icon
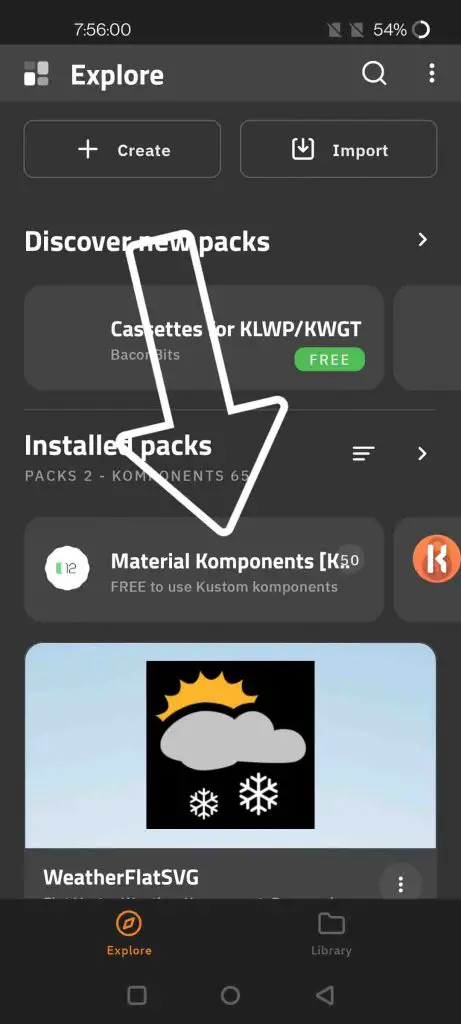
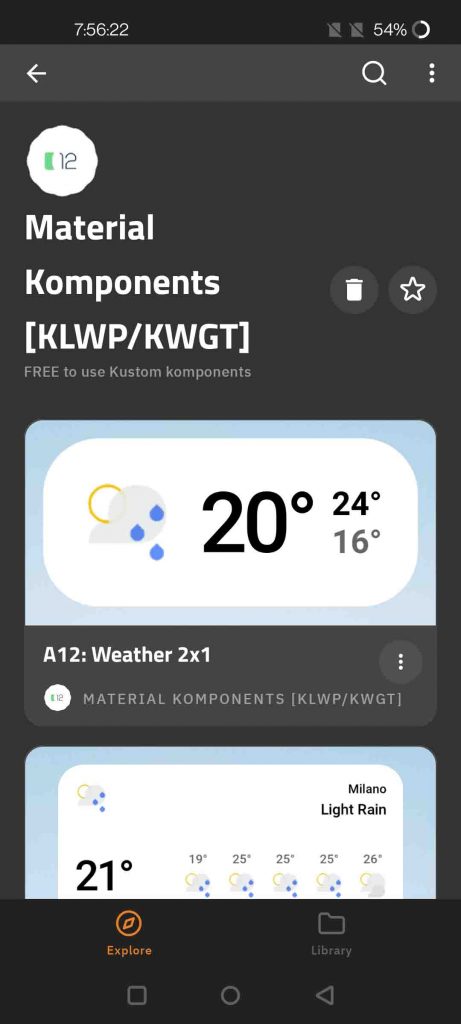
- Go to Komponent, and click on Material Komponents (which we installed from the play store)
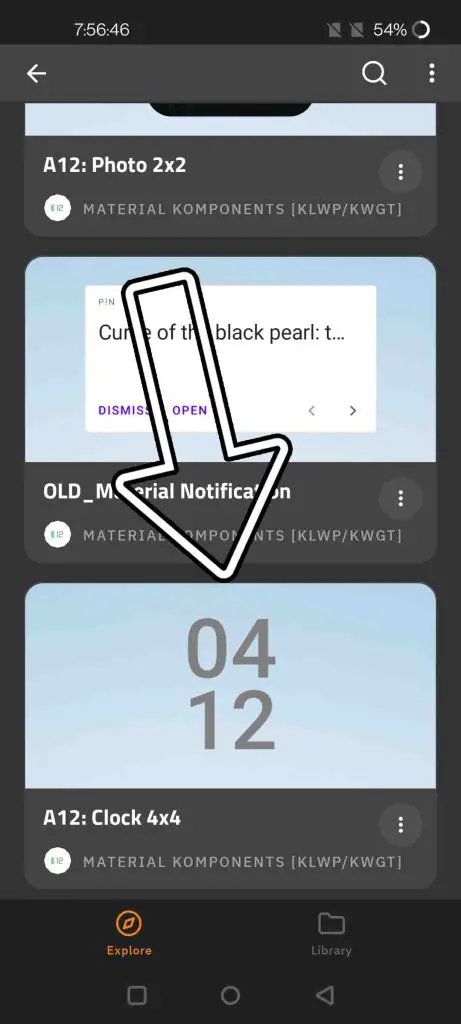
- Scroll down, and select Clock 4×4. Now, we need to add few more things to complete the look.
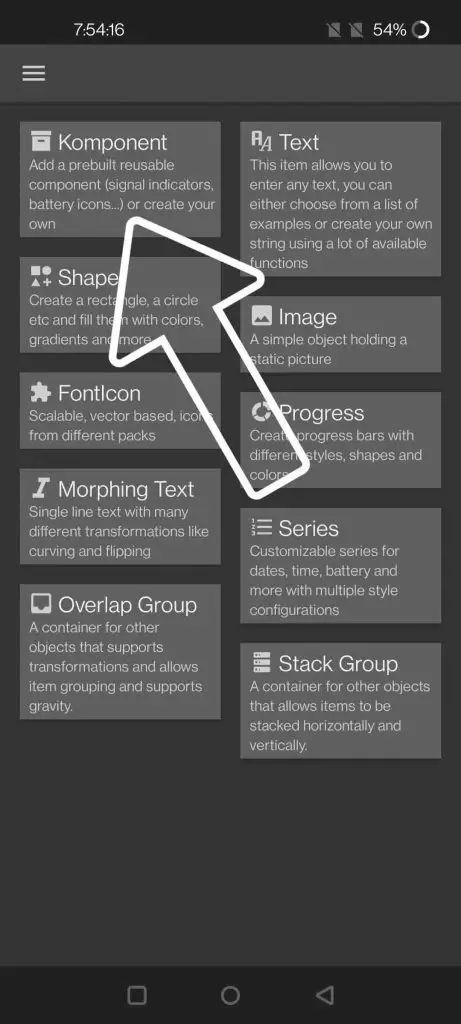
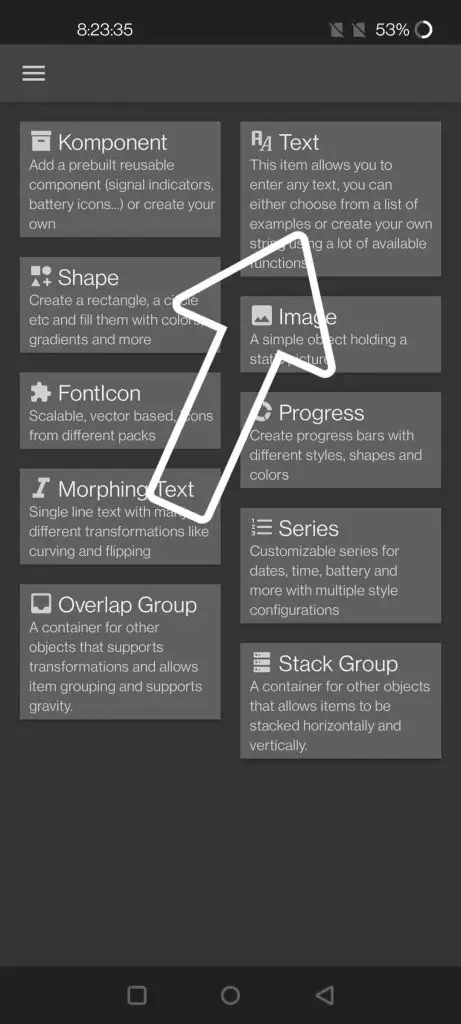
- Click on the Add button again, tap on Text.
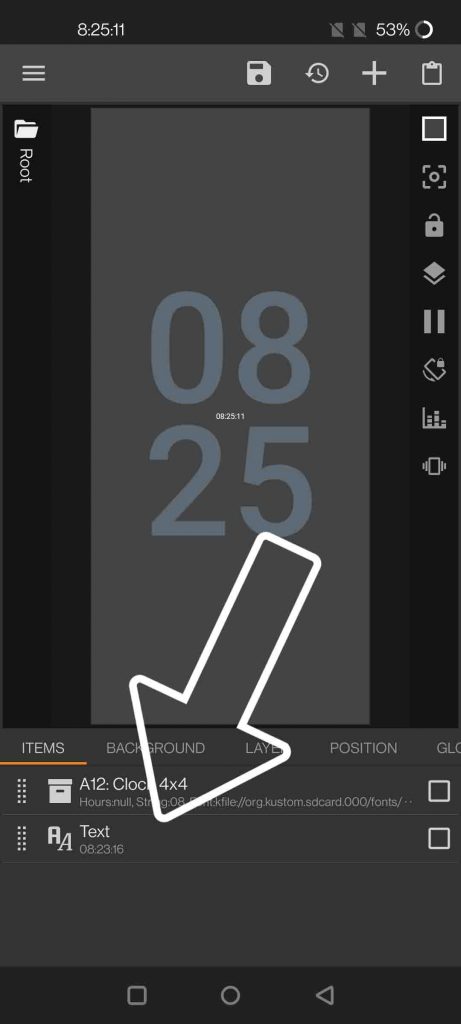
- Now, when on the Items tab, then tap on Text to edit it.
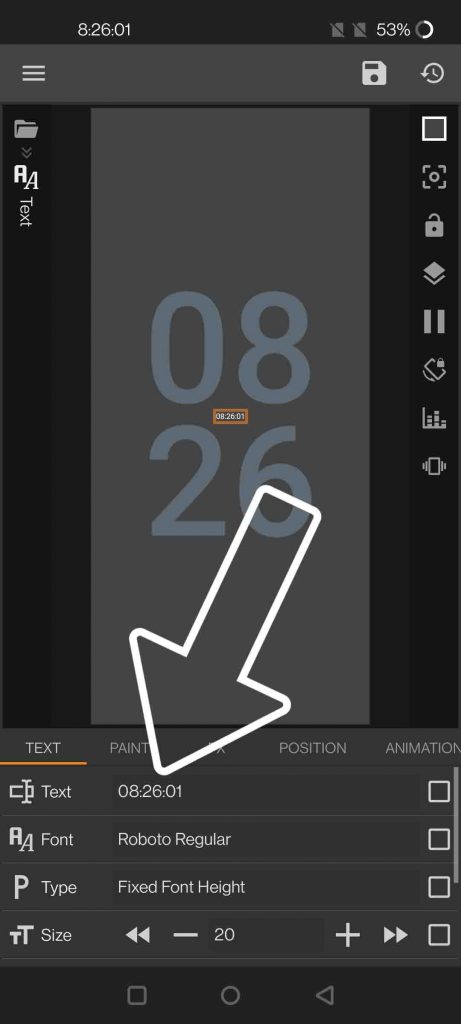
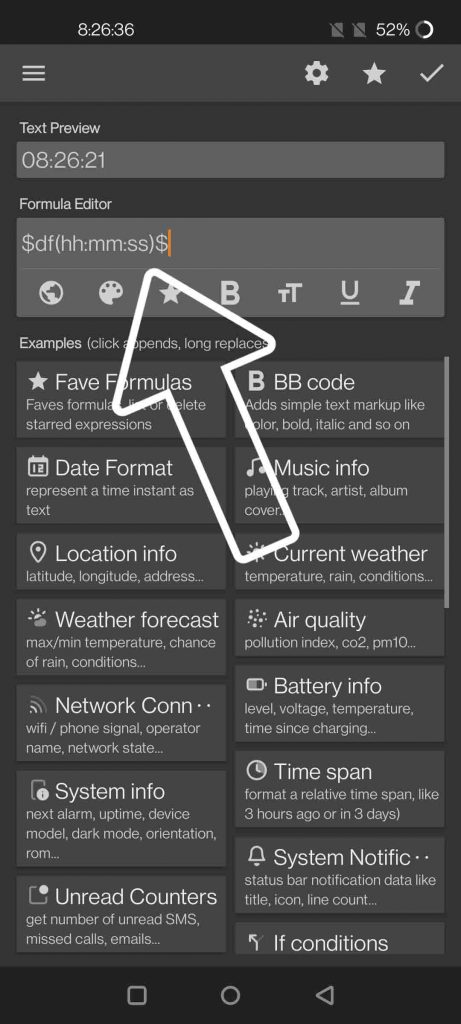
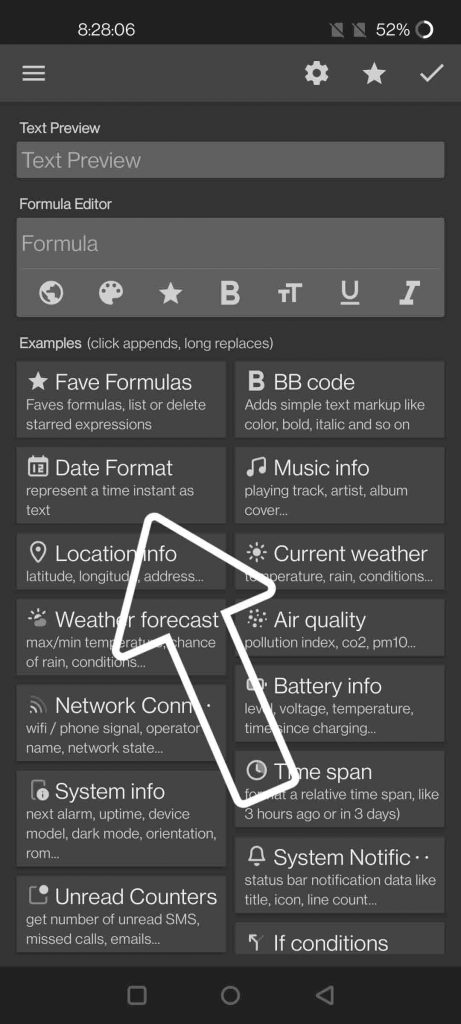
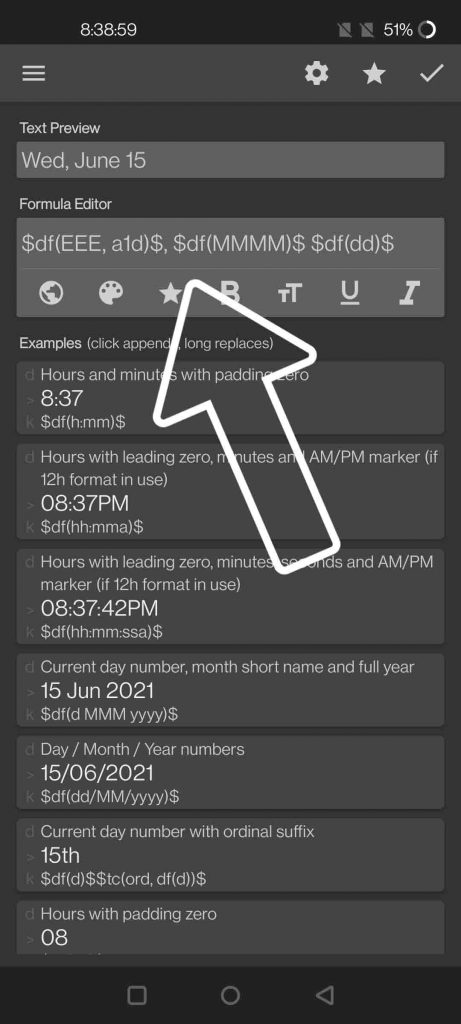
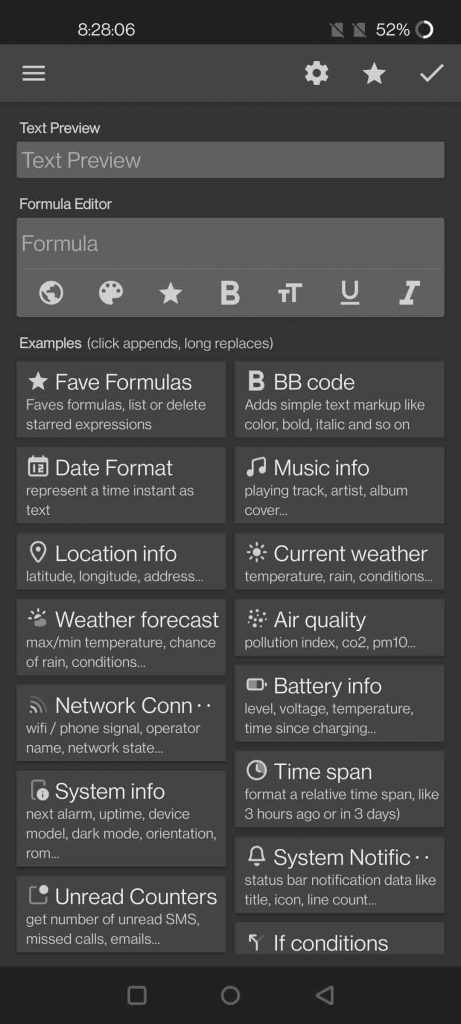
- Erase the Formula and tap on Date Format.
- Now, select the new format by clicking the tiles below, in this order: Day, Month Date. You can also directly paste this formula: $df(EEE, a1d)$, $df(MMMM)$ $df(dd)$
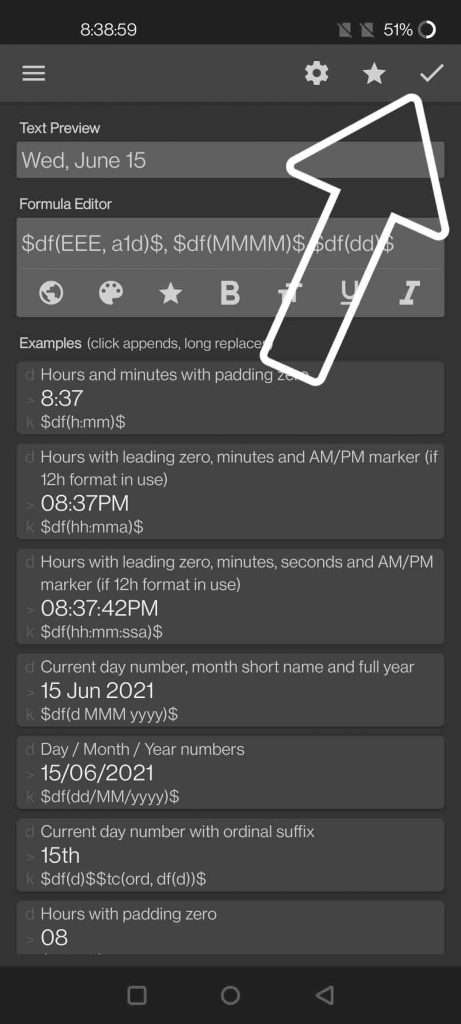
- Click on Done.
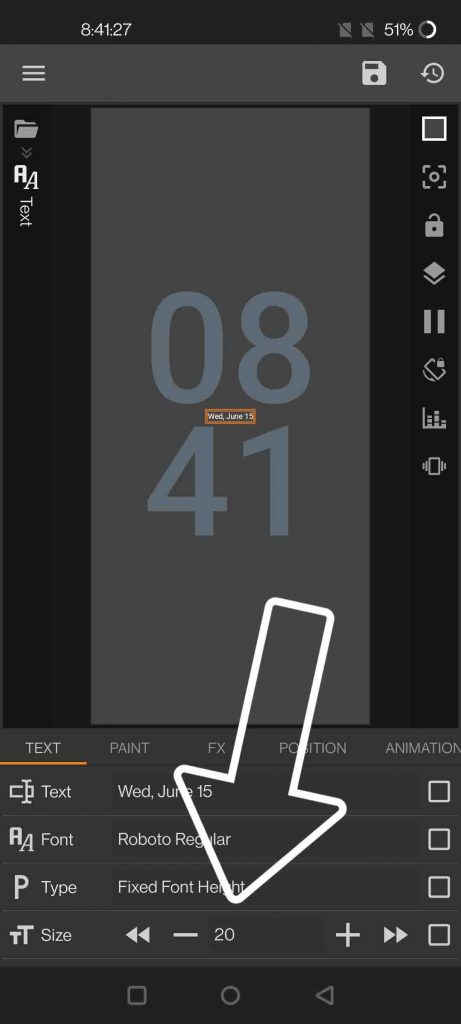
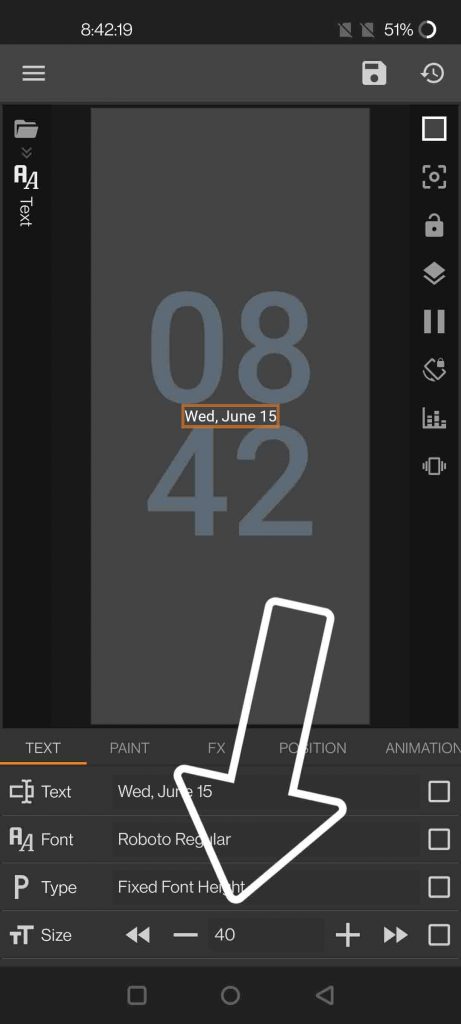
- Adjust the size of the date from the controls.
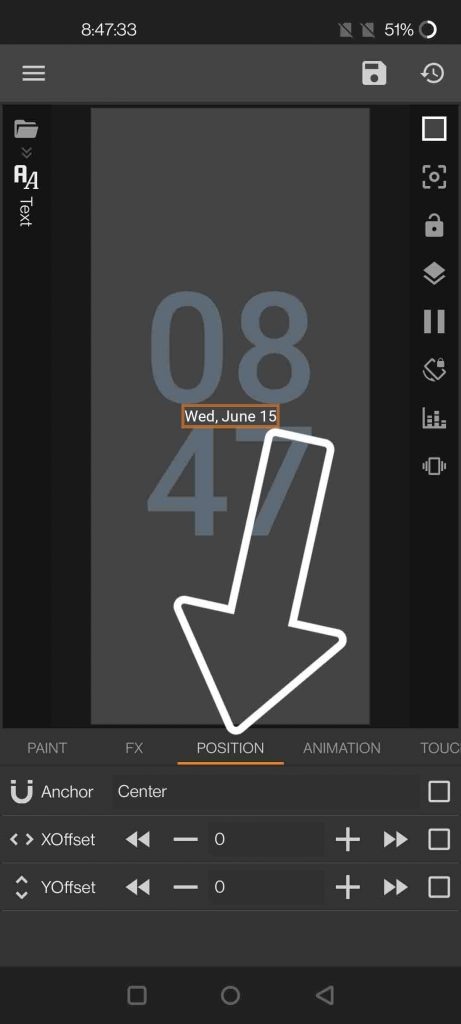
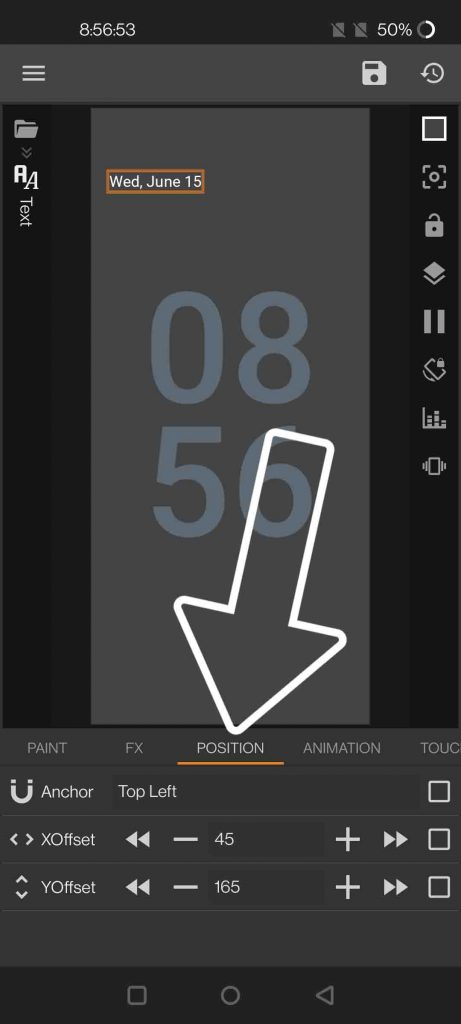
- Switch to the Position tab, and change the Anchor to the Top left, and set the X Offset to 45, and Y Offset to 165.
- Similarly, we can add anything to the lock screen like battery info, temperature, etc., and can also change Font. The only downside is that it doesn’t support icons as of now, there are some Pro versions available that come with icon support.
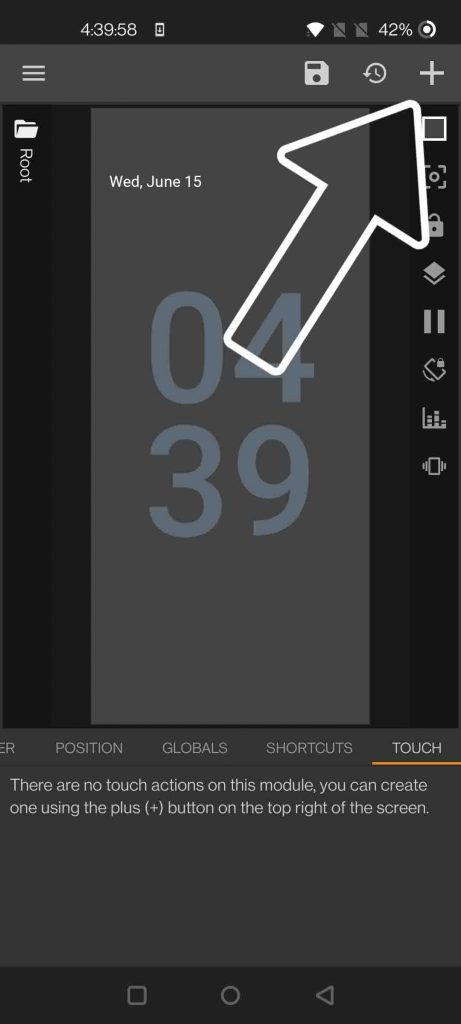
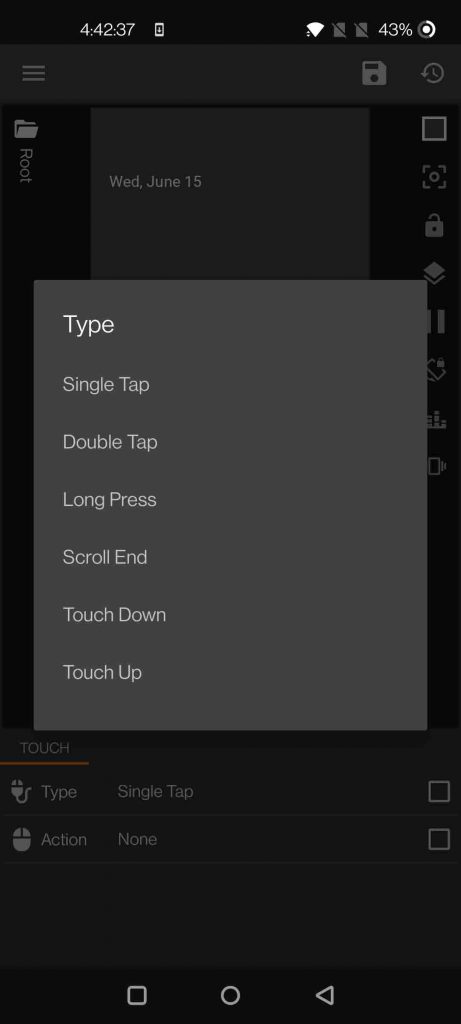
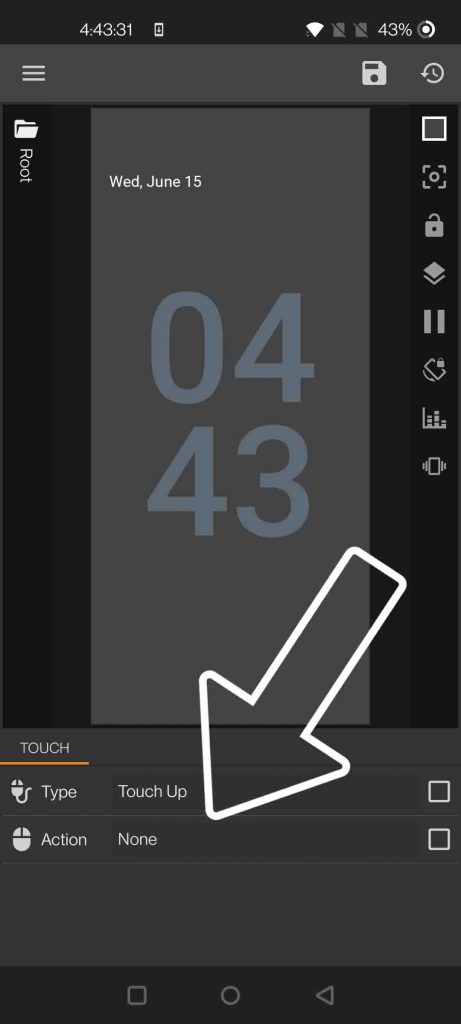
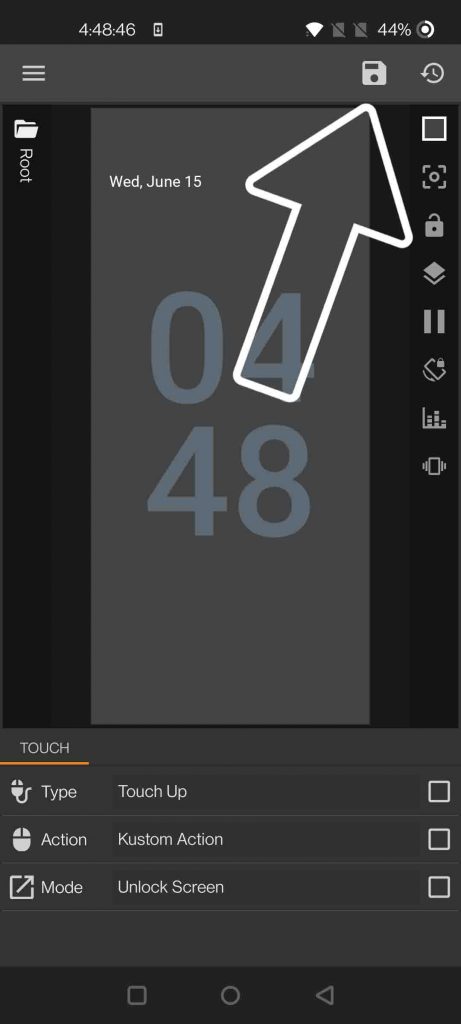
- Now, we need to set the unlock method. Go to Touch Tab, click on add button.
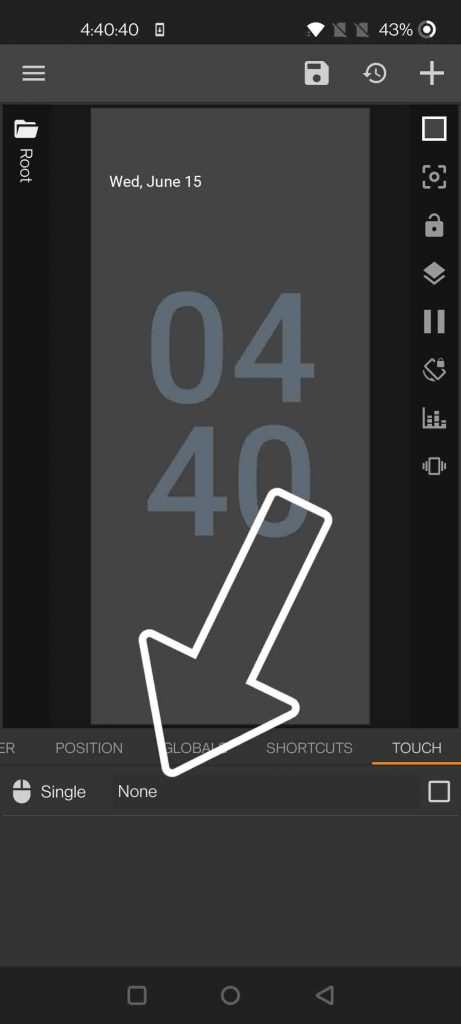
- Tap on None, choose the from available options.
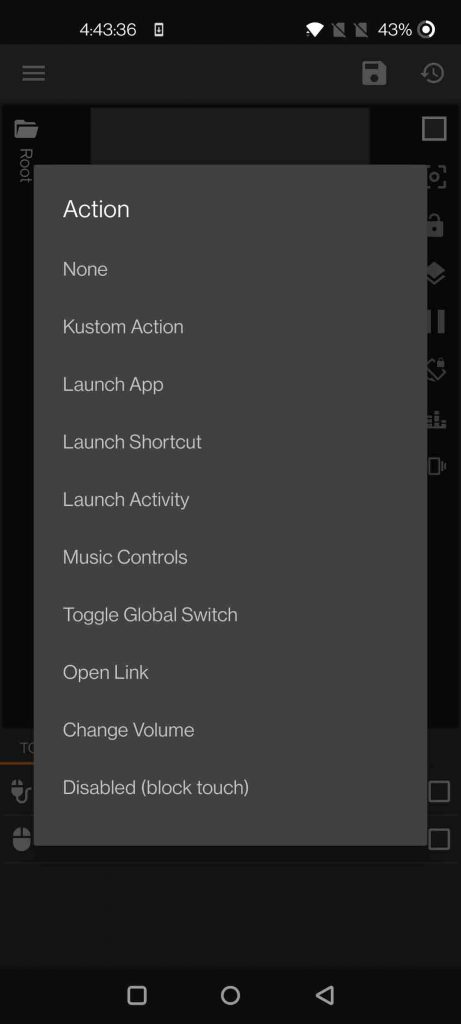
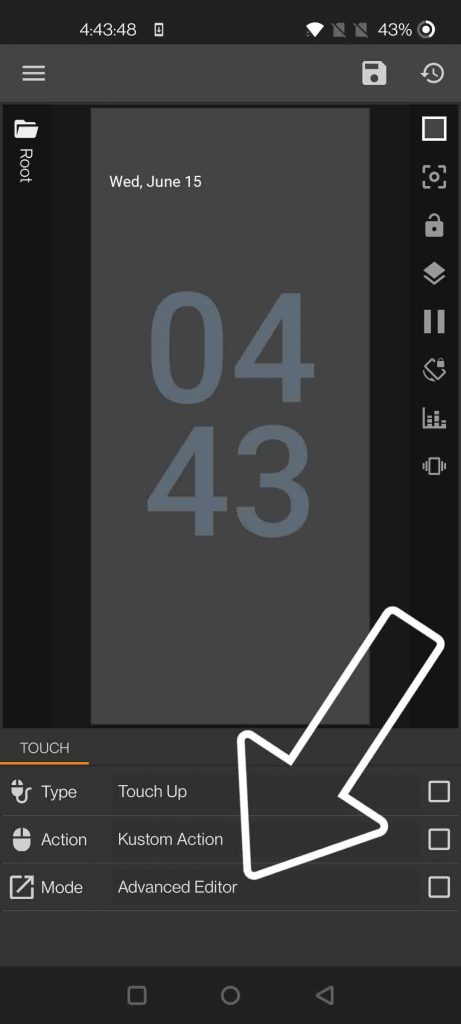
- Click on Action, and set it to Kustom Action.
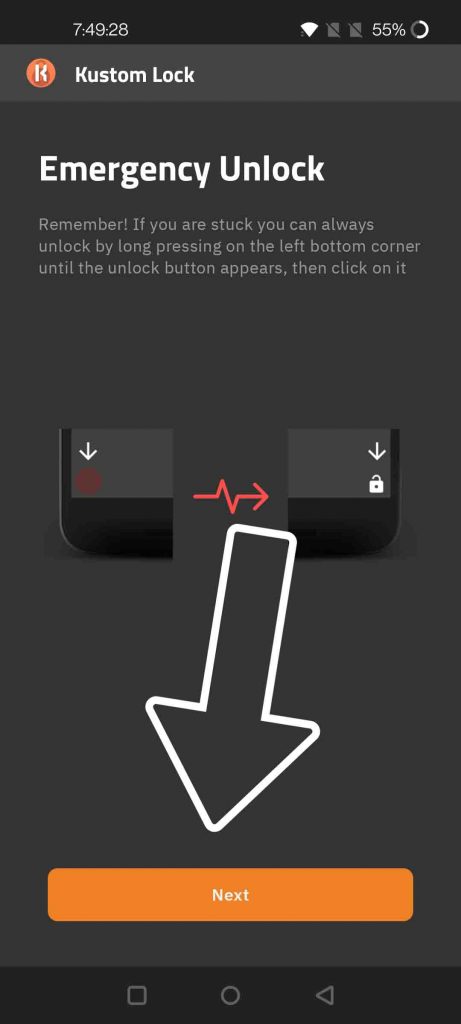
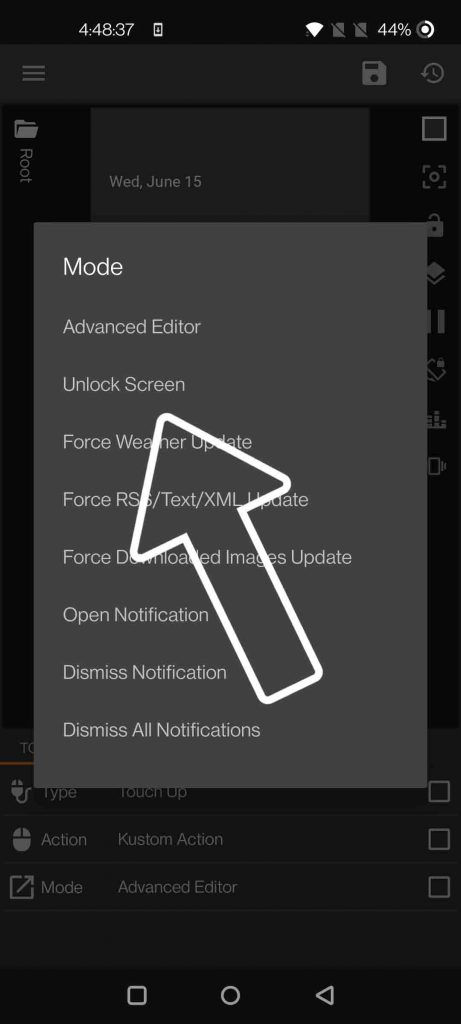
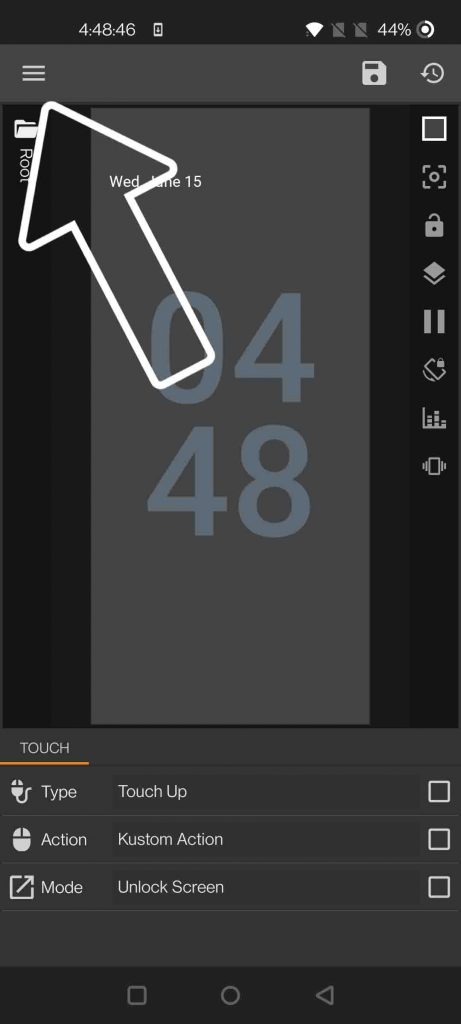
- Now tap on Mode, and change it to Unlock Screen, this will add a layer before the main security lock you’ve set (for example, Fingerprint, PIN, Password, Pattern, etc.)
- Once done, click on the Save Button.
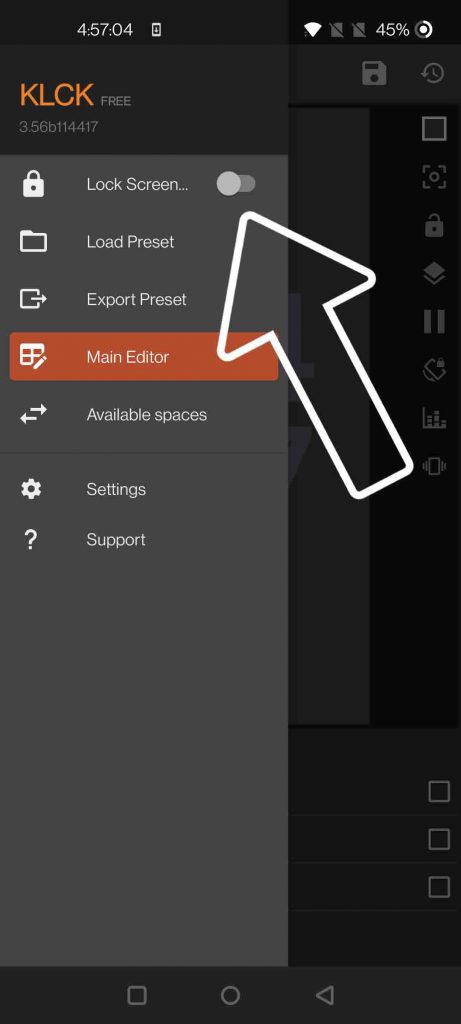
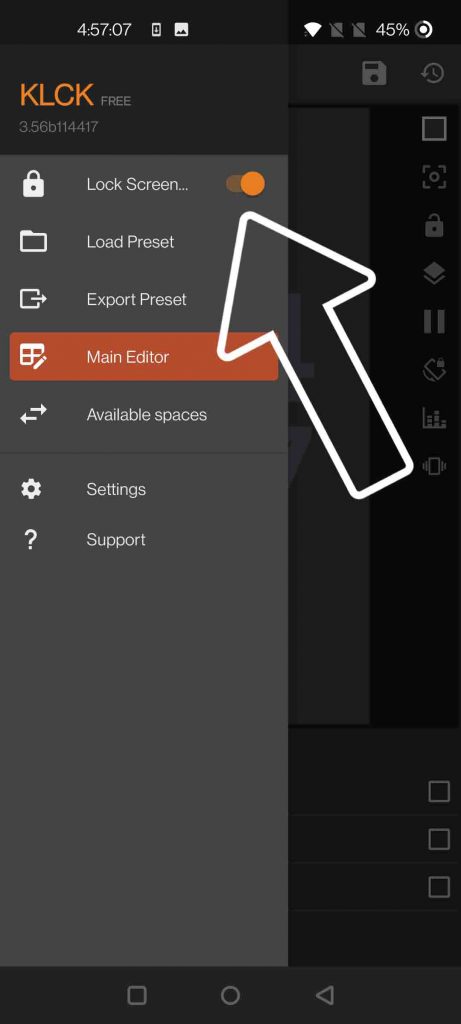
- Now, to enable the lock screen, tap on the hamburger button (3 lines) and enable the toggle.
- That’s it, you can enjoy the Android 12 Style lock screen, on your phone.
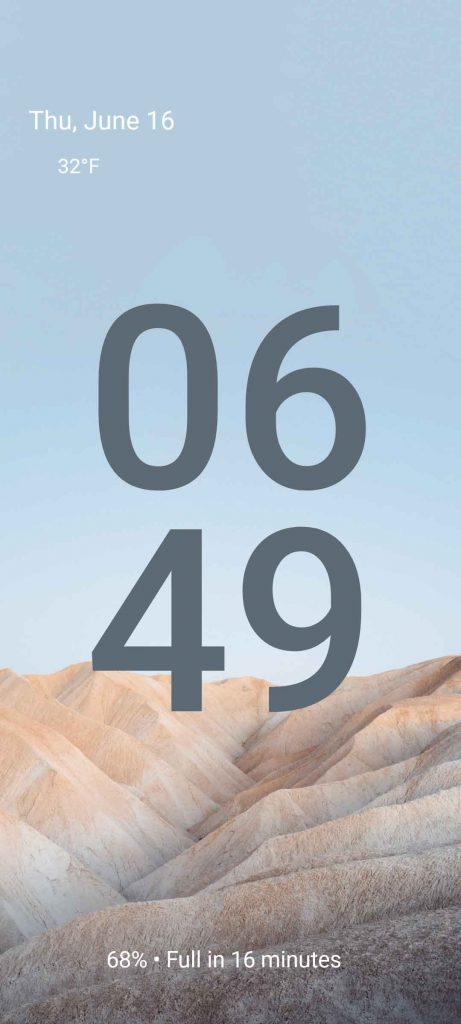
So this is how we can get an Android 12 style lock screen clock on your phone. Since this is an unofficial way, it doesn’t offer all the features like Notifications, charging animation, etc. But at least you can get an identical look. There are some Pro packs available that come with some added features, like icon supports. Some examples are GNW Icons, Iconzy, Klimate.
Which Android 12 design change is your favorite, and how excited are you for Android 12? Do let us know in the comments down below. Stay Tuned for more such Android Tips.
You can also follow us for instant tech news at Google News or for tips and tricks, smartphones & gadgets reviews, join GadgetsToUse Telegram Group or for the latest review videos subscribe GadgetsToUse Youtube Channel.
