You may want to reset your Windows PC for various reasons- maybe it’s running sluggish, has accumulated a lot of junk over time, or you messed up the registry and couldn’t revert. Thankfully, it’s super easy to restore Windows 11 to its factory settings. Here’s the quickest way to reset your Windows 11 PC without losing personal files.
Related | How to Switch to Windows 11 Beta from Dev Channel
Reset Windows 11 To Factory Settings Without Losing Personal Files
You always have the option to download Windows 11 ISO and do a fresh install manually. However, that’s not required as there’s a built-in option to reset the PC and perform a clean install. Below is the detailed guide to reset your Windows 11 PC without losing personal files.
Why Reset Your Windows PC?
- You want to restore the changes you’ve made to your PC.
- Fix any intermittent issues caused by bad or corrupted system files.
- You’re having problems with your PC.
Steps to Restore Windows 11 to Default Settings
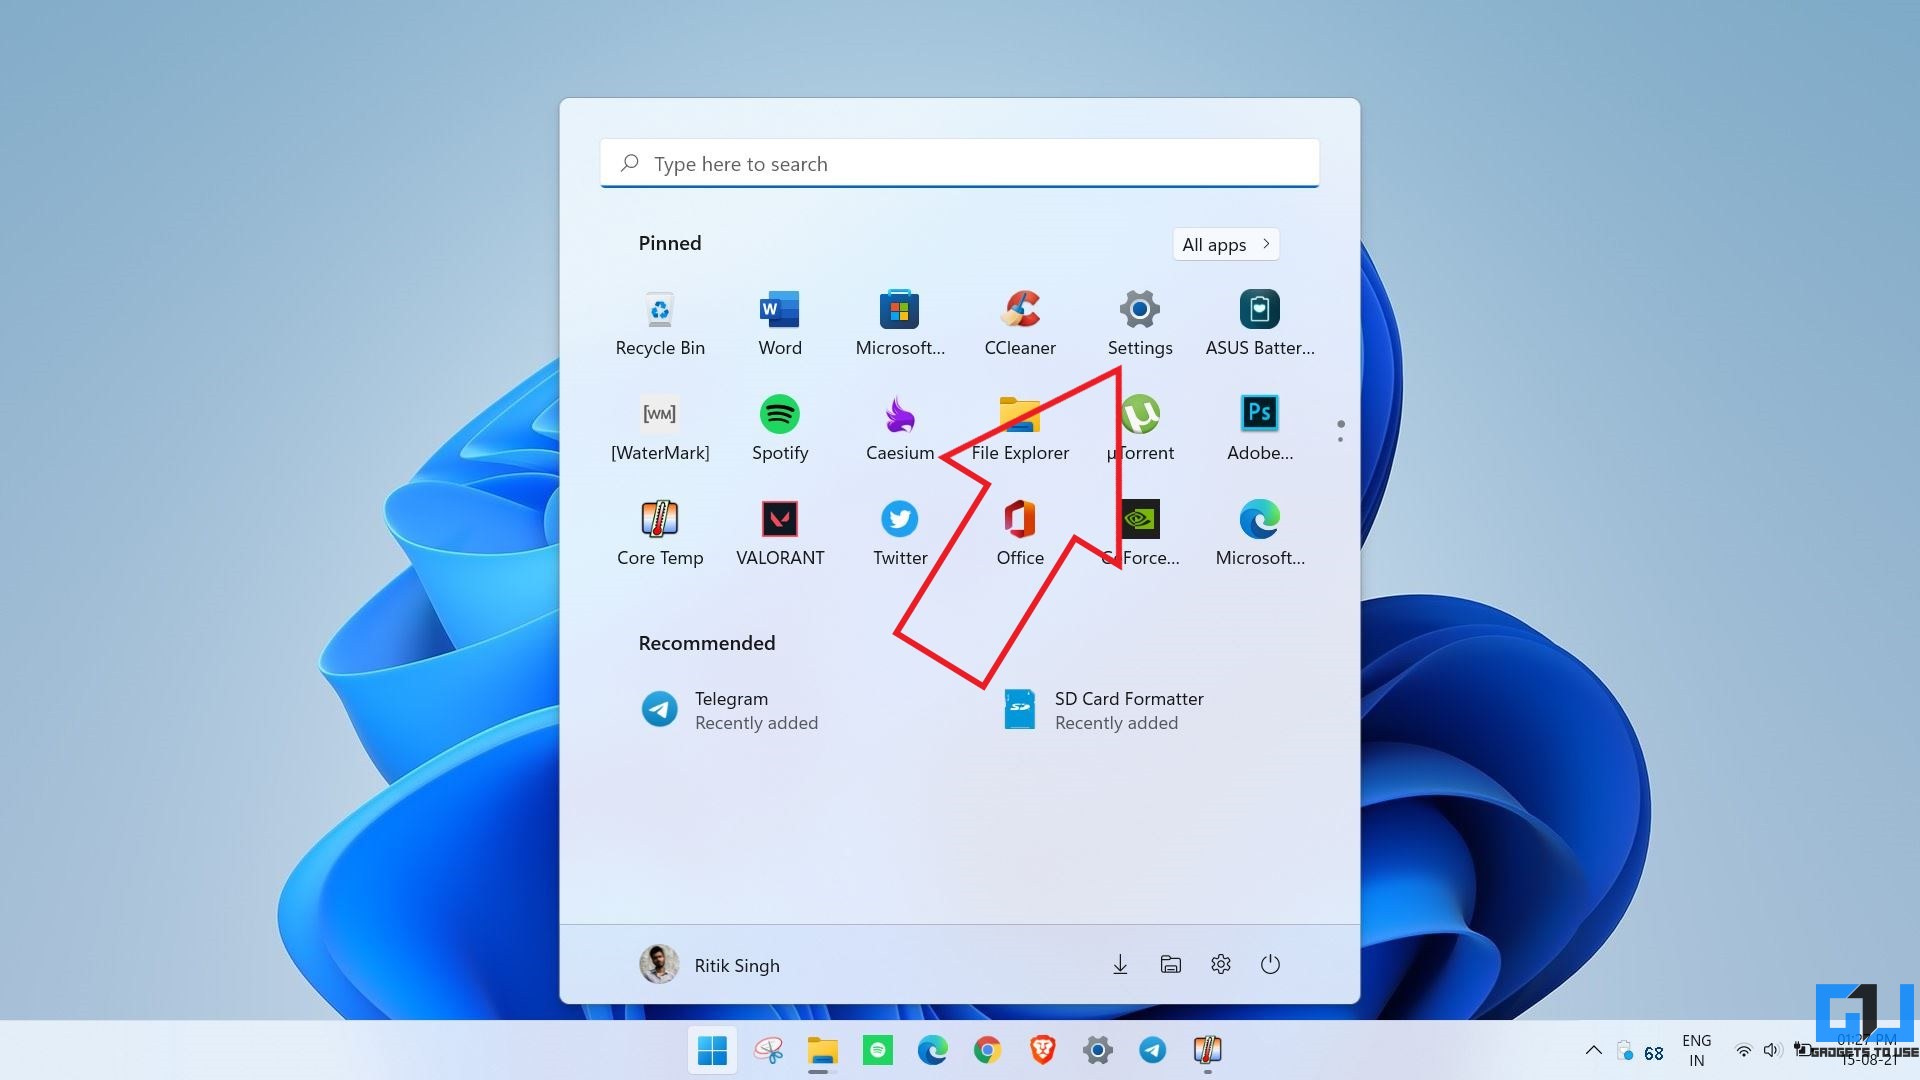
Step 1: Open Settings on your computer. You can do it through the Start menu or by pressing Win + I.
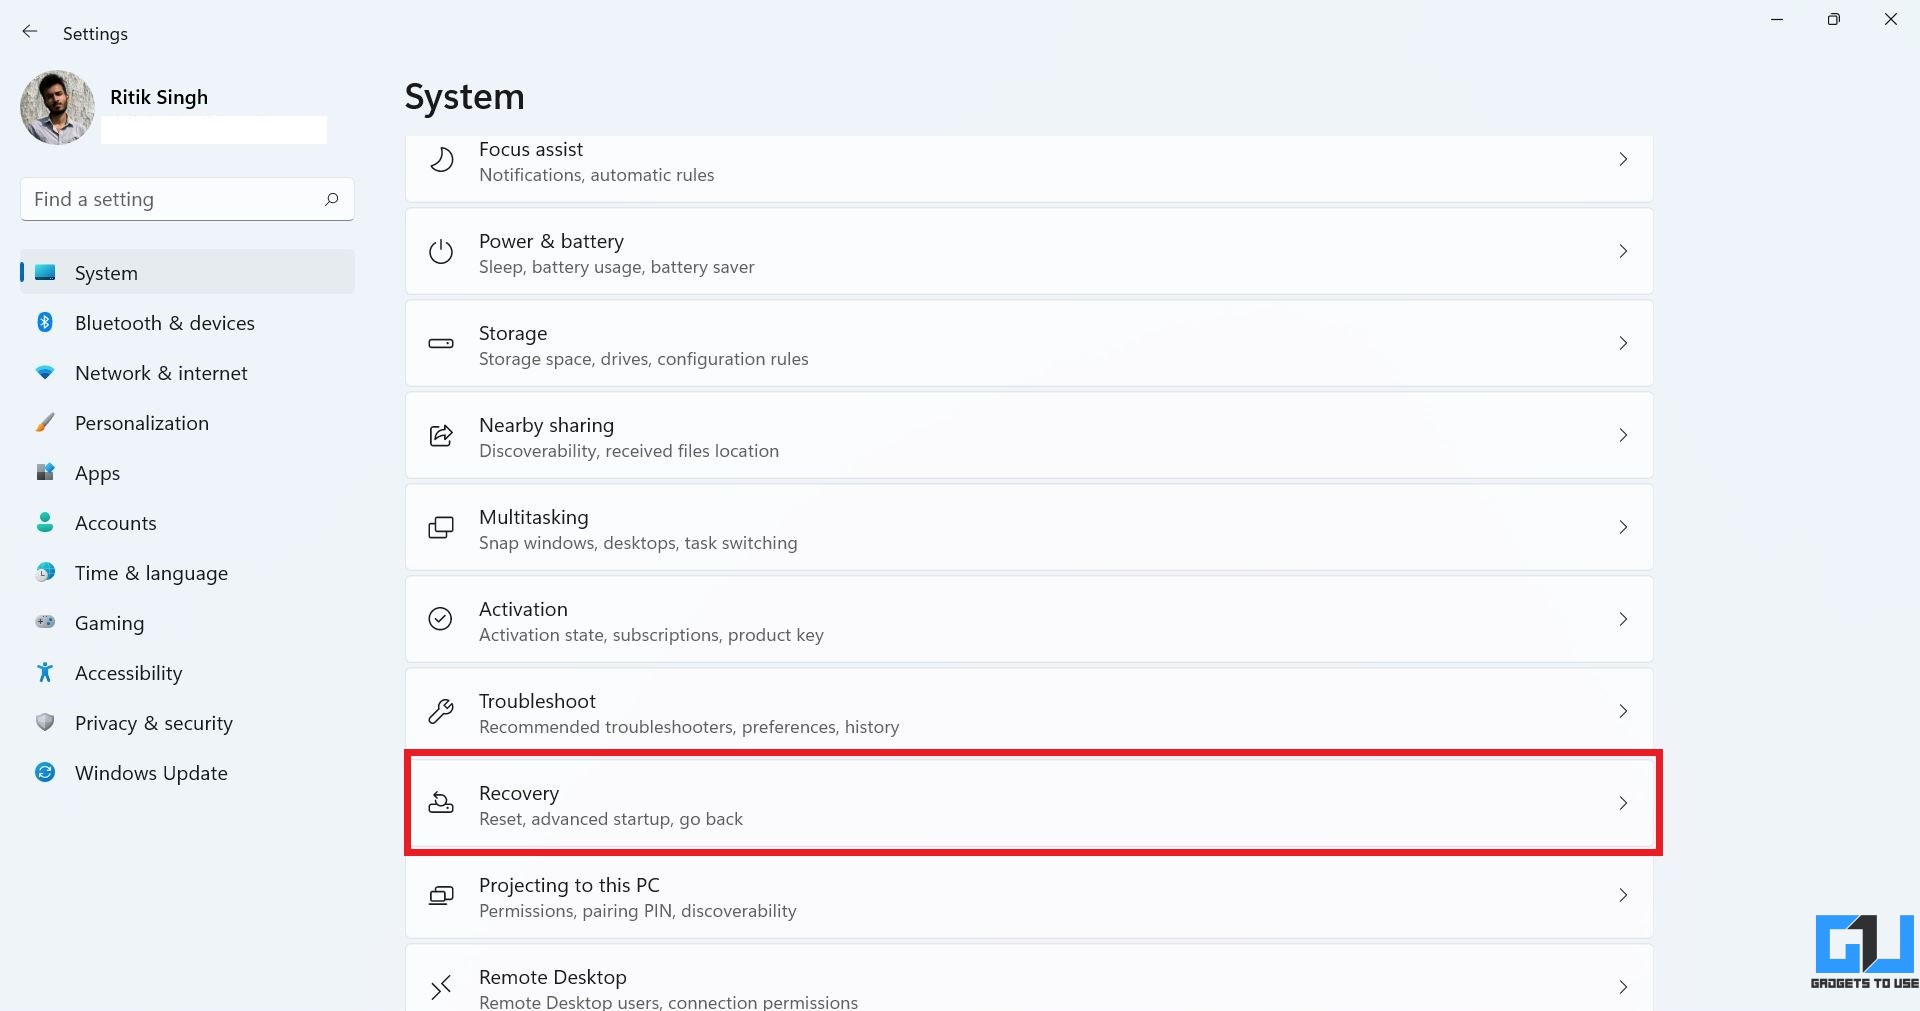
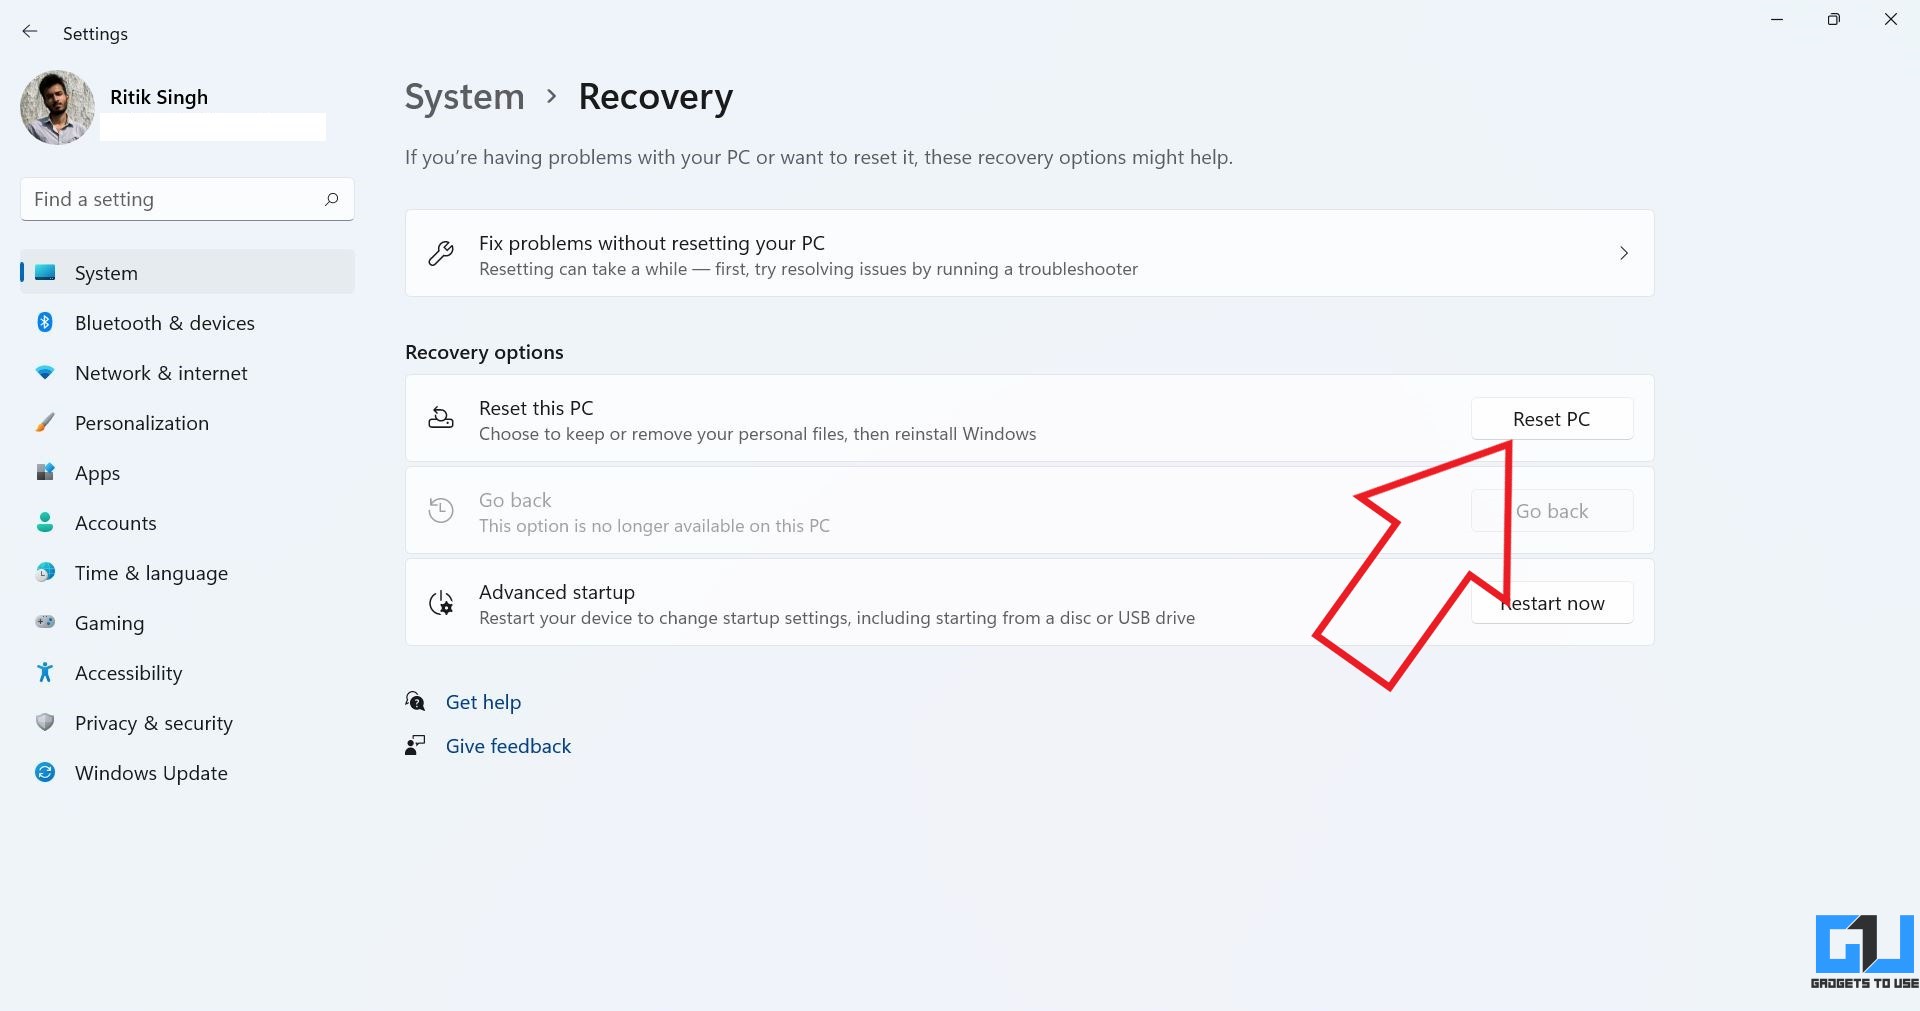
Step 2: In the Systems tab, scroll down and click on Recovery.
Step 3: Here, click on the Reset PC button.
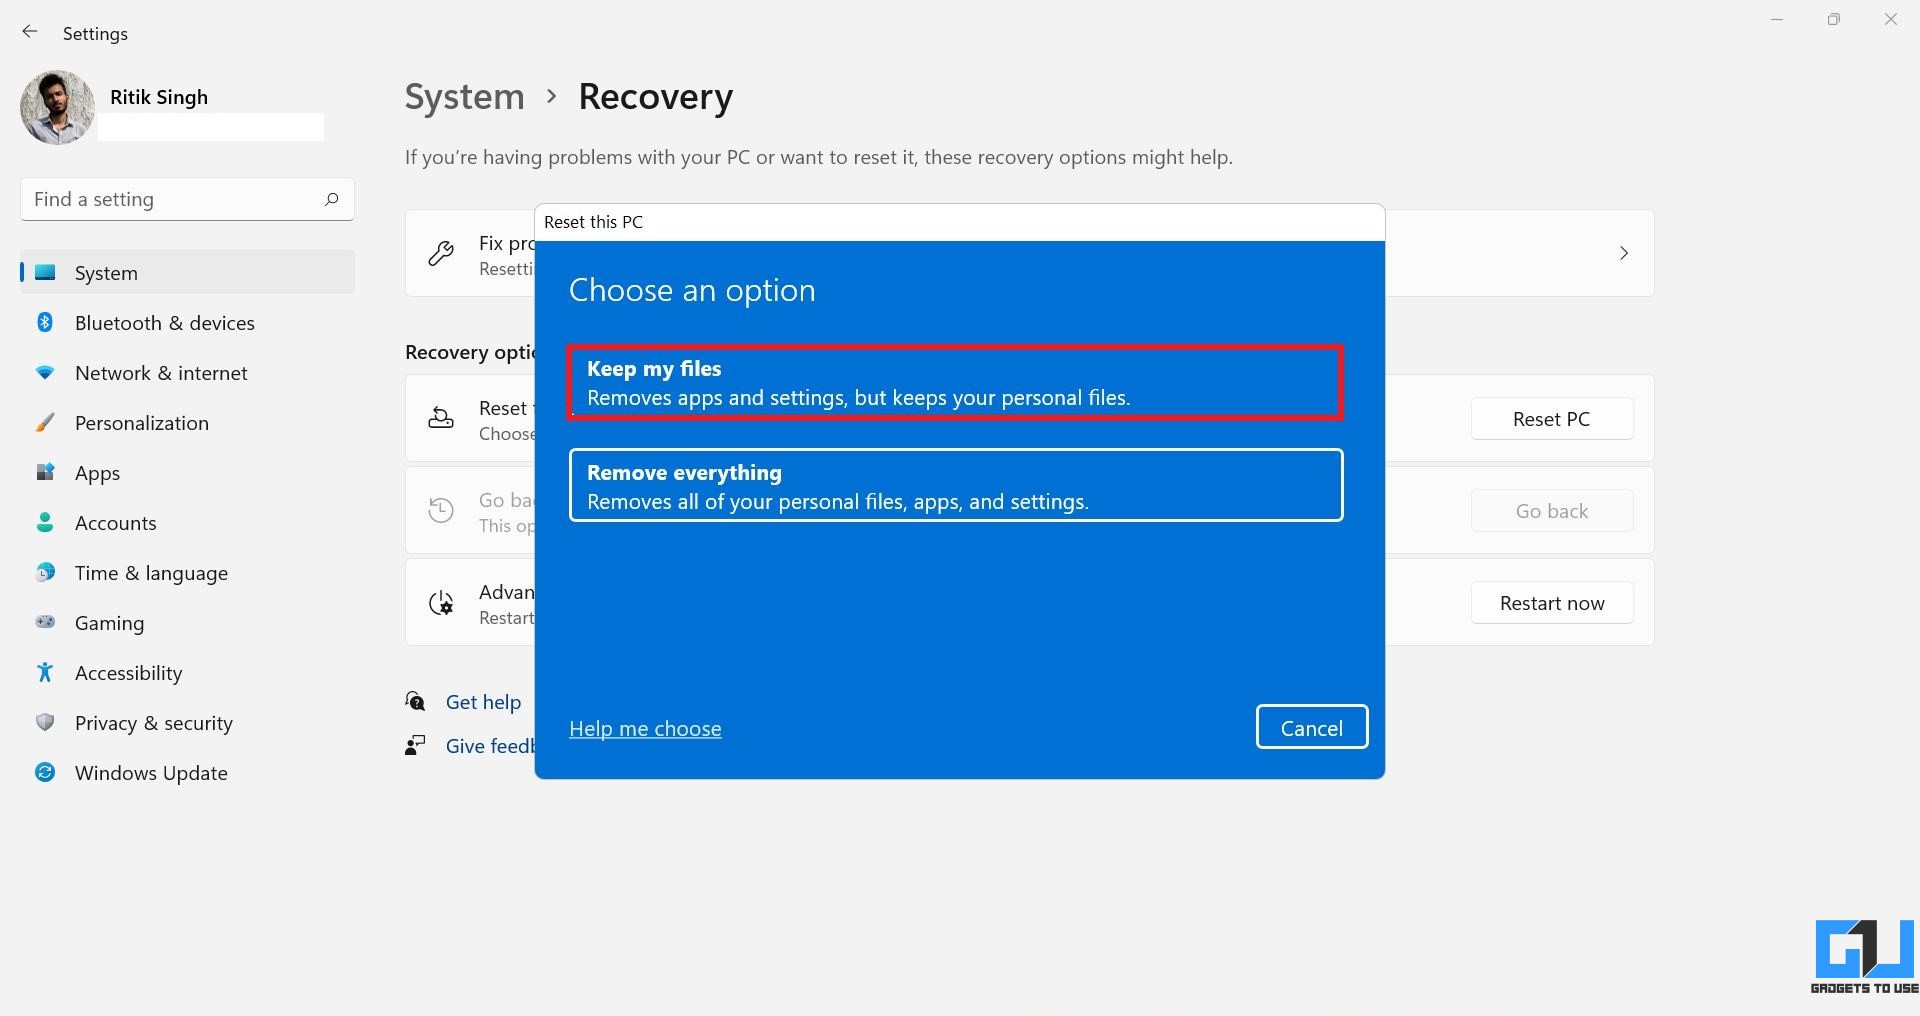
Step 4: Once the reset window appears, select whether you want to keep your files.
- Keep my files (Recommended): Removes apps and settings but retains personal files.
- Remove everything: Removes all personal files, apps, and settings.
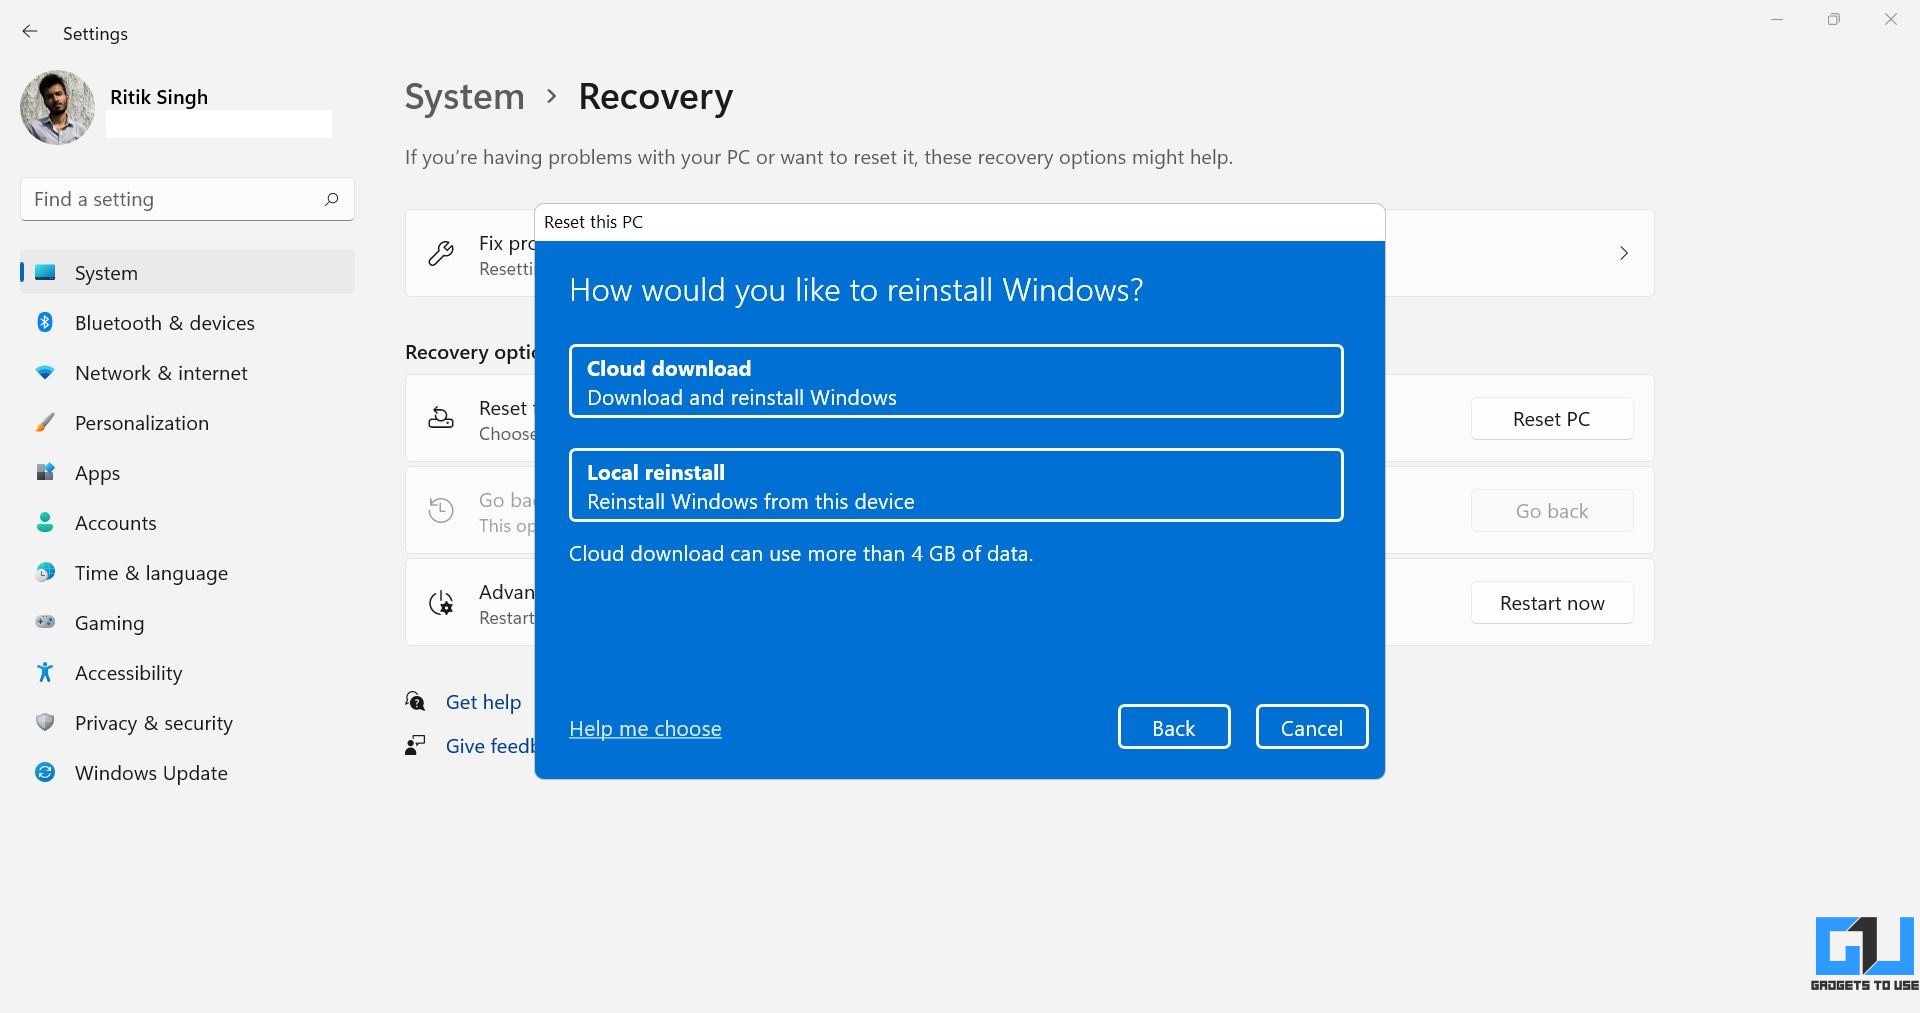
Step 5: Then, select how you want to reinstall Windows.
- Cloud Download (Recommended): Downloads a fresh copy of Windows 11 from the Microsoft server. Choose this option if you have corrupted system files. You need an active internet connection.
- Local reinstall: Resets and reinstalls Windows 11 using the recovery files on your machine.
Step 6: Click on Next to proceed.
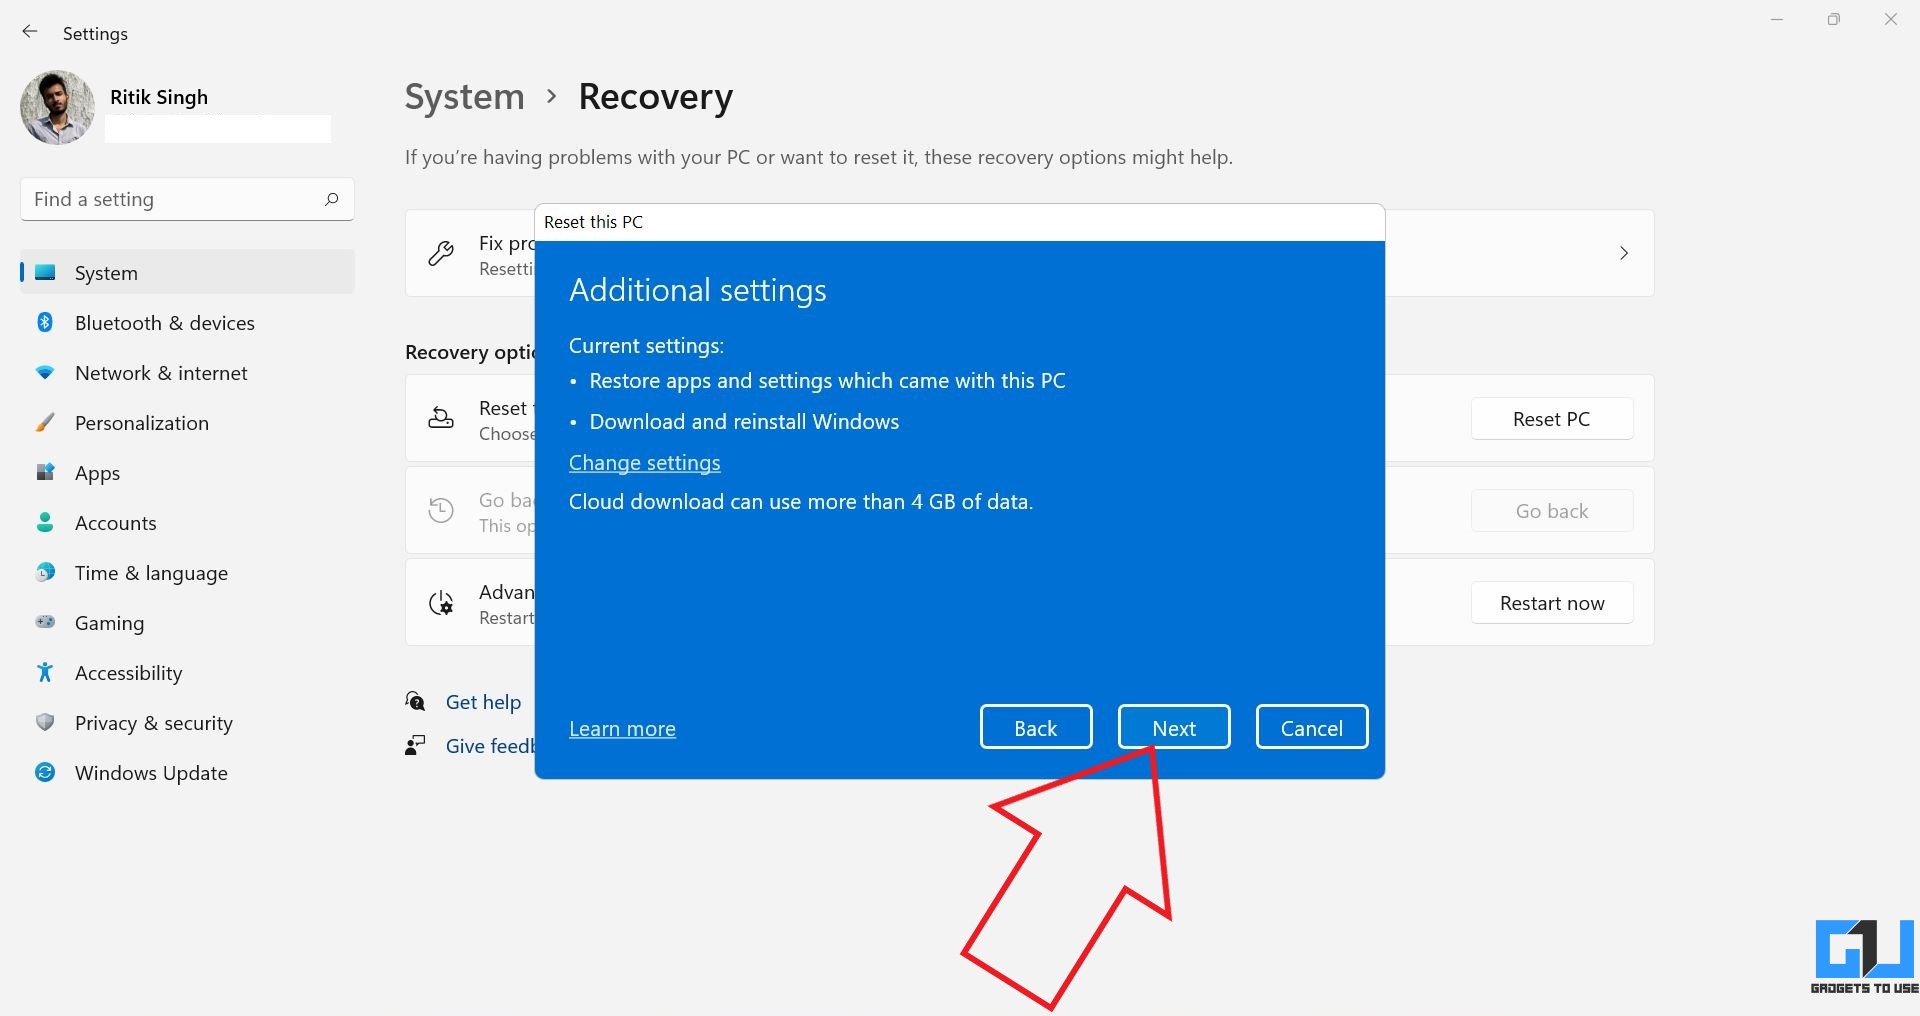
Step 7: Finally, review your settings and click on Reset.

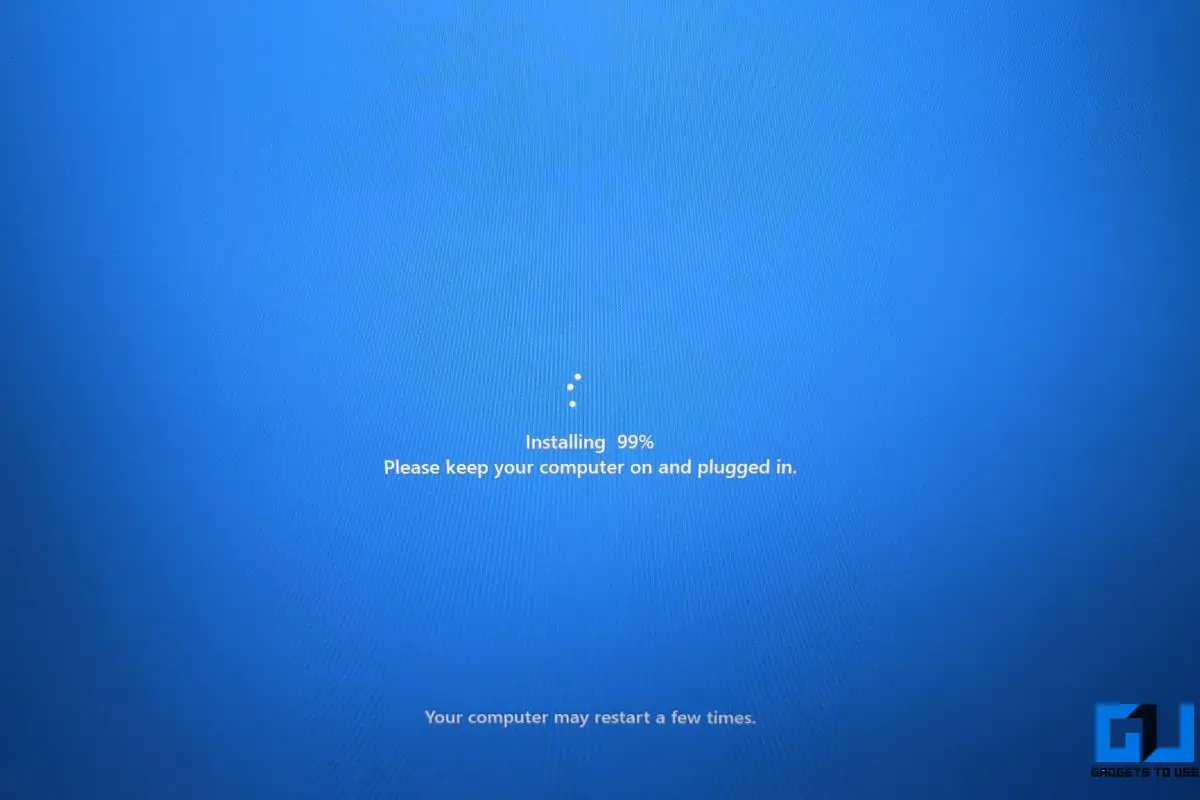
It’ll now start the reset process. If you select Cloud Download, it’ll first download the latest copy of Windows 11 from Microsoft, which may consume about 4GB of data. The whole process will take about 20-30 minutes.
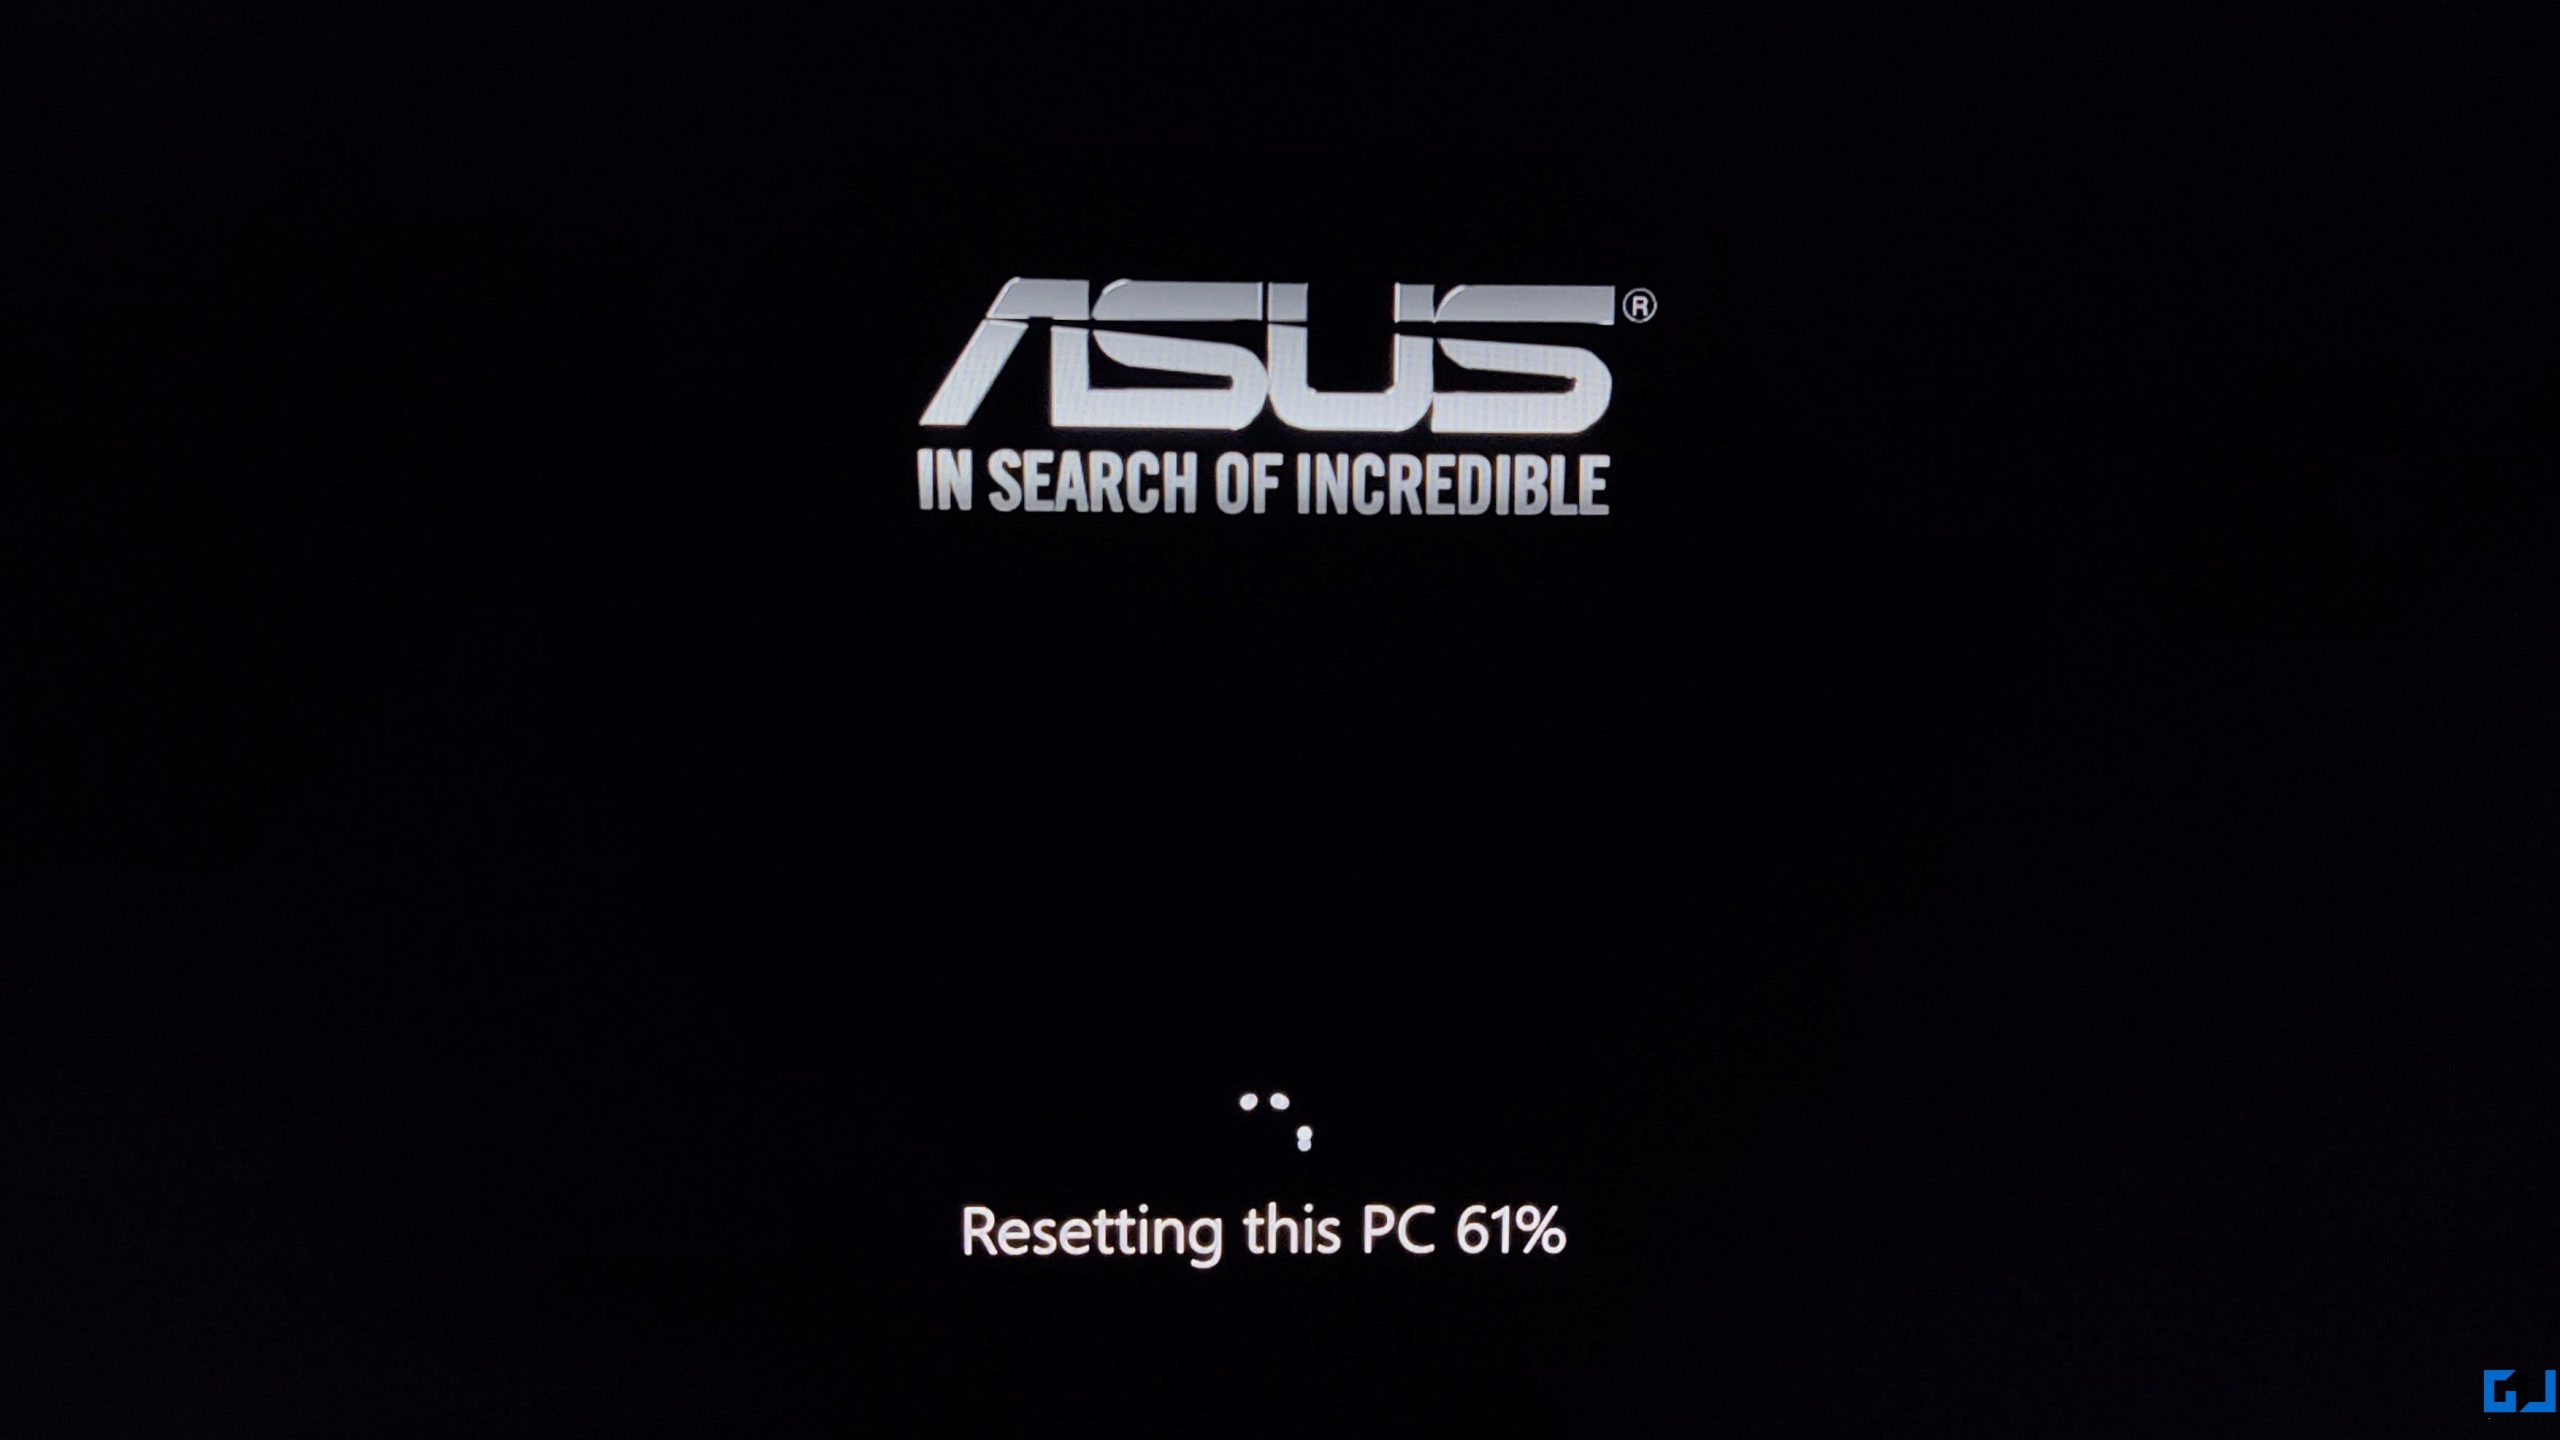
Your computer may restart several times in the process. Make sure your machine is plugged into a power source during installation.
What Does Reset (with Keep My Files) Do?
- Remove apps and drivers you installed.
- Reset any changes you made to settings.
- Keeps photos, music, videos, or personal files (the data in drives is safe).
View the List of Apps Removed During Reset
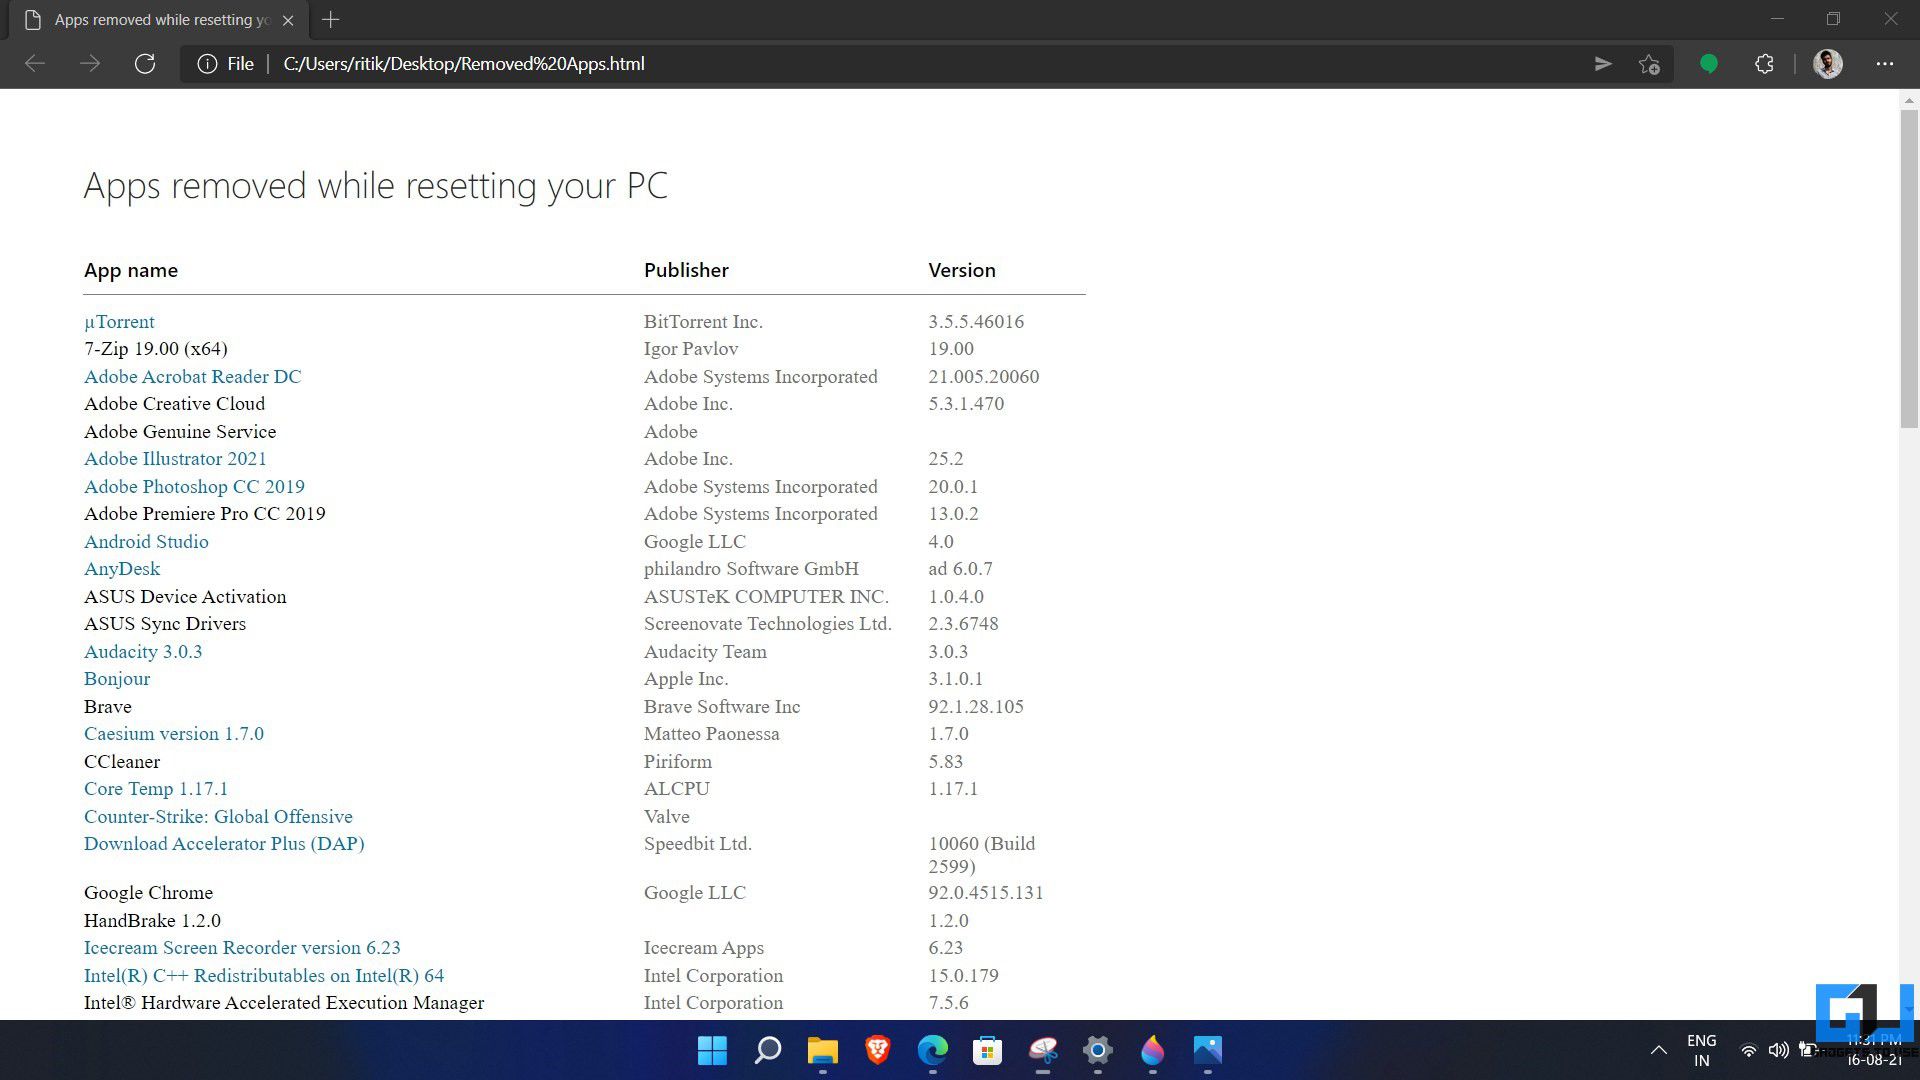
Once the reset is finished, you’ll see a “Removed Apps” HTML file on your desktop. Open this file in your browser to see the list of all the apps and programs removed while resetting your PC.
You can check and re-download the important apps from the list.
Wrapping Up
This was a quick guide on how you can reset your Windows 11 PC. I used the Reset option with the “Keep my files” and “Cloud download” settings on my device. No data was deleted from the drives, and it retained the apps installed from Microsoft Store. Besides, it reinstalled the apps from the manufacturer, which I had to remove again. Anyways, I hope this helps you clean install Windows 11 on your machine to fix any system-related problems.
You can also follow us for instant tech news at Google News or for tips and tricks, smartphones & gadgets reviews, join GadgetsToUse Telegram Group or for the latest review videos subscribe GadgetsToUse Youtube Channel.