

Quick Answer
- If you’re running an already set up Windows 11 PC, you can easily remove the Microsoft account and switch to a local account using the steps given below.
- Well, even if you set up your computer with a Microsoft account, you can later switch to a local account when required.
- The Windows 11 Home edition, to be specific, requires you to have an internet connection as well as a Microsoft account.
The earlier versions of Windows allowed users to set up and proceed with the local account without logging in. However, the new Windows 11, especially the Home edition, makes it tough for users to continue without a Microsoft account. Well, even if you set up your computer with a Microsoft account, you can later switch to a local account when required. In this article, let’s look at some handy ways to remove your Microsoft account from Windows 11 to use it without login.
Related | How to Quickly Reset Windows 11 Without Losing Files
Remove Microsoft Account From Windows 11 to Use it Without Login
Having a Microsoft Account adds to the overall experience of using Windows. It helps to sync your settings across devices, access to Windows App Store, unlocks extra features in built-in apps, facilitates Microsoft OneDrive and Office, etc.
However, some may want to use their Windows machine without a Microsoft account, be it due to privacy concerns or any other reason. Well, there are multiple ways to get rid of your Microsoft account on your laptop or desktop. Read on.
Also, Read | 3 Ways to Login to Your Google Account Without Google Login Prompt
Method 1- Setup Windows 11 without a Microsoft Account

If you’ve freshly installed Windows 11 on your computer, it’ll ask you to create an account and connect to Wifi for setup. The Windows 11 Home edition, to be specific, requires you to have an internet connection as well as a Microsoft account.
Fortunately, you can trick Windows 11 and set it up directly to a local account without logging in. During the initial setup, connect to the internet and allow it to check for updates. Then, disconnect the Wifi or plug out the Ethernet cable.
Once you cut off the connectivity, you’ll be able to set up your Windows 11 device without a Microsoft account. On Windows 11 Pro or other editions, you can continue without an internet connection or select Sign-in options > Offline account when asked to log in.
Method 2- Remove Microsoft Account from Windows Settings
If you’re running an already set up Windows 11 PC, you can easily remove the Microsoft account and switch to a local account using the steps given below.
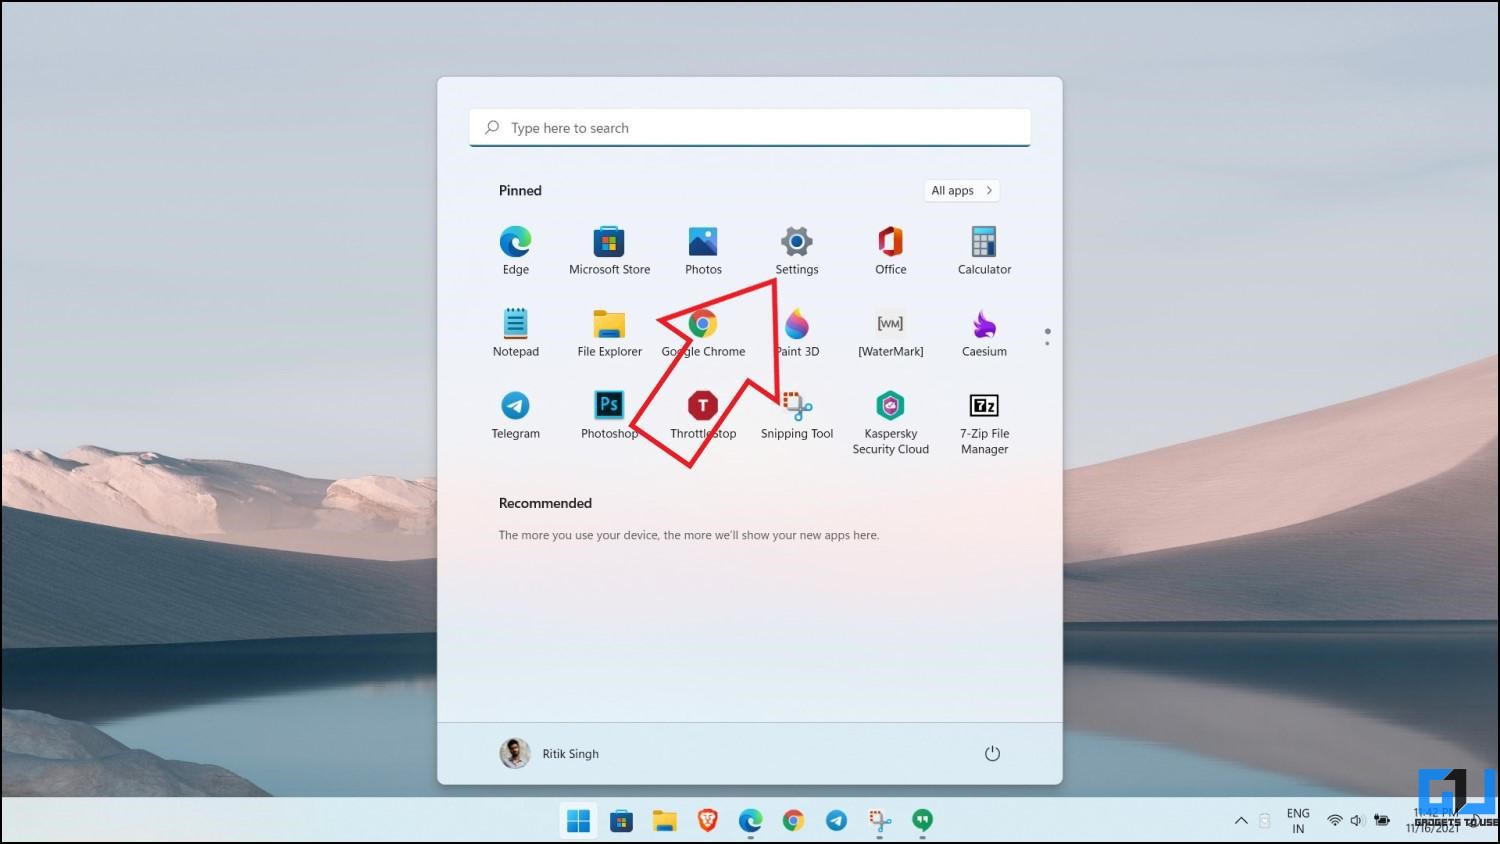
- Open the Start menu and launch Settings. Alternatively, you can press Win + I.
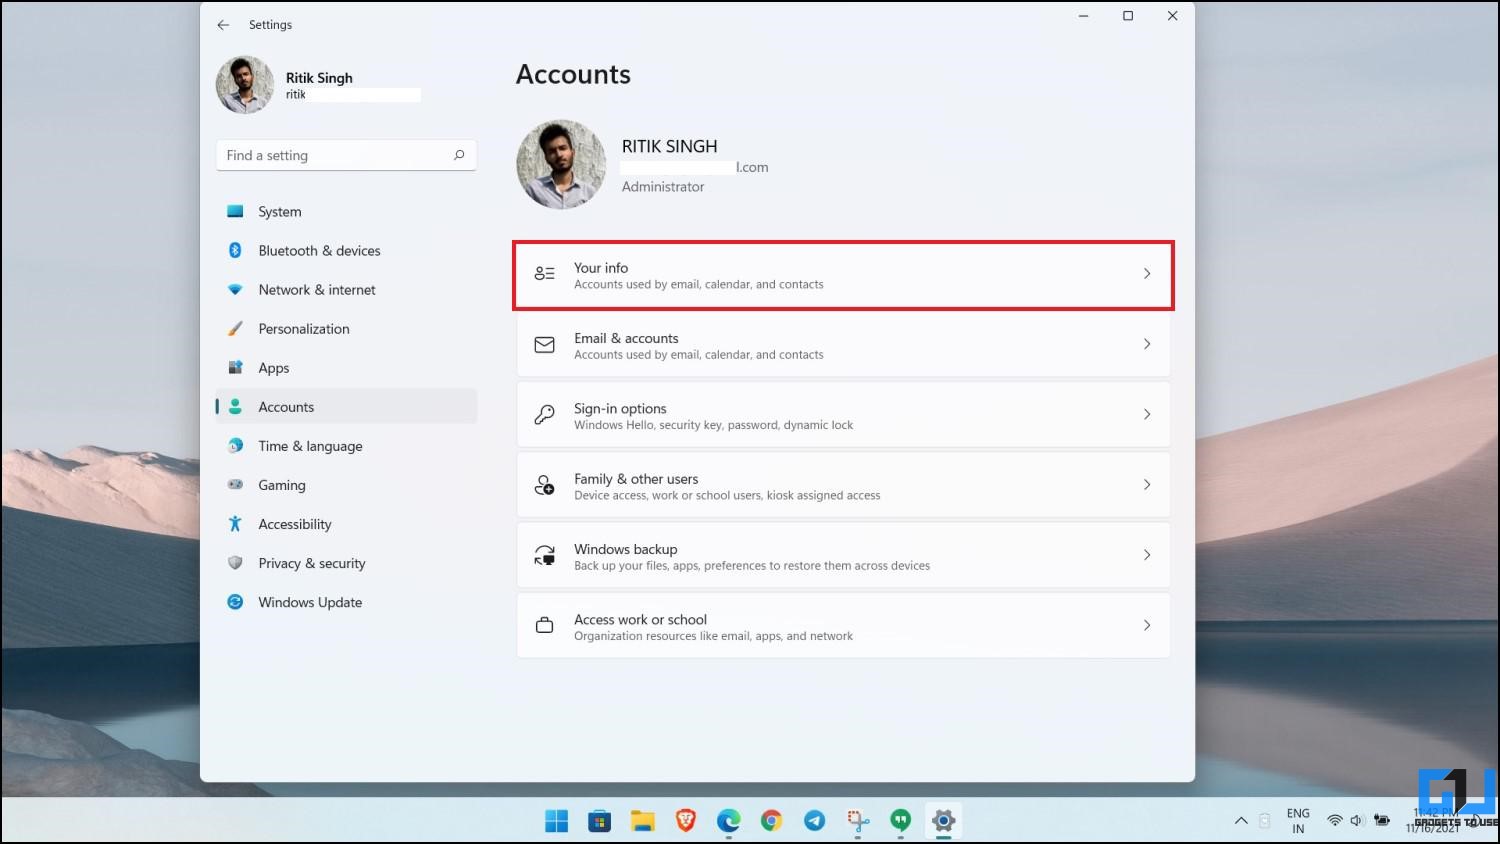
- Select Accounts from the sidebar at the left.
- Here, select Your info.
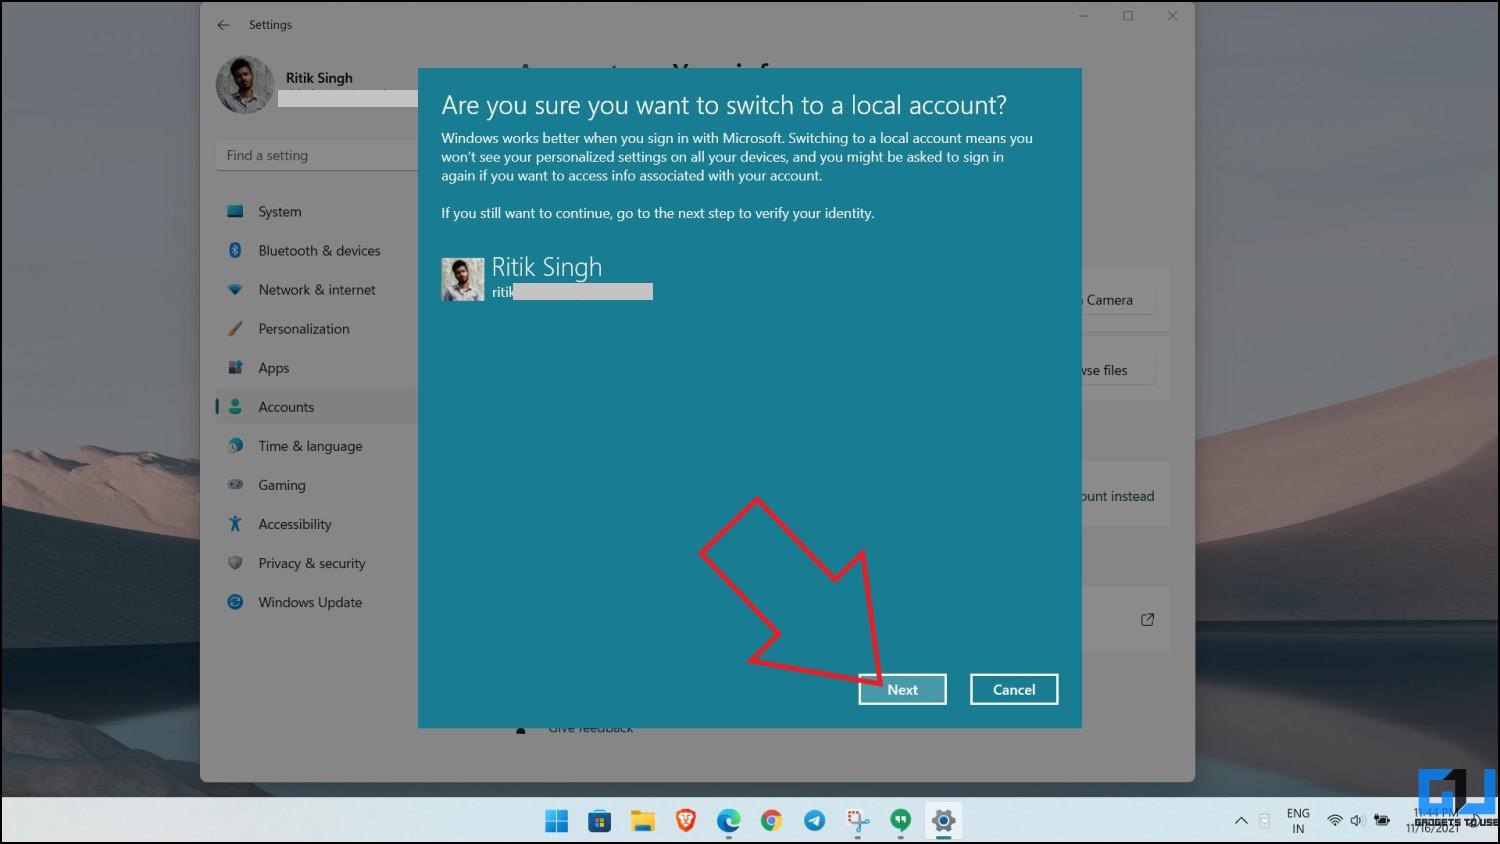
- Under Account Settings, click on Sign in with a local account instead.

- Confirm when asked to sign out of your Microsoft account.
- Then, set up a local account with the desired username and optional password.
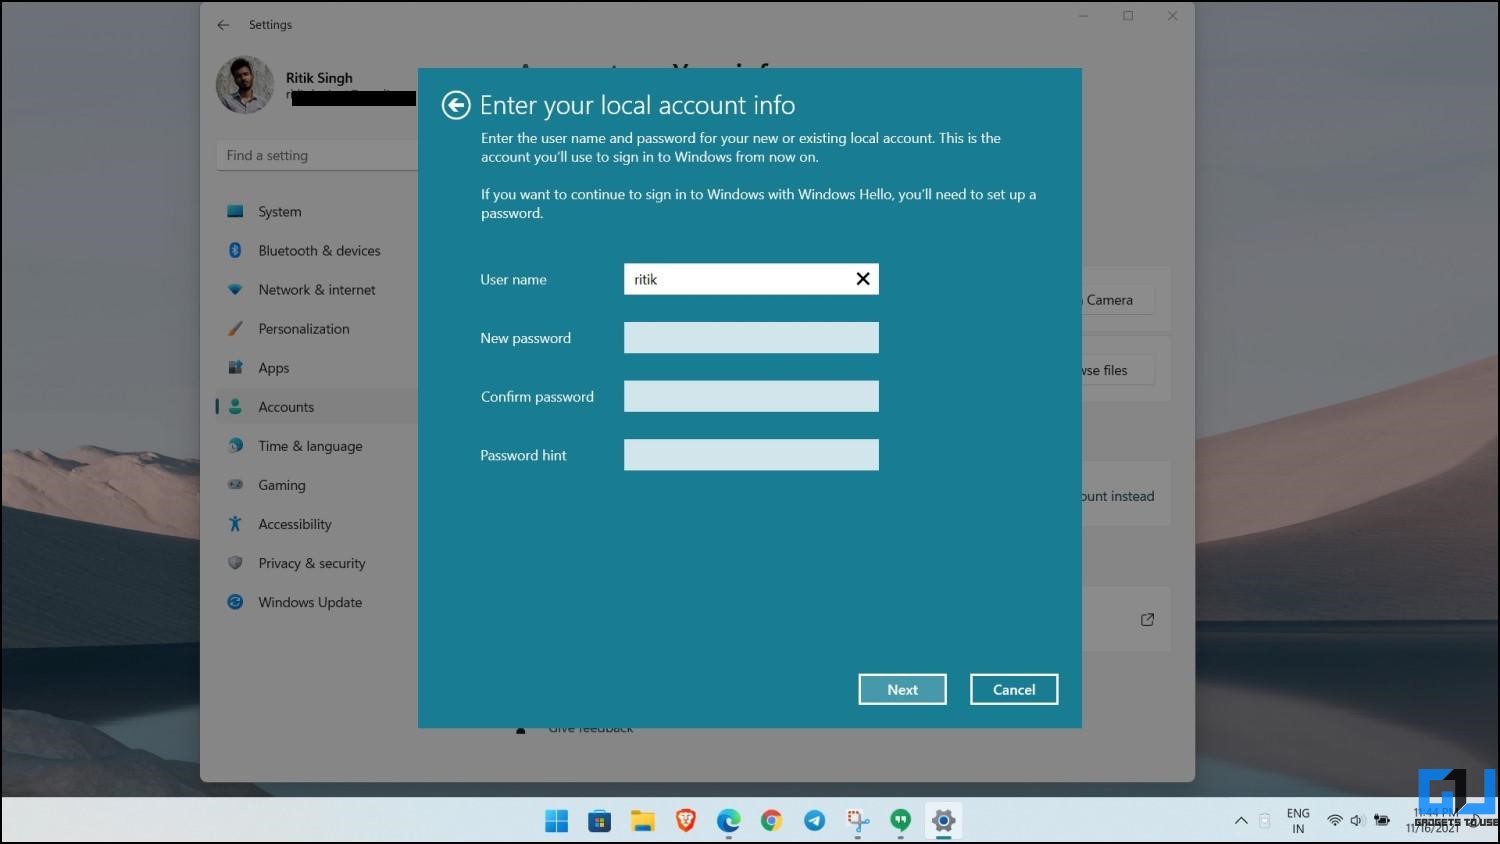
- Further, follow the on-screen instructions to remove the Microsoft account.

That’s it. You have successfully signed out of the Microsoft account on your Windows 11 machine. You can continue using your PC with a local account for as long as you want.
Method 3- Delete Microsoft Account via Control Panel
The other way to remove the Microsoft account is via the control panel. However, you will need a local account with Admin rights to do so. Hence, start with creating a local account if not already and then delete the account, as shown below.
Step 1: Create a Local Account
- Open Settings on your Windows PC.

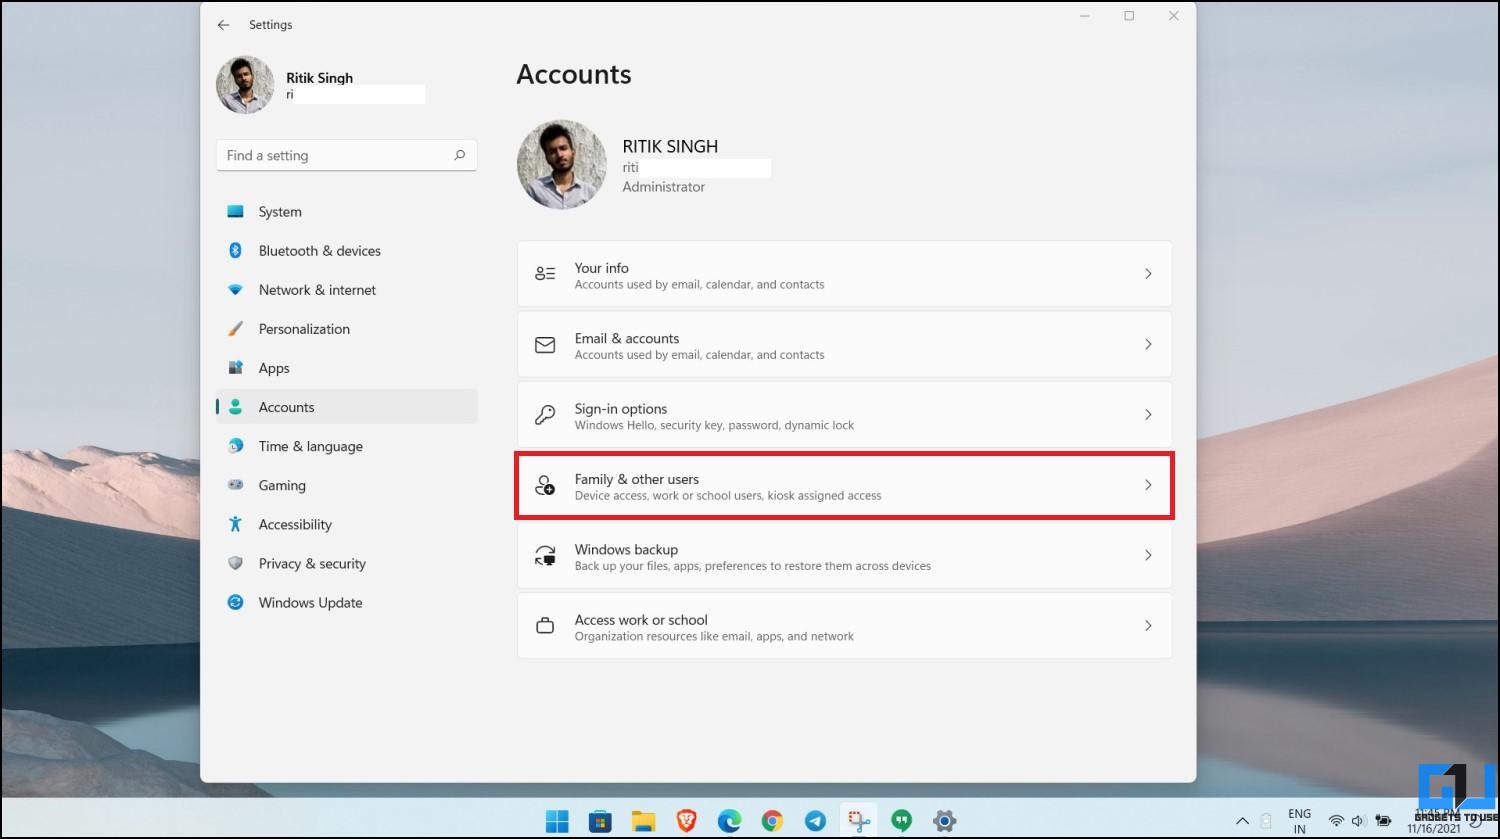
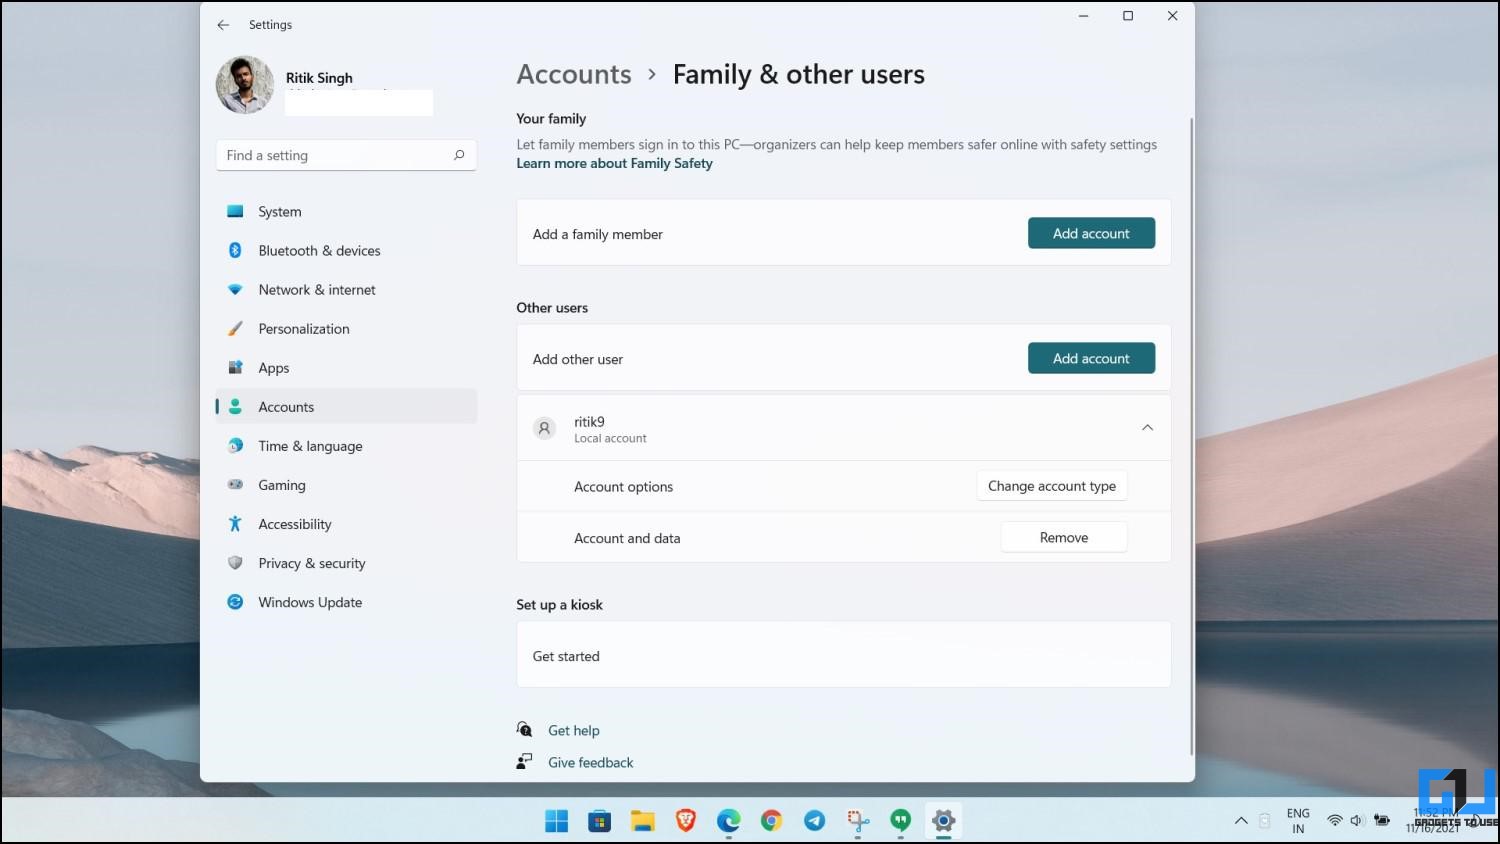
- Select Accounts from the sidebar and then Family & other Users.
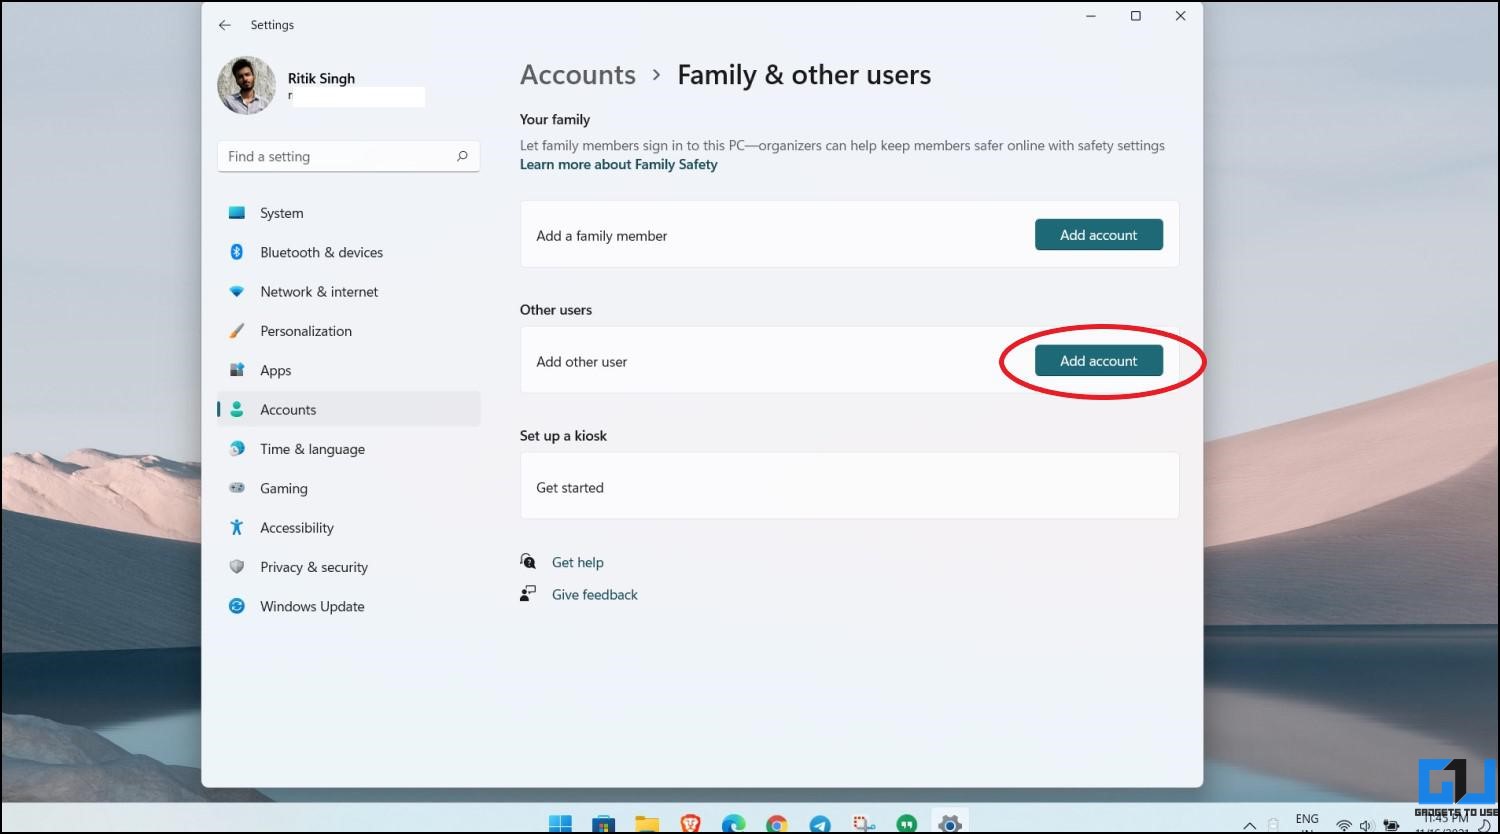
- Click on Add account next to Other users.
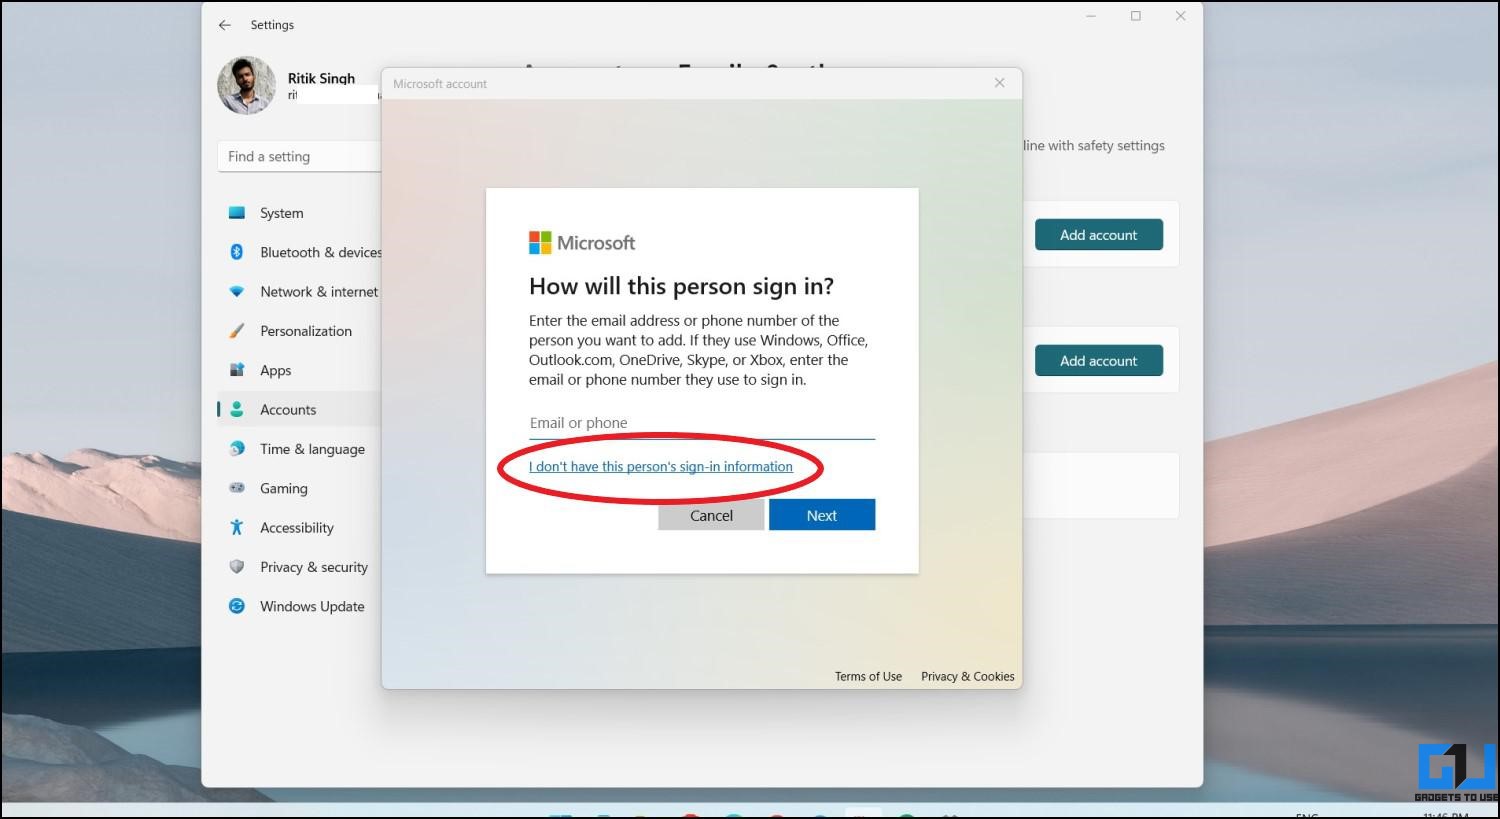
- If you’re connected to the internet, click on I don’t have this person’s sign-in information.
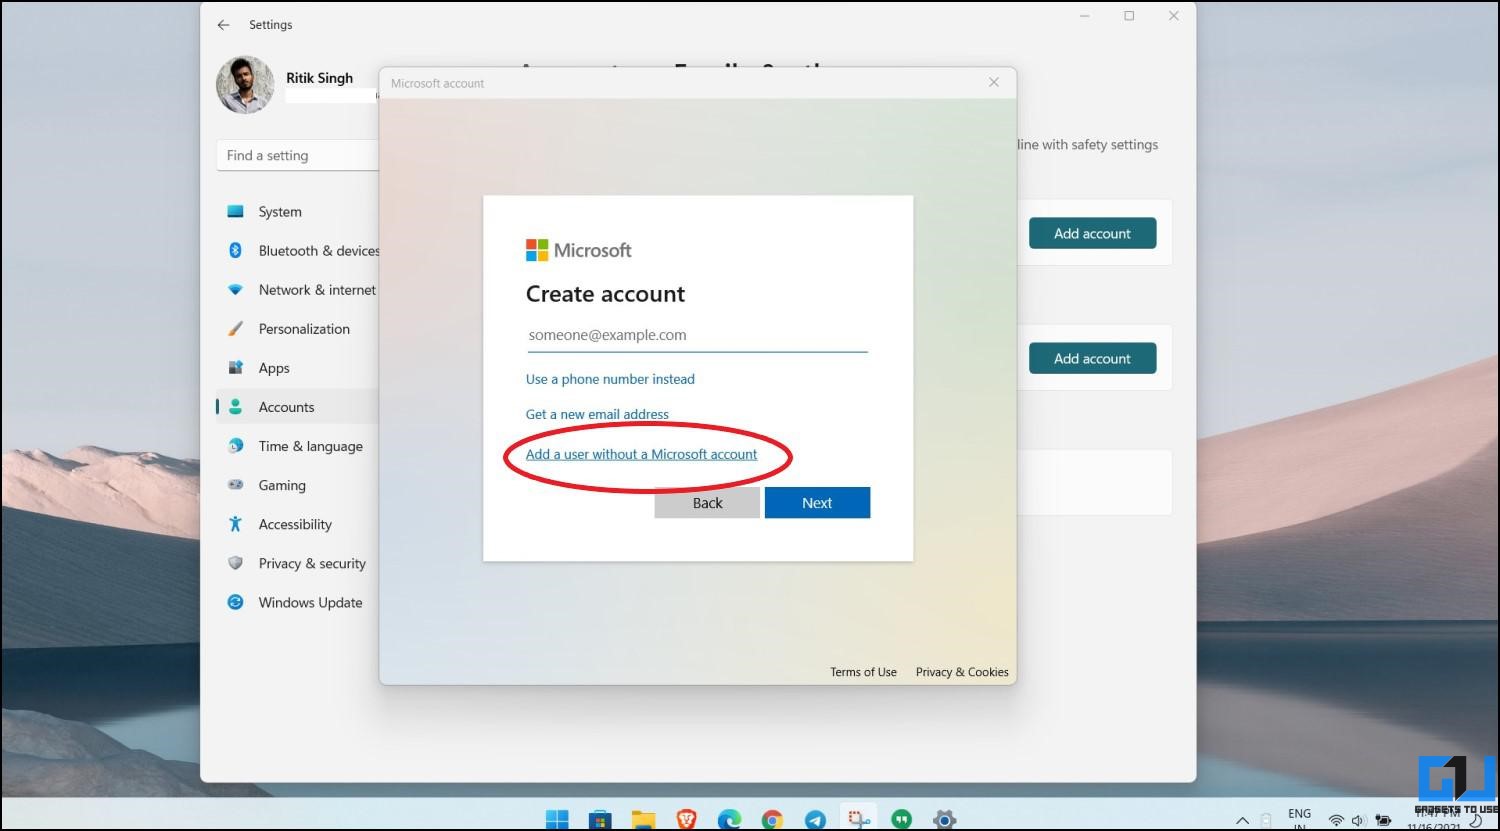
- Then click on Add a user without a Microsoft account.
- If offline, it will directly take you to the local account creation screen.
- Here, set a username and a password.

- Finally, click on Next to finish creating a local account.
Step 2: Set the Local Account as Administrator
- Open Control Panel on your PC. You can do it from the Start menu or press Win + R to open Run, then type and enter “control panel.”
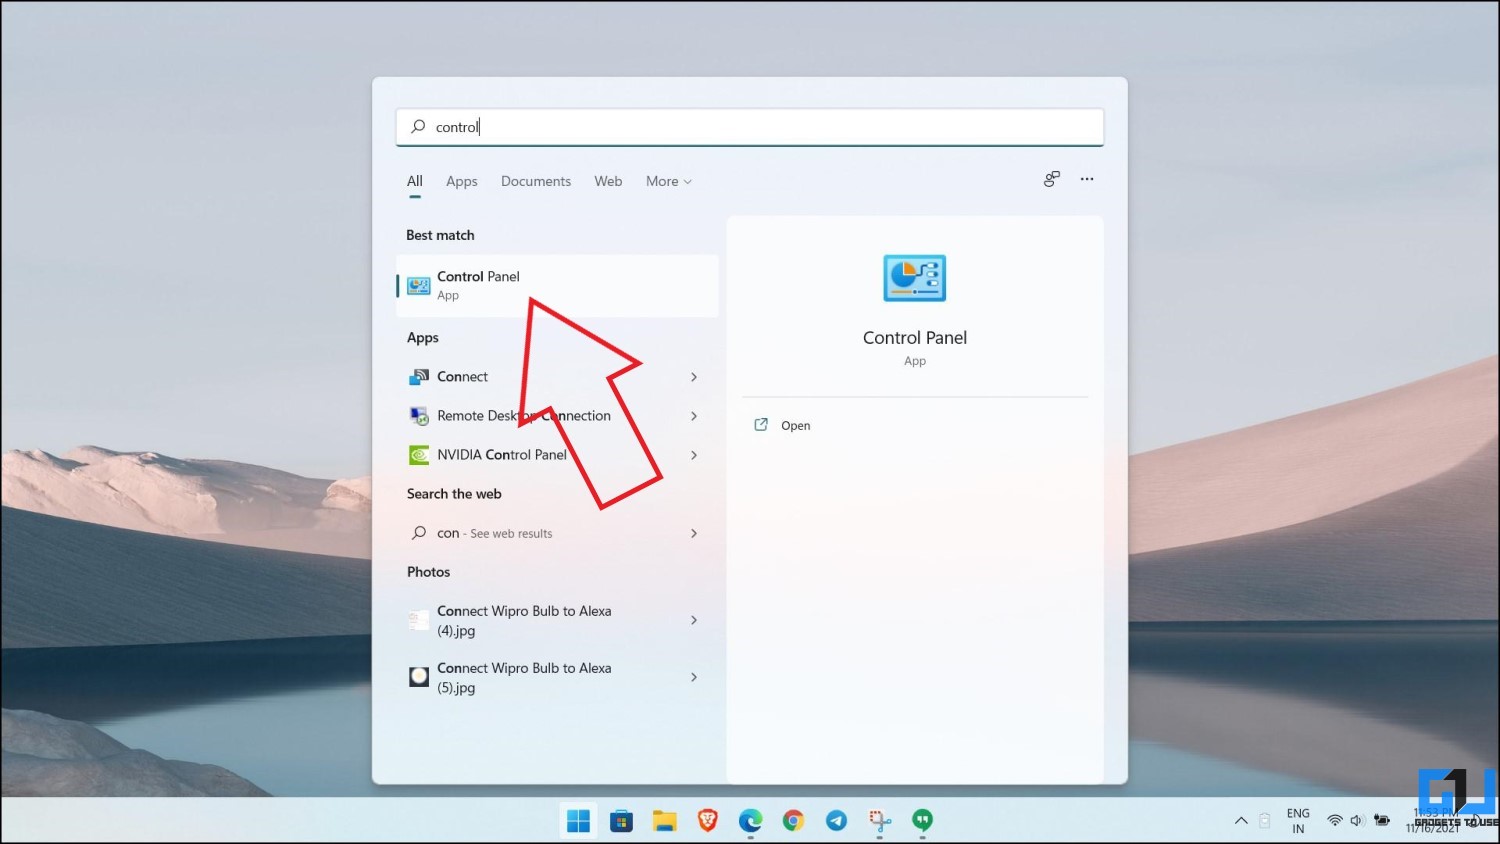
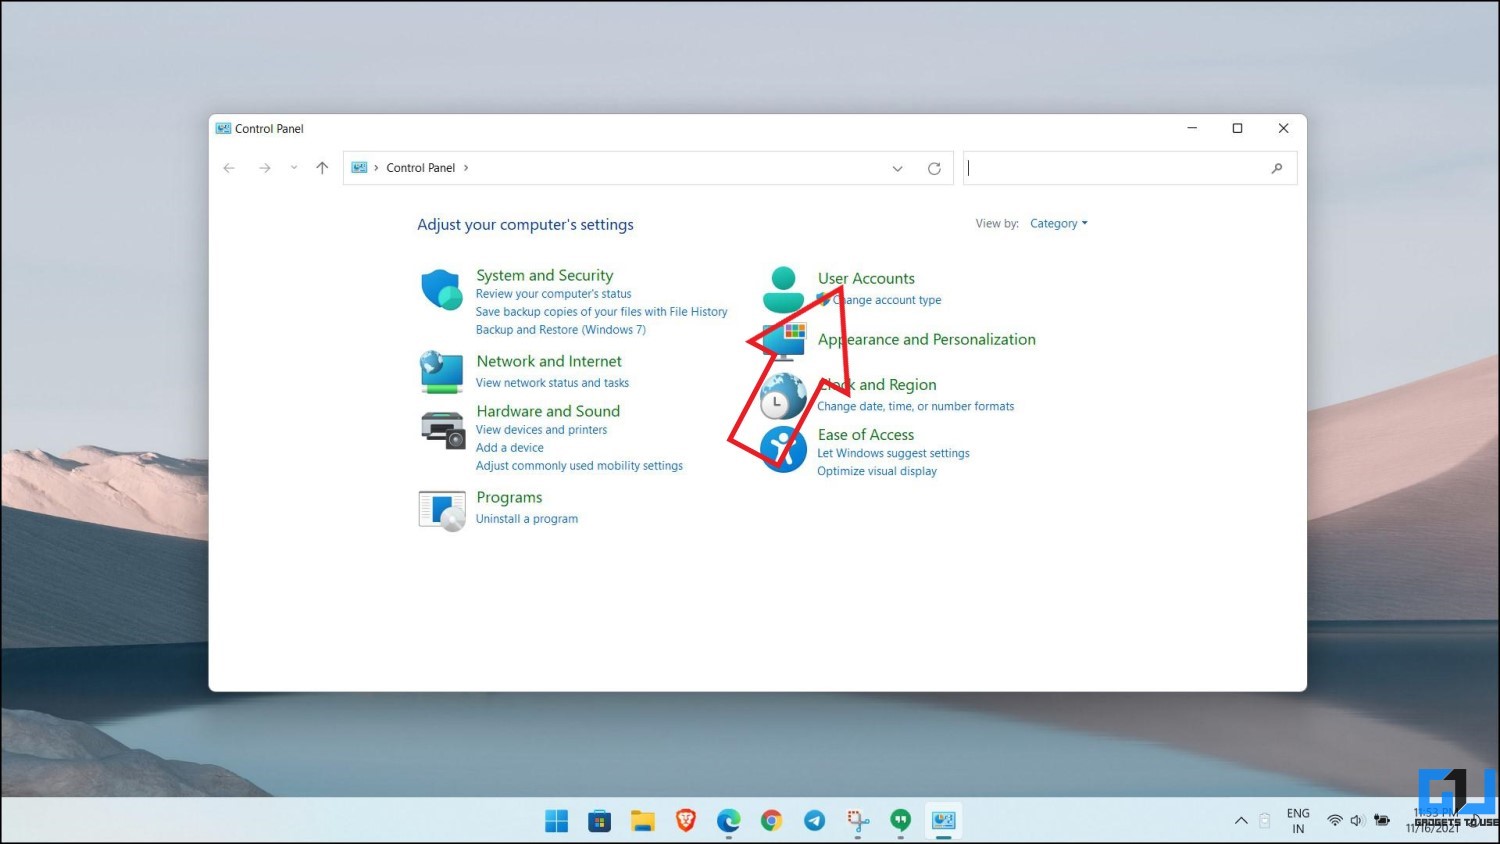
- Here, click on User Accounts.
- On the next screen, click on Remove user accounts.
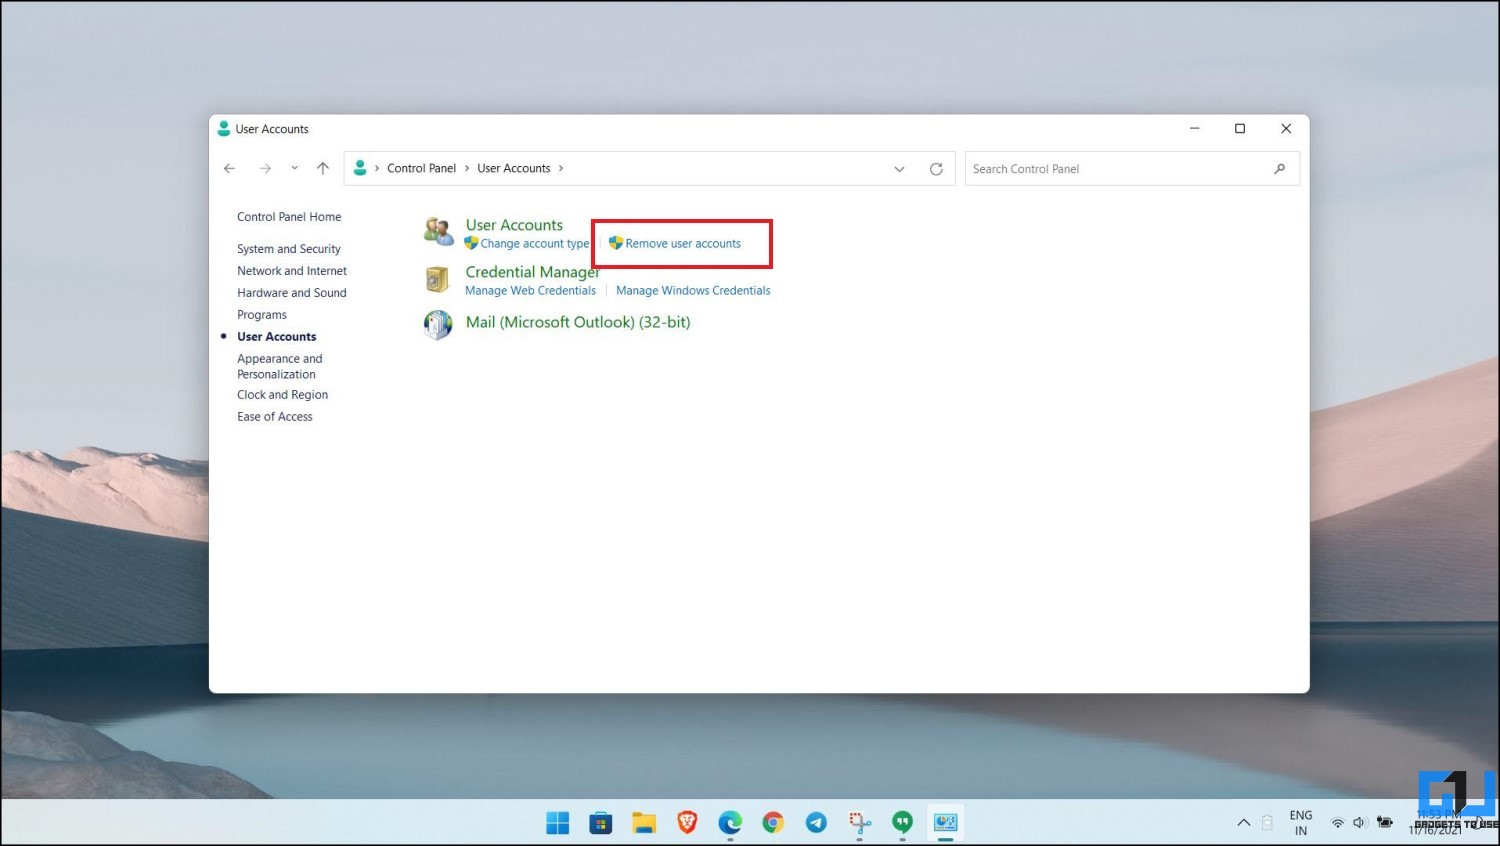
- Tap the local account you created.
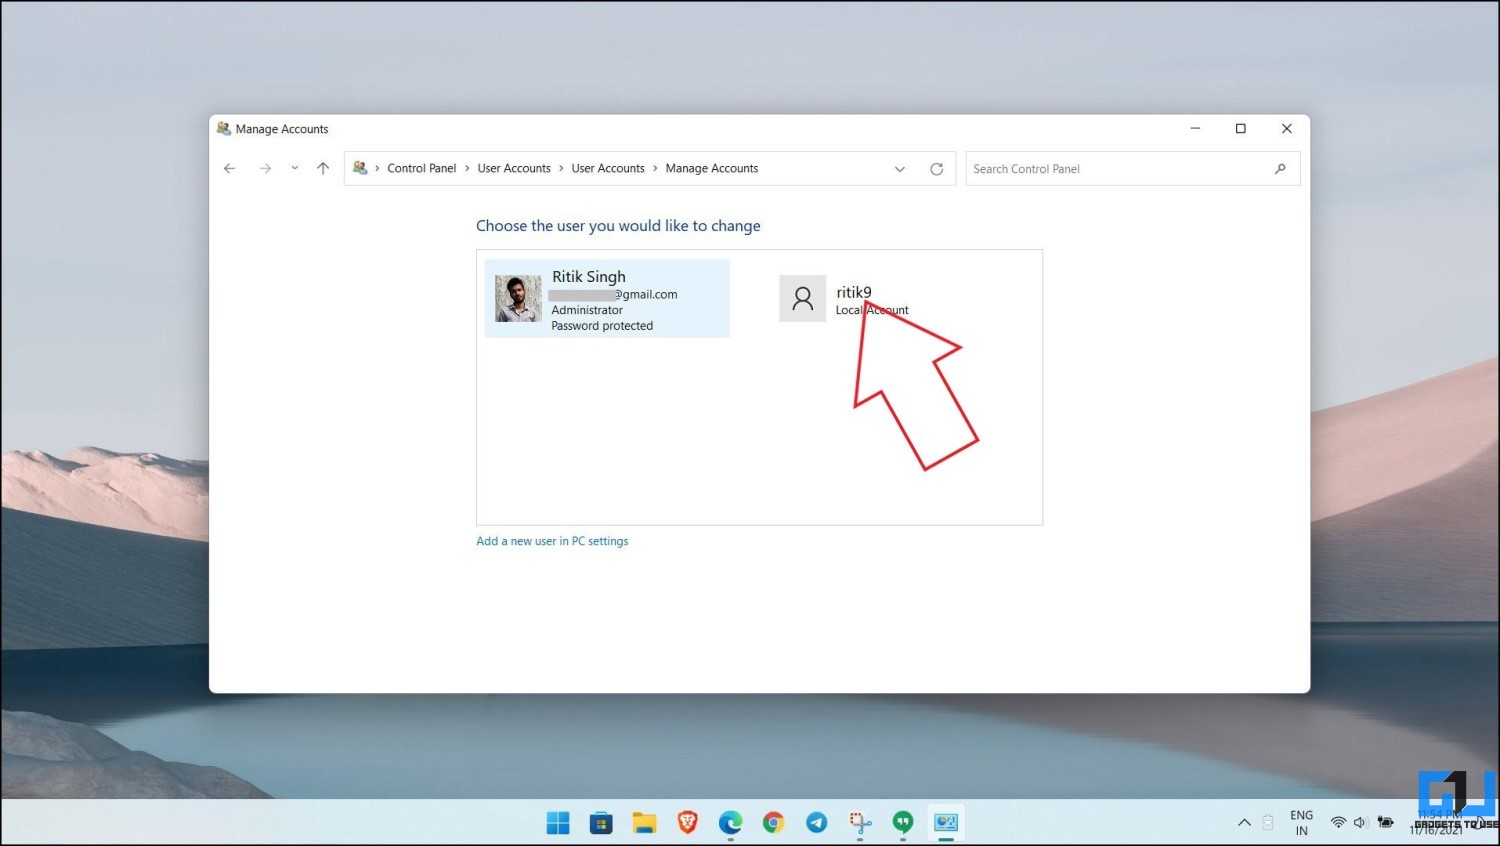
- Then, select the Change account type.
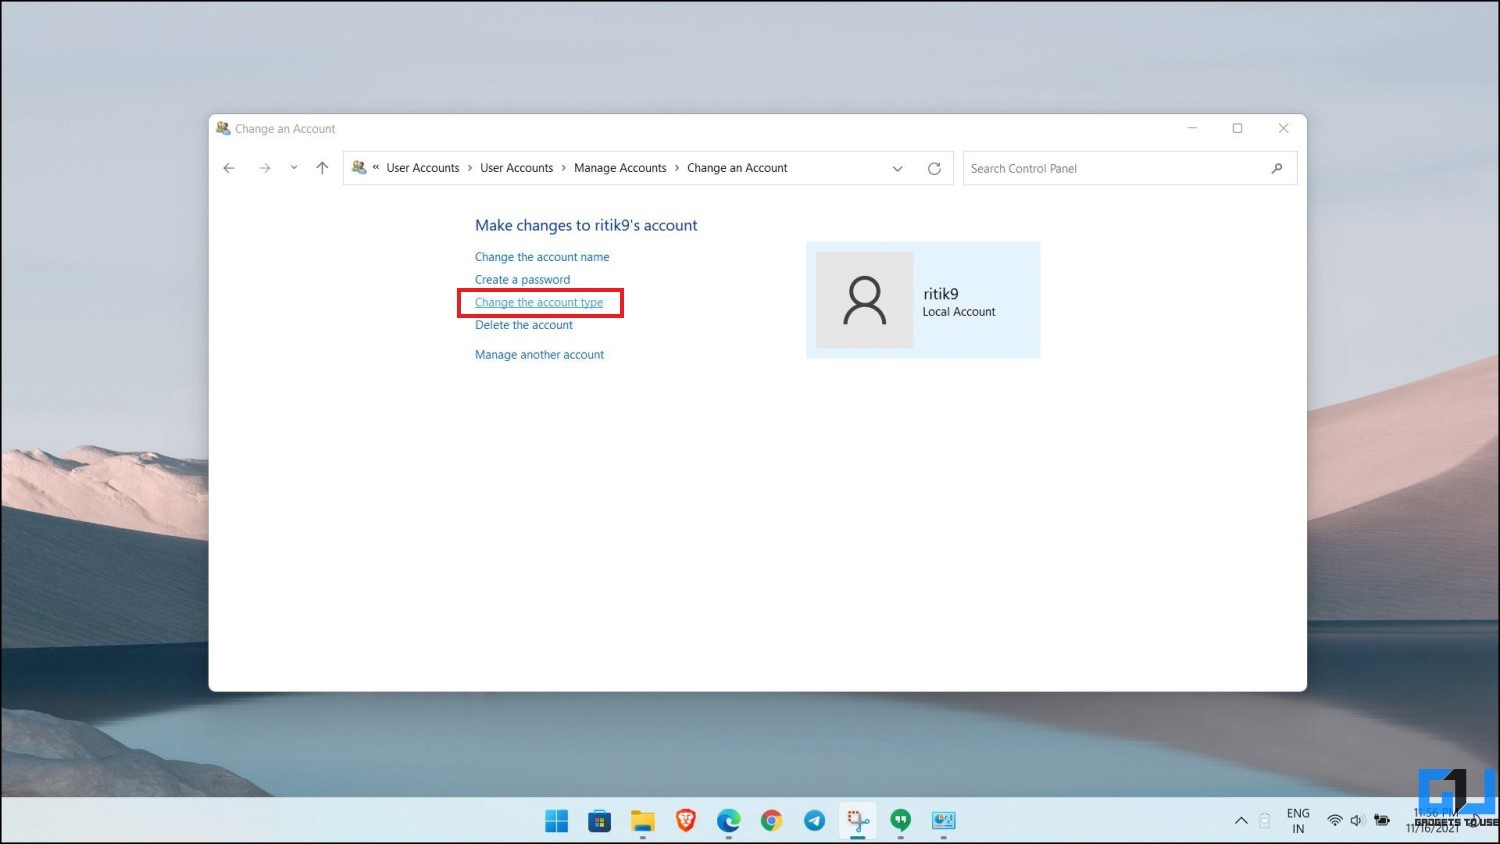
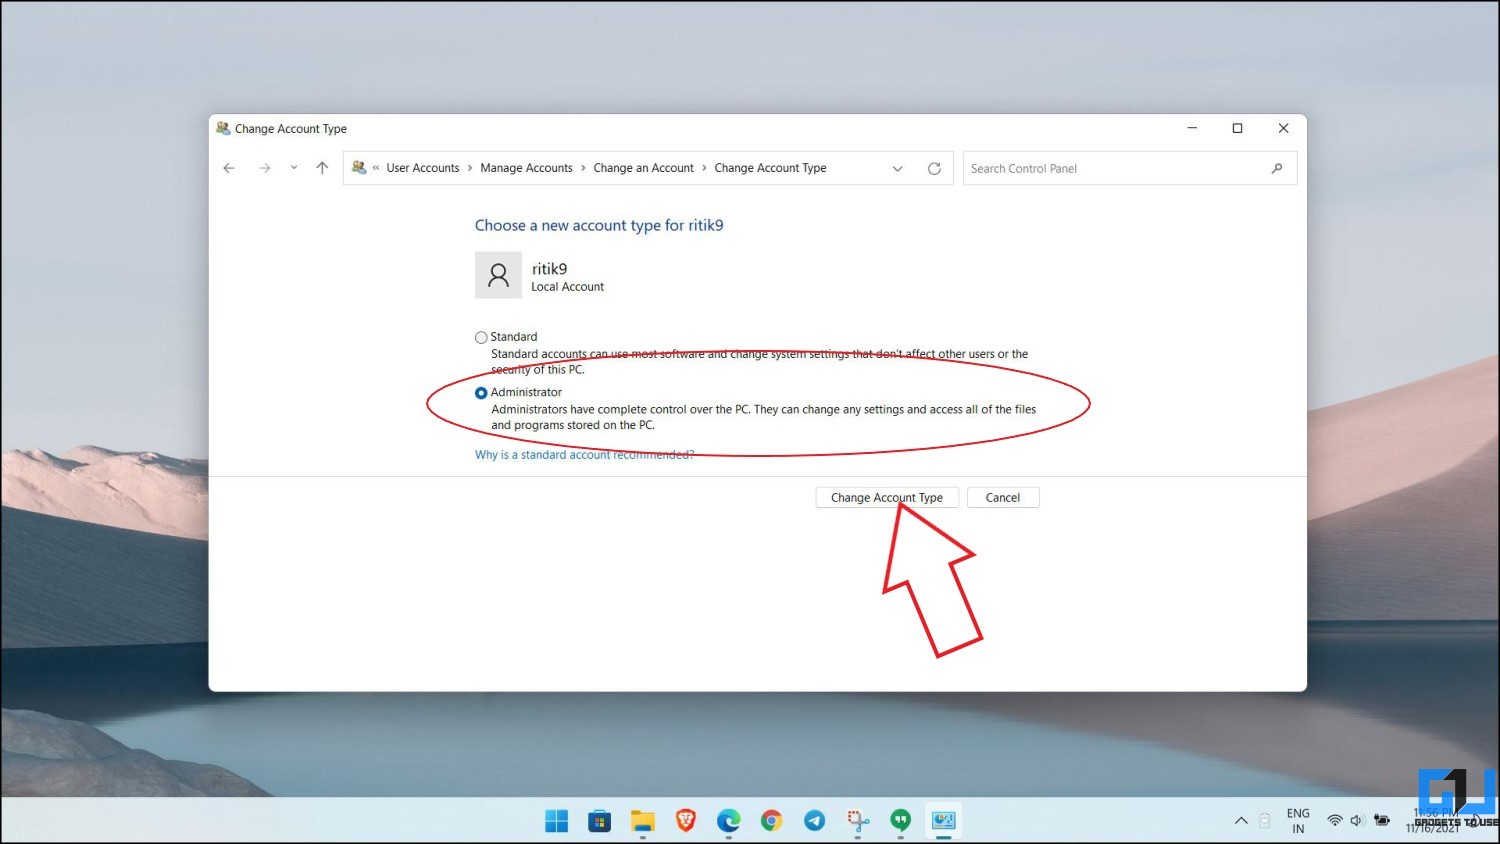
- Set it to Administrator. Save it.
Step 3: Delete the Microsoft Account
- Go back to the User Accounts menu in the control panel.
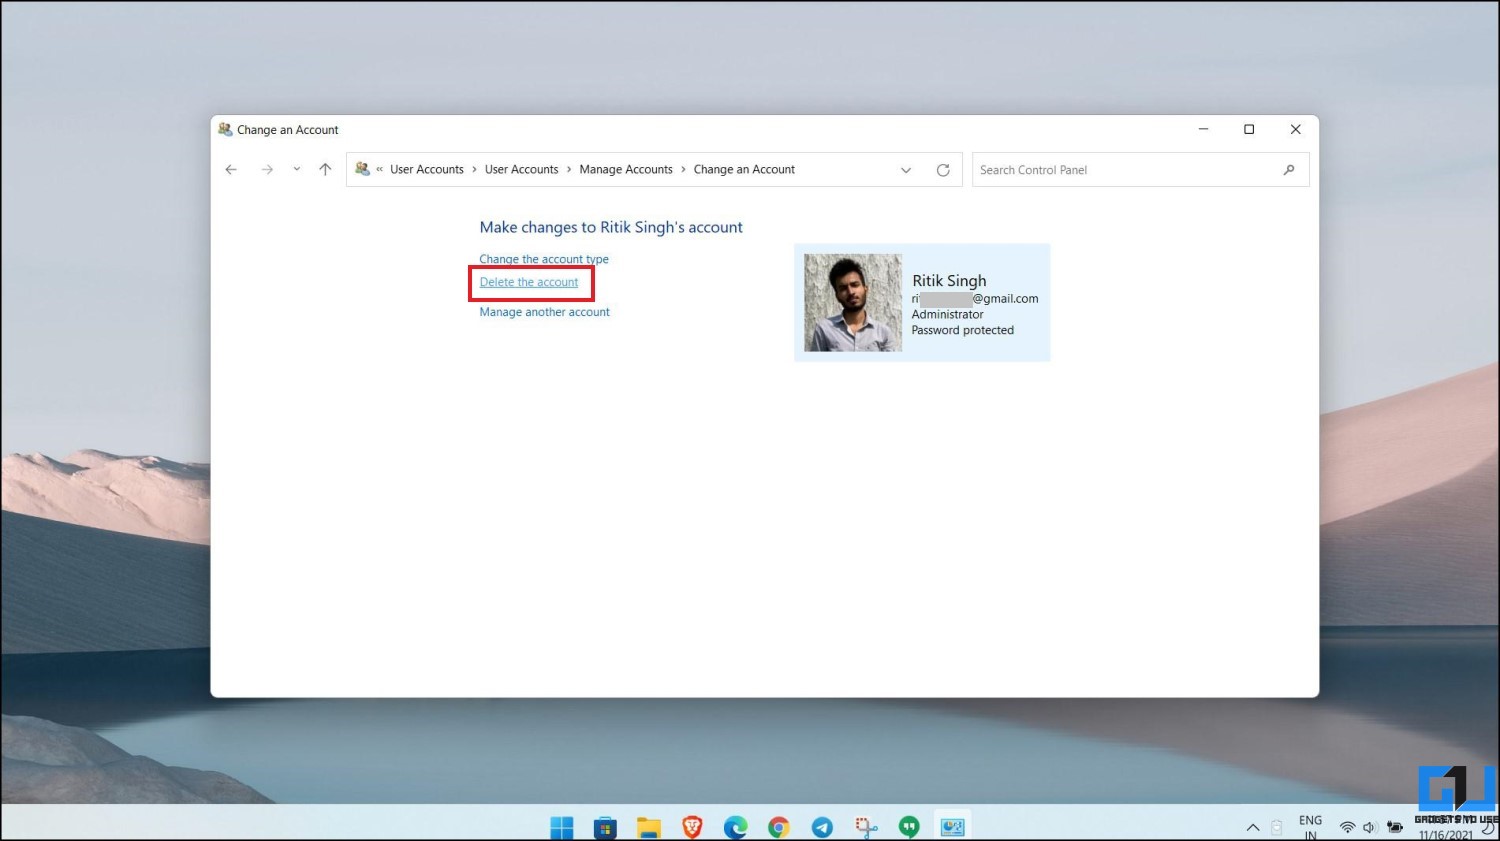
- Tap the Microsoft account you want to remove.

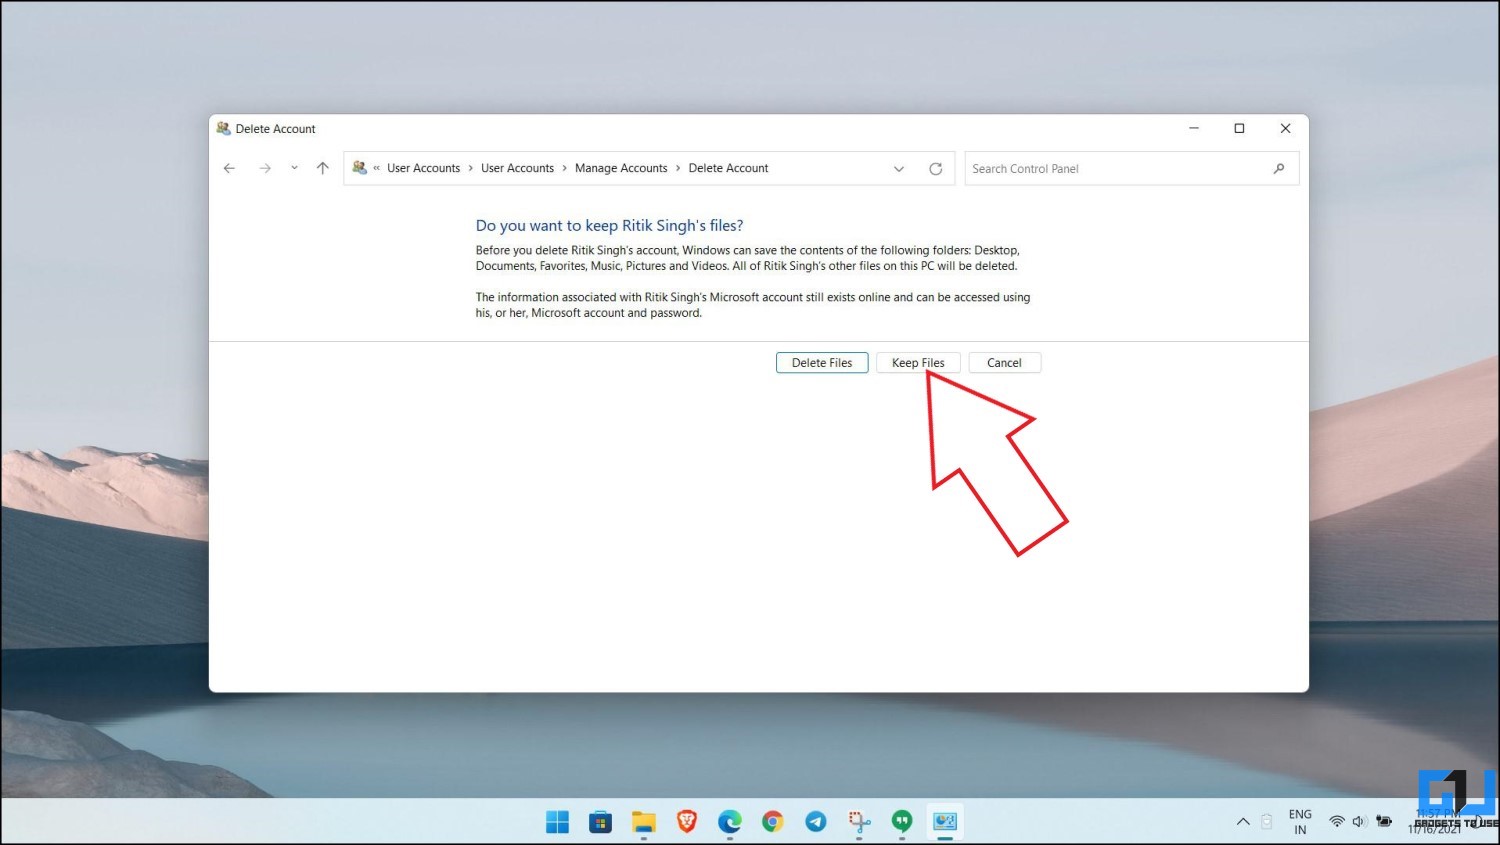
- Now, click on Delete the account.
- Windows will now ask whether you want to keep or delete files. Selecting Delete Files will delete all the files. Whereas selecting Keep Files will keep them. Choose what suits you.
- The Microsoft account will now be removed from your Windows 11 PC.
Method 4- Remove Microsoft Account from User Accounts Settings
If the other methods don’t suit you, you can use this final method to delete the Microsoft Account from your computer. All you need to do is open the User Accounts panel and remove the account, as follows:
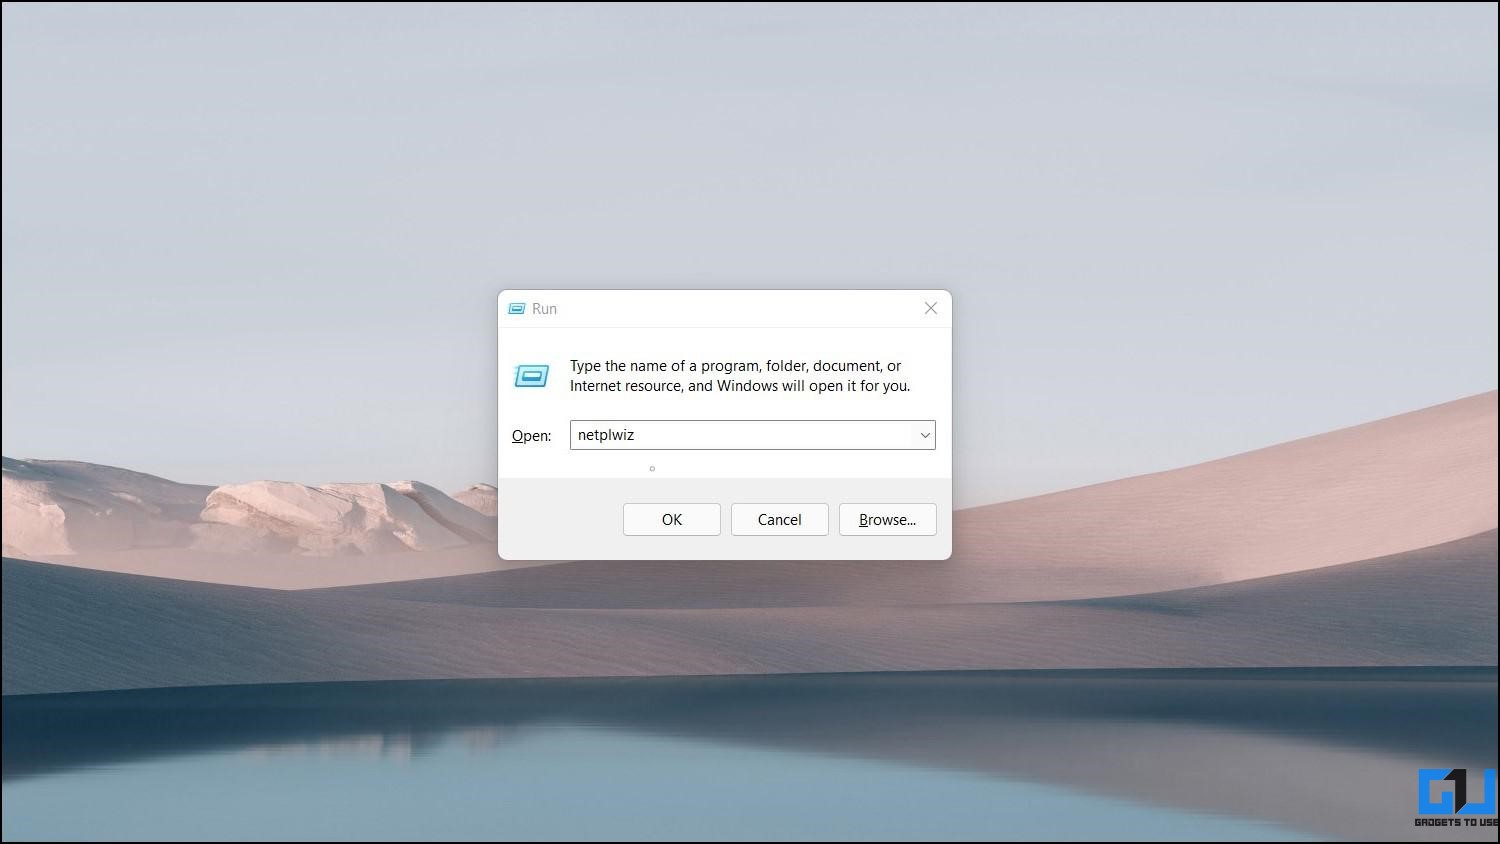
- Press Win + R on your keyboard to open Run.
- Now, type and enter netplwiz to open User Accounts settings.
- Here, select the Microsoft account you want to remove or delete from the device.
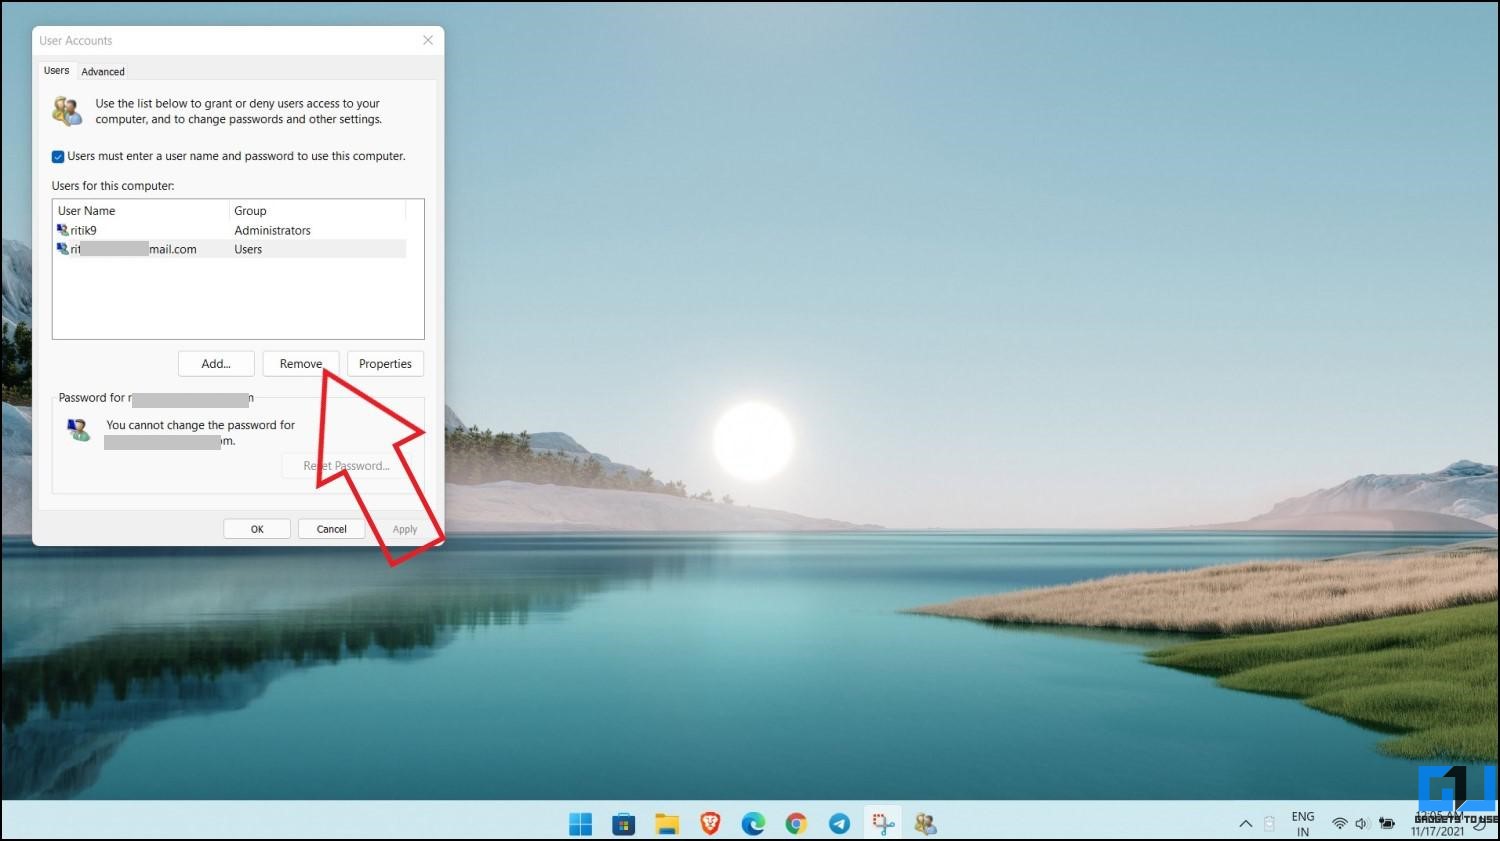
- Click on the Remove button.
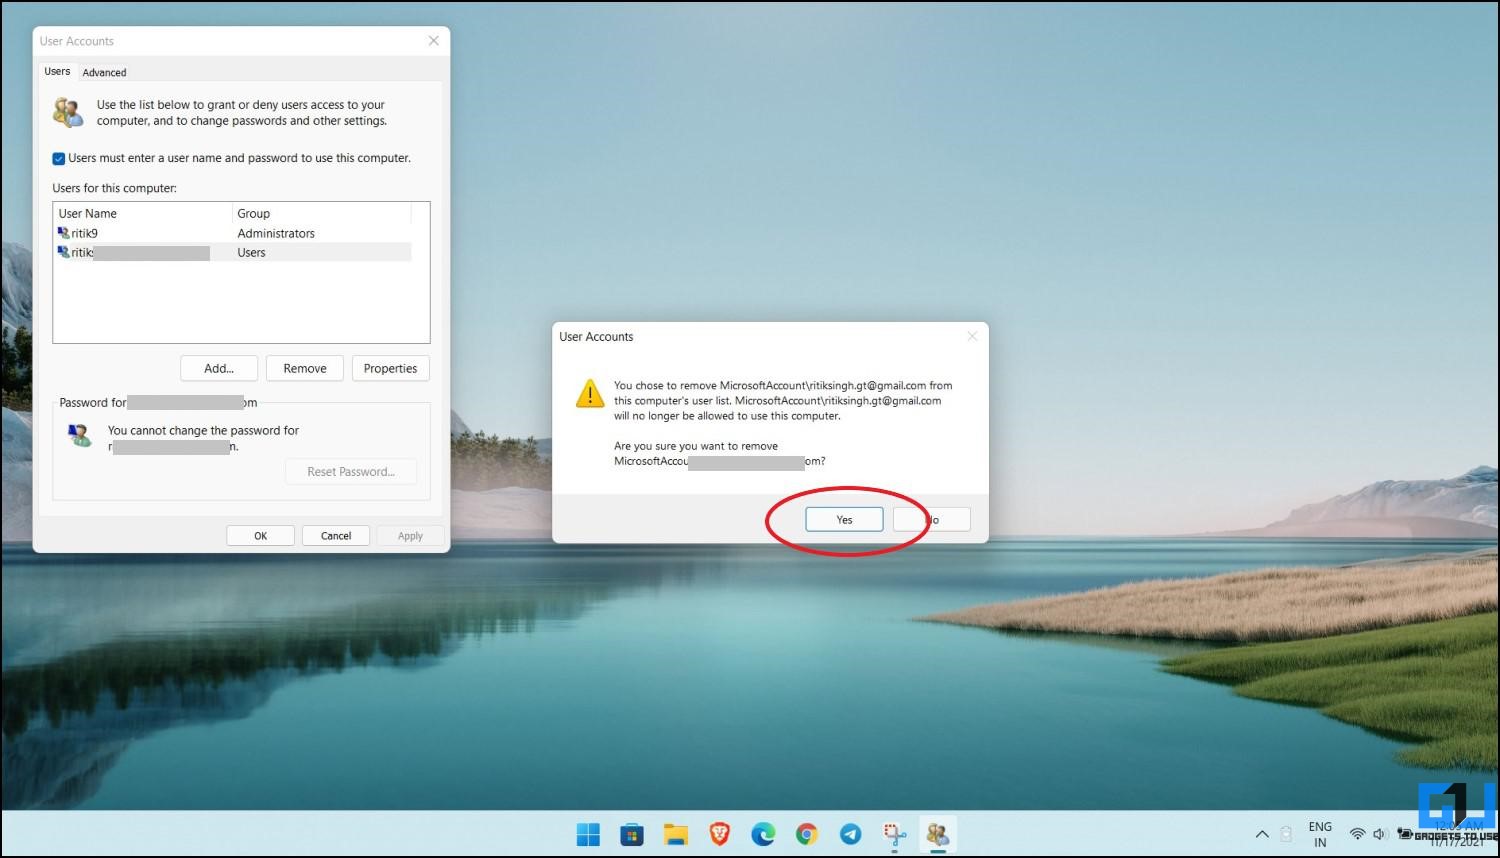
- Press Yes to confirm when prompted, and you’re good to go.
Cannot Click on the Remove Button? Is It Greyed Out?
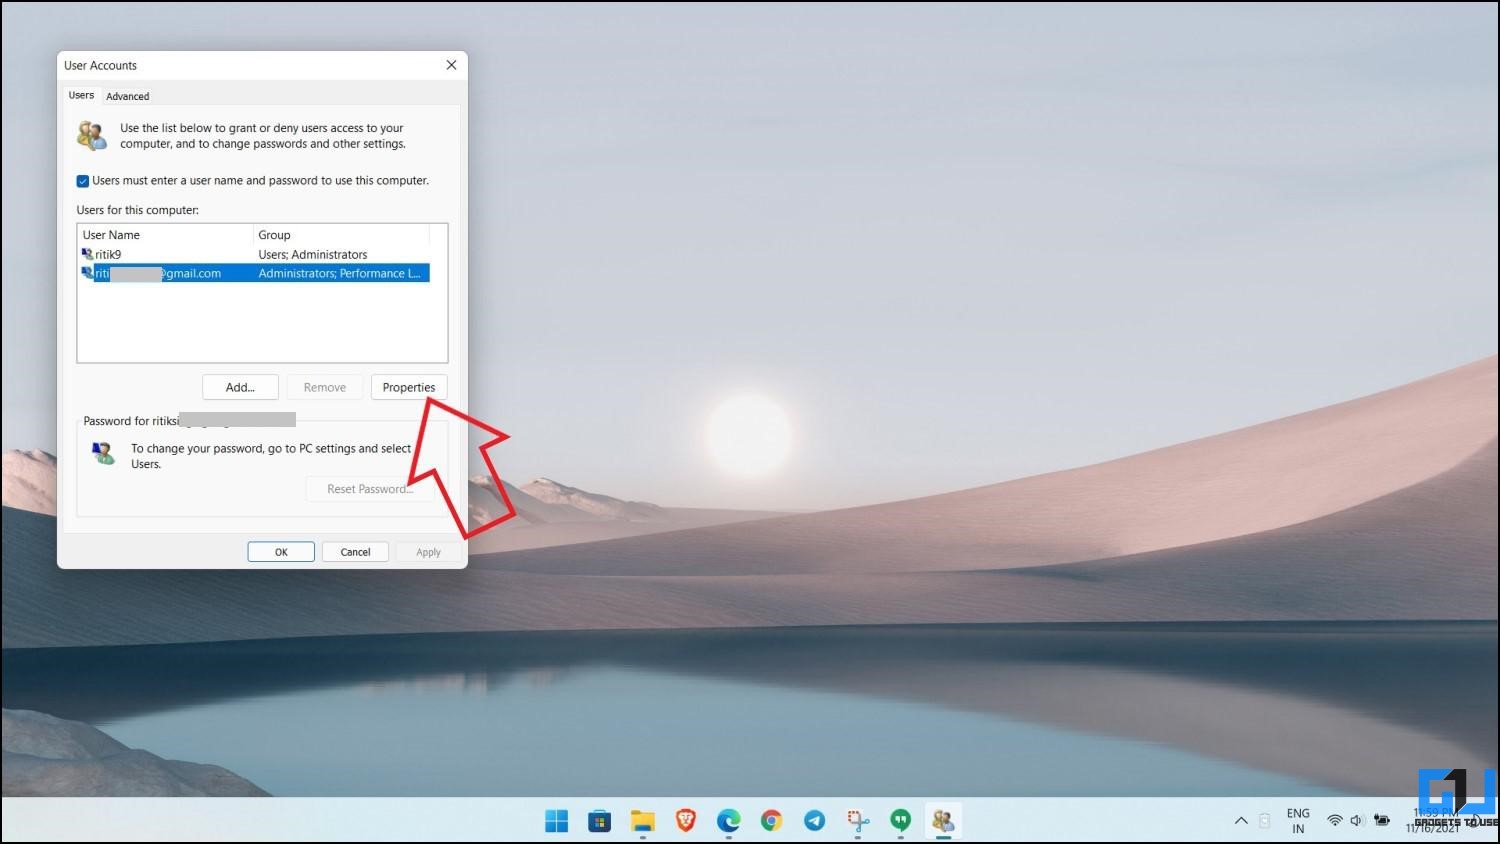
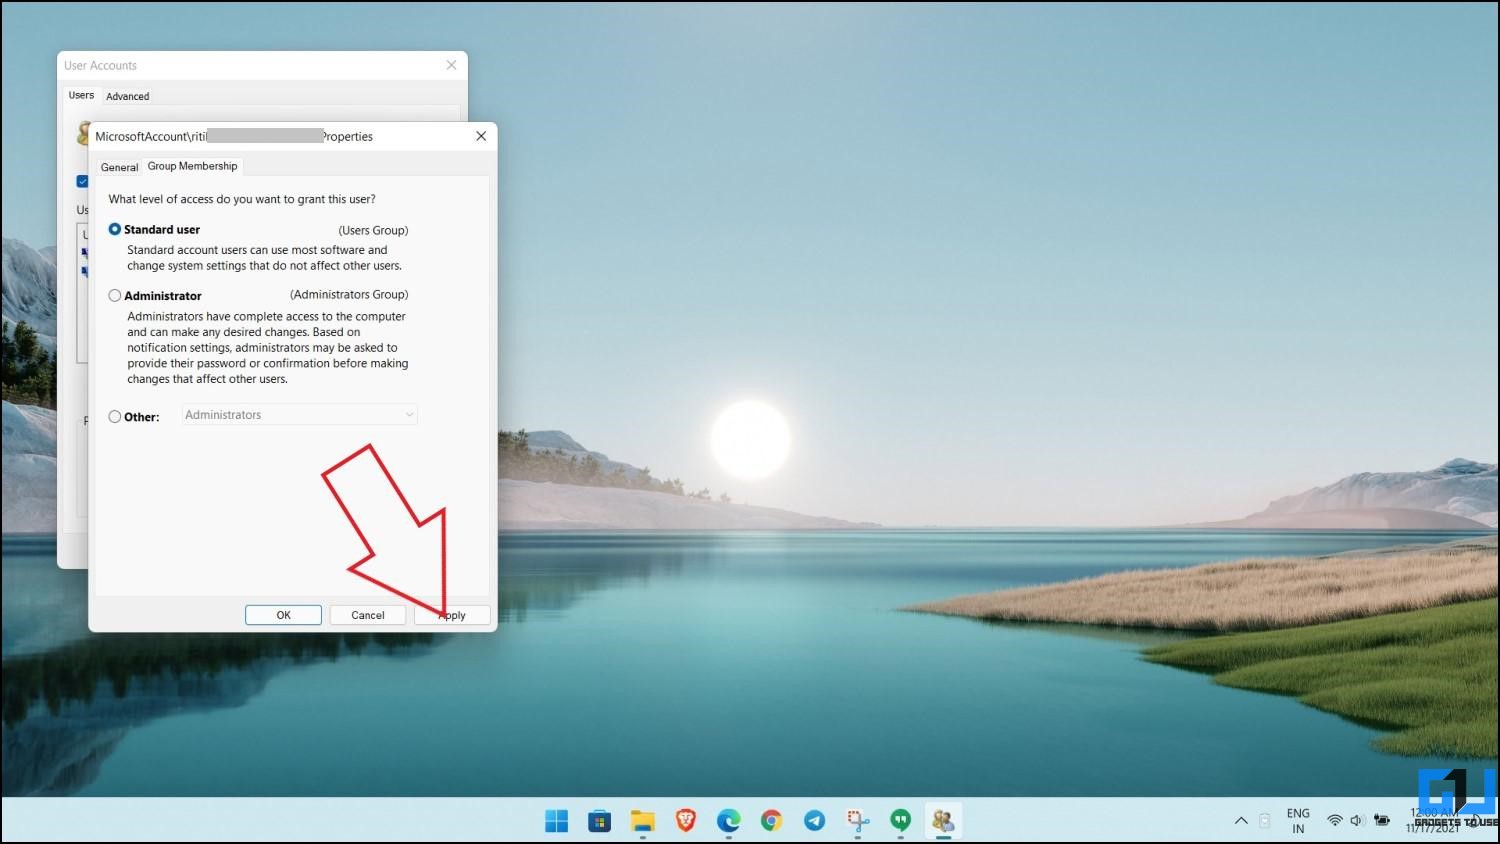
Select the Microsoft account you want to remove. Then, click on Properties. Select Group Membership and change it to Standard from Admin. Now, hit Apply and press OK to close the window. Press OK again to close the user accounts panel.
It will now ask you to sign out and sign in. Tap Yes and unlock your Windows PC using the local account credentials. Now, repeat the above method and you shall be able to click the Remove button without any hassles.
Wrapping Up
This was a quick guide to remove the Microsoft account from your Windows 11 PC. I hope this helps you use your Windows 11 device without login in or creating an account, be it for any reason. Anyways, which of the above method did you try or prefer? Let me know in the comments below. Stay tuned for more.
You can also follow us for instant tech news at Google News or for tips and tricks, smartphones & gadgets reviews, join GadgetsToUse Telegram Group or for the latest review videos subscribe GadgetsToUse Youtube Channel.


