

Quick Answer
- The Locked Folder is a Google Photos feature that allows you to hide sensitive photos and videos on your device with a password, Face ID, or Touch ID.
- The photos you move to the Locked Folder are deleted from your iPhone and may appear in the “Recently Deleted” section in the Photos app.
- It has a long list of features that keep expanding every now and then, with a recent inclusion being the Locked Folder, which lets you hide and lock photos and videos with a password.
Google Photos stands out as an exceptional gallery app, with many iPhone users, myself included, preferring its features over Apple Photos. It has a long list of features that keep expanding every now and then, with a recent inclusion being the Locked Folder, which lets you hide and lock photos and videos with a password. Here’s how to set up the Locked Folder in Google Photos on your iPhone.
What is Locked Folder in Google Photos?
The Locked Folder is a Google Photos feature that allows you to hide sensitive photos and videos on your device with a password, Face ID, or Touch ID. It uses your phone’s built-in lock, meaning people having access to your lock screen password, PIN, or biometrics can unlock the locked photos.
The photos you lock are sandboxed inside the Locked Folder and can only be accessed inside Google Photos. They won’t appear anywhere else on your phone. Here’s more about it:
- Locked Folder is available on iOS 15 and later and Android 6 and later.
- The locked folder can only be accessed after entering your iPhone passcode/ PIN, Face ID, or Touch ID.
- The locked media can be backed up to the cloud. You can access it on other phones or the web by logging into your Google account.
- Locked Folder items won’t appear when you search in Google Photos (or anywhere else).
- You cannot share items without moving them out of the Locked Folder.
- If you uninstall the Google Photos app or remove its app data, all the locked items will be deleted unless you’ve enabled cloud backup or moved them back to the gallery.
How to Setup Locked Folder in Google Photos on iPhone
1. Open the Google Photos app on your iPhone. Sign into your Google account if you have not done so already.
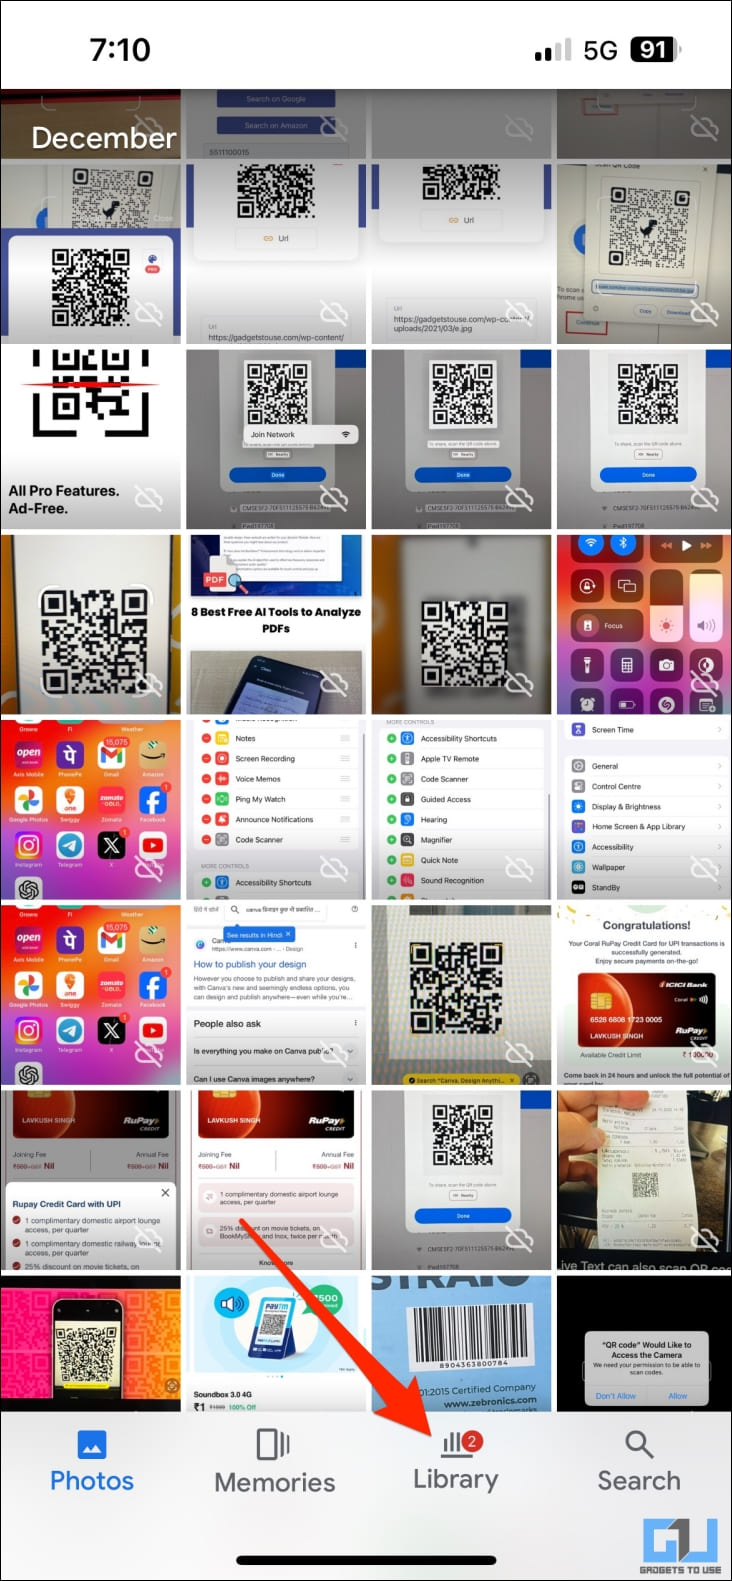
2. Choose Library in the bottom navigation bar. Select Utilities.
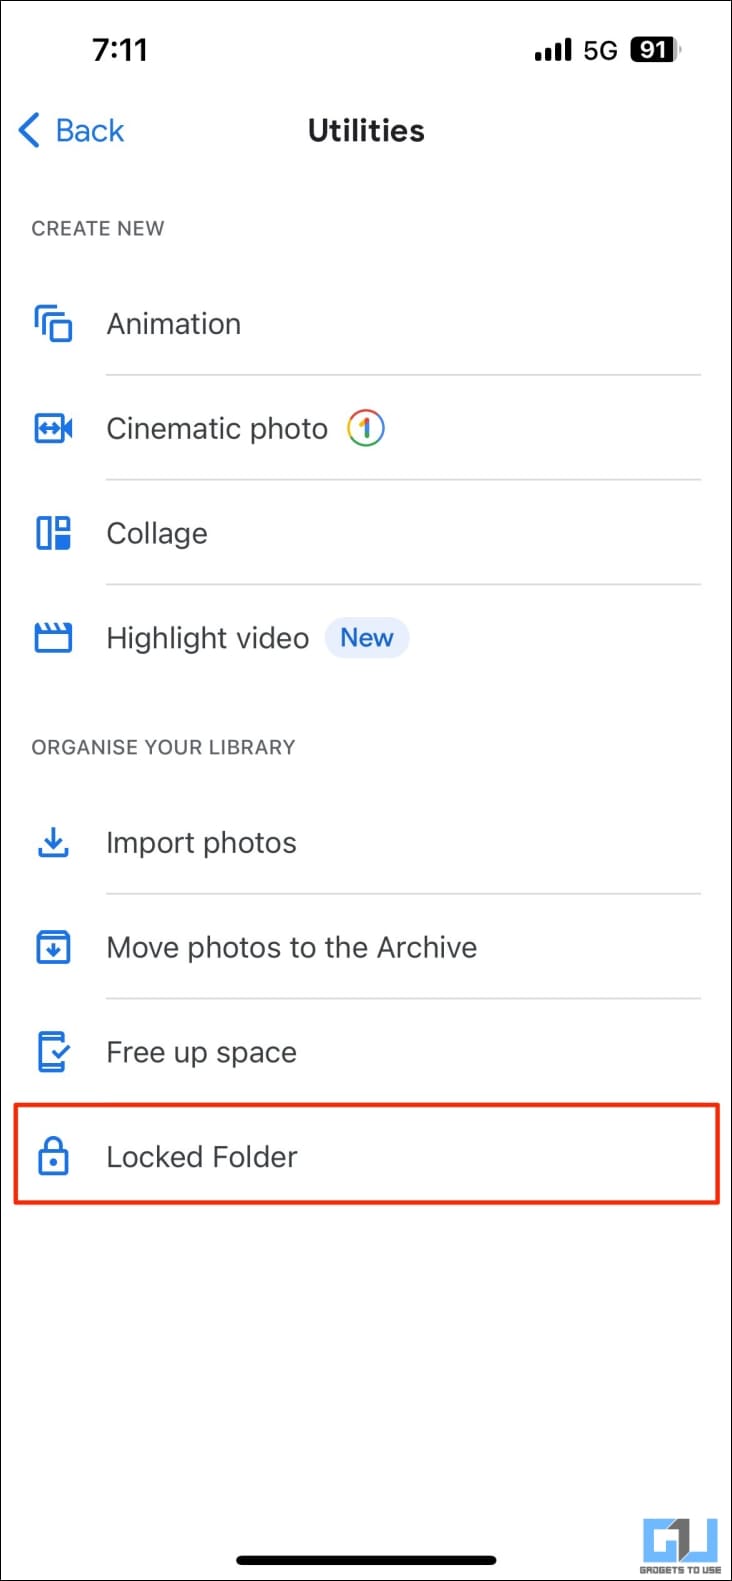
3. Here, tap on Locked Folder.

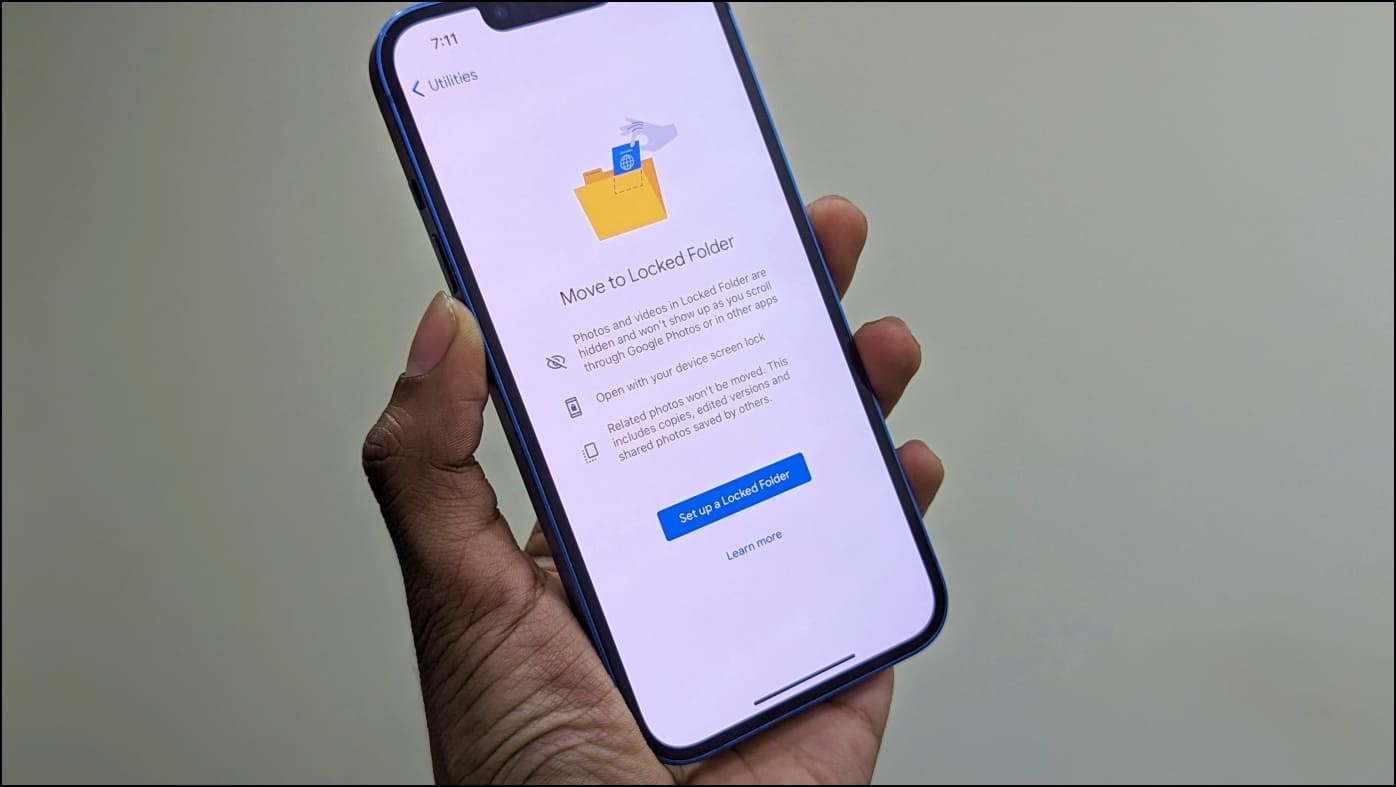
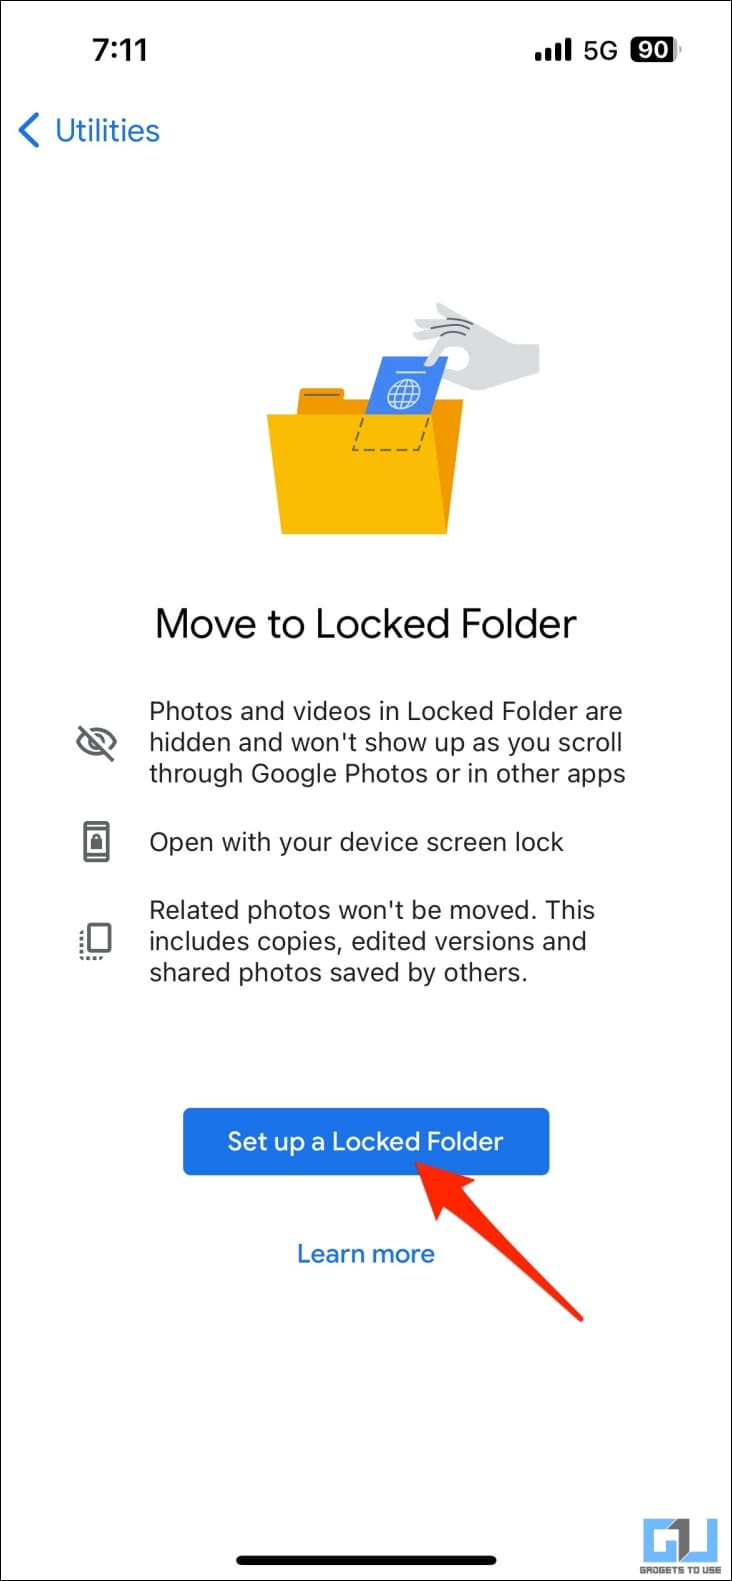
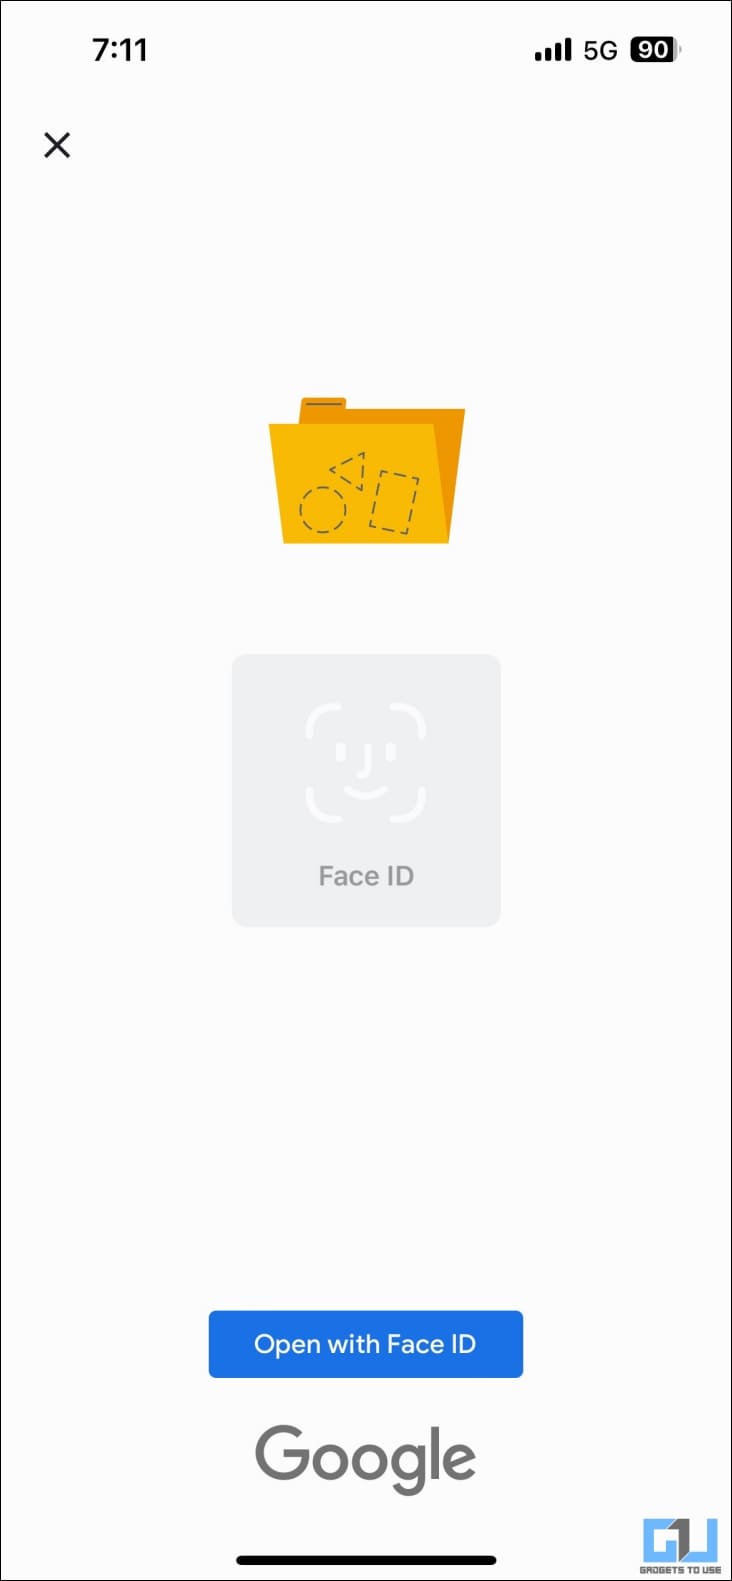
4. Tap Set up a Locked Folder and allow Google Photos to use Face ID or Touch ID.
5. Finally, choose whether you want to backup the locked folder to the cloud.

You have successfully set up the Google Photos locked folder on your iPhone. The cloud backup, if enabled, encrypts the media and makes them available on other devices logged into your Google account. If you do not enable backup, the photos will remain on your iPhone and won’t appear anywhere else.
How to Add Photos to Locked Folder on iPhone
You can add photos and videos to the Locked Folder individually or in bulk. Here’s how it works:
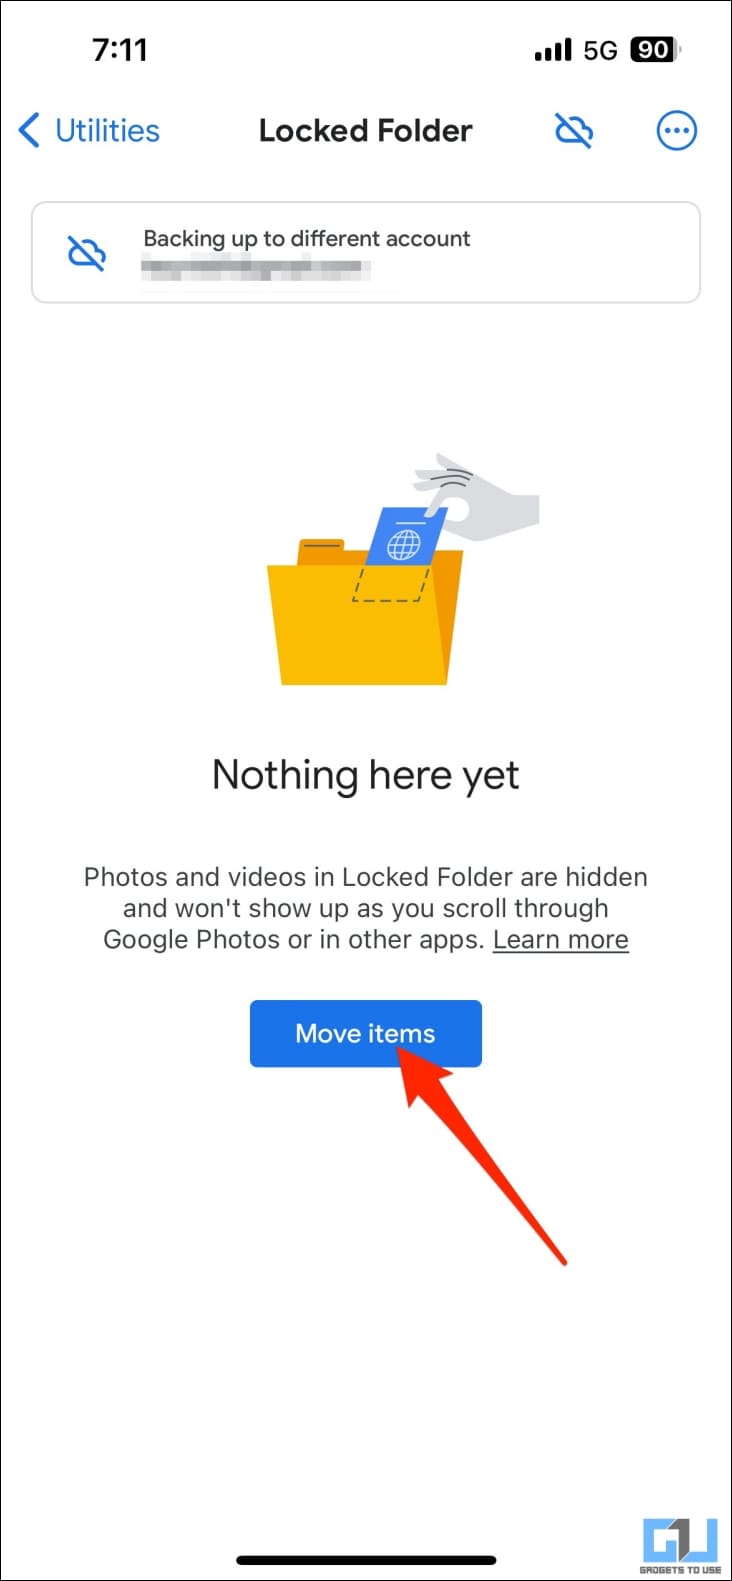
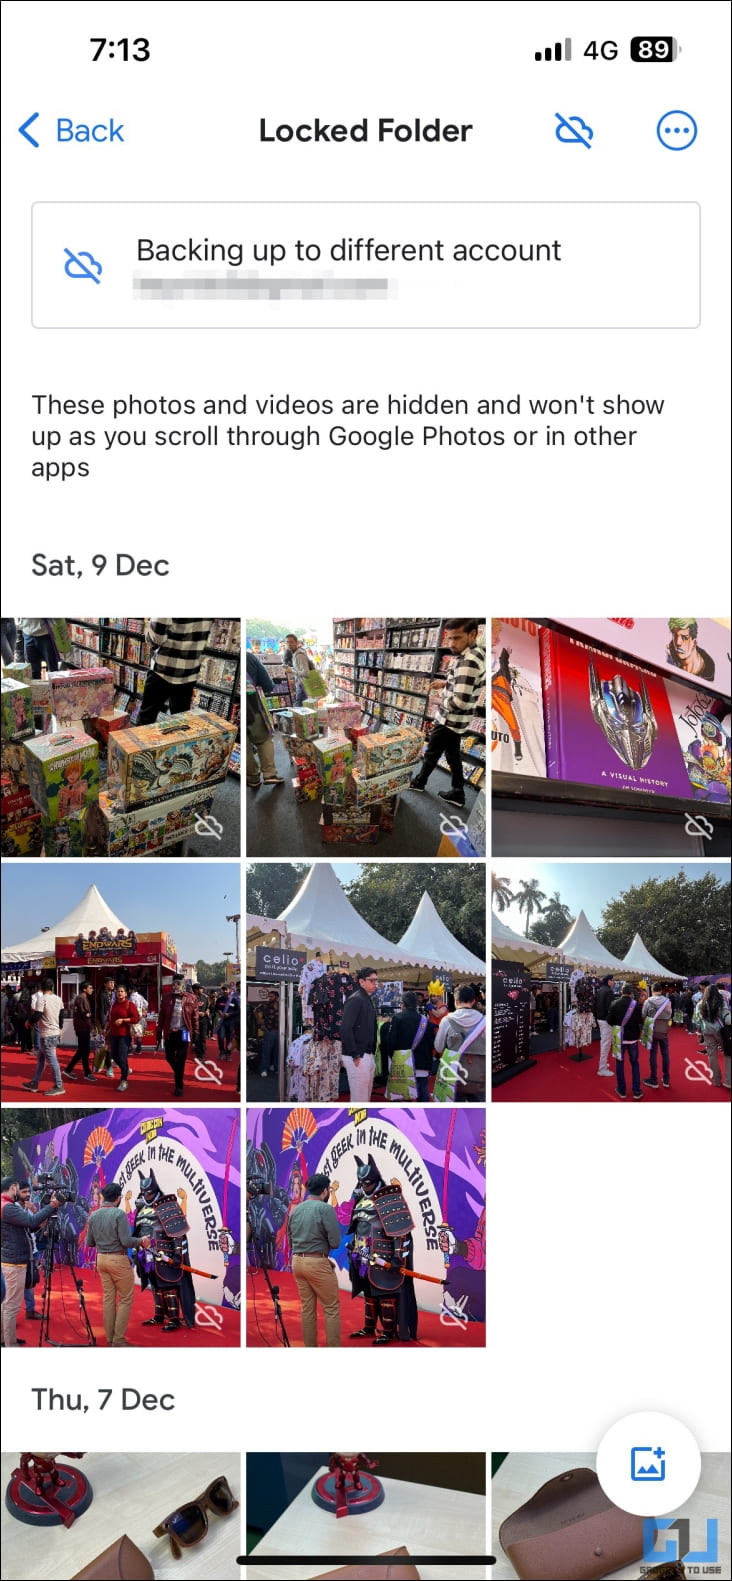
1. Head to Library > Utilities > Locked Folder inside Google Photos.
2. You’ll see a Move Items button if you have not added any photos already. Tap on it.
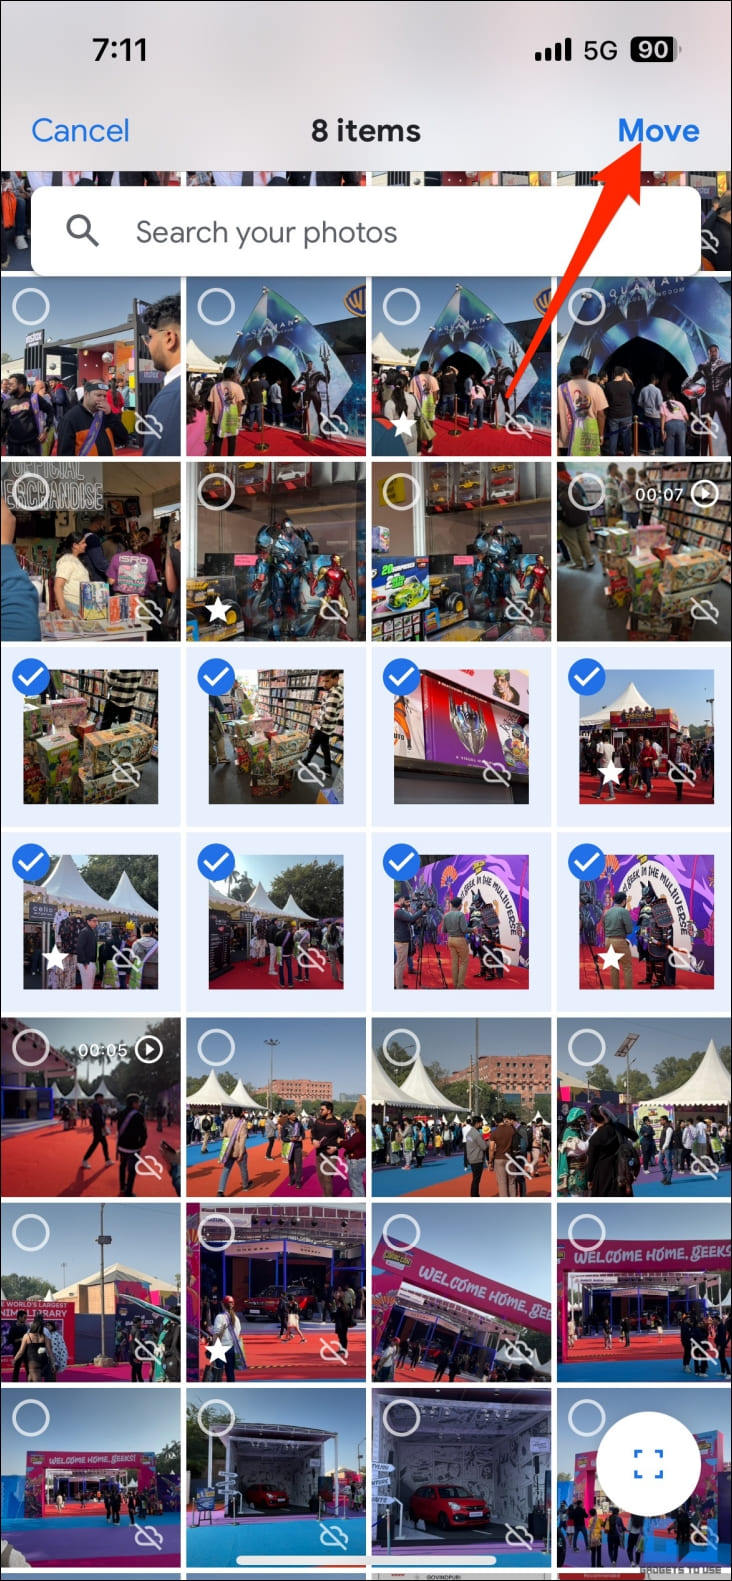
3. Choose the photos and videos and tap Move in the top right corner.
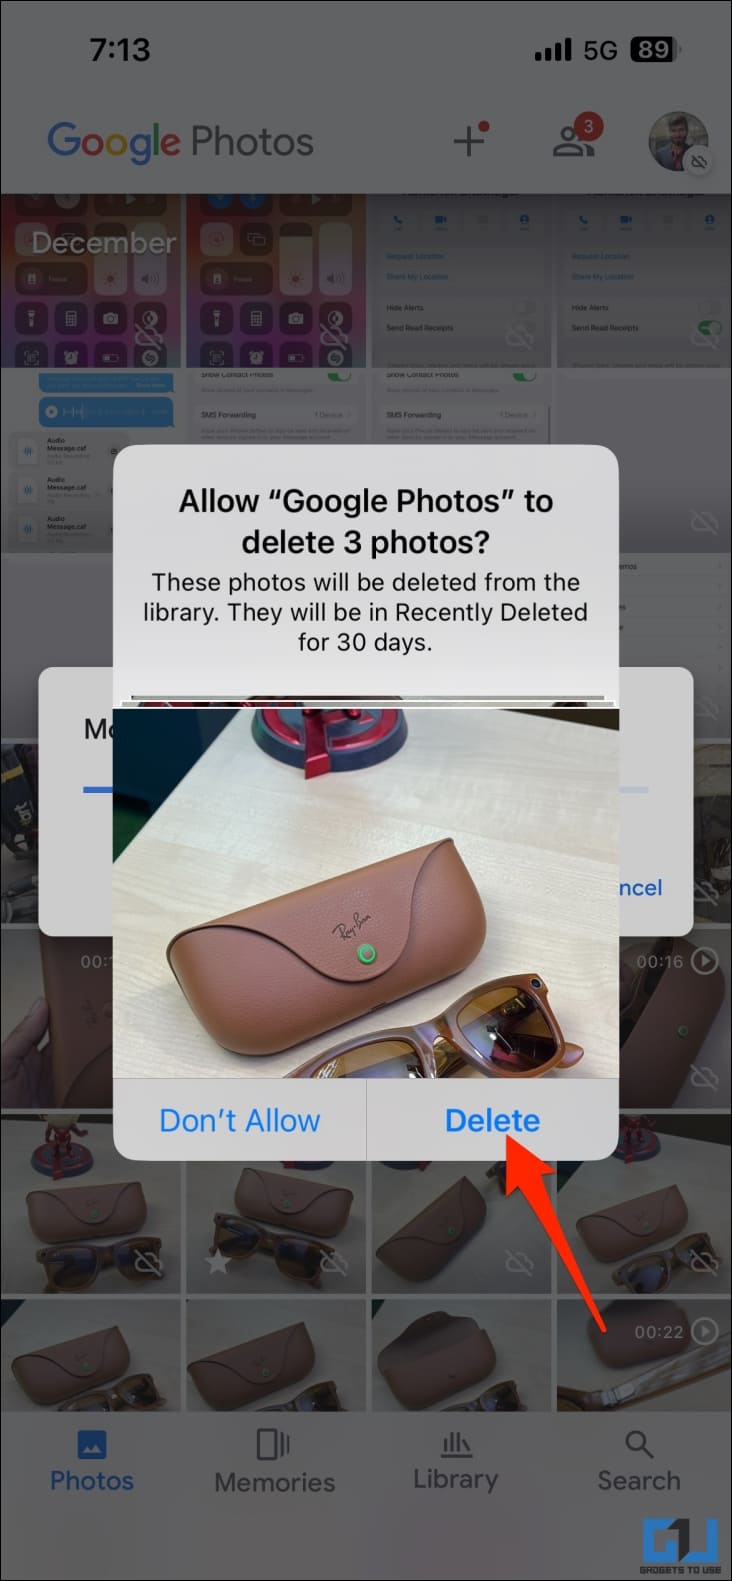
4. Google Photos will seek permission to delete the photos. Tap Delete.
OR
1. Open Google Photos and select photos you want to hide or lock.
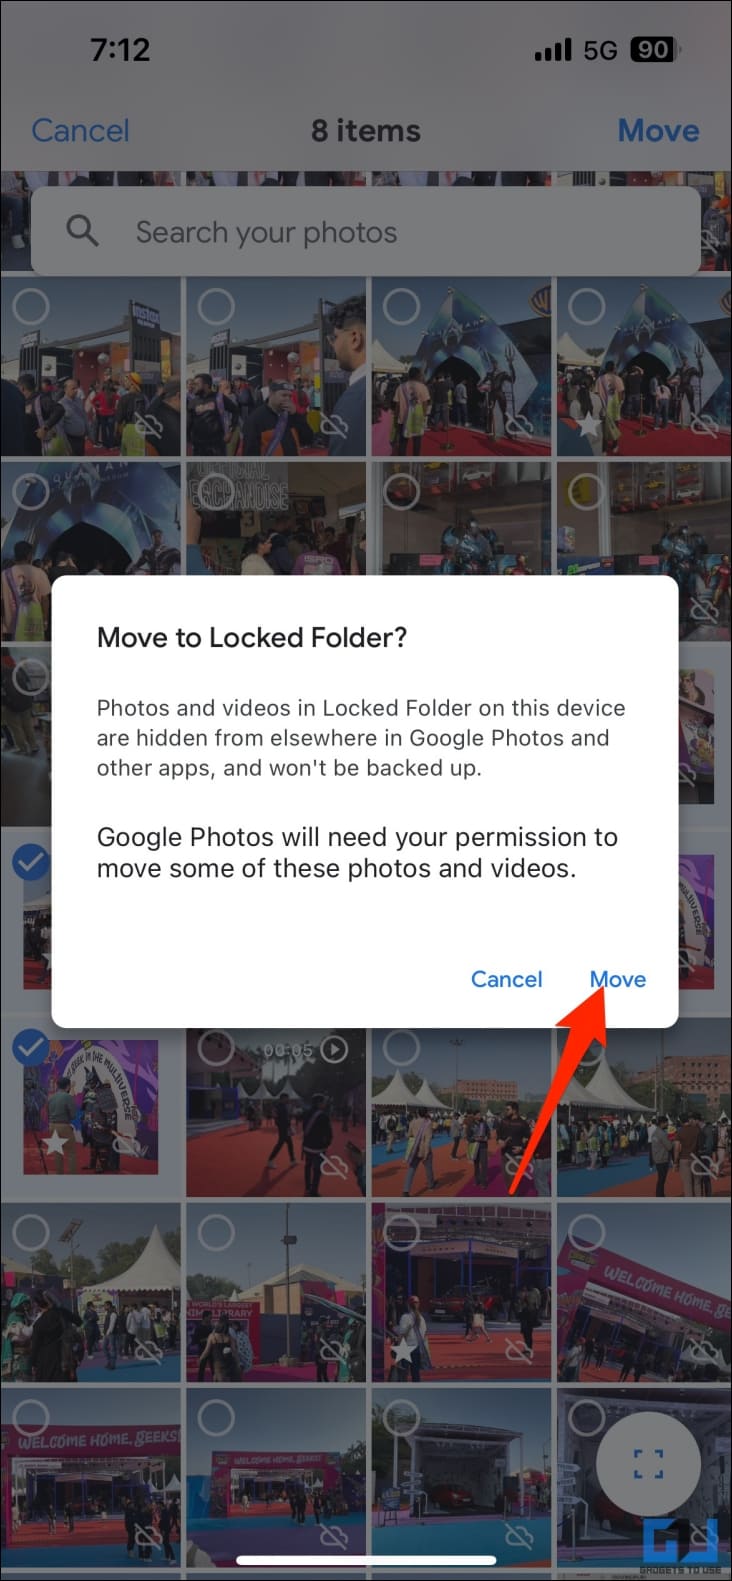
2. From the options that appear, choose Move to Locked Folder.
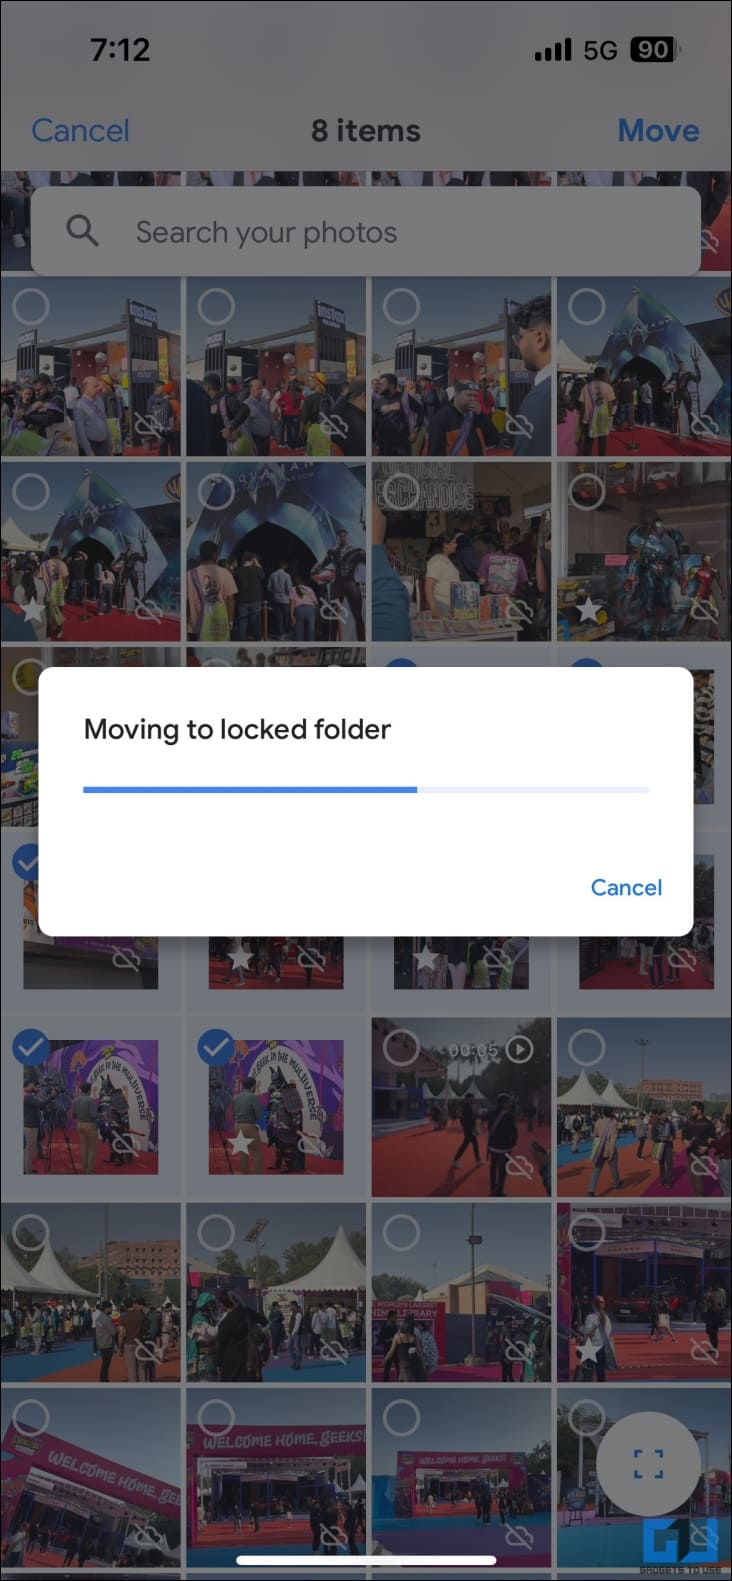
3. Tap Move to confirm when prompted, and you’re good to go.
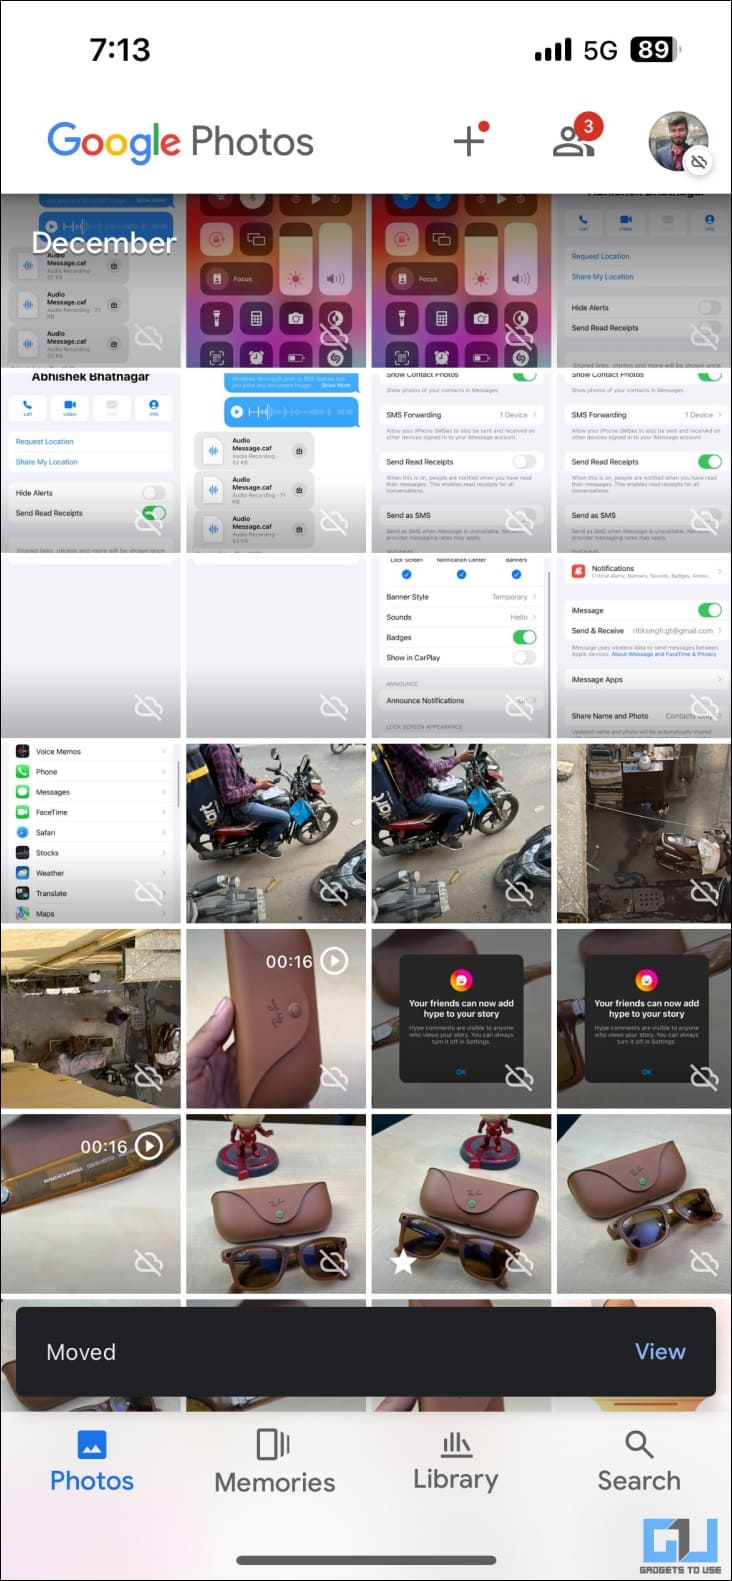
The photos will now disappear from your Google Photos main view, Apple Photos, and all other apps on your iPhone. You can access it only inside Google Photos > Library > Utilities > Locked Folder.
The photos you move to the Locked Folder are deleted from your iPhone and may appear in the “Recently Deleted” section in the Photos app. Ensure you delete them from there, too.
Lock Images and Videos in the Photos App
Alternatively, you can lock photos and videos inside the Apple Photos app on your iPhone. The hidden library is automatically backed up to iCloud (if enabled), similar to Google Photos.
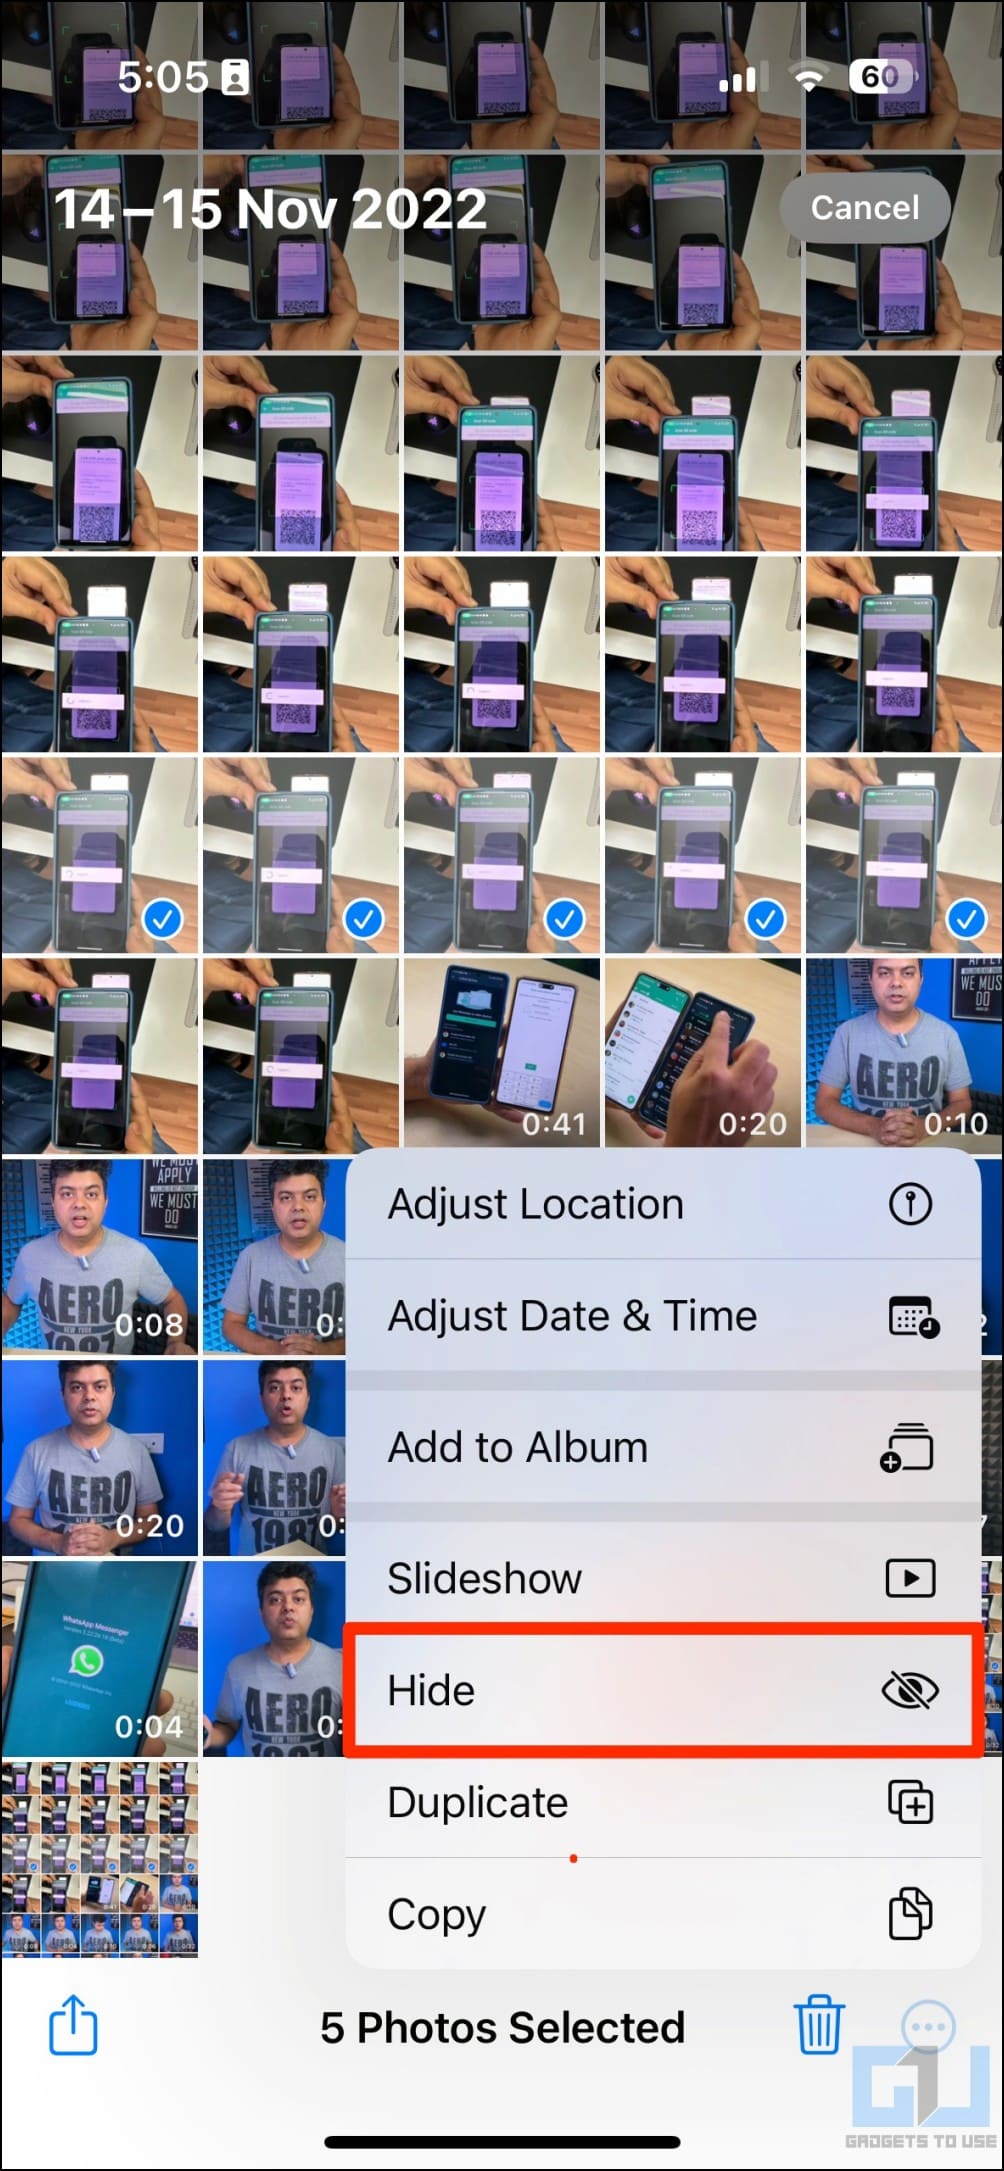
1. Open the Photos app on your iPhone. Select the photos, videos, and other media you want to hide.
2. Tap the three-dot menu at the bottom left.
3. Select Hide and tap Hide Photos or Hide Videos to confirm.


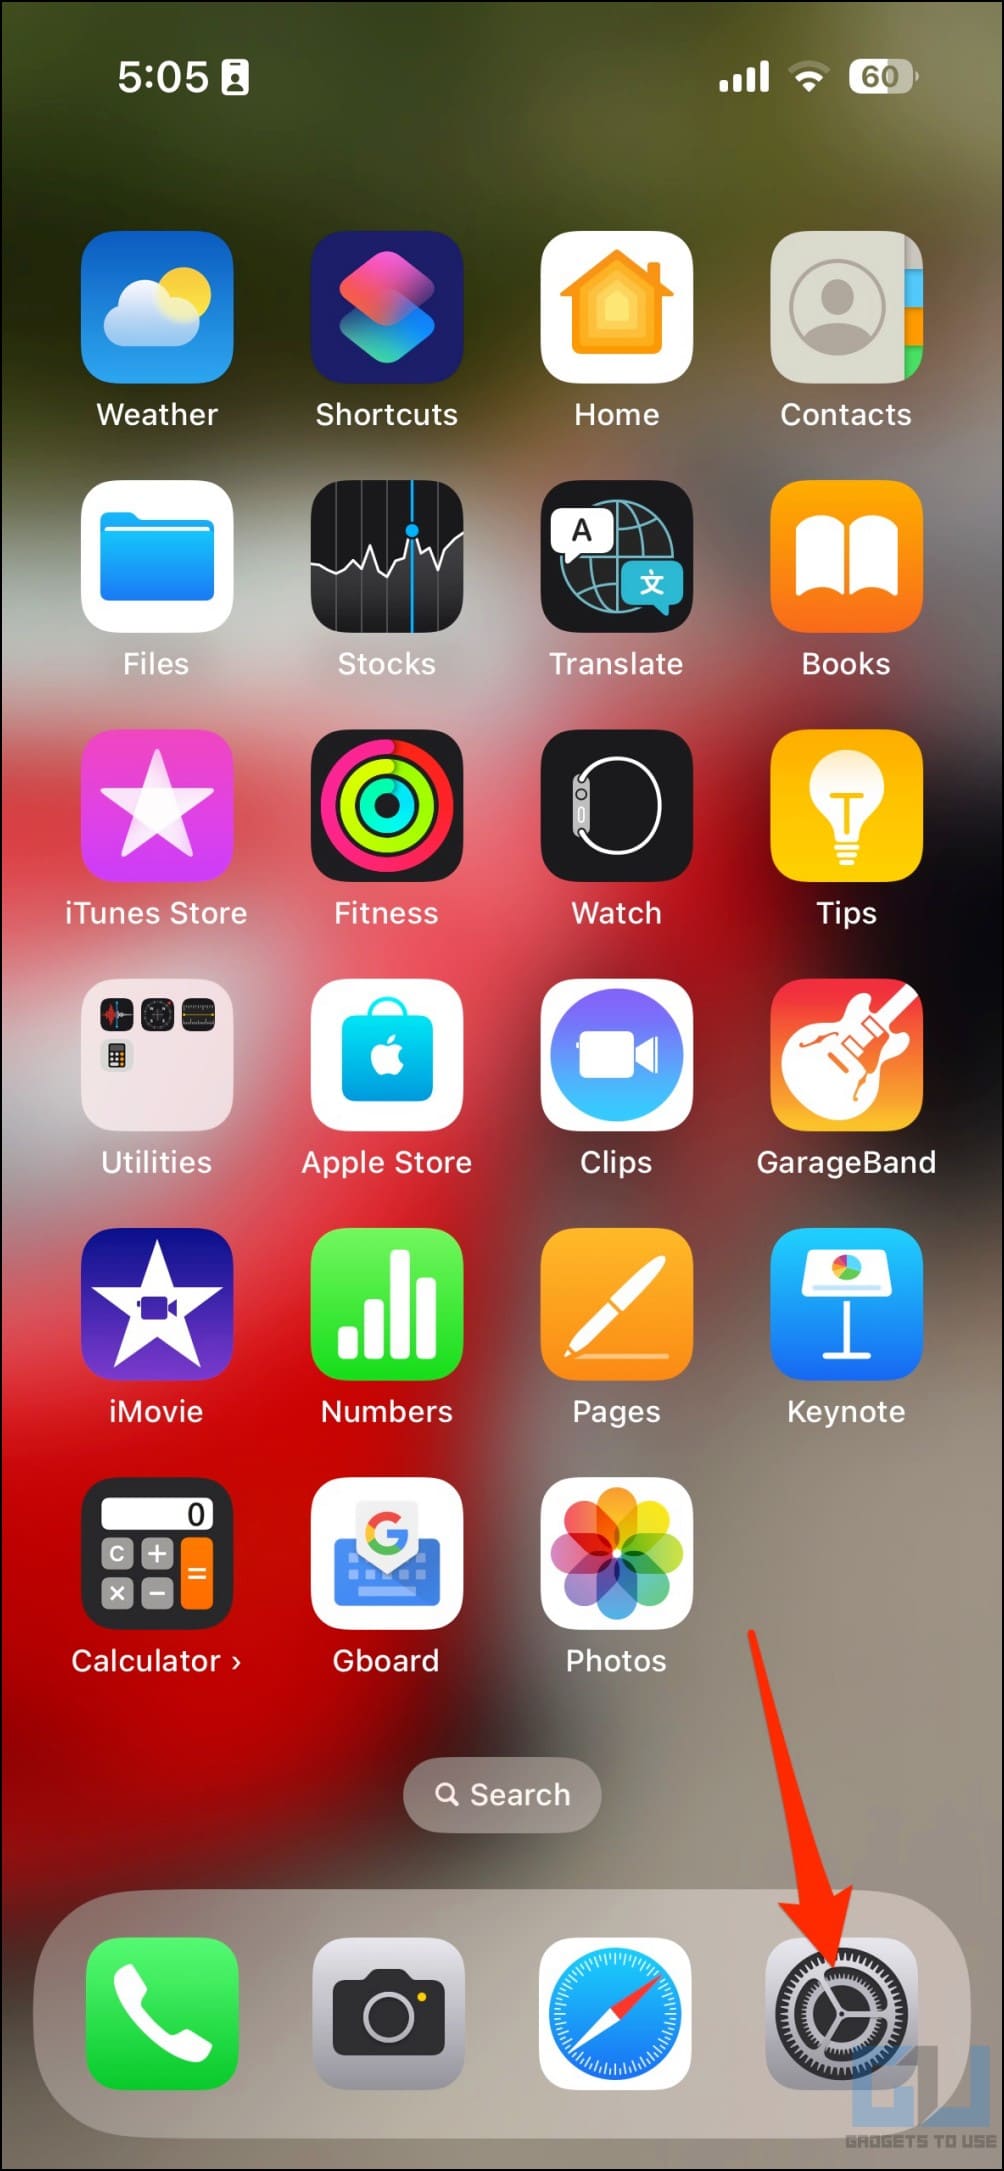
4. Now, head to Settings > Photos and enable the toggle for Use Face ID.

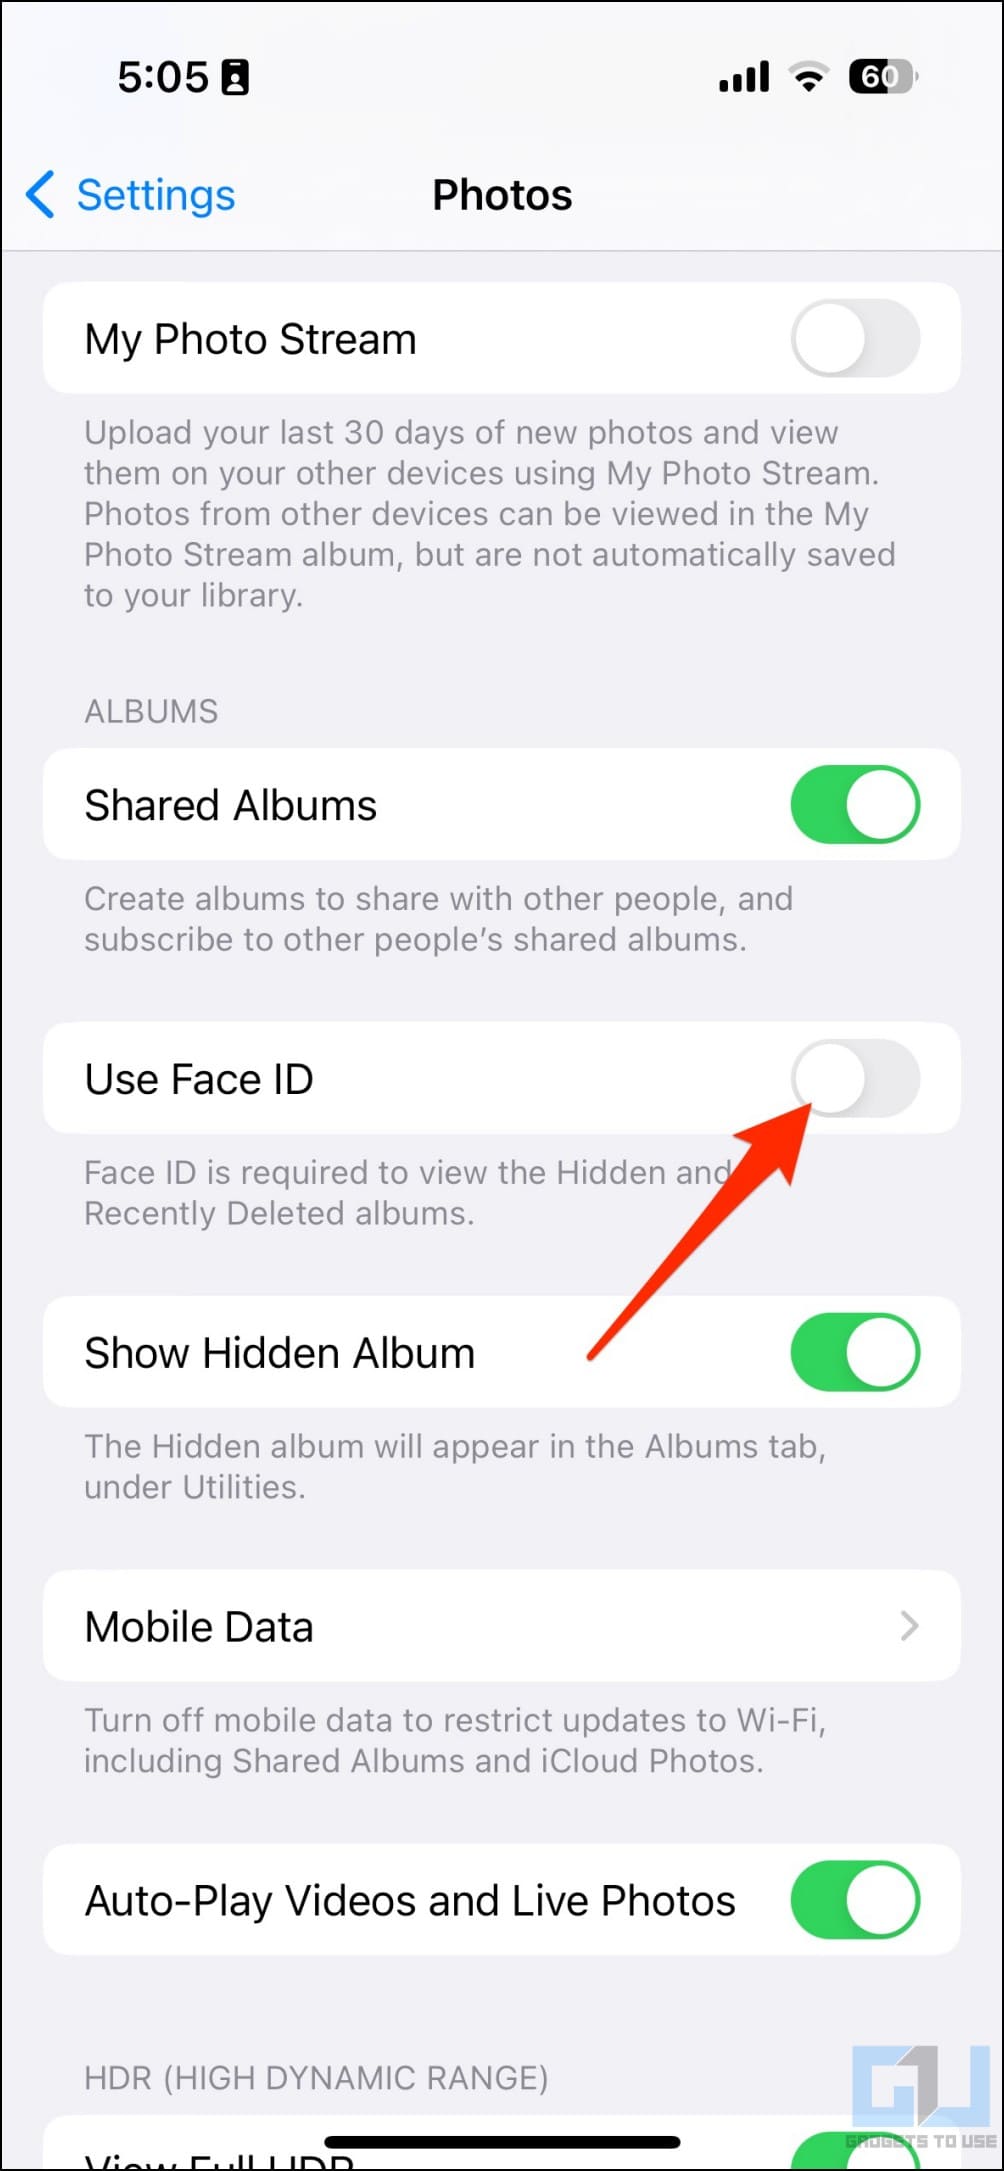
That’s it. You’ve now successfully hidden and locked the photos from the library on your iPhone. Any photos you hide will be moved to the “Hidden” album in the Photos app.
Word of caution: The hidden media items that are invisible otherwise can be accessed after connecting your unlocked iPhone to a Mac.
Wrapping Up
This is how you can set up and move photos and videos to a Locked Folder on your iPhone with or without using Google Photos. I hope the above guide helps you securely hide and protect sensitive media on your iOS device with Face ID, Touch ID, or passcode. Stay tuned for more such tips, tricks, and how-tos.
You might be interested in:
- 3 Ways to Upload Photos From Your iPhone to Google Photos
- 2 Ways to Delete Search History in Google Photos
- 5 Ways to Stop Google Photos From Uploading Camera Pictures on Phone
- 7 Best Tips and Tricks to Edit Videos in Google Photos
You can also follow us for instant tech news at Google News or for tips and tricks, smartphones & gadgets reviews, join GadgetsToUse Telegram Group or for the latest review videos subscribe GadgetsToUse YouTube Channel.


