Quick Answer
- ScanWritr is a powerful online editor and converter that allows you to import any document, fill it out using text, pen, marker, and sign tools, and save it to PDF for further use.
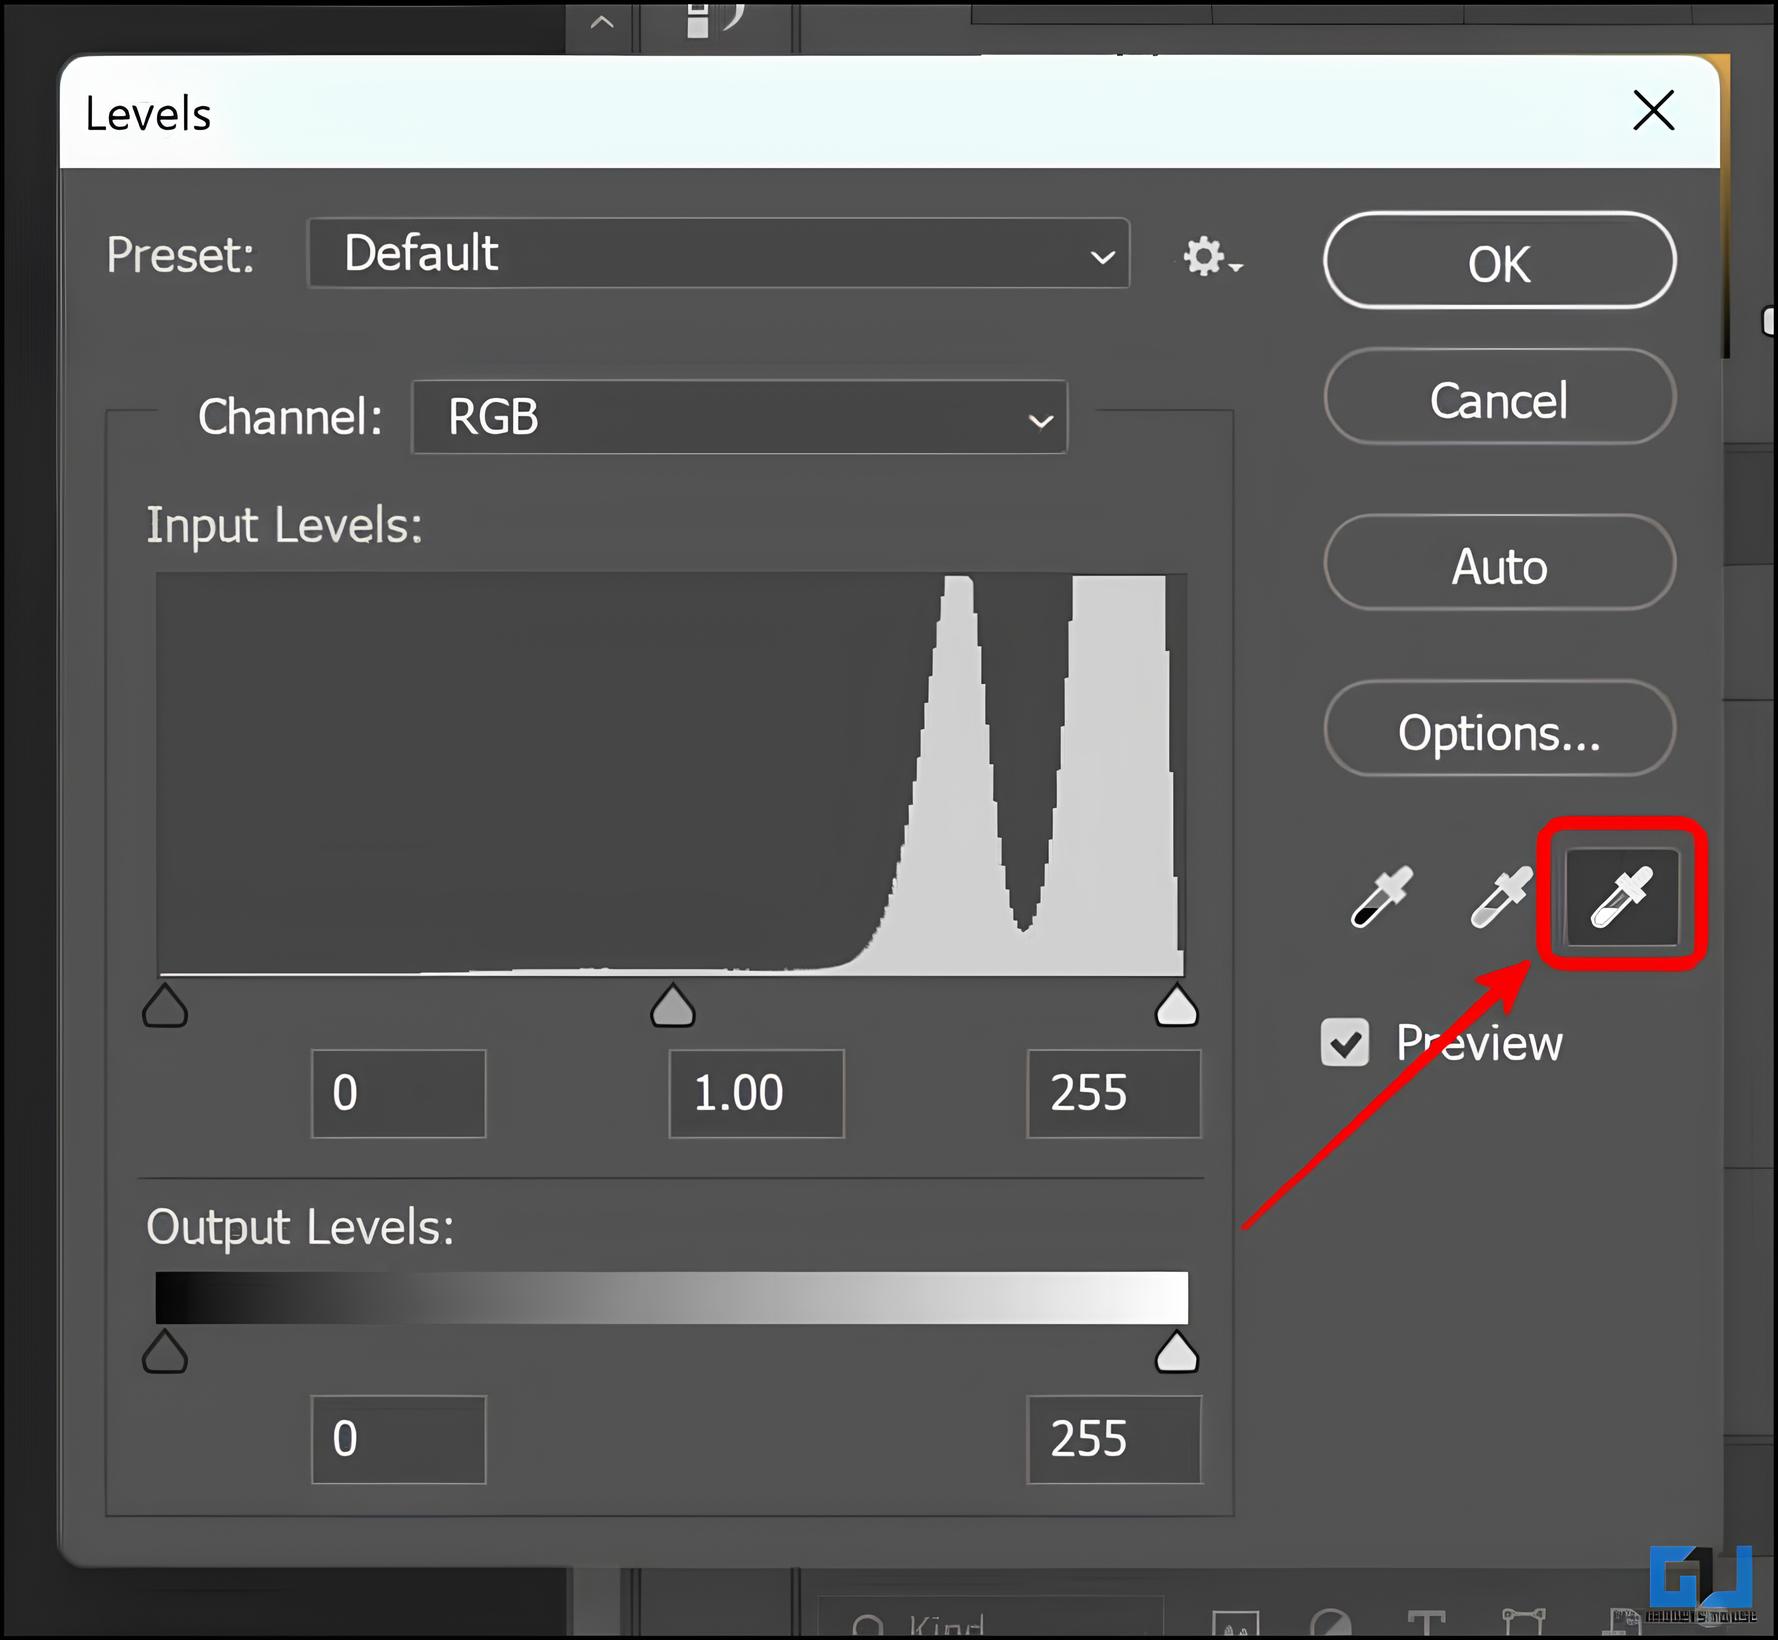
- In the pop-up window, click on the white point selector and click on the area other than the seal.
- Zoom out, move the layer with the seal to the top, and unhide the edited layer.
In the digital age, scanning documents has become a common practice. Scanned documents are often not as clear and crisp as the original ones. They may have dust, smudges, stains, or other imperfections that make them hard to read or edit. Fortunately, free tools and methods can help you clean up your scanned documents and make them look better.

How Do I Clean Up Scanned Documents for Free?
Scanning documents is a common practice, but often the result is less than perfect, with dust specks, smudges, or faded text. Cleaning up these scanned documents can seem daunting, especially on a budget. In this blog post, we’ll explore four free methods to enhance the quality of your scanned documents, ensuring clarity and legibility.
Method 1 – Use Photoshop
Photoshop is a popular image editing software with many powerful tools. It can also help clean up your scanned documents. However, it is not free, and installation requires a subscription. If you don’t have Photoshop, you can use PhotoPea, a free online alternative that works similarly. You can use either of them to clean up your scanned documents by following these steps:
1. Open your scanned document in Photoshop.
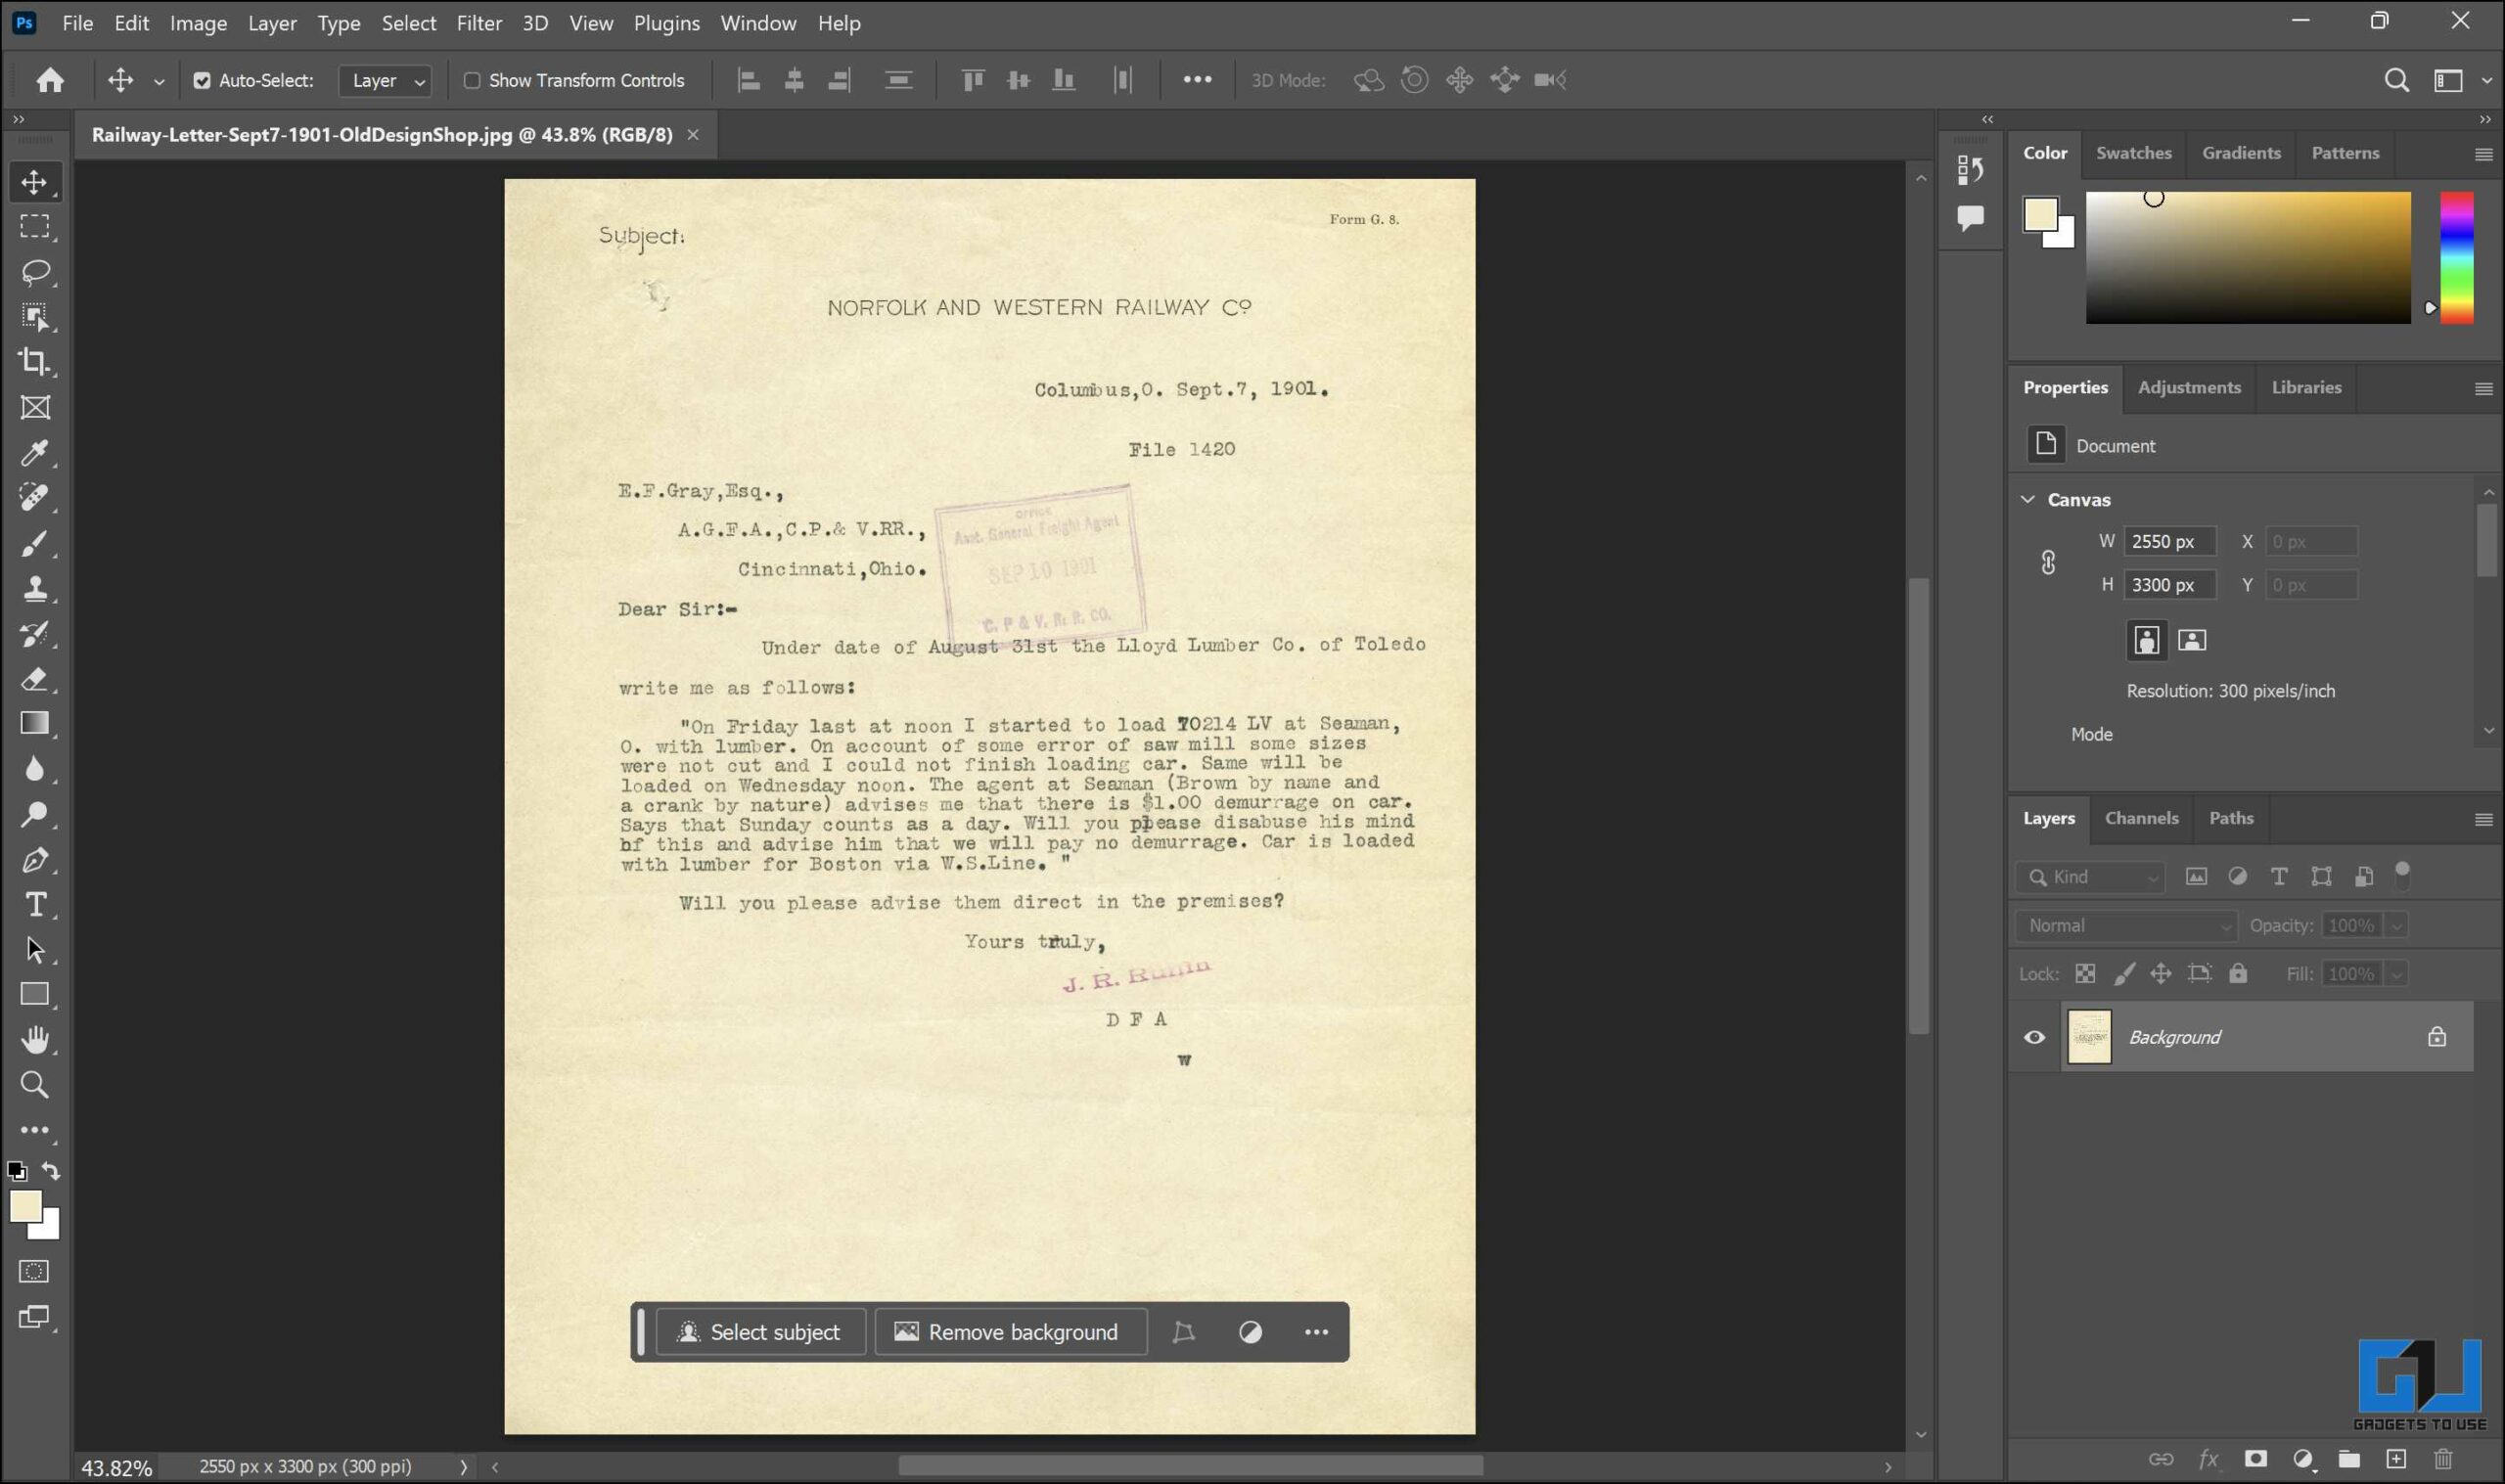
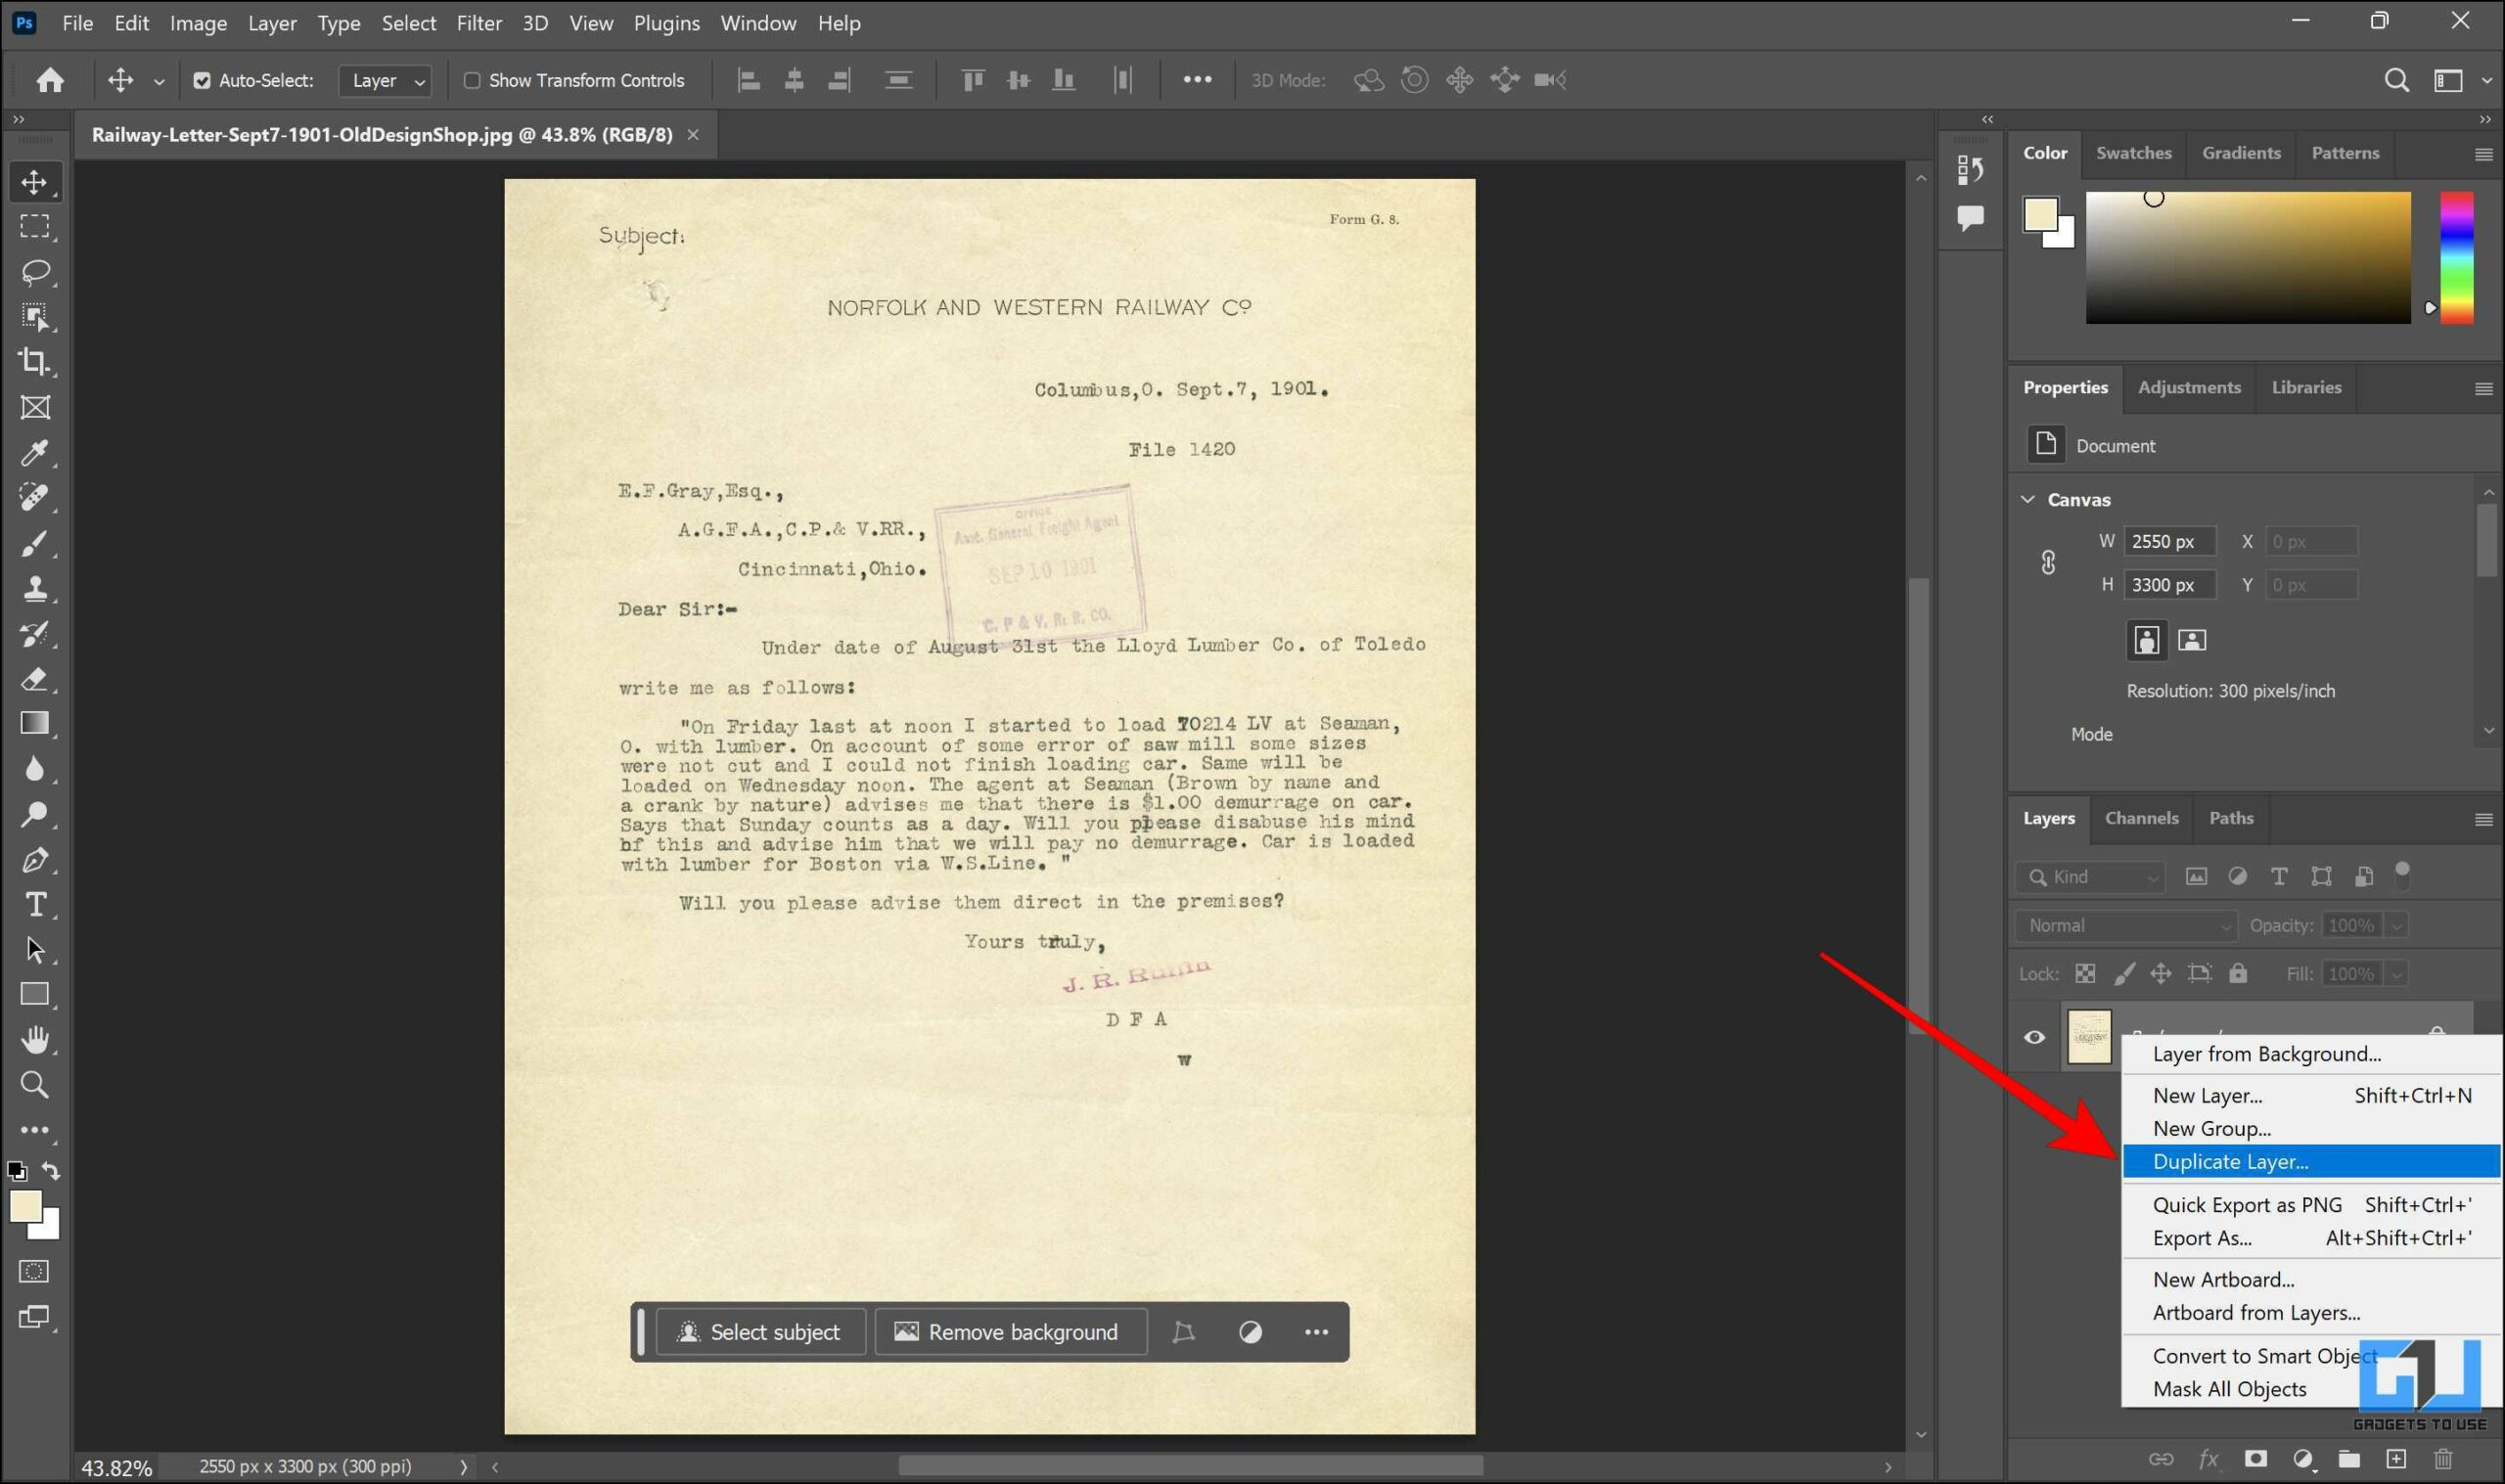
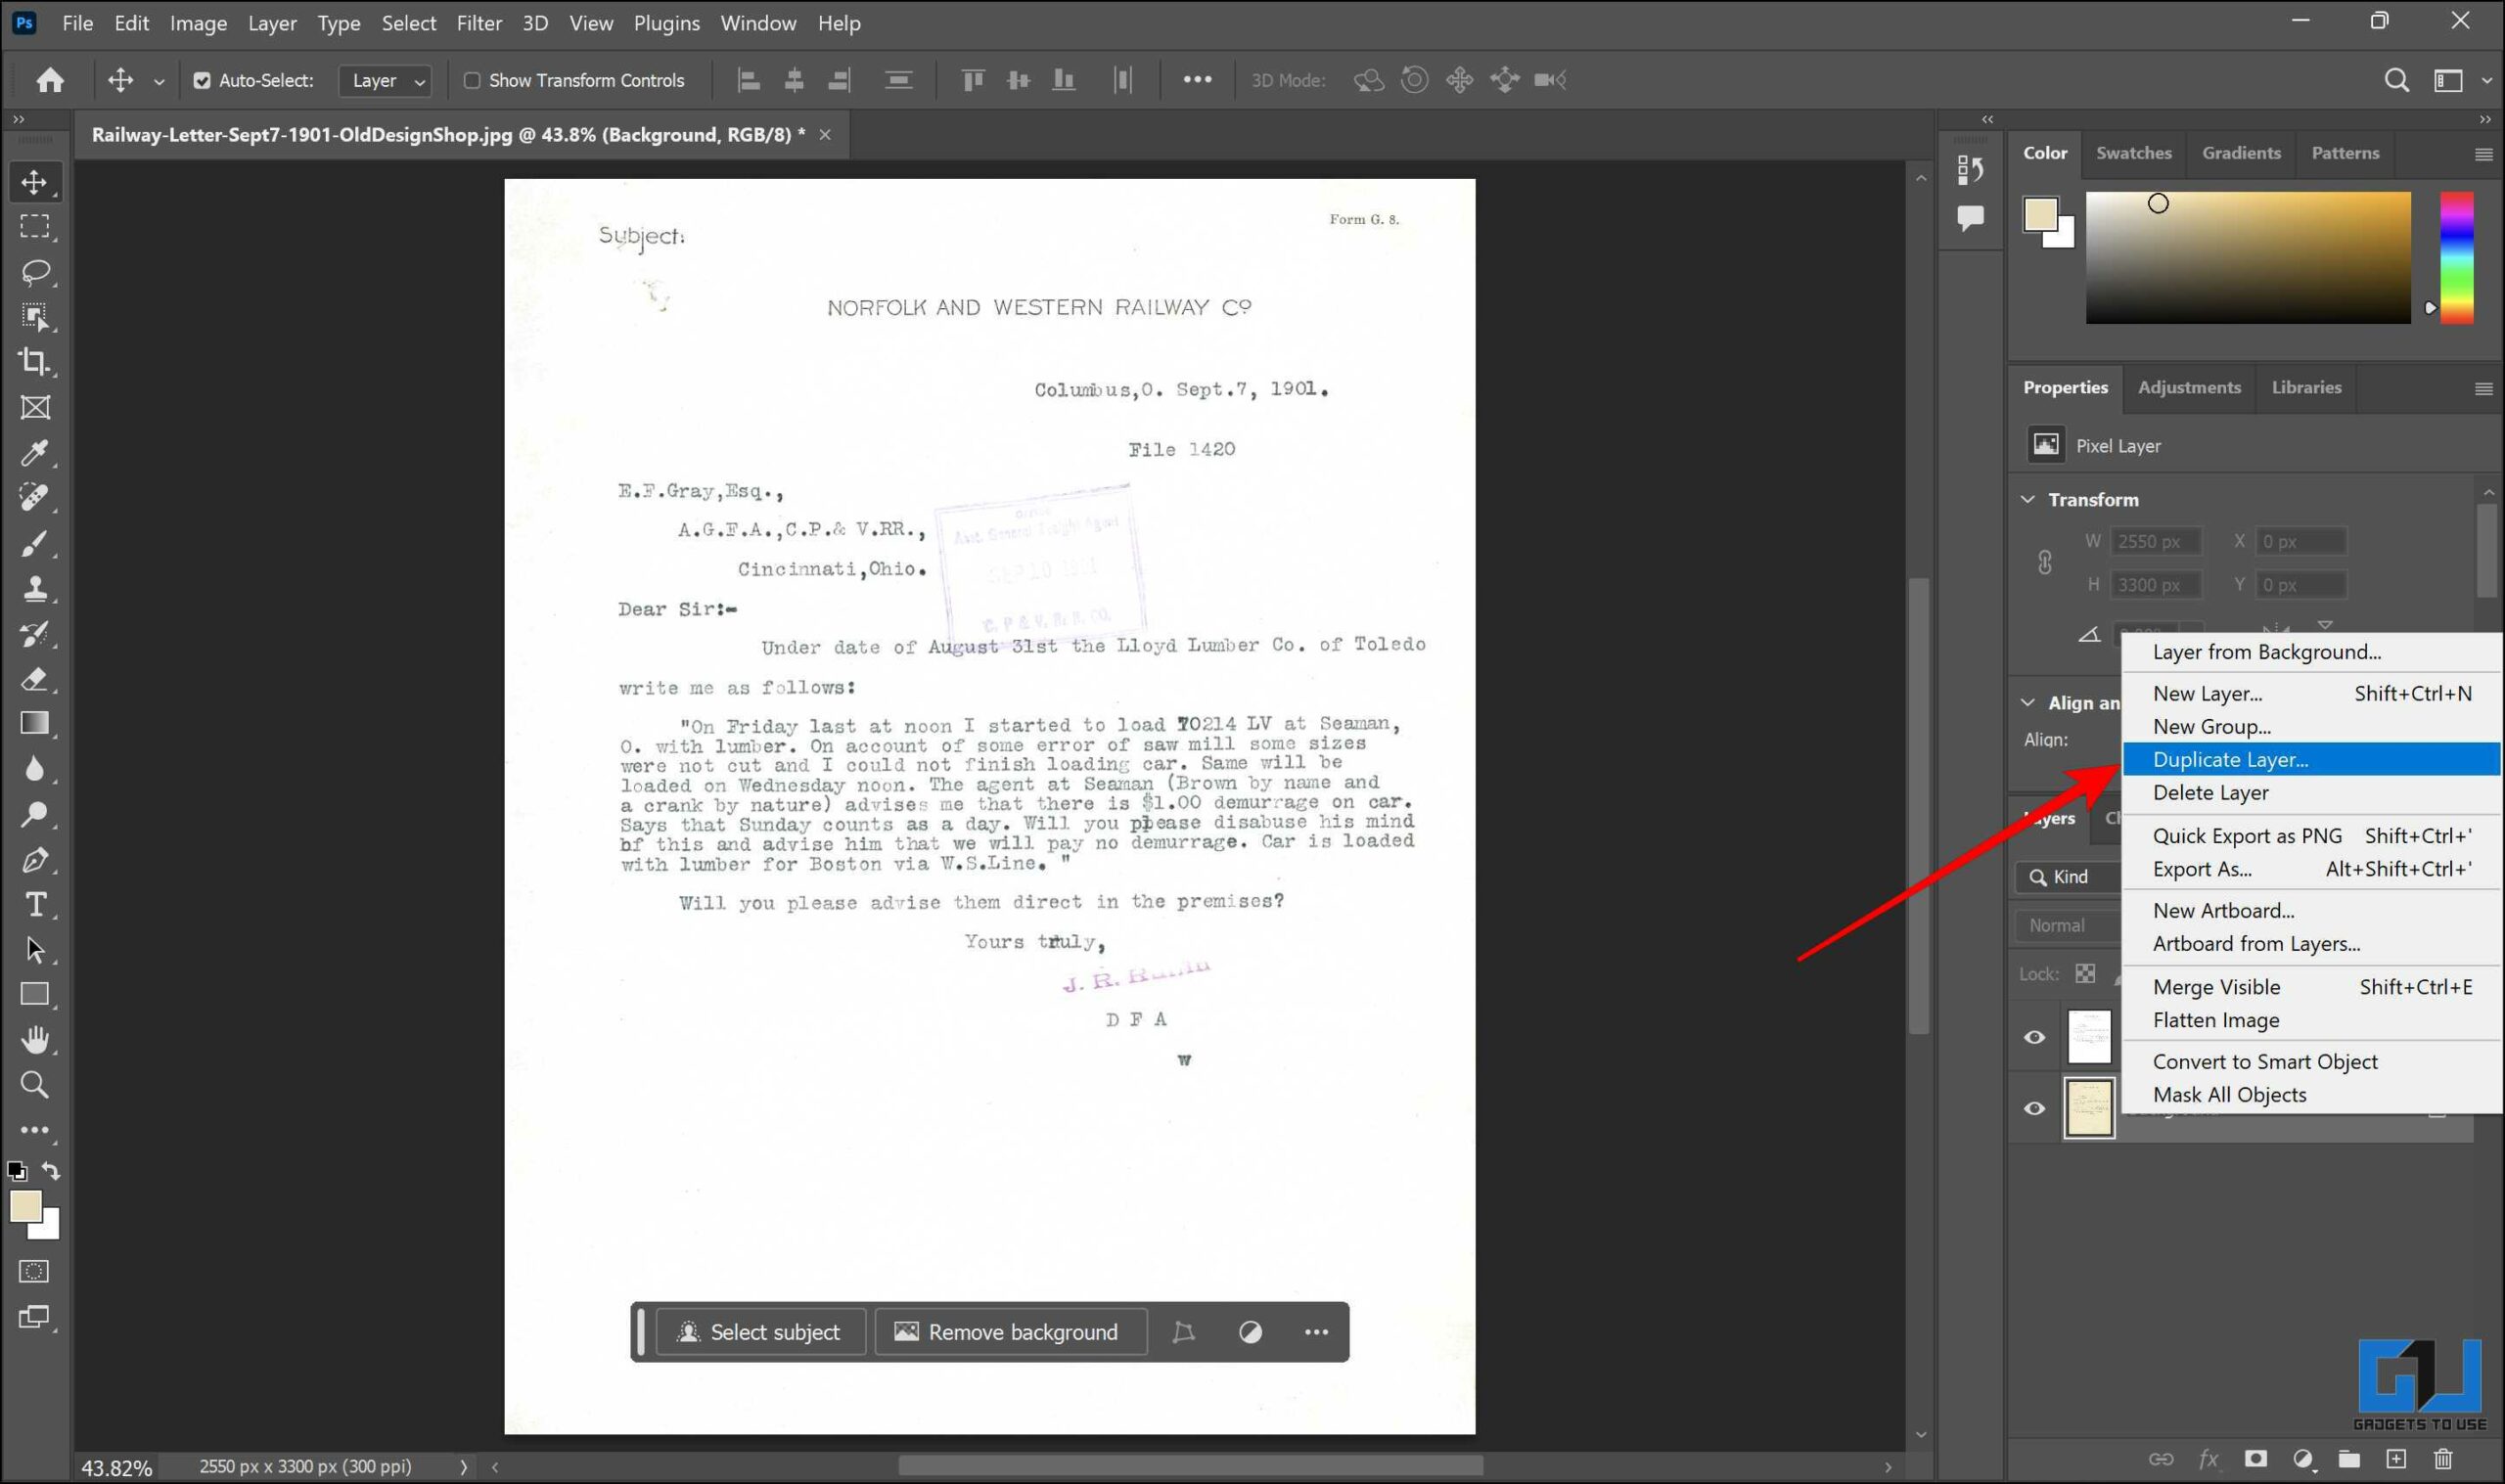
2. Right-click on the current layer and create a duplicate layer.
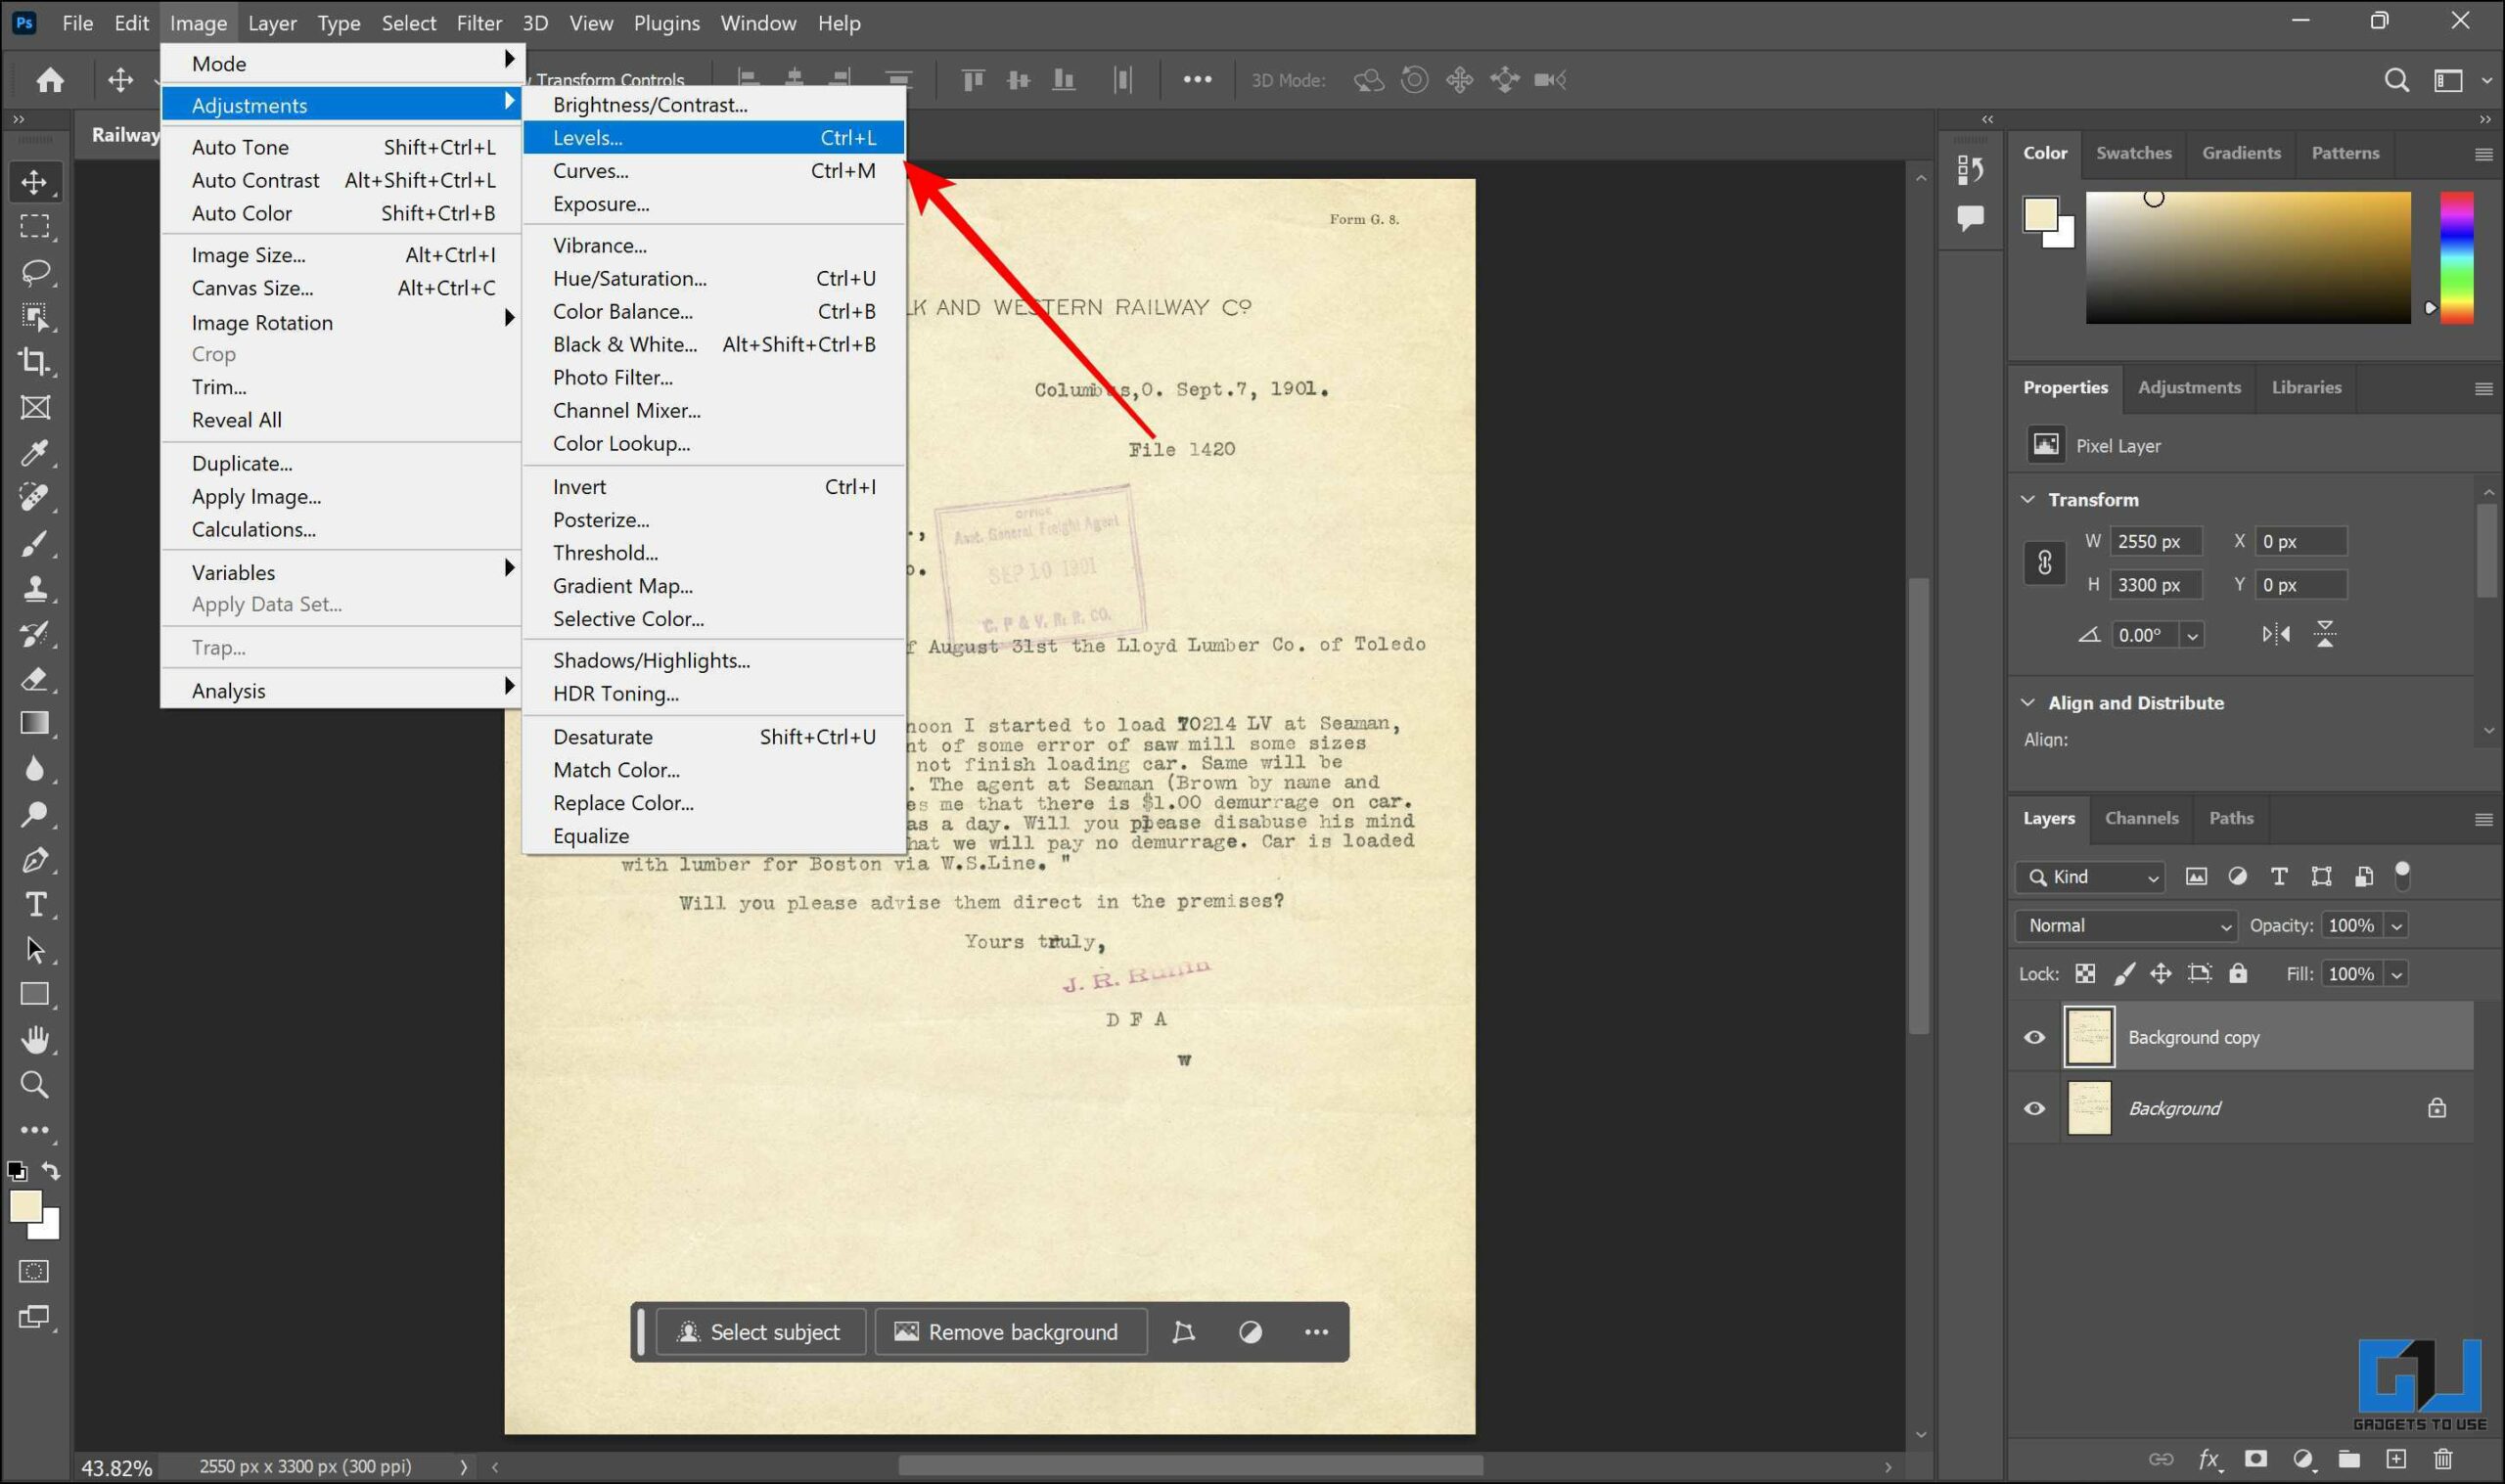
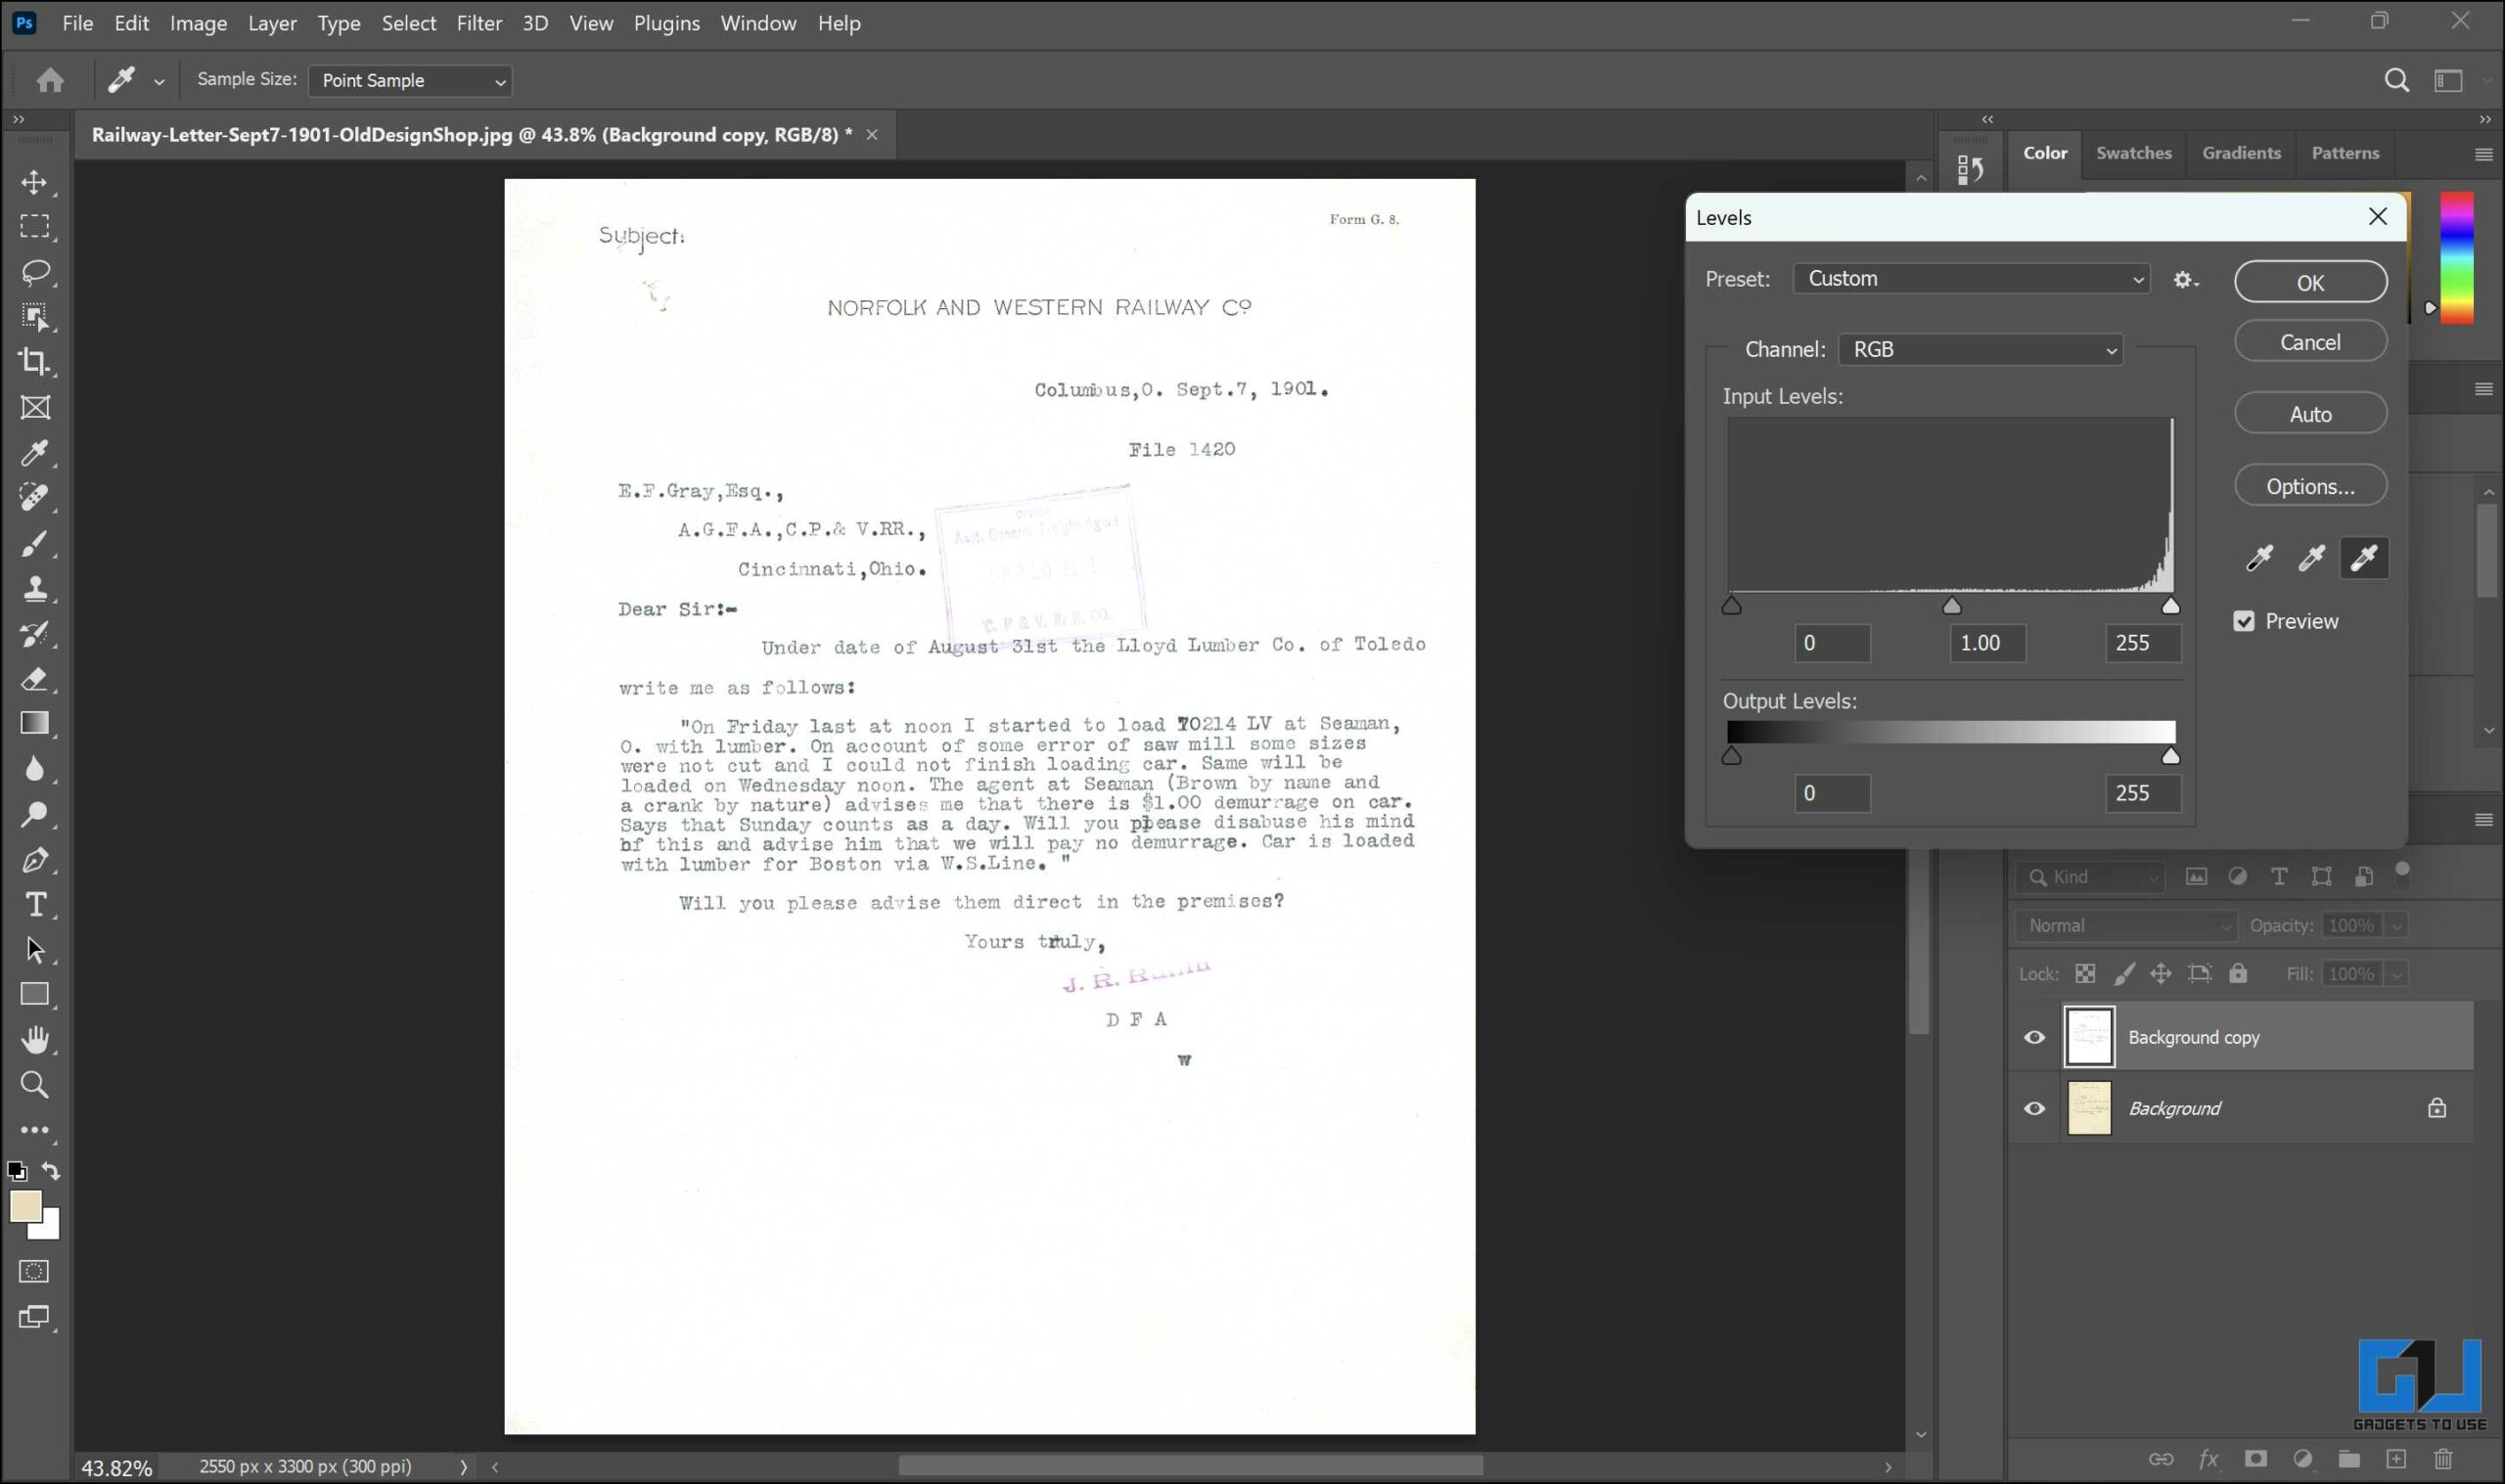
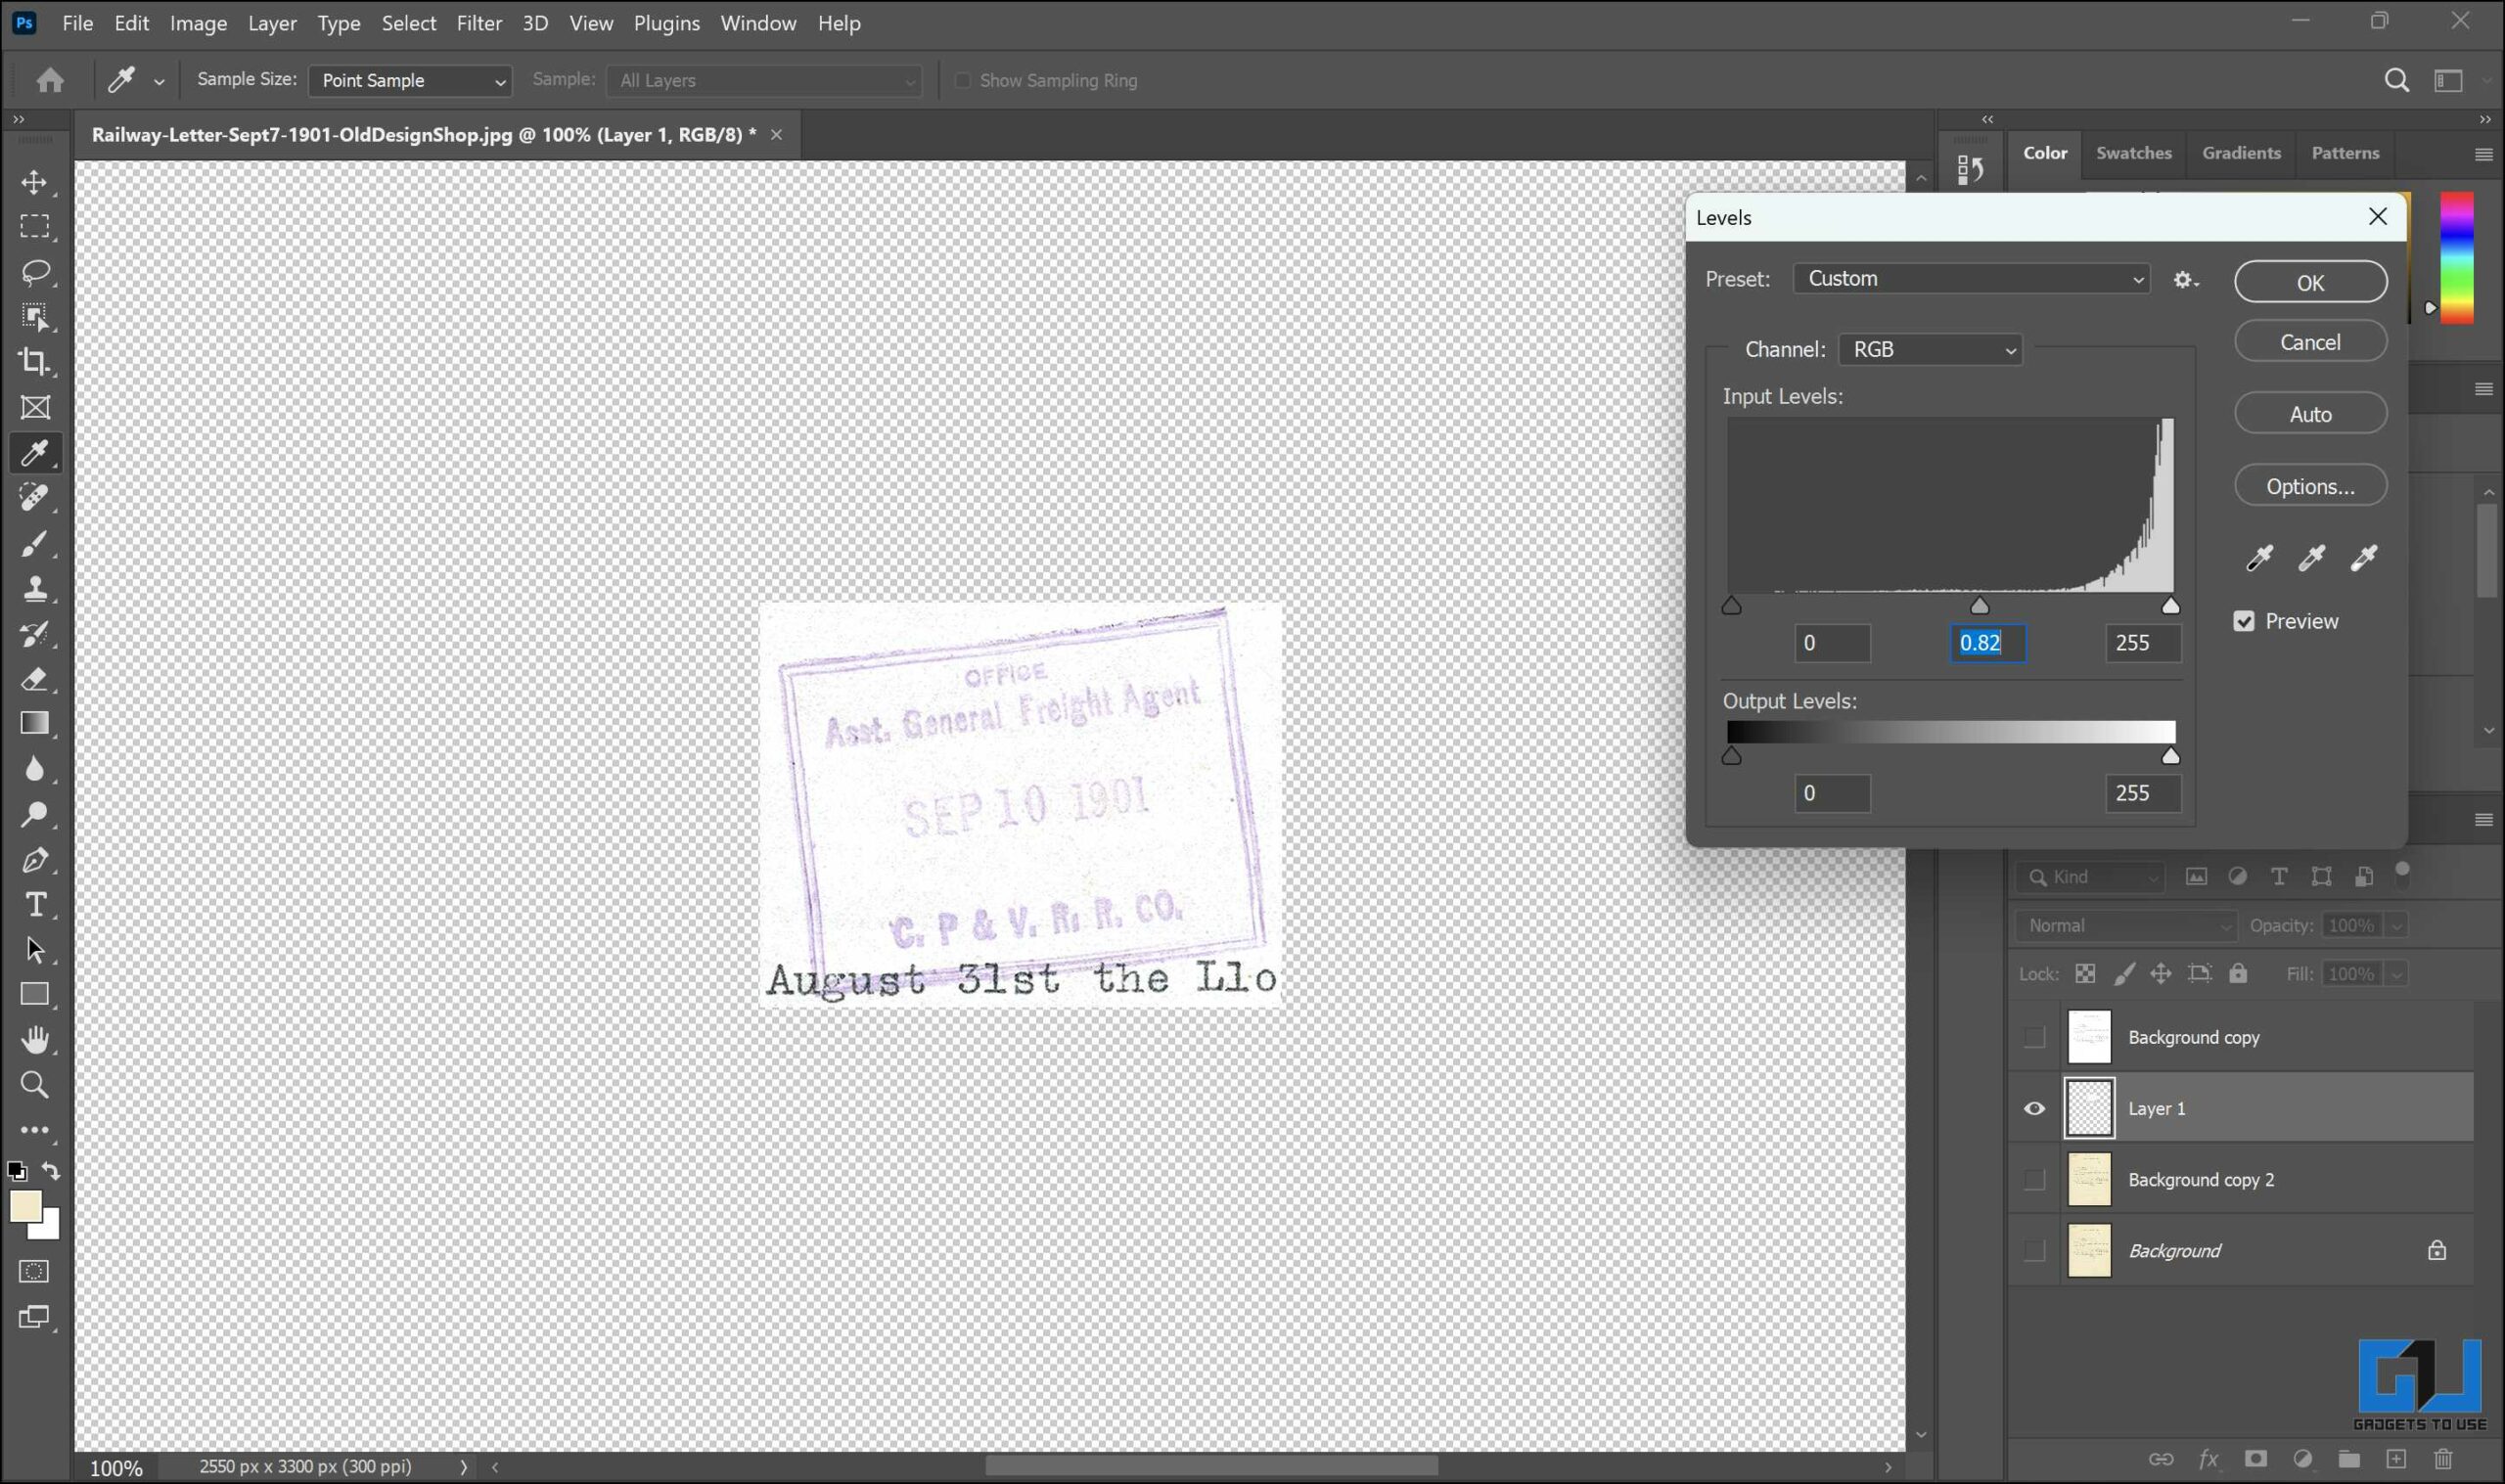
3. Next, go to Image > Adjustments and click on Levels.
4. In the pop-up window, click on the white point selector.
5. Click on the parts of the image that need to be in white.
6. Changing the white point will make certain logos or seals less pronounced. To tackle this, first, duplicate the original image layer.
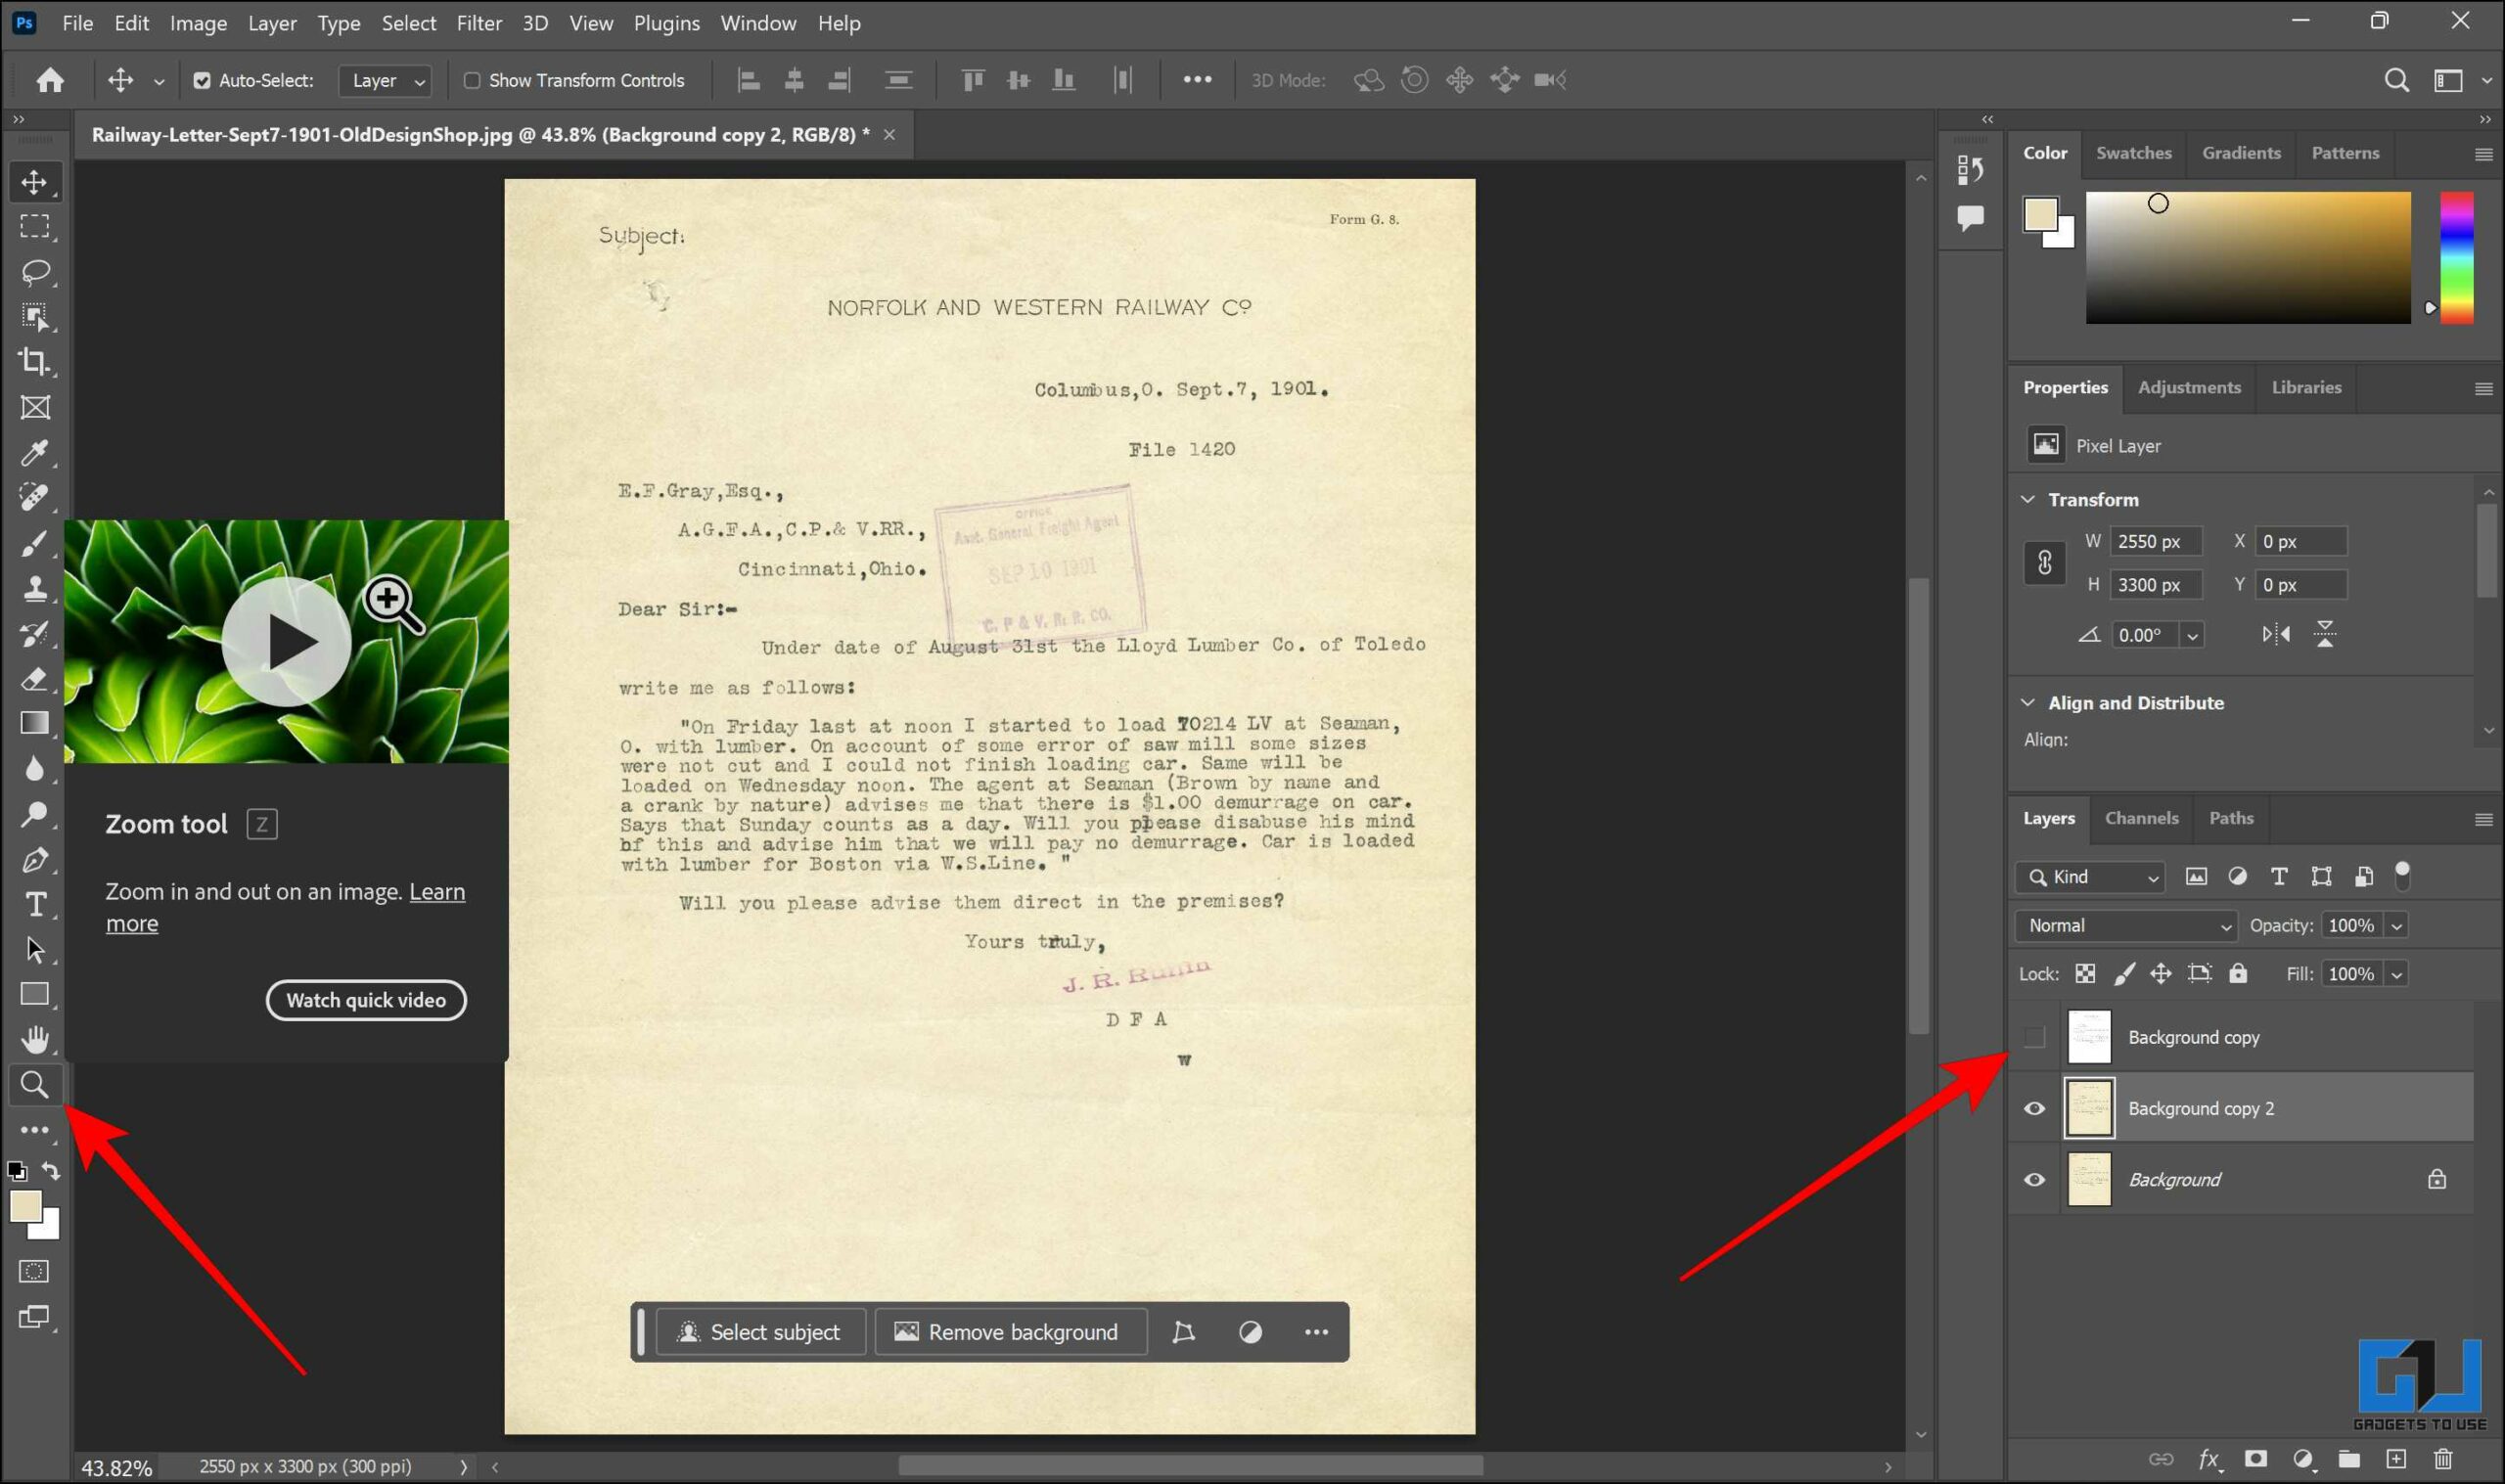
7. Hide the edited layer and, using the Zoom tool, zoom into the part with the seal.
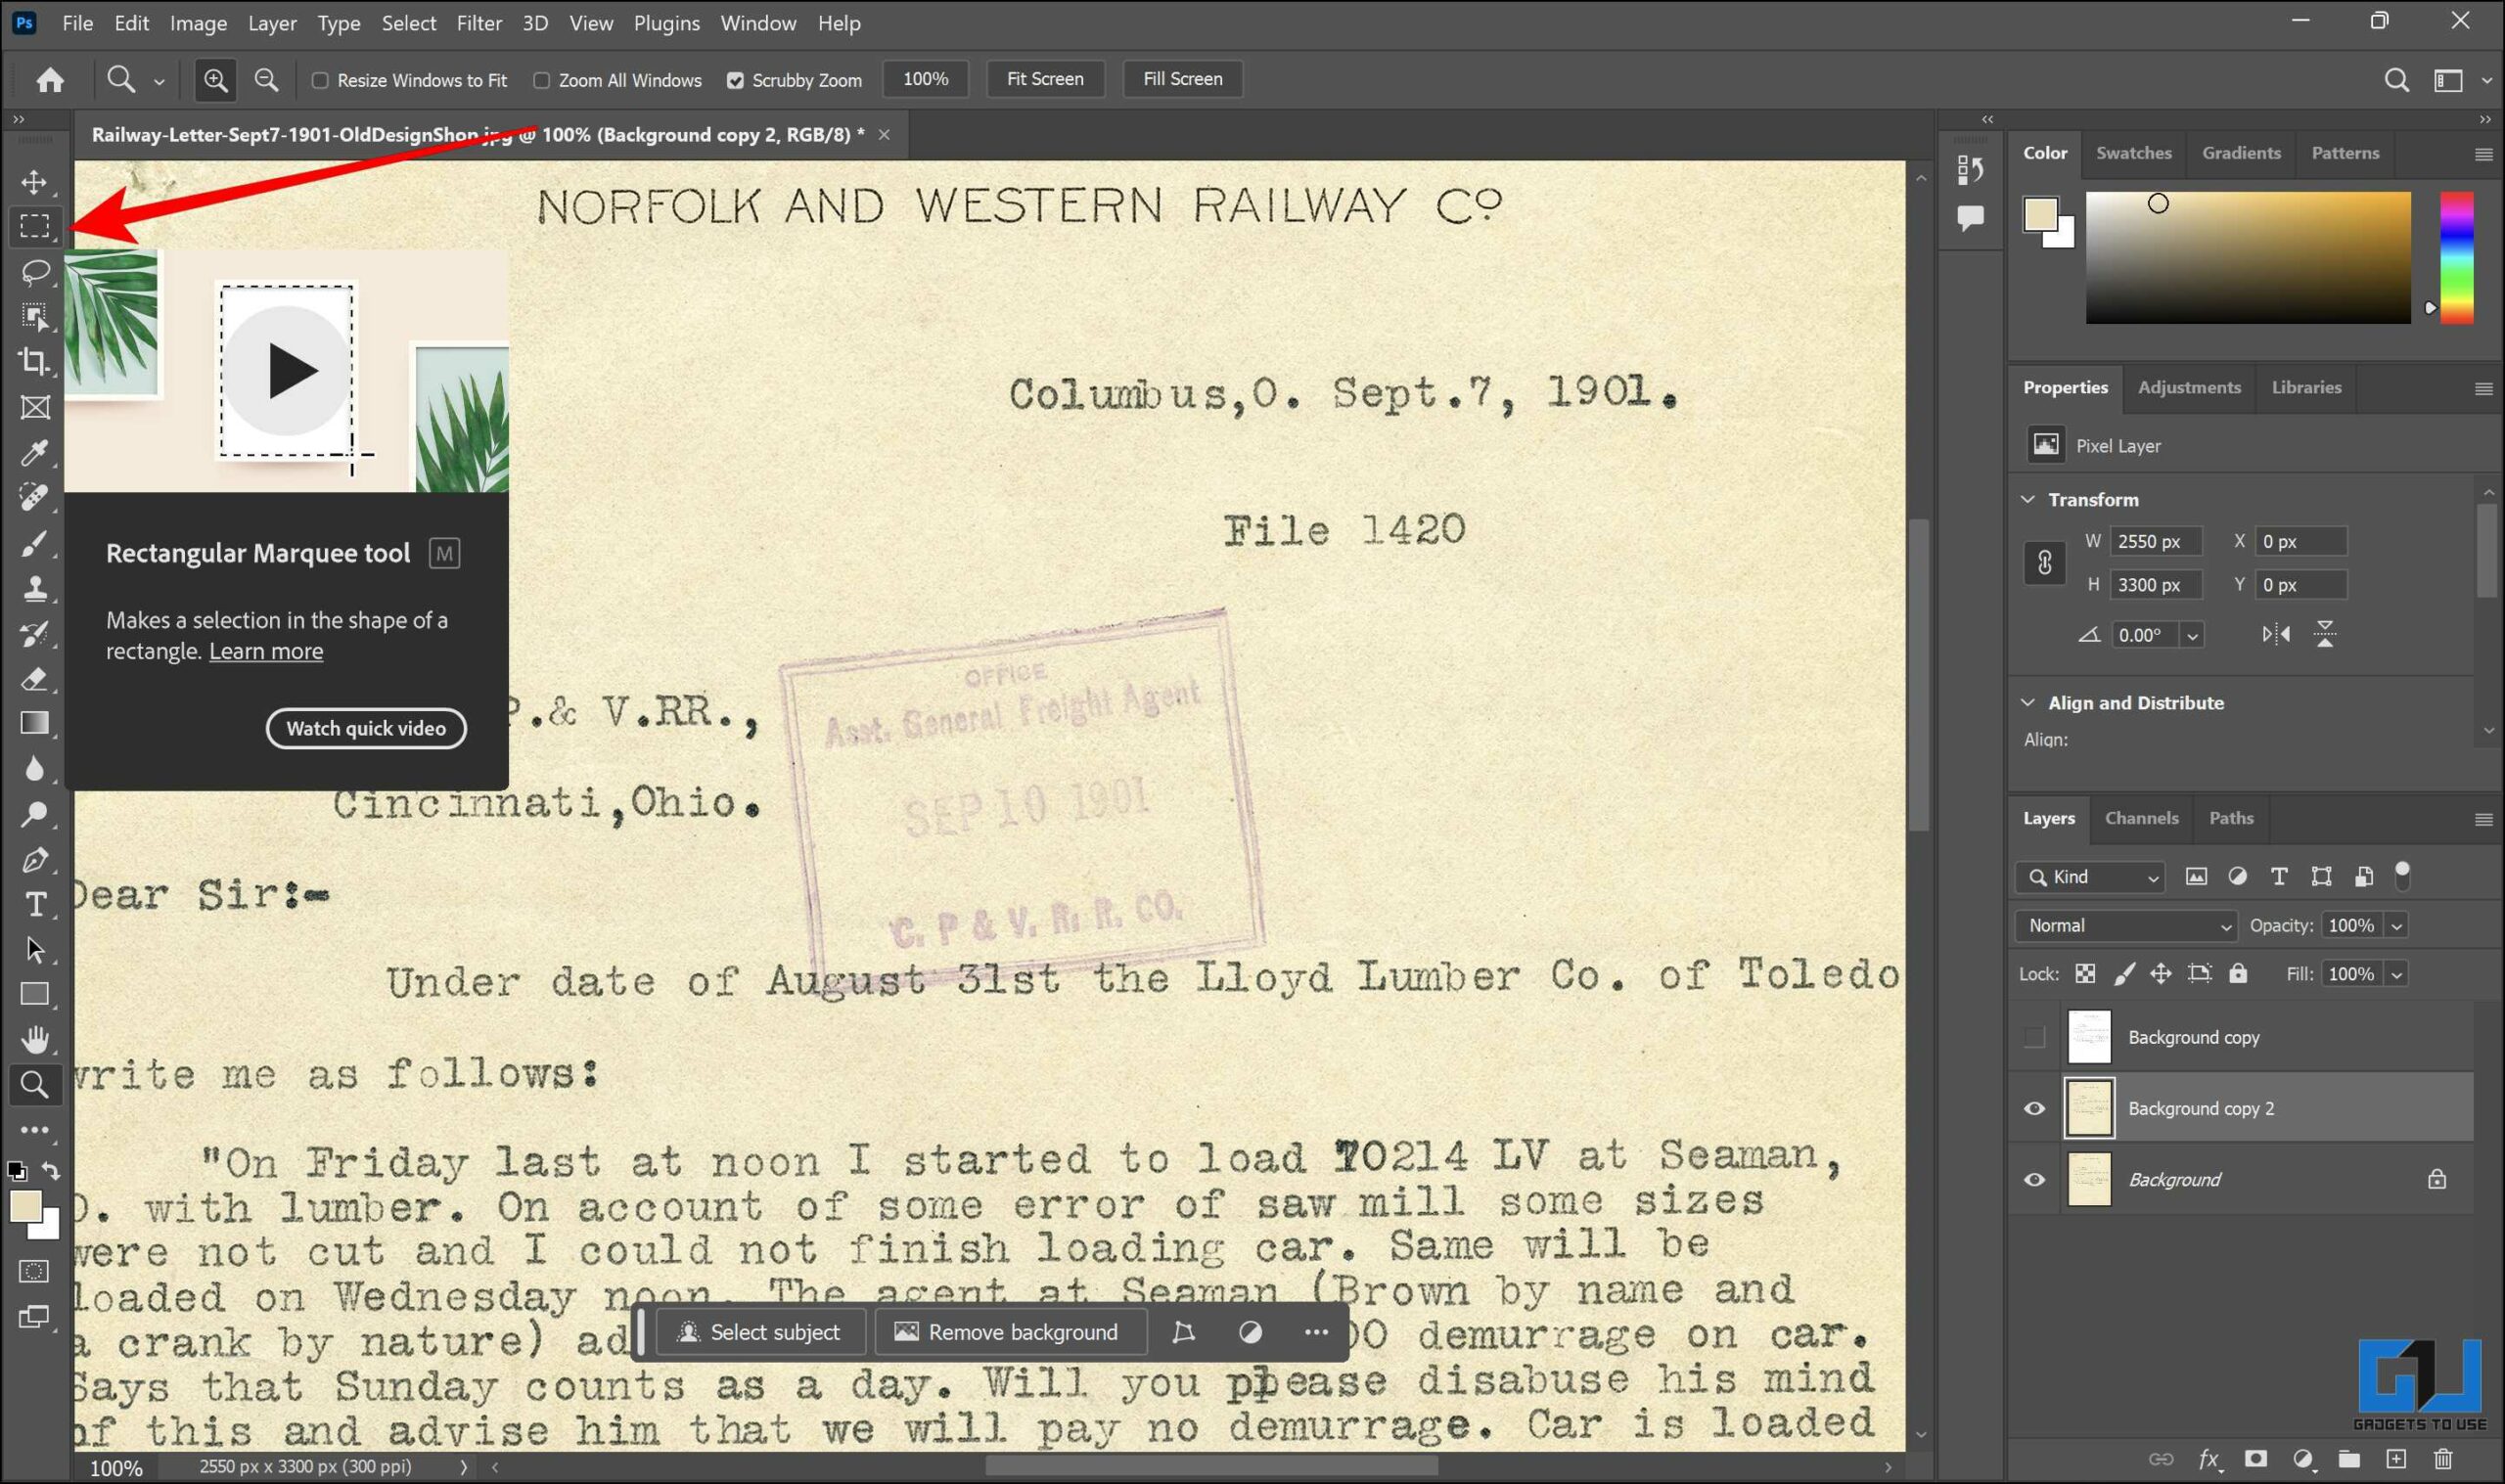
8. Using the Rectangular Marquee tool, select the seal.
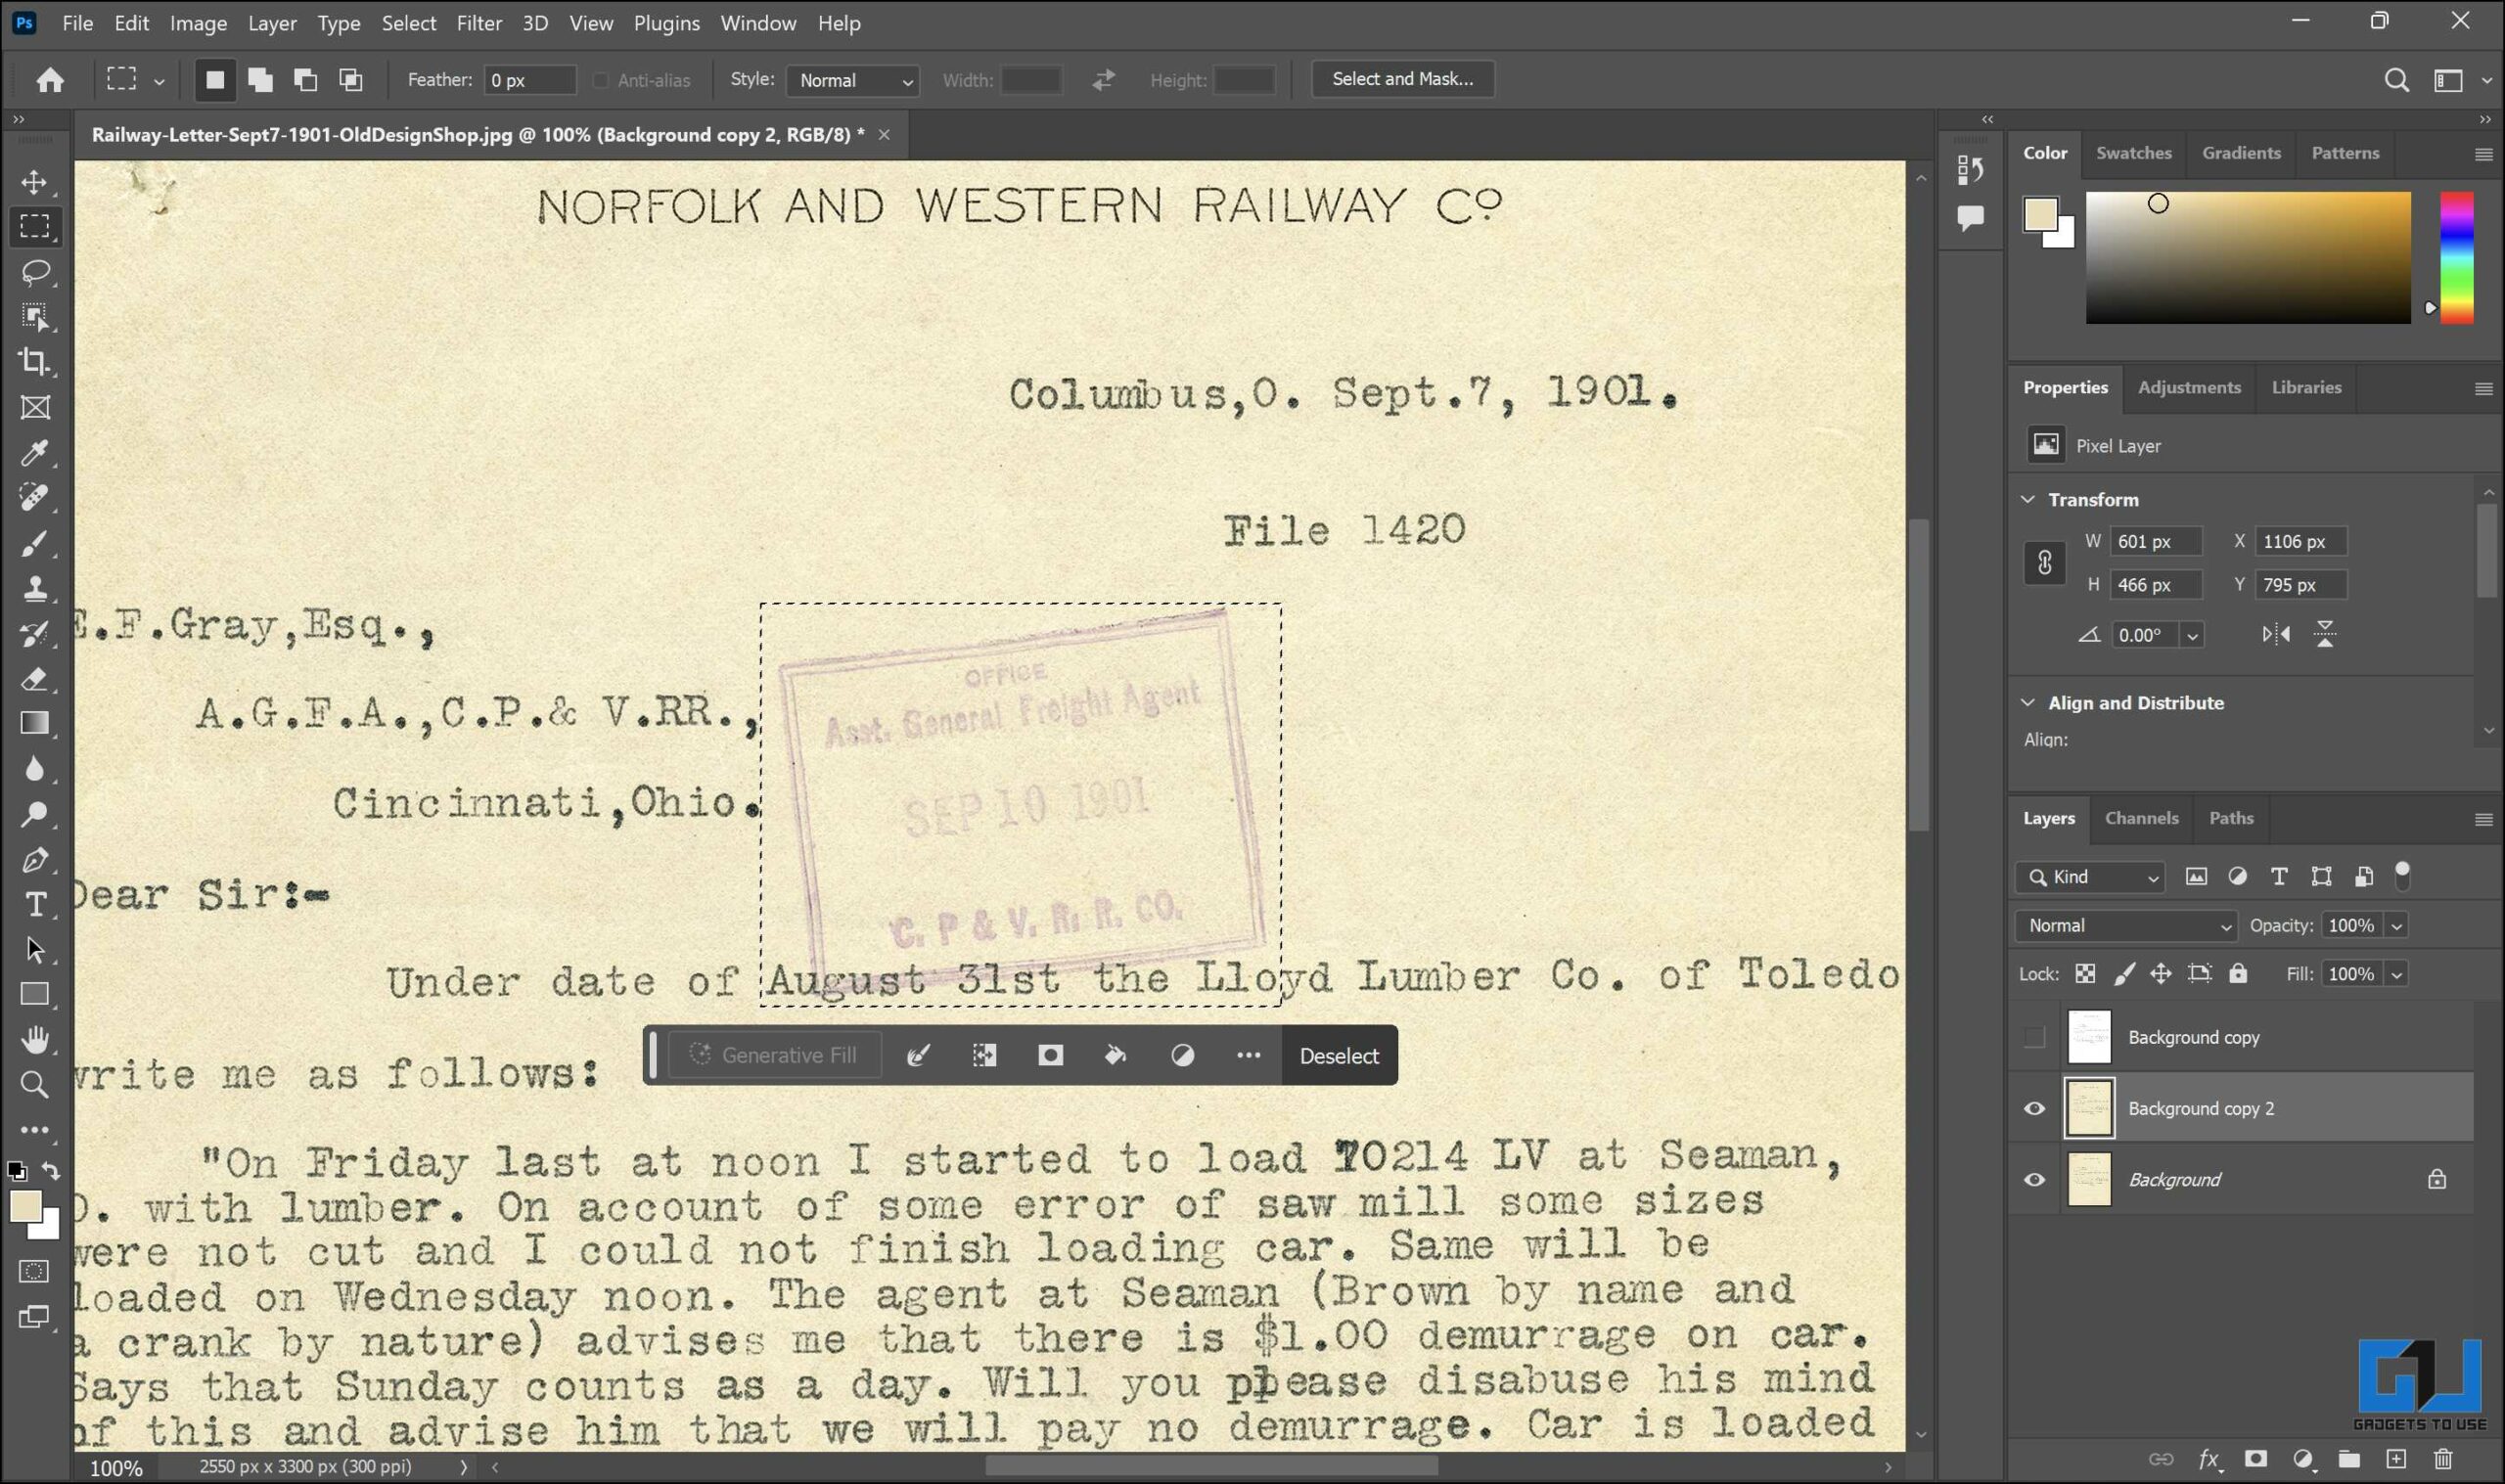
9. Press Ctrl + J to create a new layer with the selected area containing the seal.
10. Go to Image > Adjustments and click on Hue/Saturation. You can also use the Ctrl+U shortcut.
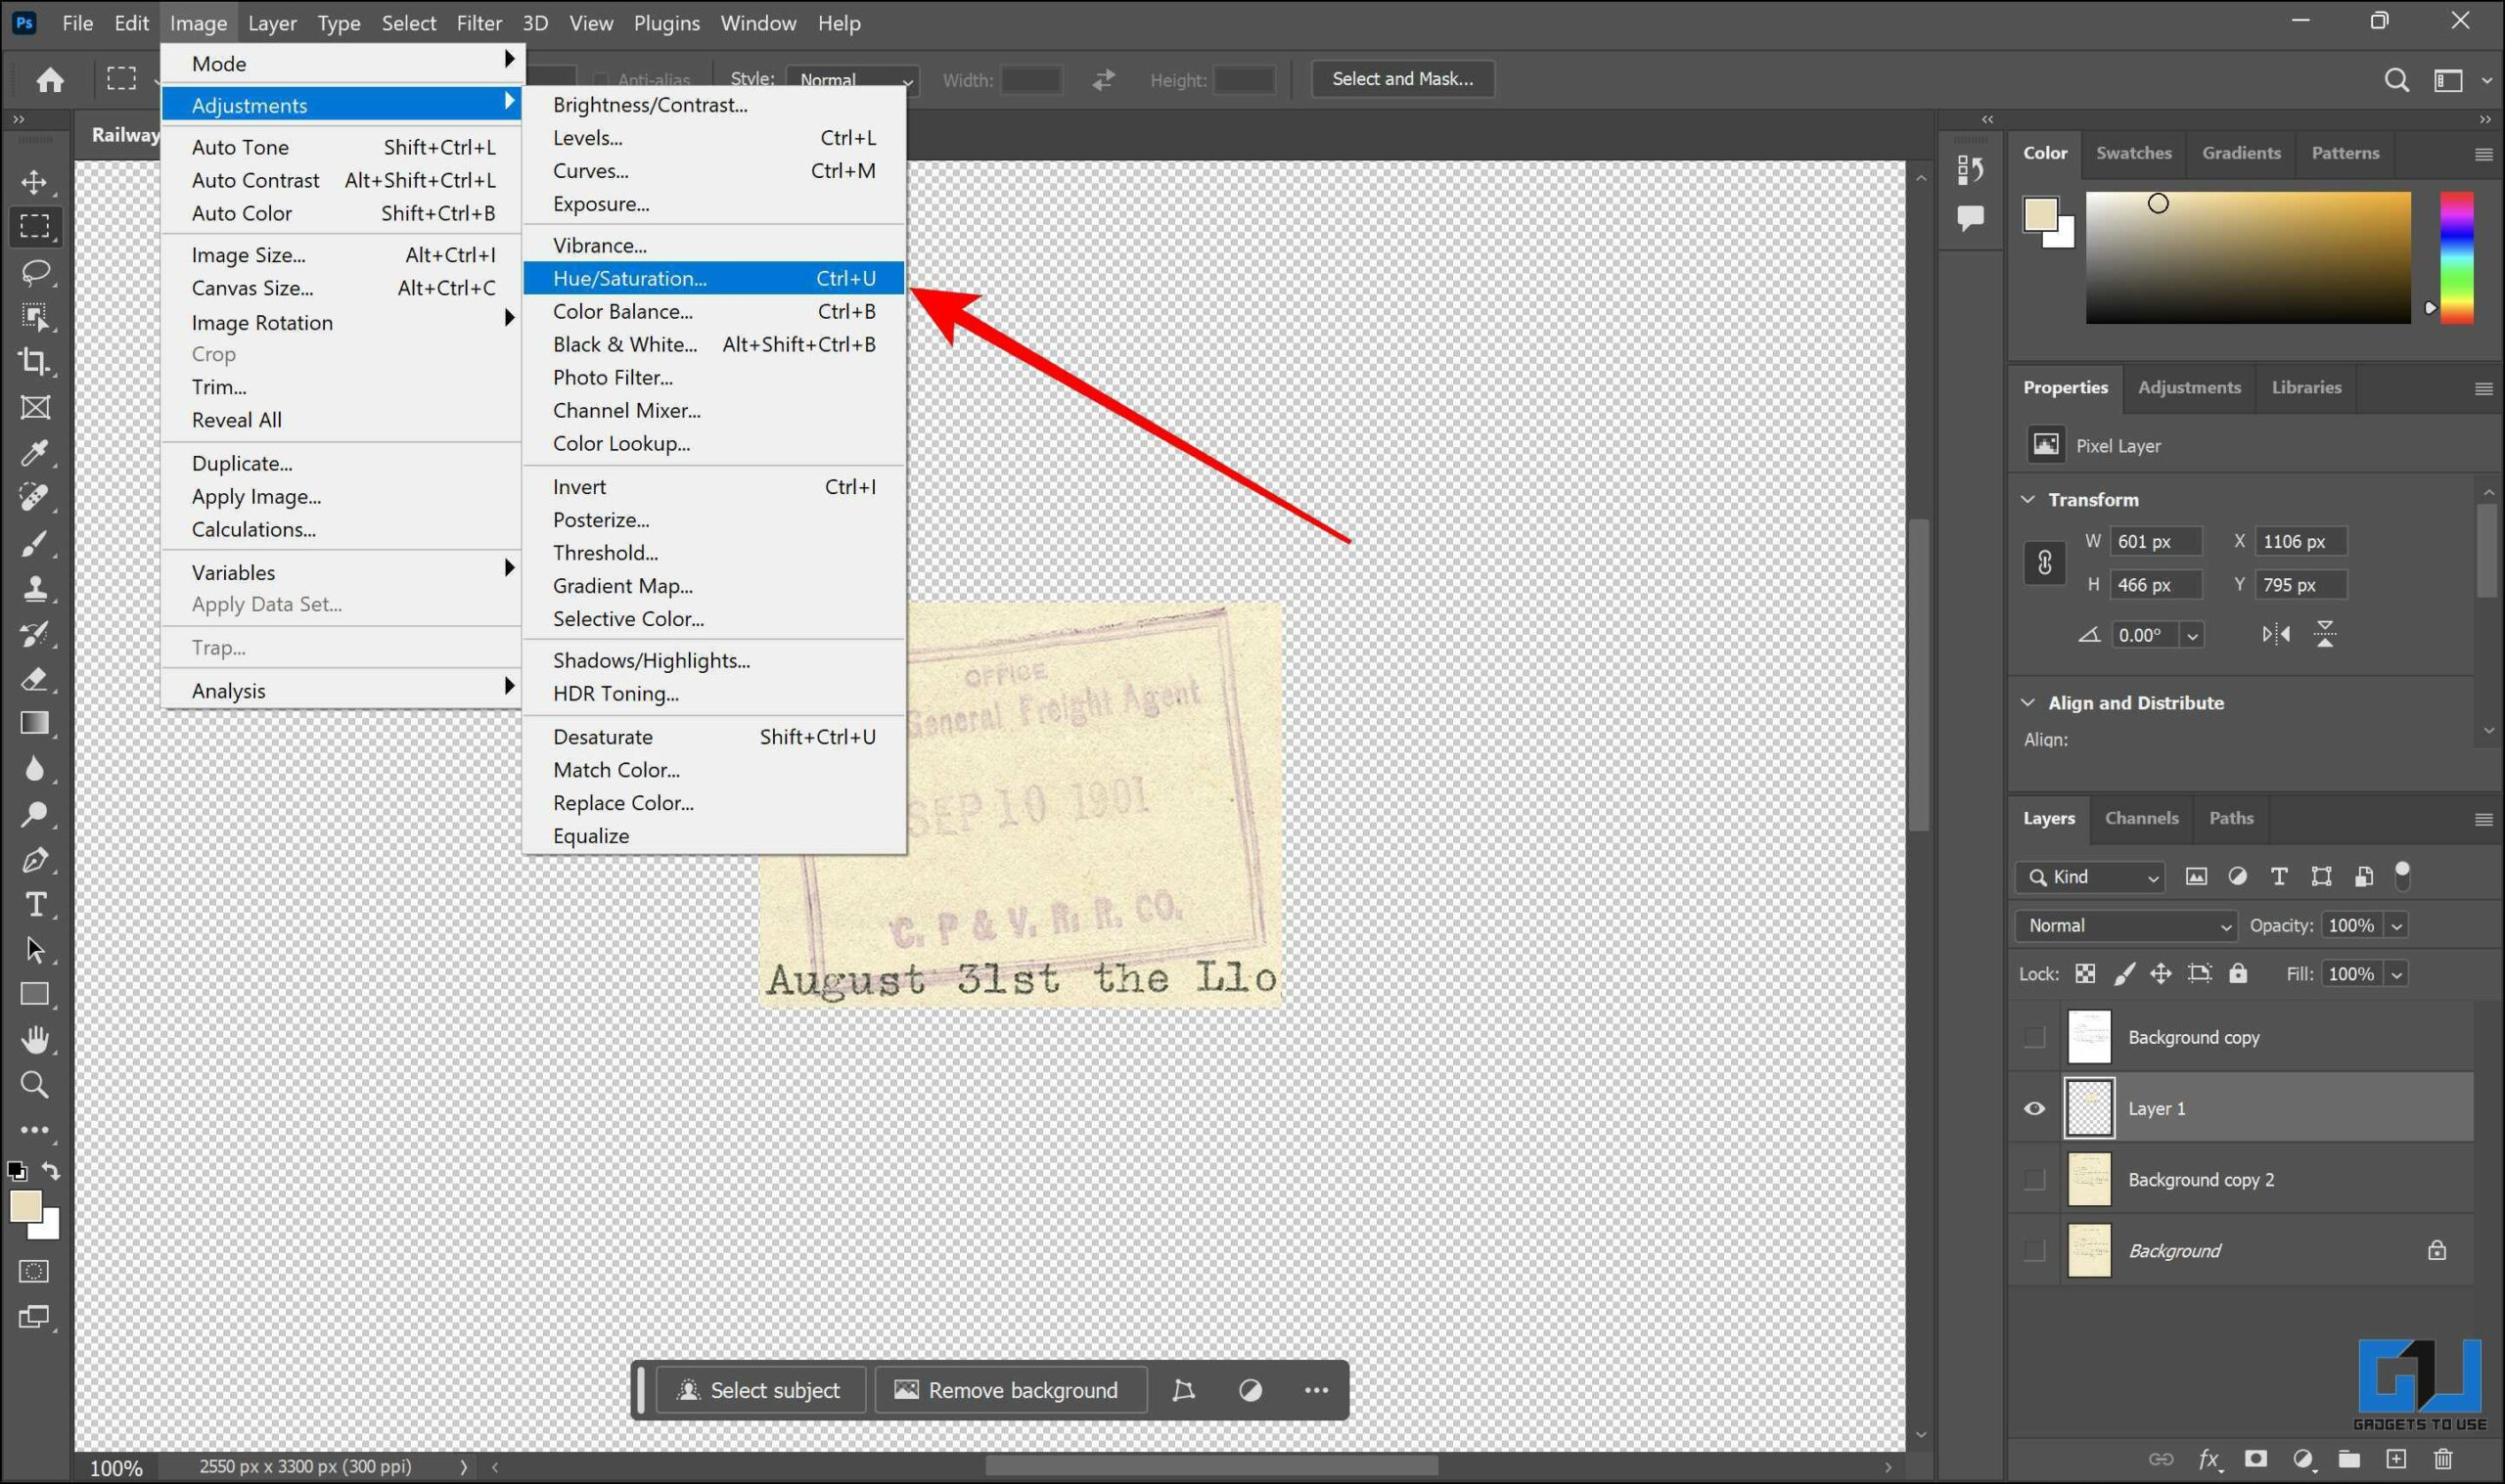
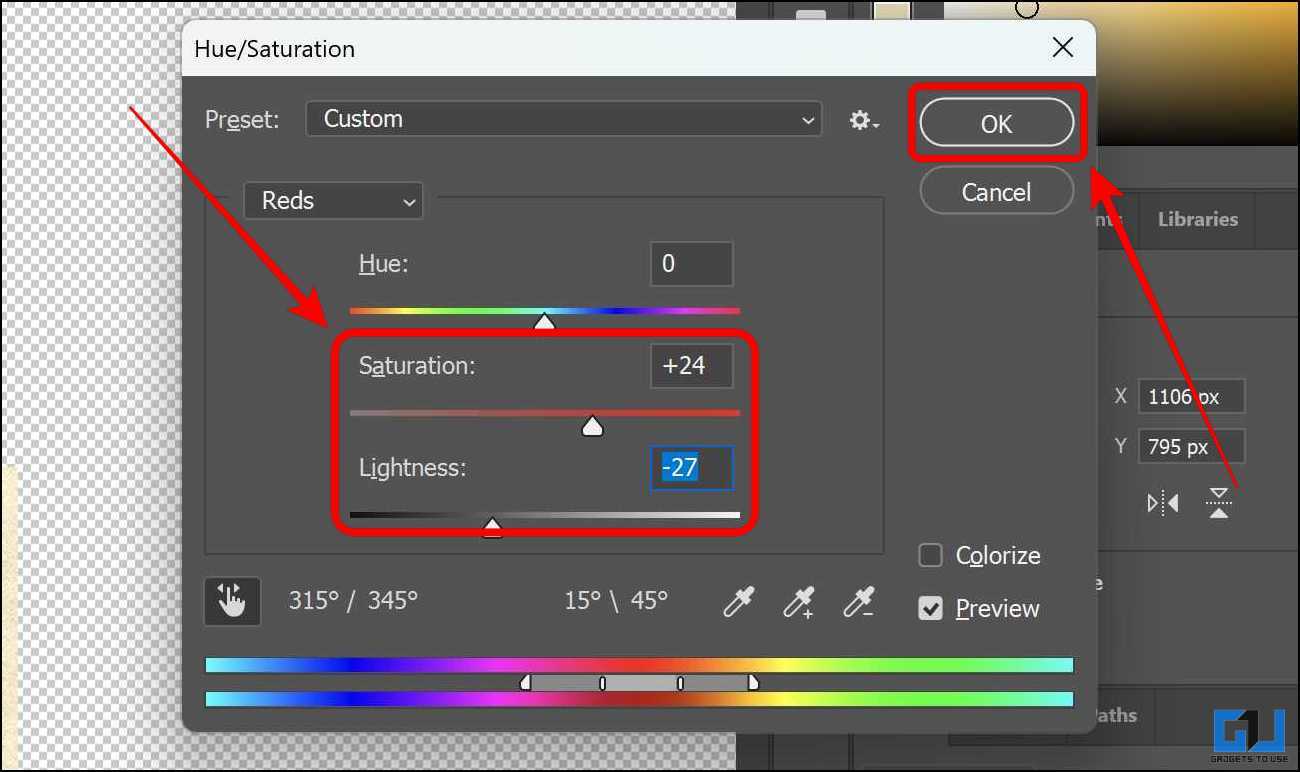
11. Click on the item you want to modify and select the color. Now increase the Saturation and decrease the Lightness to accentuate the seal. Then click OK.

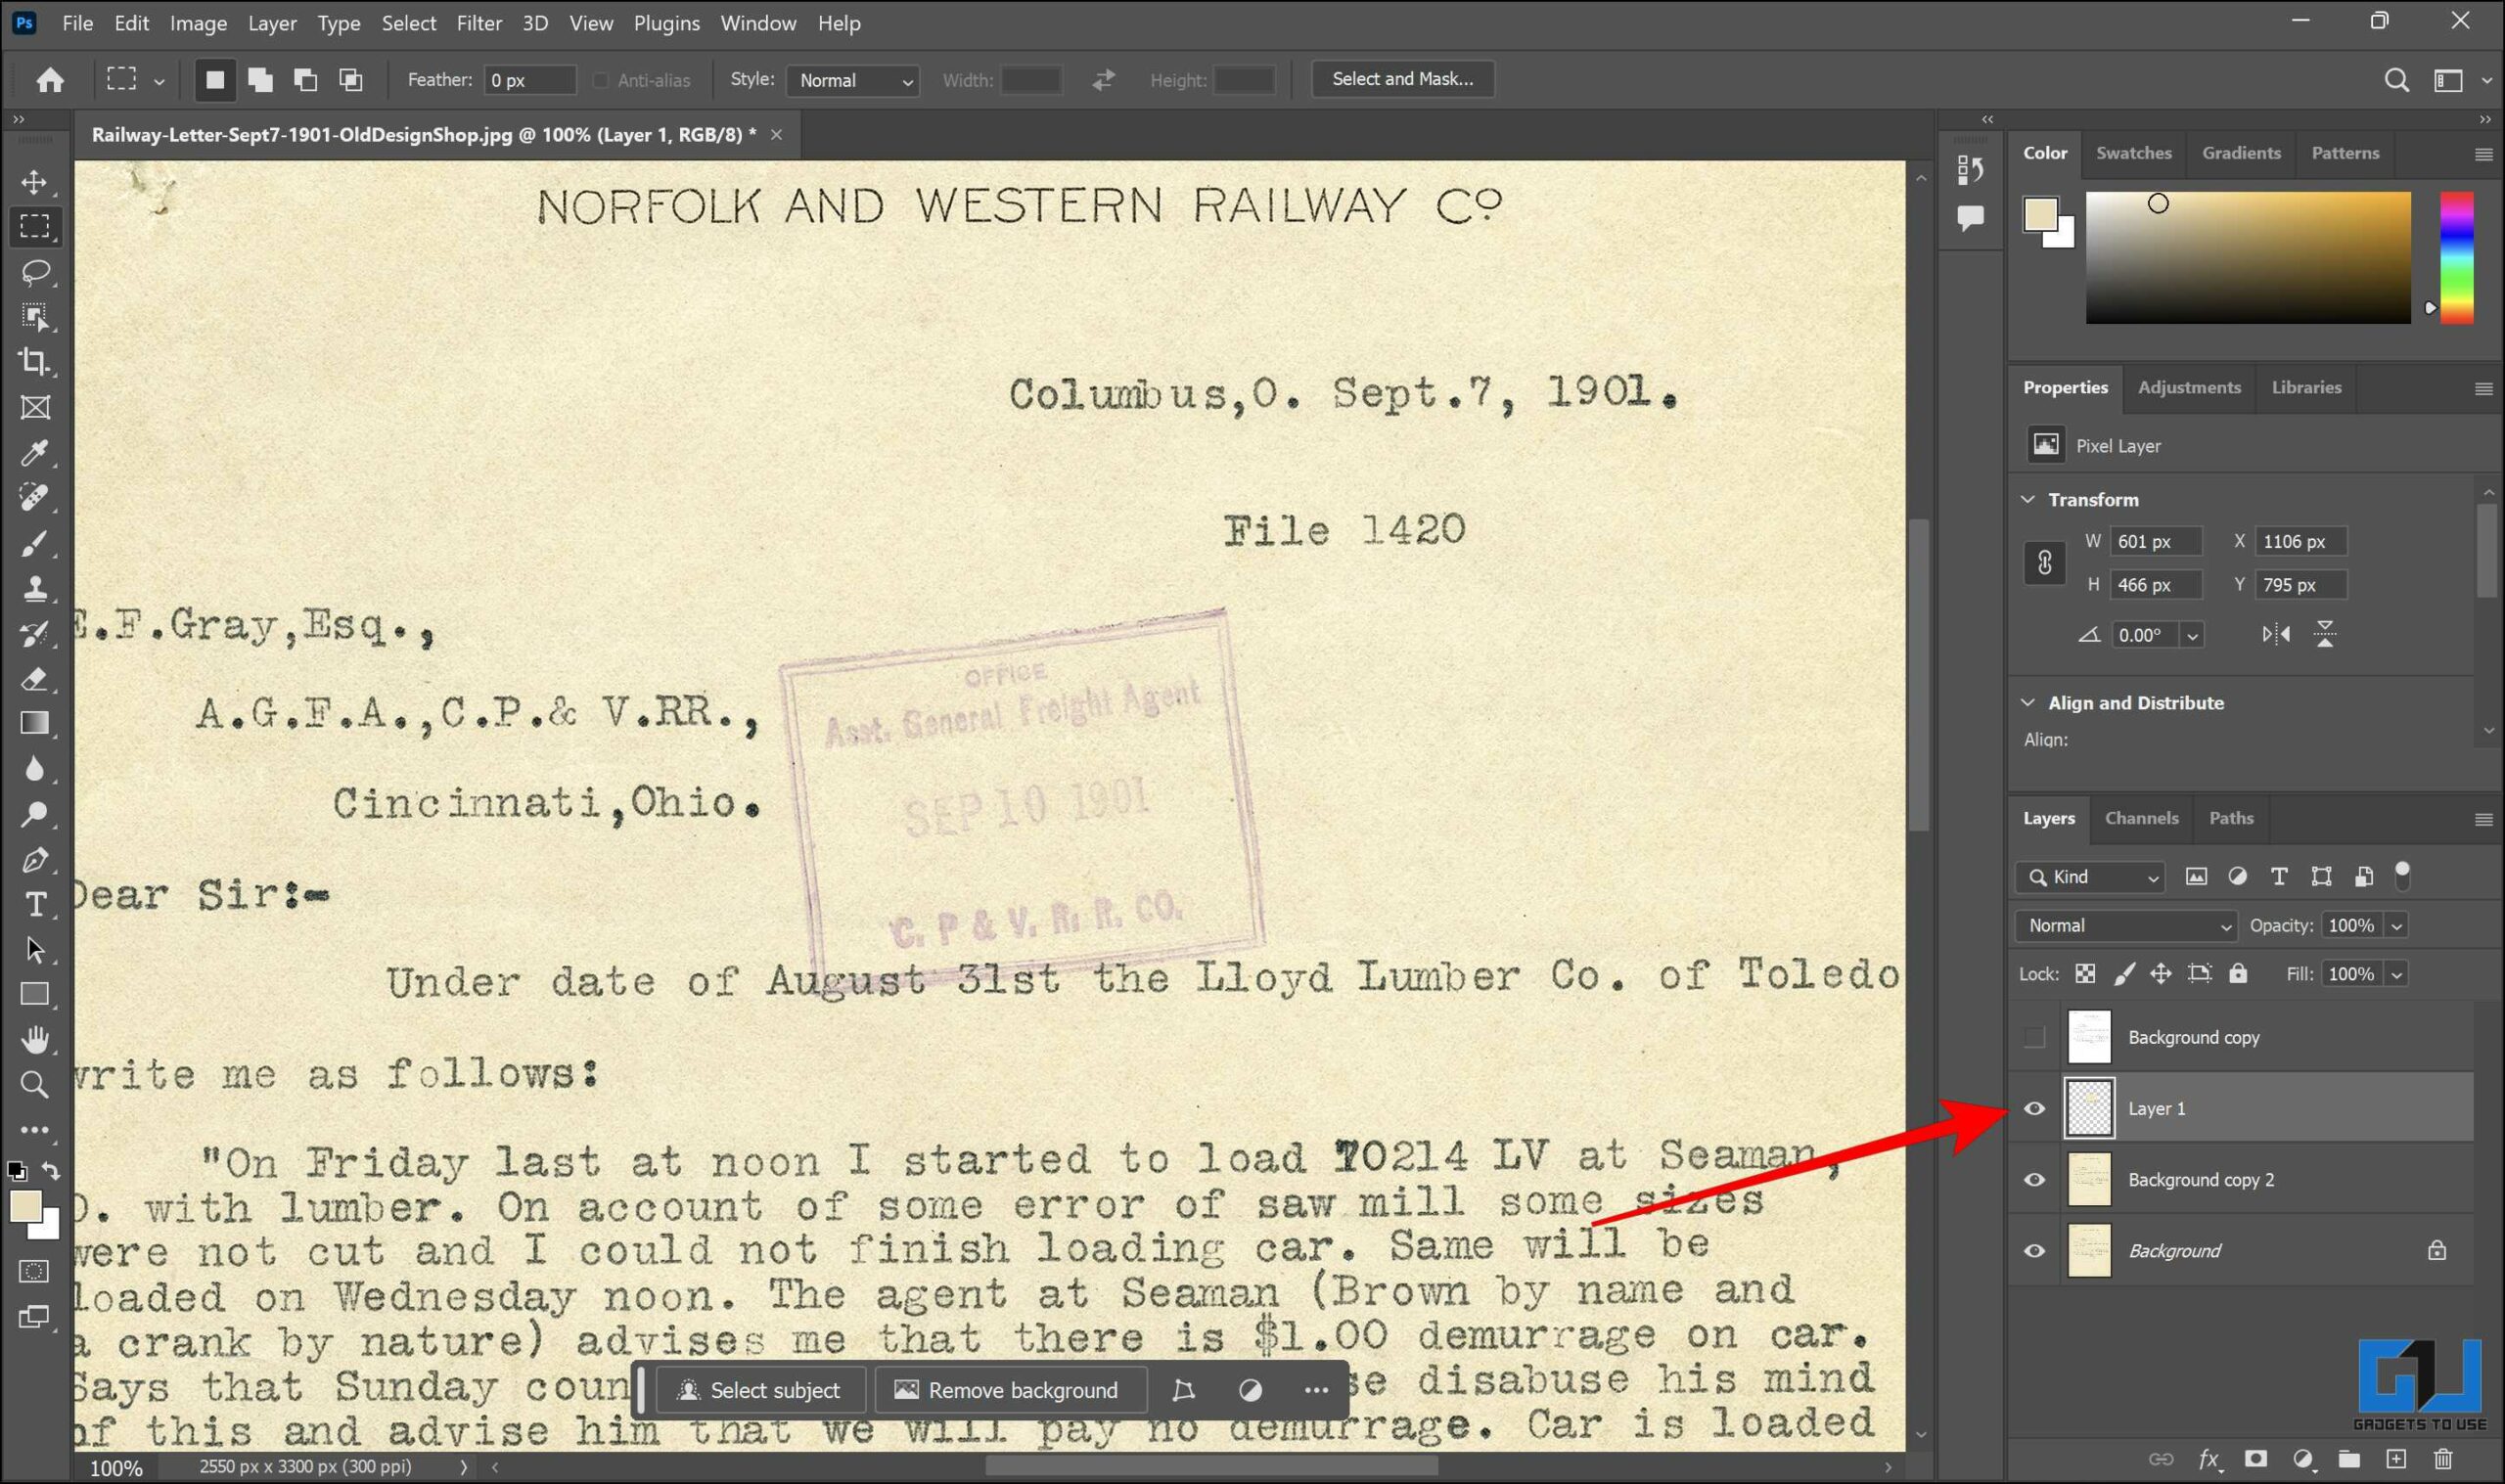
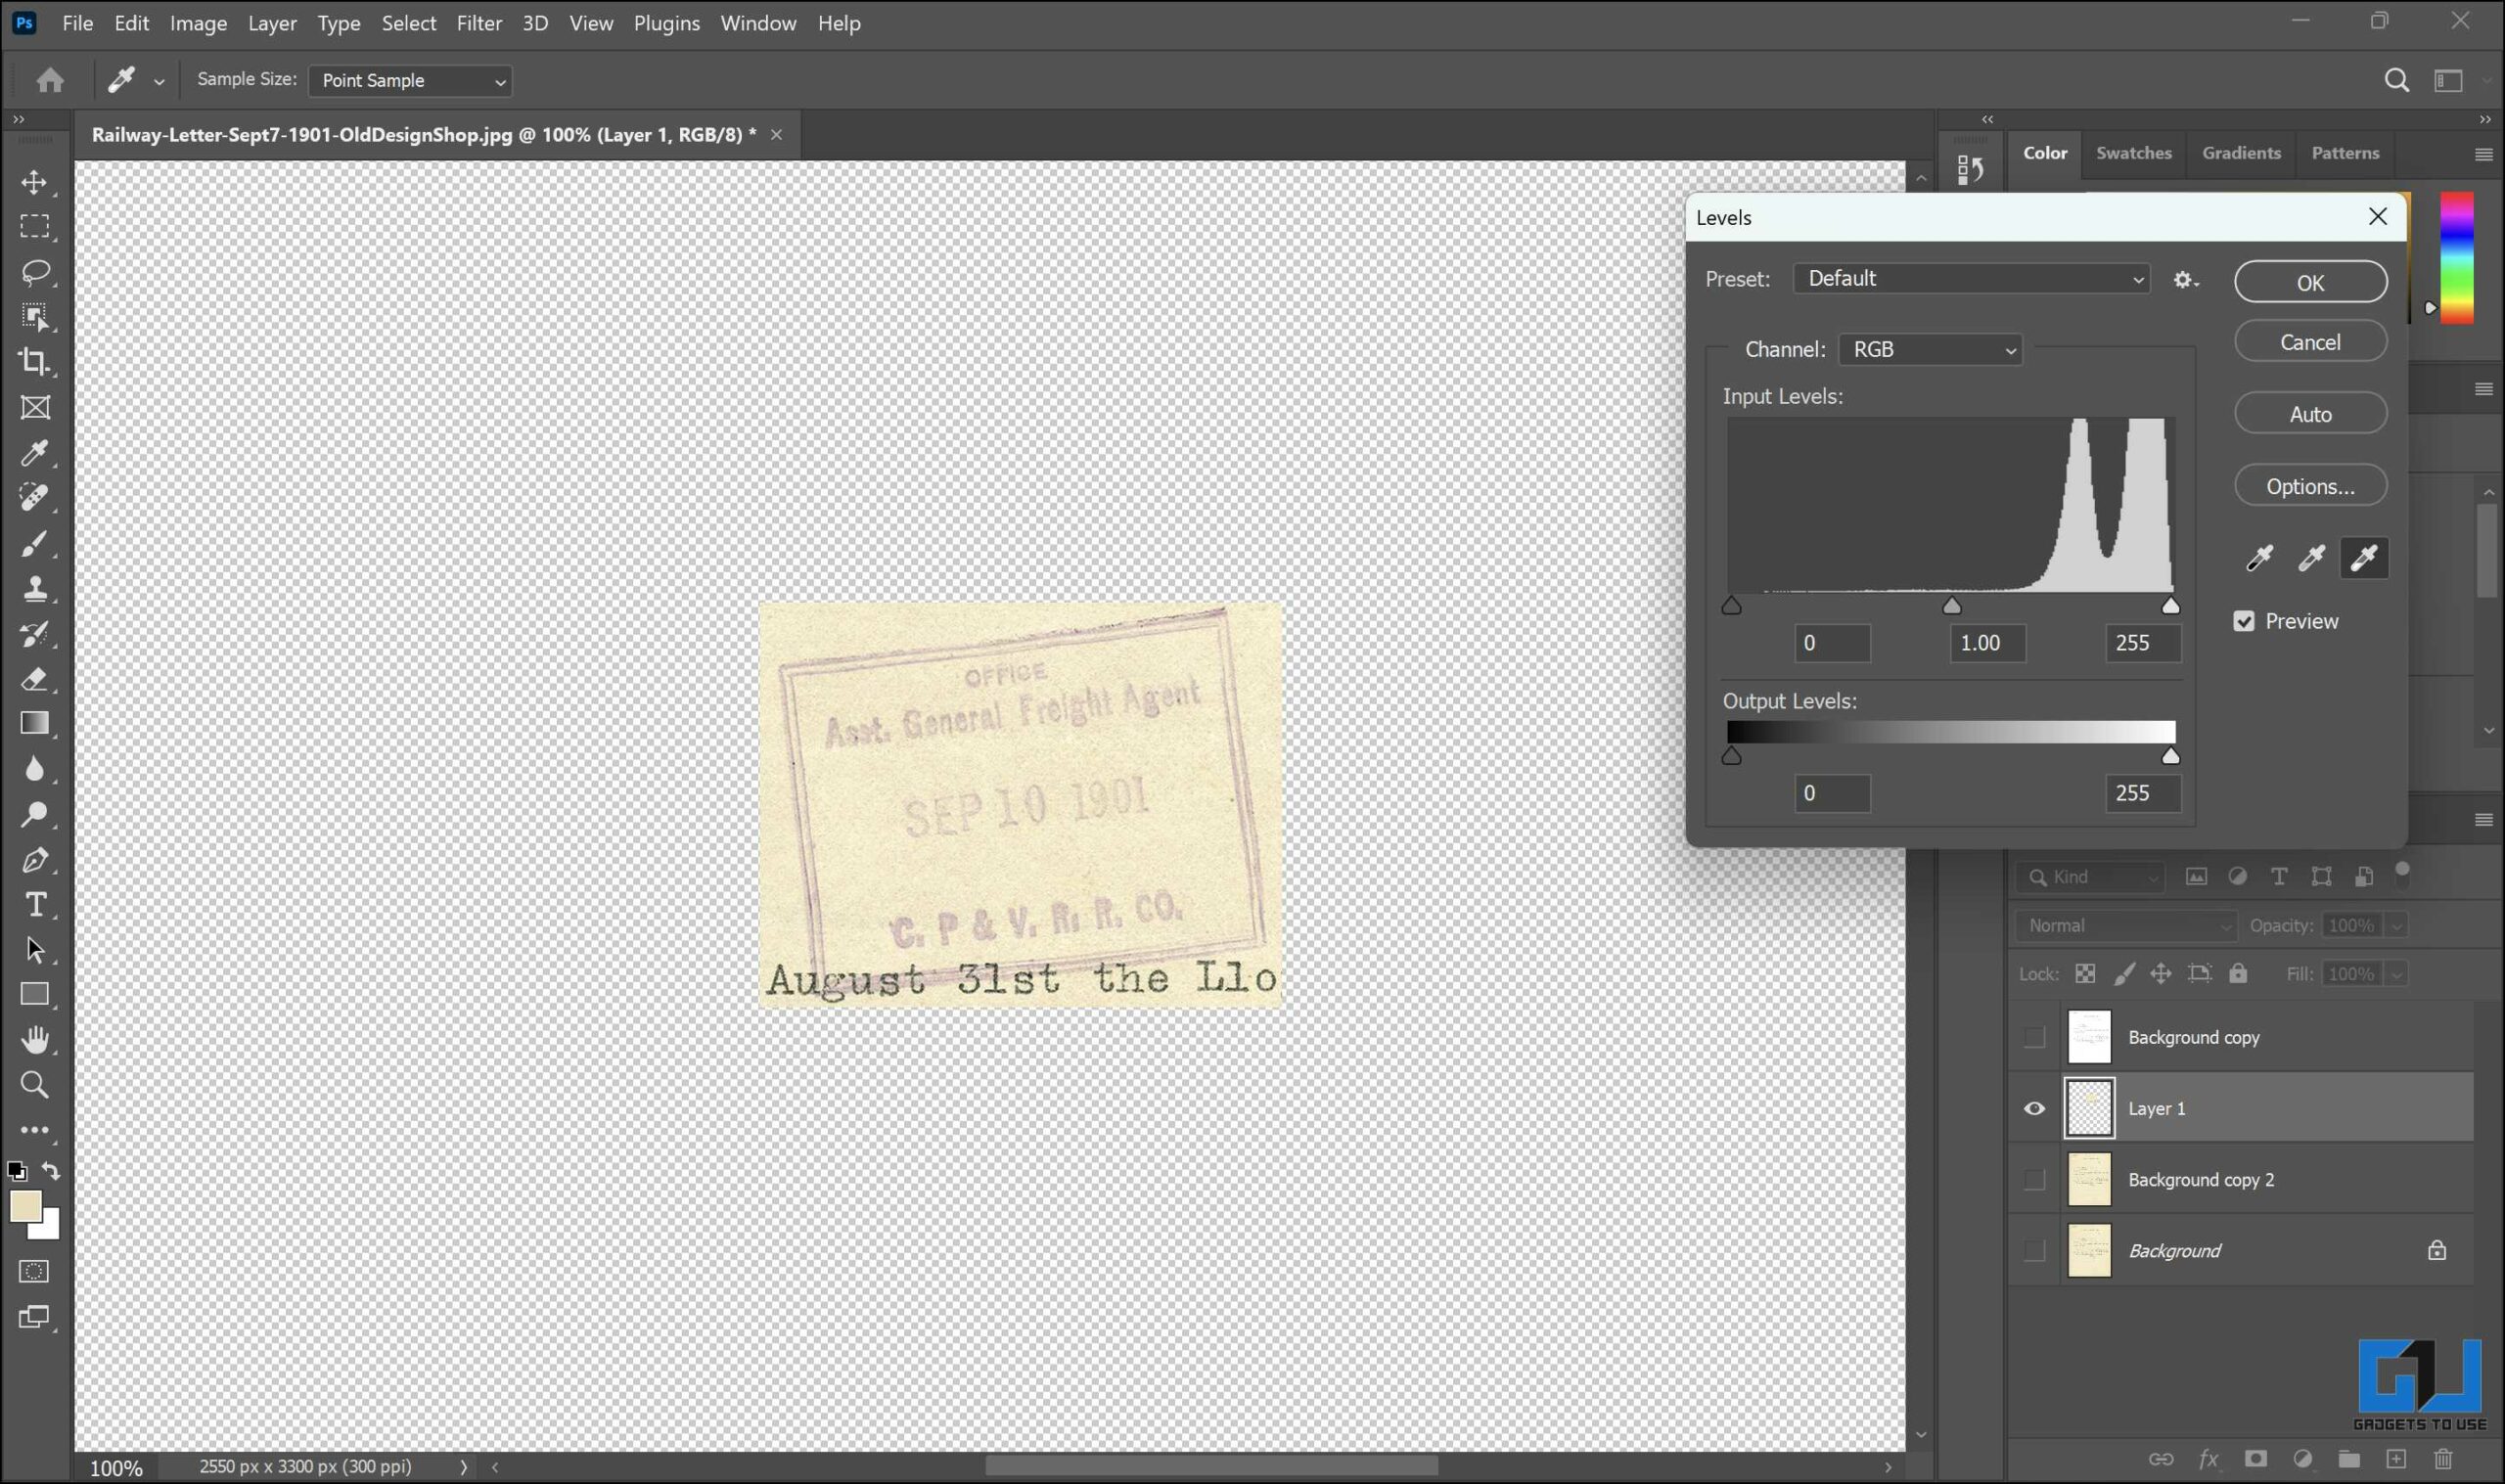
12. Go to Image > Adjustments and click on Levels. You can also use the Ctrl+L shortcut.
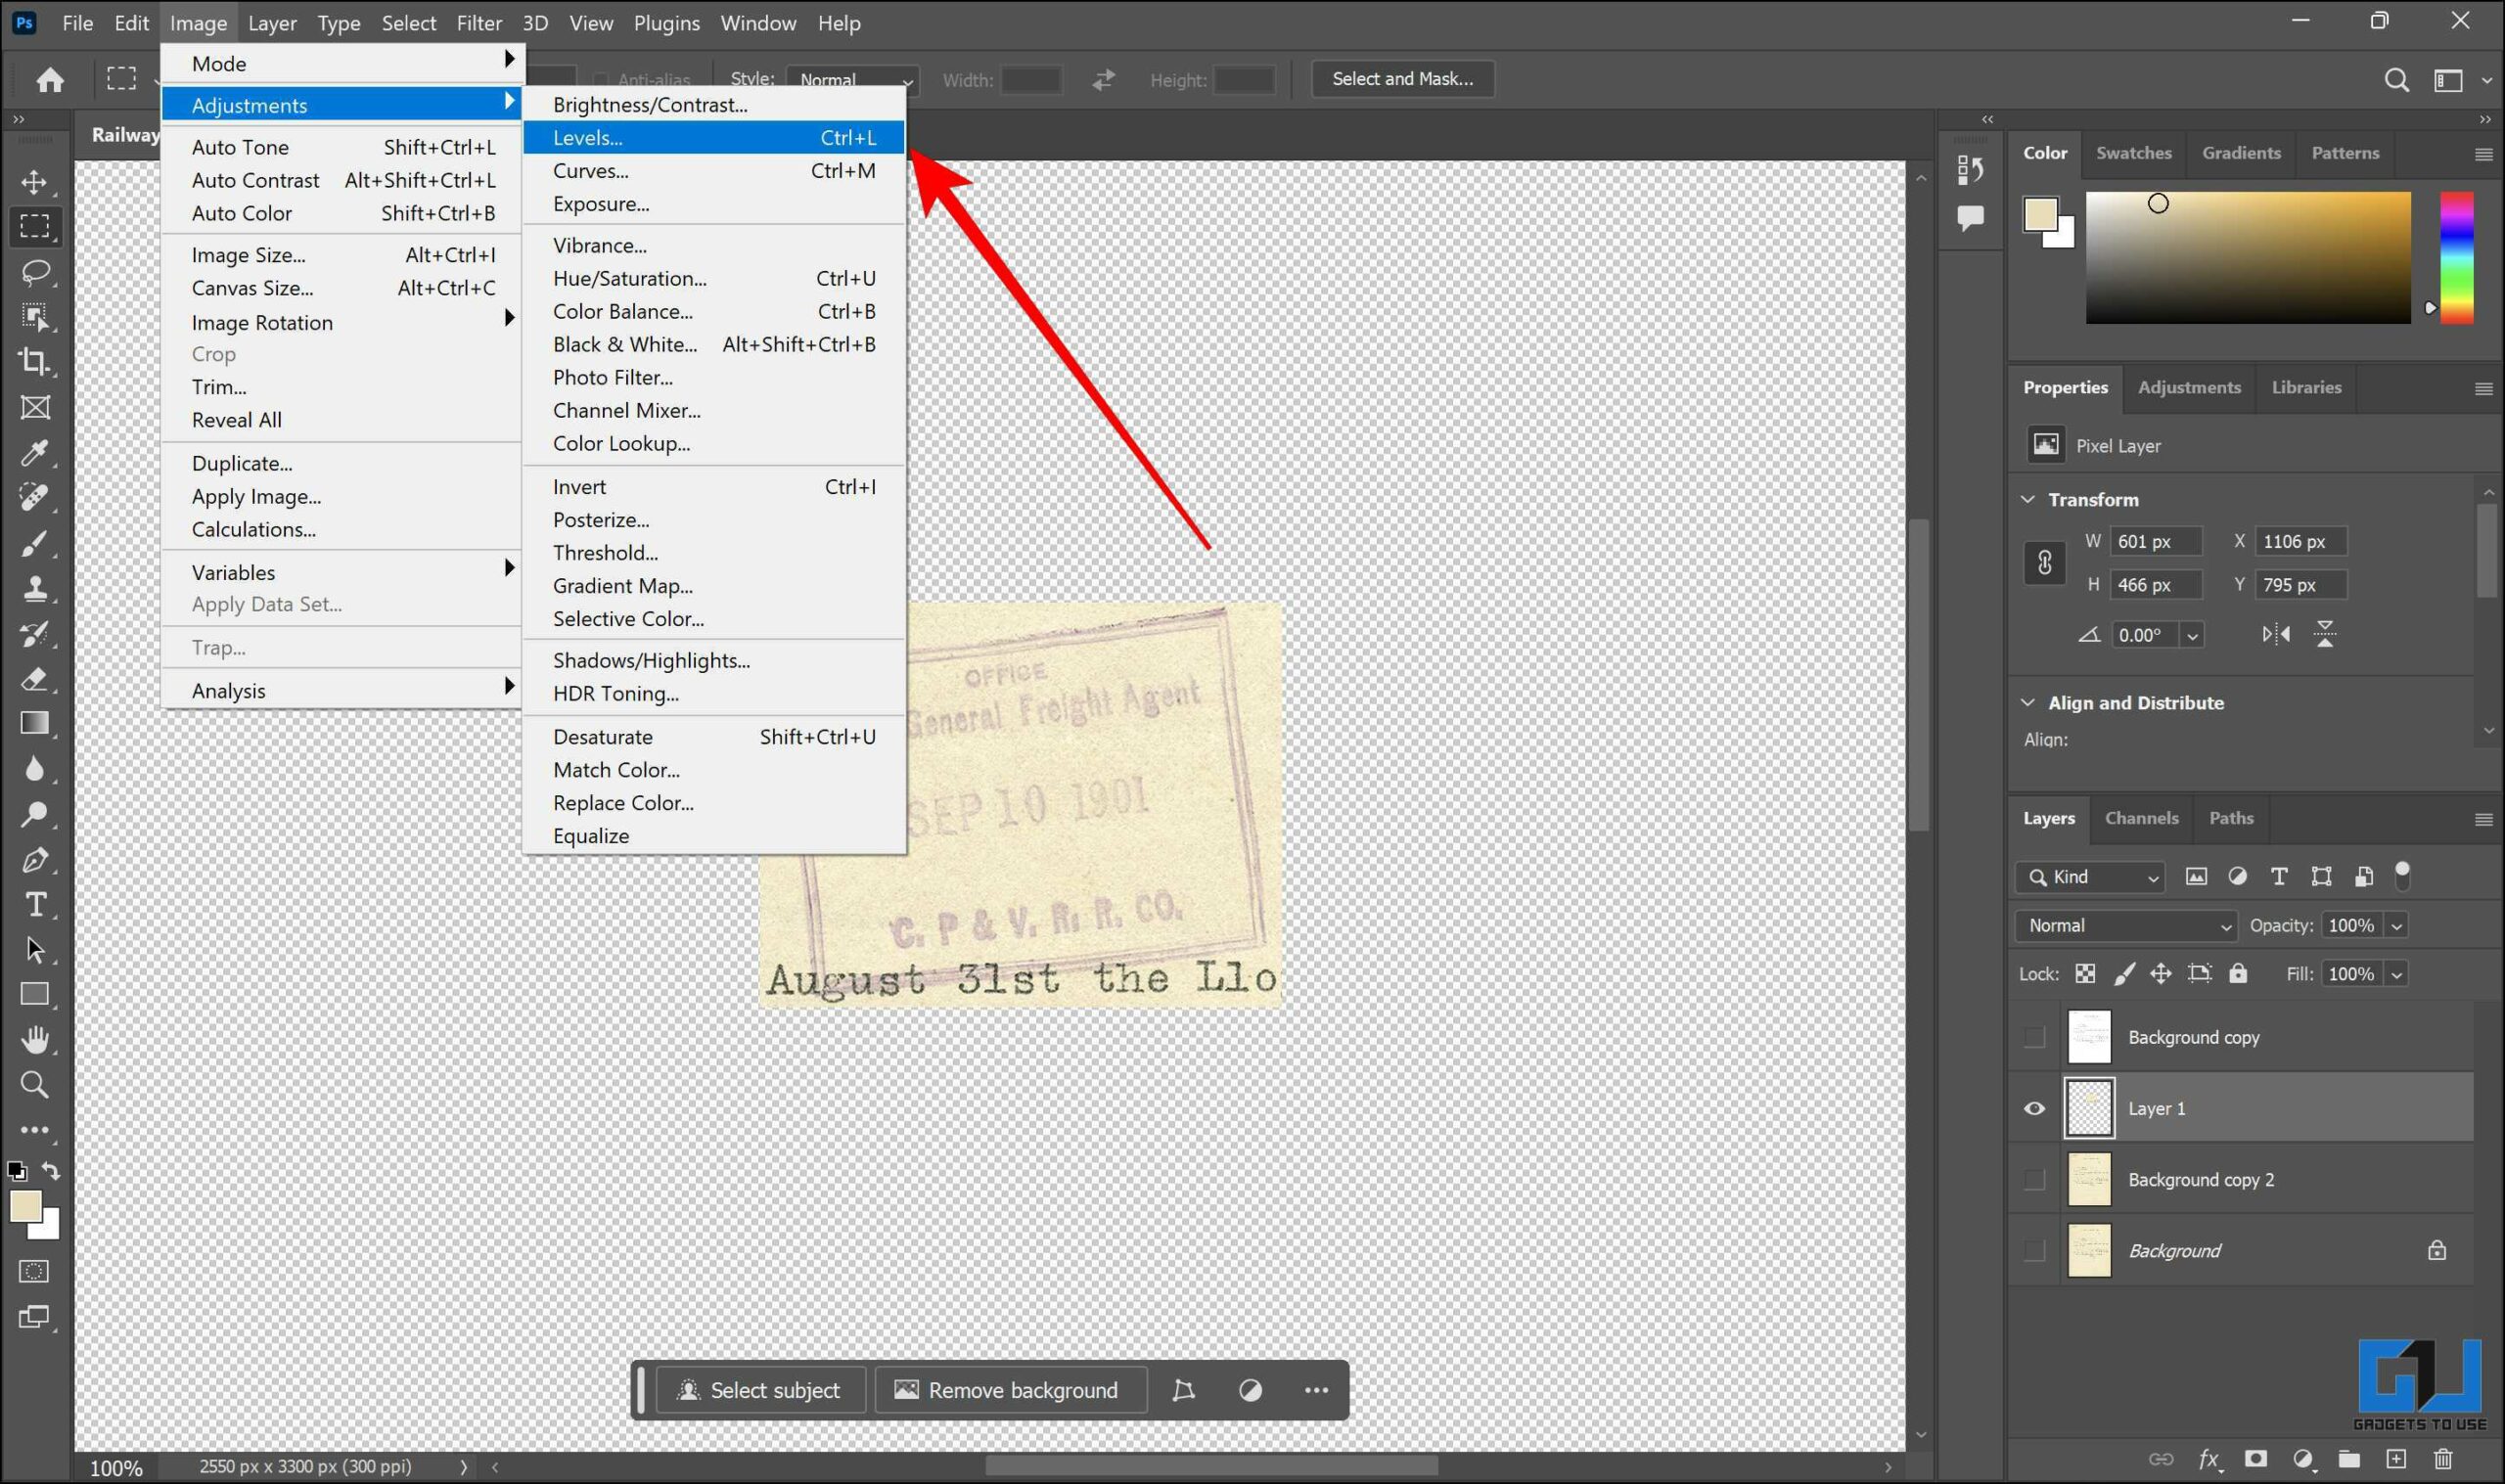
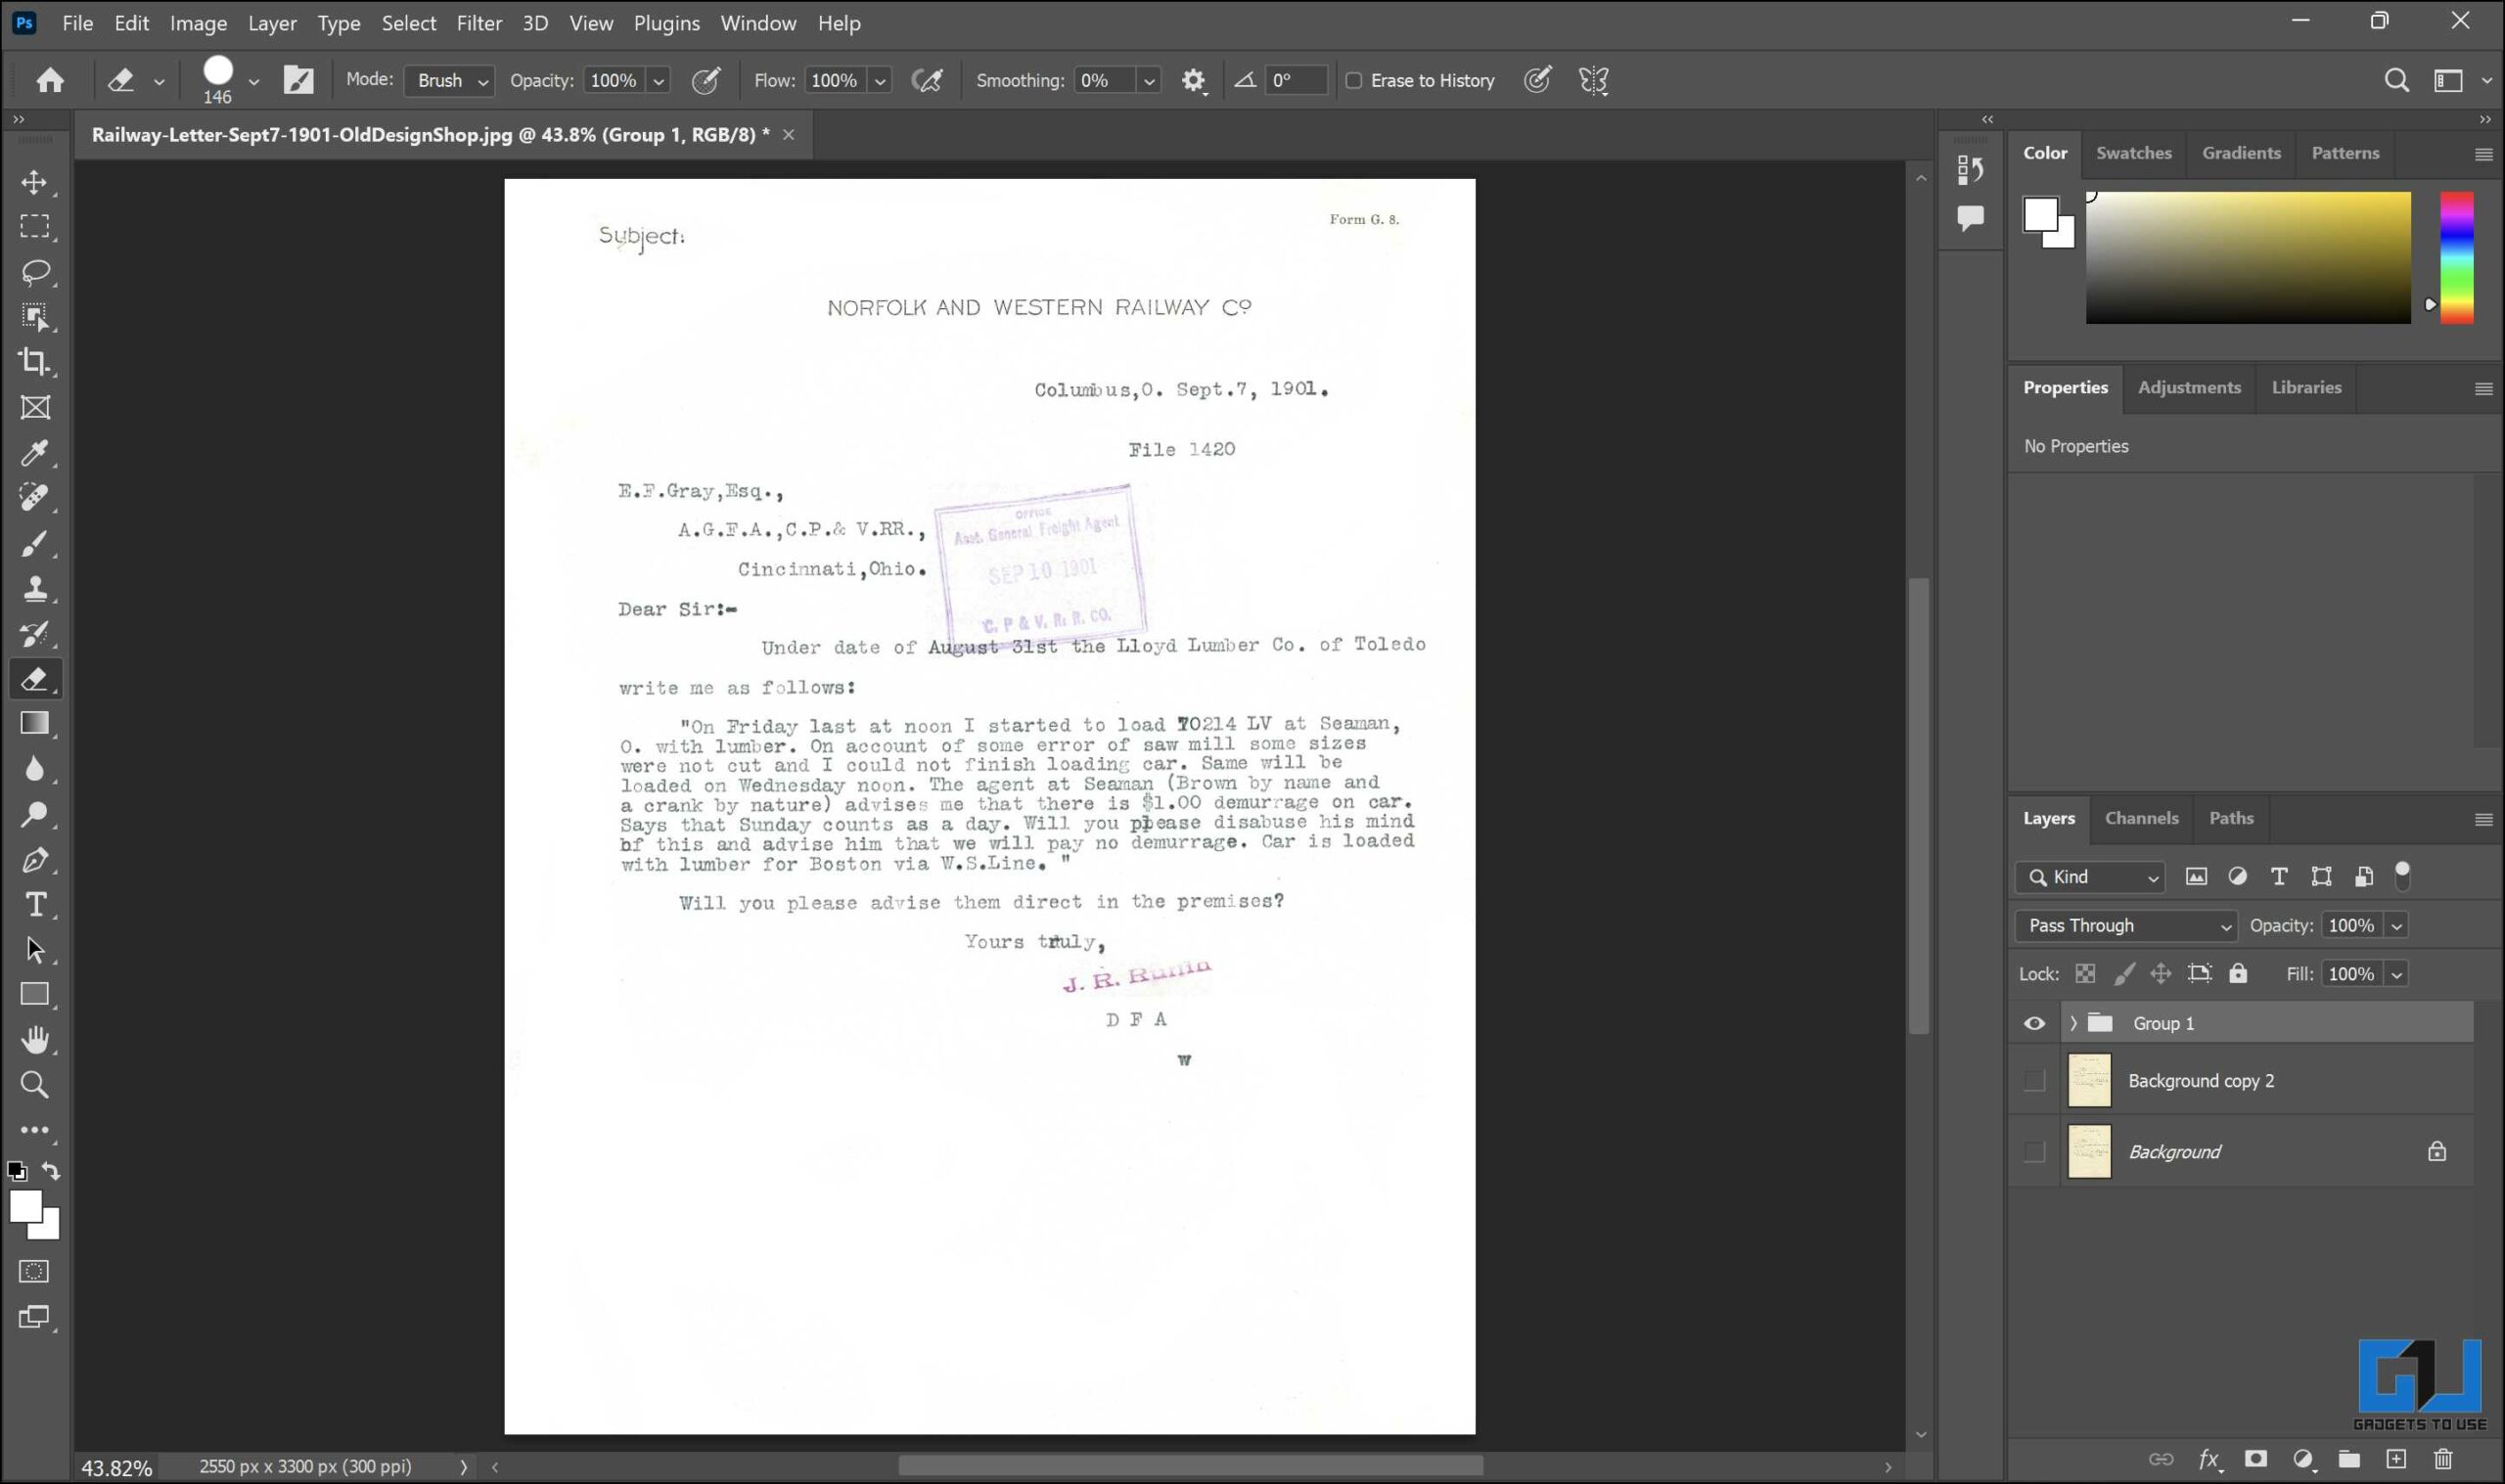
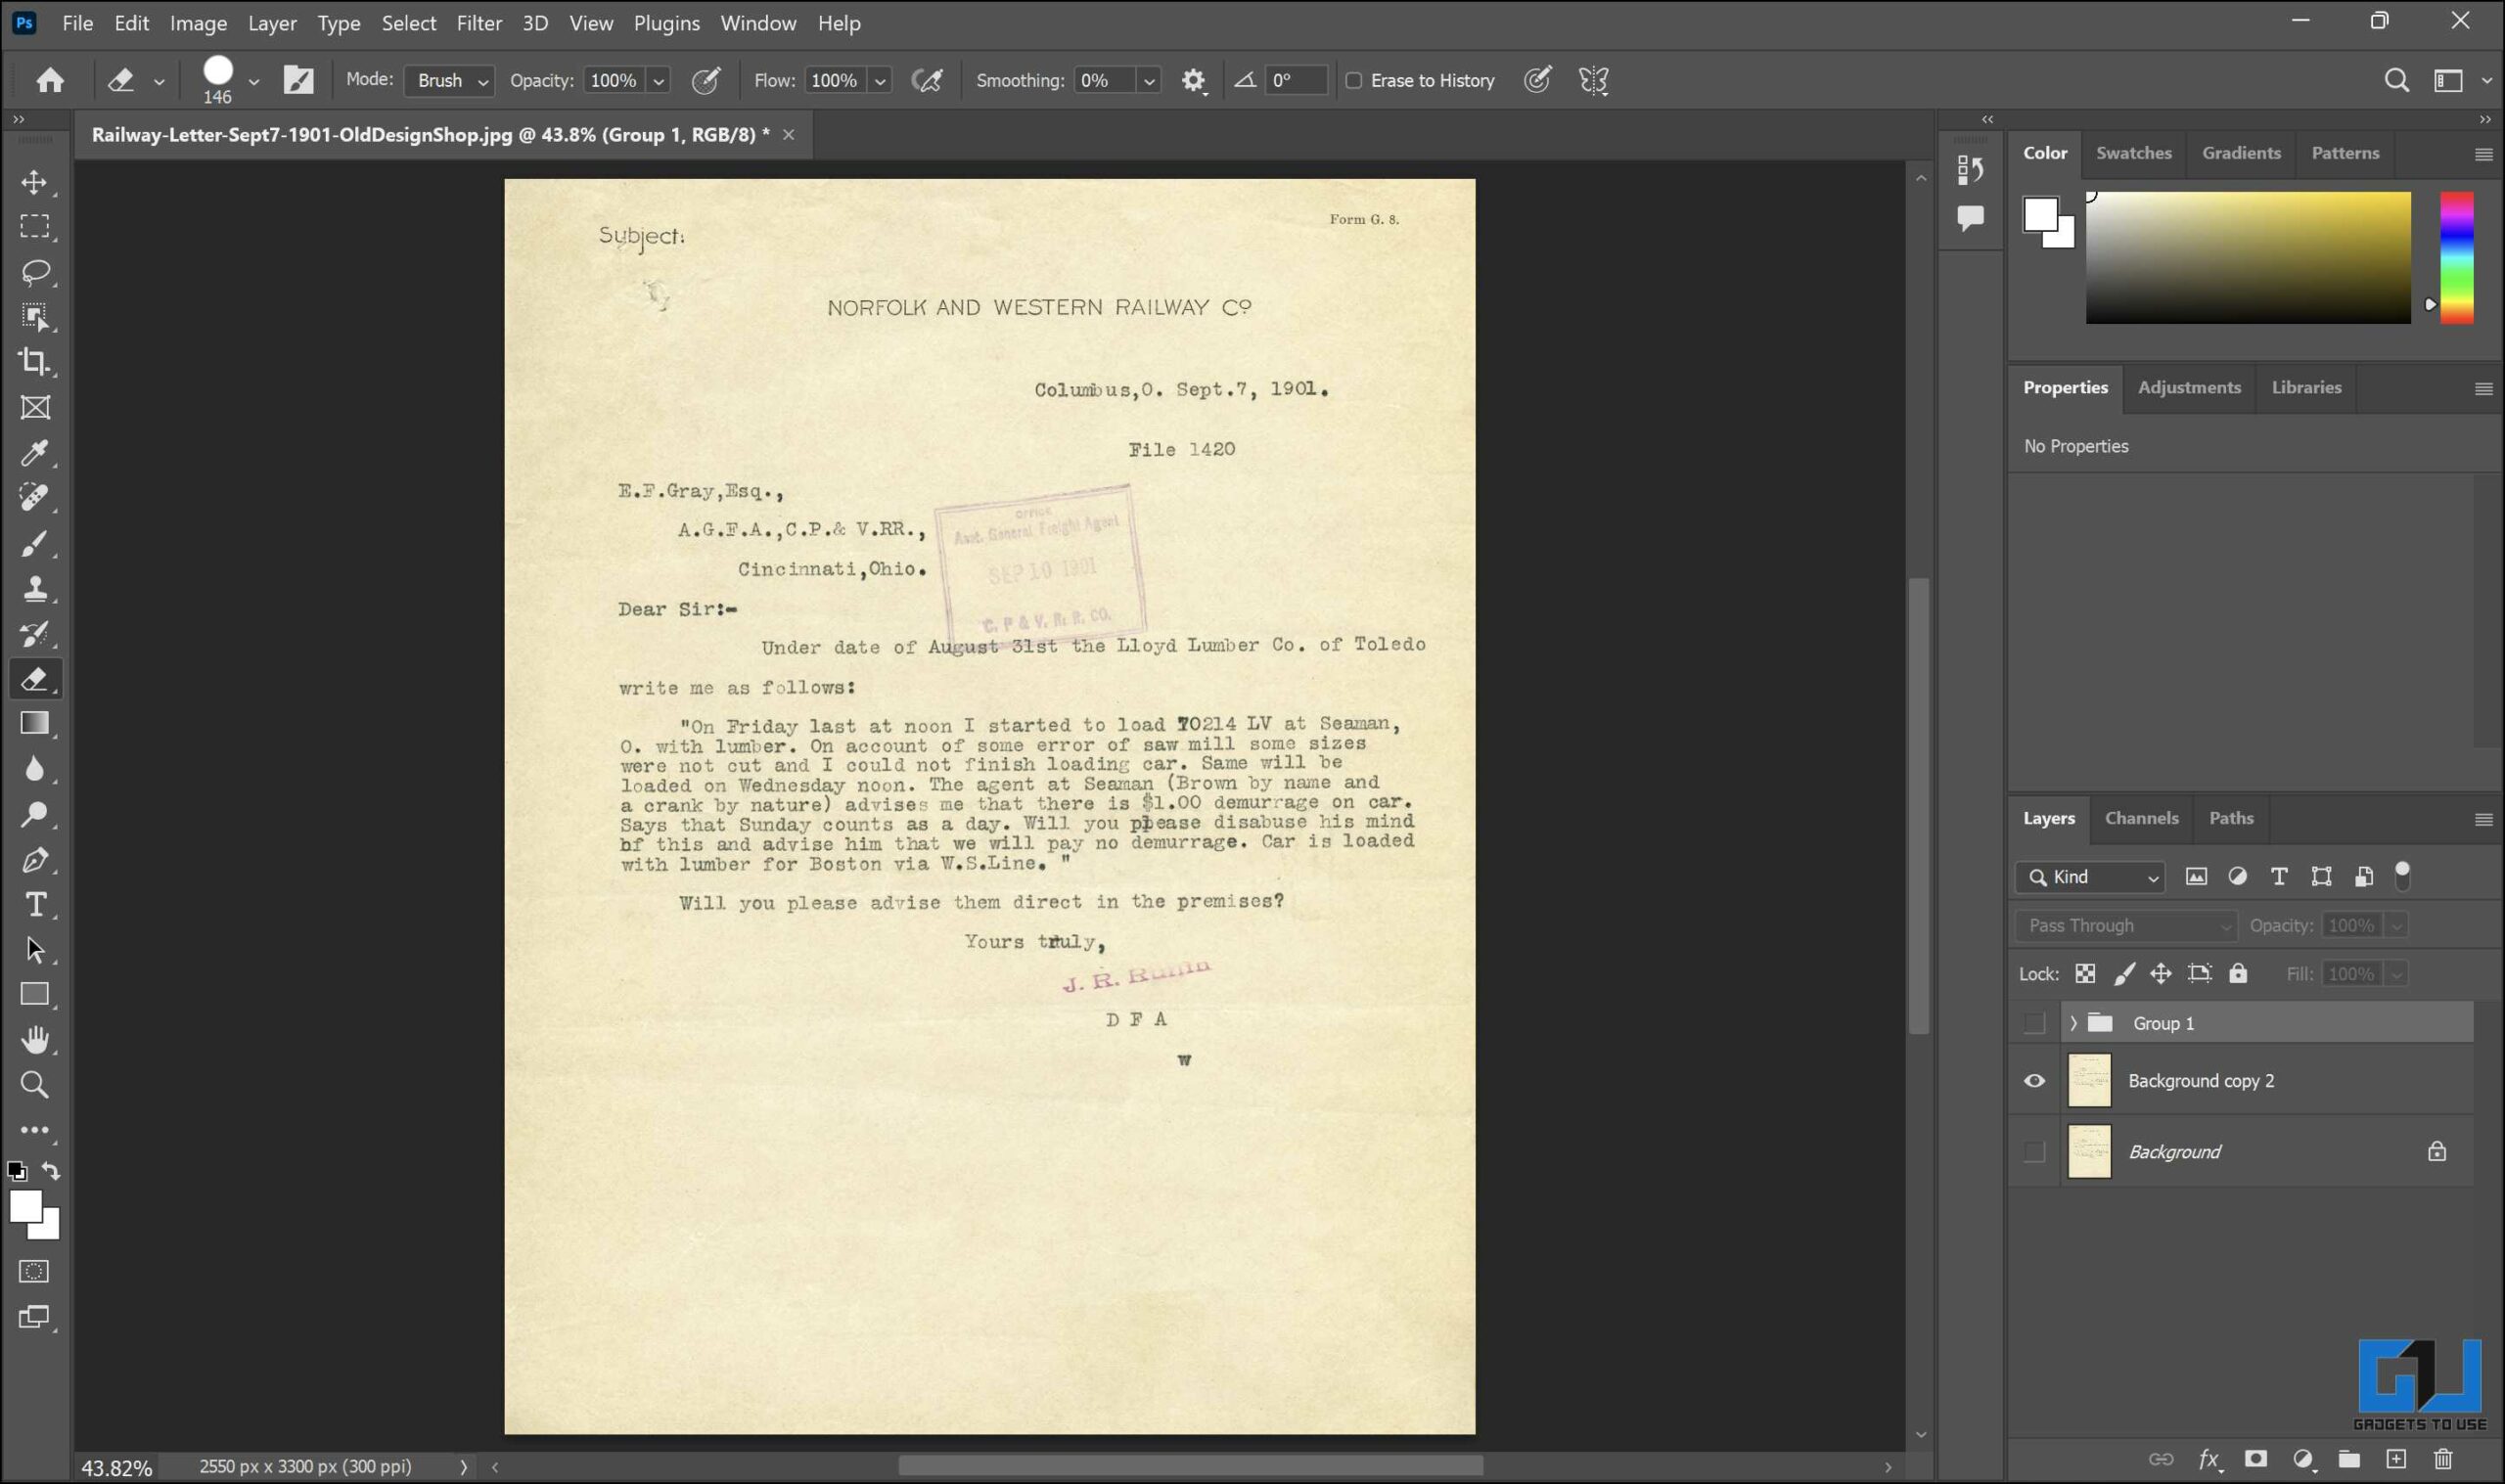
13. In the pop-up window, click on the white point selector and click on the area other than the seal. Move the middle slider to the left to slightly darken the seal. This will help highlight the seal.
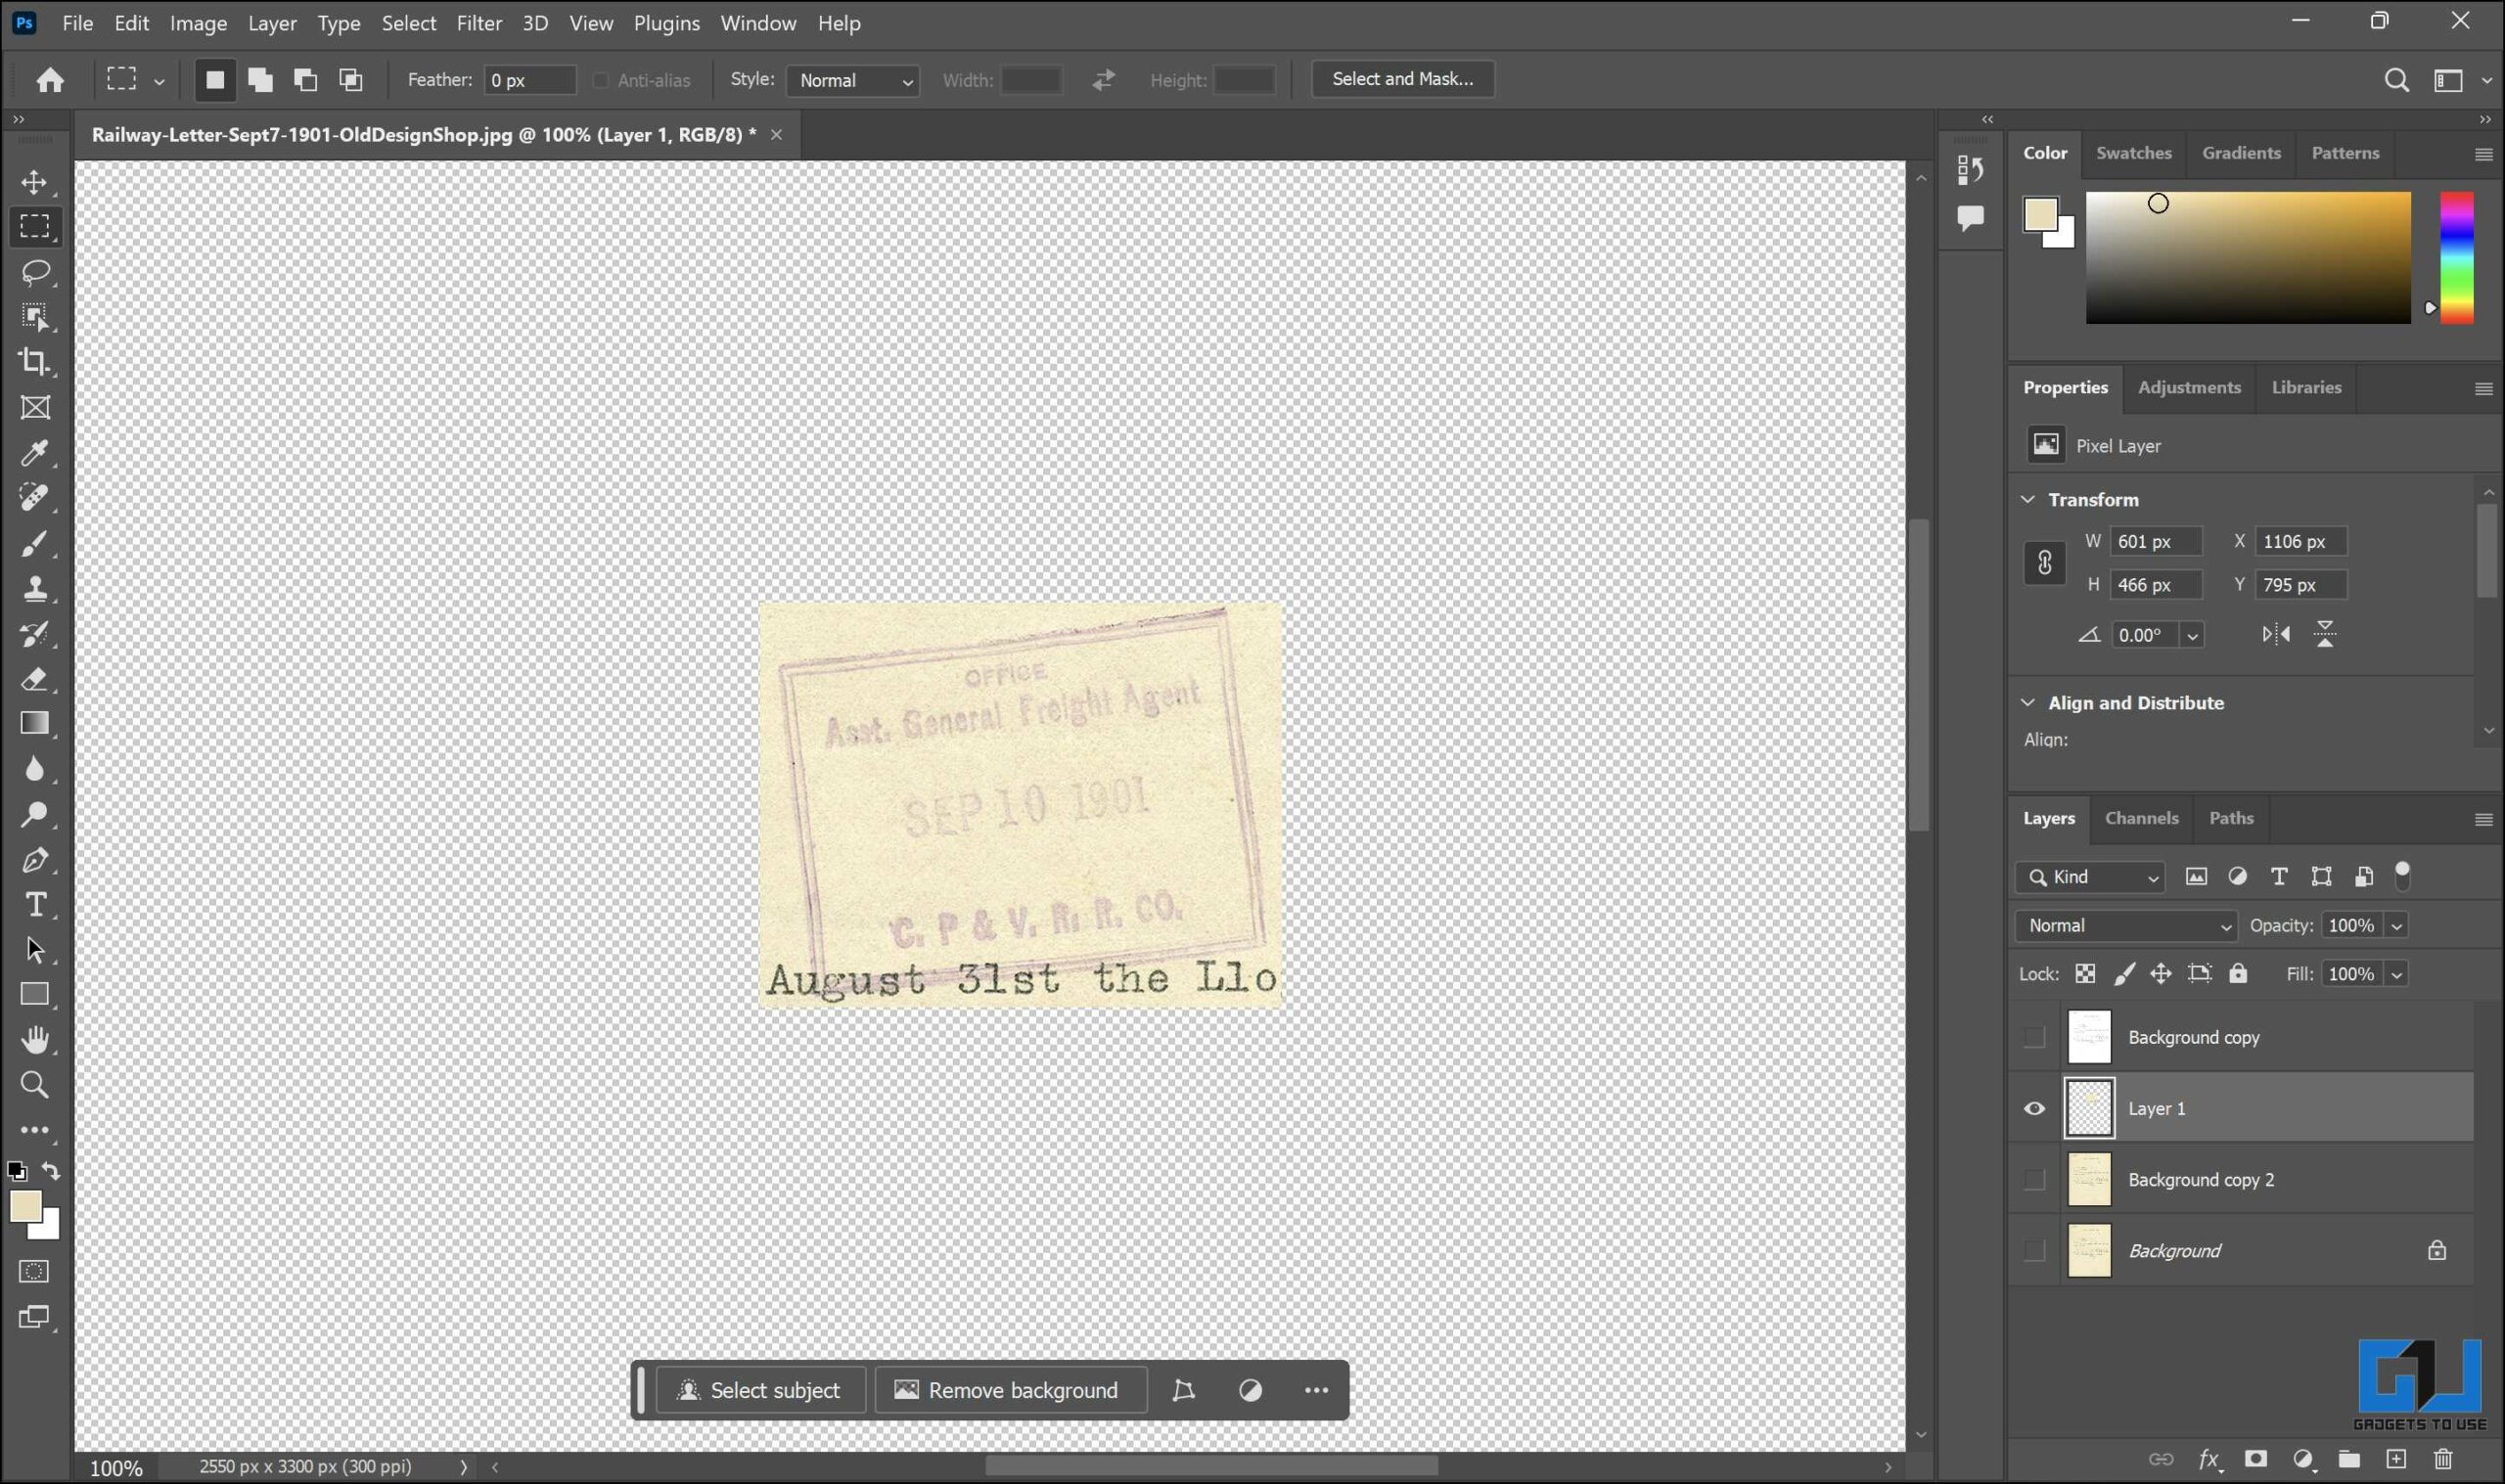
13. Zoom out, move the layer with the seal to the top, and unhide the edited layer. Now, the seal should be more visible. Here is a before and after. Repeat this step for any other seal or logo in the document.


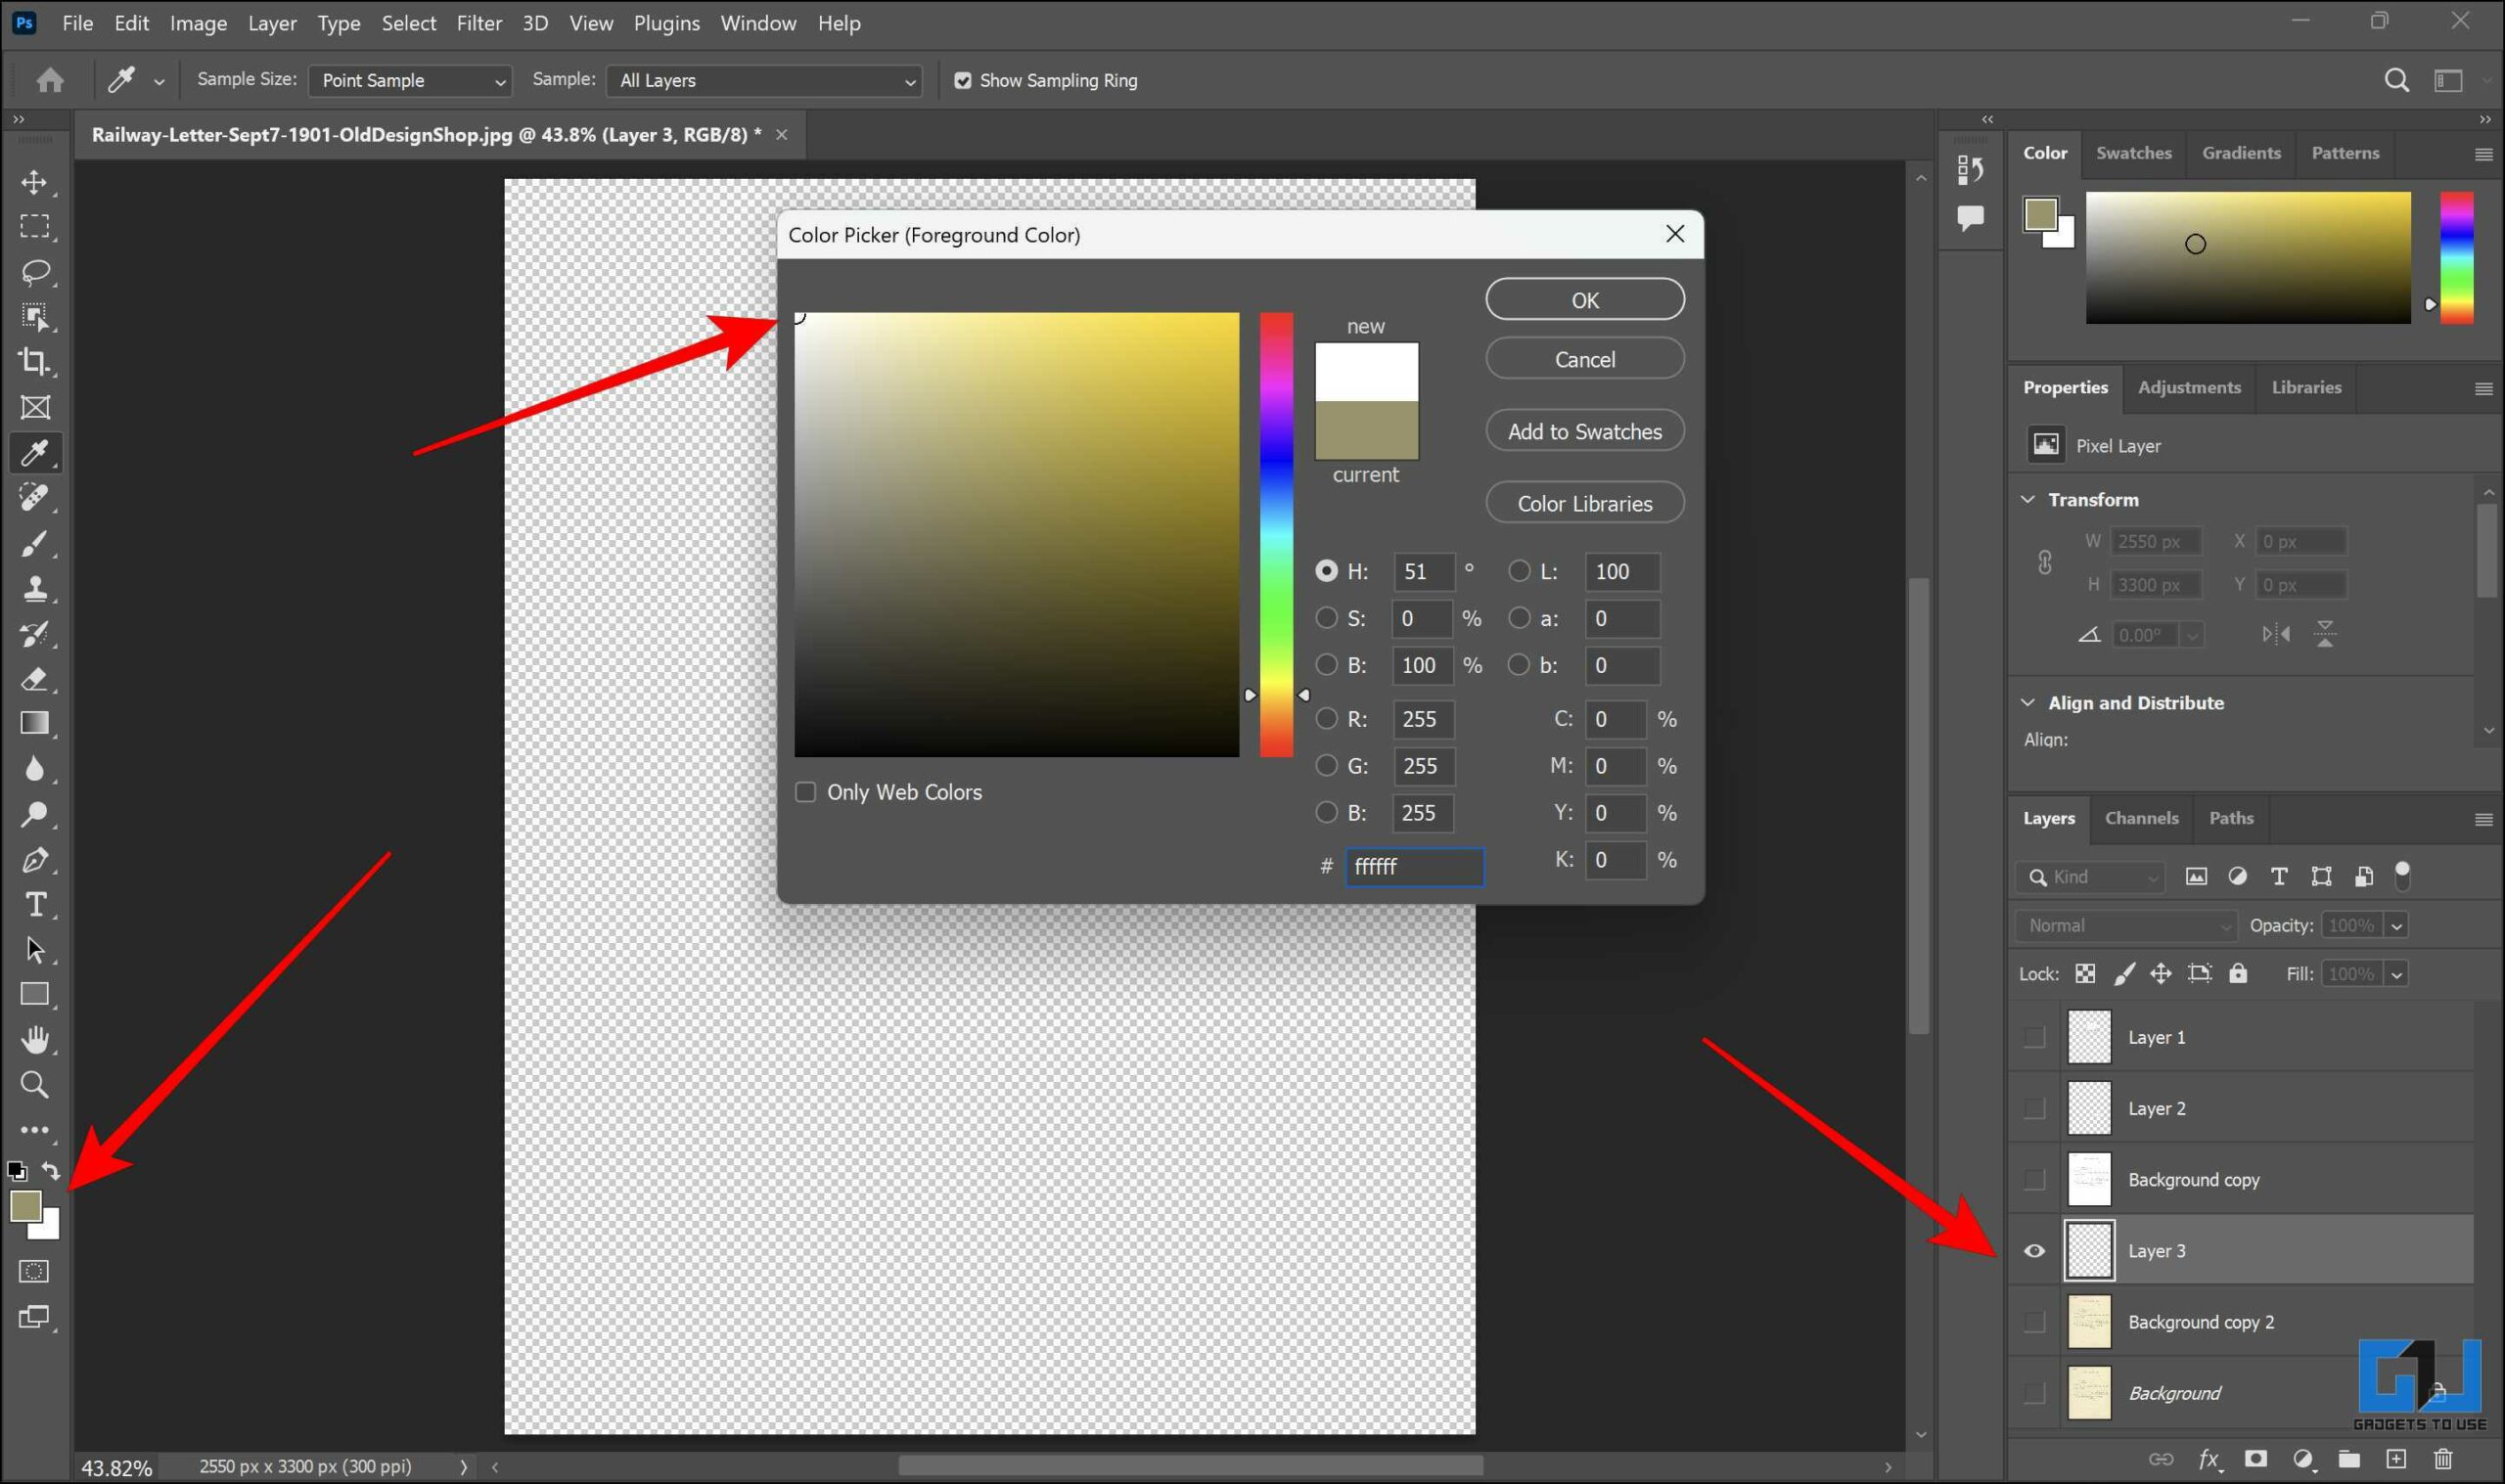
14. To remove smaller imperfections in the documents, create a new layer and select it. Now click on the color picker and change the color to white. Press Ctrl + Backspace to fill the layer with white.
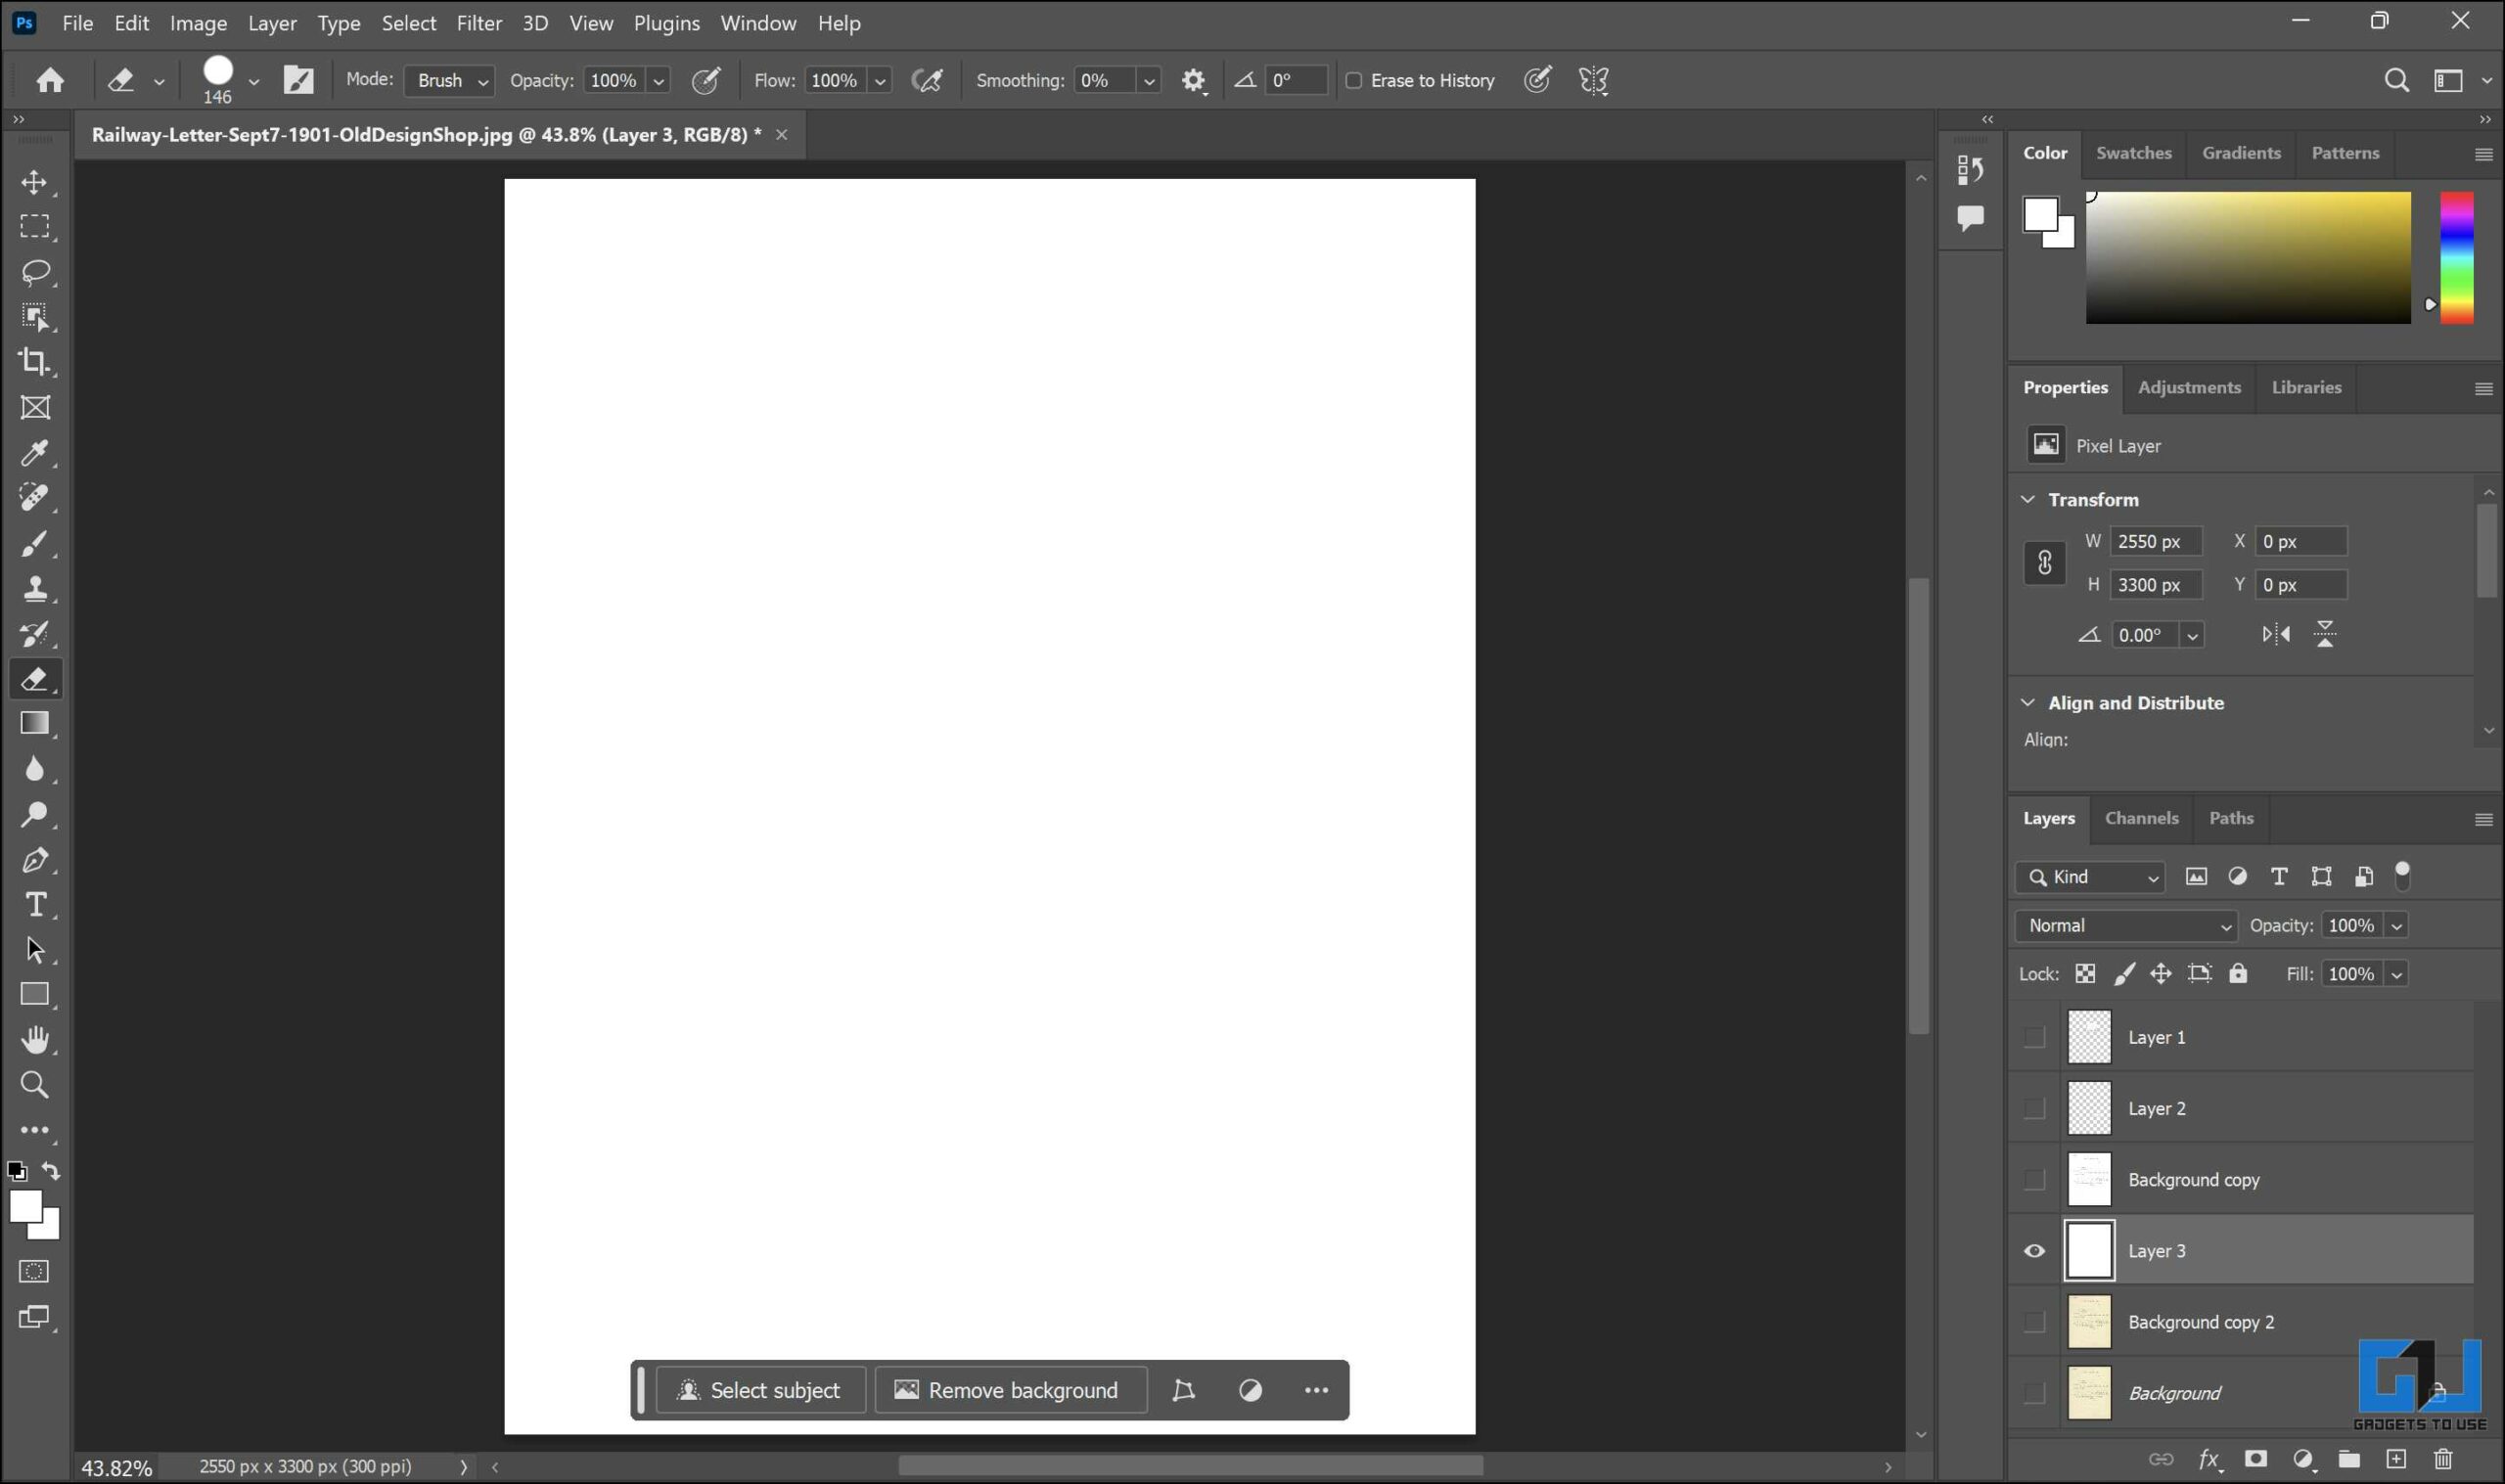
15. Select the edited layer and use the erase tool to remove the imperfections. The white from the layer below will fill the areas that have been erased and clean the document.
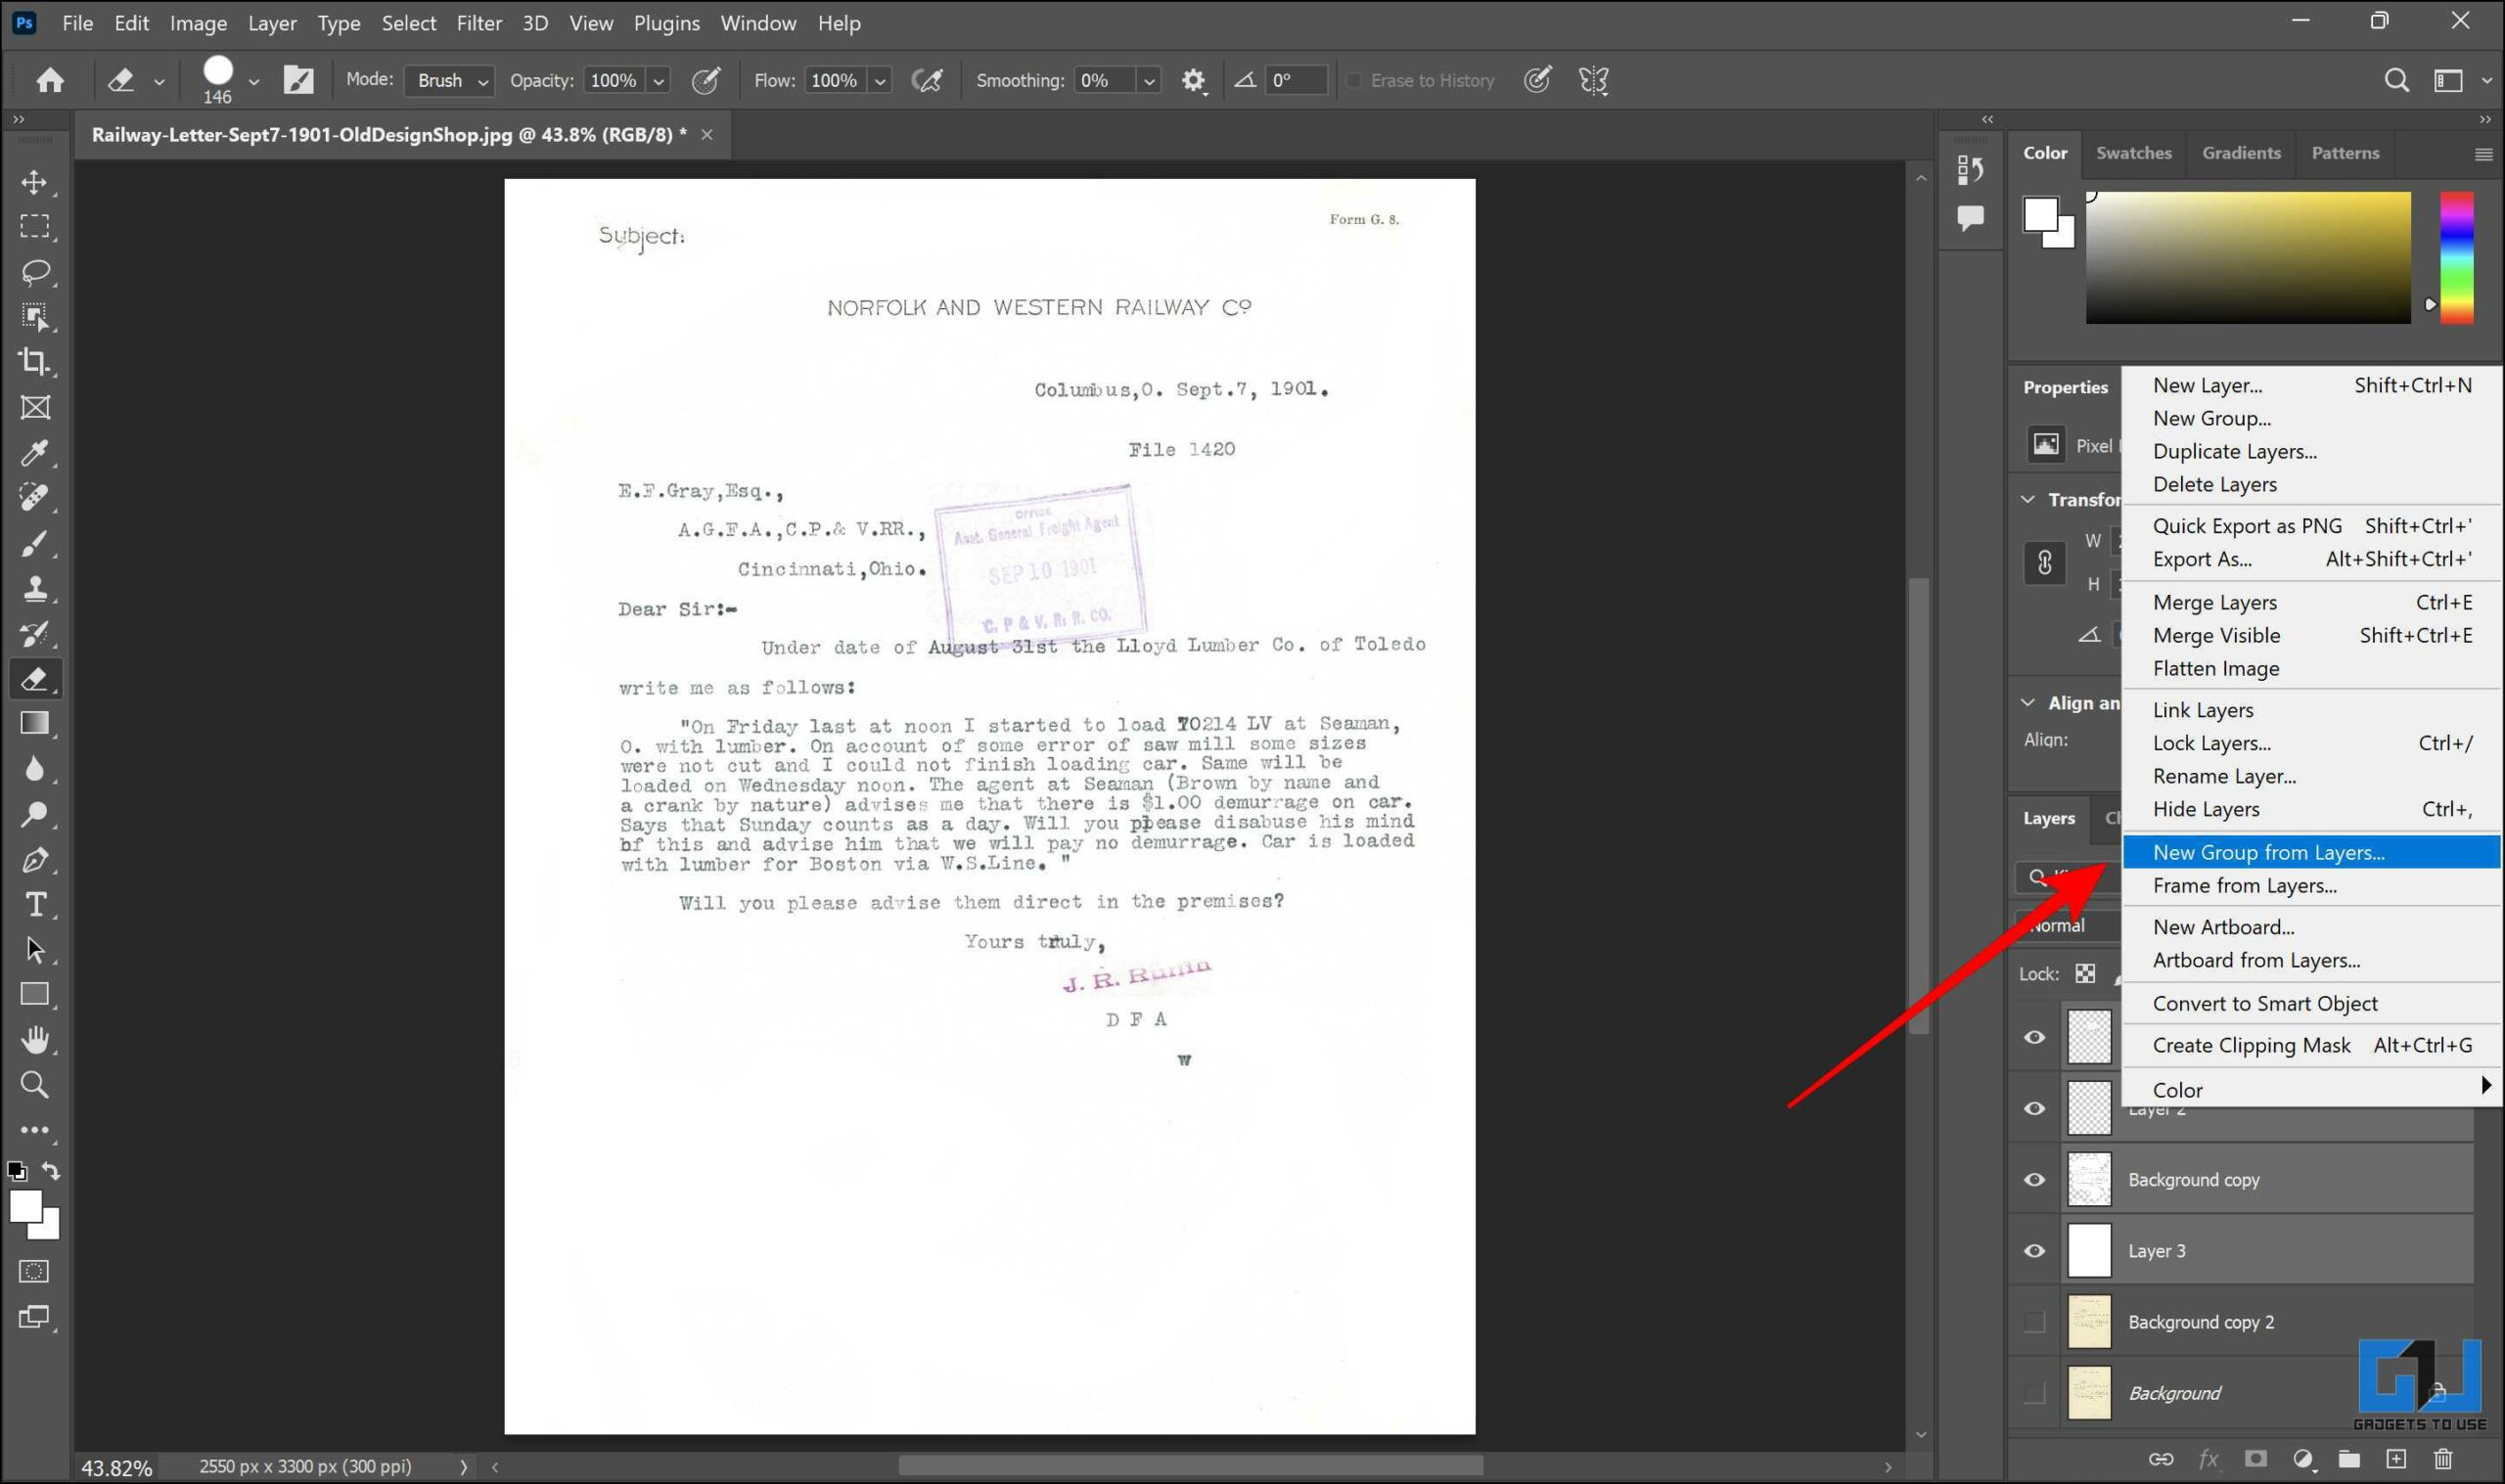
16. Now select all the layers that have been edited and create a group. Save the edited document.
17. After cleaning it up, here is the document’s before and after version. All the yellowing and the imperfections have been cleaned up.

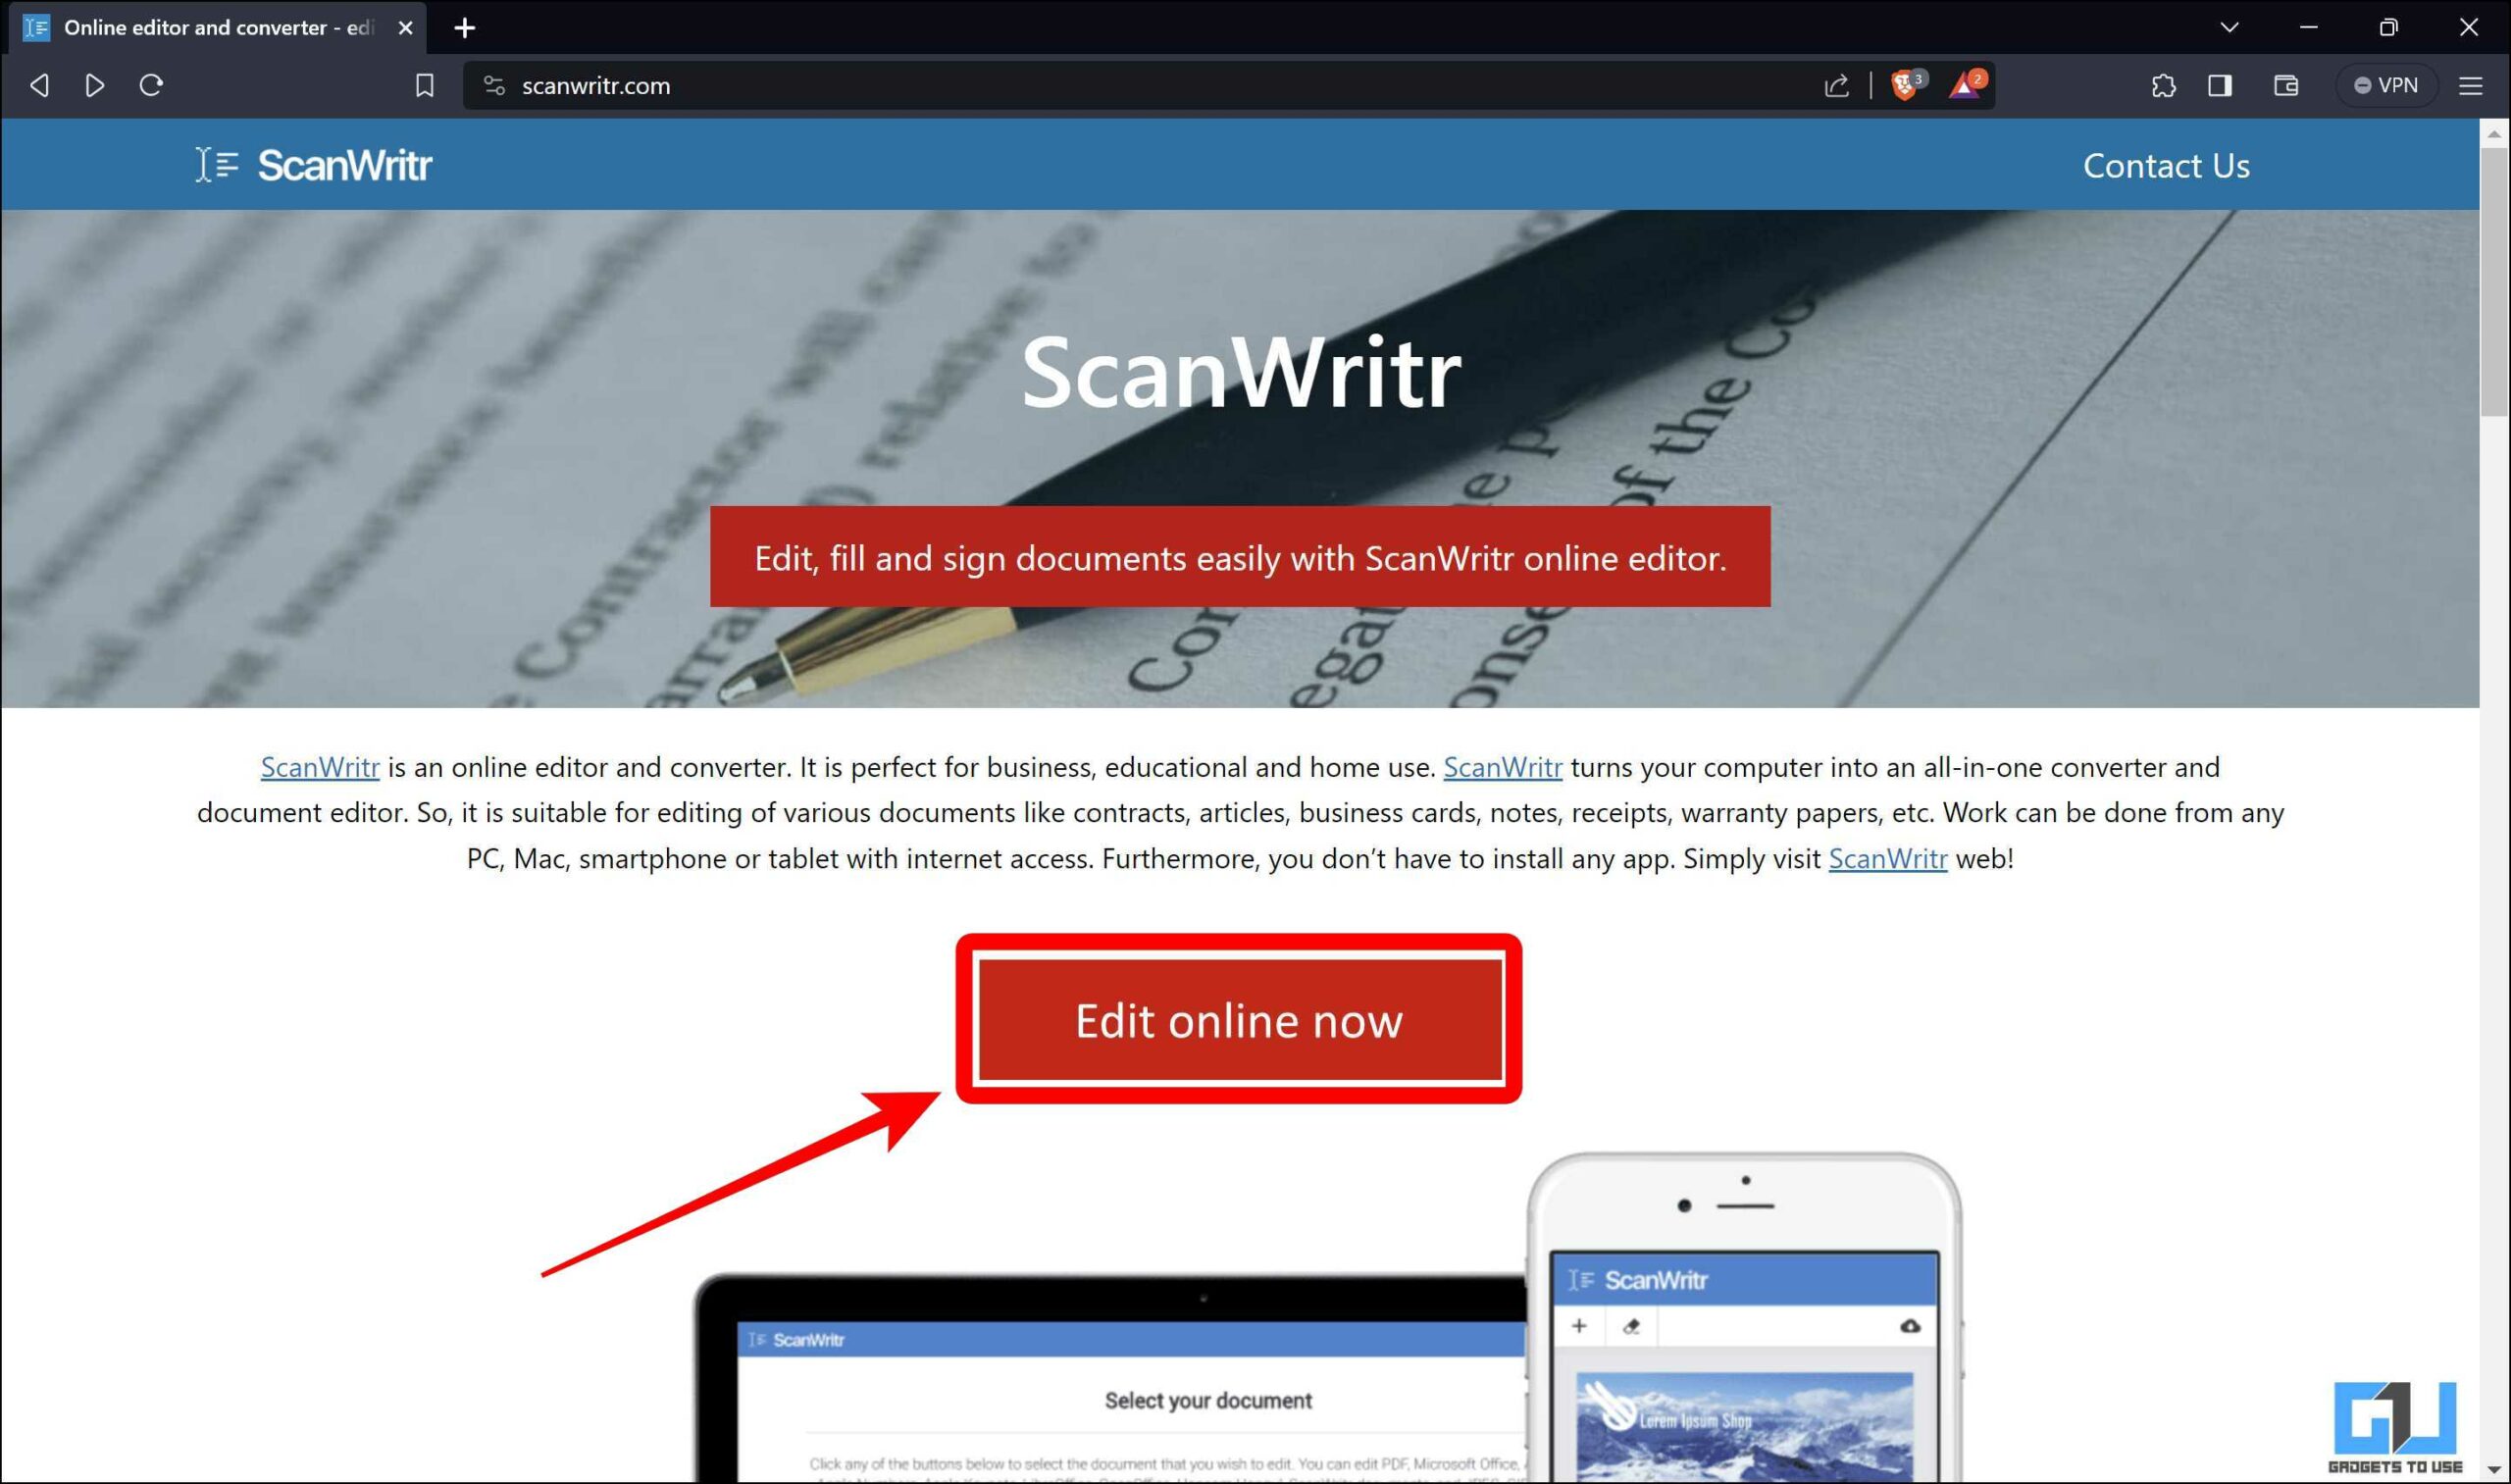
Method 2 – ScanWritr
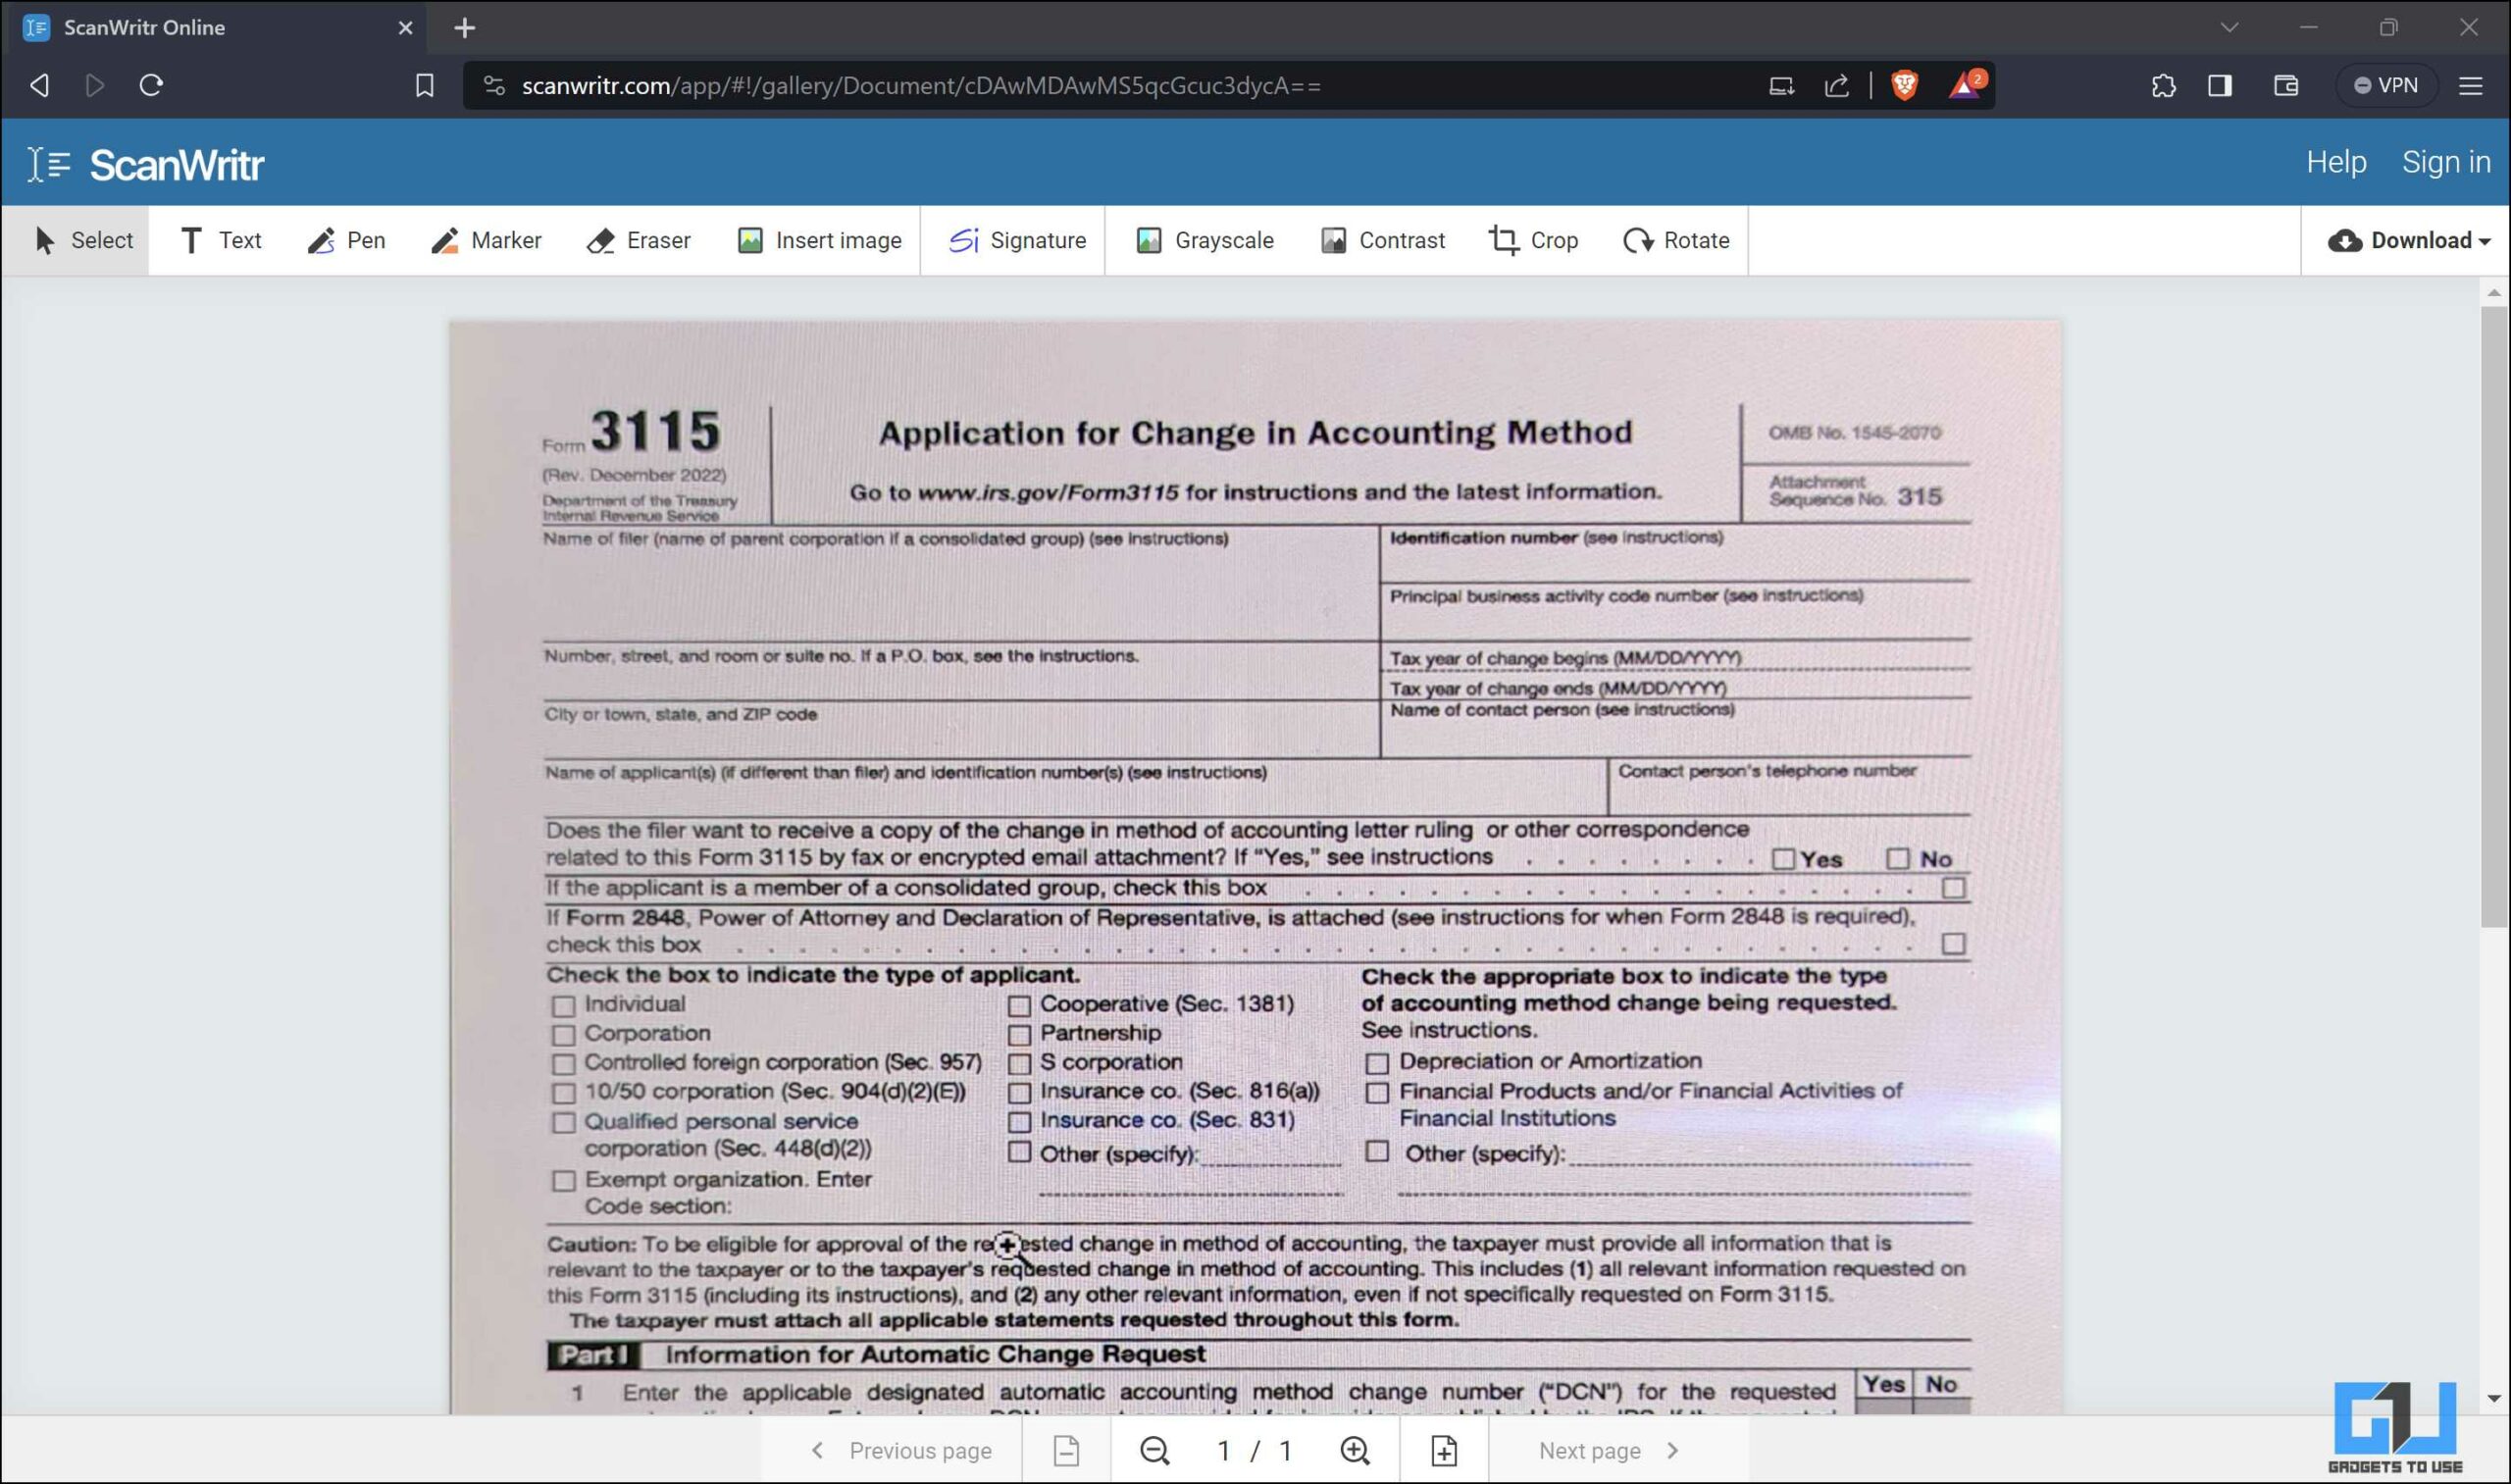
ScanWritr is a powerful online editor and converter that allows you to import any document, fill it out using text, pen, marker, and sign tools, and save it to PDF for further use. It is perfect for business, educational, and home use. Here is how to use it:
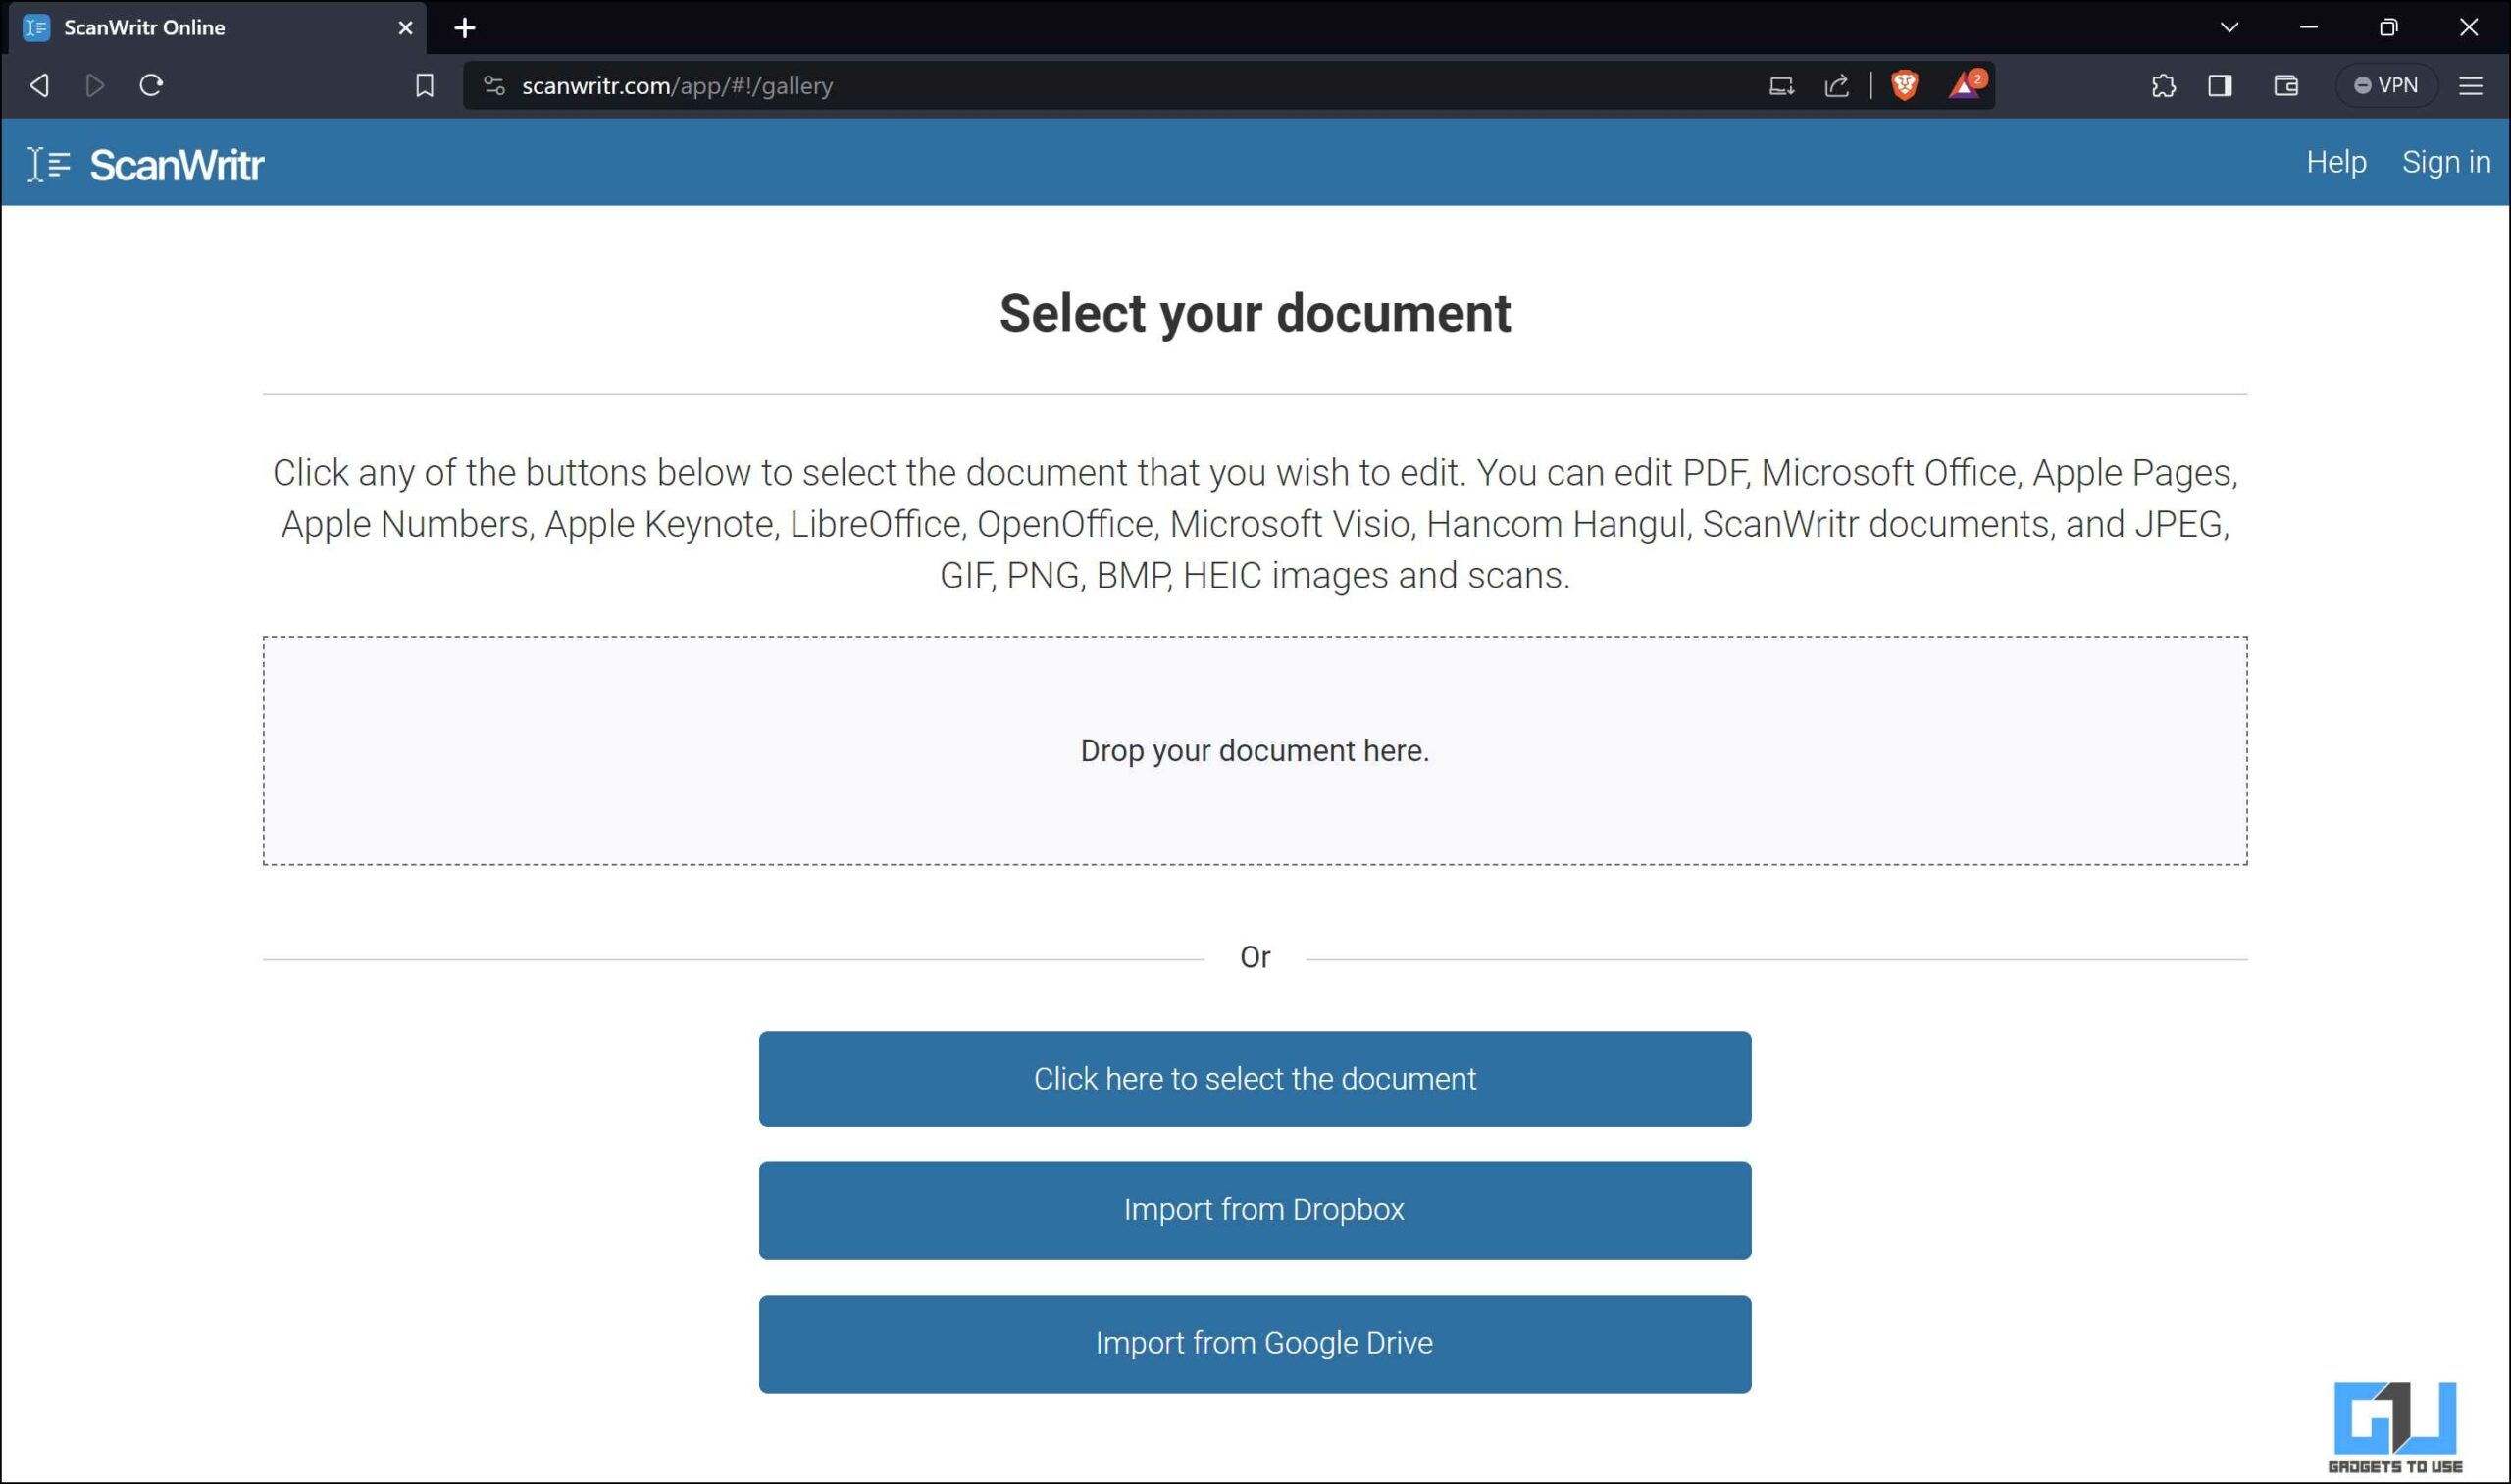
1. Go to the ScanWritr website and upload your scanned PDF file.
2. From the given options, choose the ones required and adjust the settings according to your preference. You can insert images, write, draw, and add signatures.
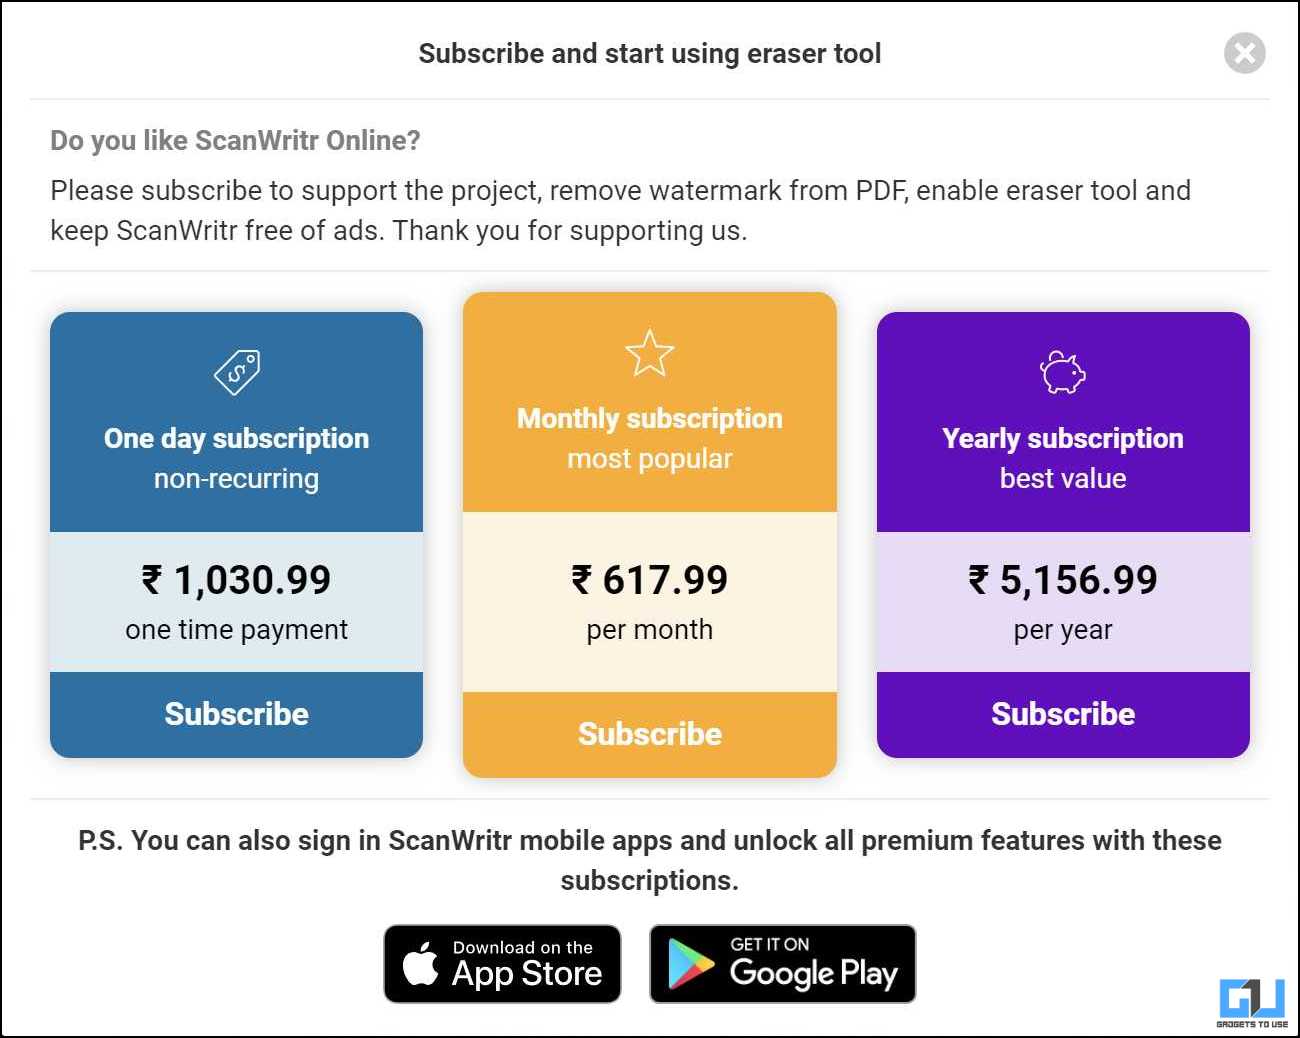
3. Download your cleaned-up PDF file by clicking the download button on the top right corner.

The service requires you to subscribe to a premium plan to access services like the erase tool and other premium features.
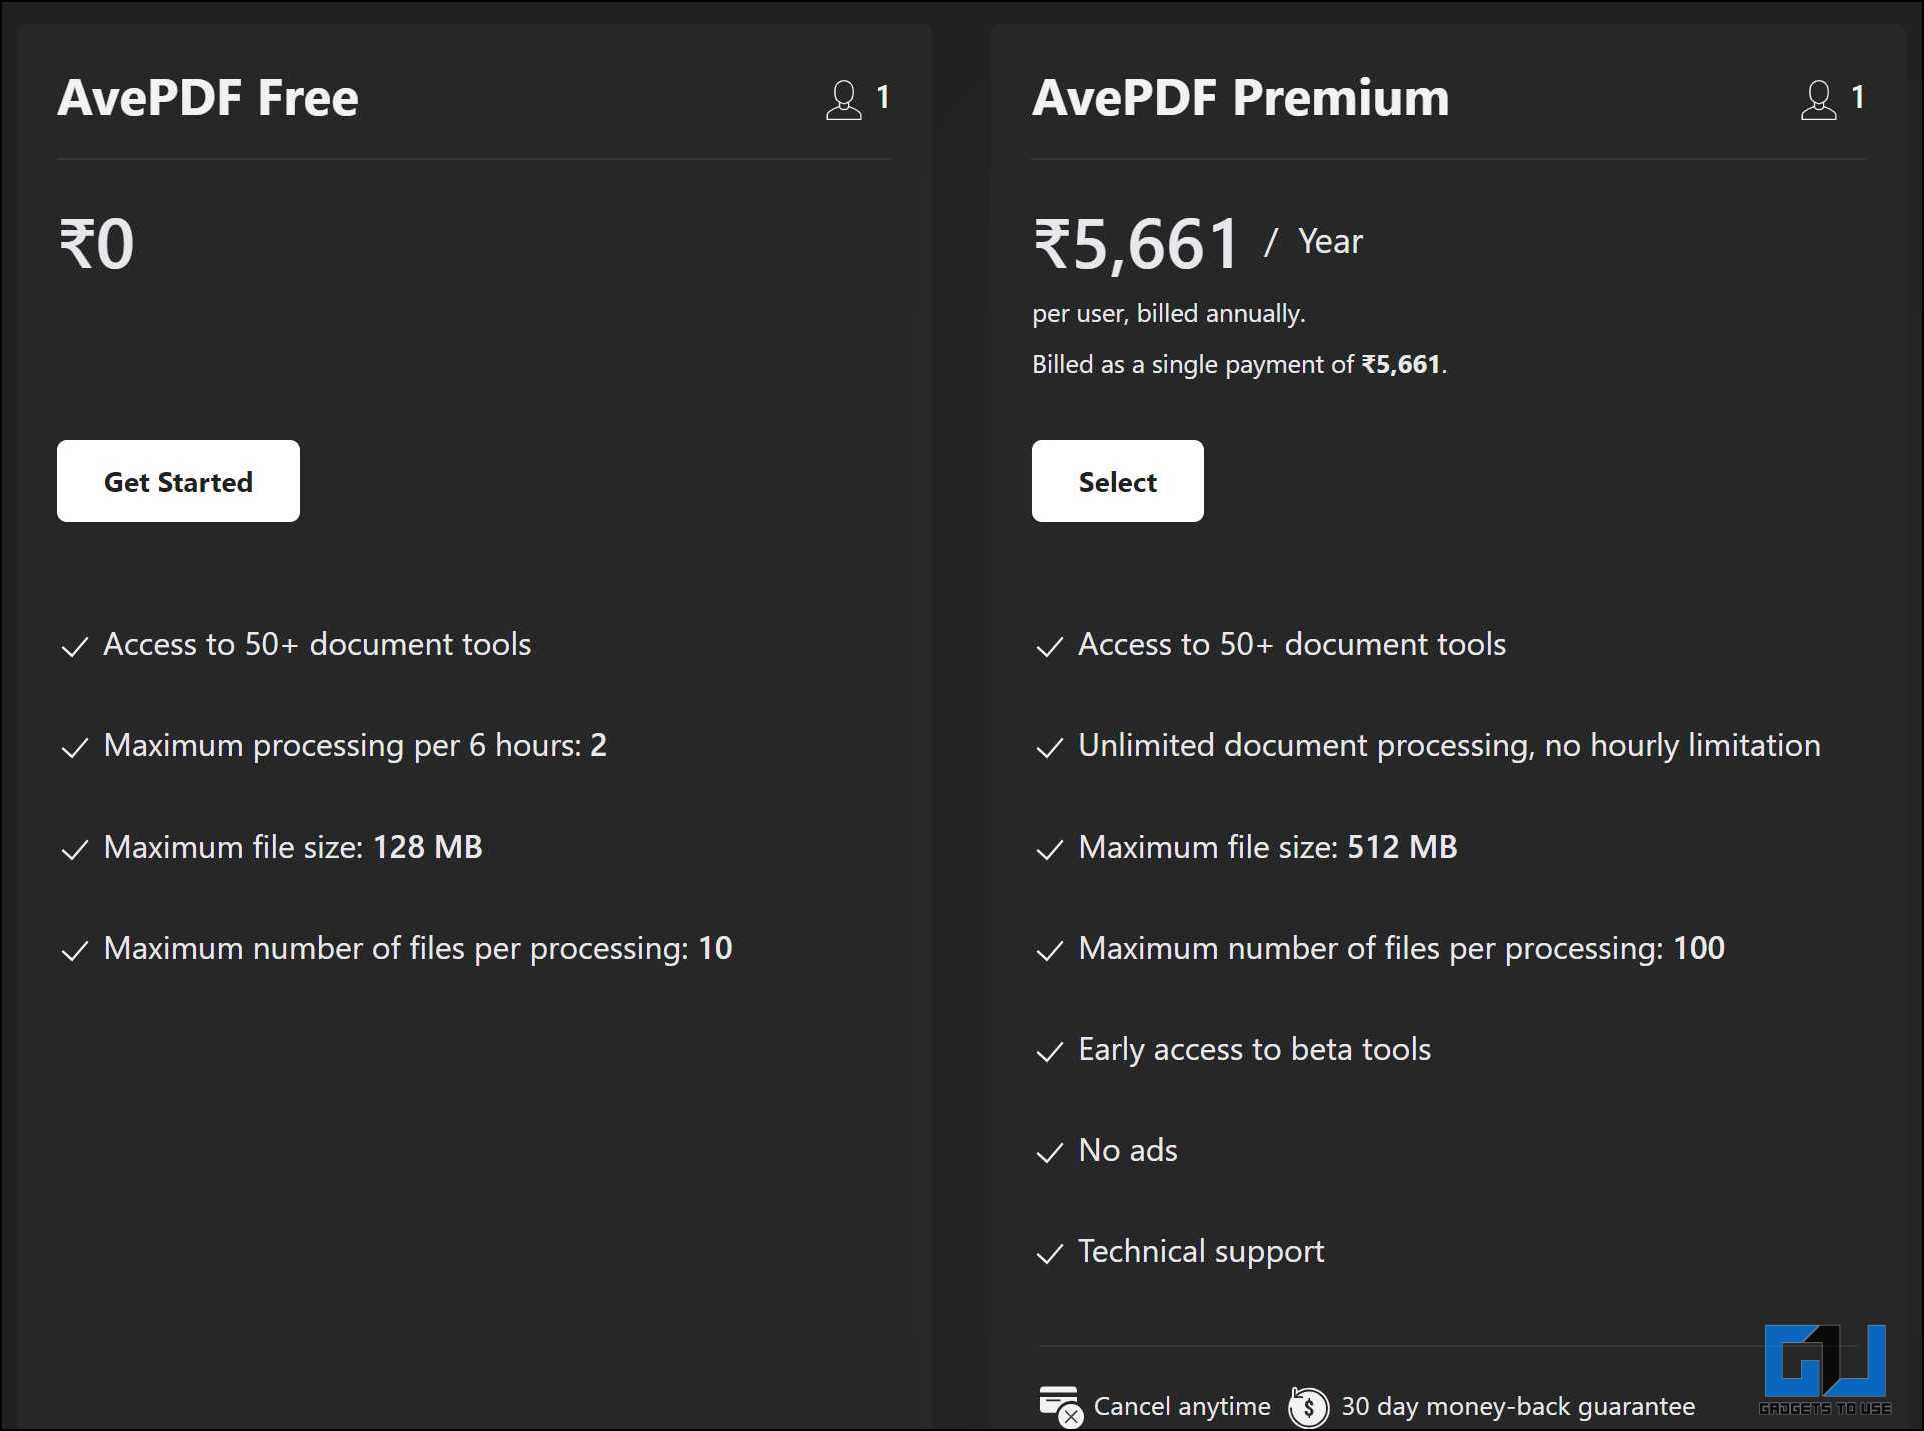
Method 3 – AvePDF
AvePDF is a free online tool that allows you to edit and optimize your PDF files. You can use it to clean up your scanned documents by following these steps:
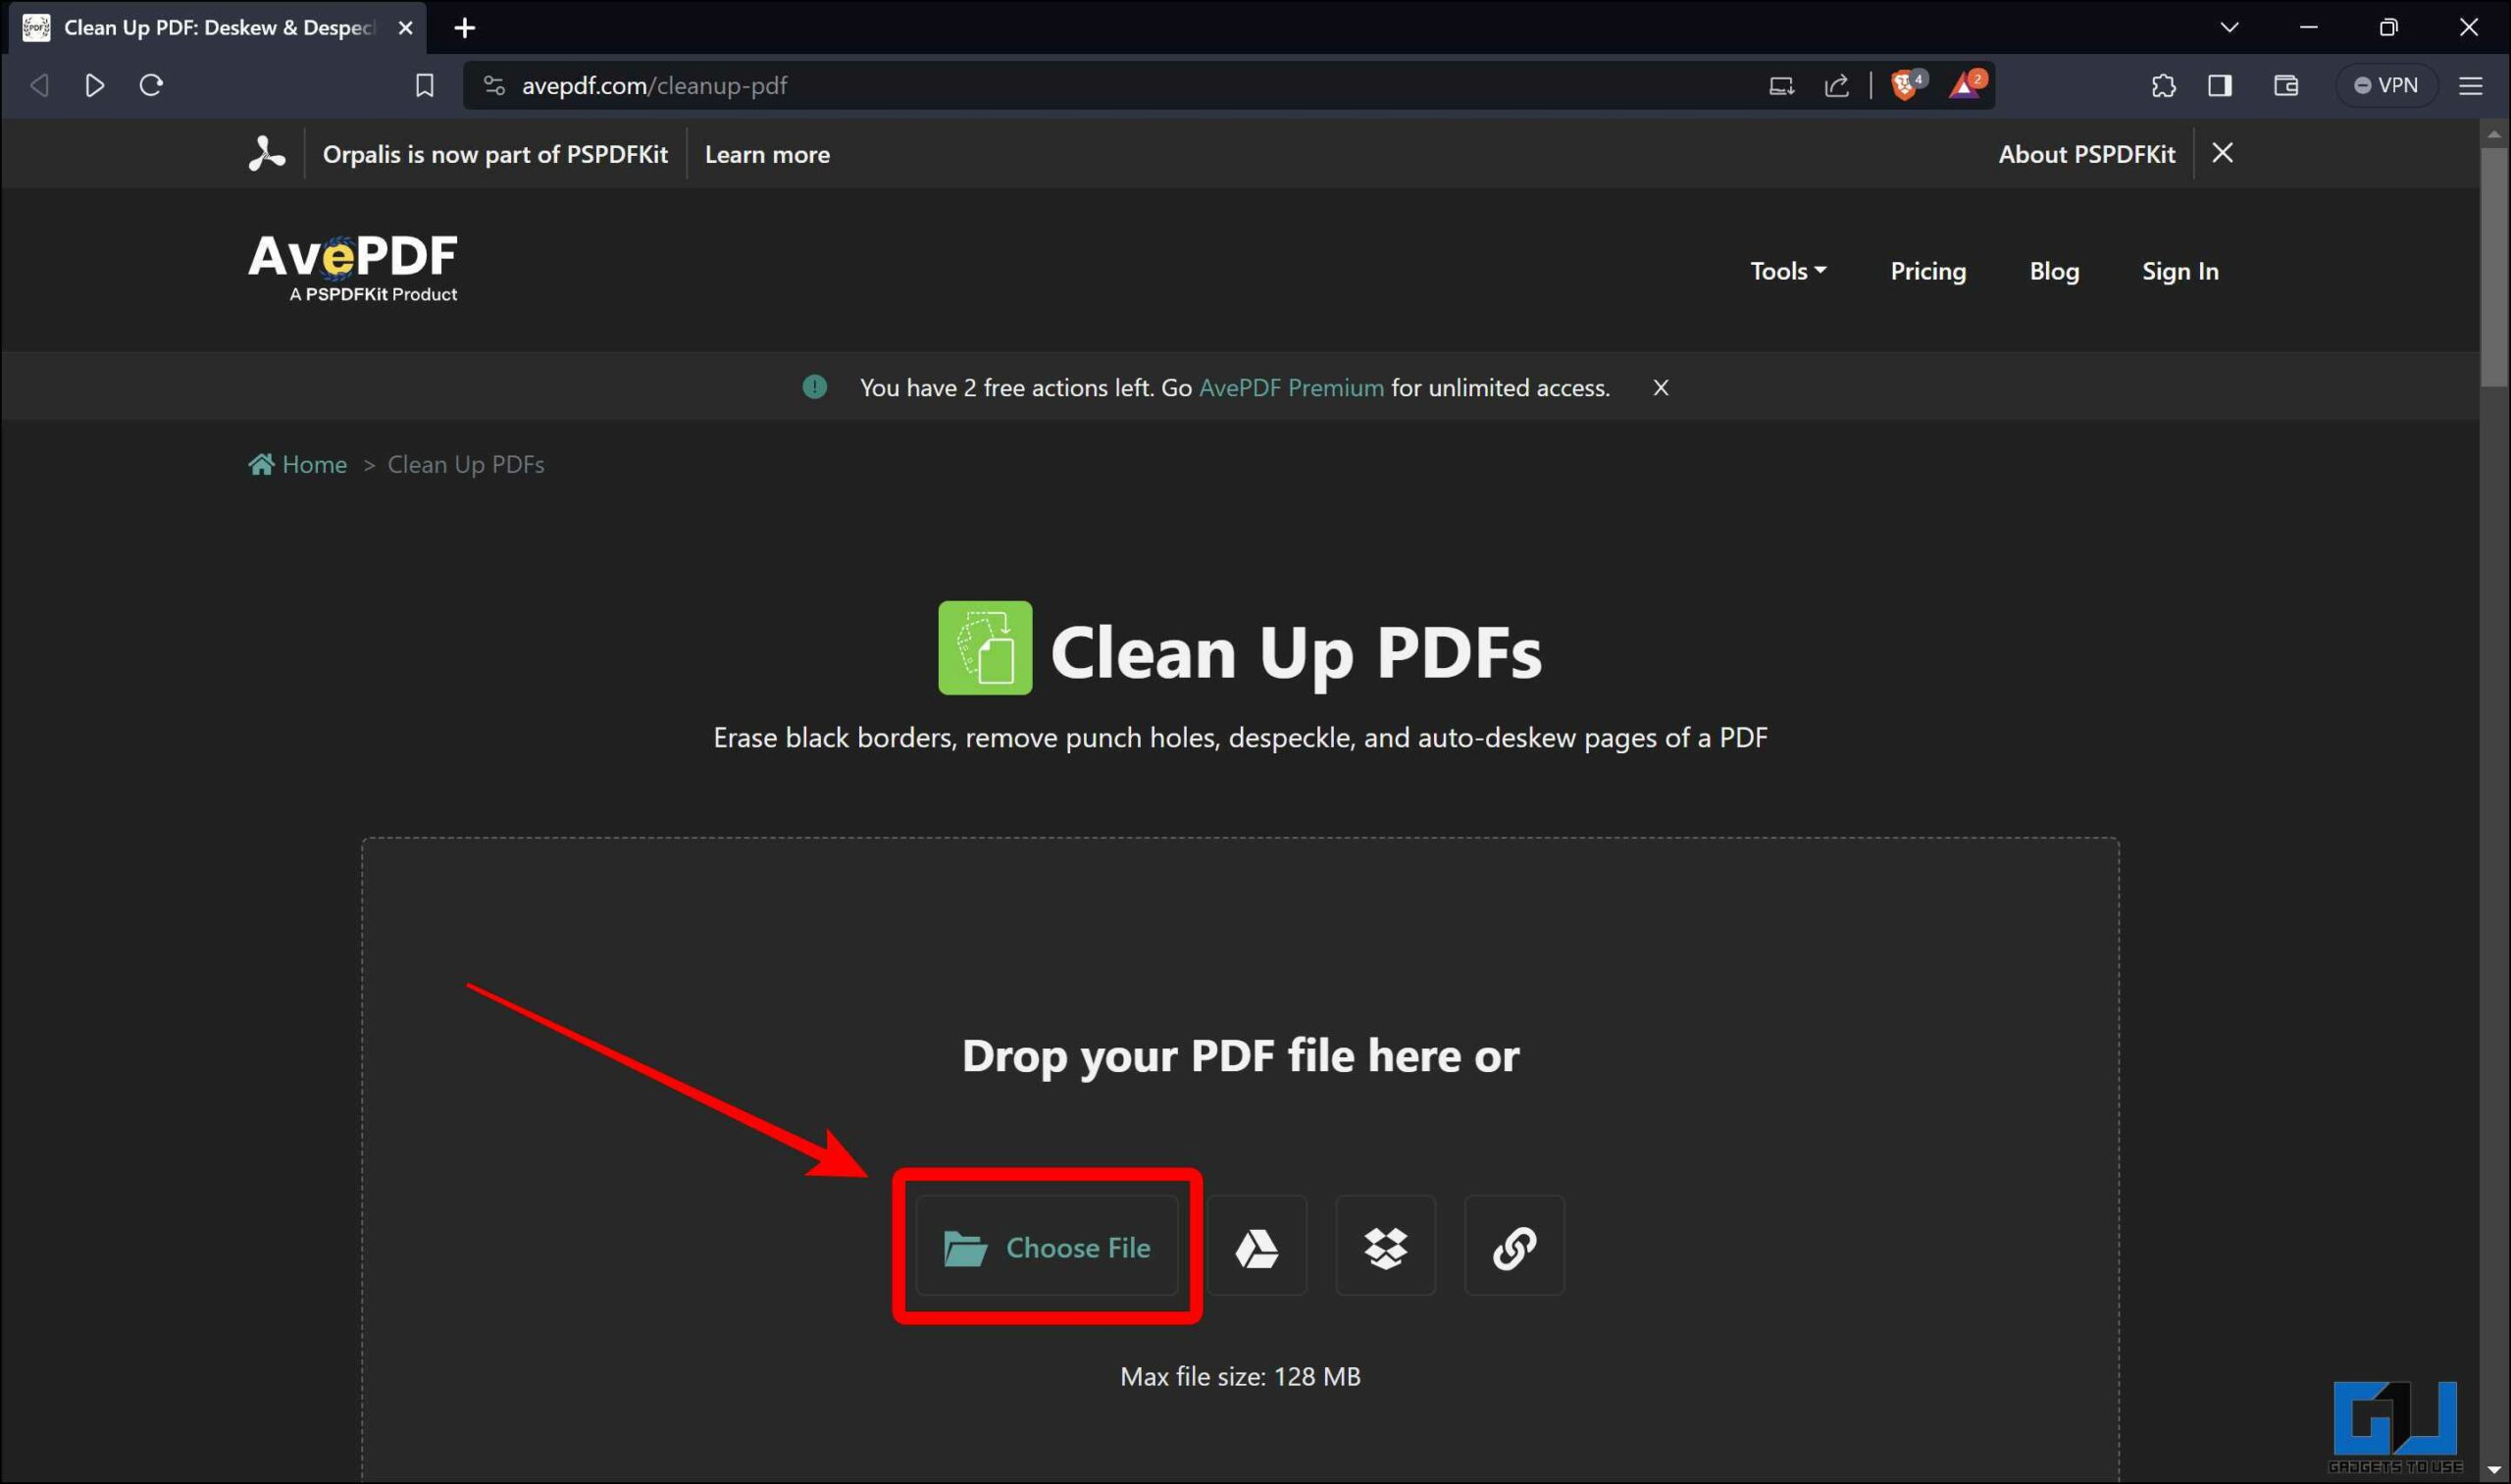
1. Go to the AvePDF website and click Choose File to upload the desired file.
2. Use the provided options to improve your document and click the Save button.
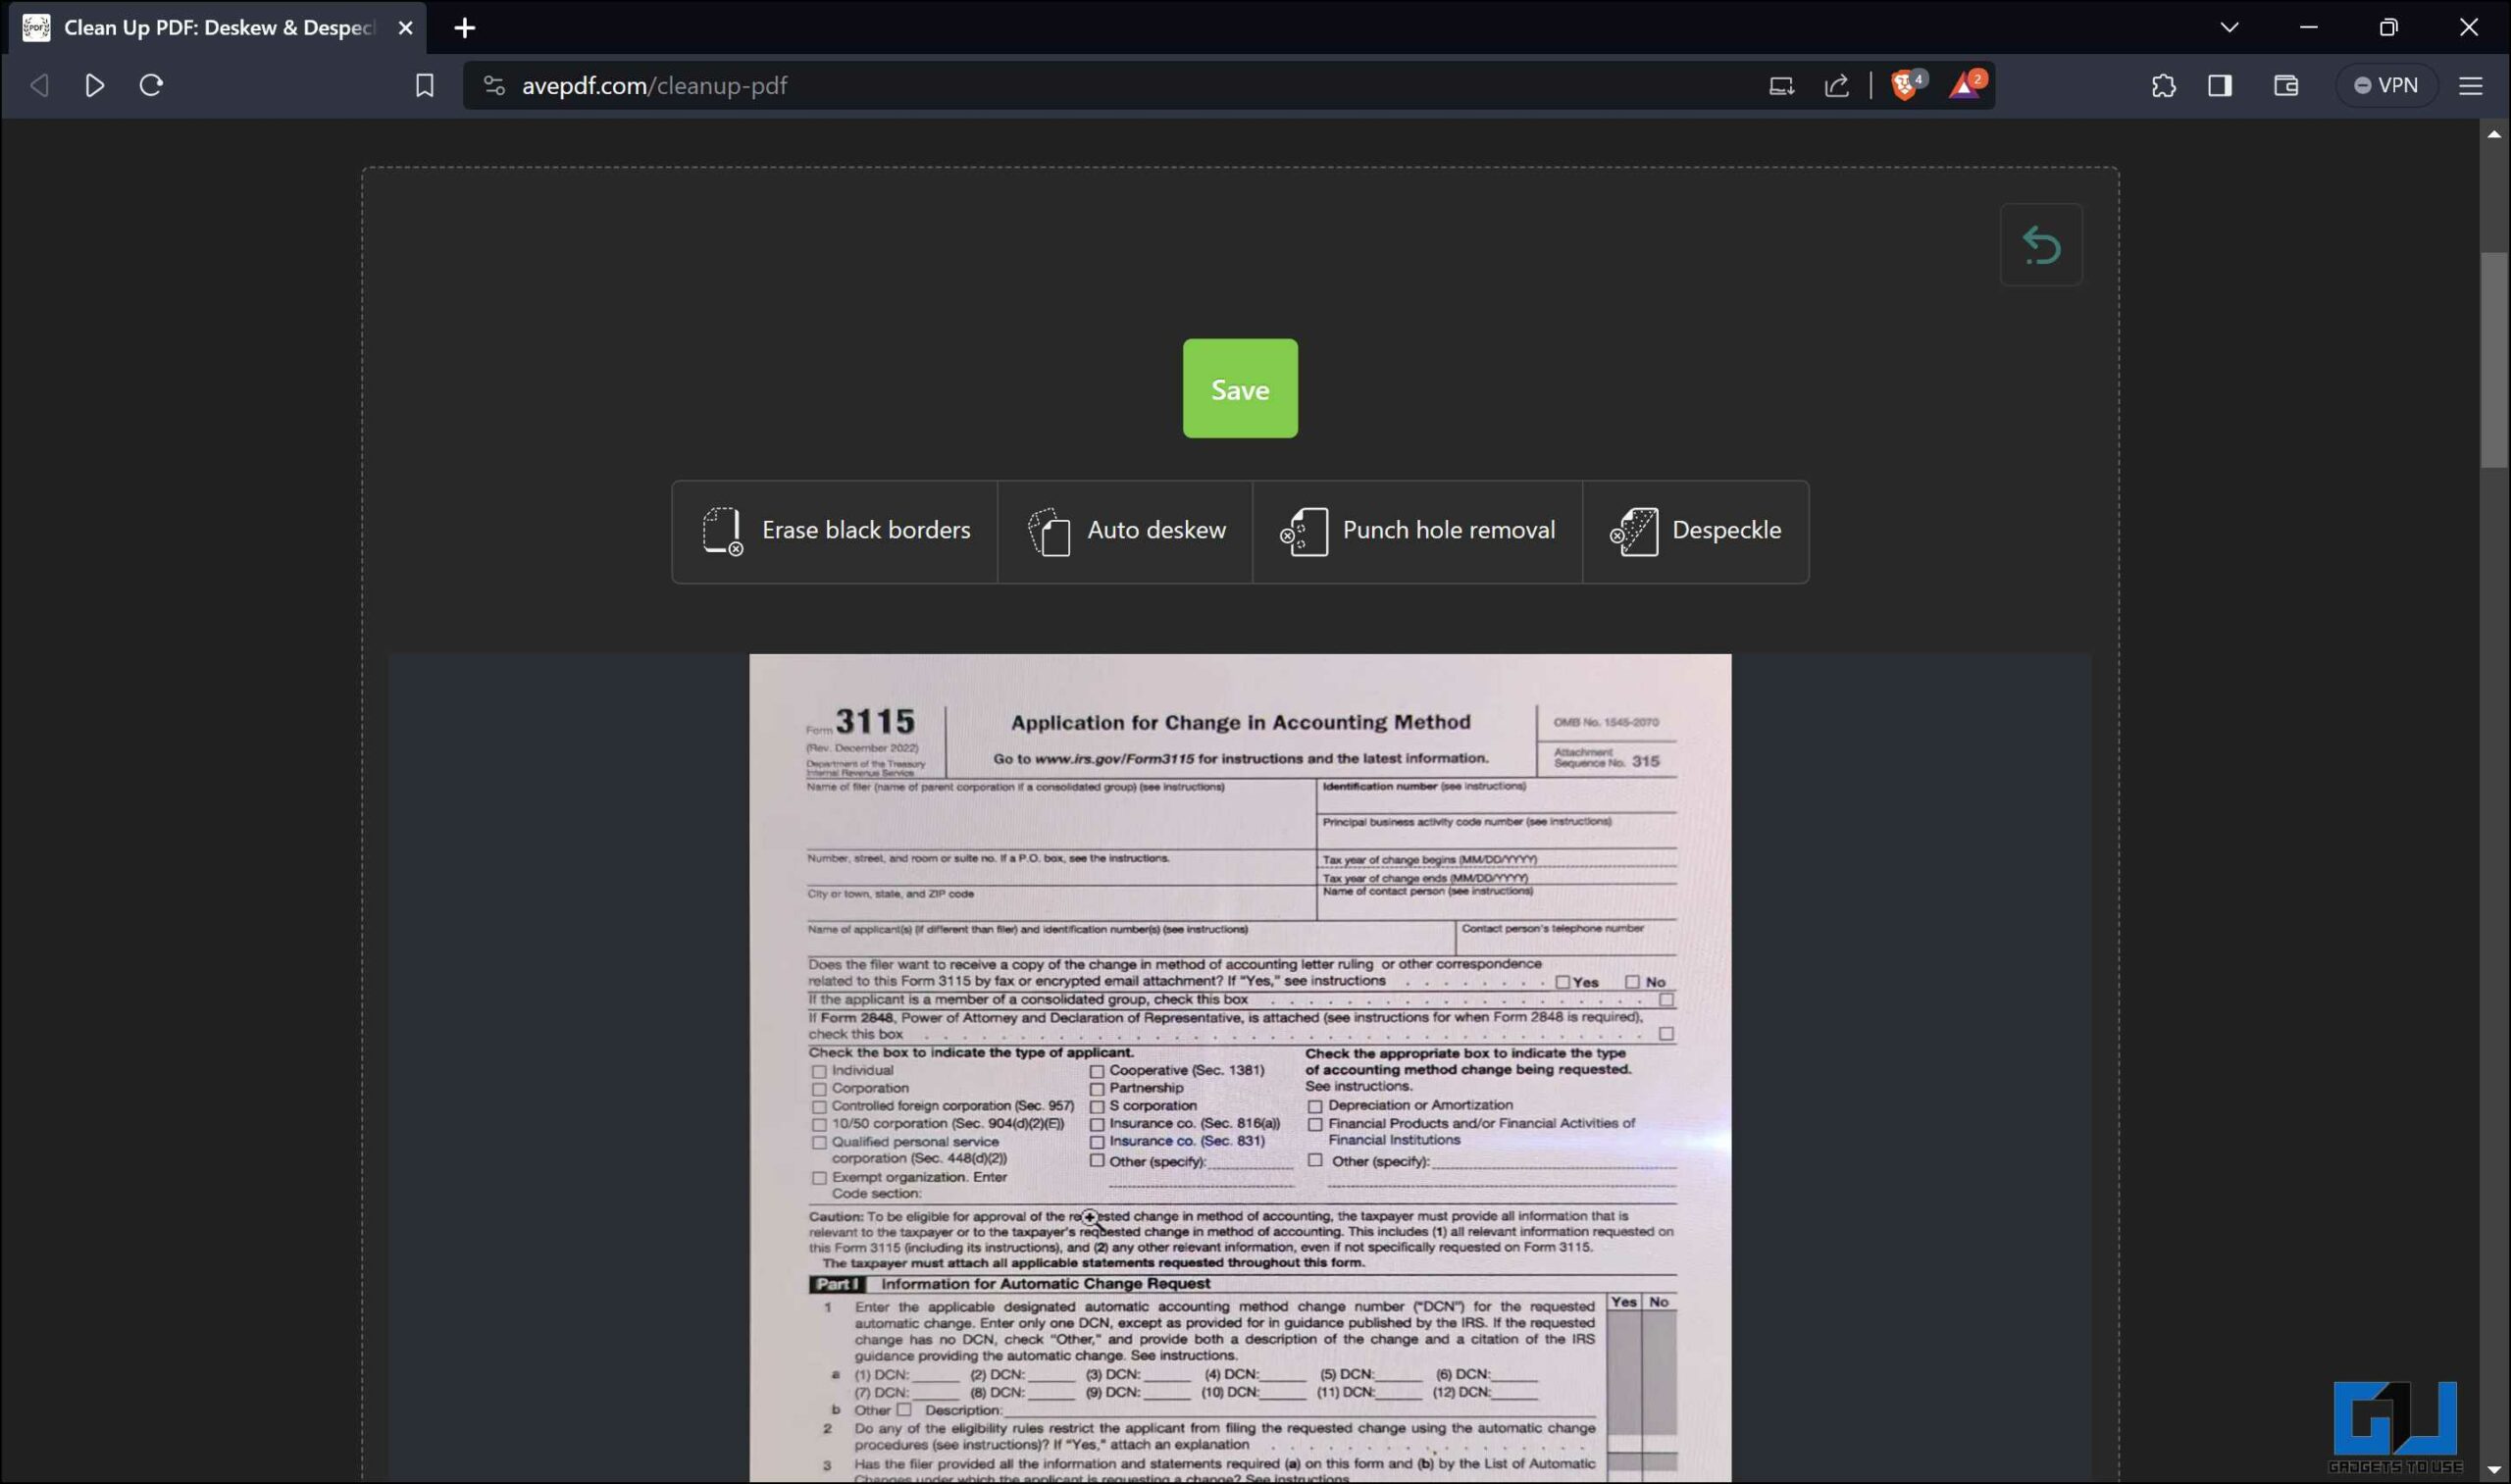
AvePDF can be used for free, but the free plan is limited to accessing the tools only two times every six hours, with a maximum file size of 128MB and a maximum processing of 10 files. The premium subscription costs ₹5661/year and offers all tools with no hourly limitations, a maximum file size of 512 MB, and 100 files per processing. It also comes without ads, early access to beta tools, and technical support.
Method 4 – Google Drive
Google released a new update to Google Drive with an updated document scanner. This scanner lets you clean up the smudges while scanning the documents. Check out our detailed guide to clean smudges using Google Drive from scanned documents.
Wrapping p
Cleaning up scanned documents can make them more readable and editable. These free tools and methods can help you enhance the quality of your scanned documents easily and quickly. Stay tuned to GadgetsToUse for more such reads, and check the ones linked below.
You might be interested in the following:
- 4 Ways to Scan and Upload Documents Using Google Drive App
- 3 Ways to Save WhatsApp Document Photos/ Videos to Gallery
- How to Protect Your Office Documents With Password
- Top 5 Ways to Clean Junk Files on Windows 11 PC
You can also follow us for instant tech news at Google News or for tips and tricks, smartphones & gadgets reviews, join the GadgetsToUse Telegram Group, or subscribe to the GadgetsToUse Youtube Channel for the latest review videos.