If you often face mouse lags and stuttering issues on your Windows 11 or 10 system then this troubleshooting guide will fix it for you. In this read, we have listed the top 10 methods to fix slow mouse movement issues on your system.
Also, Read | Top 6 Ways to Disable Apps from Running on Startup in Windows 11
Fix Slow Mouse Movement and Lags on Windows 10, 11
Adjust Mouse Pointer Speed to Fix Slow Mouse Movement
The first and foremost method to fix slow mouse movement is to check and adjust it using the Mouse Pointer Speed. Follow these steps for an easy fix.
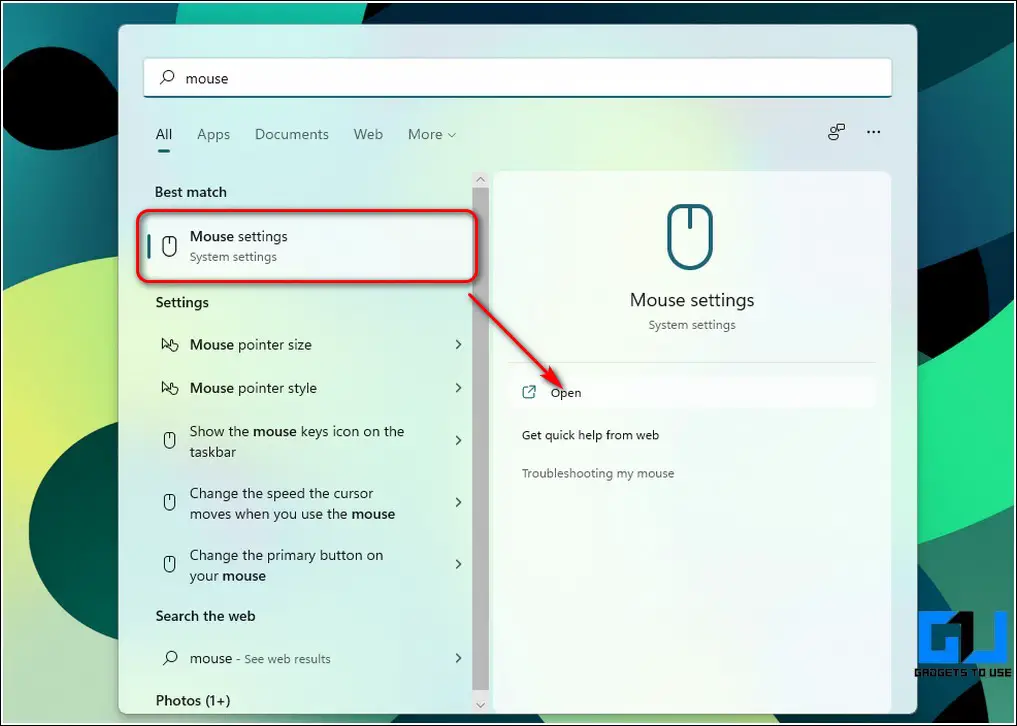
- Press the Windows key and search for the Mouse Settings to open it.
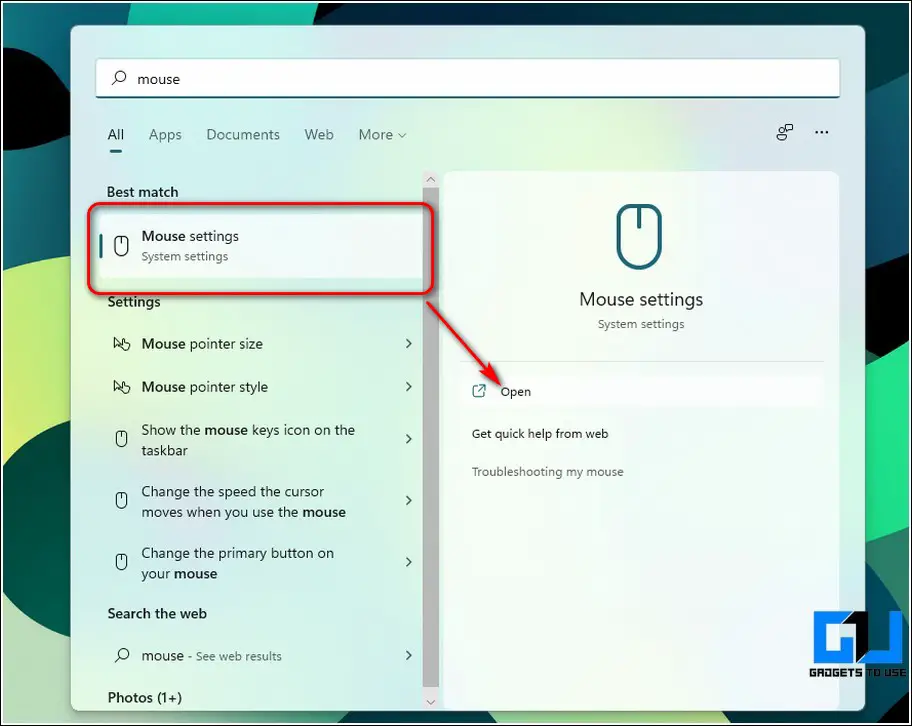
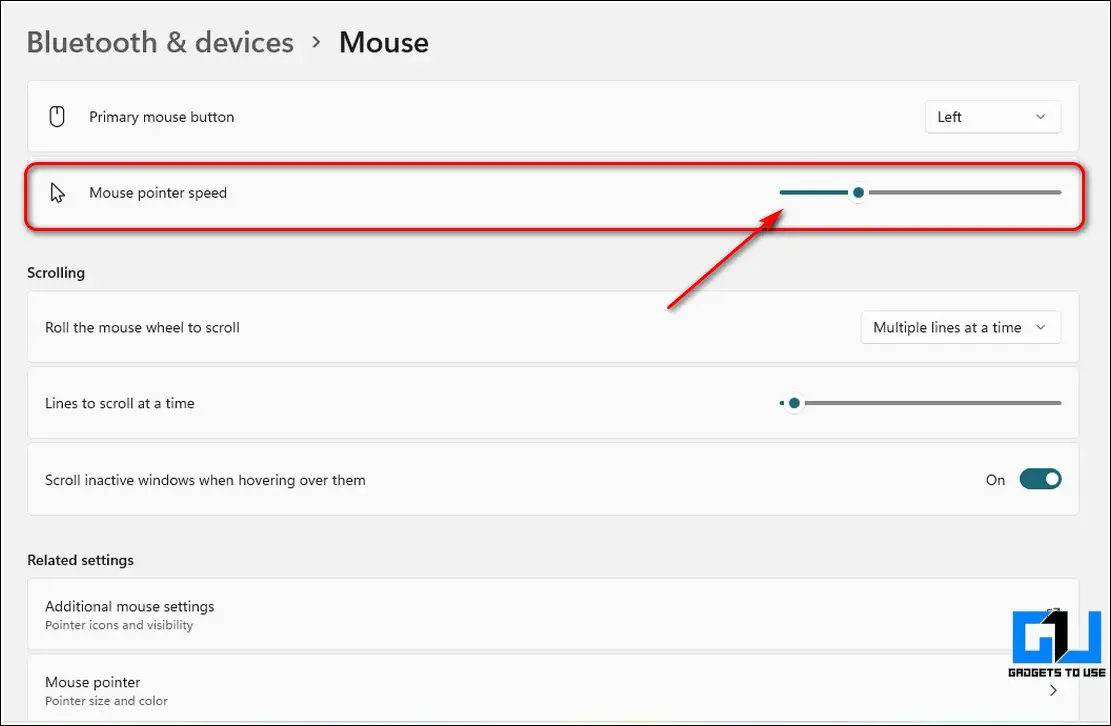
- Locate the Mouse Pointer Speed option from the list and adjust the slider to check for improvements in the mouse pointer speed.
Disable Mouse Pointer Trails
Often Windows users have reported issues/lags with their mouse movement when they have enabled pointer trails on their system. To fix this issue, you need to disable this feature and check if the issue has been resolved.
- Press the Windows key and search for the Mouse Settings to open it.
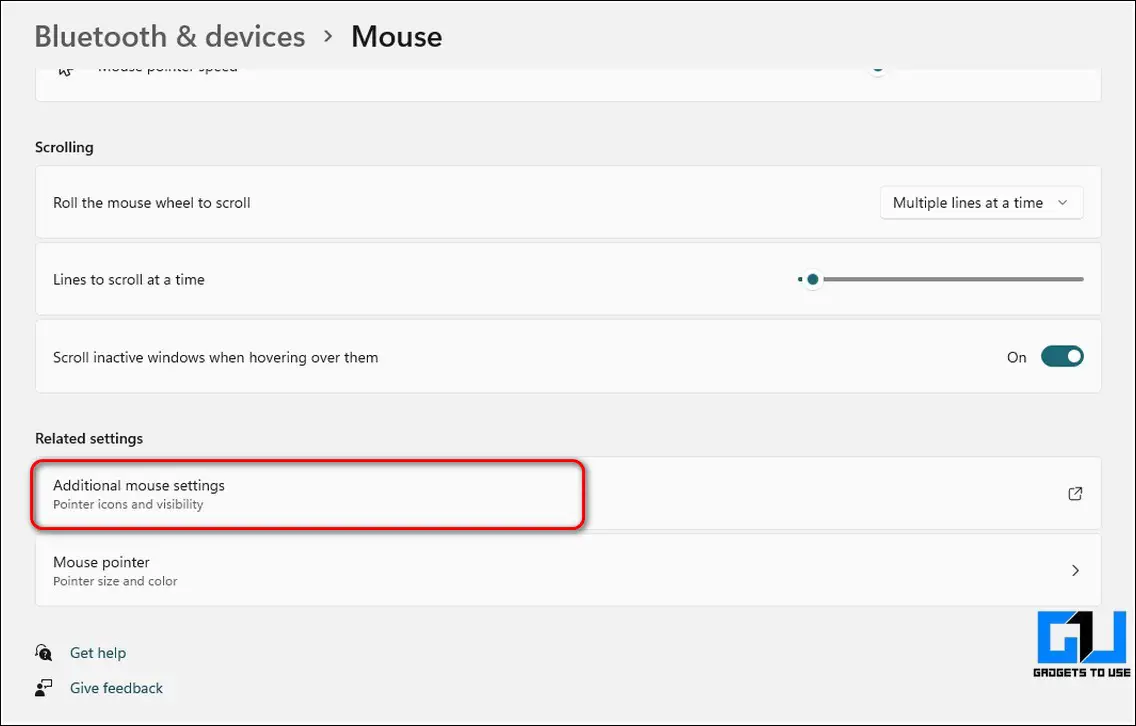
- Scroll down to locate Additional Mouse Settings and click on it.
- Navigate to the Pointer Options tab and uncheck the Display Pointer Trails option.
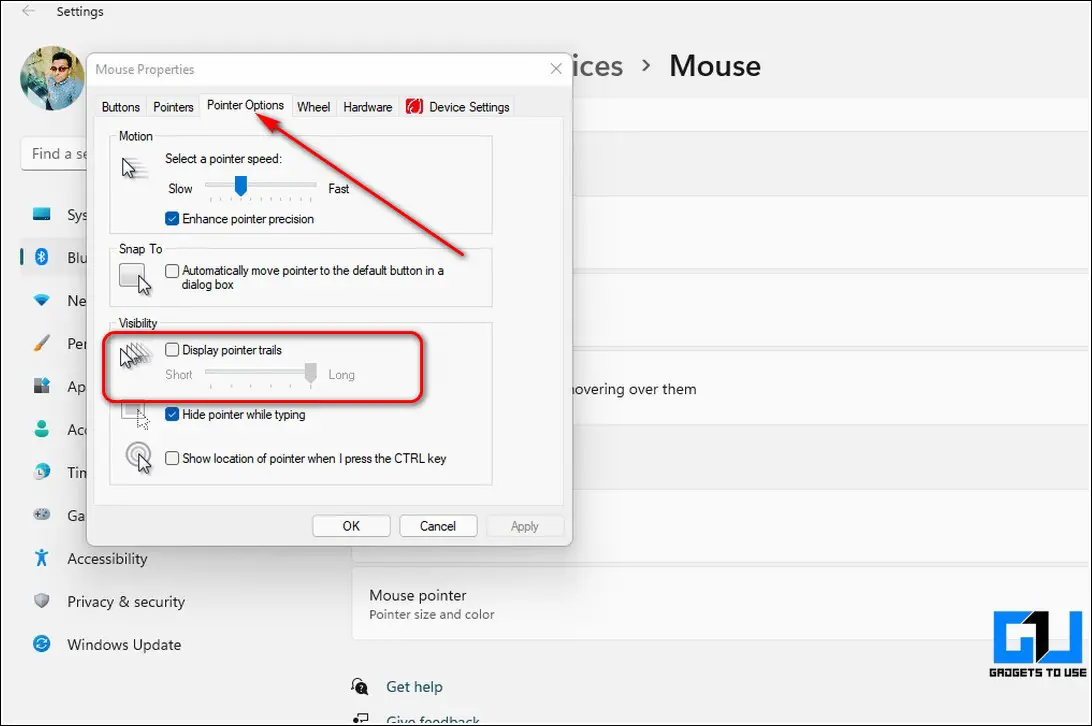
- Restart your system to check if the issue has been resolved.
Physically Remove and Reconnect the External Mouse
Sometimes, a hardware malfunction can result in producing issues with the external mouse connected to your Windows system. To fix this issue, you need to physically remove the mouse and then reconnect it again to check if the issue has been resolved.
- If you use a wired mouse, then remove its plug from the connected port and then reconnect it again.
- If you use a wireless mouse, remove the wireless connector and then reconnect it again to ensure a fix to the existing problem.
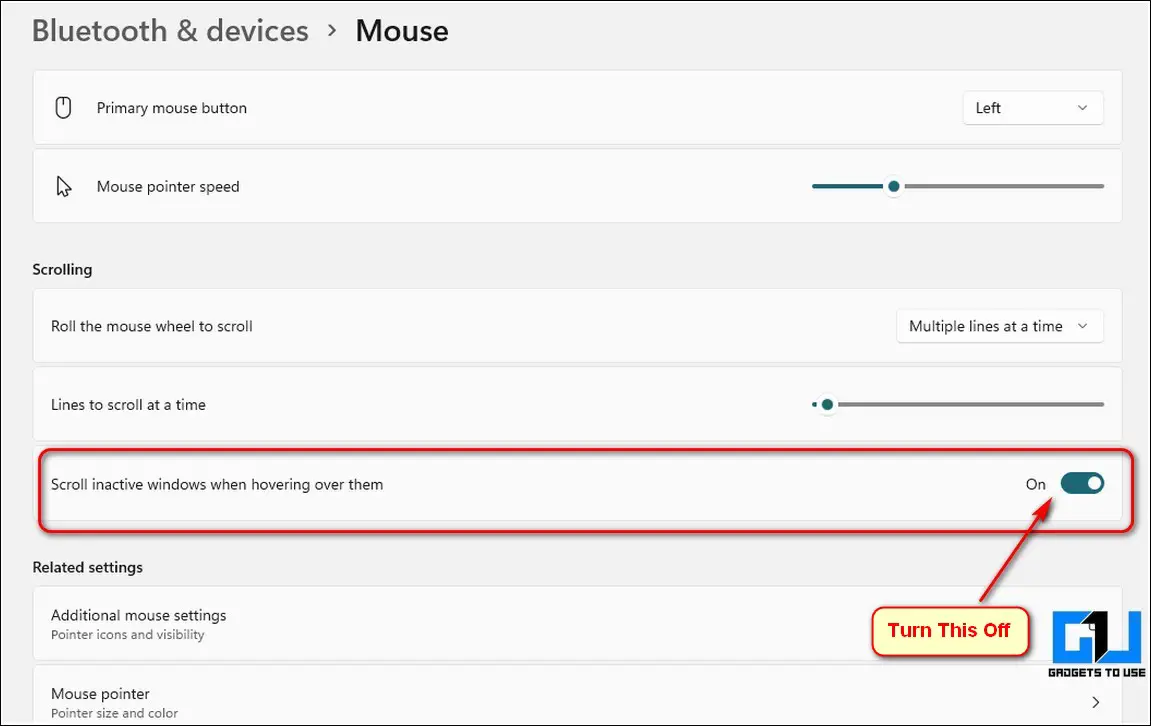
Turn Off Scroll Inactive Feature of Windows to fix Slow Mouse Issues
Both Windows 10 and 11 offer you the feature of scrolling the inactive window on your screen using your mouse without gaining any focus. However, users have often reported mouse lags when this feature is turned on. To fix this issue, you need to toggle off this feature from your Windows settings app.
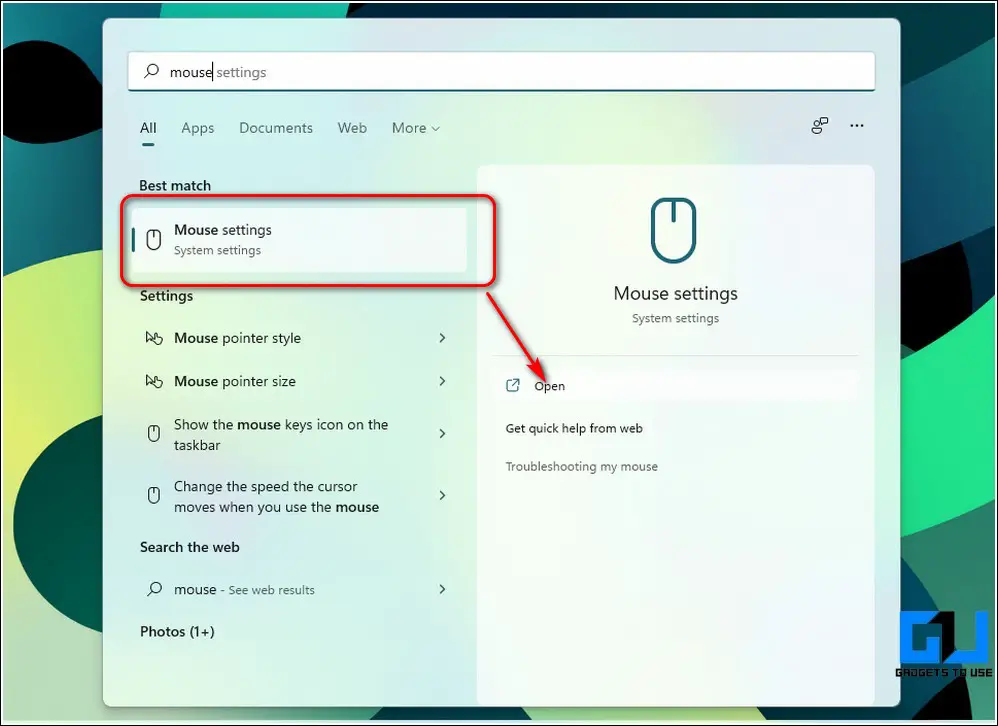
- Search for the Mouse Settings in the Start Menu to open it.
- Scroll down to locate the Scroll Inactive windows when hovering over them option under the Scrolling section.
- Toggle off this feature to disable it.
Uninstall and Reinstall Mouse Driver
Another effective fix for this issue is to manually uninstall the mouse drivers and then allow Windows to reinstall the associated drivers automatically. Follow these easy steps to uninstall the mouse drivers on your system.
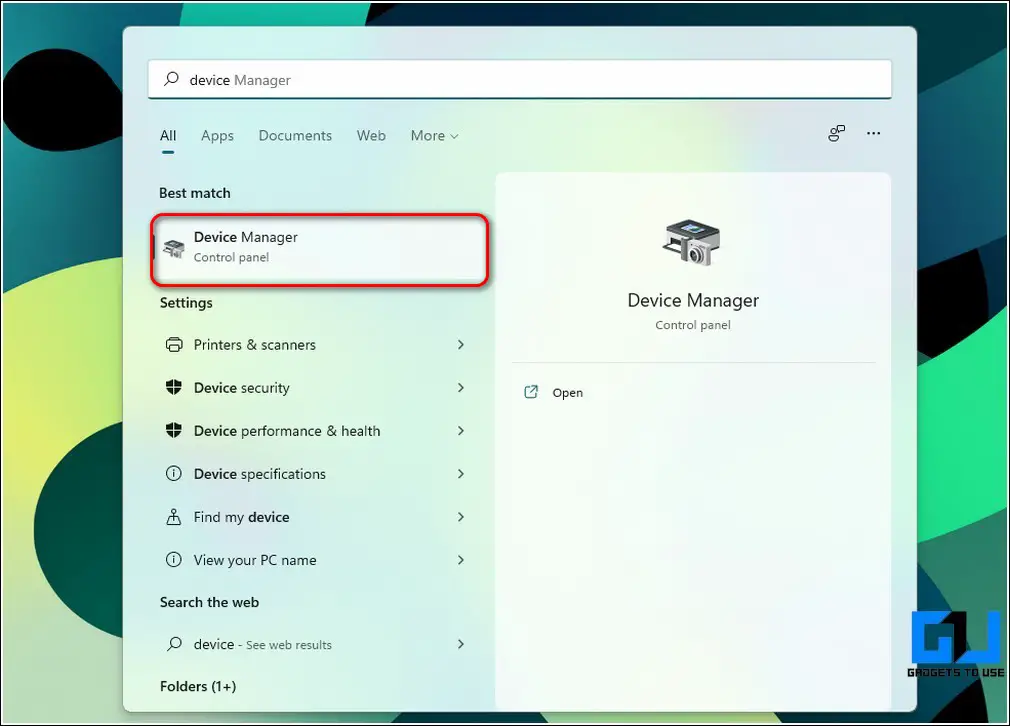
- Press the Windows key and search for the Device Manager app to open it.

- Inside the Device Manager window, expand Mice and other pointing devices and locate the name of your mouse driver.

- Right-click on the mouse driver and click on the Uninstall Device option.
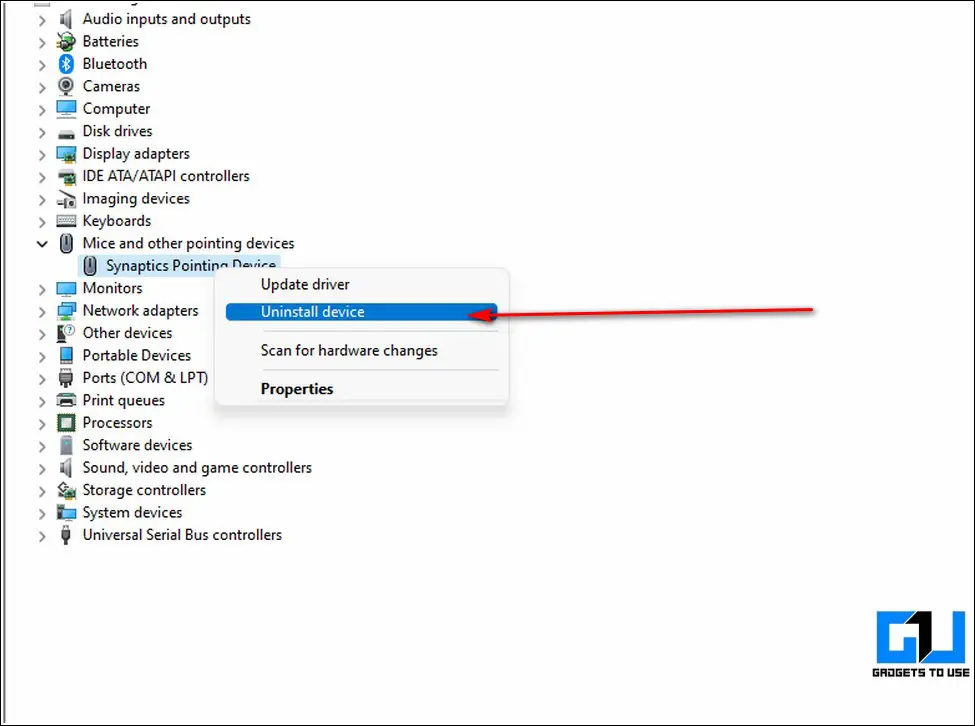
- Restart your system and wait for a few minutes to allow Windows to automatically install the mouse drivers for you.
- To speed up the process, you can also download model-specific mouse drivers for your system online.
Adjust USB Hub Power Management to Fix Slow Mouse Movement
Sometimes, Windows can automatically turn off the power on certain USB ports to save power consumption on the system. If you use an external mouse with your system and are facing an issue while using it then you need to verify appropriate USB power settings to ensure the proper functioning of your mouse.
- Press the Windows key and search for the Device Manager app to open it.
- Inside the Device Manager window, locate Universal Serial Bus Controllers and double-click to expand it.

- Identify the USB port number to which your external mouse is connected and double-click on it to configure it.
- Switch to the Power Management tab and untick allow the computer to turn off this device to save the power option.
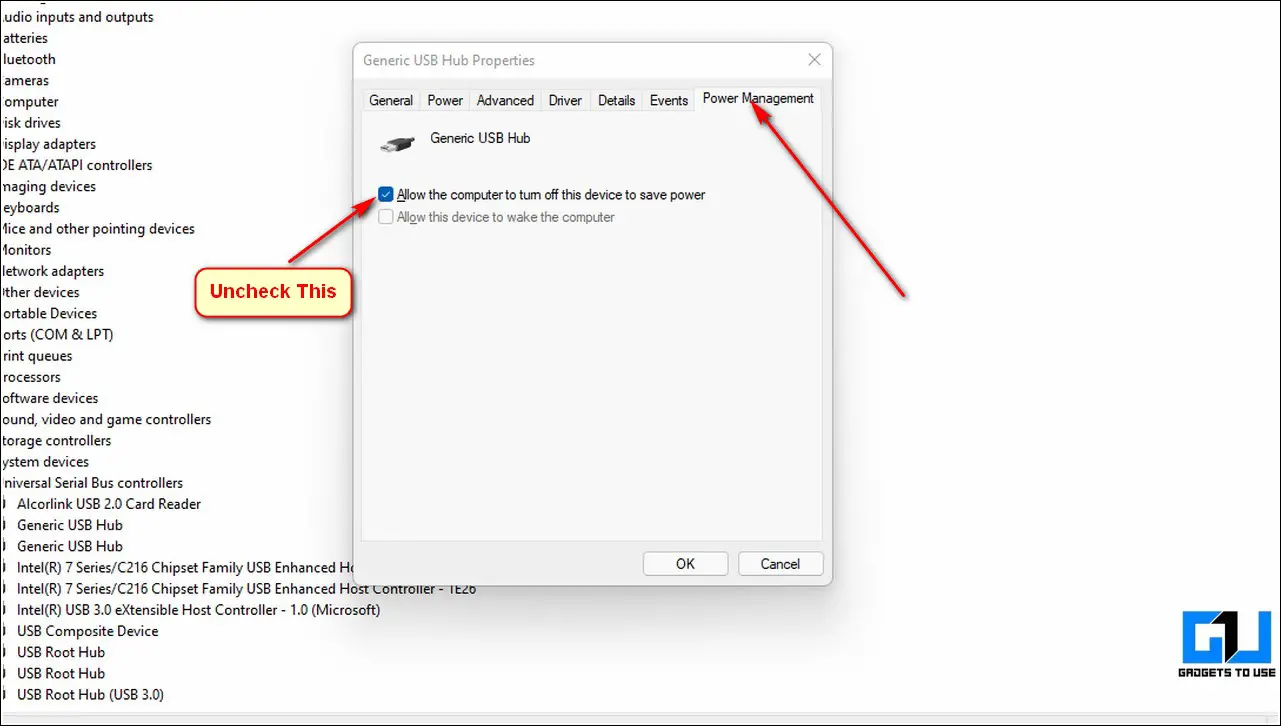
- That’s it. Now, Windows won’t turn off the USB port’s power automatically to which your mouse is connected to avoid facing any lags/issues.
Launch the Hardware and Devices Troubleshooter
Windows 10/11 also offers an in-built hardware troubleshooter which you can access with the help of the Command Prompt tool. This way, you can let Windows identify and resolve any associated problem with the mouse.
- Open the Run window by pressing the Windows + R key simultaneously.
- Type cmd in the search bar and hit the enter key.

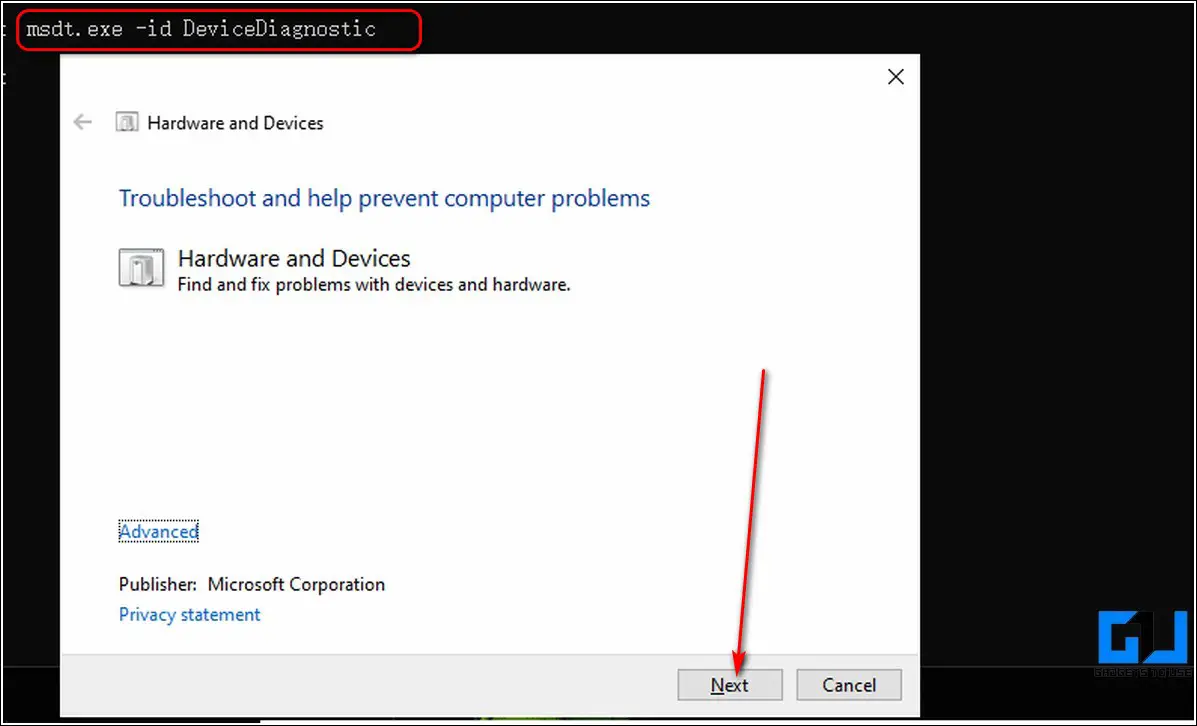
- Inside the command prompt window, type the following command and hit the enter key:
msdt.exe -id DeviceDiagnostic
- This command will instantly launch the Hardware and Devices Troubleshooter wizard.
- Click on the Next button and follow the on-screen wizard to complete and fix the existing issue using this troubleshooter.
Adjust Display Settings to Turn Off HDR Mode
Windows users have frequently reported facing the mouse lag issue after turning on the HDR mode on their system. If you are experiencing the same issue then you need to disable this mode to restore the proper functioning of your mouse in Windows 10/11.
- Right-click on your Windows desktop and click on the Display Settings to open it.

- Locate the HDR mode on the right side and toggle it off to turn off the HDR mode on your Windows 10/11 system.
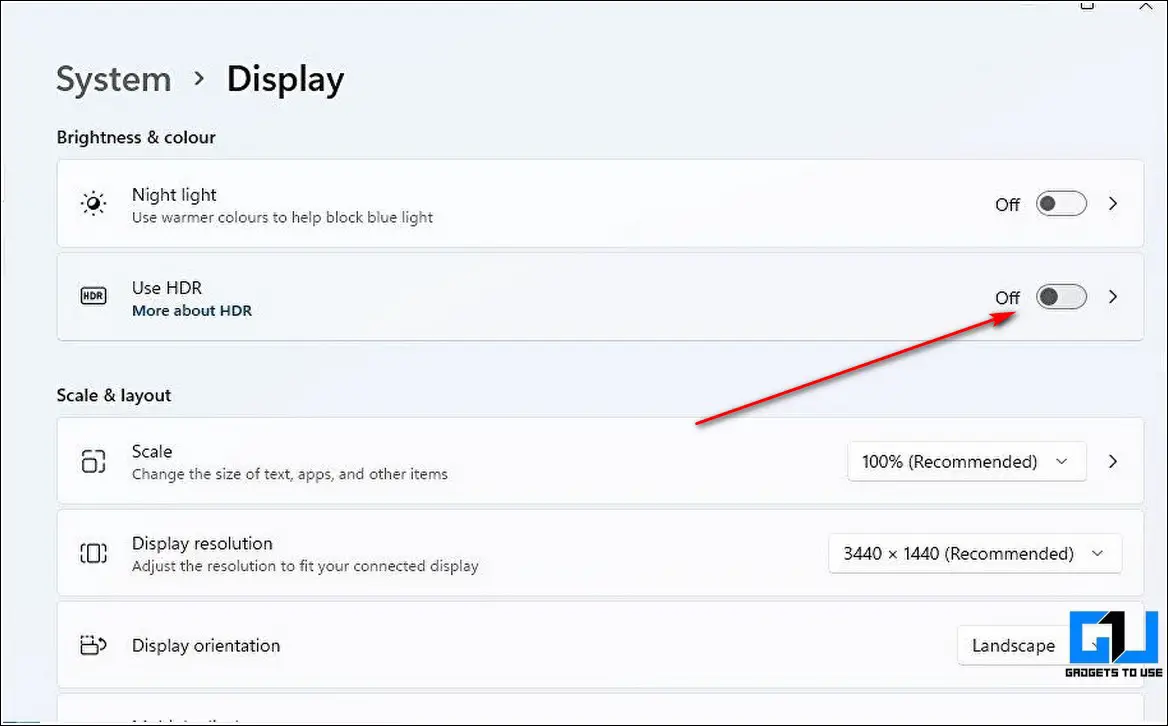
- Restart your system to check if the mouse issue has been resolved.
Restart the File Explorer App to Fix Mouse Lag Issues
Sometimes the mouse lag issue on your Windows system is related to the improper functioning of the File Explorer app. To resolve this issue, you need to manually restart the file explorer app from the Task Manager. Follow this quick guide to restart the File Explorer app on Windows 10, 11.
Bonus Tip: Check for Windows Update
If you are still experiencing mouse lag issues in your Windows system after trying all the above methods then you should check your system for any available updates to address and fix the existing mouse issue. Follow these easy steps to update your Windows system.
Related | 3 Quick Ways to View your Desktop Instantly in Windows 11
Wrapping Up: Fix Slow Mouse Movements
We hope that you’ve successfully fixed your slow mouse movements issue in your Windows system using the above-listed methods. If this troubleshooting guide has assisted you in ensuring a stutter-free mouse movement then hit the Like button and share this among your colleagues to help them resolve. Stay tuned for more troubleshooting guides.
You can also follow us for instant tech news at Google News or for tips and tricks, smartphones & gadgets reviews, join GadgetsToUse Telegram Group, or for the latest review videos subscribe GadgetsToUse Youtube Channel.