Quick Answer
- If you’re browsing Facebook on a desktop, you can hide memories from certain dates and people or eventually disable the feature to eliminate irrelevant memories.
- Alternatively, hide Facebook memories involving certain people, by tapping on the People option and entering the name of the Facebook profile you wish to exclude.
- Similarly, you can press the dates option to exclude a specific date or range you don’t wish to see in your memories.
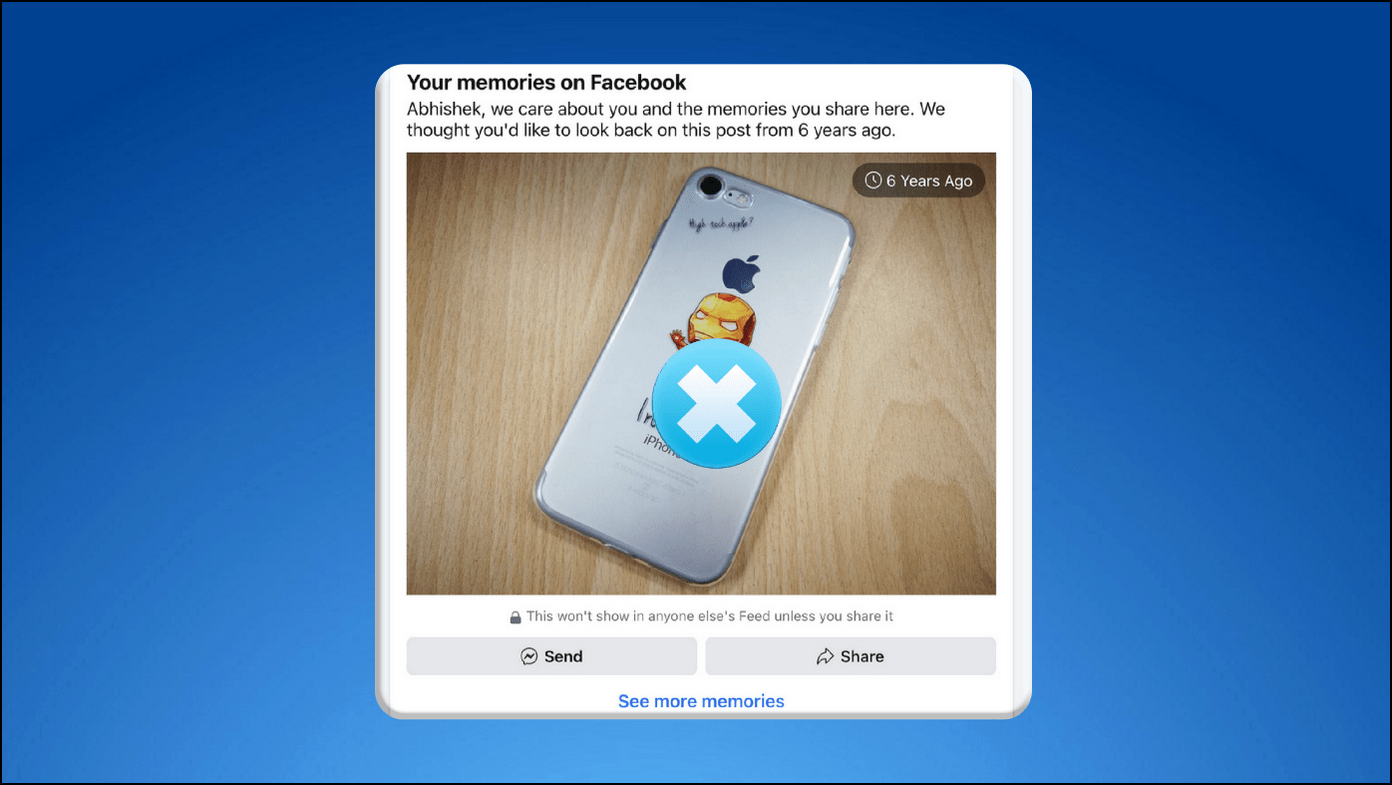
The Facebook algorithm often displays your past posts as memories on your timeline, making it a great way to feel nostalgic. Nevertheless, not every memory is pleasant, so it might spoil your entire day if you are reminded of a bad one. But worry not; this guide provides several methods for hide Facebook Memories from a specific date or person or even turning them off altogether. Additionally, you can learn to view the locked Facebook profile photo of anyone.
How to Hide Facebook Memories From Certain Dates and People, or Turn it Off
Follow these easy methods to hide Facebook Memories from certain dates and people or disable the feature across different devices:
Hide Facebook Memories using a Desktop
If you’re browsing Facebook on a desktop, you can hide memories from certain dates and people or eventually disable the feature to eliminate irrelevant memories. Here’s how:
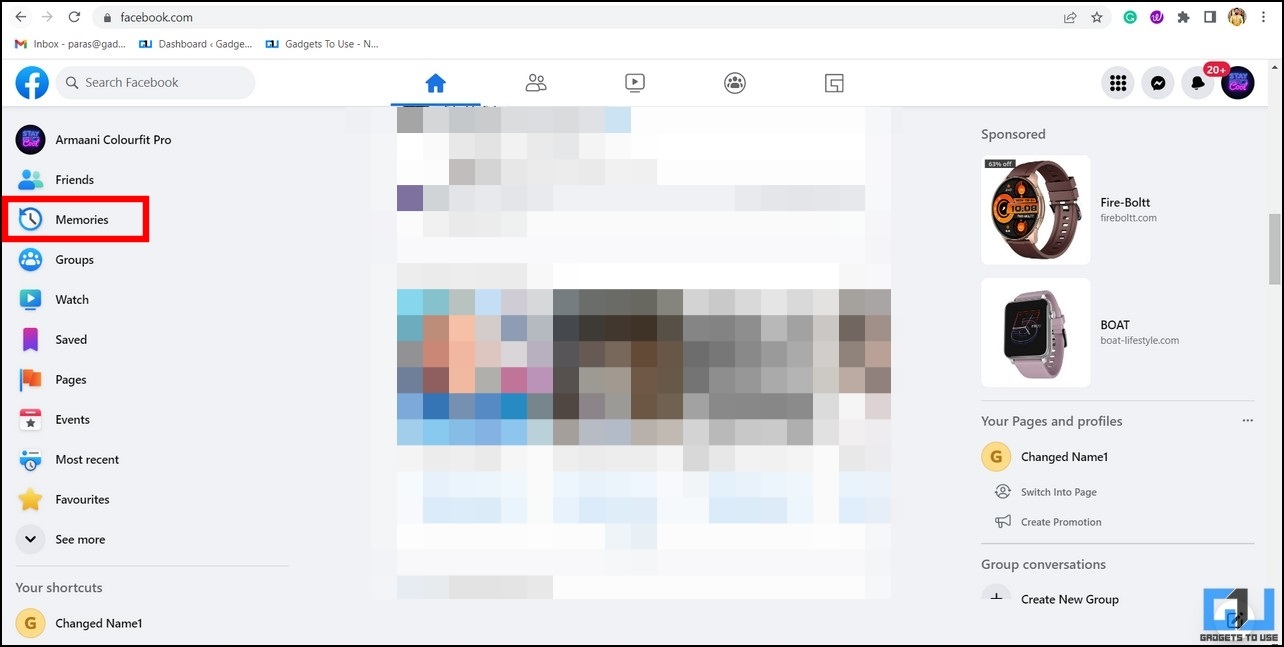
1. Open Facebook in a new tab on your web browser and click on Memories in the left sidebar.
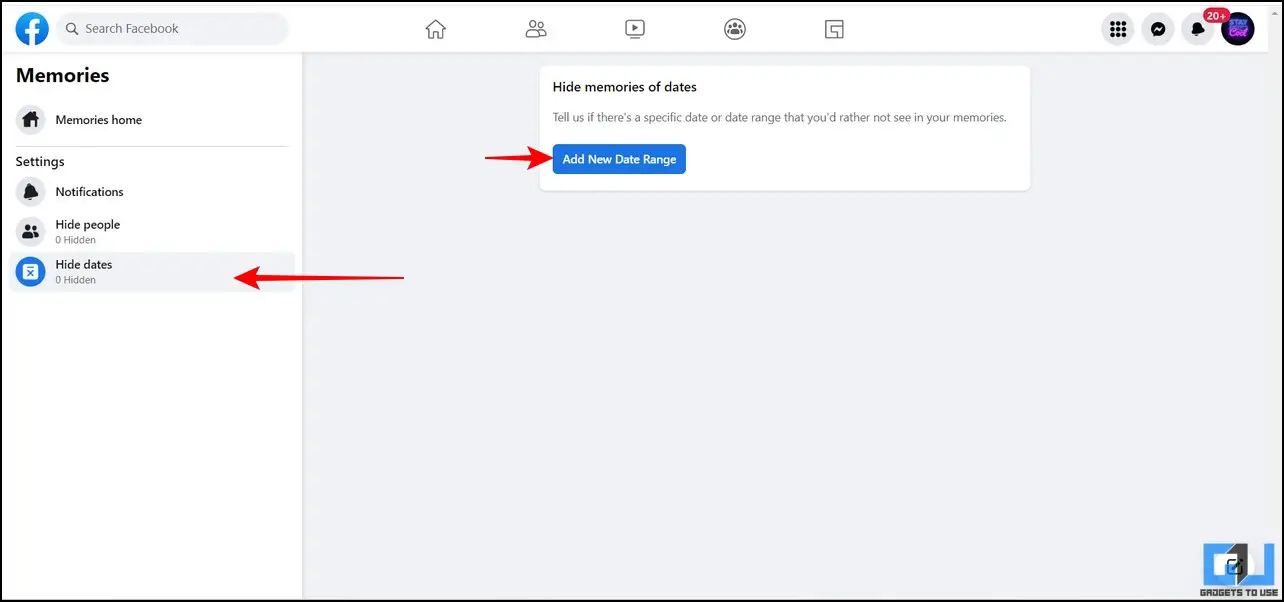
2. Expand the Hide Dates option in the left sidebar and click on Add New Date Range button.
3. Select your desired Start and End Date to exclude the period from Facebook Memories. Press the Save button to apply changes.
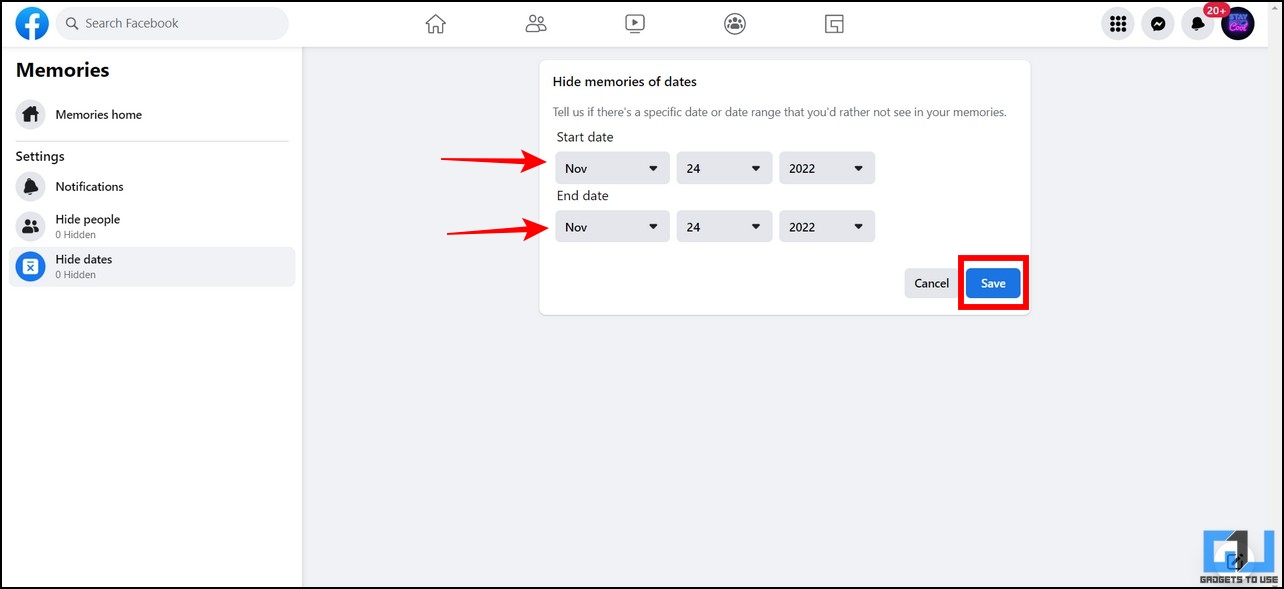
Once configured, you will not see memories from the specified date or time range on Facebook.
4. Like dates, you can also exclude memories with certain people by clicking the Hide People option.
5. Enter the name of the Facebook profile you wish to remove from your memories and click the Save button to apply changes.
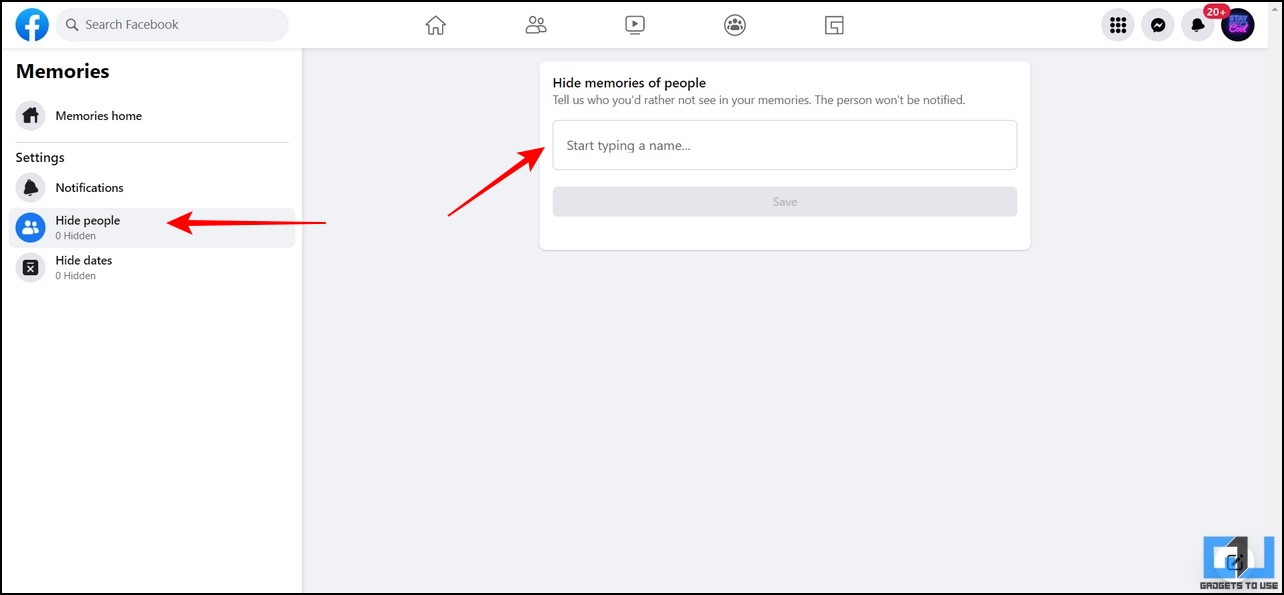
That’s it! You will no longer see any of your Facebook Memory linked with the excluded person on your timeline.
6. Finally, you can disable the Facebook Memories feature entirely by expanding Notifications and chaning the settings to None.

Use Facebook App on Android Phones to Hide Memories
Similar to a desktop, you can hide unpleasant Facebook memories using your Android phone. Follow these steps for an easy fix:
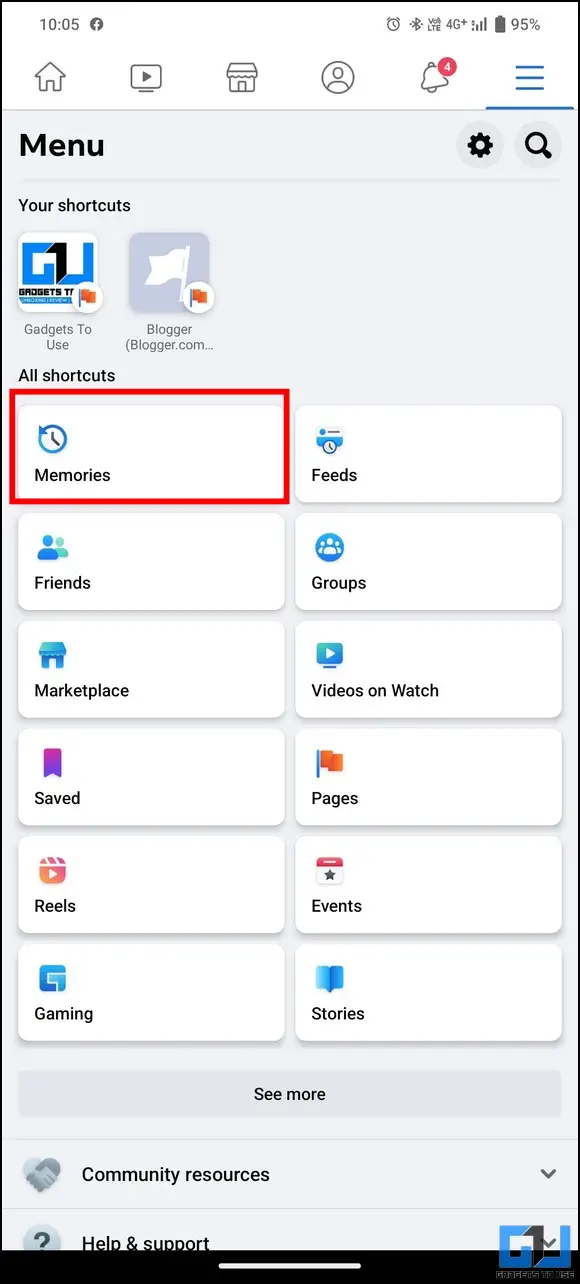
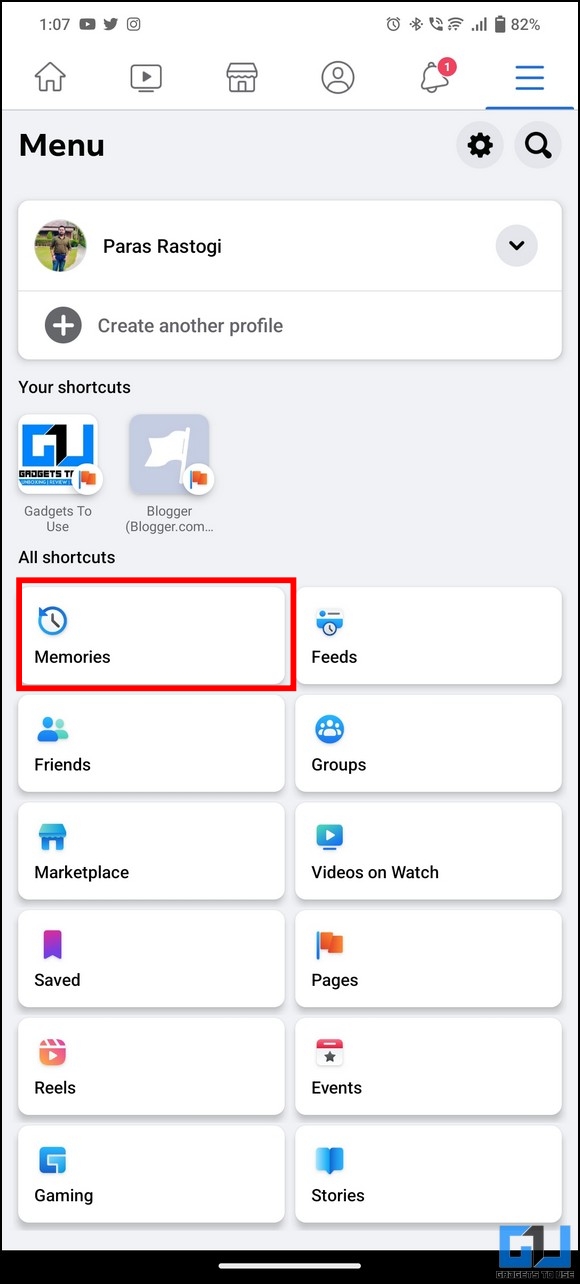
1. Open the Facebook app on your Android phone and tap on the hamburger menu icon in the top-right corner.

2. Next, tap on Memories and press the Gear icon to access Facebook Memories settings.
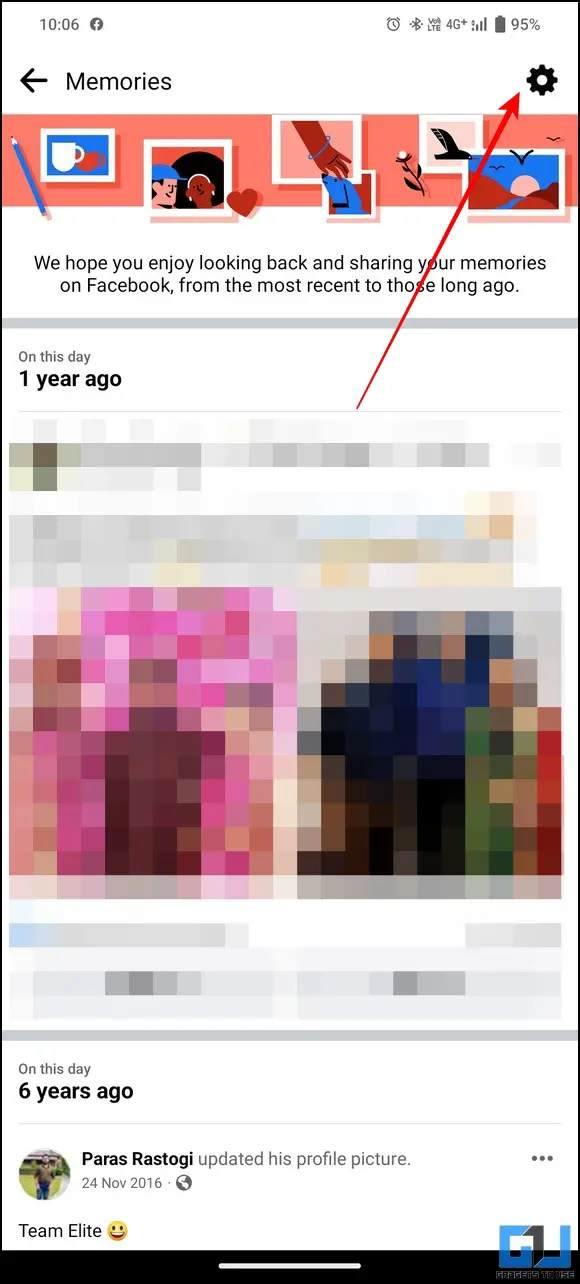
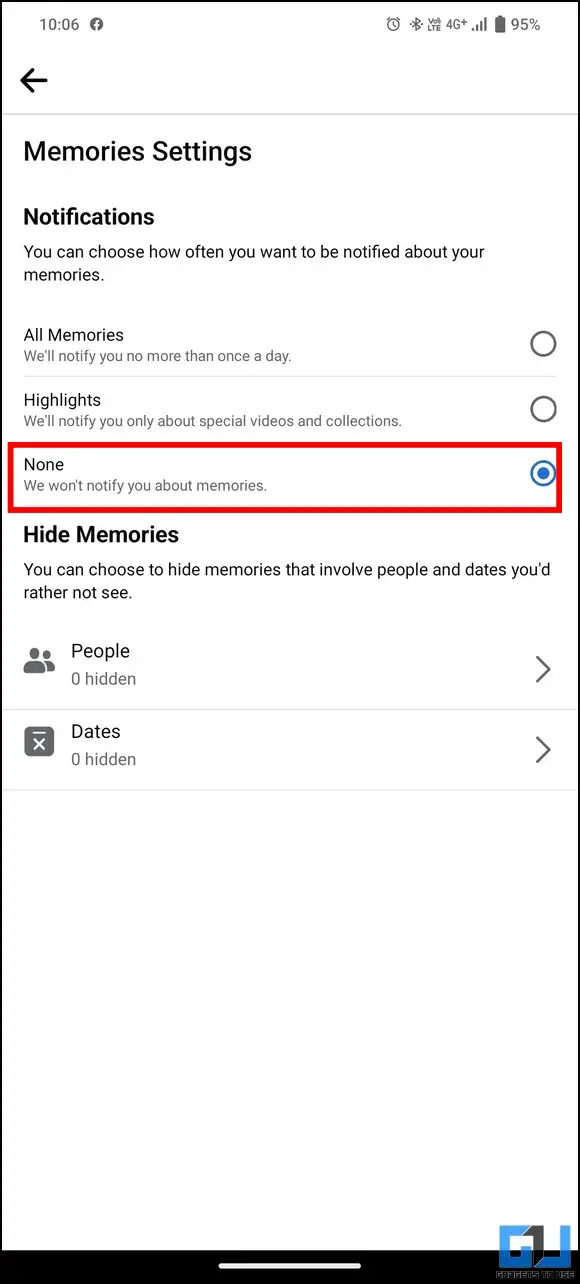
3. Further, set Notifications to None to disable Facebook Memories on your timeline.
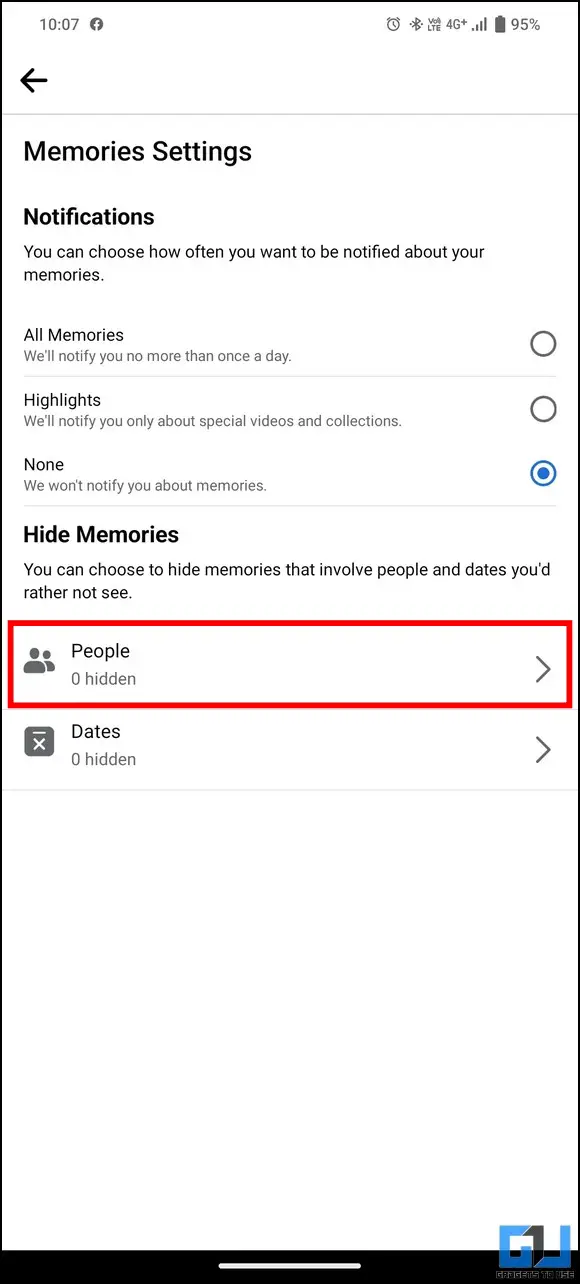
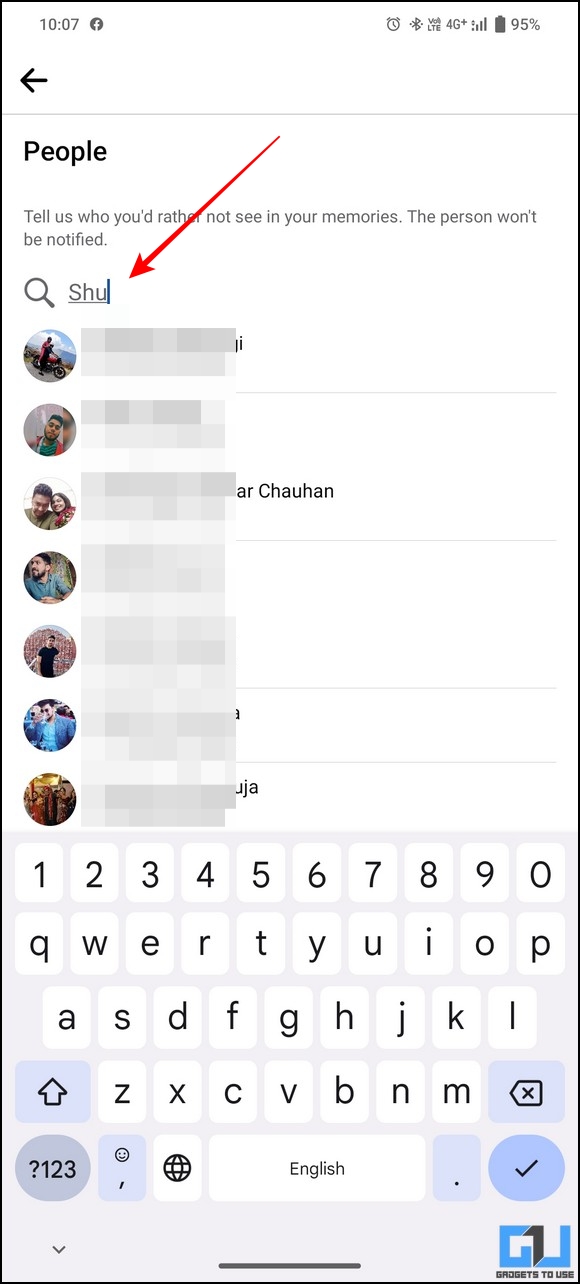
4. Alternatively, hide Facebook memories involving certain people, by tapping on the People option and entering the name of the Facebook profile you wish to exclude.
Once configured, your Facebook memories with the mentioned profile shall remain hidden from your timeline.
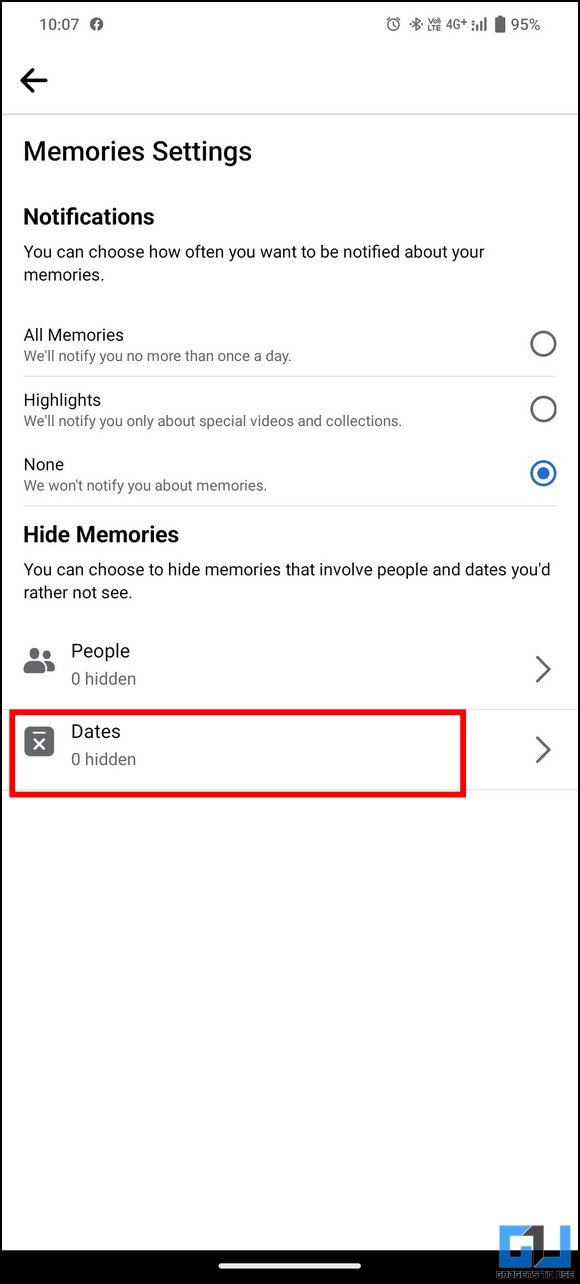
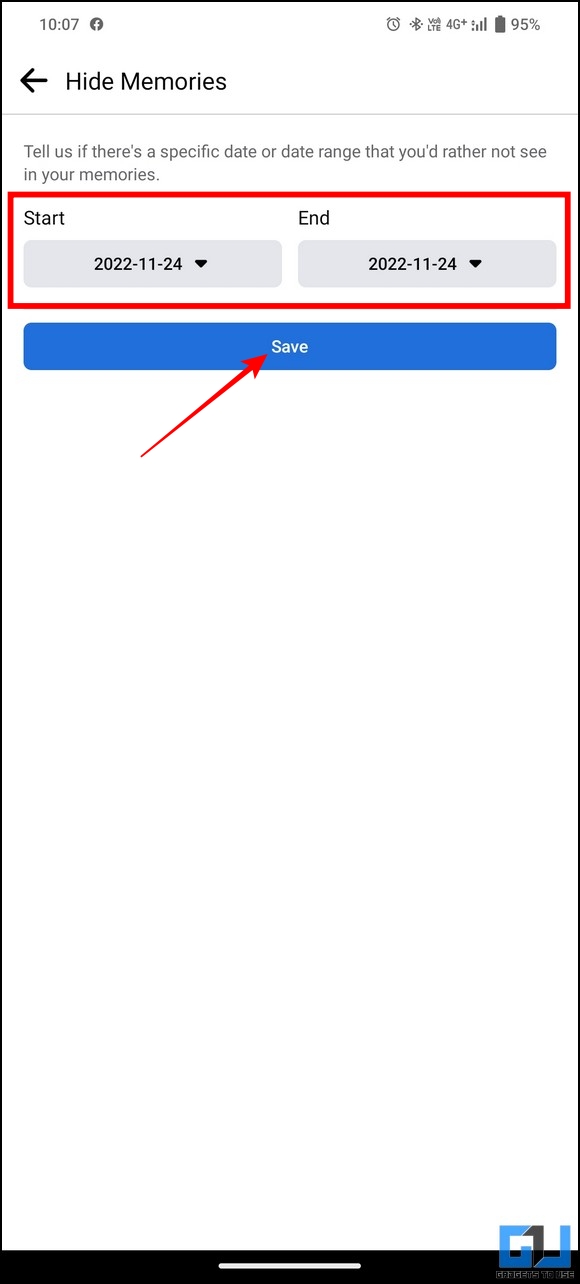
5. Similarly, you can press the dates option to exclude a specific date or range you don’t wish to see in your memories. Once set, press the Save button to apply changes.
Hide or Turn off Facebook Memories on iPhone
In addition to Android devices, you can disable or hide certain memories using the Facebook app for iOS. Here’s how:
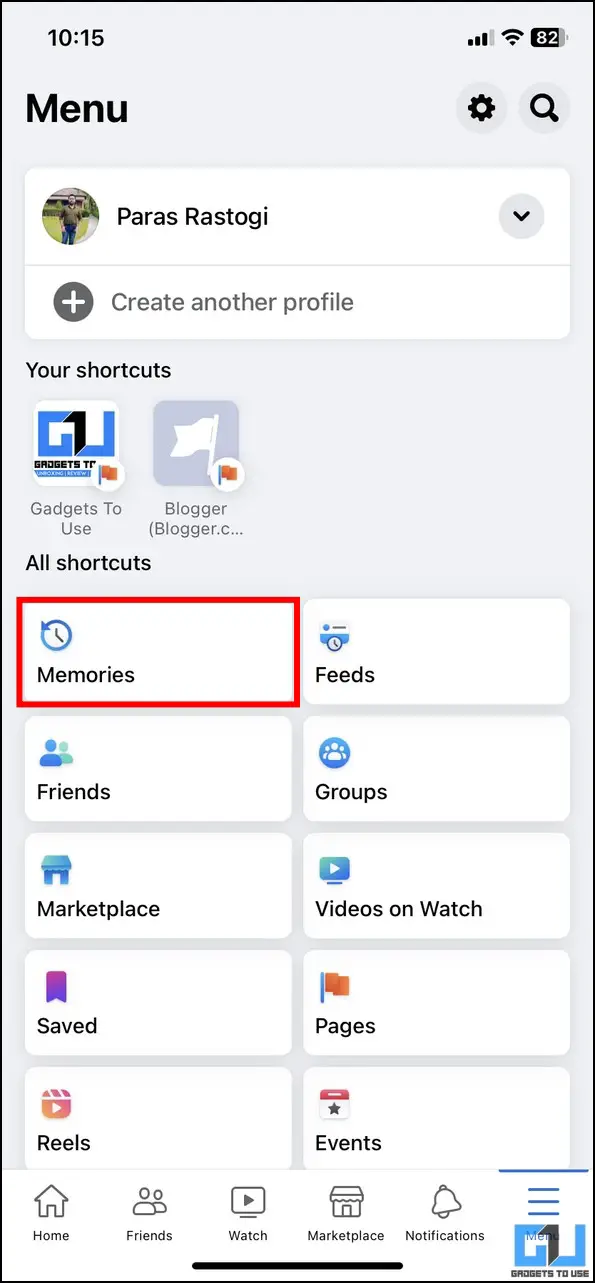
1. Open the Facebook app on your iOS device and tap the Menu button at the bottom-right corner.
2. Now, tap on the Memories option.

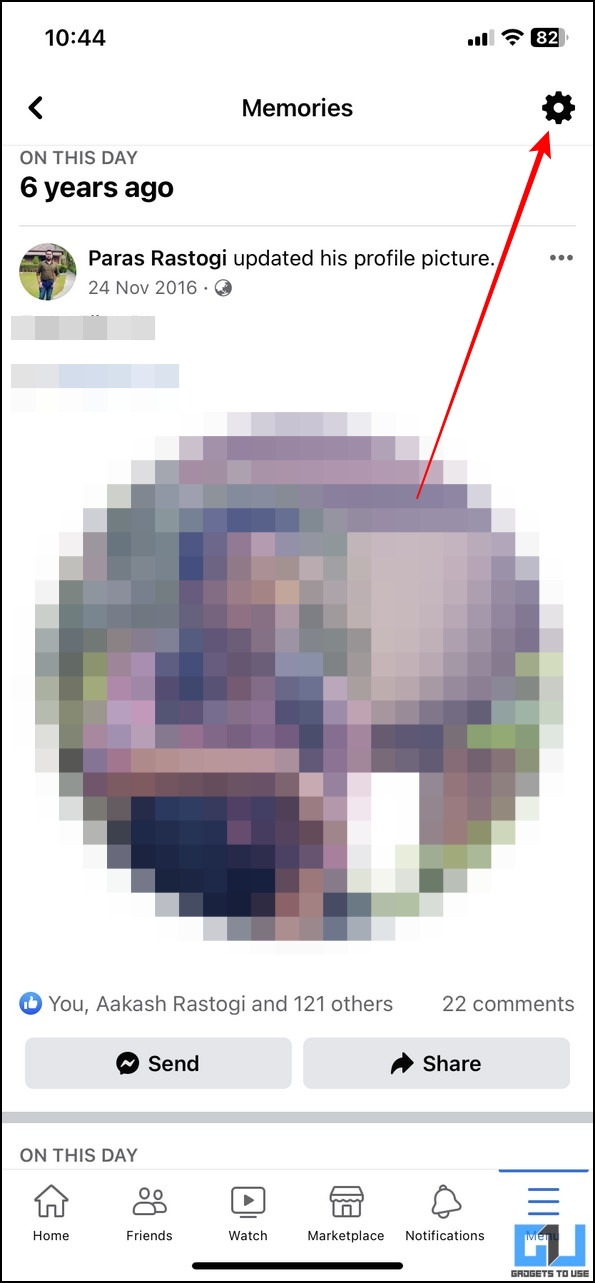
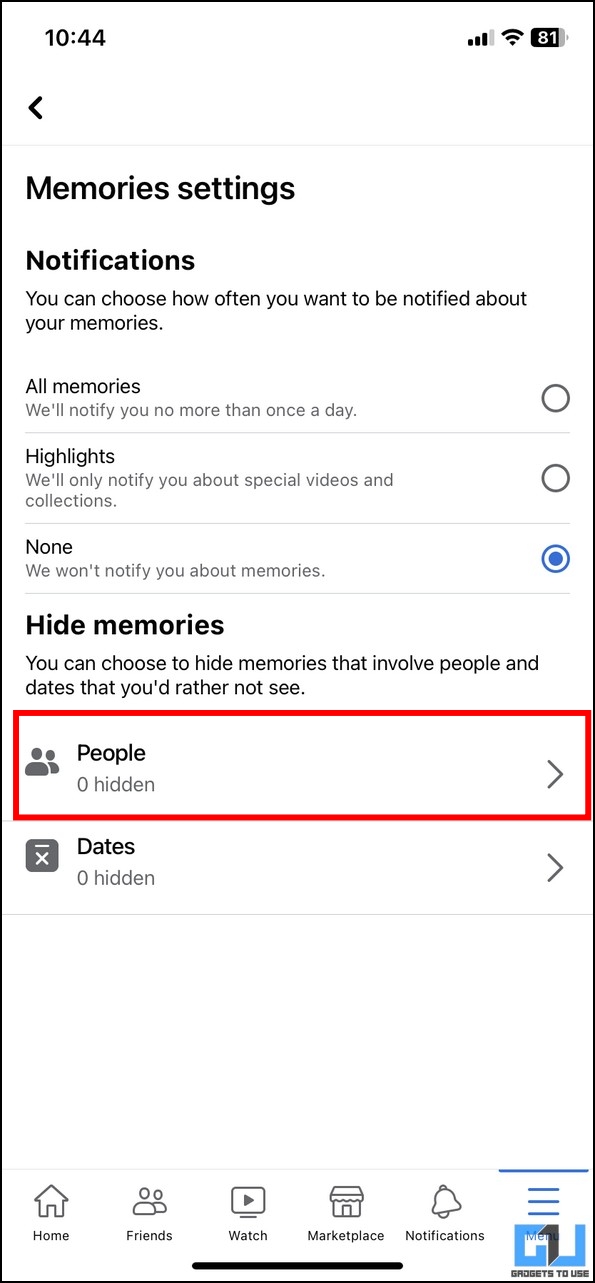
3. Next, press the Gear icon in the top-right corner and adjust the notification settings to None to avoid receiving Facebook Memories posts on your timeline.
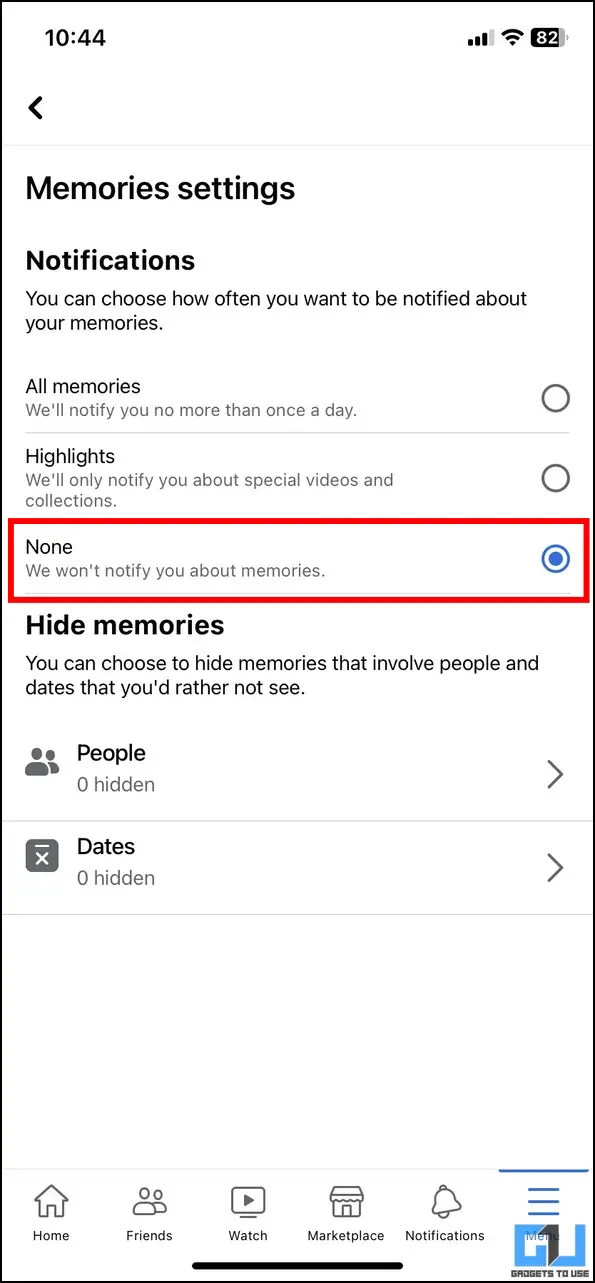
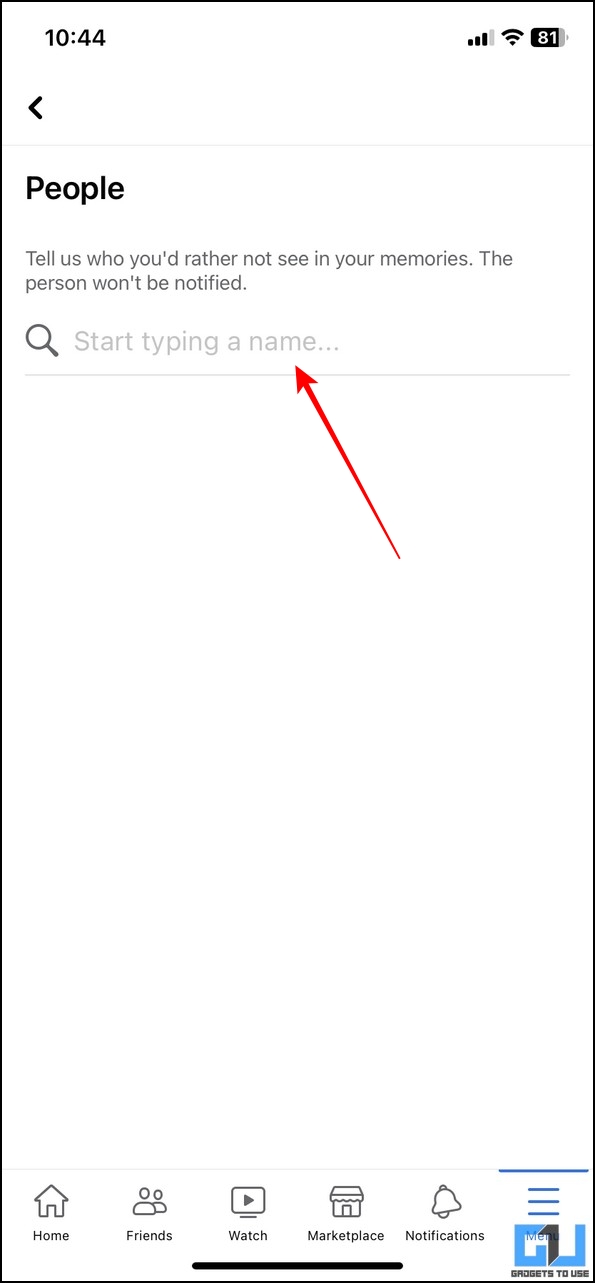
4. Conversely, you can hide specific Facebook memories with certain people by configuring the People option.
5. Type the profile name in the search bar you wish to exclude and press the Save button to apply changes.
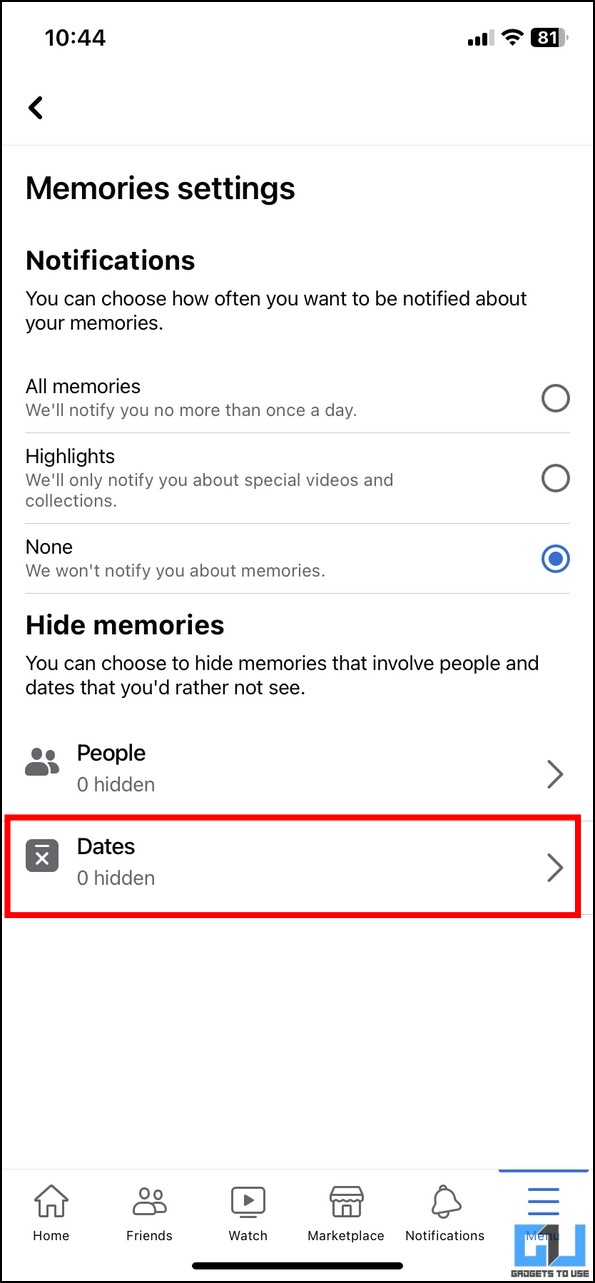
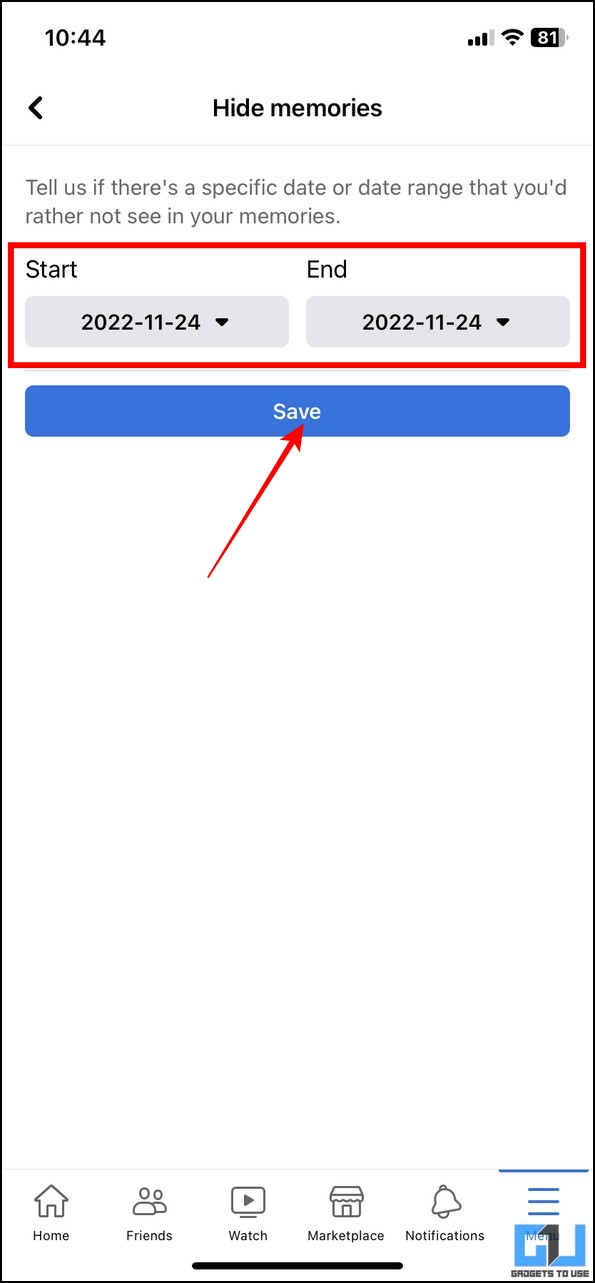
6. Likewise, tap the Dates button to list a specific date or range to hide Facebook memories displayed in that timeline.
Bonus Tip: Delete Facebook Memories to Get Rid of your Past
Besides dealing with the hassle of manually hiding Facebook Memories on your timeline, you can permanently delete them to solve the issue. Follow these simple steps to delete a Facebook memory from your account:
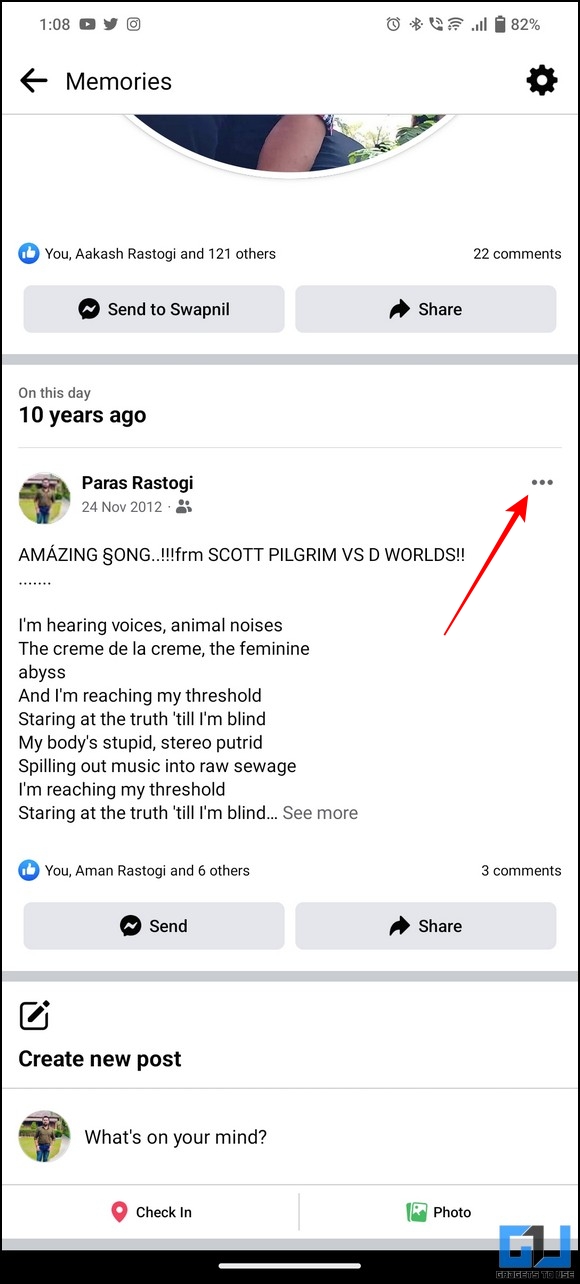
1. Locate the Facebook memory you wish to delete with the Memories tab and tap the three-dot icon next to it.
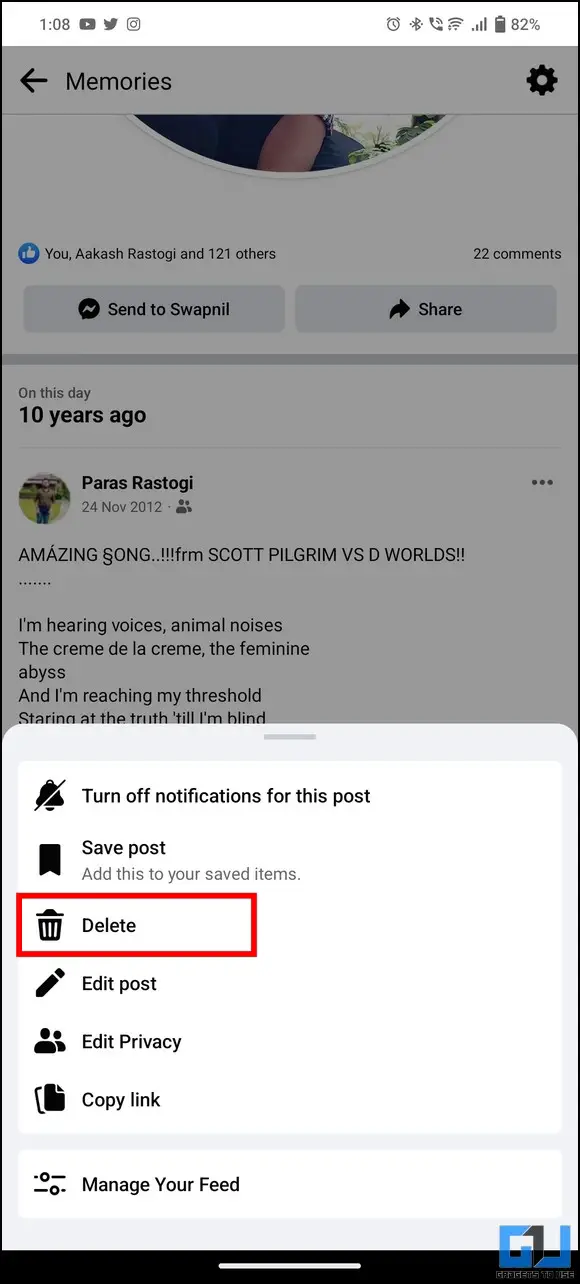
2. Tap the Delete option to remove the original post from your account.
3. Now, tap the delete button to confirm.
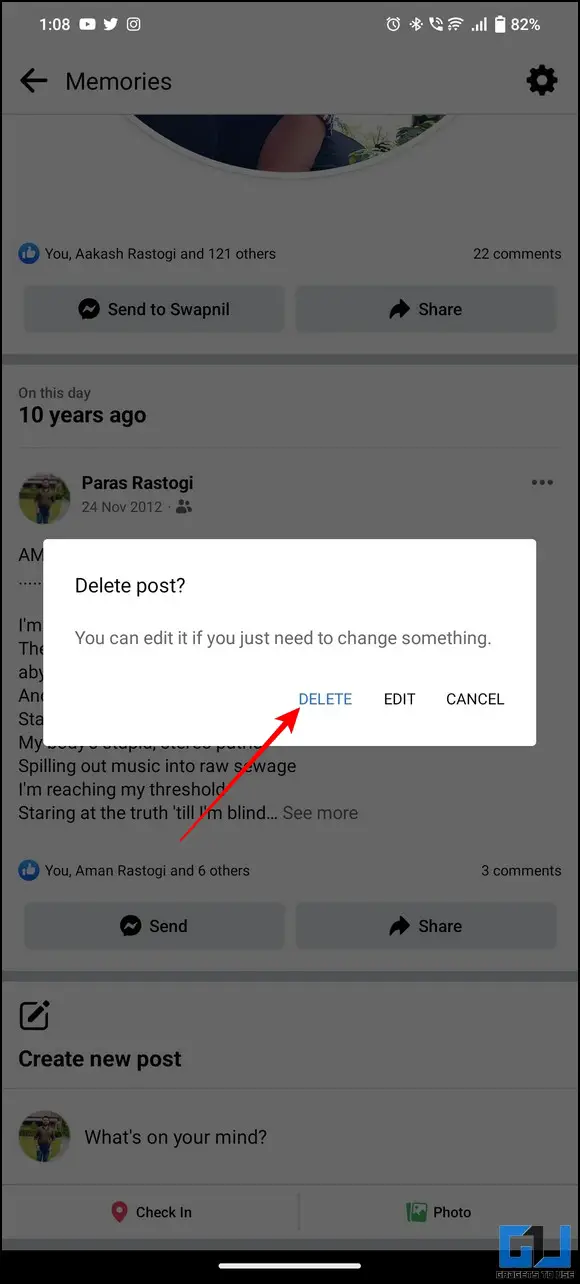
That’s it! You’ve successfully deleted the unpleasant Facebook memory from your account permanently.
FAQs
Q: How to delete Memories on Facebook?
A: Follow the Bonus Tip in this guide to delete memories from your Facebook account.
Q: How to access Facebook Memories Settings in 2022?
A: You can access Facebook Memories Settings using the Memories tab. Please refer to the above-listed methods for more detailed steps.
Q: How to turn off Facebook Memories on your iPhone?
A: You can quickly turn off Facebook Memories on your iPhone by configuring the memories tab on the app.
Wrapping Up: Get Rid of Unpleasant Memories
We hope you’ve successfully learned to eliminate unpleasant Facebook memories on your timeline using this explainer. If you find it helpful, then share it with your friends who might be searching for a way to get rid of it. Stay subscribed to GadgetsToUse, and check out the below links for more productive reads.
- 6 Ways to Enable Dark Mode on Facebook (Phone and PC)
- 2 Ways to Hide Facebook Friend List on your phone and PC
- 4 Ways to Delete Facebook Videos Watch and Search History
- 3 Ways to Turn off Most Relevant Comments on Facebook App or Website
You can also follow us for instant tech news at Google News or for tips and tricks, smartphones & gadgets reviews, join GadgetsToUse Telegram Group or for the latest review videos subscribe GadgetsToUse YouTube Channel.