Quick Answer
- The first method to fix the issue is to convert the video file to change the codec, handbrake is a well-known tool to help you out with this.
- We had the same experience when editing some footage shot on Pixel 7 Pro, after trying out a few ways to troubleshoot, we found out it was due to the HDR10+ video codec and were finally able to fix this issue in Premiere Pro.
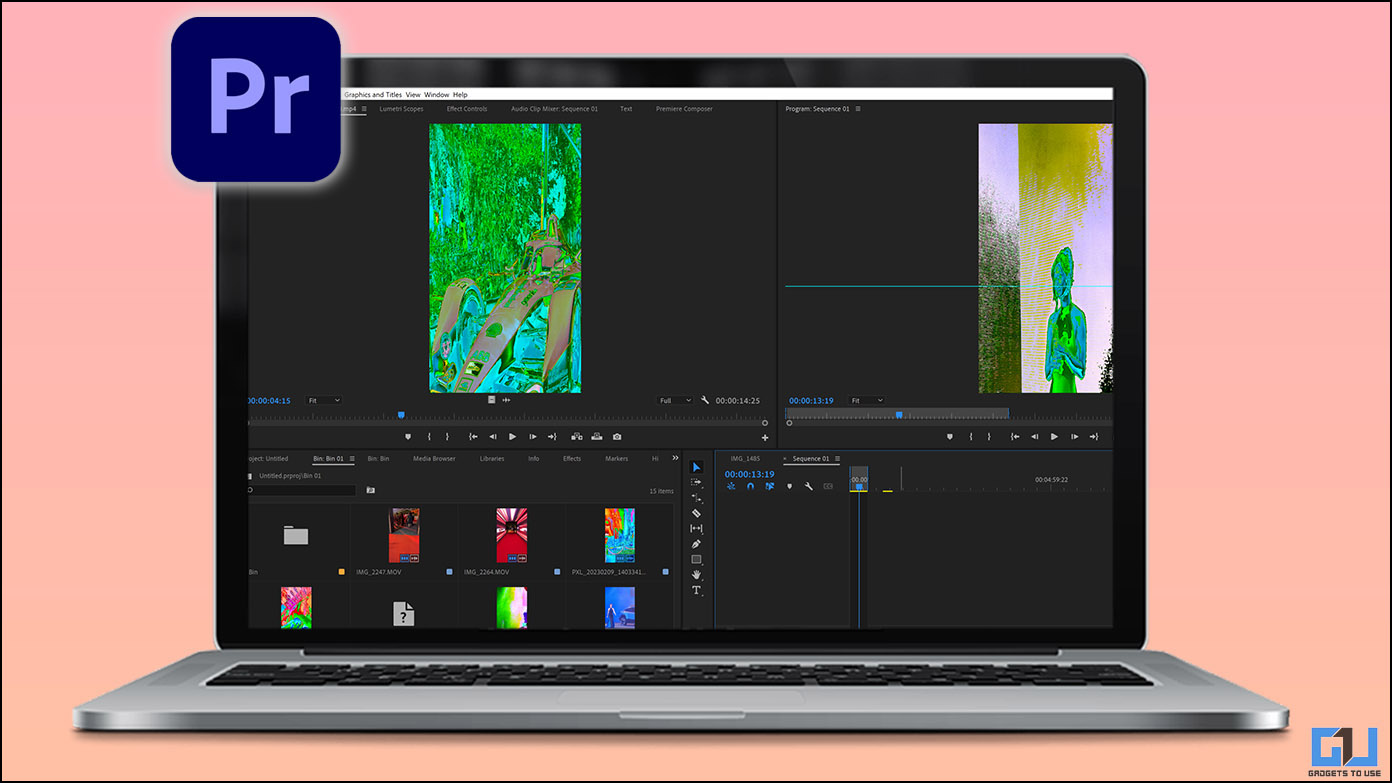
- Are you experiencing a random tint, when you import a video file in Adobe Premiere Pro as if it was shot with a thermal camera.
Are you experiencing a random tint, when you import a video file in Adobe Premiere Pro as if it was shot with a thermal camera? We had the same experience when editing some footage shot on Pixel 7 Pro, after trying out a few ways to troubleshoot, we found out it was due to the HDR10+ video codec and were finally able to fix this issue in Premiere Pro. Meanwhile, you can learn to Change Audio Speed Without Changing Pitch.
Methods to Fix HDR10+ Videos Green Tint Issue in Premiere Pro
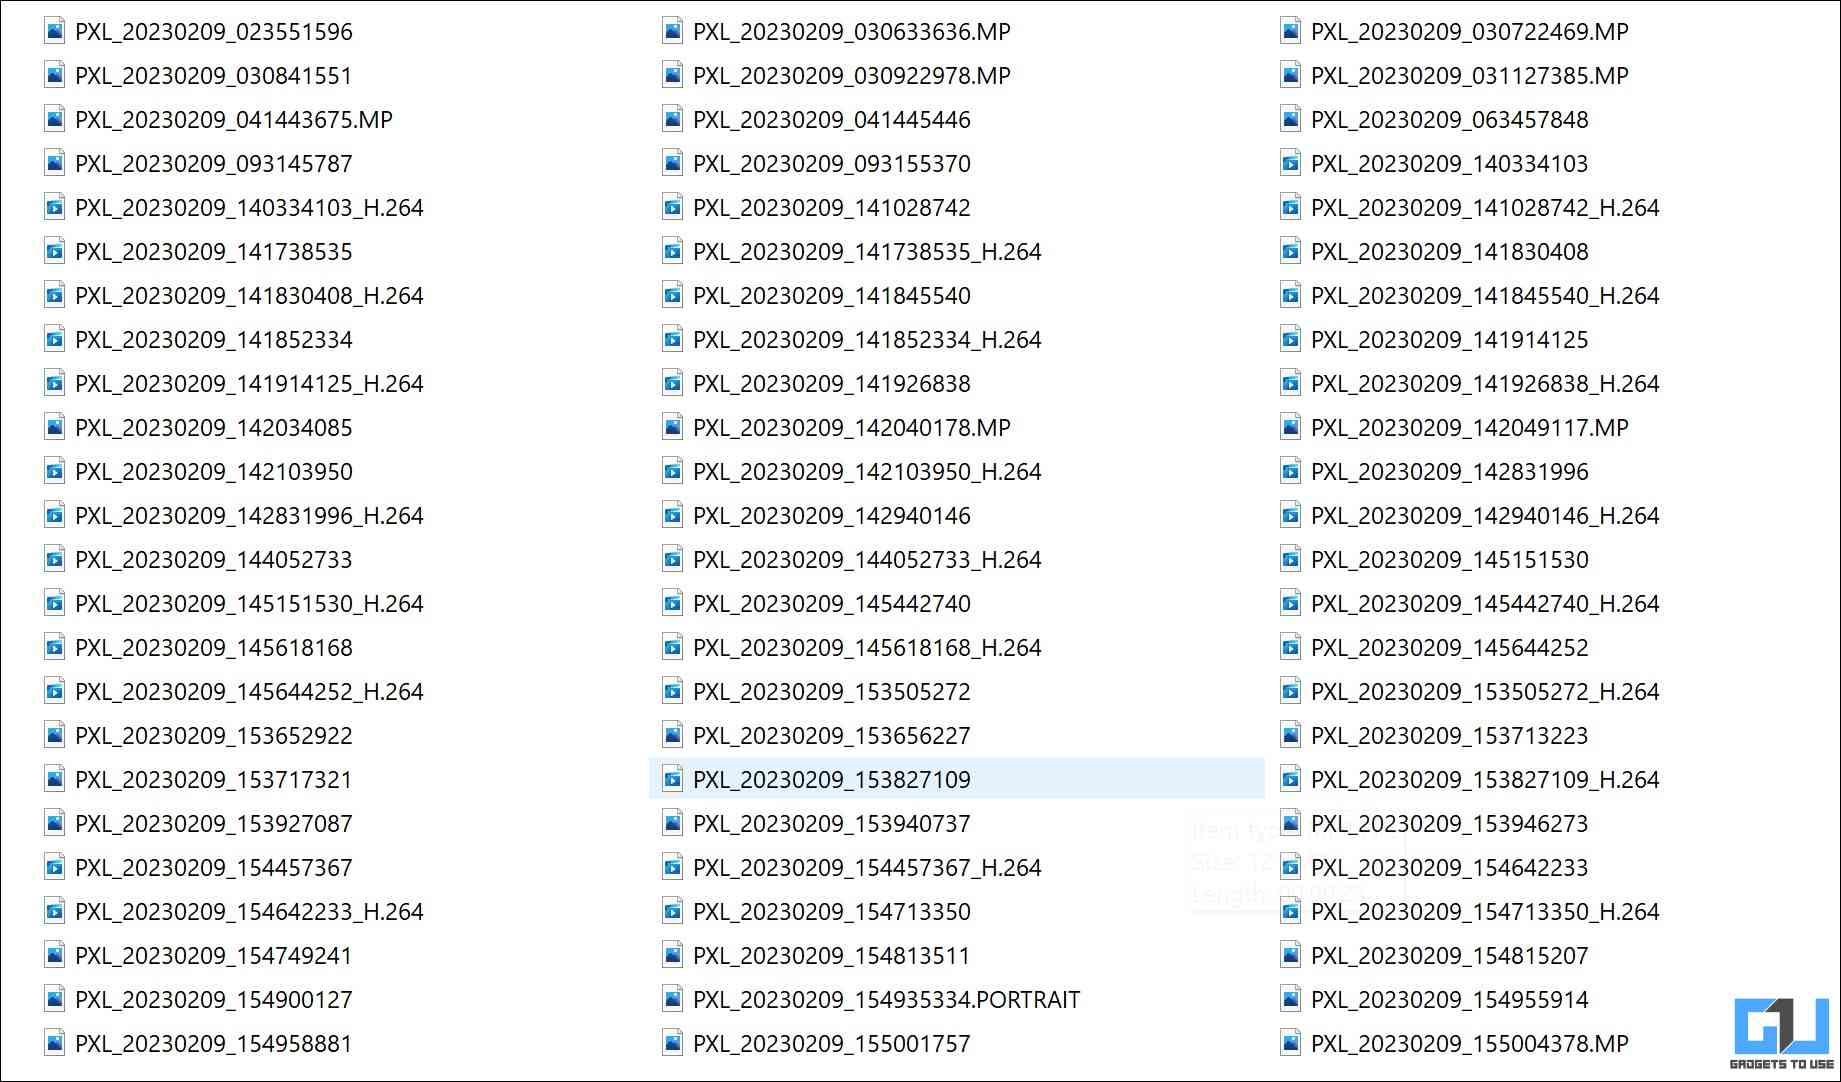
Usually, video footage shot on a smartphone tends to have such tint issues, as they shoot in Variable Frame Rate (VFR). Plus the added HDR10+ video codec further ruins the situation in Premiere Pro. You can fix the issue by following the solutions listed below.

Use HandBrake to Convert the Video
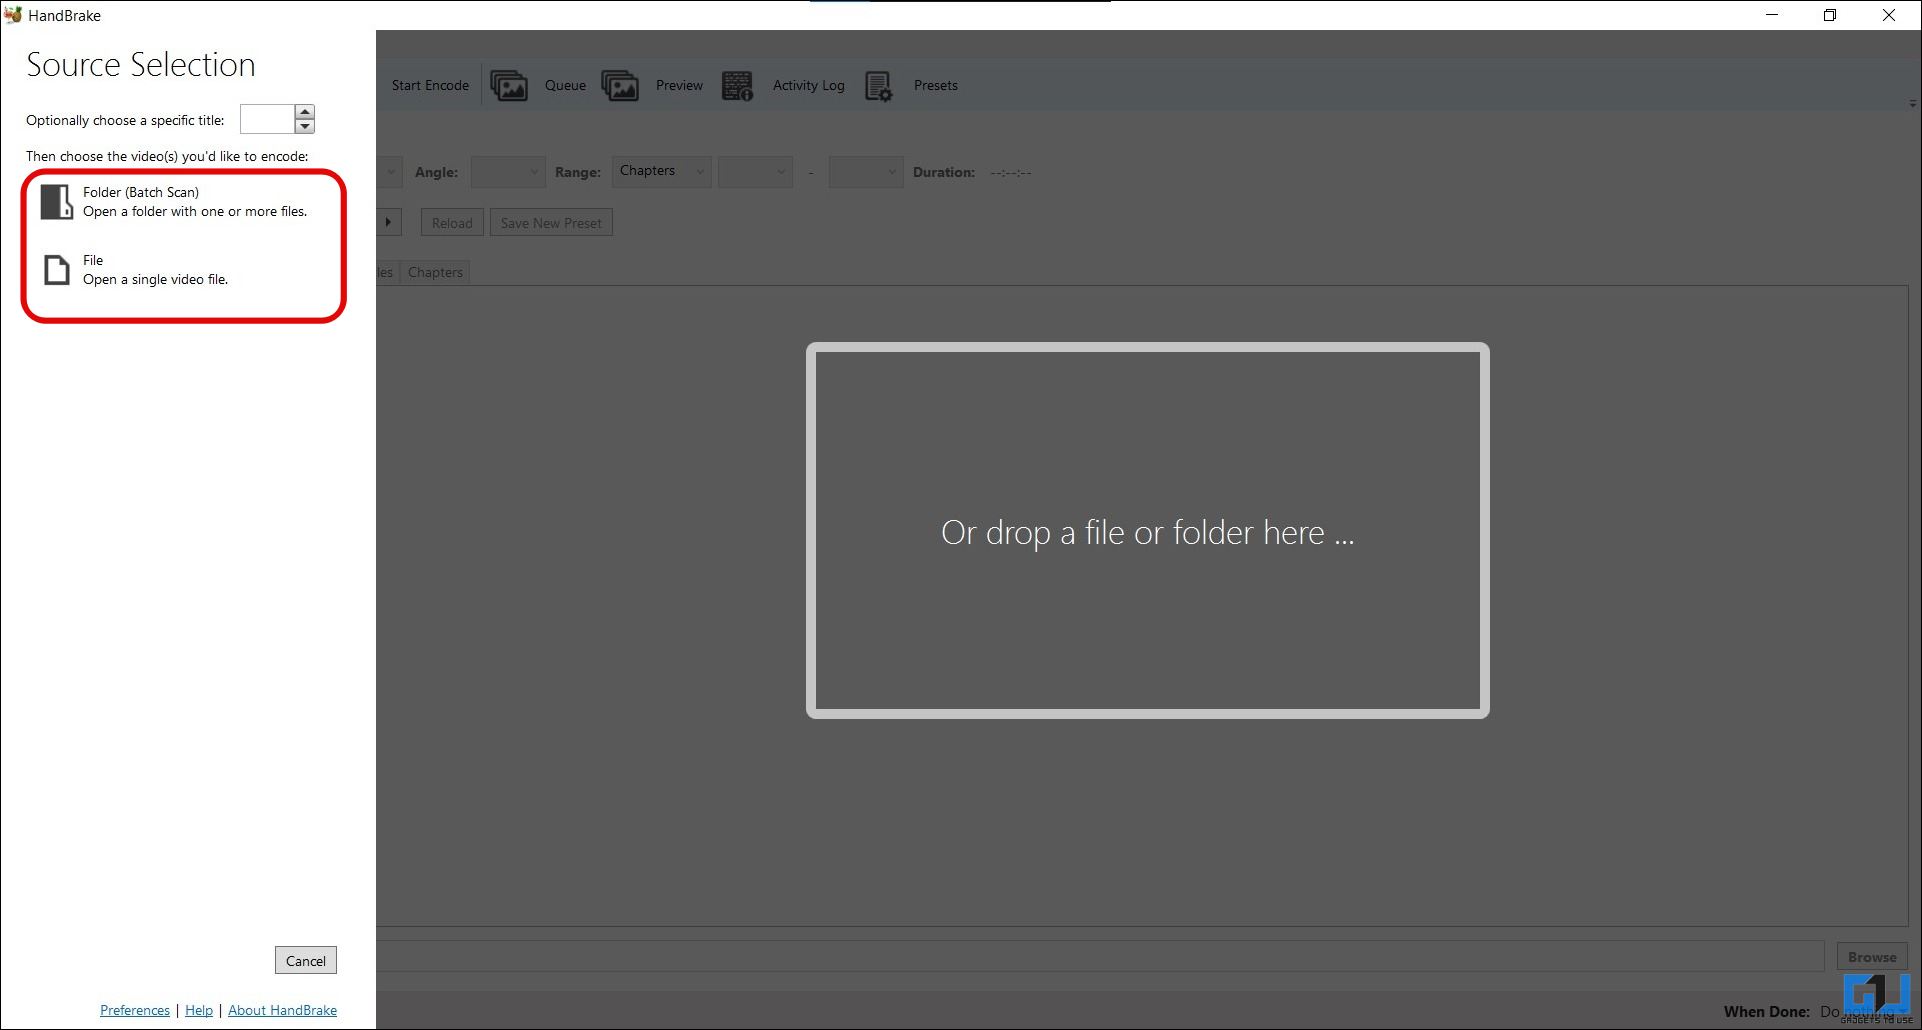
The first method to fix the issue is to convert the video file to change the codec, handbrake is a well-known tool to help you out with this. Here’s how to fix it.
1. Download Handbrake on your Windows PC.
2. Either browse the video file or drag it to handbrake to import it.
3. Once the video is imported, switch to the Video tab.
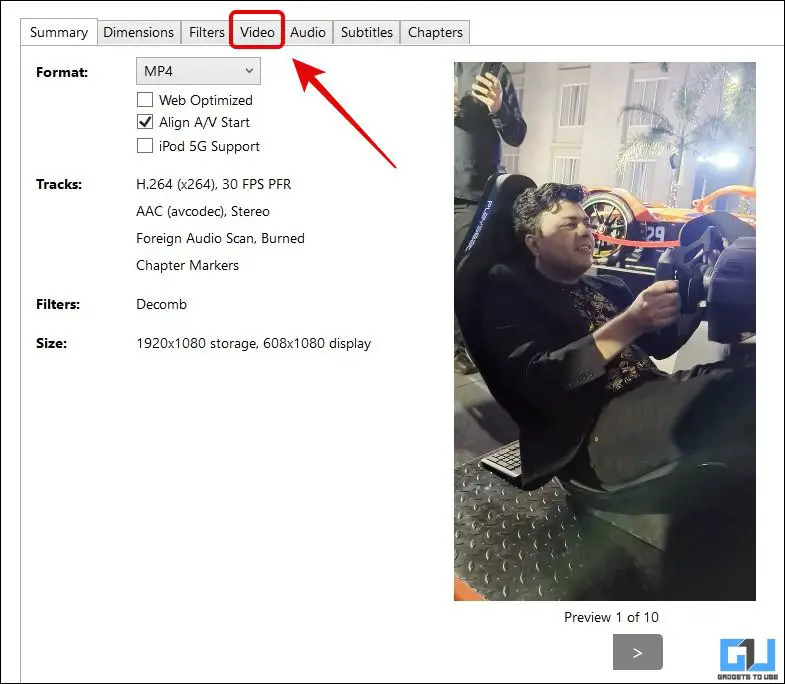
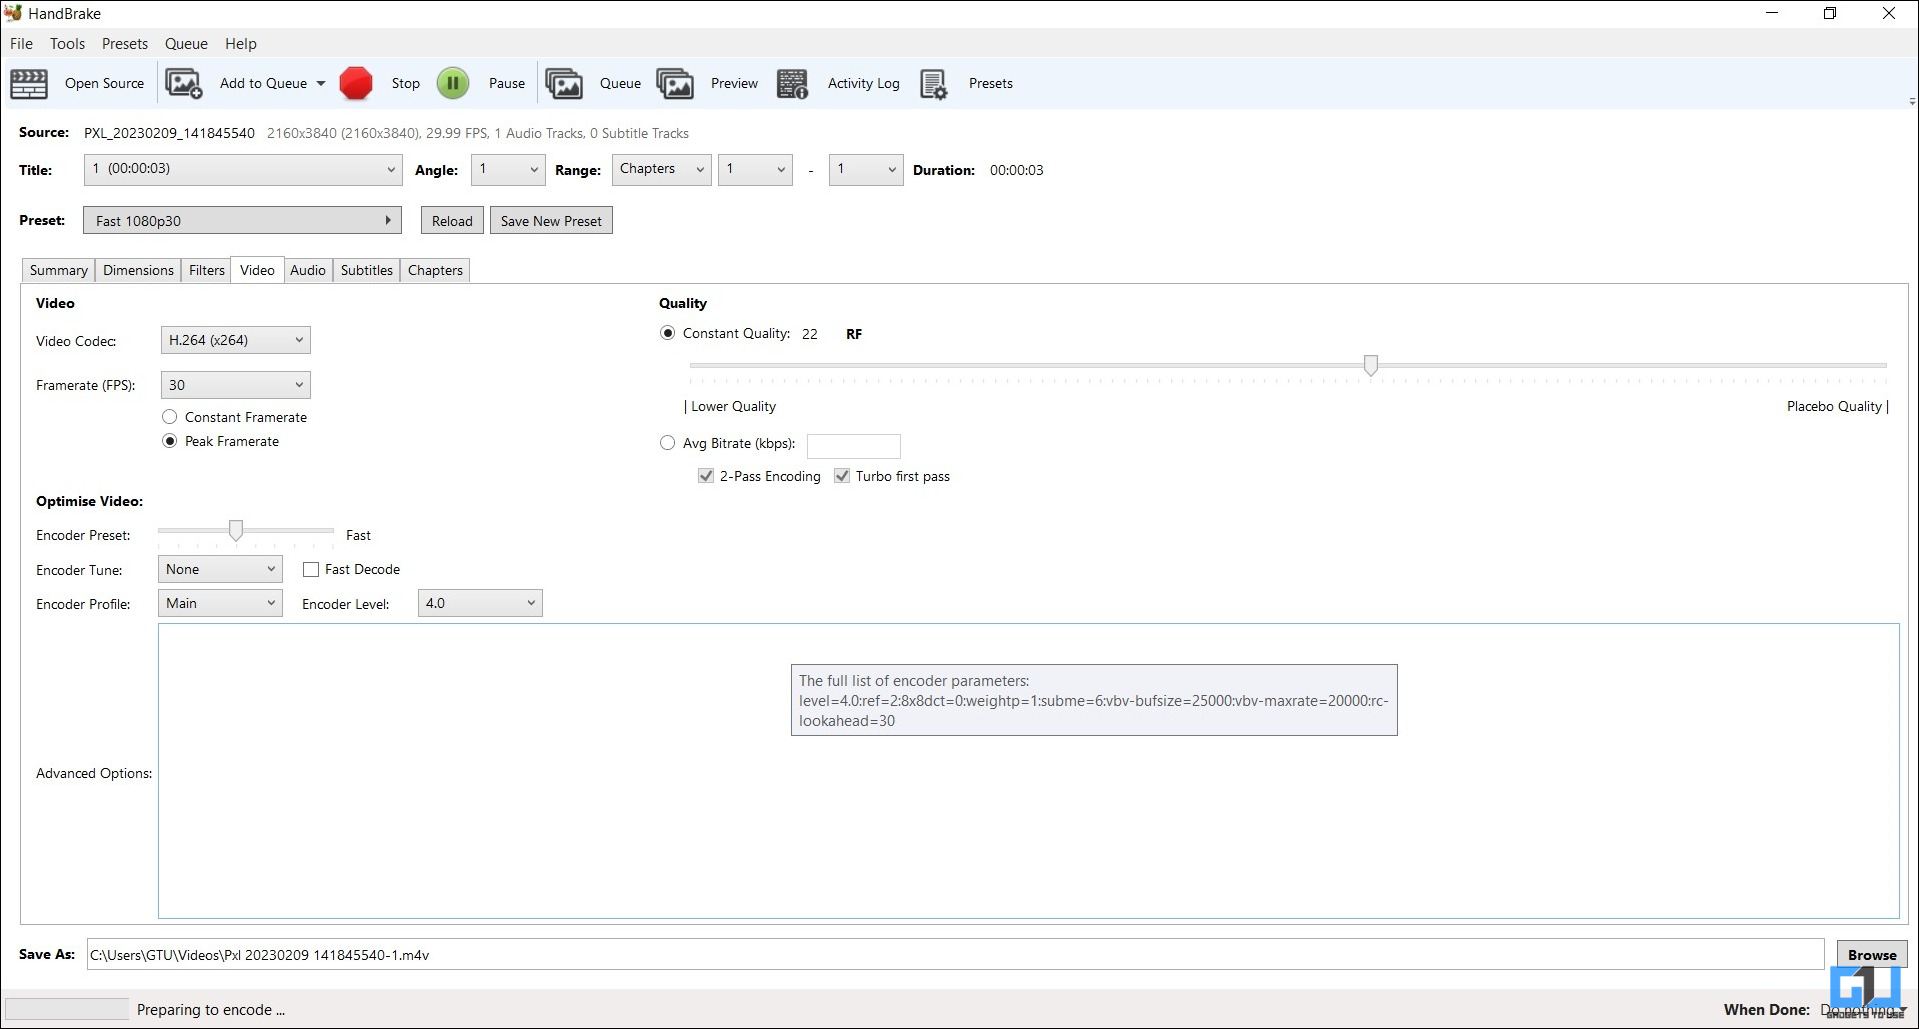
4. Here, switch the video codec to H.264 and click the Start Encode button.

5. Once the video is encoded, your video should be fixed.
While we tried to convert the video with the handbrake the process crashed multiple times and the results weren’t satisfactory as well. If you are also facing similar issues then proceed with the next method.
Use Shutter Encoder to Convert Video
Another reliable method to convert and fix your HDR10+ video’s green tint issue in Adobe Premiere Pro is to use Shutter Encoder. In our case, the results were much better and we successfully fixed the issue with this. Here’s what you need to do.
1. Download the Shutter Encoder software on your PC, and launch it.
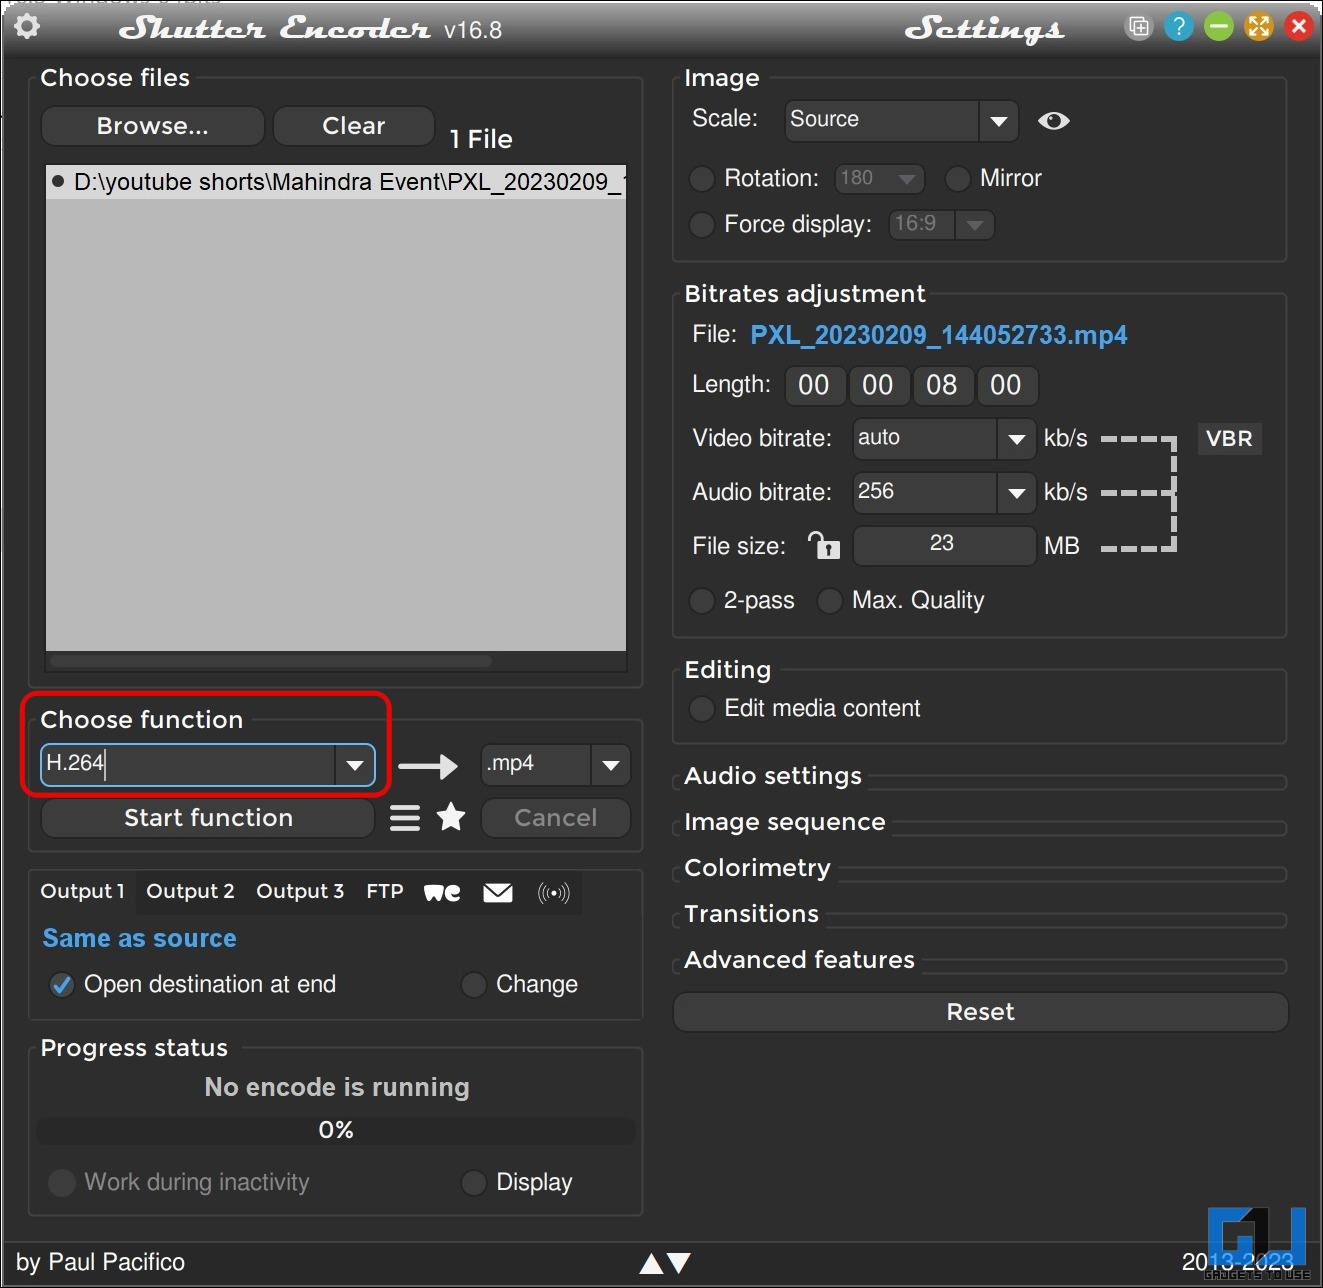
2. Click the Browse button and select your video for conversion.

3. Next, click the Choose Function drop-down menu, and select H.264 from the list.

4. Check the other export settings from the right pane, all you need to change is the resolution if required.
5. Finally click the Start Function button to begin the video conversion.
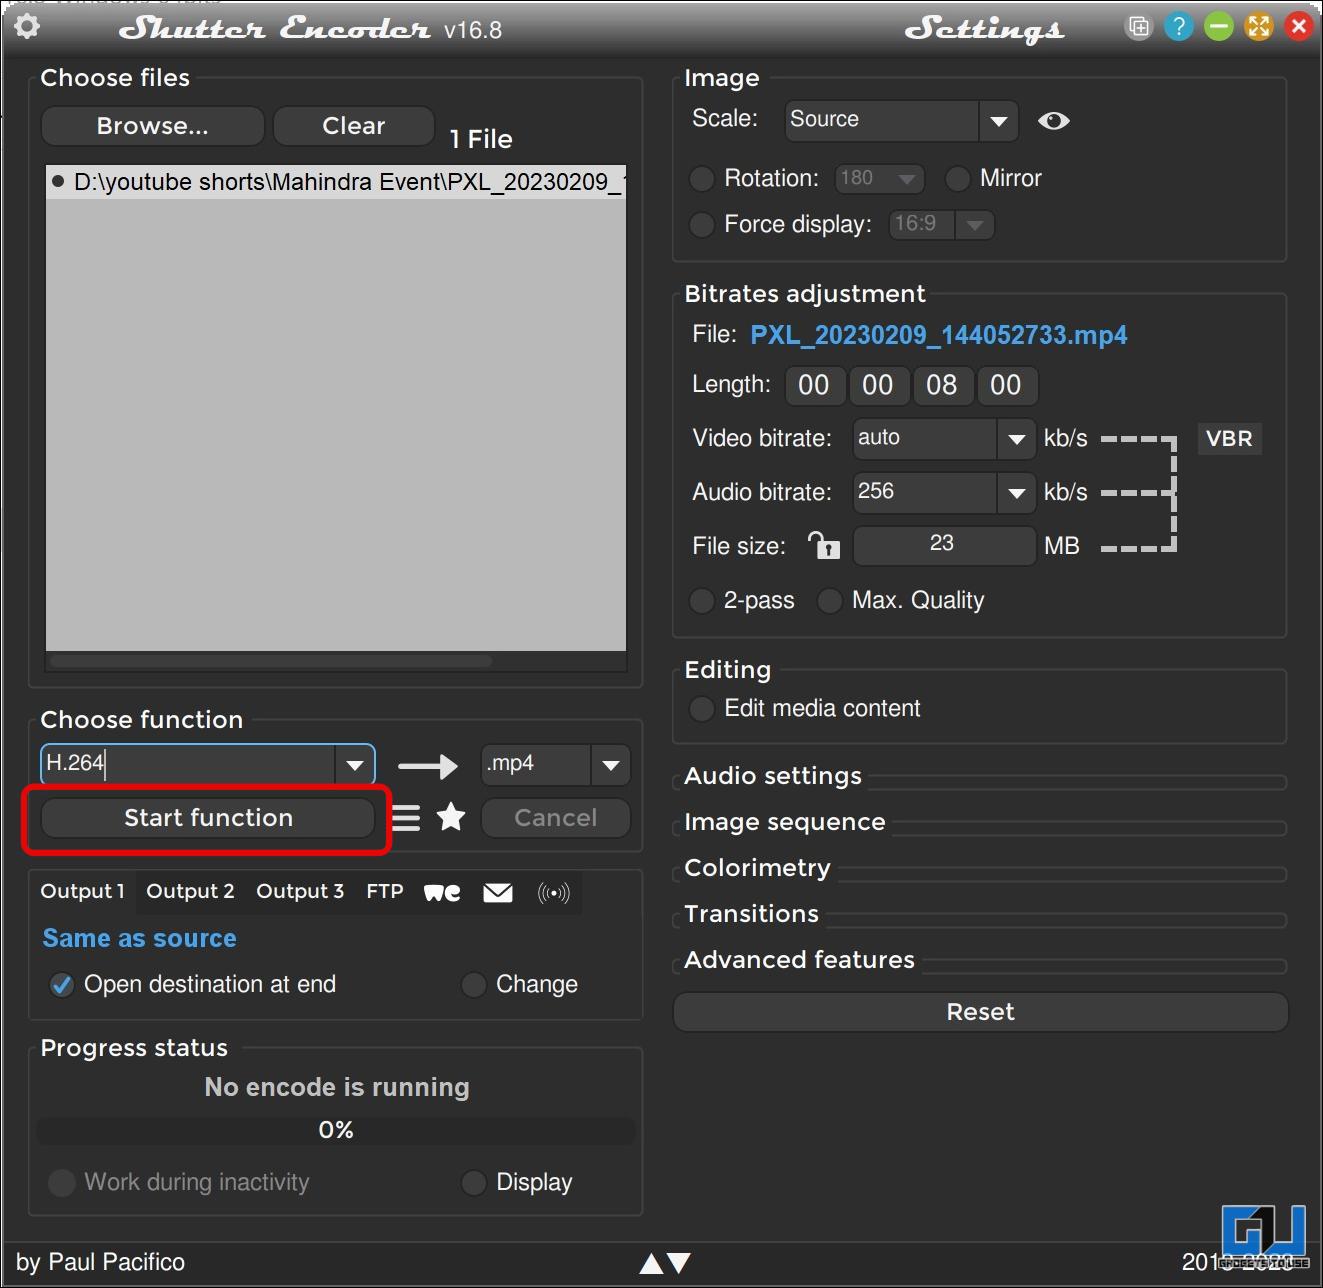
6. Similarly, you can convert all your videos.
7. Now, you can play the video on your Windows PC, and the green tint issue will also be fixed.
Update your Graphics Driver
Another fix you can use is to update your PC’s Graphics Drivers. Often times an obsolete graphic driver can also lead to handling HDR10+ videos in Adobe Premiere Pro.
Use Google Drive
Lastly, you can also take the help of Google Drive, when you upload on Google Drive, the processing oftentimes fixes the compatibility issue for HDR10+ videos. It’s not a rock-solid method, and it may not always work to fix your videos. You can use this in case of a hurry or when you don’t have a PC handy.
Bonus: Disable HDR10+ Video Recording
To avoid such HDR10+ video codec issues, and have a smooth editing process, you should disable the HDR10+ video recording mode beforehand. Here’s how it can be done:
On Google Pixel
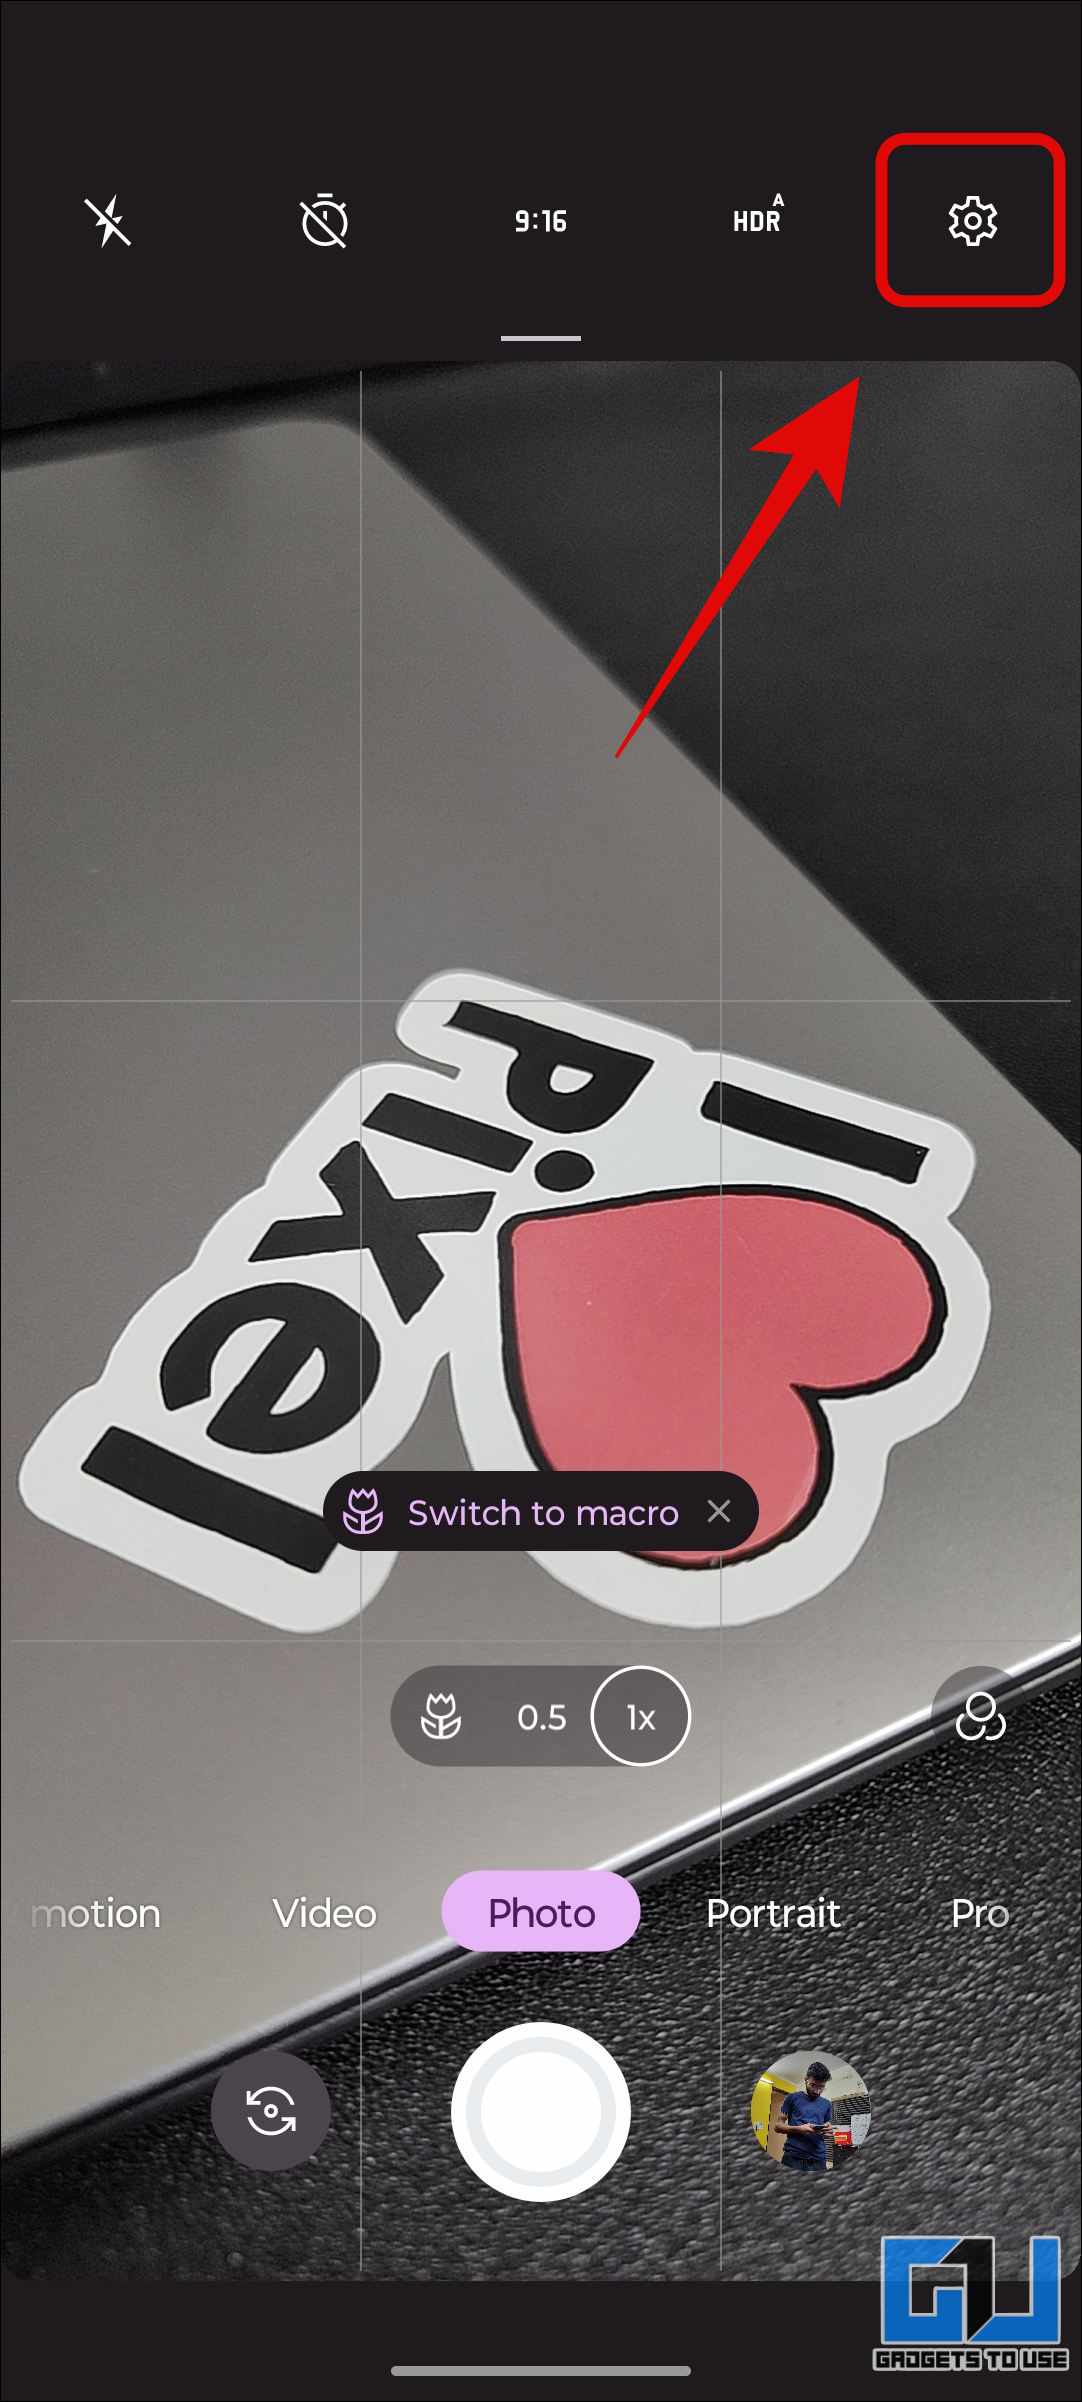
1. Launch the Google camera app, and switch to the video toggle.
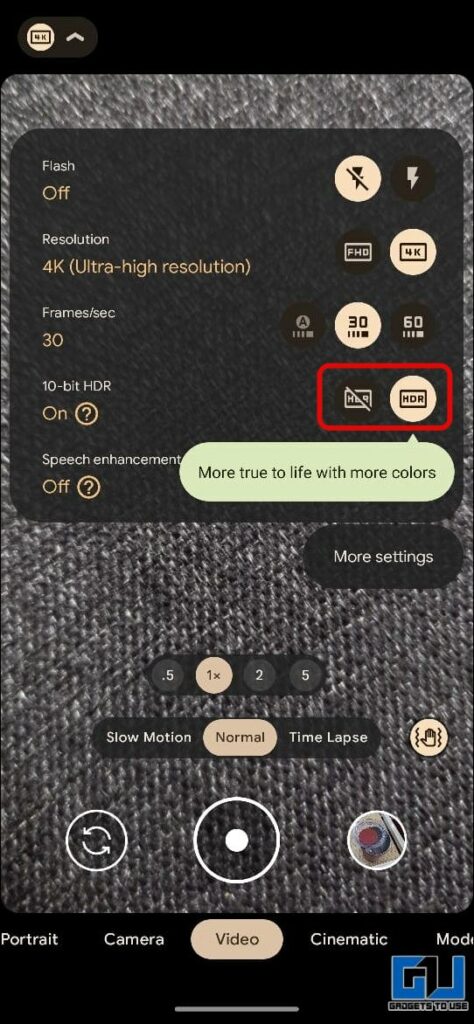
2. Tap the little arrow icon at the top left to access video settings.
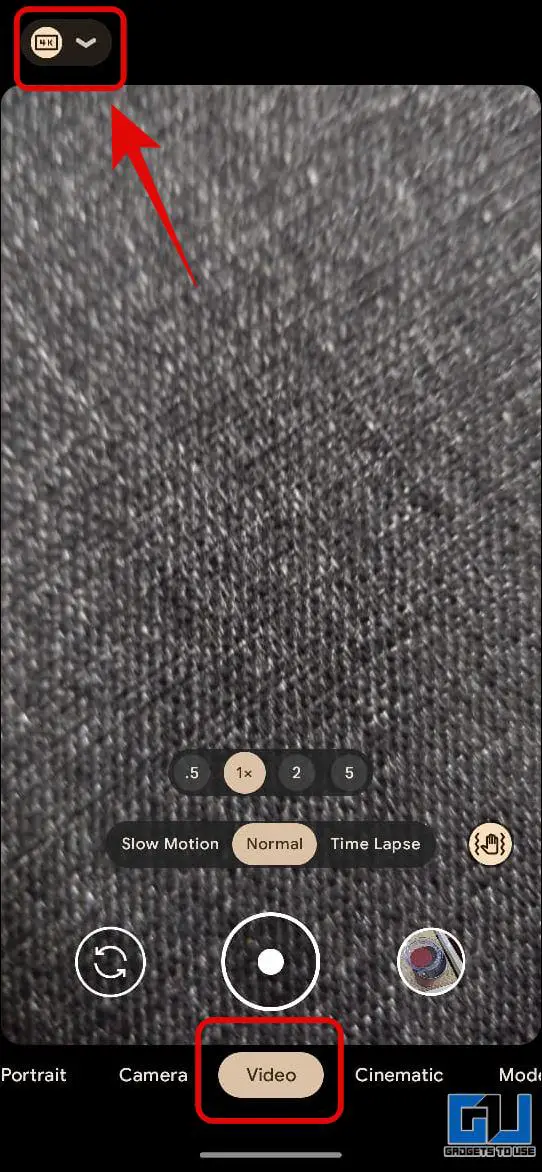
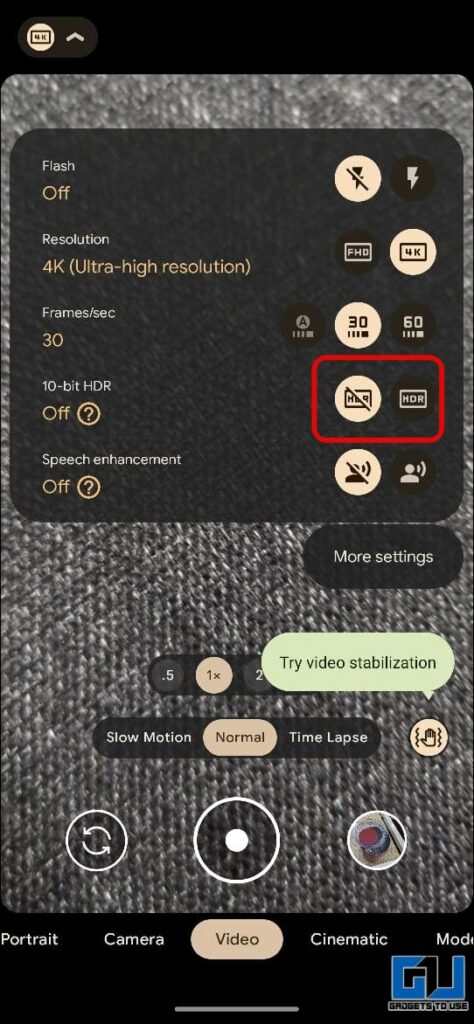
3. Now, simply turn off the 10-bit HDR mode.
On iPhone
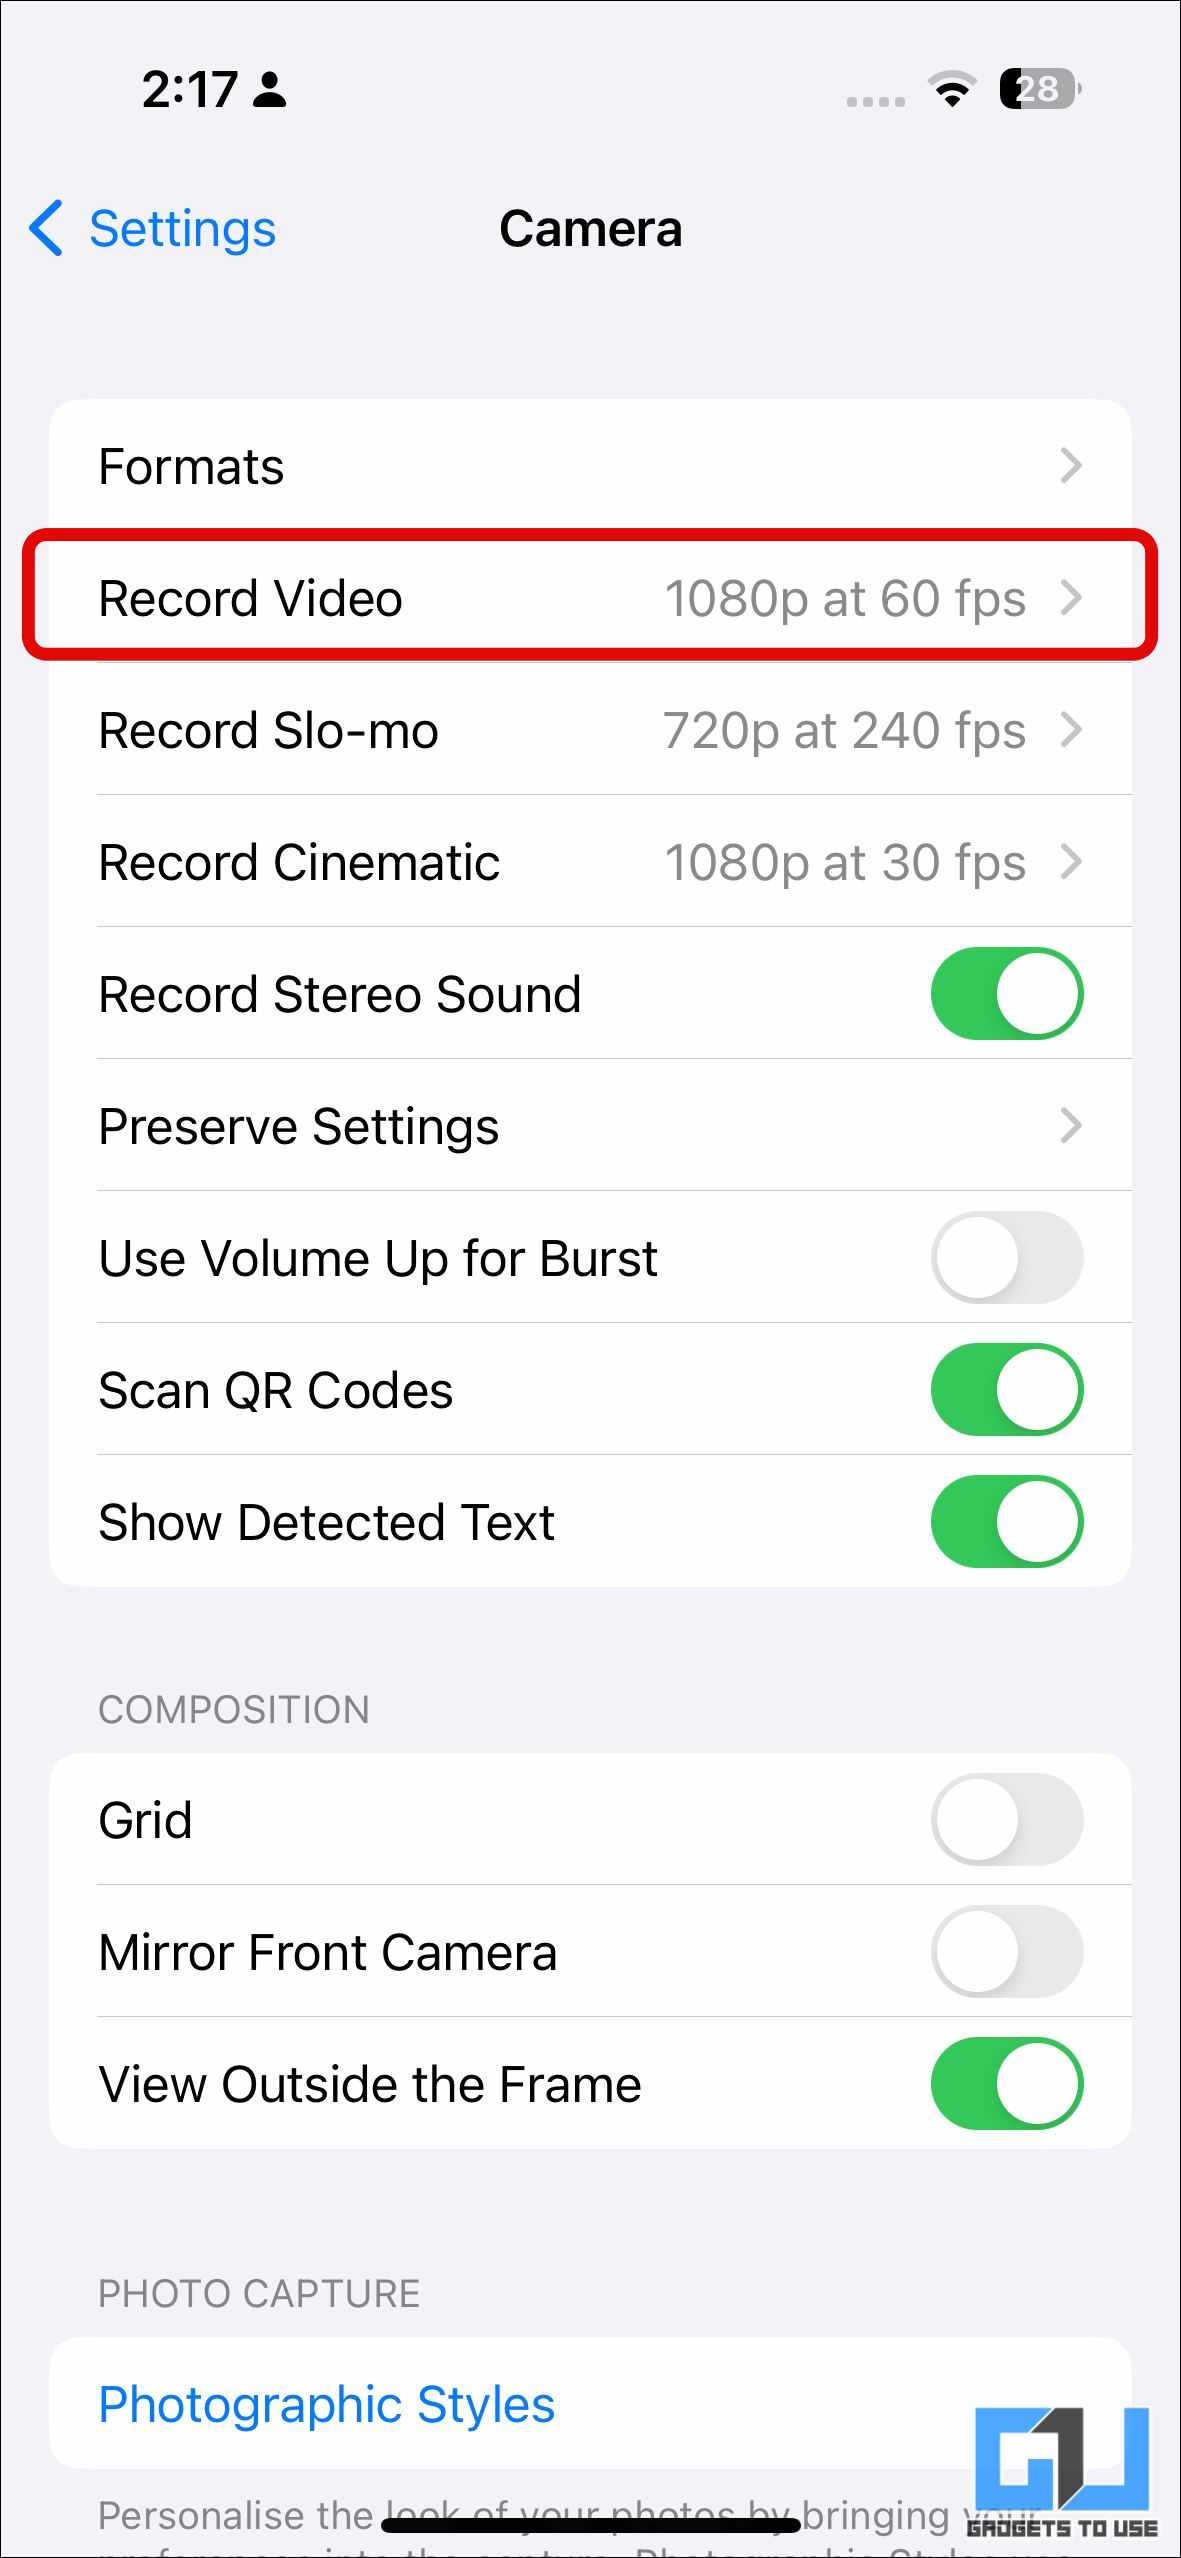
1. Go to Settings on your iPhone, and navigate to Camera.

2. Under Camera settings, click on the Record Video option.
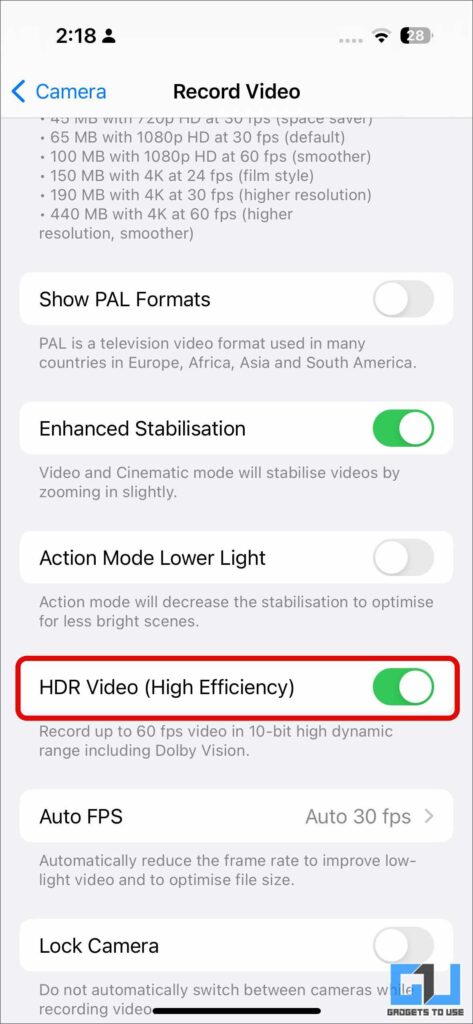
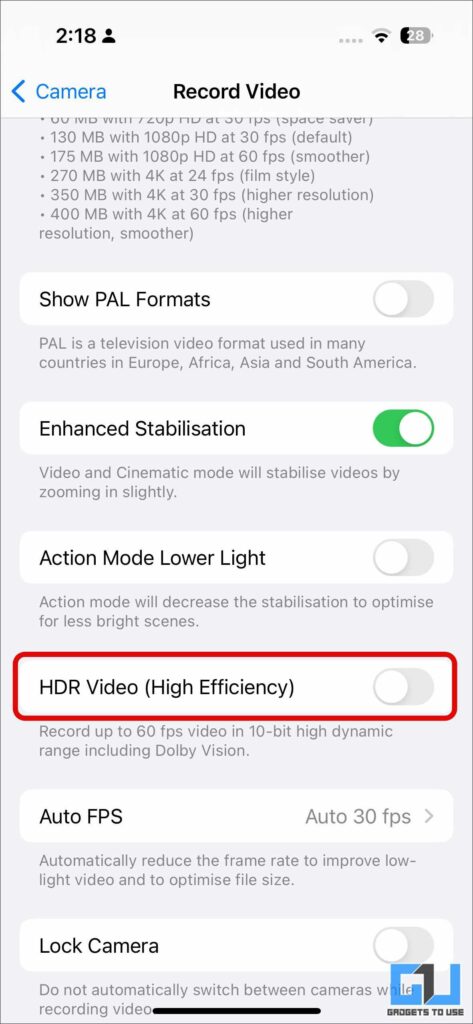
3. Here scroll down, and disable the toggle for HDR Video, it will automatically switch to the efficiency mode.
On Samsung
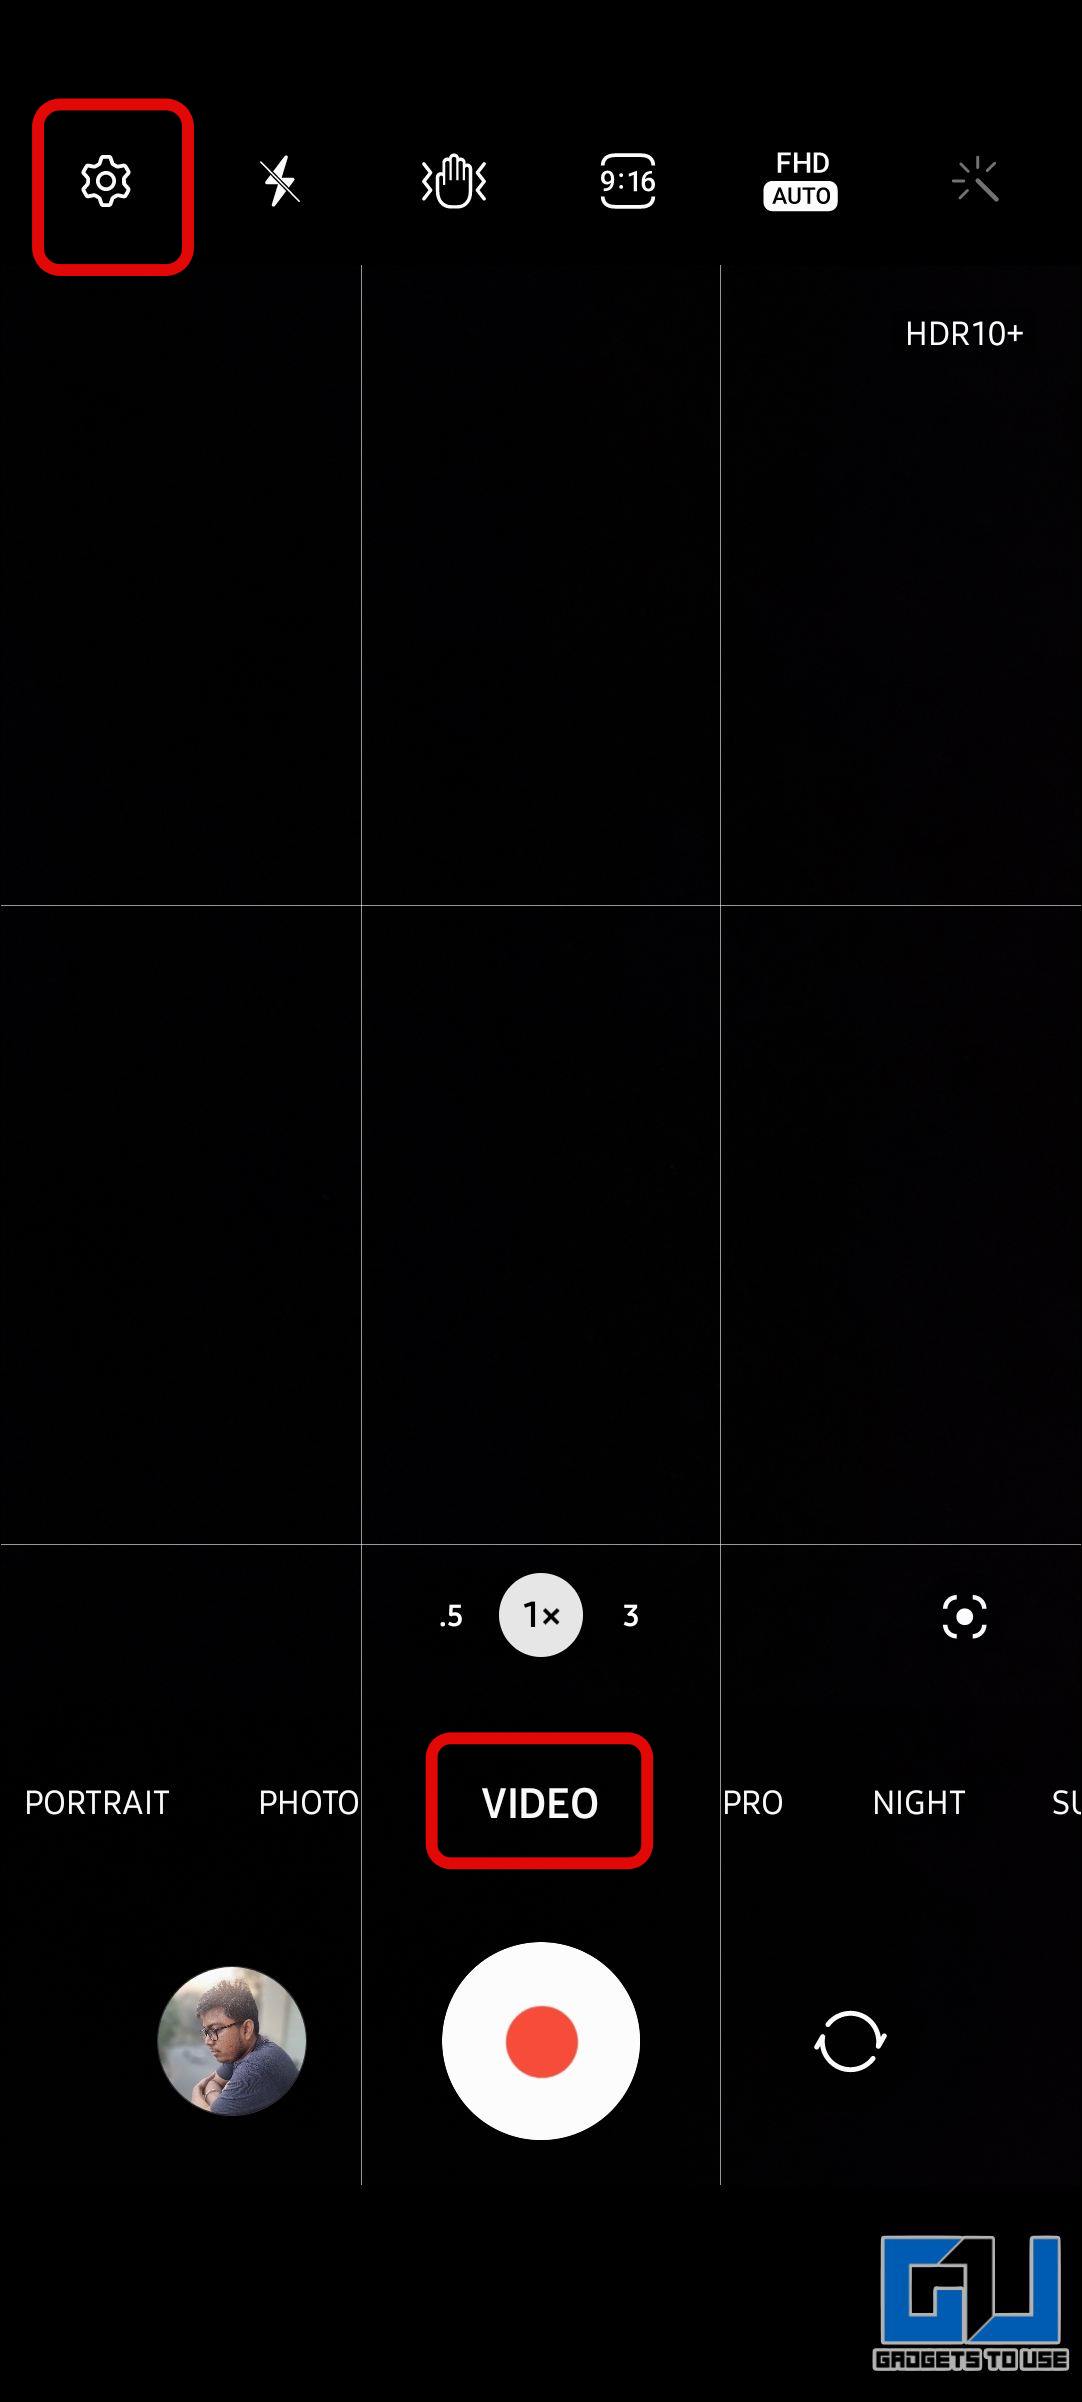
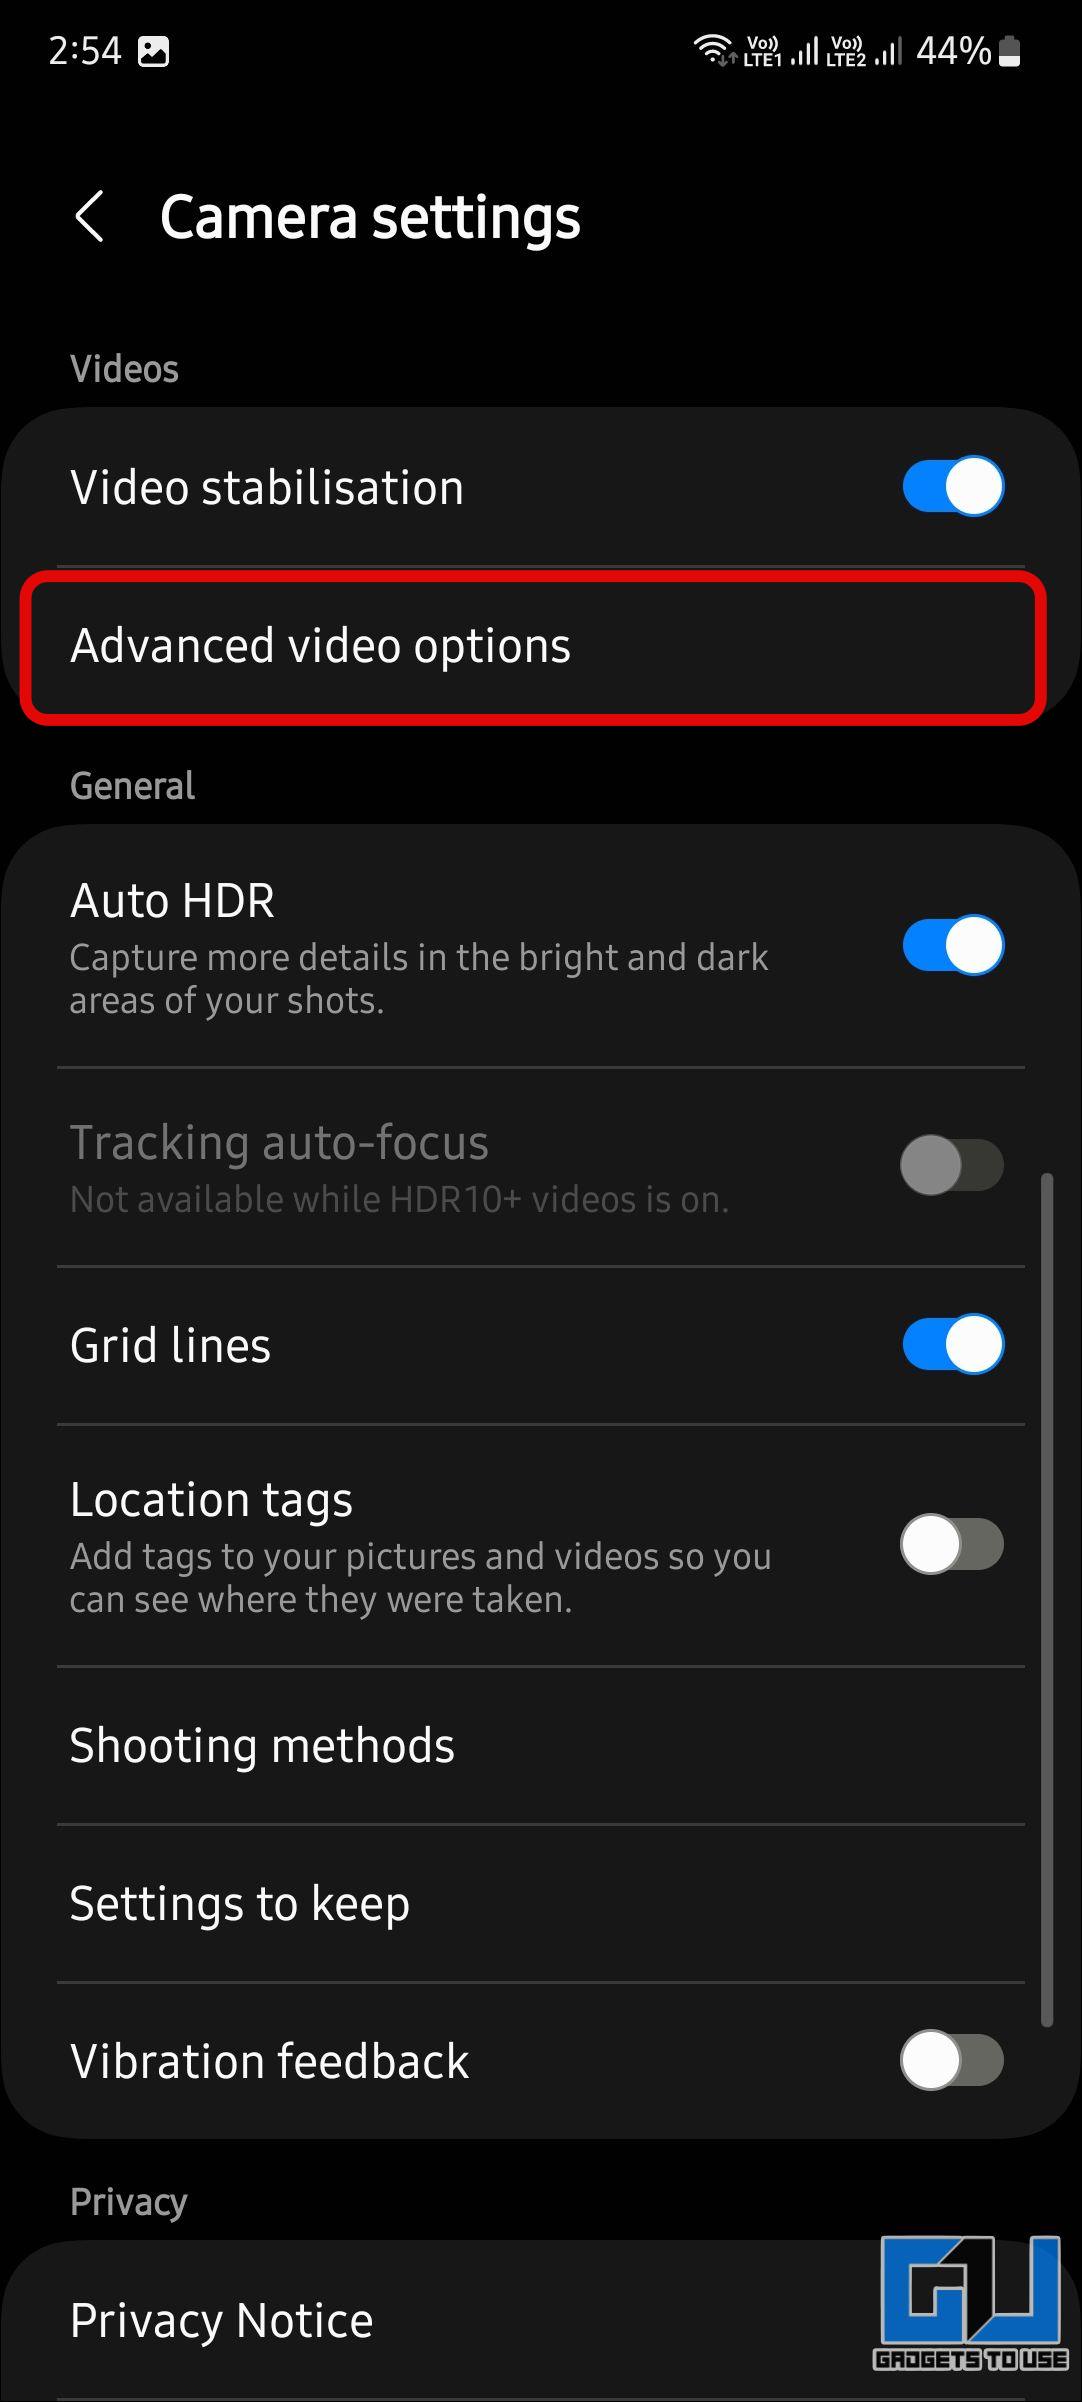
1. Launch the Samsung Camera app, switch to video mode, and tap on the settings icon at the top left.
2. Under Camera settings, tap on Advanced Video Options.
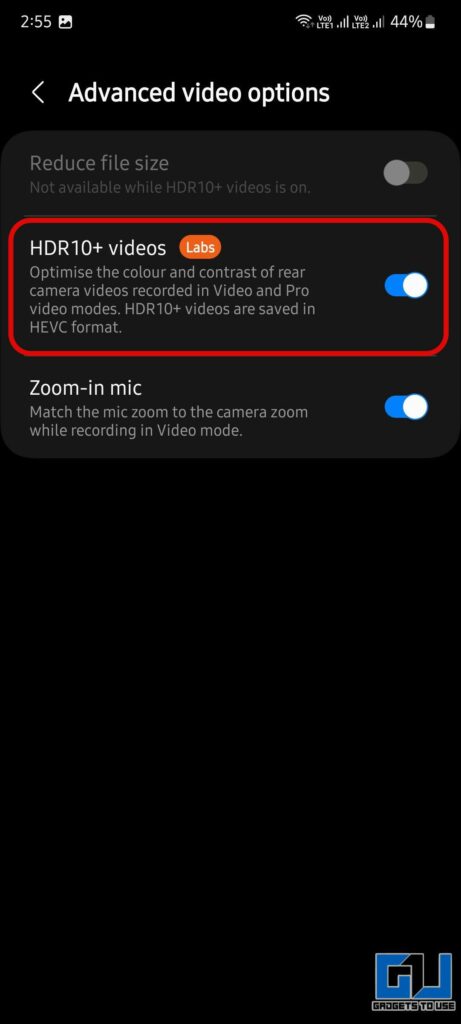
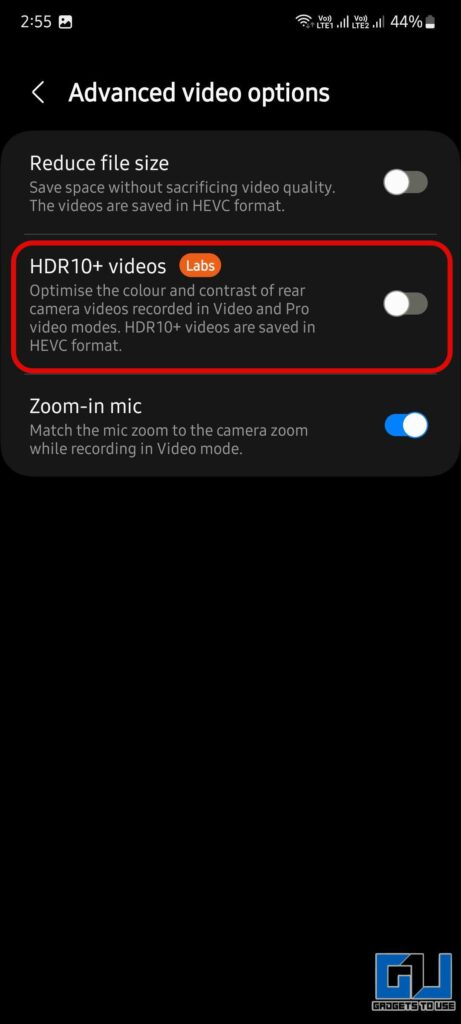
3. Here, disable the toggle for HDR10+ Videos.
On Motorola
1. Launch the camera app on your Motorola phone, and tap the Settings icon at the top right.
2. Under Settings, expand the Videos toggle and turn off the toggle for HDR 10 videos.
On OnePlus
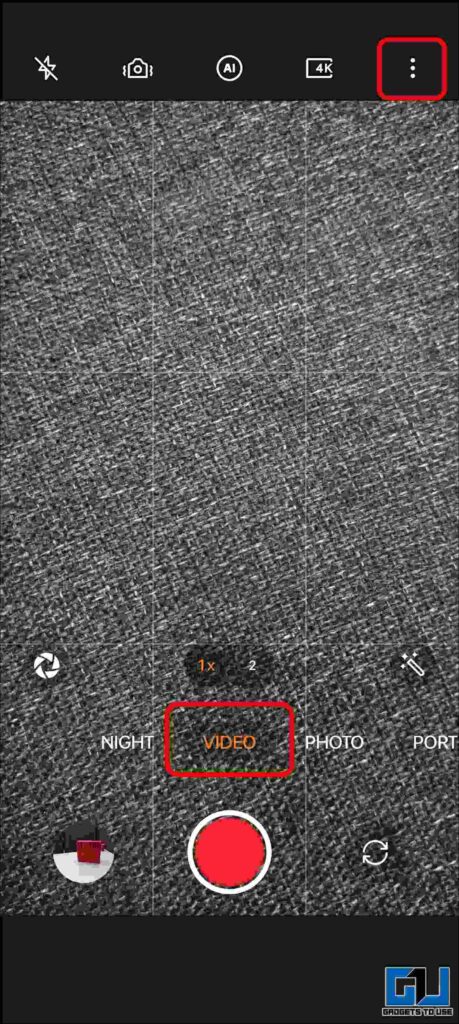
1. Launch the Camera app, and switch to the Video mode.
2. Here, tap the three dots button at the top right to access Settings.
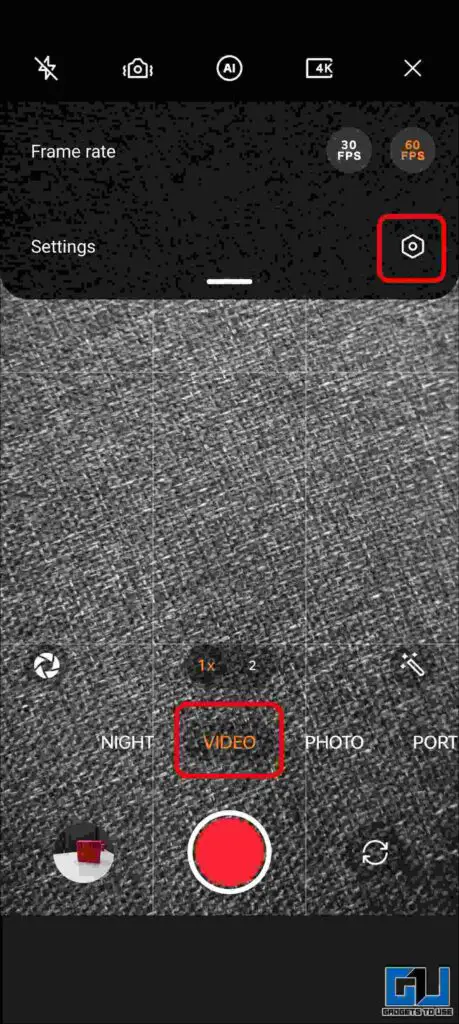
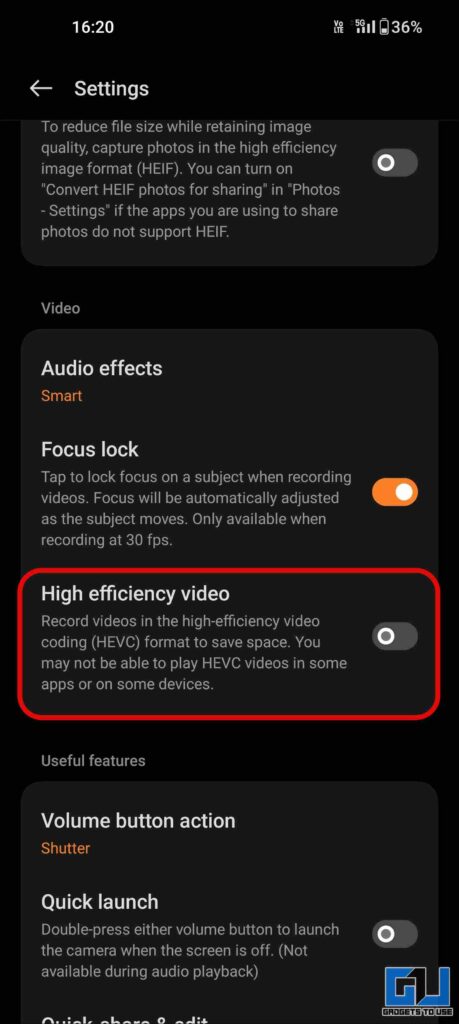
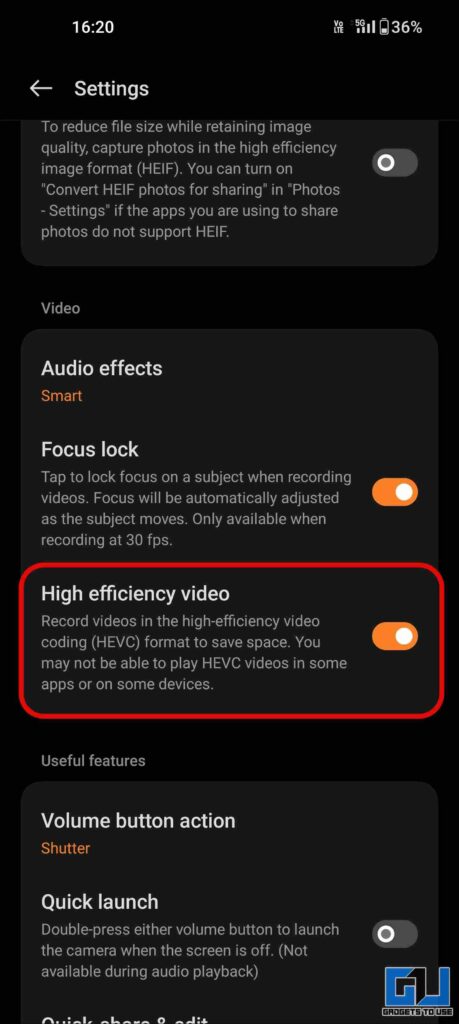
3. Scroll down to the Video category and enable the option for High-Efficiency Video.
Wrapping Up
In this read, we discussed how you can fix the HDR10+ video compatibility issue in Adobe Premiere Pro. In our case, the Shutter Encoder method was able to fix the issue, do let us know if it helped you out. Make sure to check and disable HDR10+ to prevent this from happening in the future. Check out other useful reads linked below, and stay tuned to GadgetsToUse for more such reads.
You might be interested in:
- 5 Ways to Fix Background Noise in Reel Videos
- 3 Ways to View and Change Video Thumbnails on Windows 11/10
- 5 Ways to Blur Faces in Video or Blur Part of a Video for Free
- 11 Ways to Download Videos From Any Website for Free
You can also follow us for instant tech news at Google News or for tips and tricks, smartphones & gadgets reviews, join GadgetsToUse Telegram Group or for the latest review videos subscribe GadgetsToUse YouTube Channel.