

Quick Answer
- Press Windows + I key simultaneously to open the Windows settings app and switch to the Network and Internet tab from the left sidebar to configure Wi-Fi.
- If you’ve recently started to face the ‘Can’t Install Windows Optional Features’ issue on your machine, restoring it to a working savepoint might fix it.
- Another nifty method to fix the optional feature installation error on Windows 11/10 is to update it through the in-app settings.
Besides nifty features like Focus Assist and Dark Mode, Windows optional features serve like a cherry on top of the cake, making the user experience fruitful. However, if you’re facing issues while installing the same, you’ve come to the right place to troubleshoot it. This explainer demonstrates several methods to fix the “Can’t Install Windows Optional Features” issue on Windows 11/10. Additionally, you can learn to fix Black Screen With Cursor issues on Windows 11.
Methods to Fix Can’t Install Windows Optional Features
Due to its customer-centric approach, Microsoft Windows accommodates different users’ needs, including some optional features that offer enhanced controls. These features include certain legacy and power tools one can enable on their system to get the most out of Windows. However, some users cannot locate or install the Windows Optional features on their devices. Let’s quickly look at different methods to solve this issue on Windows 11/10.
Method 1 – Turn Off Metered Connection
Windows 11/10 offers a metered connection feature to impose data restrictions on the active internet connection to reduce data consumption. However, this restricted connection might pose issues while downloading Windows optional features on your machine. To resolve the same, you need to disable Metered Connection by following these steps:
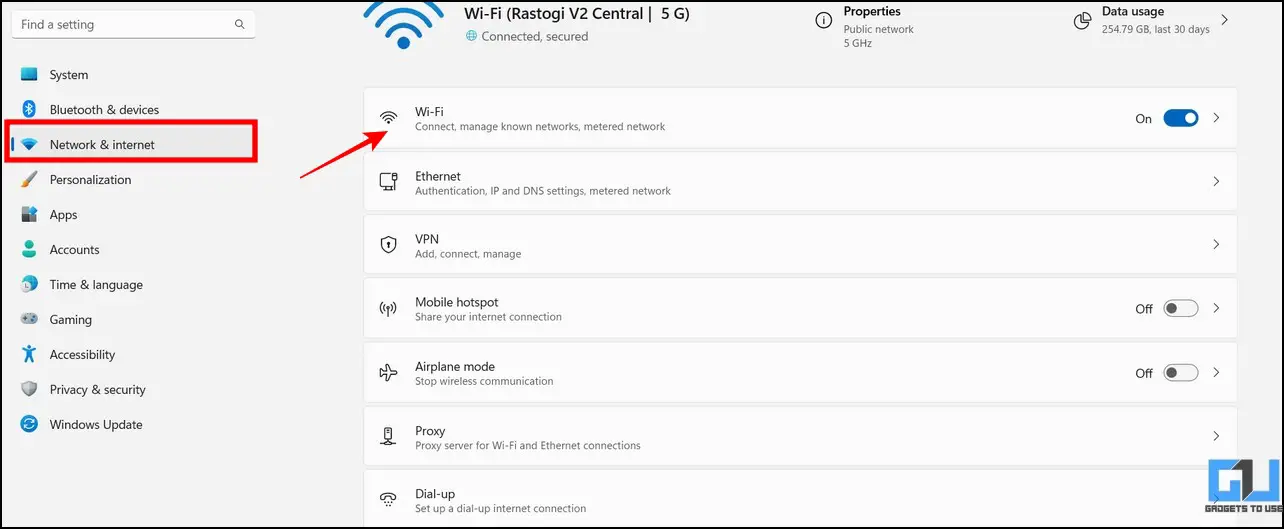
1. Press Windows + I key simultaneously to open the Windows settings app and switch to the Network and Internet tab from the left sidebar to configure Wi-Fi.
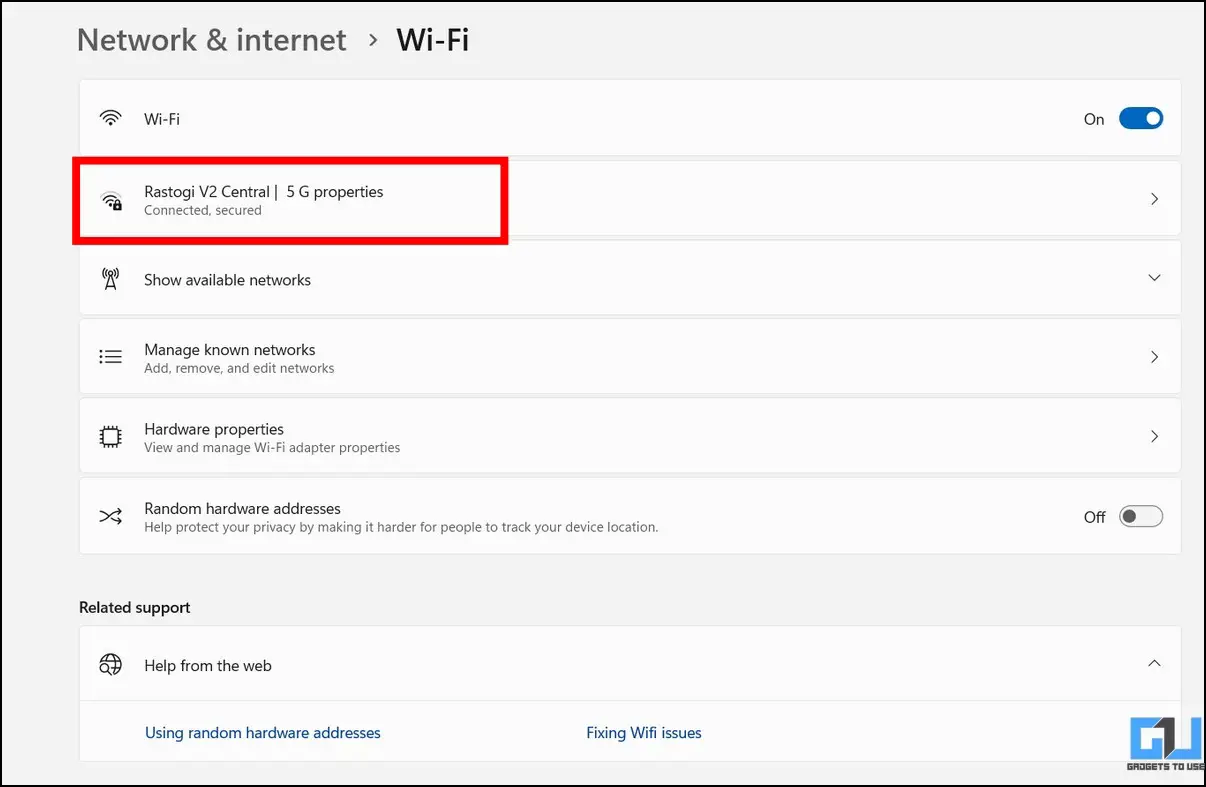
2. Click on the connected Wi-Fi network to open its properties.
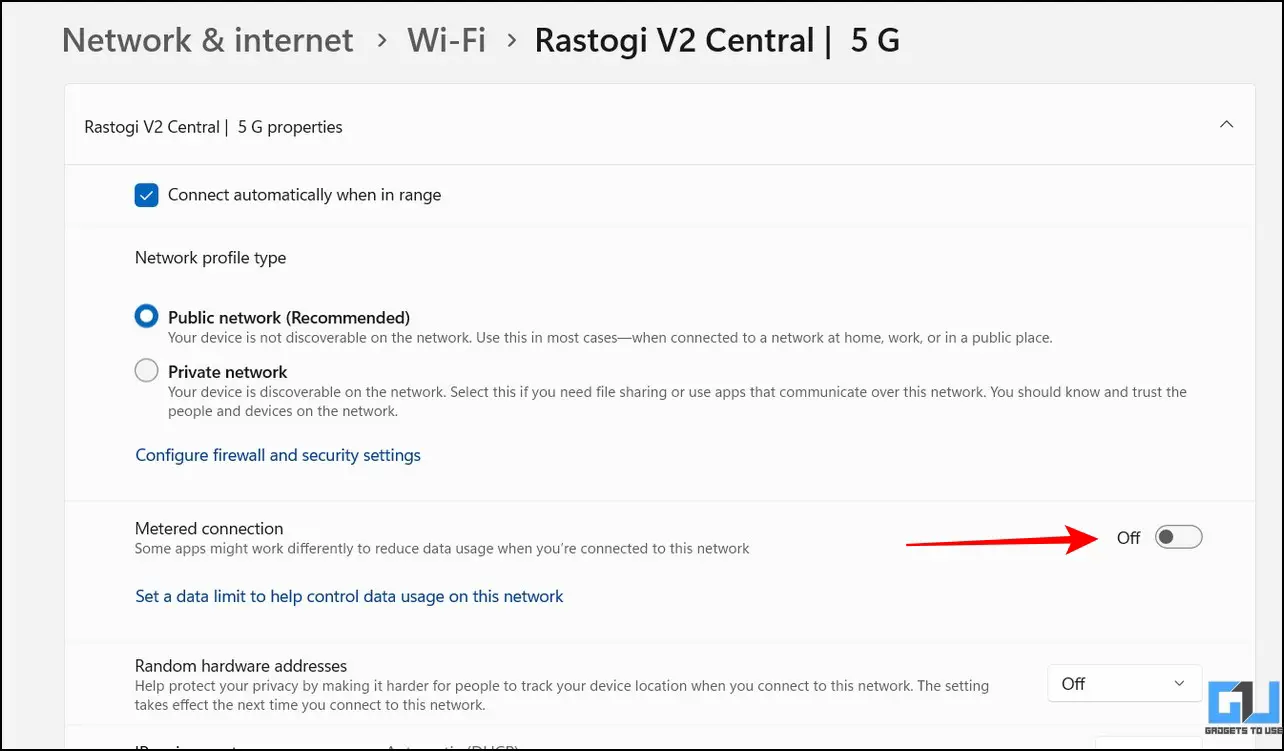
3. Finally, turn off the toggle for Metered Connection to disable it. Once disabled, data limitations and restrictions will be removed, providing uninterrupted internet access for installing new Windows features.
Method 2 – Update Windows to Fix Can’t Install Windows Options Features Error
Another nifty method to fix the optional feature installation error on Windows 11/10 is to update it through the in-app settings. Here’s how to configure it:
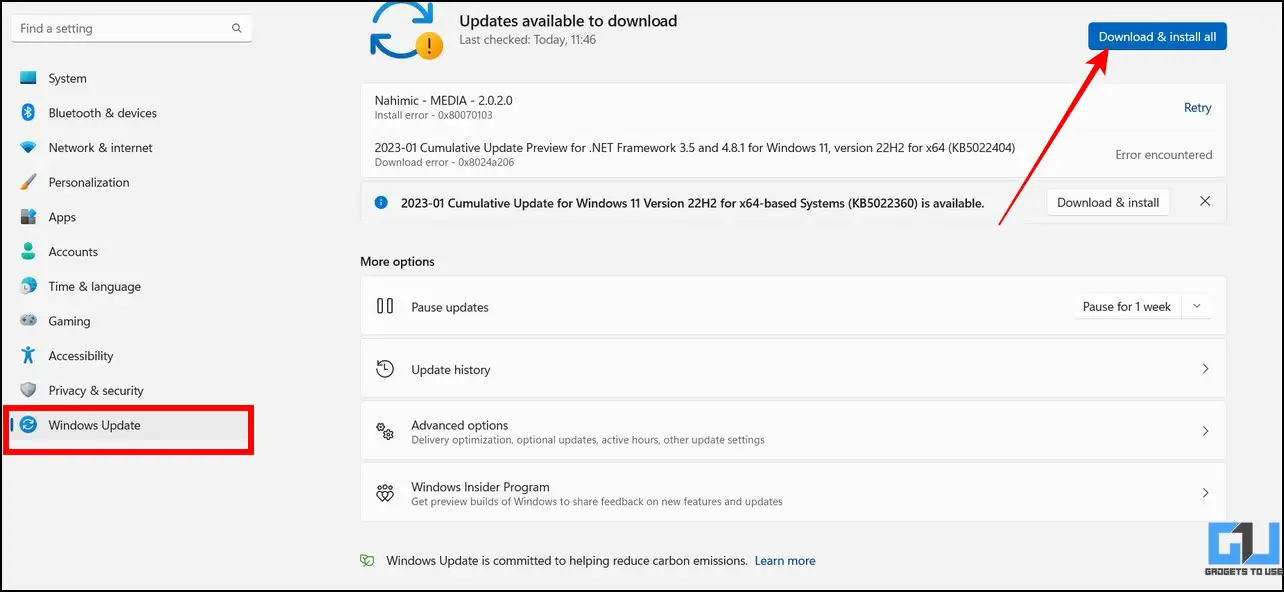
1. Open the settings app and expand the Windows Update option in the left sidebar.
2. Wait a few seconds to check for available updates and click the Download and Install button to apply updates.
Method 3 – Run the Windows Update Troubleshooter
Downloading optional features on Windows 11/10 largely depends on the Windows update; hence, any issue with the same might create problems while installing the optional features. Fortunately, you can use Microsoft’s in-built troubleshooter to resolve Windows update issues. Here’s how it can be done:
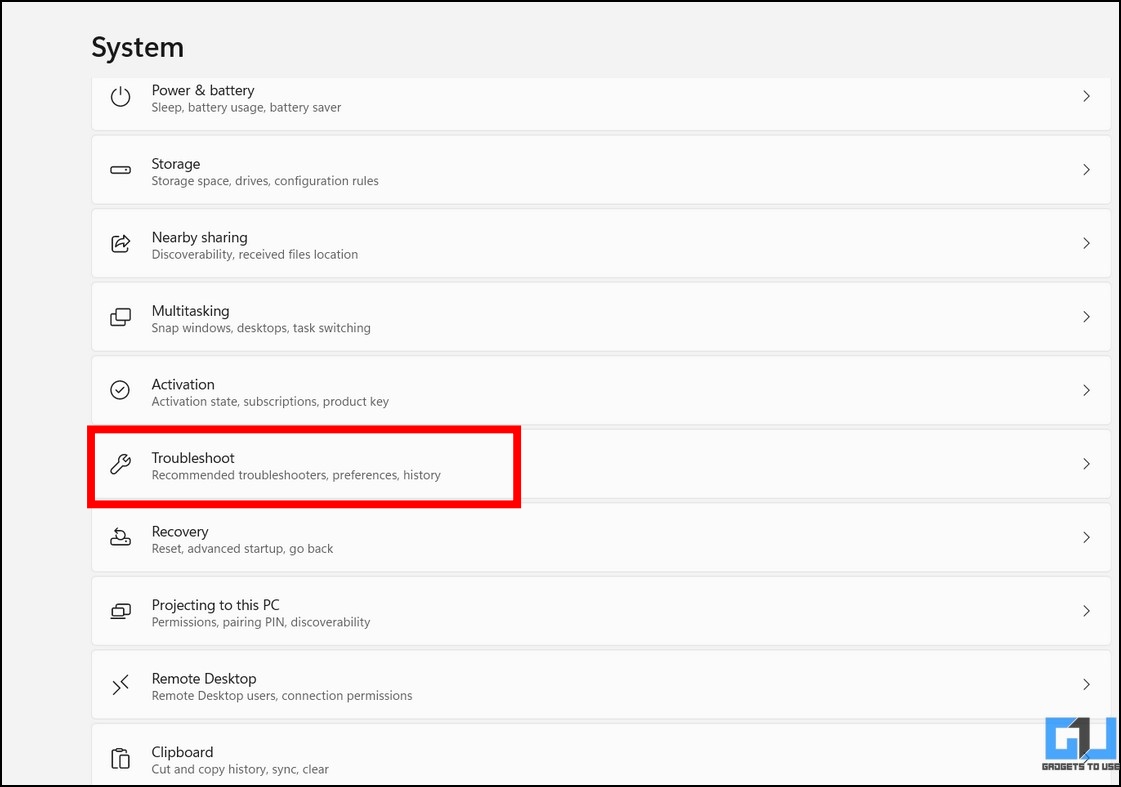
1. Open the Settings app and expand System in the left sidebar to configure the Troubleshoot option.
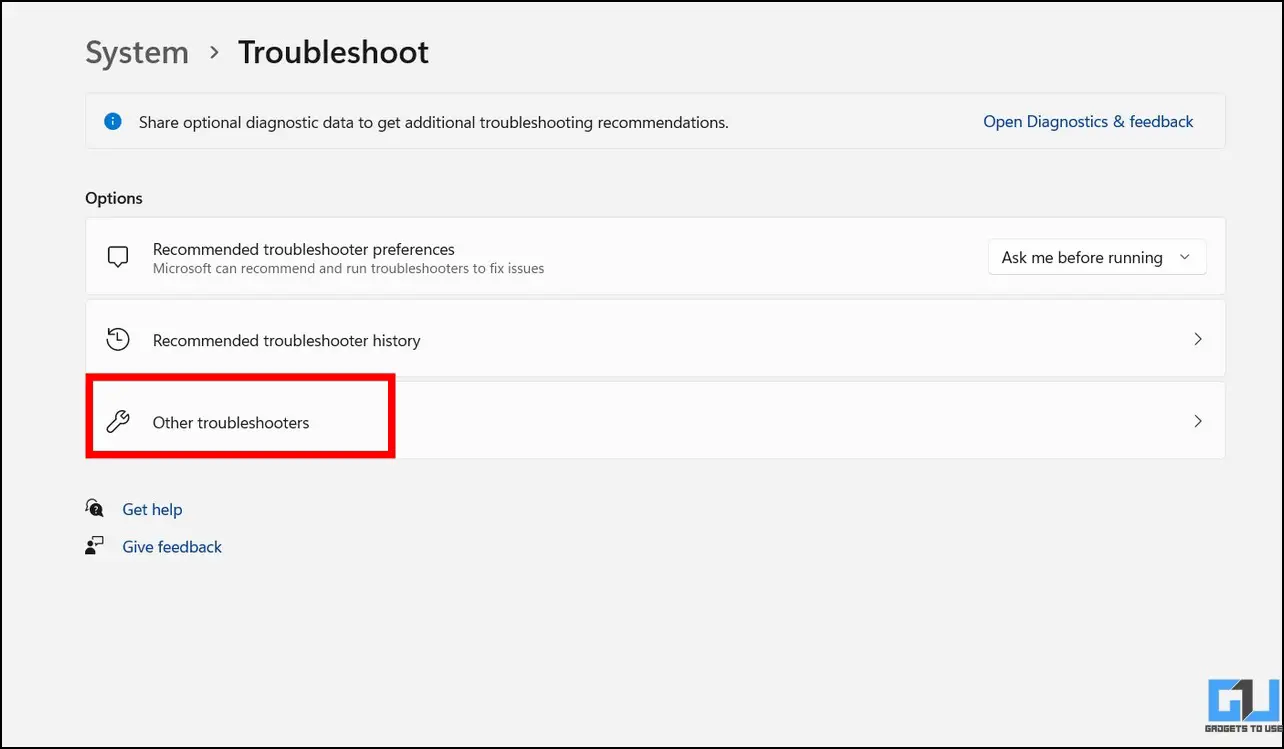
2. Next, click the Other Troubleshooters button.
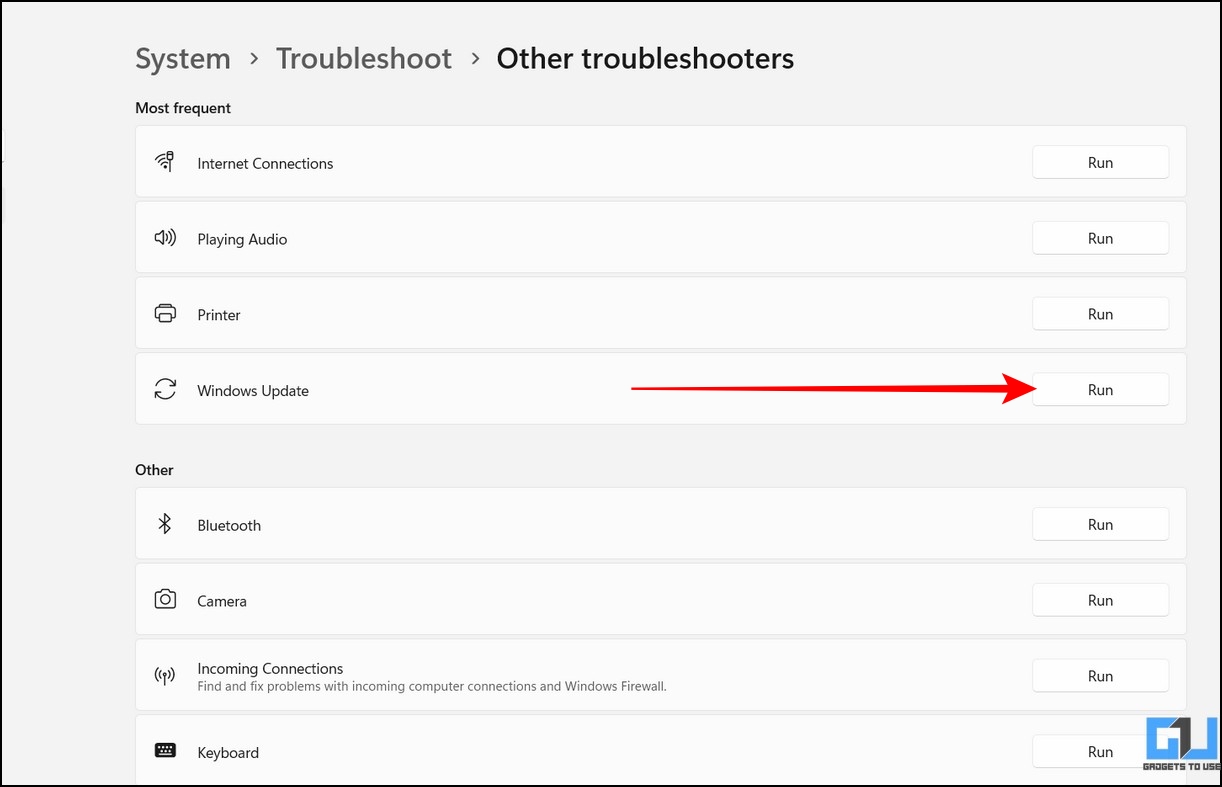
3. Finally, locate Windows Update from the troubleshooter list and click the Run button to launch it. Follow the on-screen instructions to fix the Windows Update, ultimately fixing the “Can’t Install Windows Optional features” error.
Method 4 – Automate Modules Startup Service to Fix the Can’t Install Options Features Error
The Windows Modules Installer service is a crucial component that checks for updates and installs them on your computer. If the service is disabled, you might face difficulty installing optional Windows features. To resolve the problem, you can automate the Modules Startup service on your machine by following these easy steps:
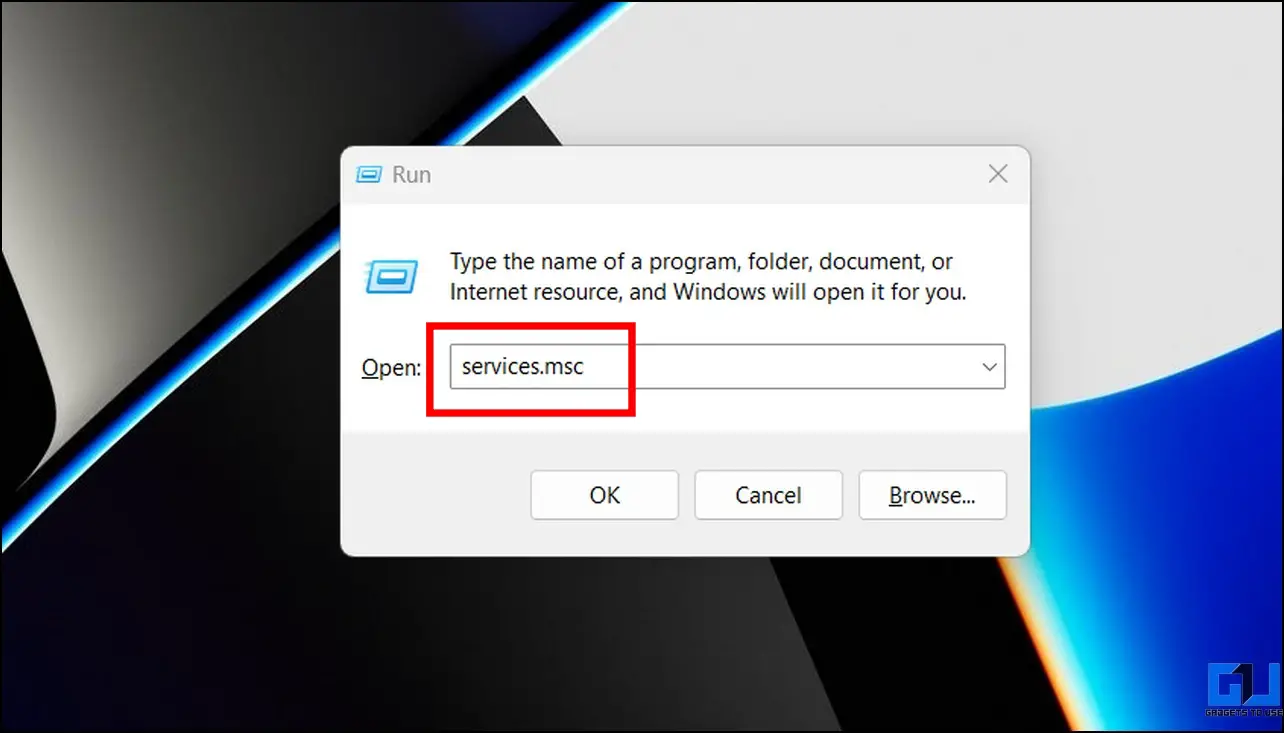
1. Press the Windows + R key to open the Run window and type services.msc to open the Services window.
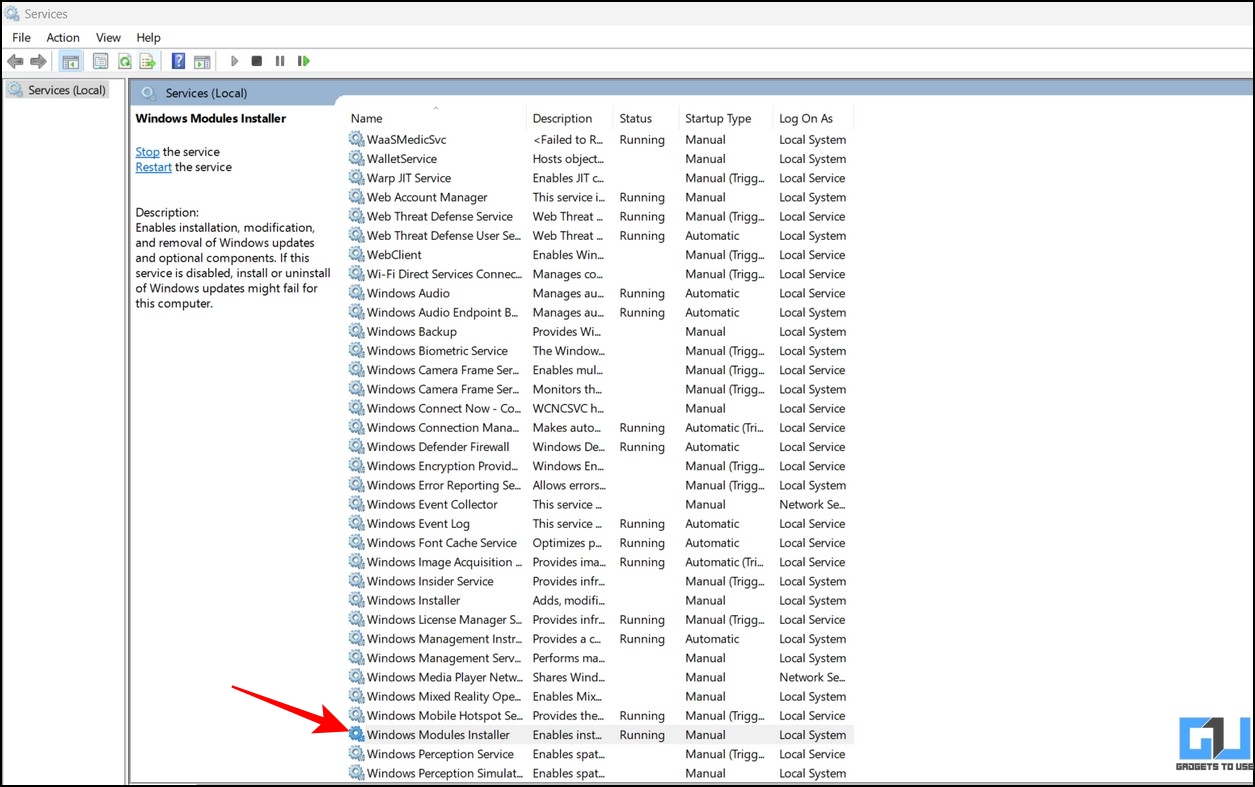
2. Next, locate the Windows Modules Installer option and double-click the service to configure it.
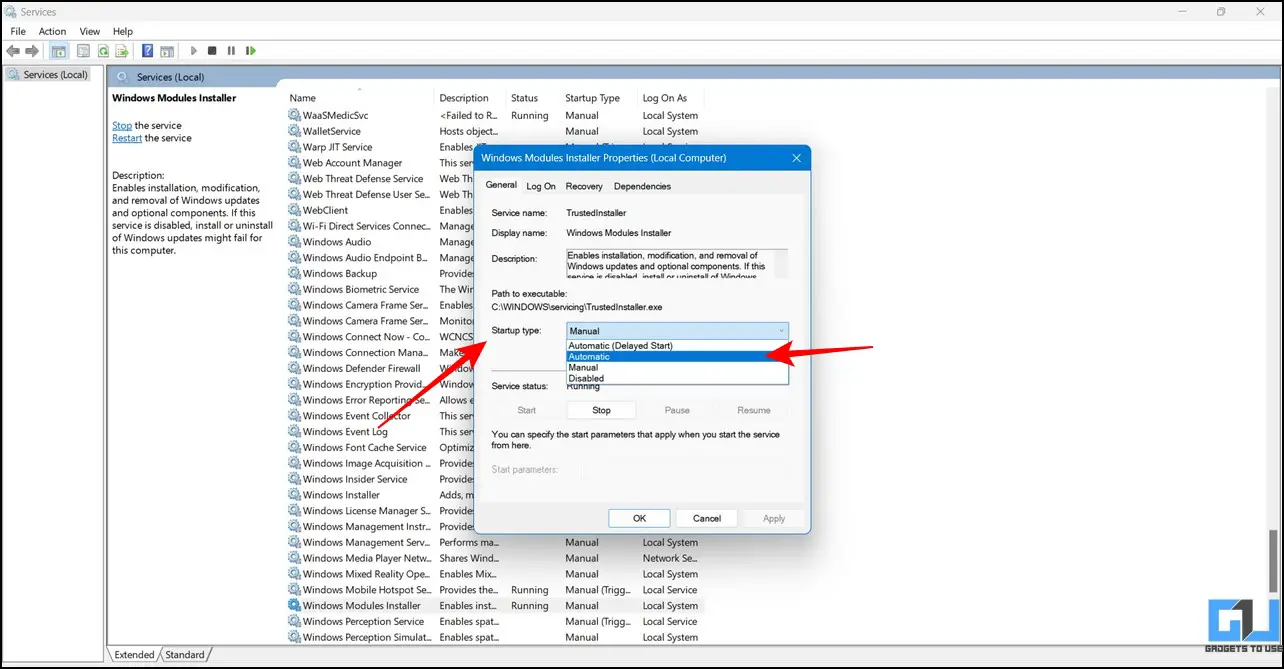
3. Finally, set the Startup Type to Automatic and click the OK button to apply changes.
Method 5 – Perform a System Restore
If you’ve recently started to face the ‘Can’t Install Windows Optional Features’ issue on your machine, restoring it to a working savepoint might fix it. Follow these easy steps to revert your system installation changes with the System Restore feature.
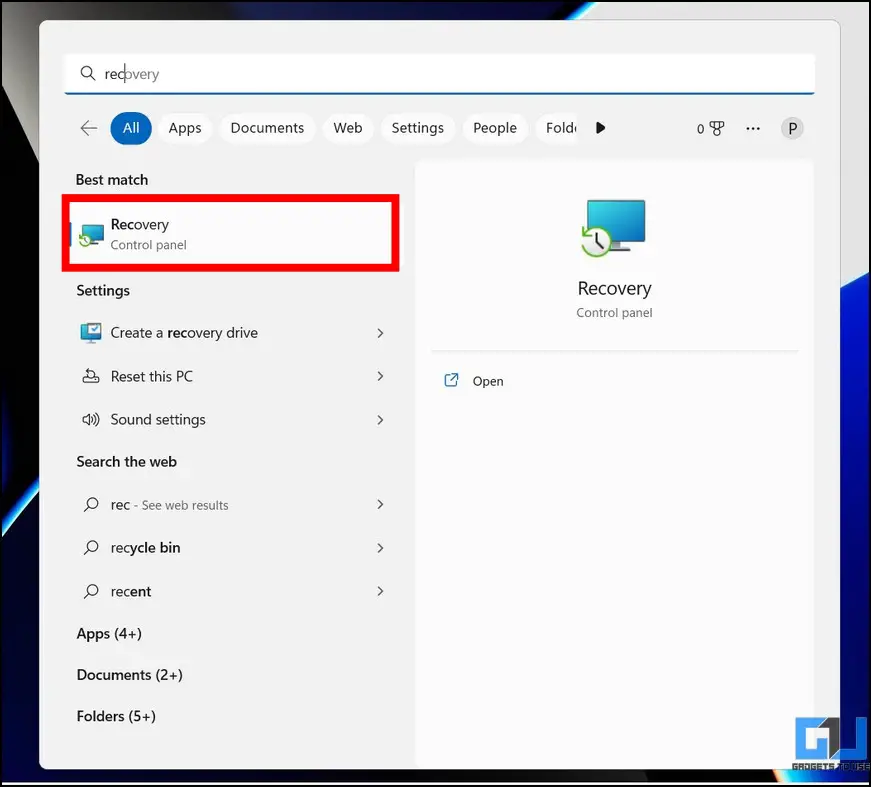
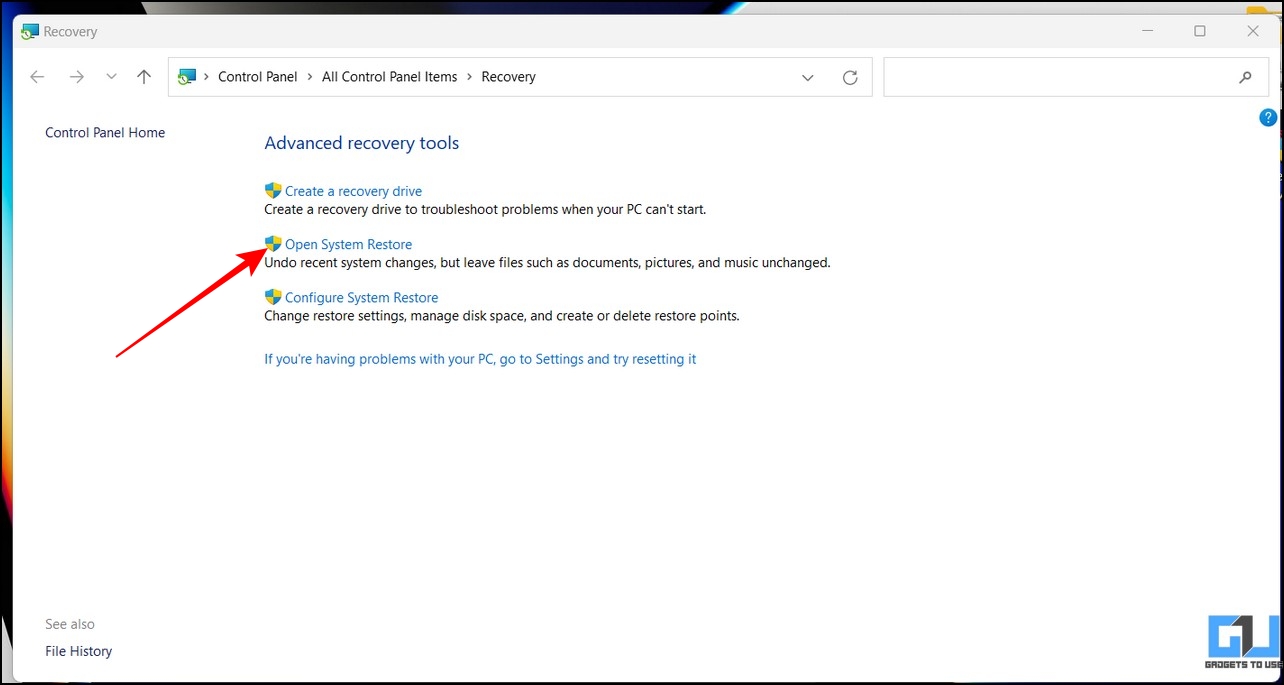
1. Press the Windows key and search for the Recovery option to open it inside the Control Panel.
2. Next, click the Open System Restore option.
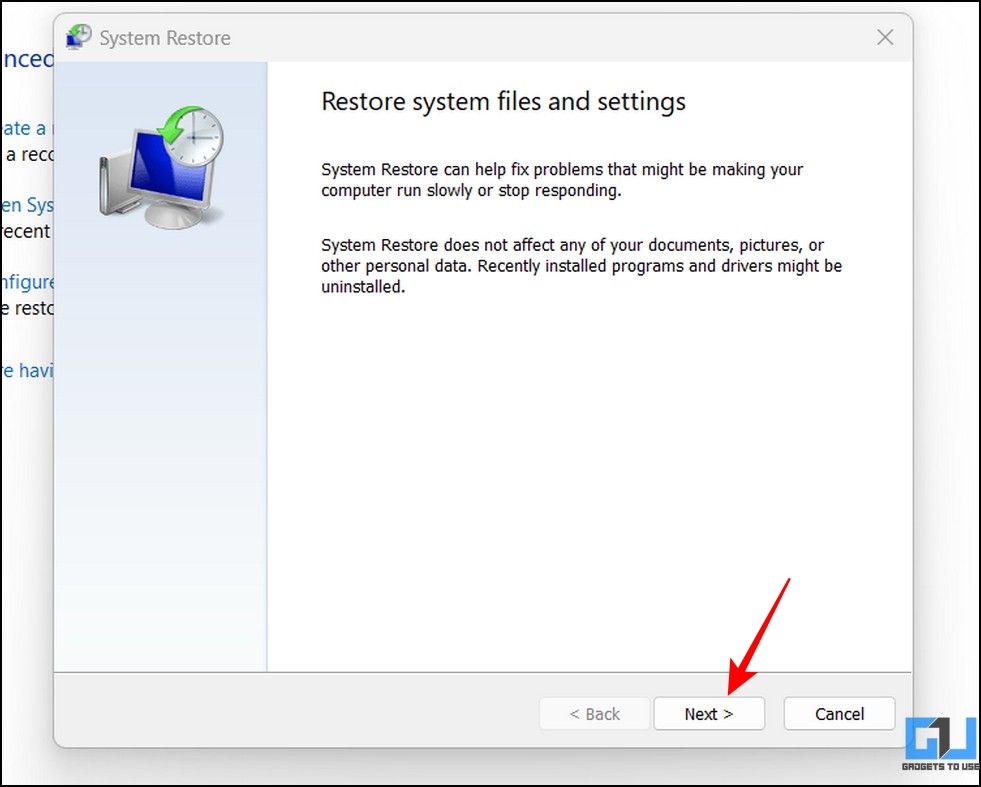
3. Click the Next button to configure the System Restore wizard.
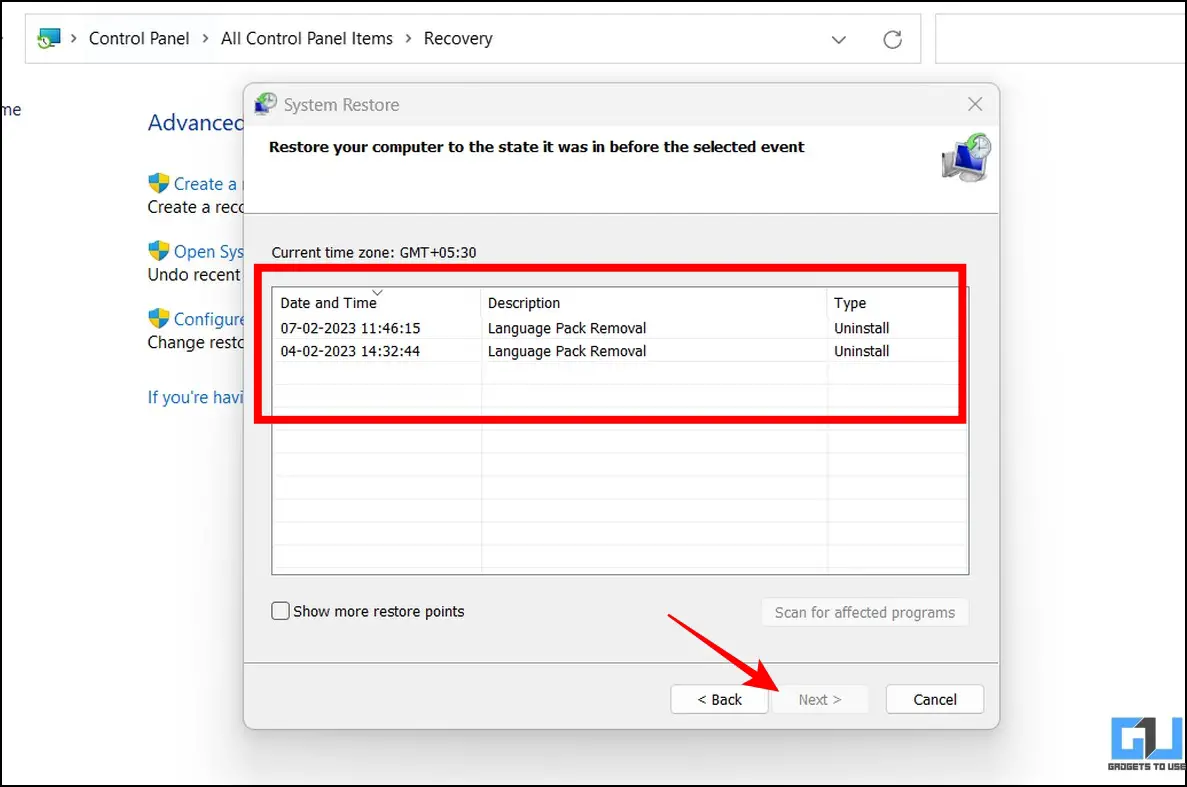
4. Finally, pick your desired restore point and follow the on-screen instructions to revert your system to the desired point.
Method 6 – Scan and Repair the System With DISM and SFC Tools
Corrupted files and registry entries can be another major reason behind the issues while installing optional features for Windows. Luckily, you can use the native DISM (Deployment Image Servicing and Management) and SFC (System File Checker) tools to fix and patch the system quickly. Here’s what you need to follow:
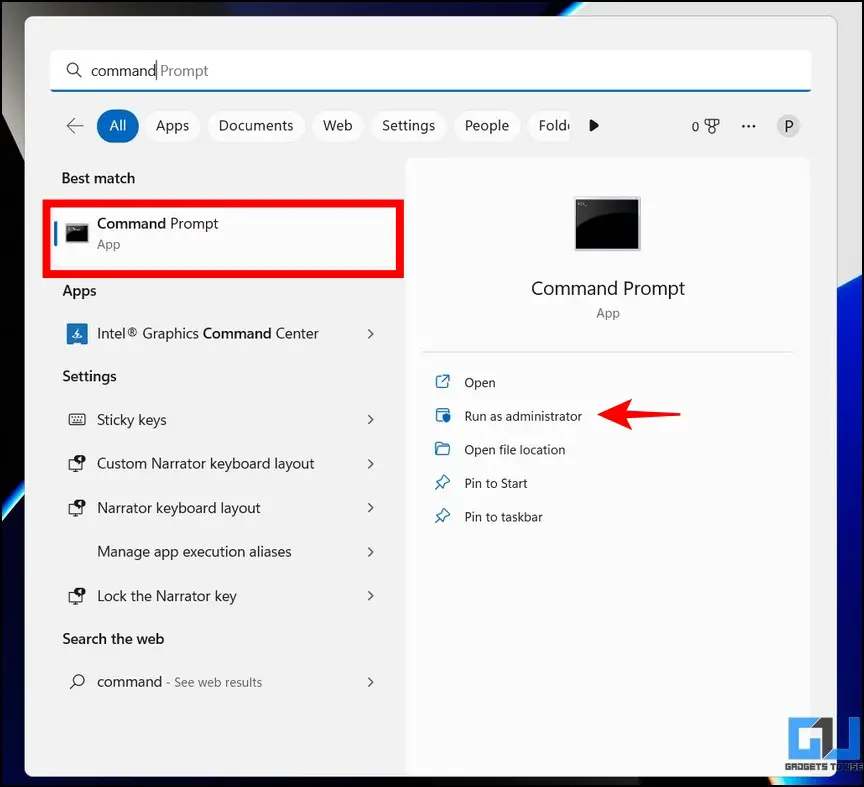
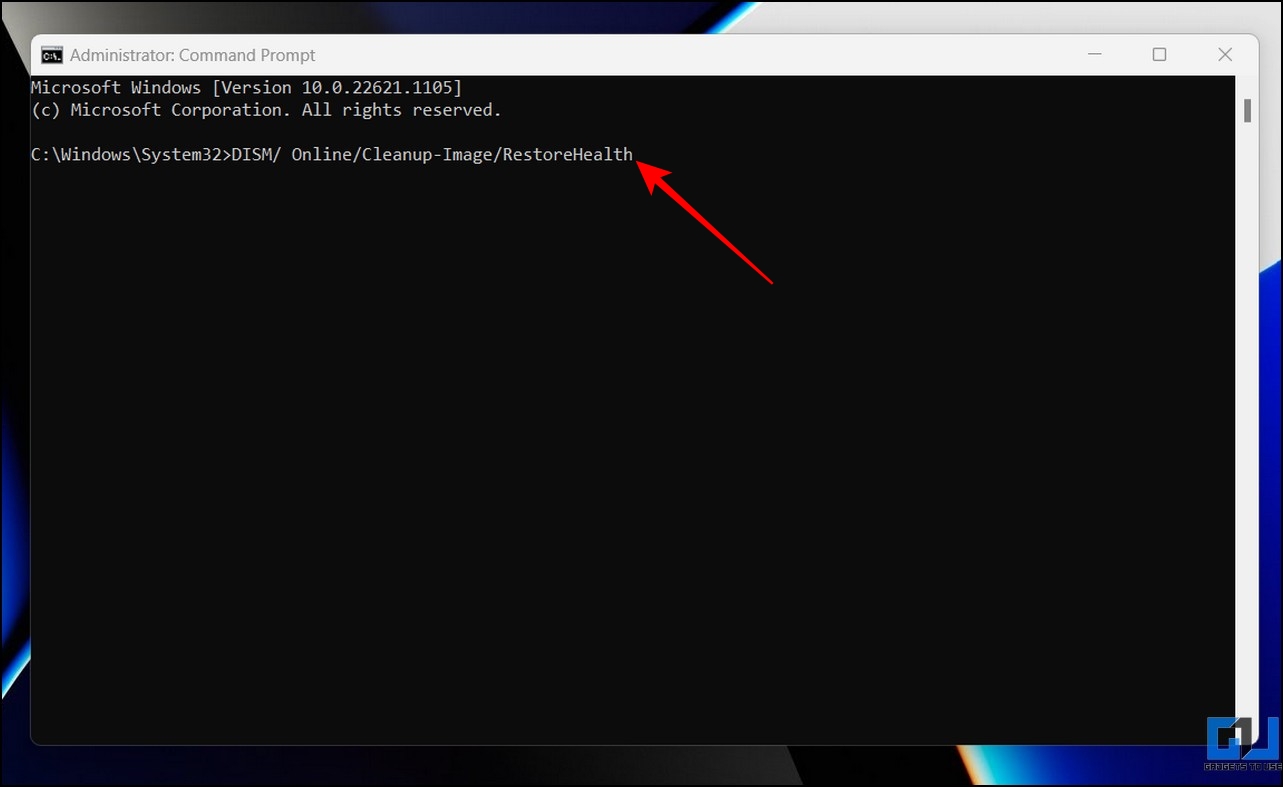
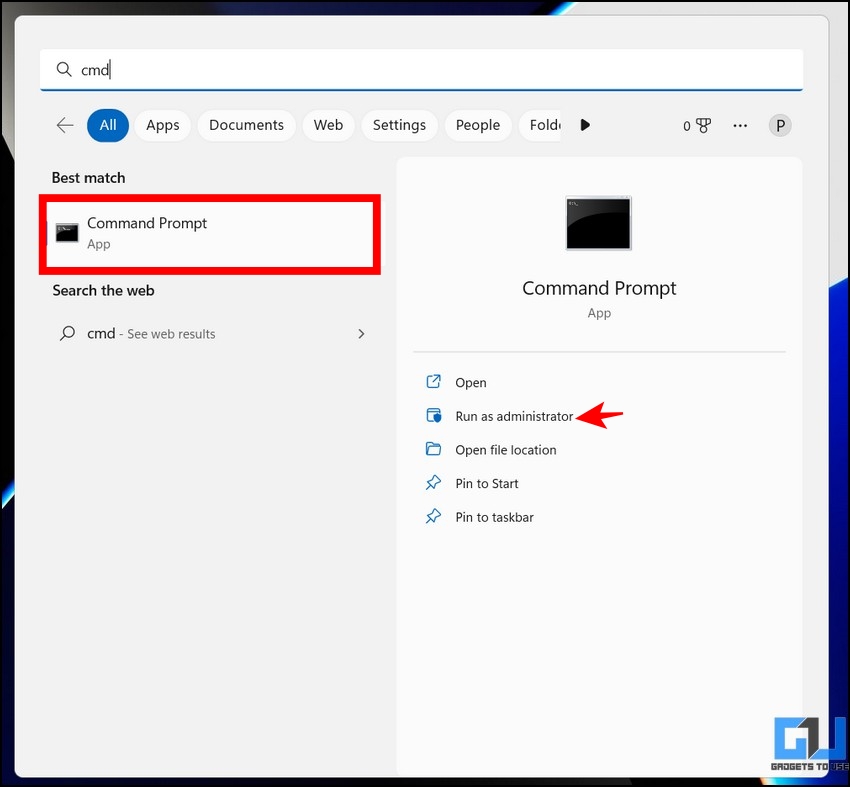
1. Press the Windows key and search for the Command Prompt tool to run it with administrative permissions.
2. Next, enter the following DISM command to service your Windows image:
DISM/ Online/Cleanup-Image/RestoreHealth
3. After restoring system files, scan your system to find and replace corrupted Windows files with the following command:
SFC /scannow
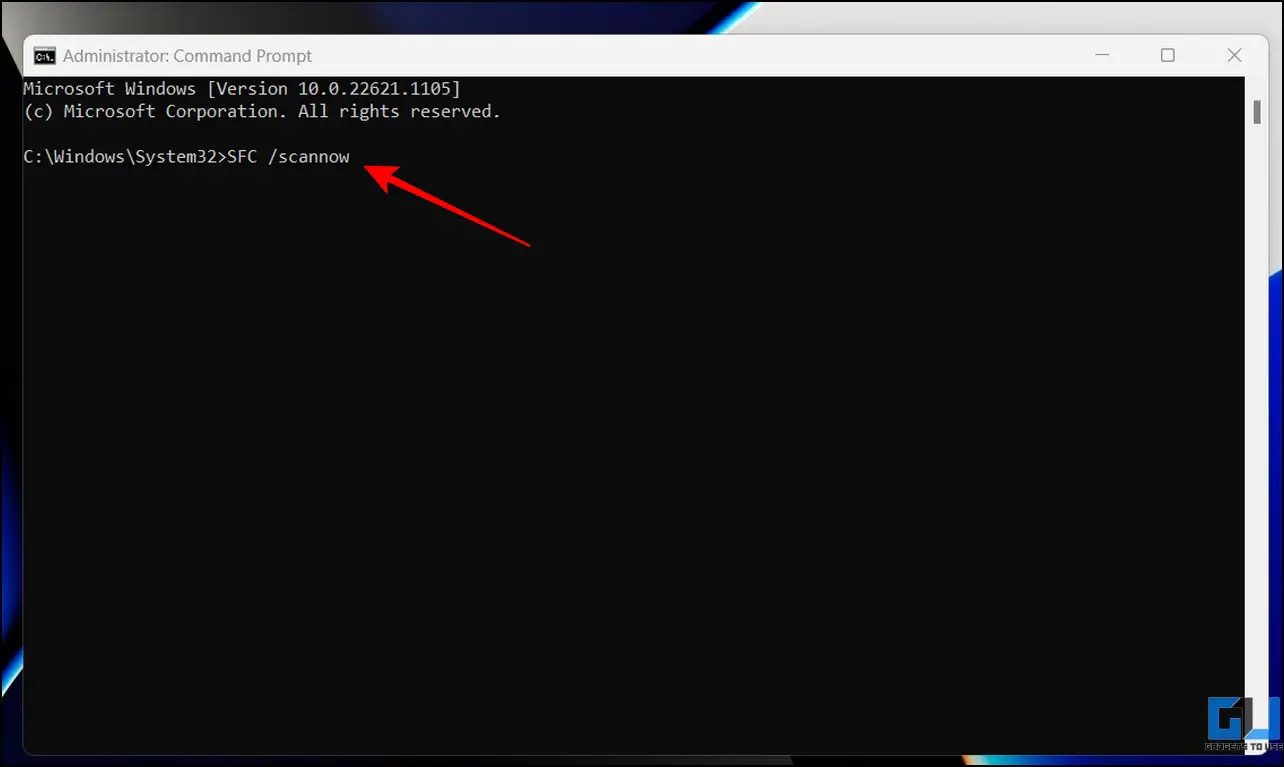
4. Finally, restart your Windows machine after the scan is complete.
Method 7 – Adjust Group Policy Settings to Allow Optional Feature Installation
The Local Group Policy Editor tool on Windows 11/10 packs a special feature that, if enabled by default, hides the option to install optional features on the machine. Here’s how you can access this setting to ensure it remains disabled.
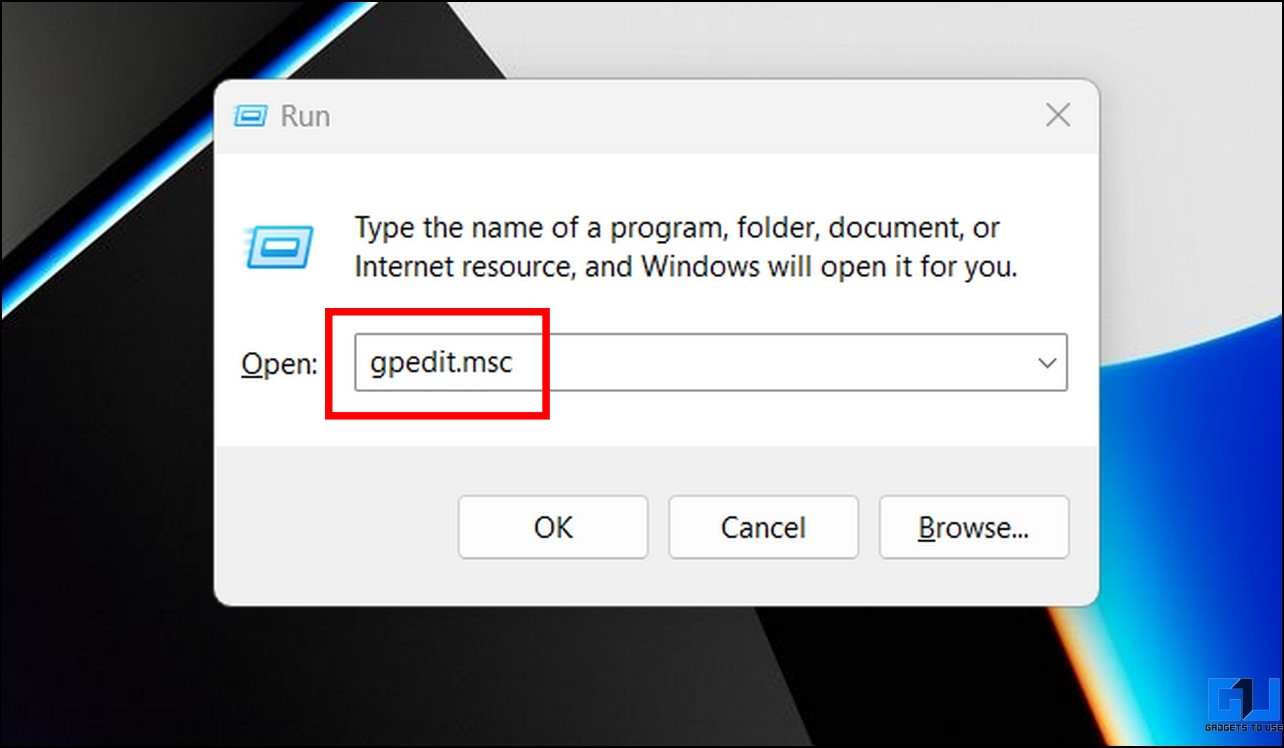
1. Launch the Run window and type “gpedit.msc” to open the Local Group Policy Editor window.
2. Next, navigate to the following path inside the Group Policy Editor window:
User Configuration\Administrative Templates\Control Panel\Programs
3. Locate the Hide Windows Features option on the right and double-click to configure it.
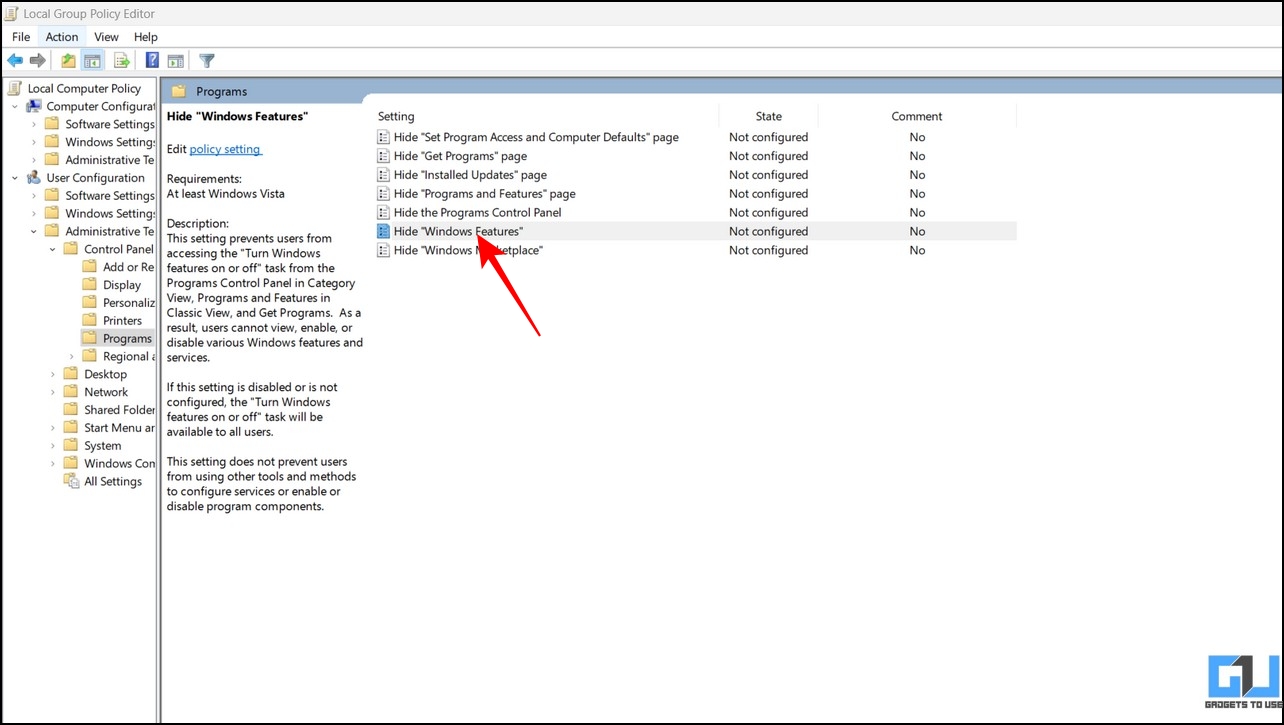
4. Finally, set it to Disabled and press the OK button to apply the changes.

Method 8 – Reset Windows Update
If you haven’t been able to fix the ‘Can’t Install Windows Optional Features’ error after trying the above methods, you can reset the Windows Update components by executing some commands on the Command Prompt tool.
1. Press the Windows key and search for the Command Prompt tool to run it with administrative permissions.
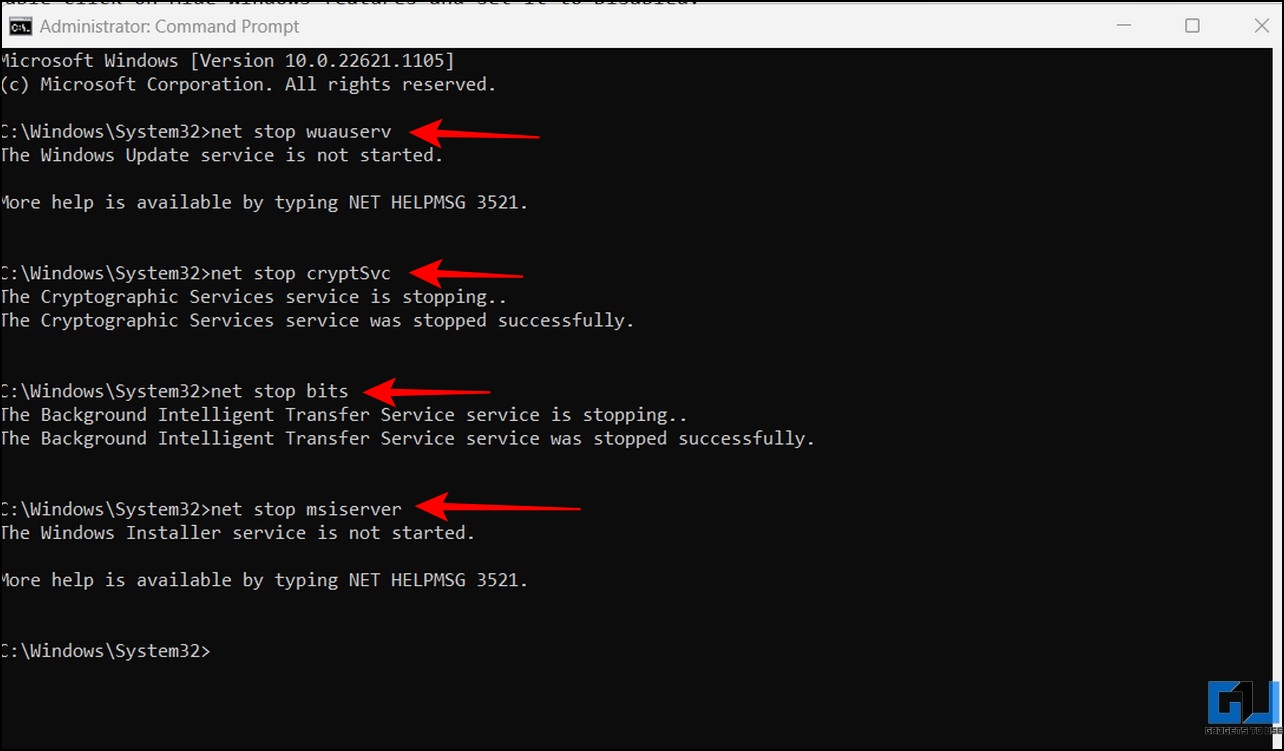
2. Next, stop the running Windows Update services by executing the following commands one by one in the terminal window:
net stop wuauserv
net stop cryptSvc
net stop bits
net stop msiserver
3. Further, we need to rename the Software Distribution and Catroot2 folders using these commands:
ren C:\Windows\SoftwareDistribution SoftwareDistribution.old
ren C:\Windows\System32\catroot2 catroot2.old

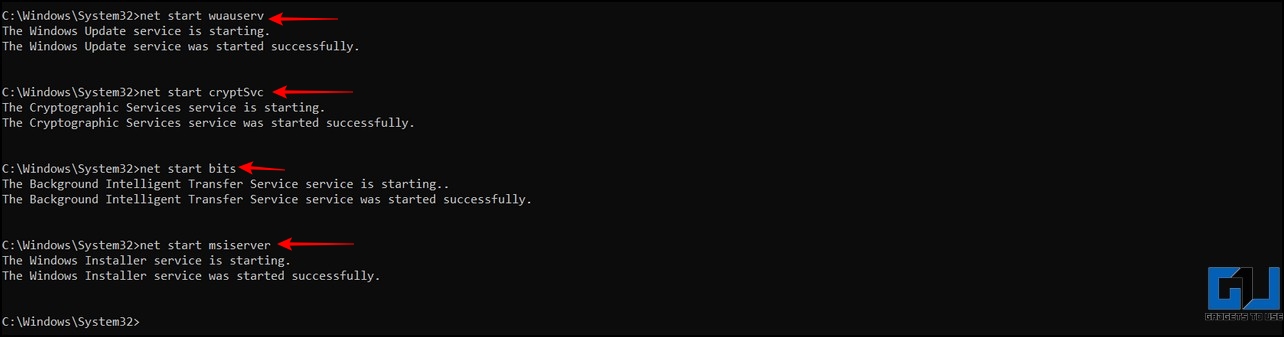
4. Finally, restart the stopped services to resolve the issue:
net start wuauserv
net start cryptSvc
net start bits
net start msiserver
Method 9 – Restore Windows Feature Using Powershell
Besides installing optional Windows features through the settings app, you can use the Powershell tool to view and install selective features to cater to your needs. Here’s how it can be done.
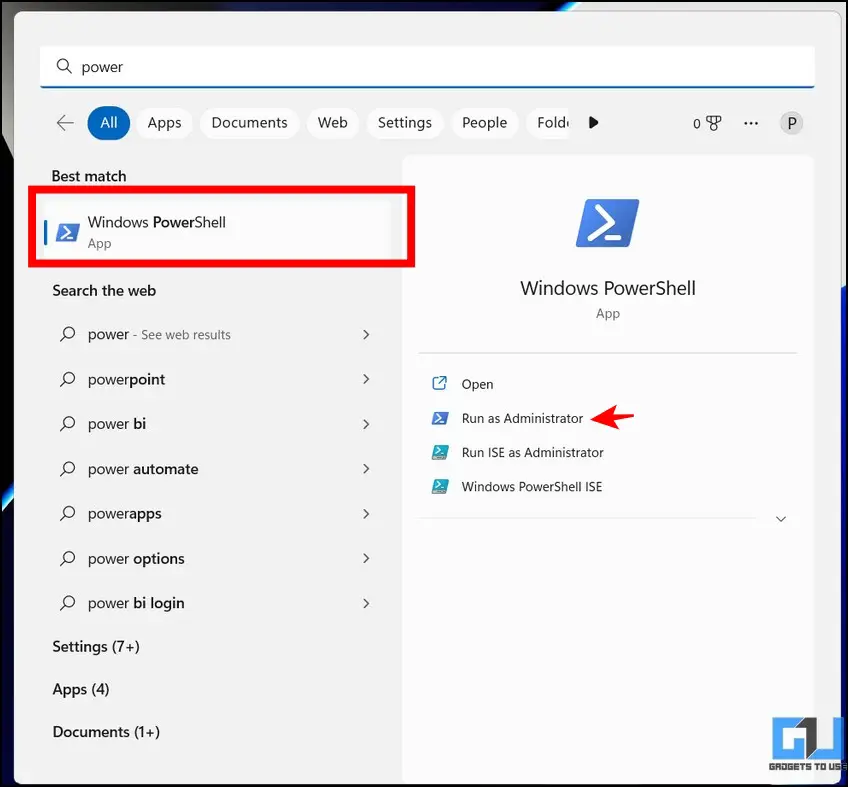
1. Press the Windows key and search for the Powershell tool to launch it with administrative privileges.
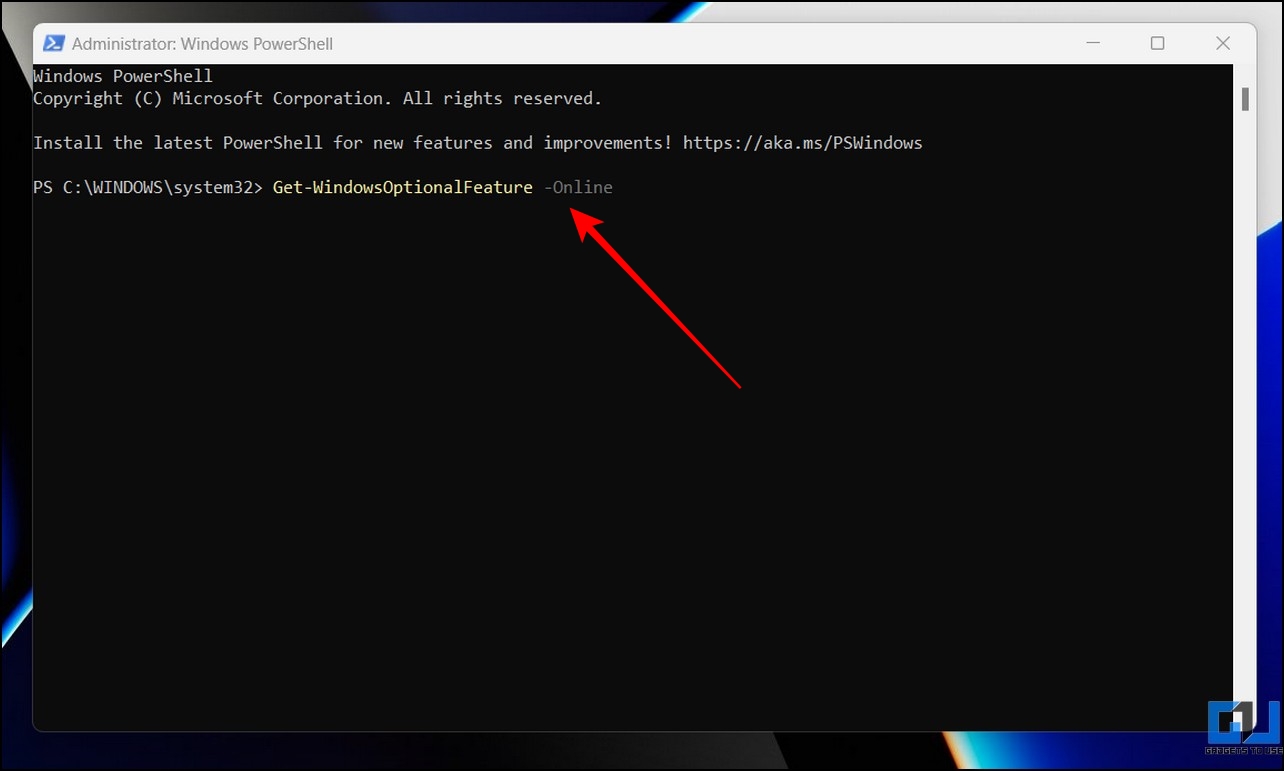
2. Next, type the following command to view the list of all optional Windows features inside the PowerShell window:
Get-WindowsOptionalFeature -Online
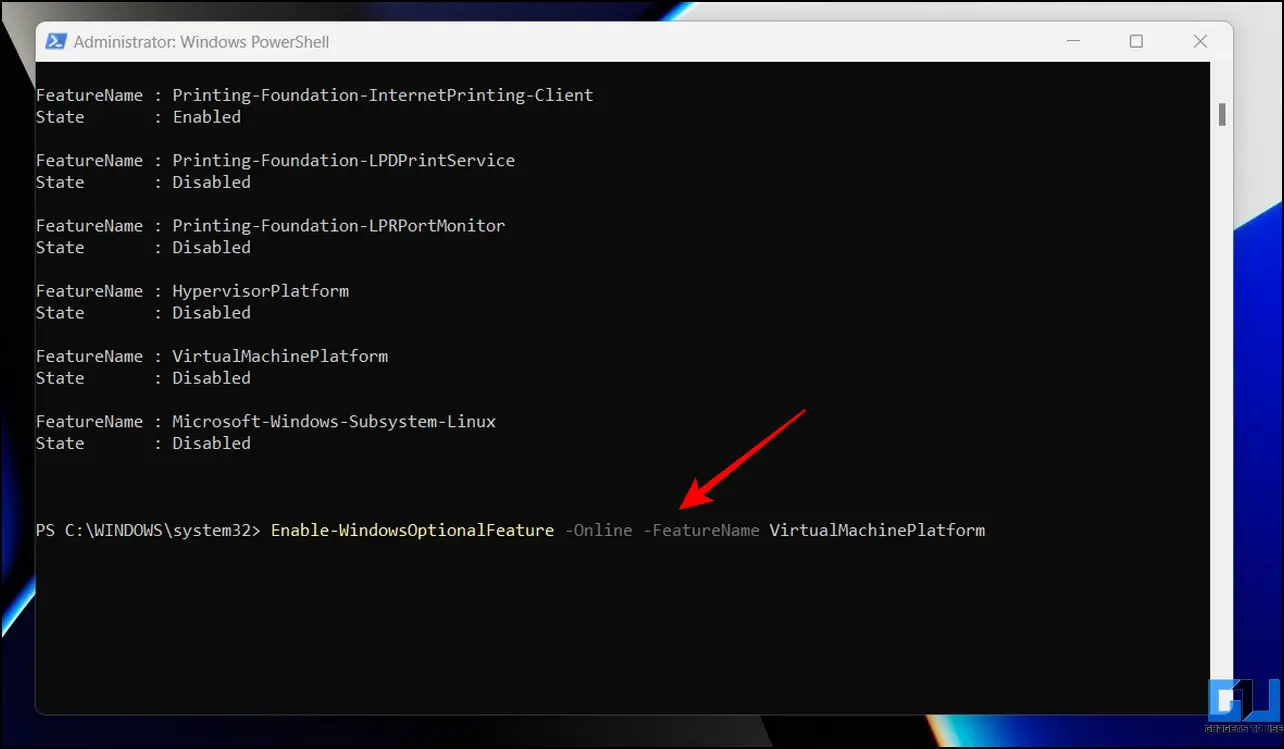
3. Finally, pick the desired feature name that you wish to install and replace the FEATURENAME text with the picked name before executing the following command:
Enable-WindowsOptionalFeature -Online -FeatureName FEATURENAME
4. Wait a few seconds to allow Windows to install the selected optional feature.
FAQs
Q. I am unable to Install Optional Features on Windows 11/10. How do I fix it?
You should check if you are on a metered connection or run other troubleshooting methods mentioned in the article to fix the Optional Features installation error on Windows 11/10.
Q. I Cannot See the Optional Features Option on Windows 10/11.
You should update your Windows machine to the latest version to access the Optional features.
Q. How to Install an Optional Feature via Powershell?
If you cannot install the optional Windows feature via GUI, you should browse and install it manually using the Windows PowerShell commands. For more details, refer to the Bonus method listed in this explainer.
Wrapping Up
We hope you’ve successfully learned to fix the Optional Feature Installation issue on your Windows 11/10 machine through this explainer. If you found it helpful, spread the word with your colleagues, and check the below links for more helpful Windows troubleshooting walkthroughs.
You might be interested in the following:
- 3 Ways to Disable Mobility Center in Windows 11/10
- 2 Ways to Recover Permanently Deleted Files on Windows 11/10
- 3 Ways to Make Windows 11 Start Menu Show ‘All Apps’ by Default
- 8 Ways to Disable Microsoft OneDrive in Windows 11
You can also follow us for instant tech news at Google News or for tips and tricks, smartphones & gadgets reviews, join GadgetsToUse Telegram Group or for the latest review videos subscribe GadgetsToUse YouTube Channel.


