Quick Answer
- With the new iOS 17, you can set your full-screen photo and contact poster to customize how you look on other’s iPhones when they receive your call.
- Once you have updated your iPhone to iOS 17, you can set up and customize your contact poster using the steps below.
- In this article, we’ll tell you how you can create and customize your contact poster on any iPhone running iOS 17.
Have you ever wanted to personalize the call screen on your iPhone? With the new iOS 17, you can set your full-screen photo and contact poster to customize how you look on other’s iPhones when they receive your call. In this article, we’ll tell you how you can create and customize your contact poster on any iPhone running iOS 17.
What are Contact Posters on iOS 17?
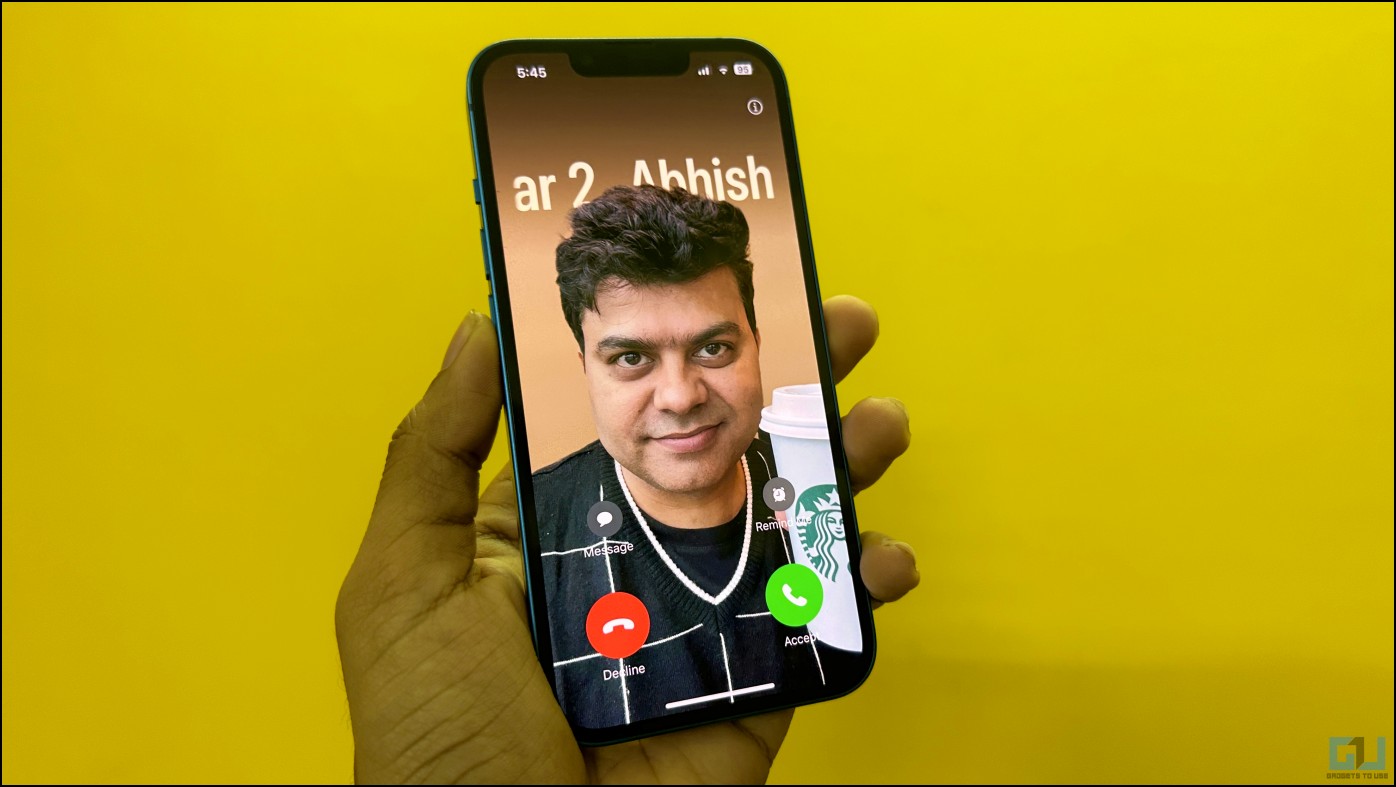
Contact Posters are one of the major iOS 17 features introduced at WWDC. Once enabled, it lets you customize the screen that appears on someone else’s iPhone when calling them from your device.
The other party’s iPhone will display either the full-screen photo, a memoji, or a monogram set by you. You can use portrait photos or selfies and even customize the poster background and your name with different font styles and colors.
The Contact Posters give a refreshing look to incoming calls on iPhone. It is not only more personalized but also helps people identify who is calling with a glance at their phone. The contact posters are automatically shared when sharing contact via NameDrop.
Here are the iPhones that support Contact Posters:
- iPhone 14, 14 Plus, 14 Pro, 14 Pro Max
- iPhone 13, 13 Mini, 13 Pro, 13 Pro Max
- iPhone 12, 12 Mini, 12 Pro, 12 Pro Max
- iPhone 11, 11 Pro, 11 Pro Max
- iPhone XS, XS Max
- iPhone XR
- iPhone SE (2nd and 3rd generation)
How to Create Your Contact Poster on iOS 17?
Once you have updated your iPhone to iOS 17, you can set up and customize your contact poster using the steps below. Below, we are using an iPhone 13 running the first iOS 17 developer beta build.
Step 1: Set Up Your MyCard in Contacts (Skip if Already)
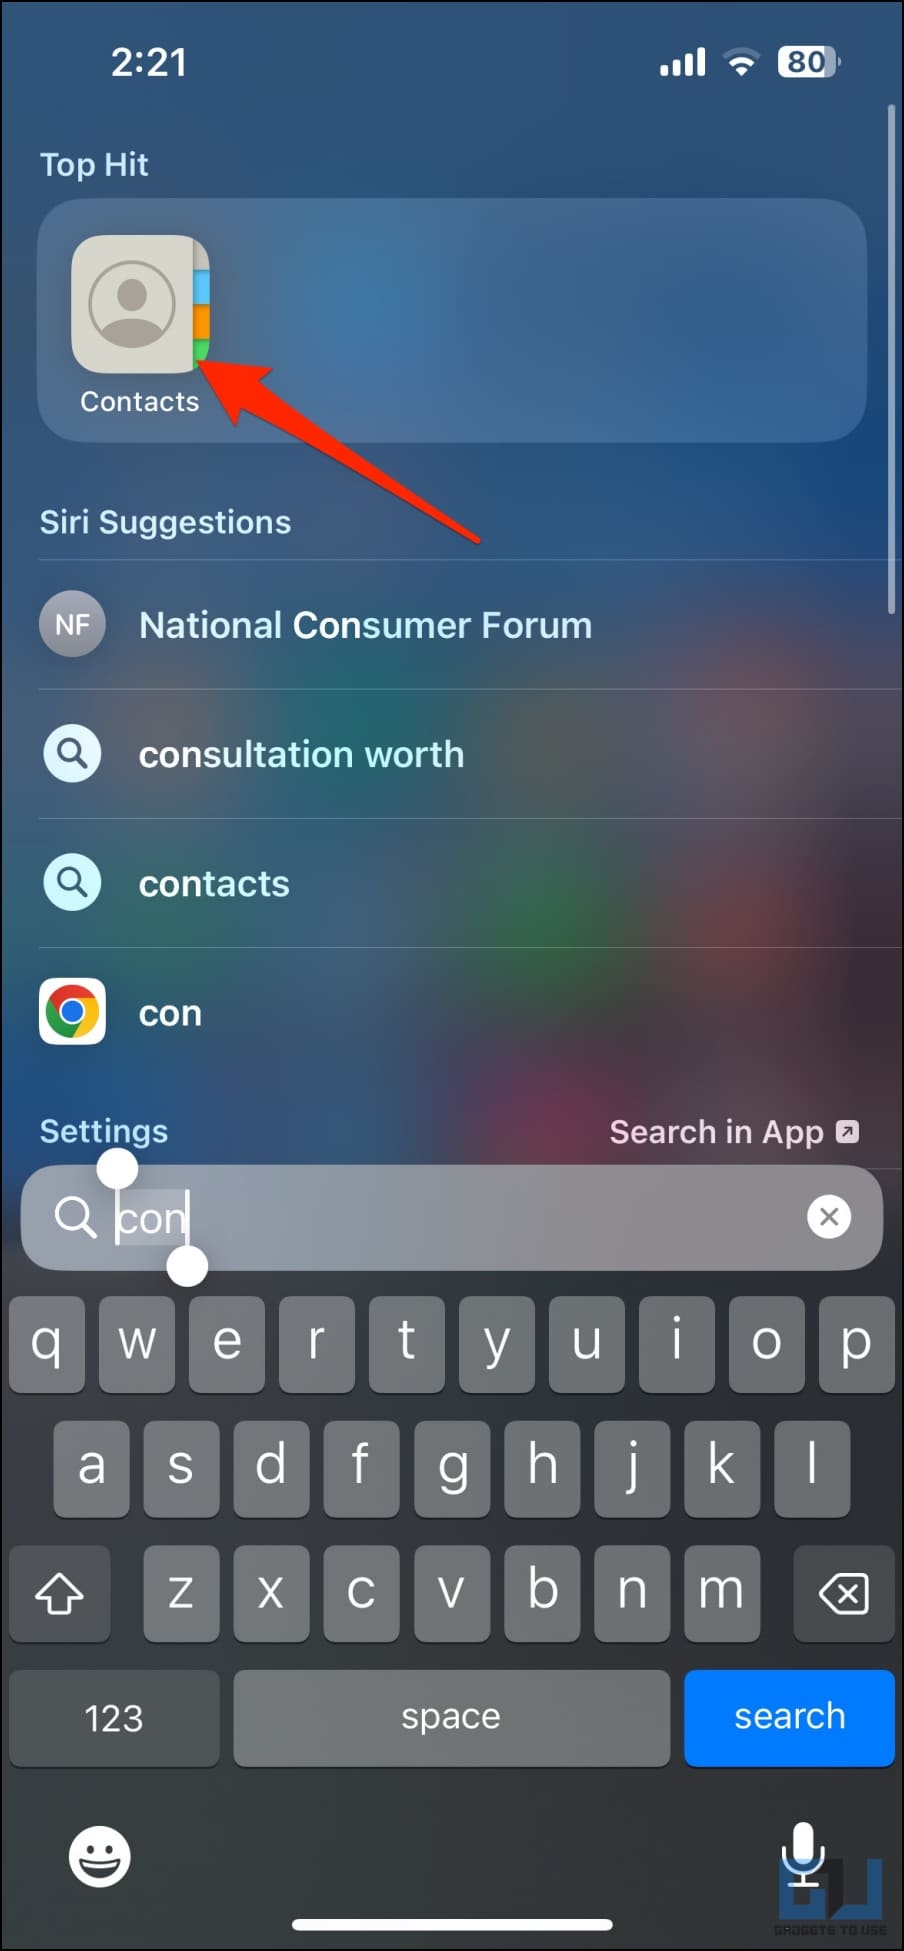
1. Open the Contacts app on your iPhone.
2. Click the + button on the top right corner.

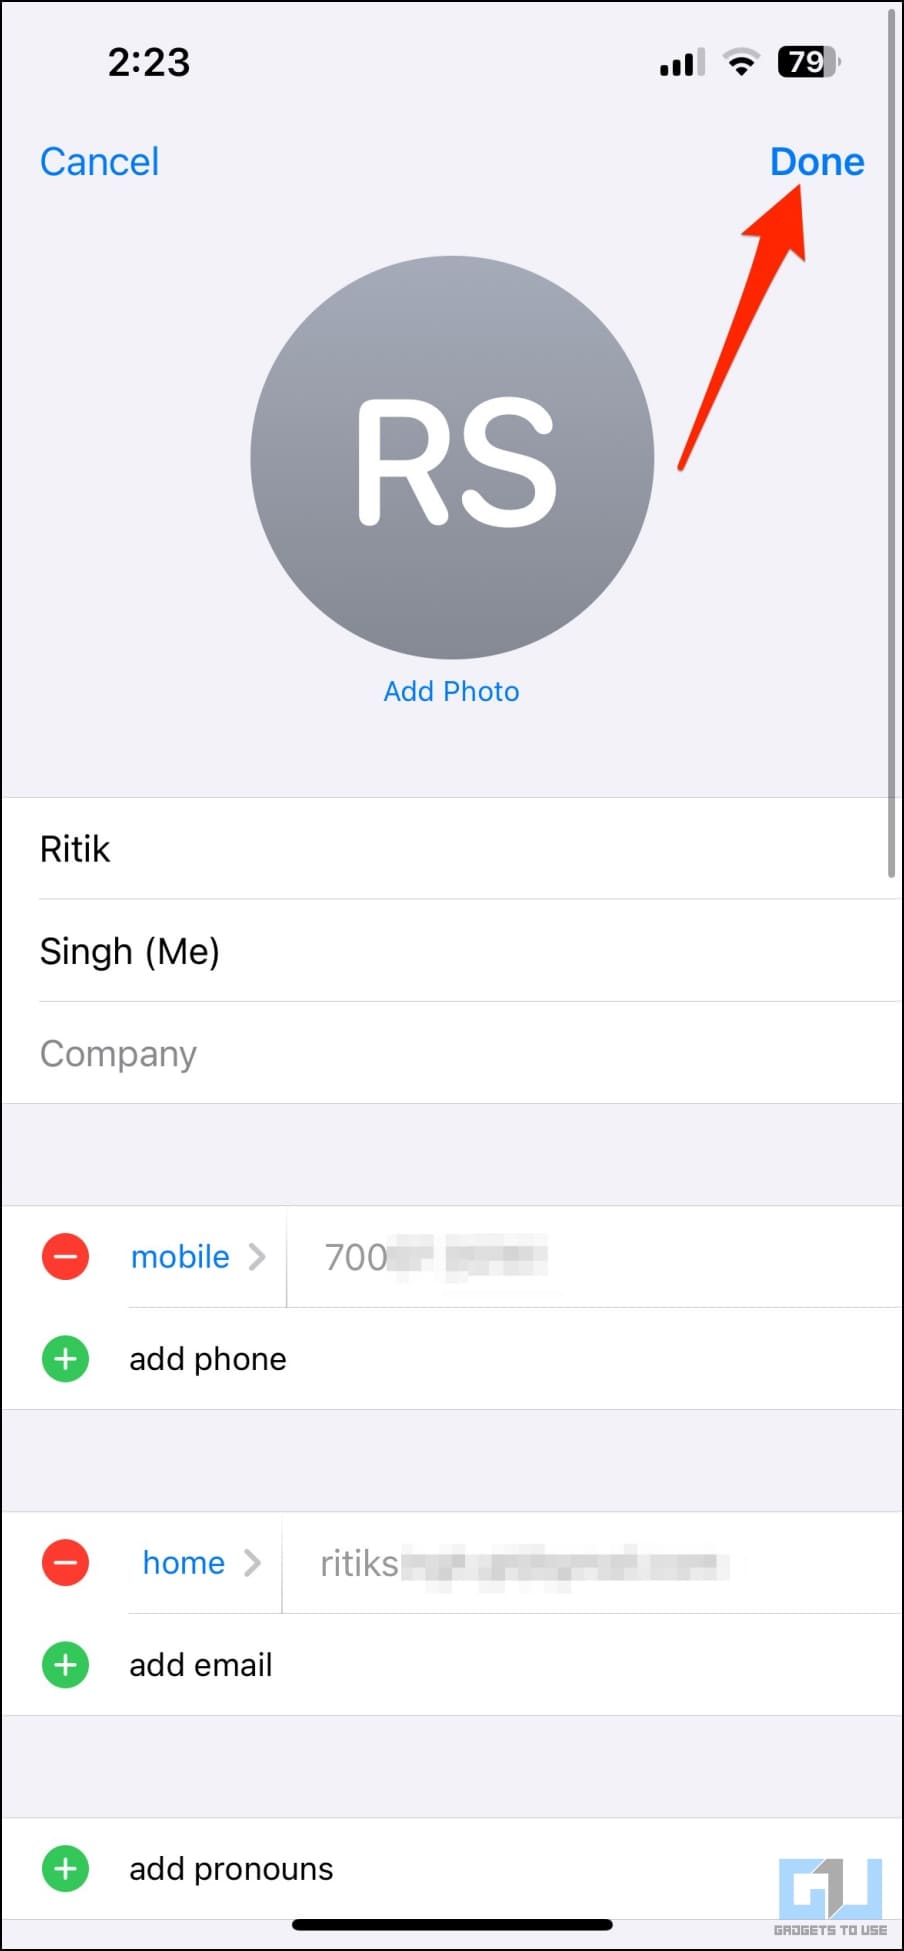
3. Add your first and last name, mobile phone number, email address, and other optional details such as your address, birthday, social profile, etc.
4. After entering all relevant information, tap Done in the top right corner.
5. This will create your own contact card in the phonebook. You now have to set it as your My Card, using the steps below.
6. Open Settings on your iPhone.
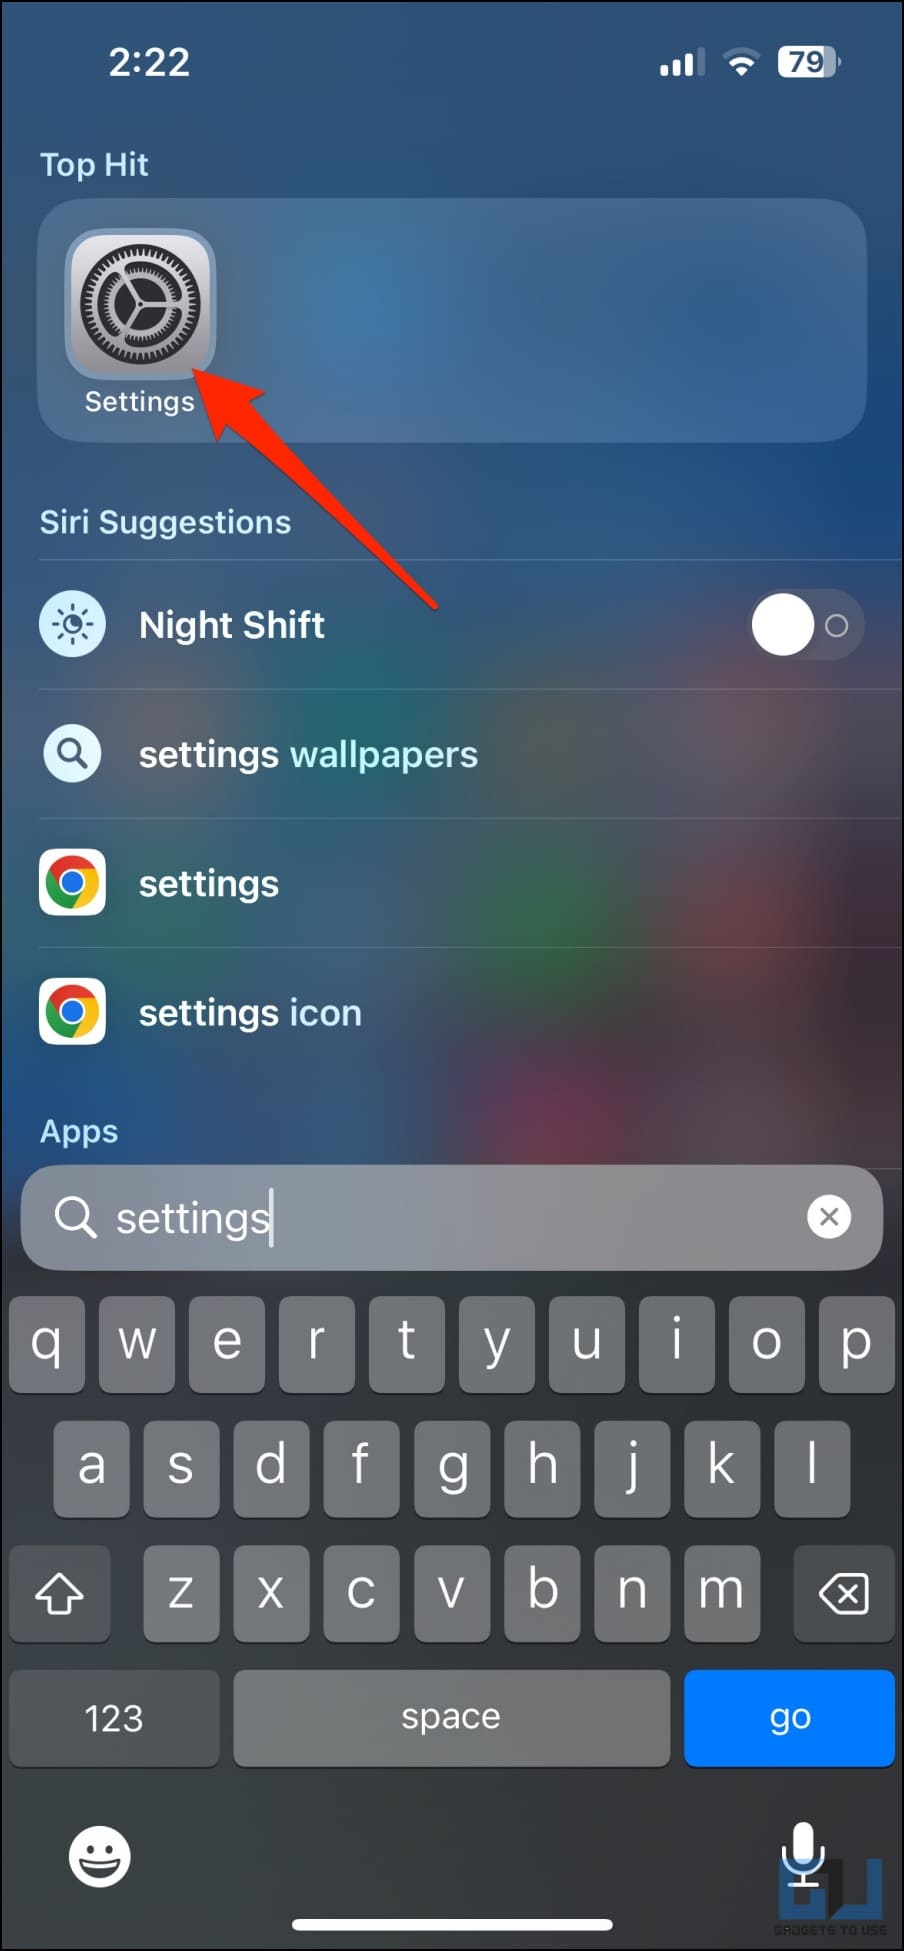
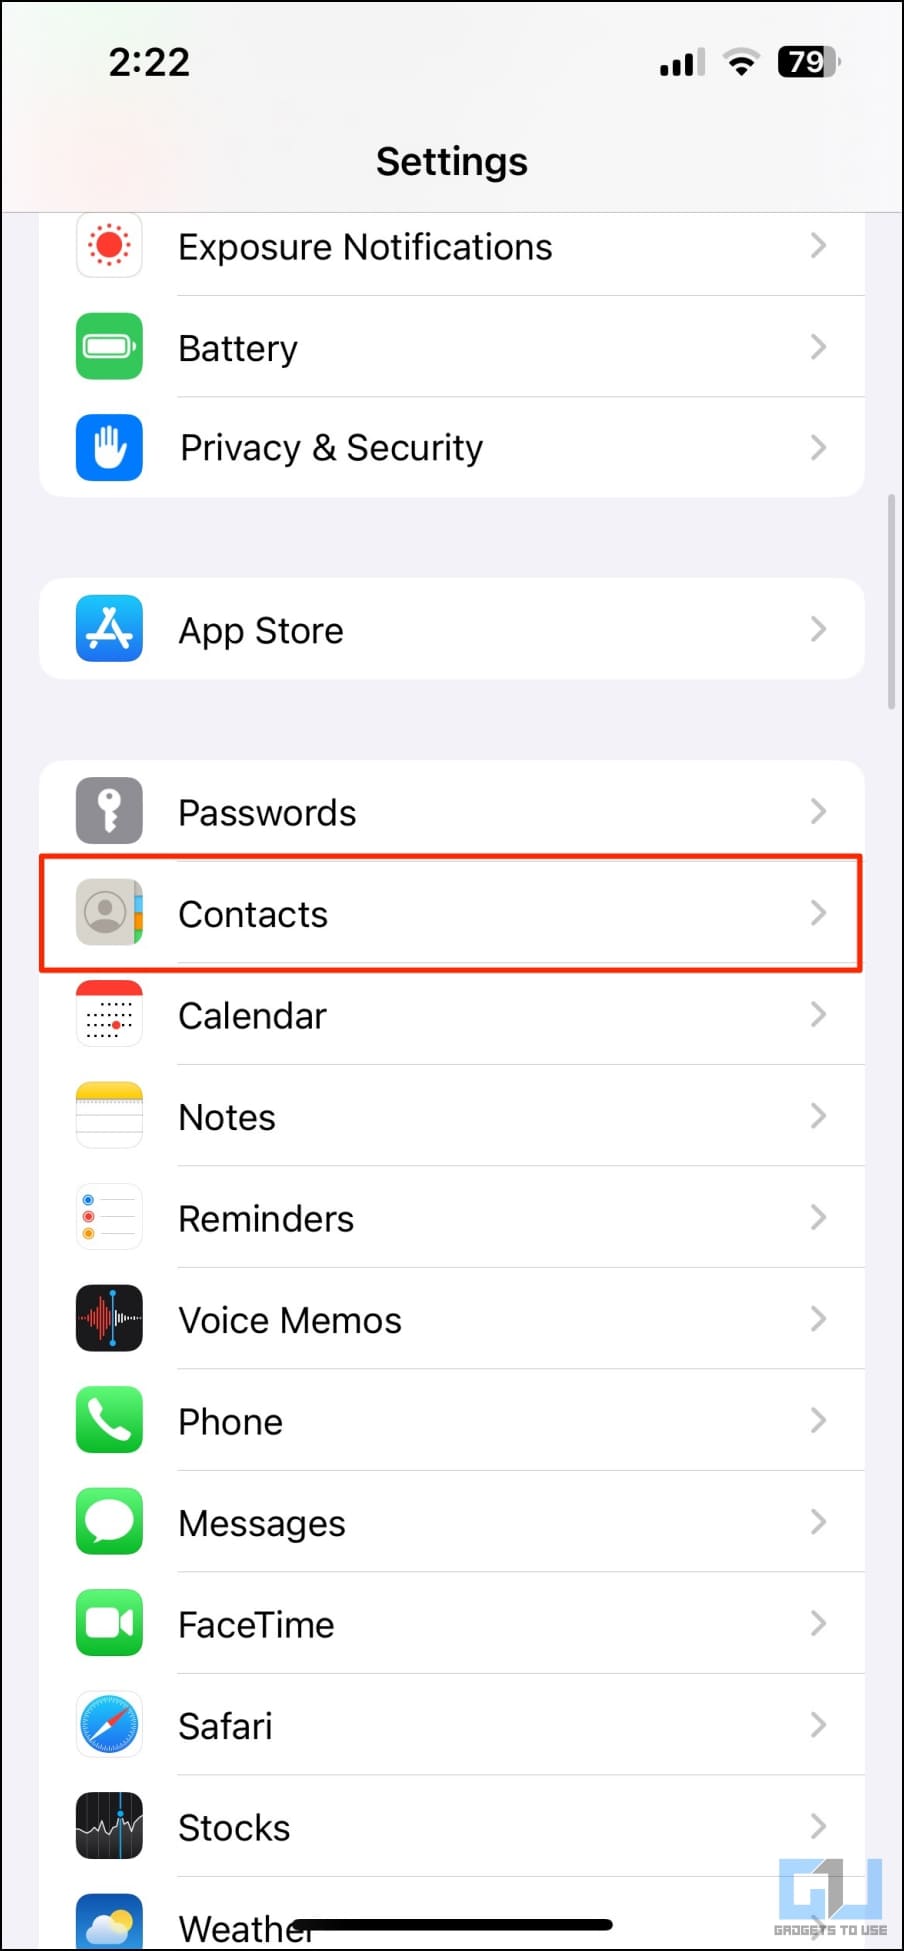
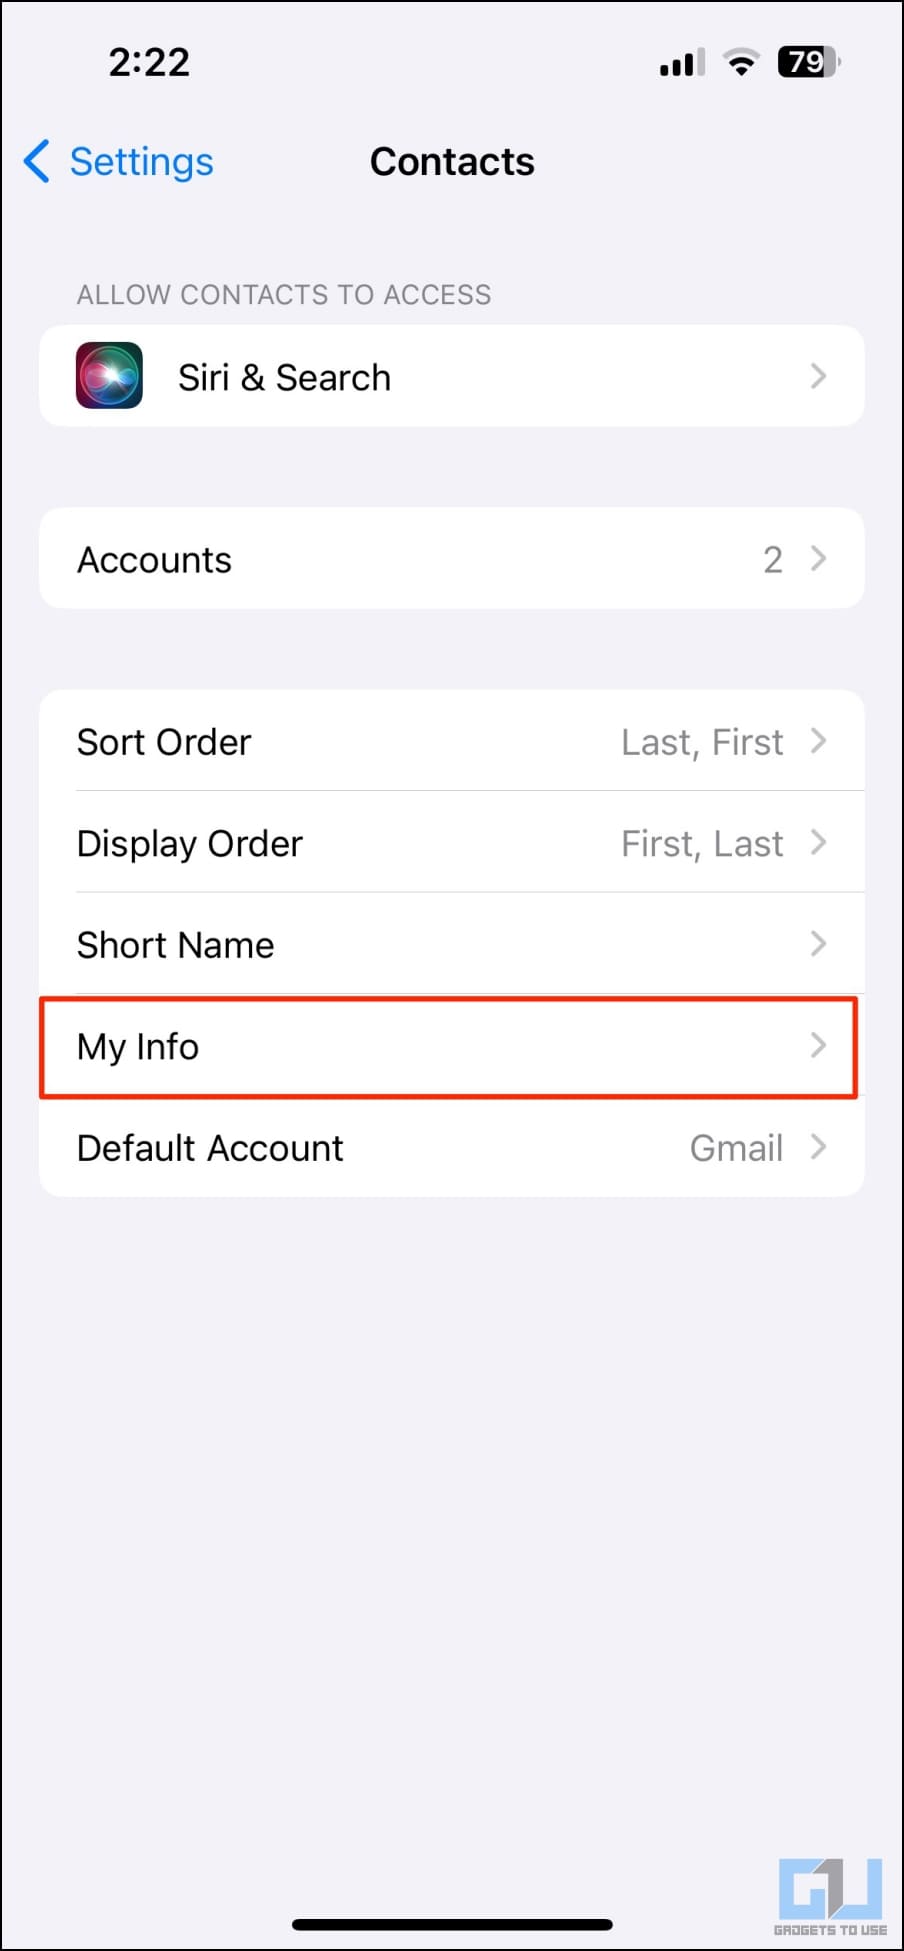
7. Scroll down and click on Contacts > My Info.
8. Select the contact you just created to set it as your My Card.
Step 2: Enable Contact Photo & Poster for Your “My Card”
Now that your iPhone has your “My Card,” it’s time to enable the Contact Photo and Poster feature. Here’s how to do it:
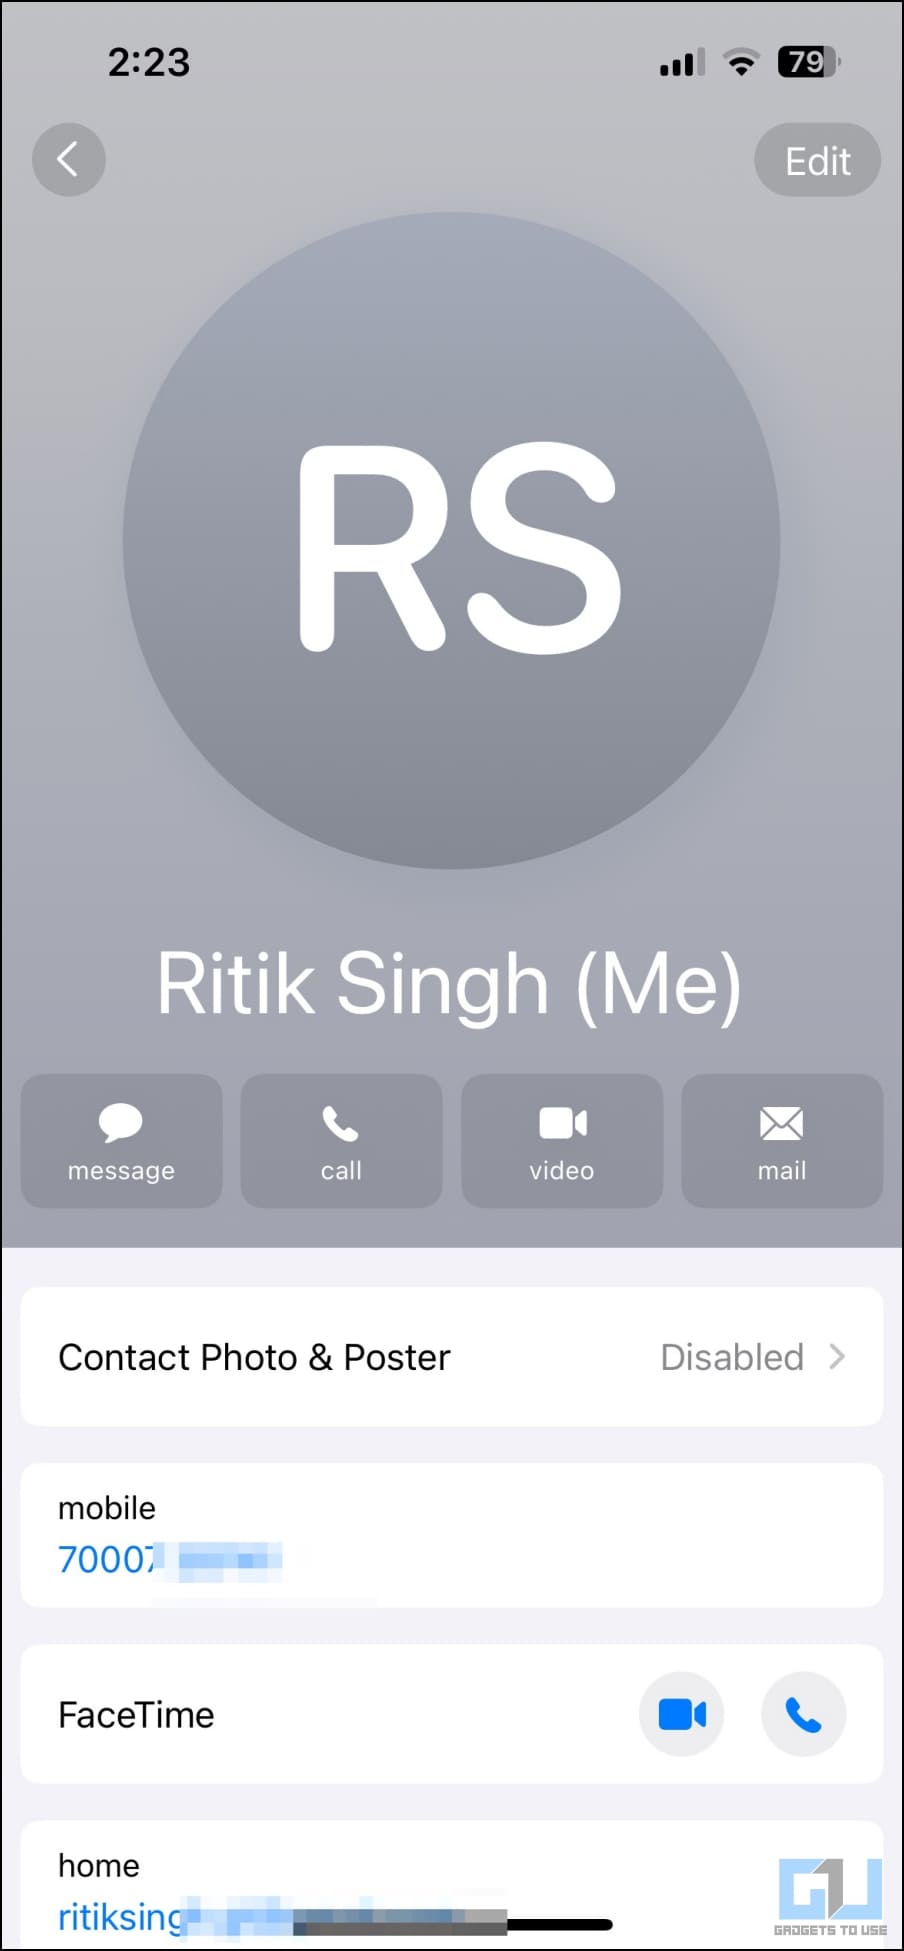
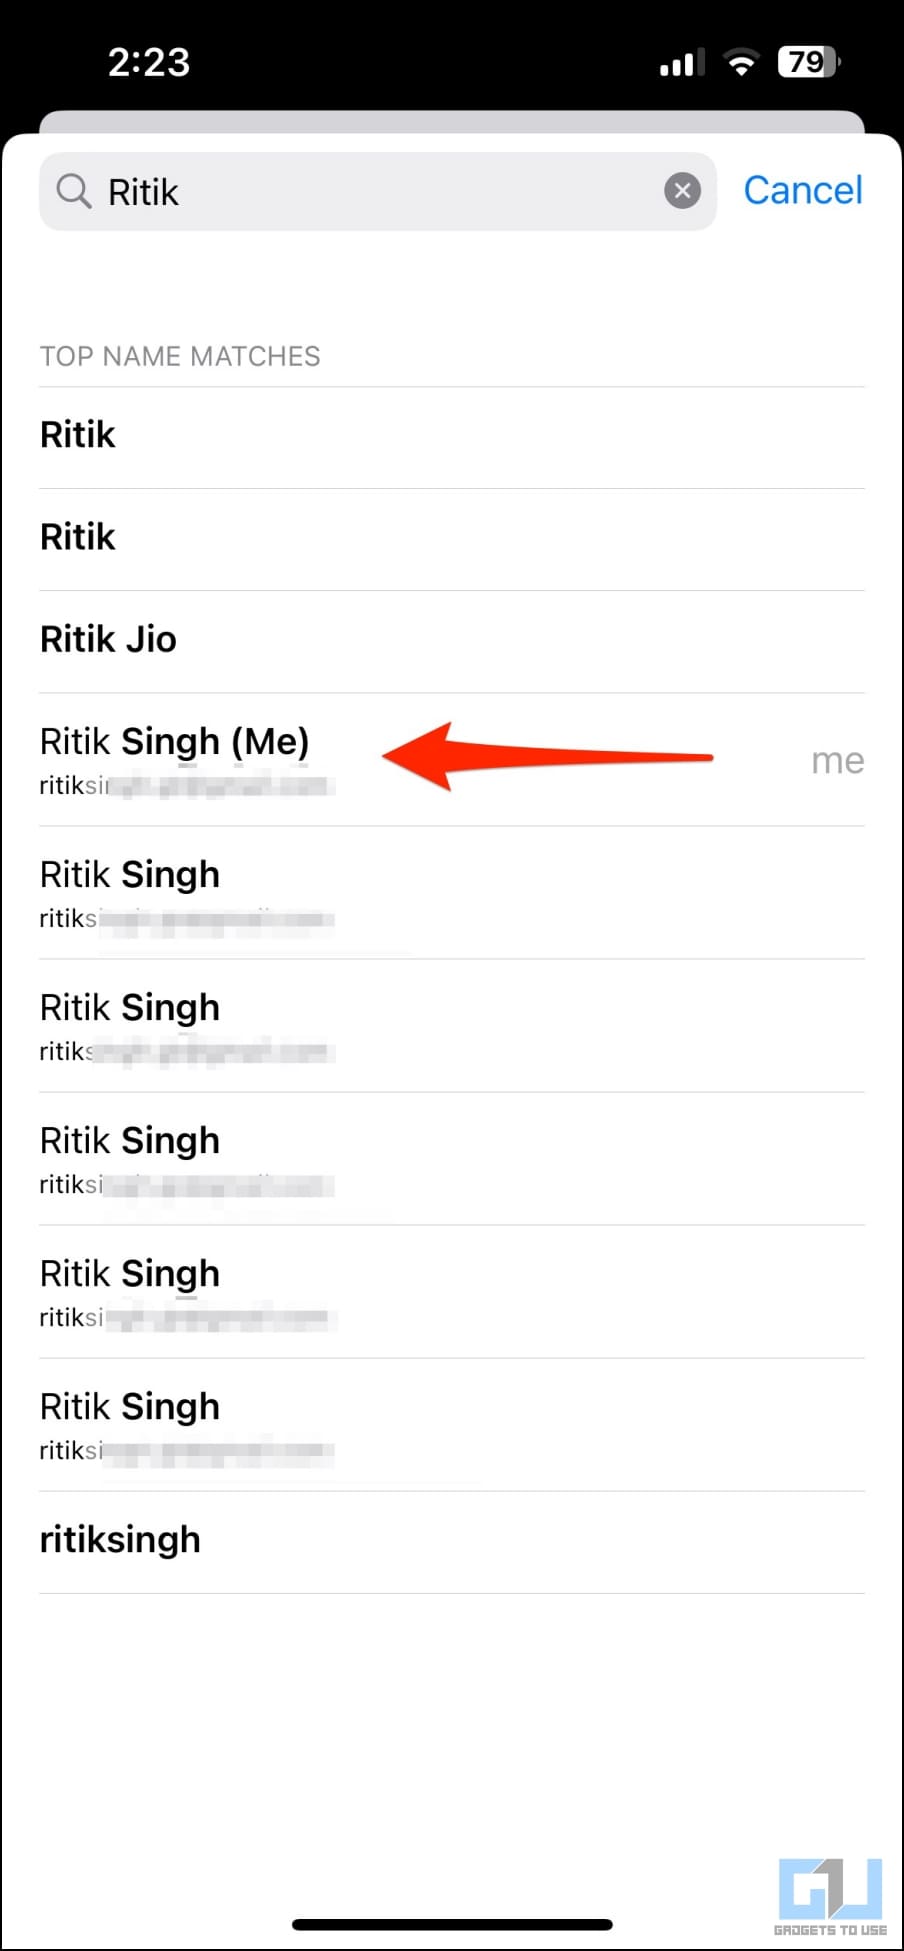
1. Open the Contacts app and tap your My Card at the top.
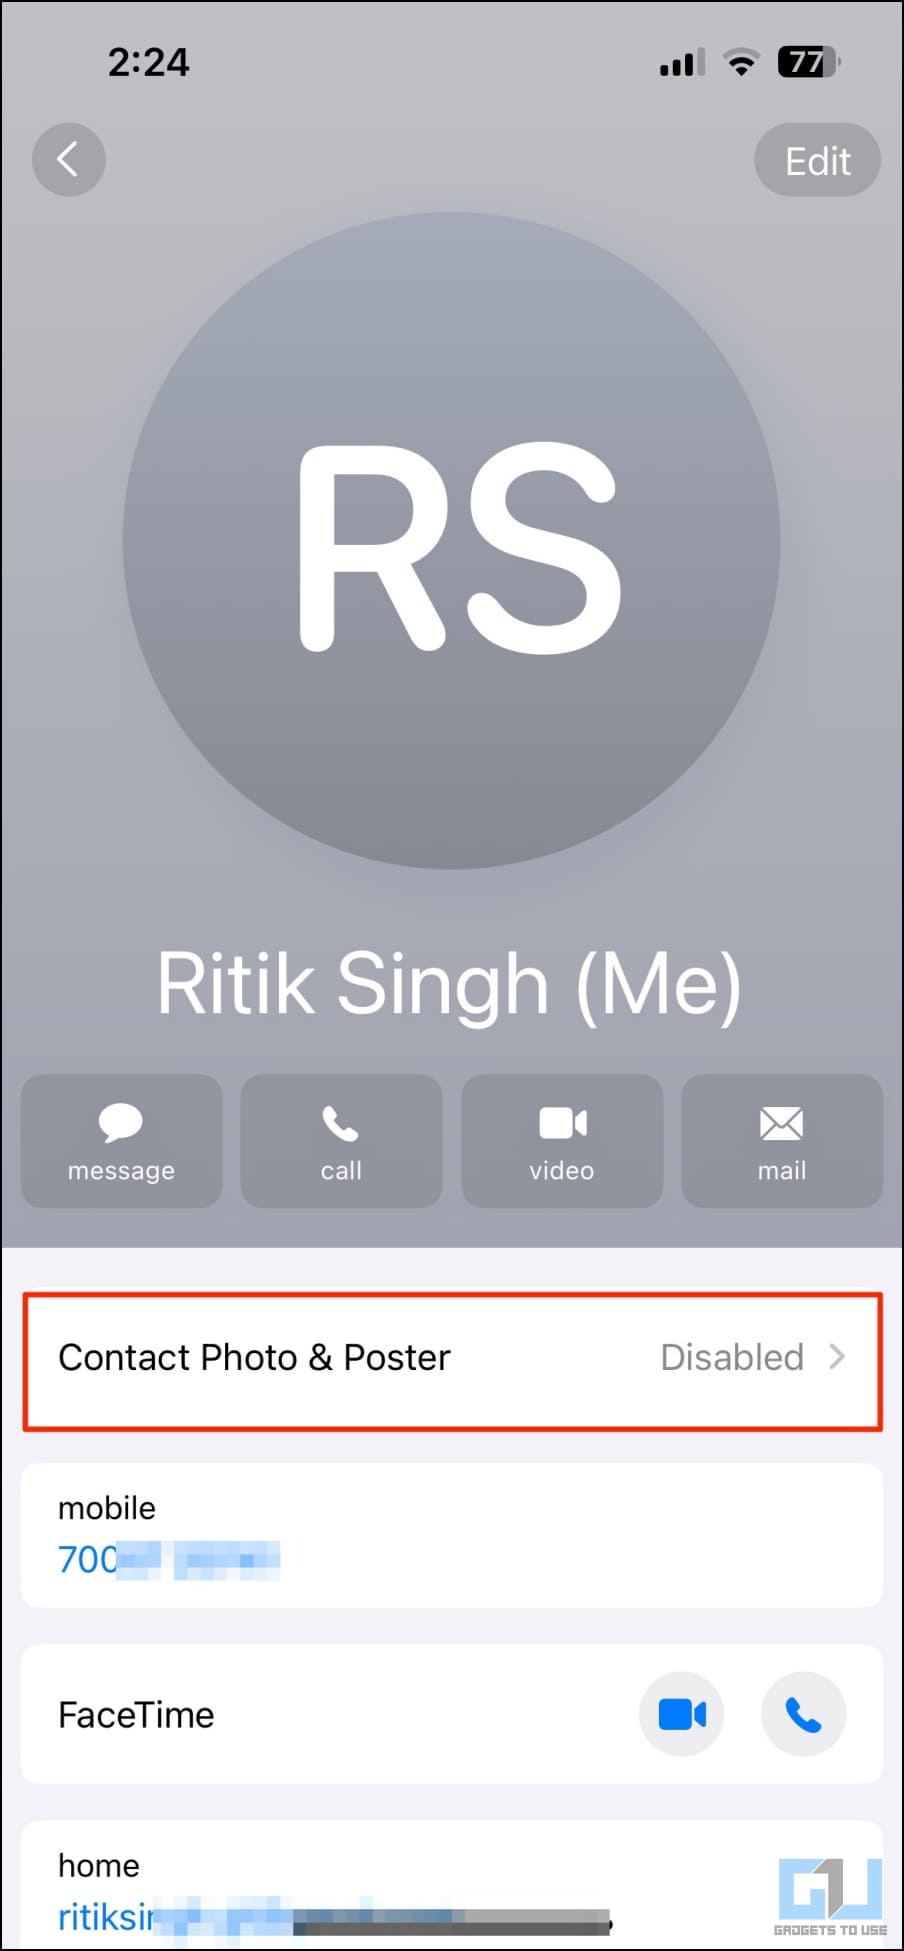
2. Here, click on Contact Photo & Poster, which is set to Disabled by default.

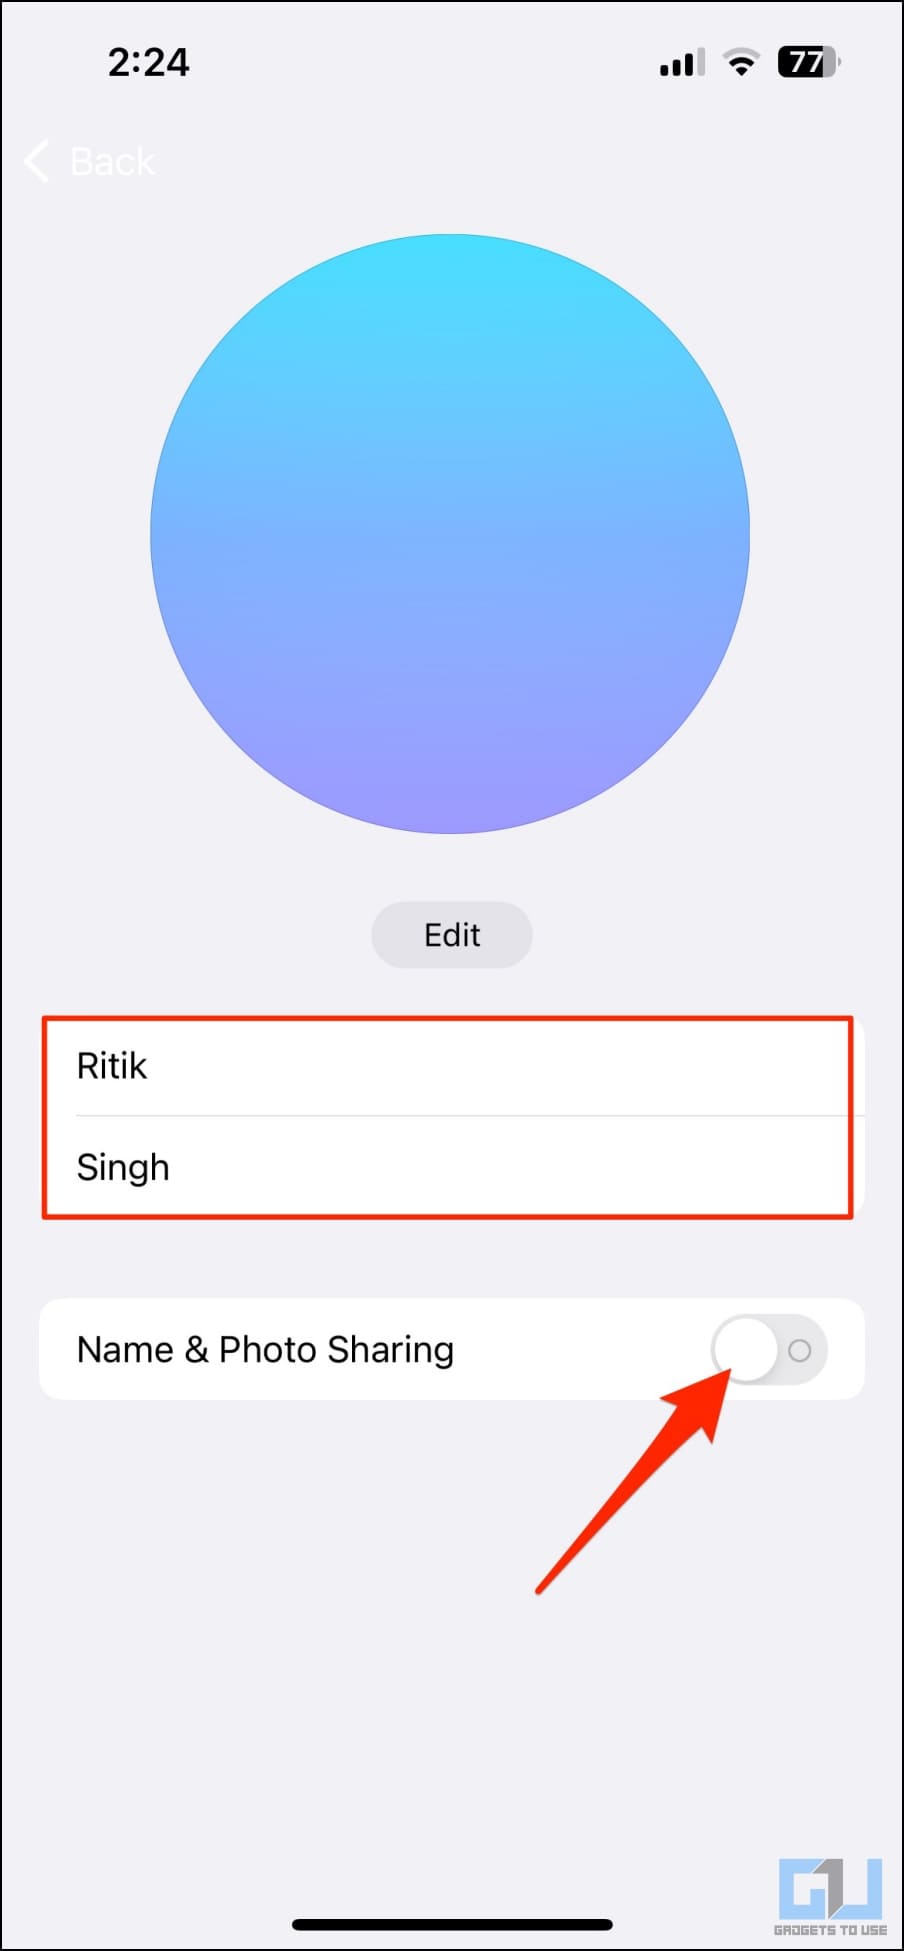
3. Type your first name and surname in the First and Last names boxes.
4. Enable the toggle for Name & Photo Sharing (important). You can share your photo with Contacts Only or set it to Always Ask.
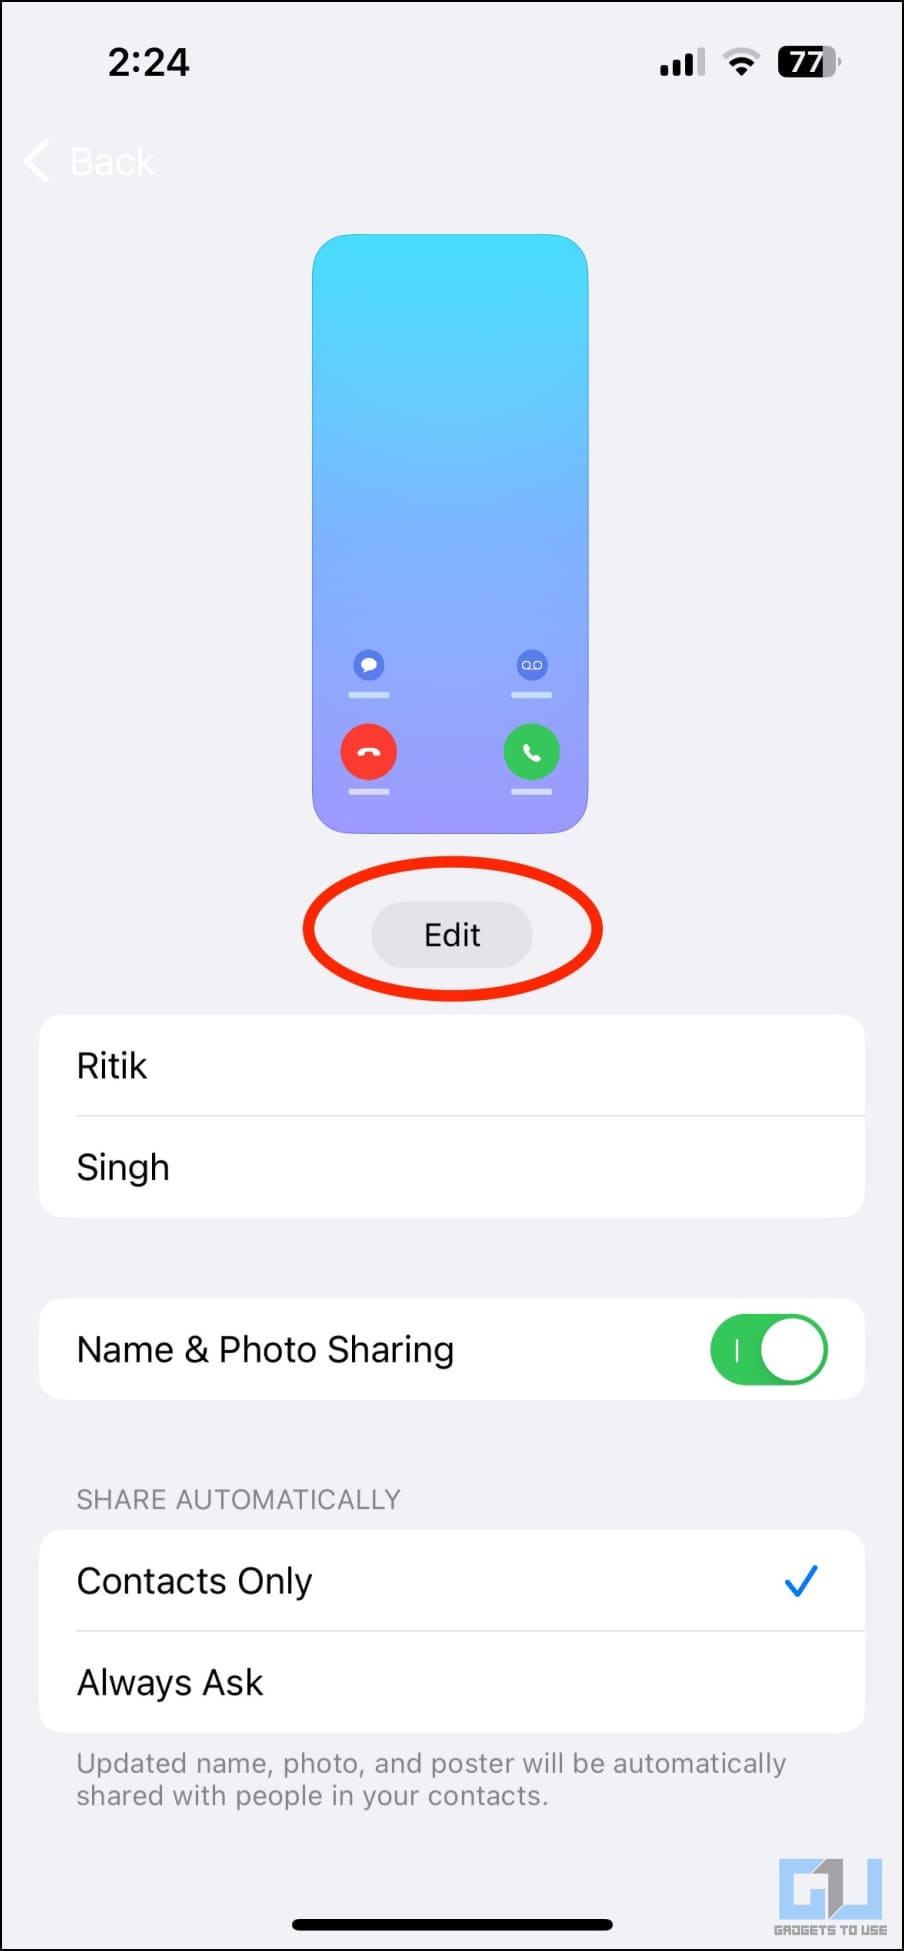
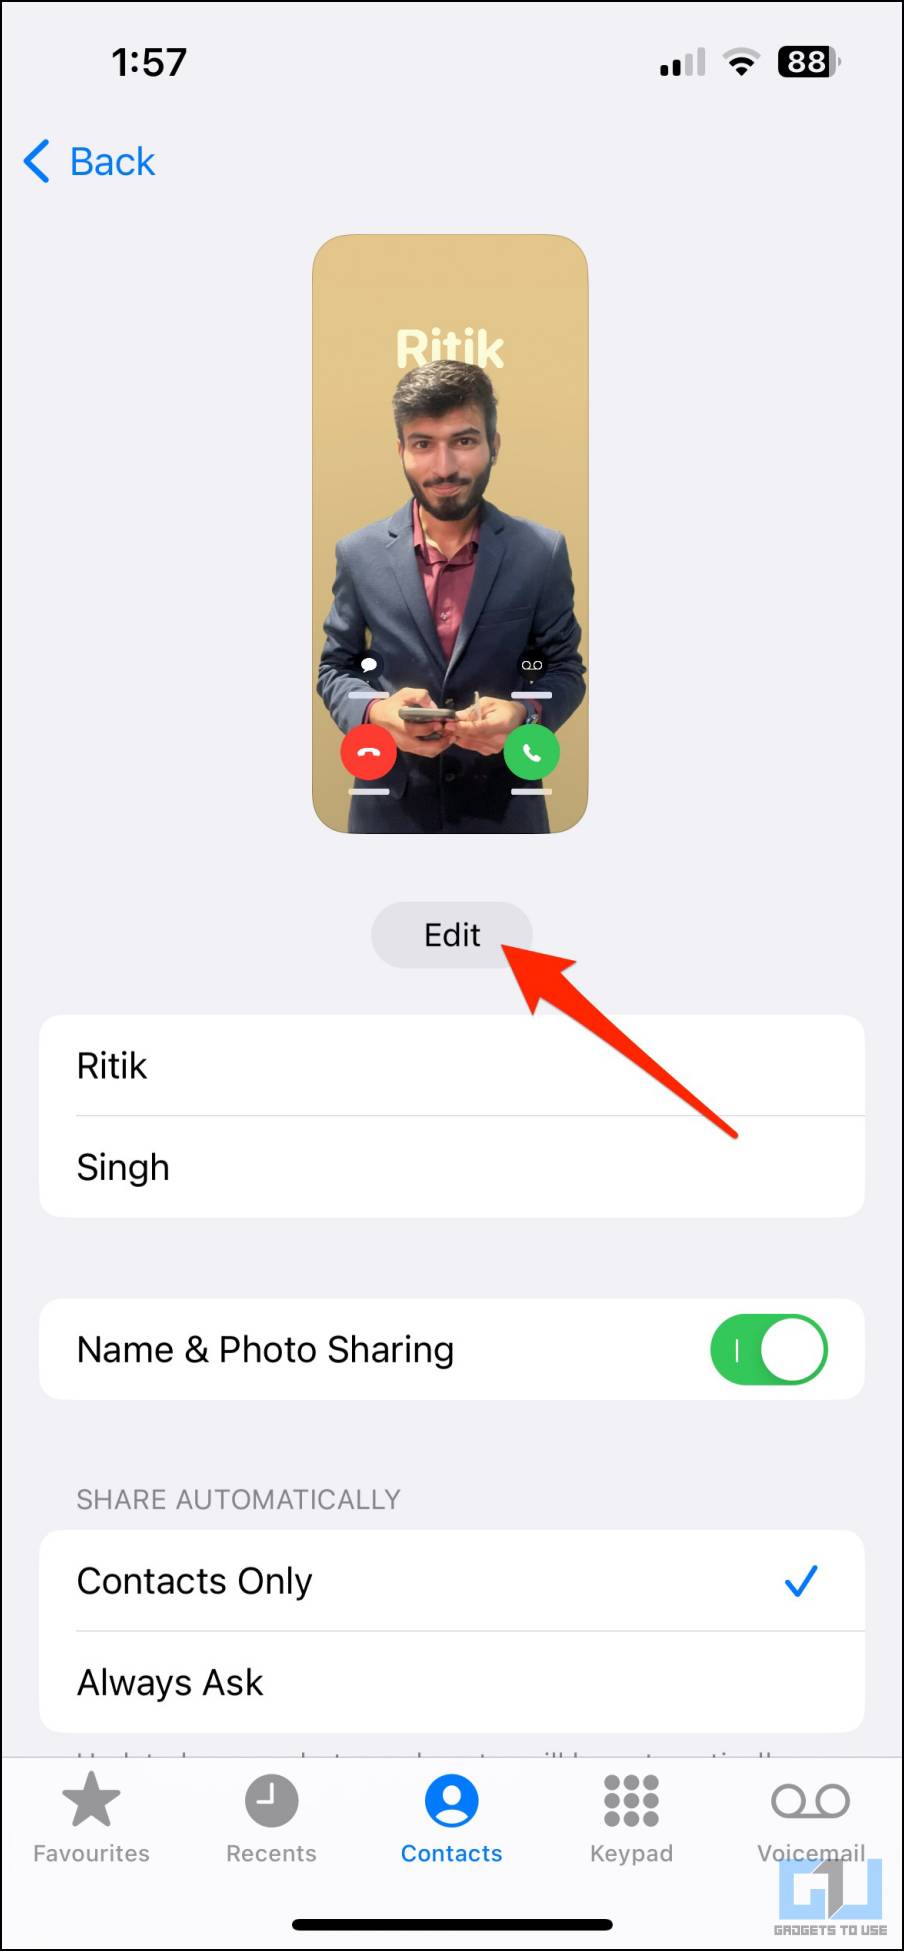
5. Next, click on Edit below the call screen illustration. It will show you three preset contact posters. You can customize them, but we’d recommend creating one from scratch.
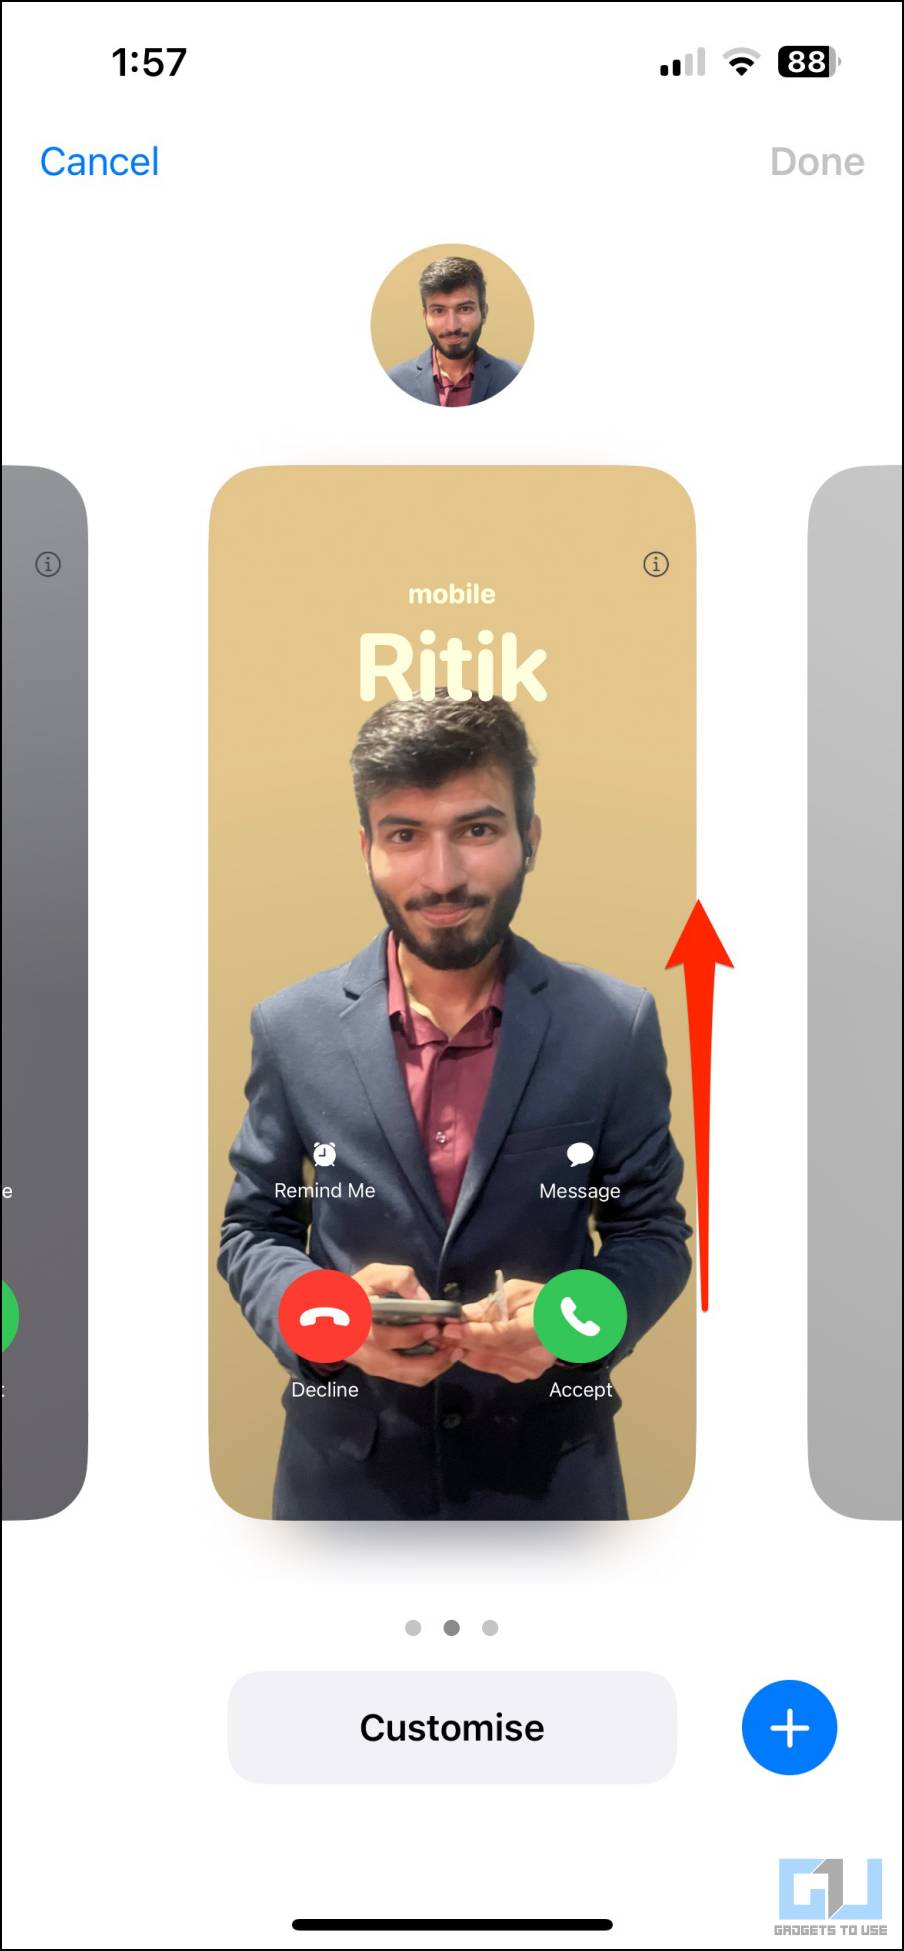
6. To create your own contact poster, tap the + button at the bottom right.
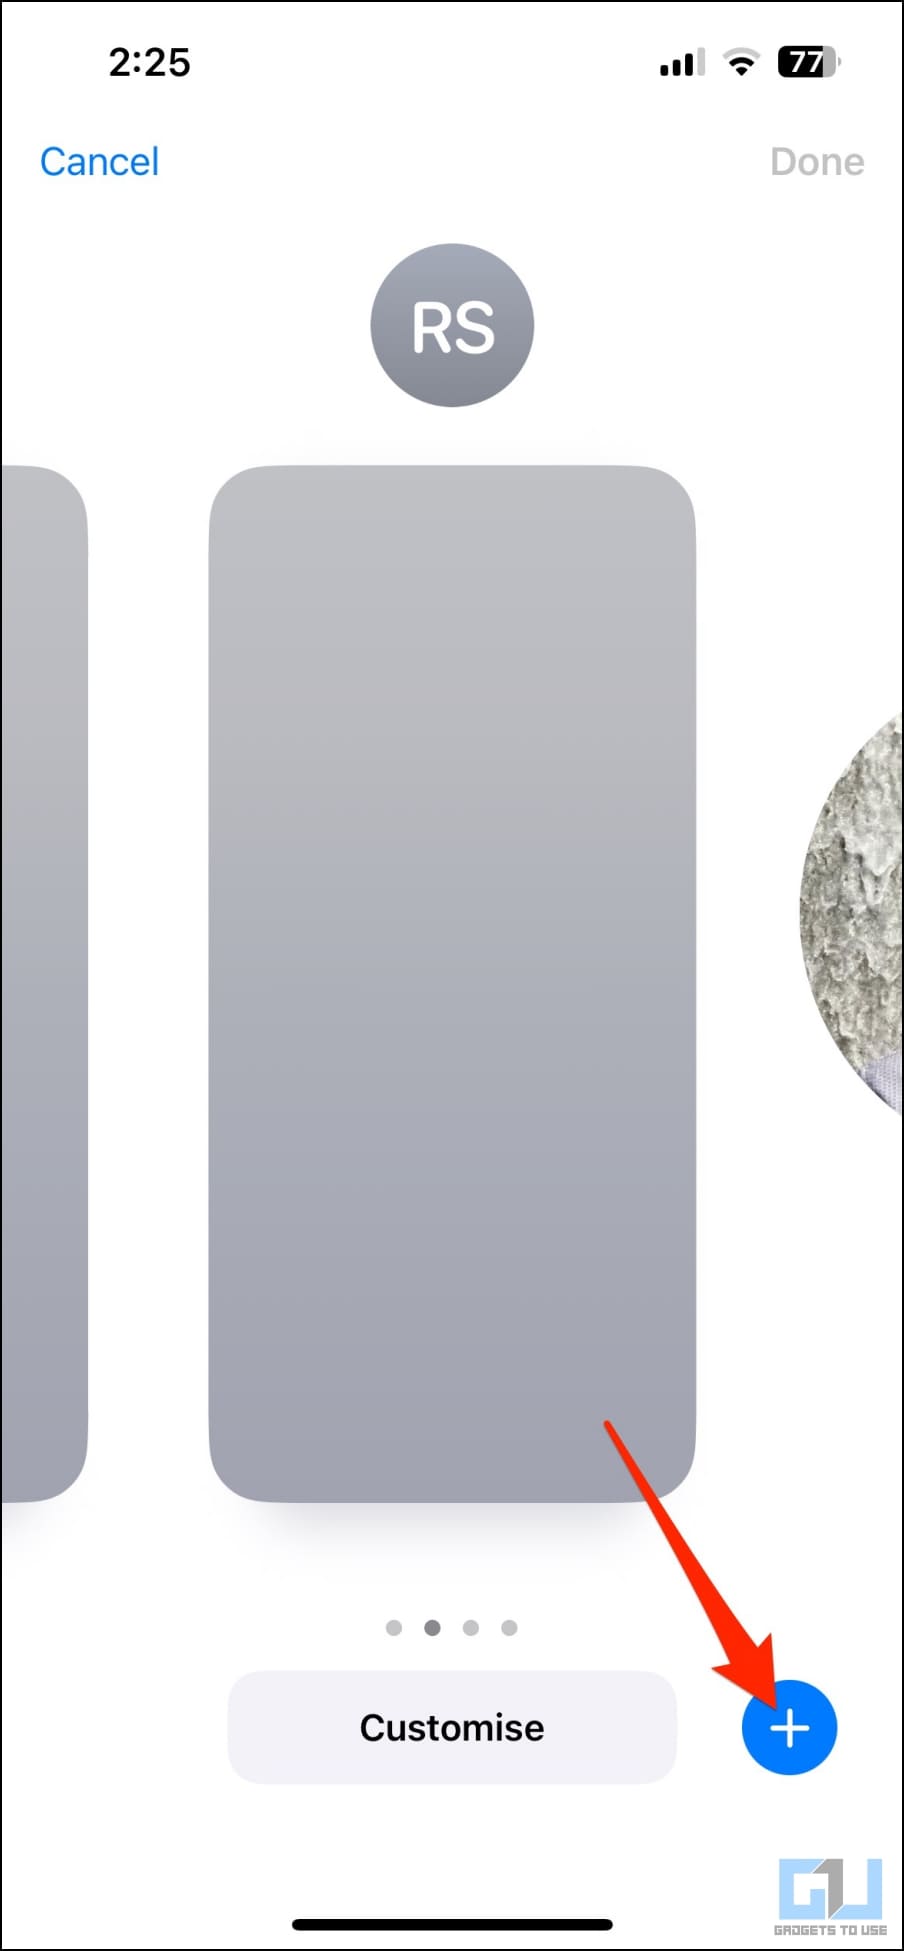
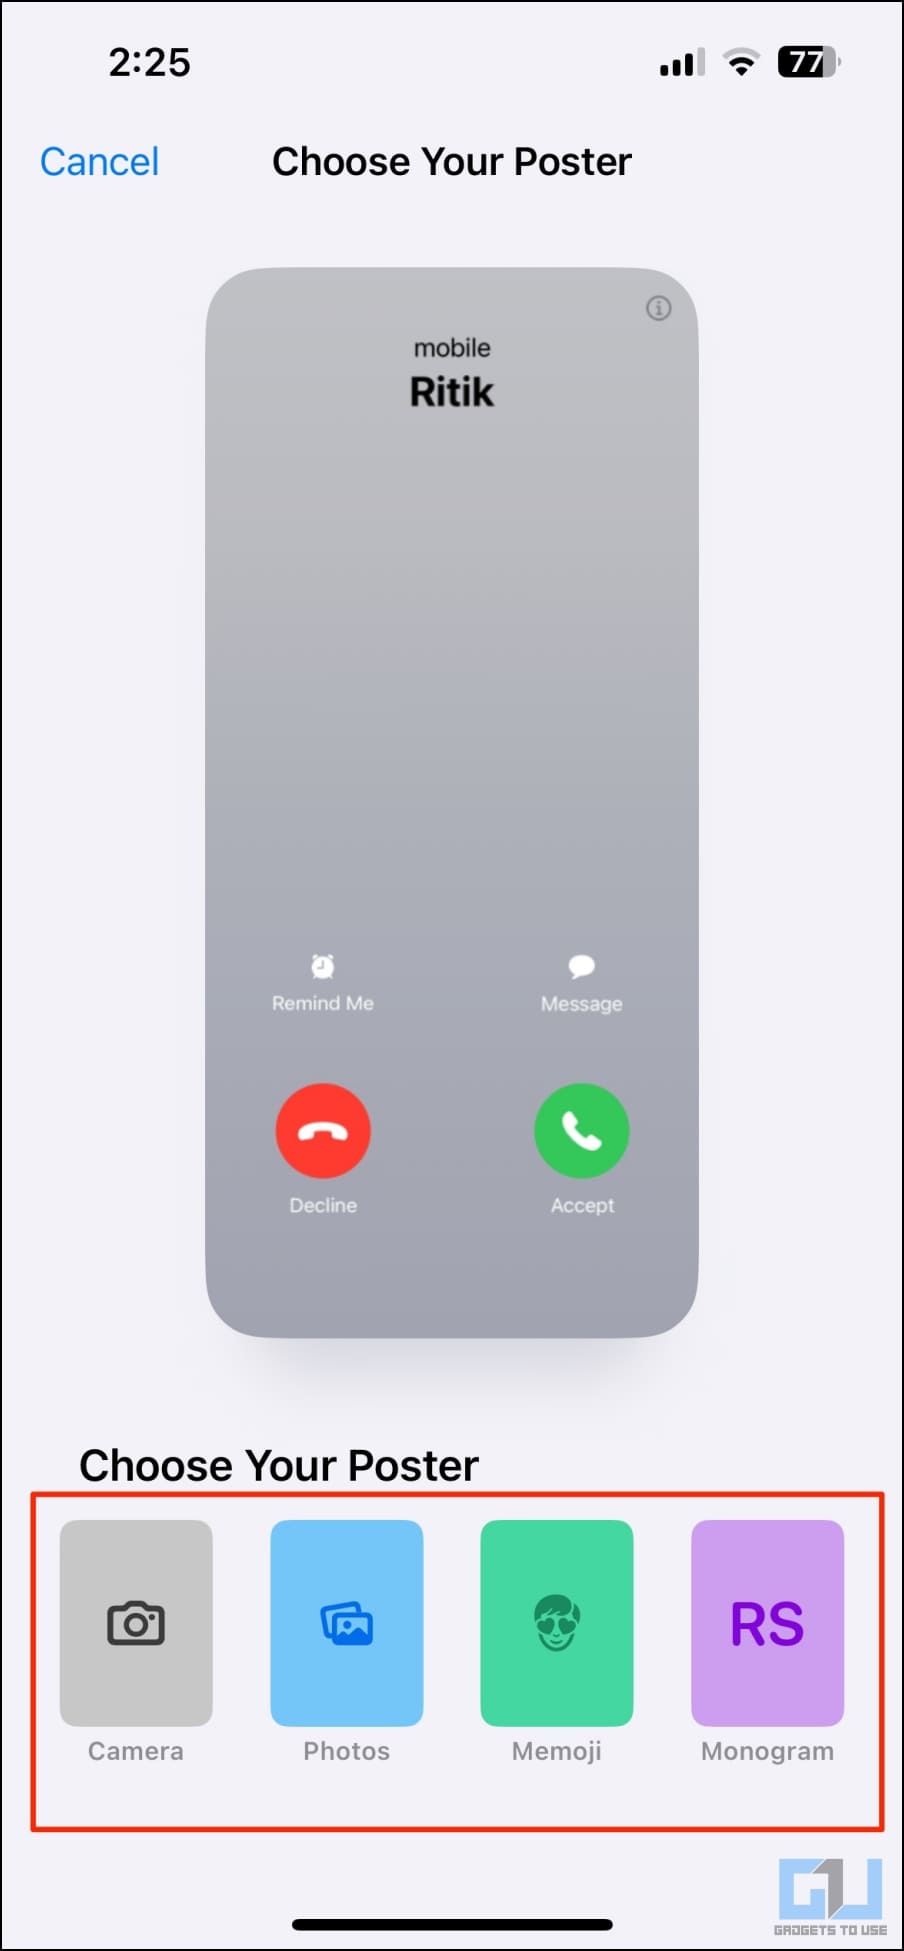
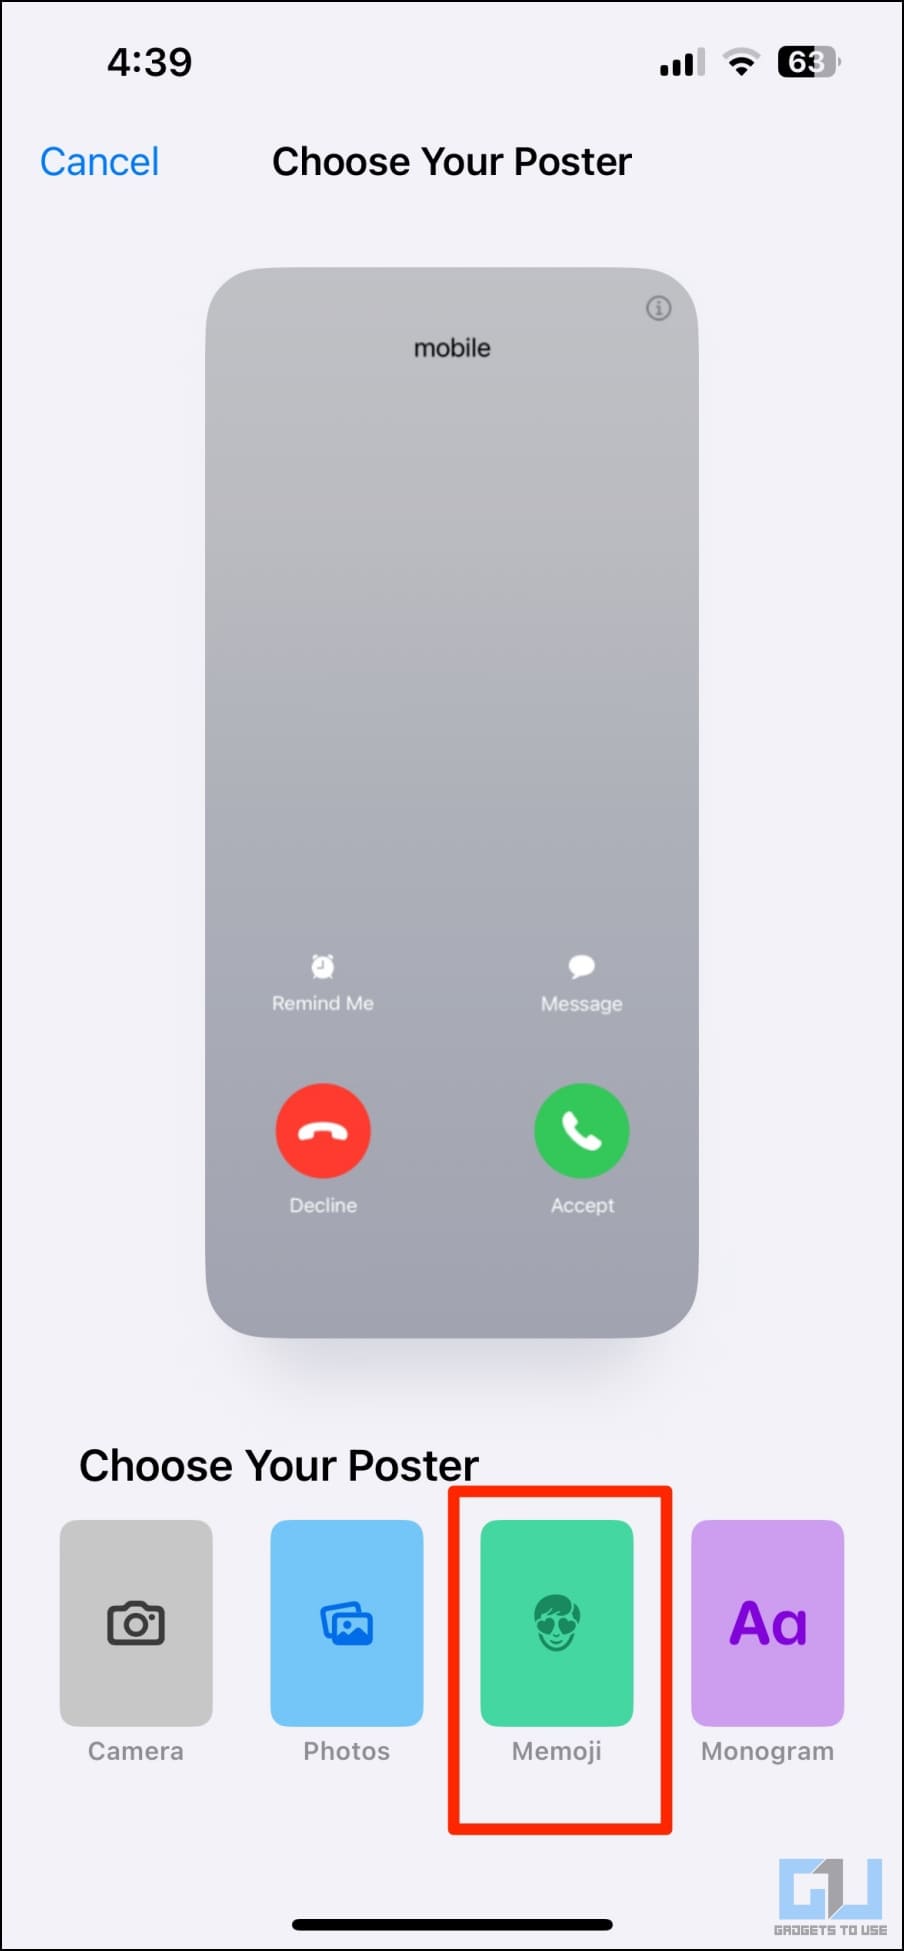
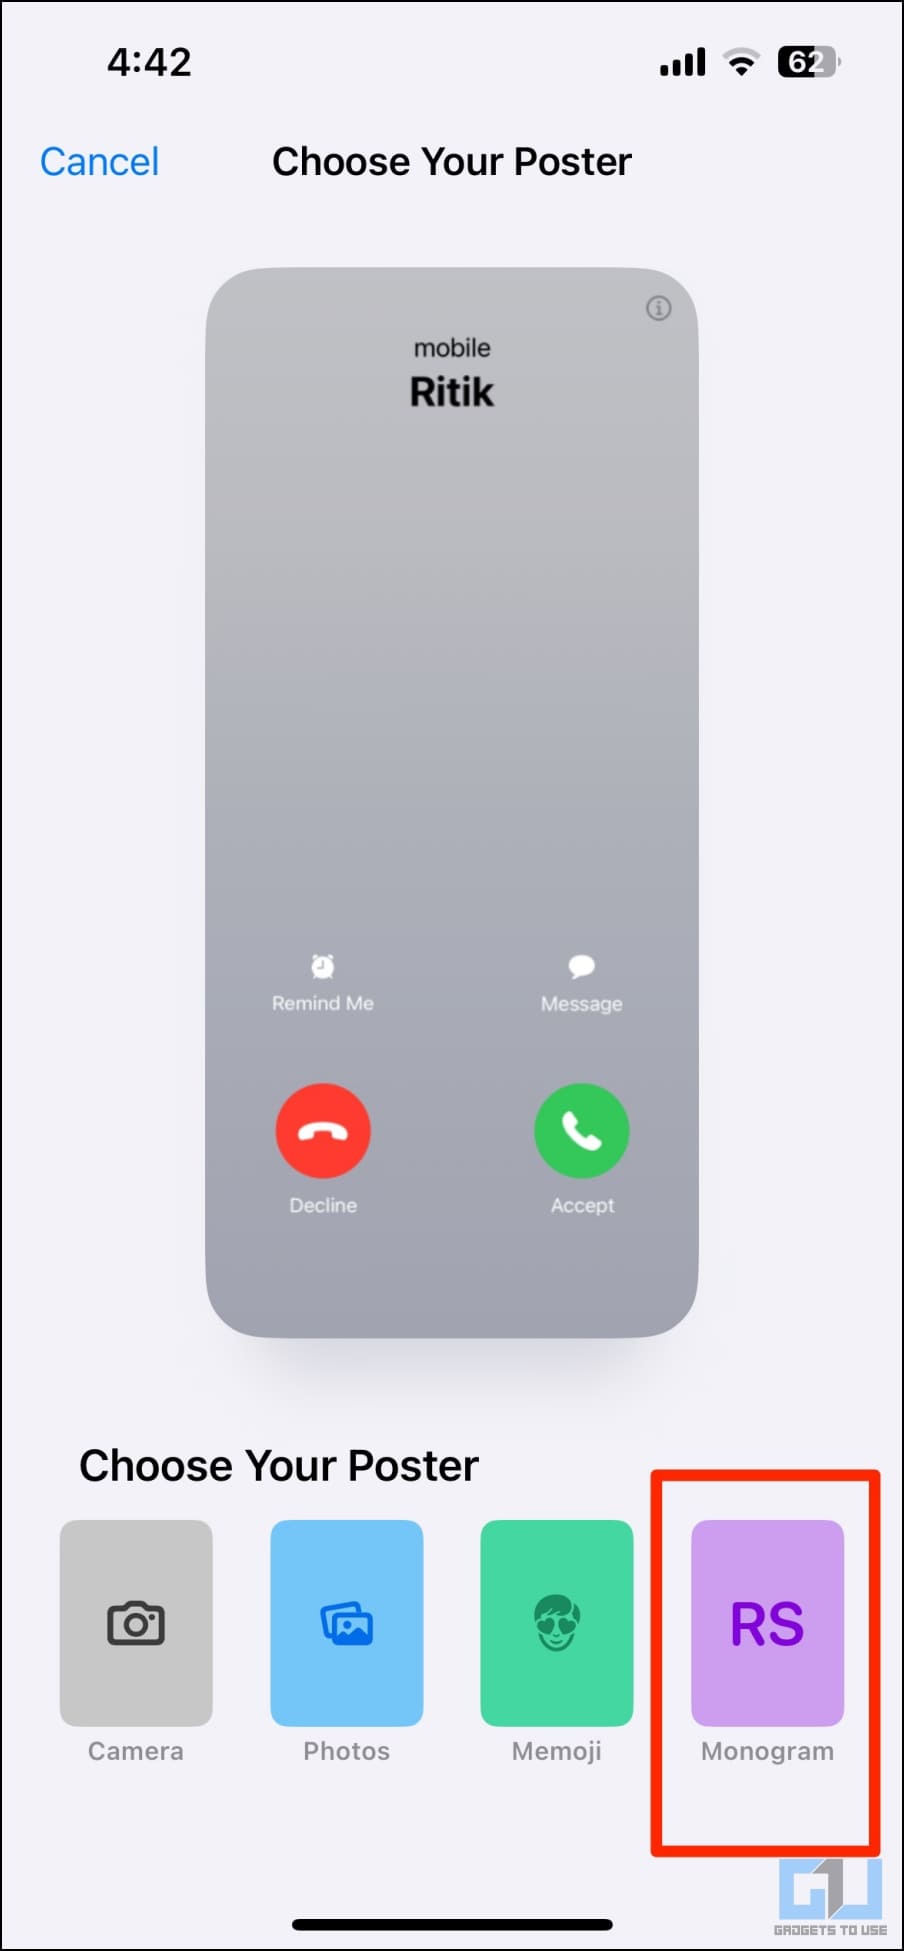
7. It’s time to Choose Your Poster by selecting either of the following options:
- Camera: Select this if you want to click a picture right now to use it as your contact photo.
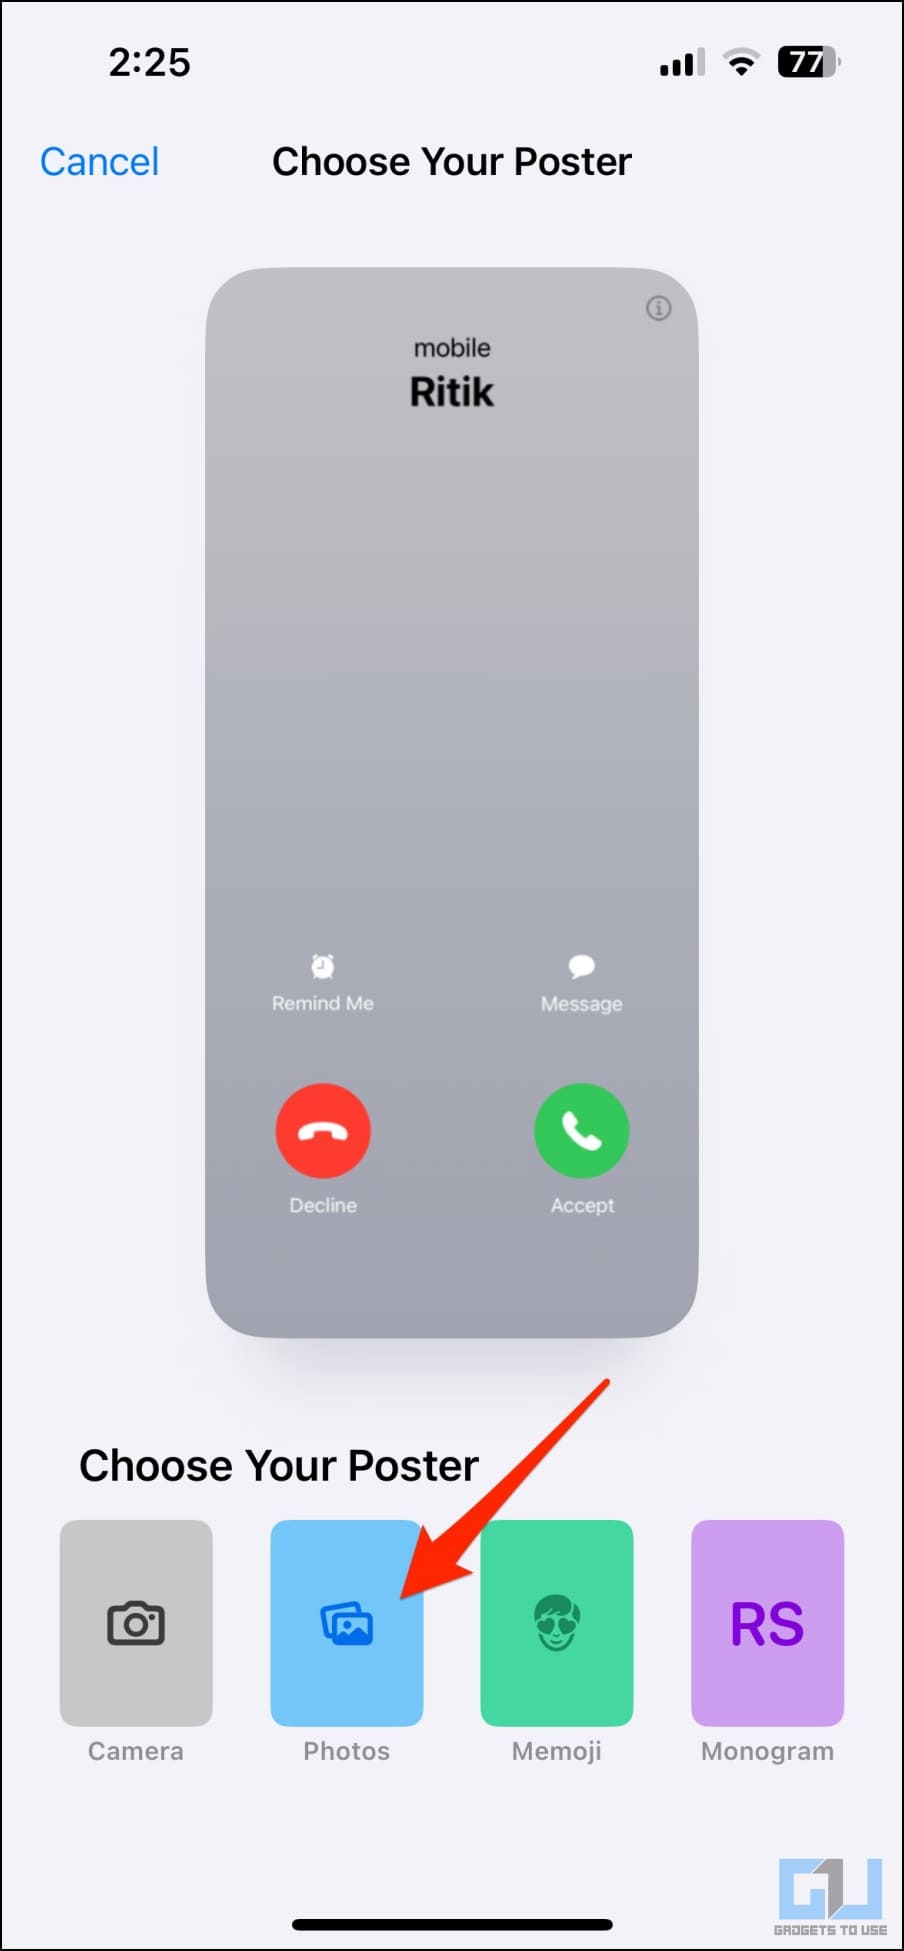
- Photos: This option allows you to use an existing photo from your photo library as the contact poster.
- Memoji: Tap this if you want to set a memoji as your contact poster.
- Monogram: Choose this if you want to showcase your name initials in mono colors, such as RS in my case. You can further customize the screen’s background color, the initials to display, followed by font and color of your name.
Step 3: Create and Customize Your Contact Poster
Continuing the steps above, you must now choose either the camera, photo, memoji, or monogram as your contact poster. You can check the examples in the screenshots above and proceed with what you like most. Below are the steps to create a contact poster with each option.
(i) Make a Contact Poster Using Camera or an Existing Photo
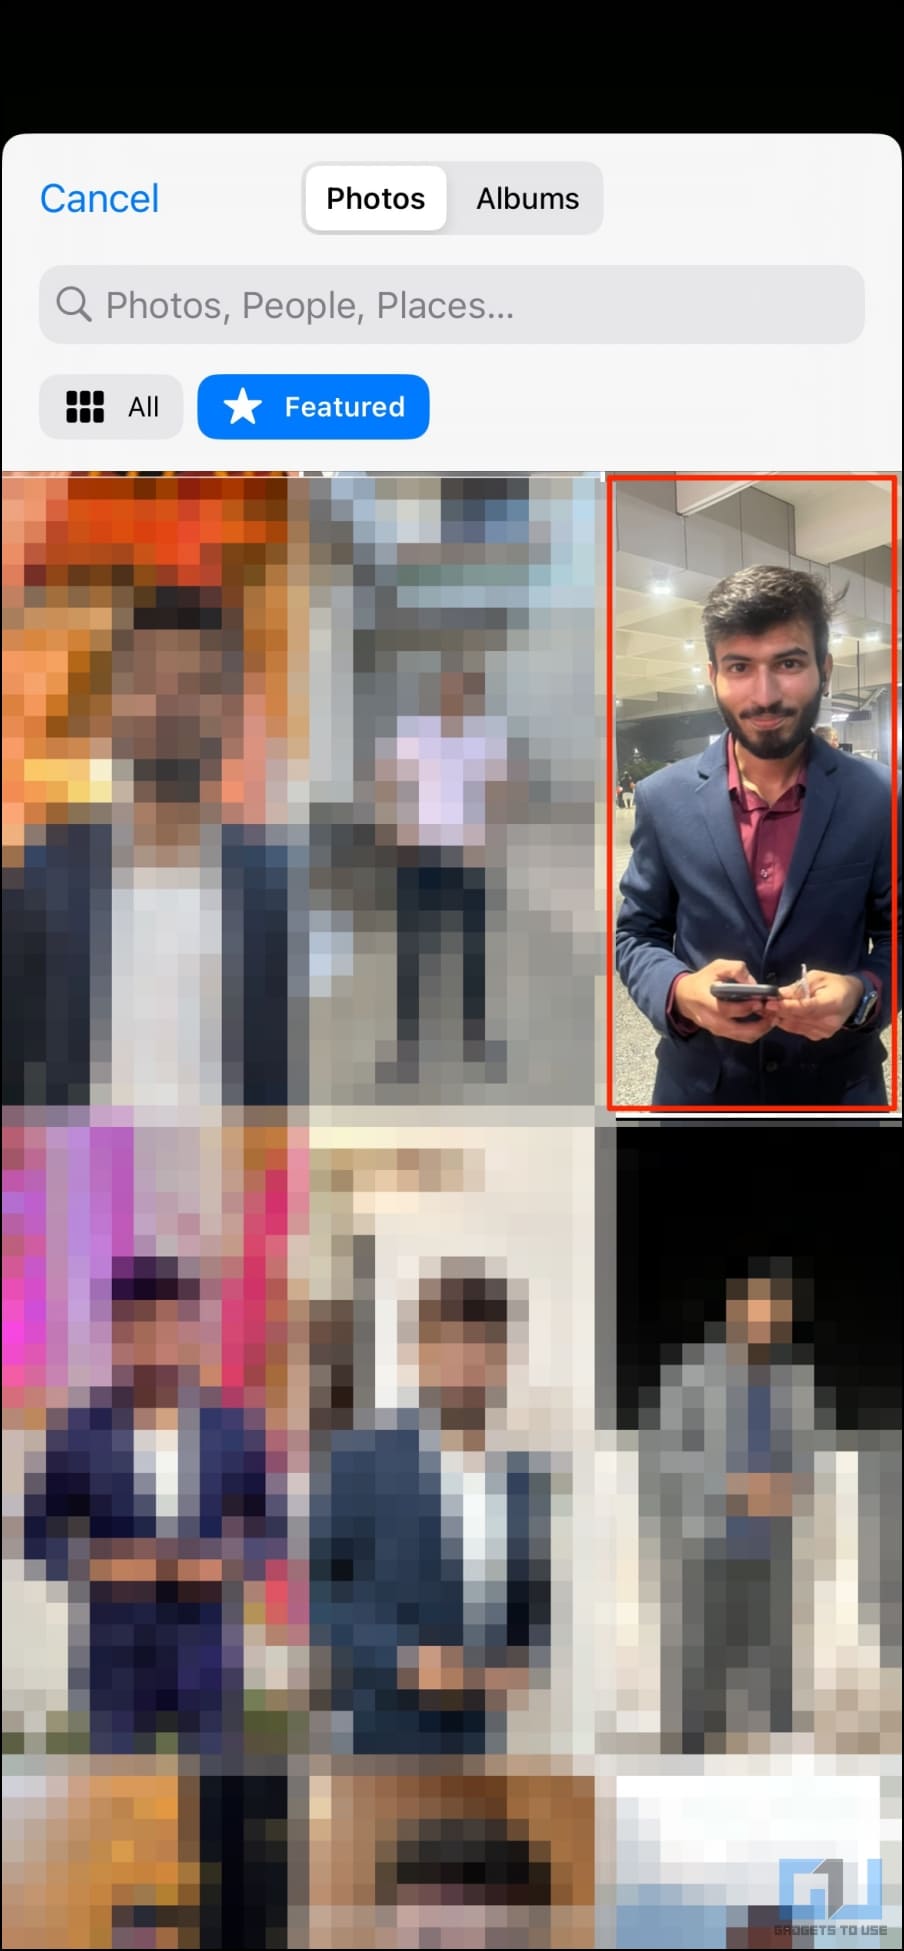
1. Select Camera and click a photo in real time. Or else, choose Photos and pick an image or selfie you like from the iPhone library.
2. The picture will now be added to your contact poster, ready for customization.
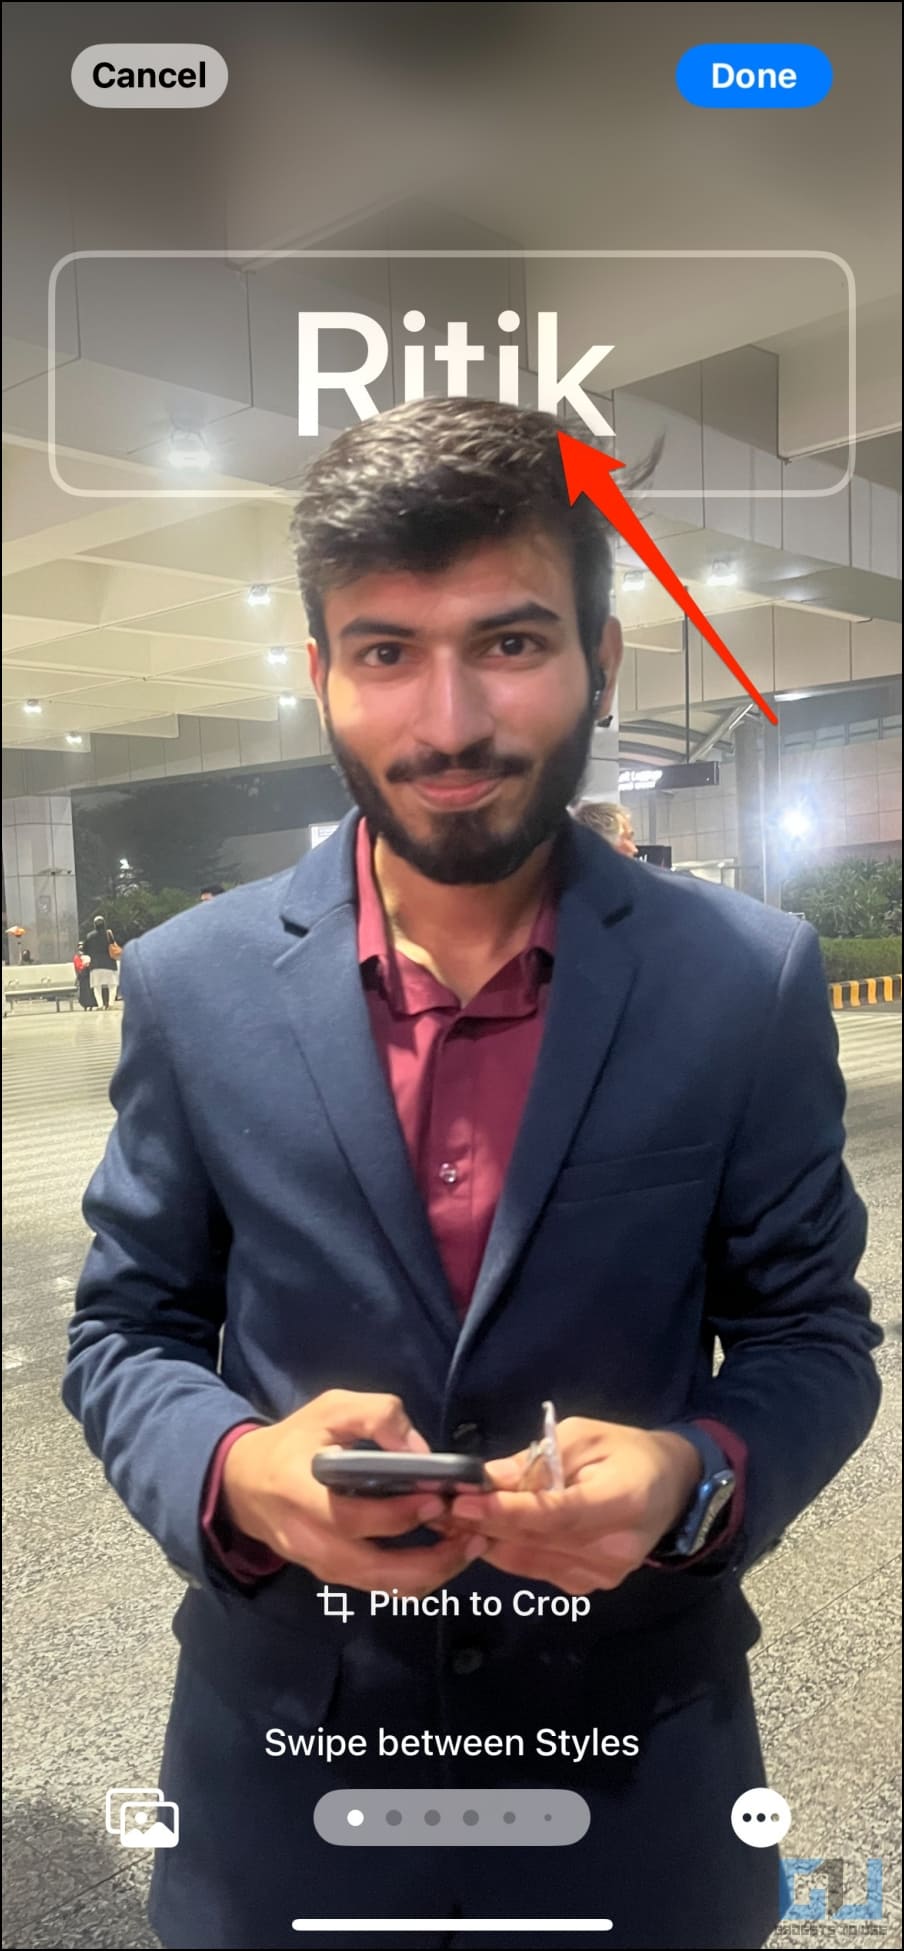
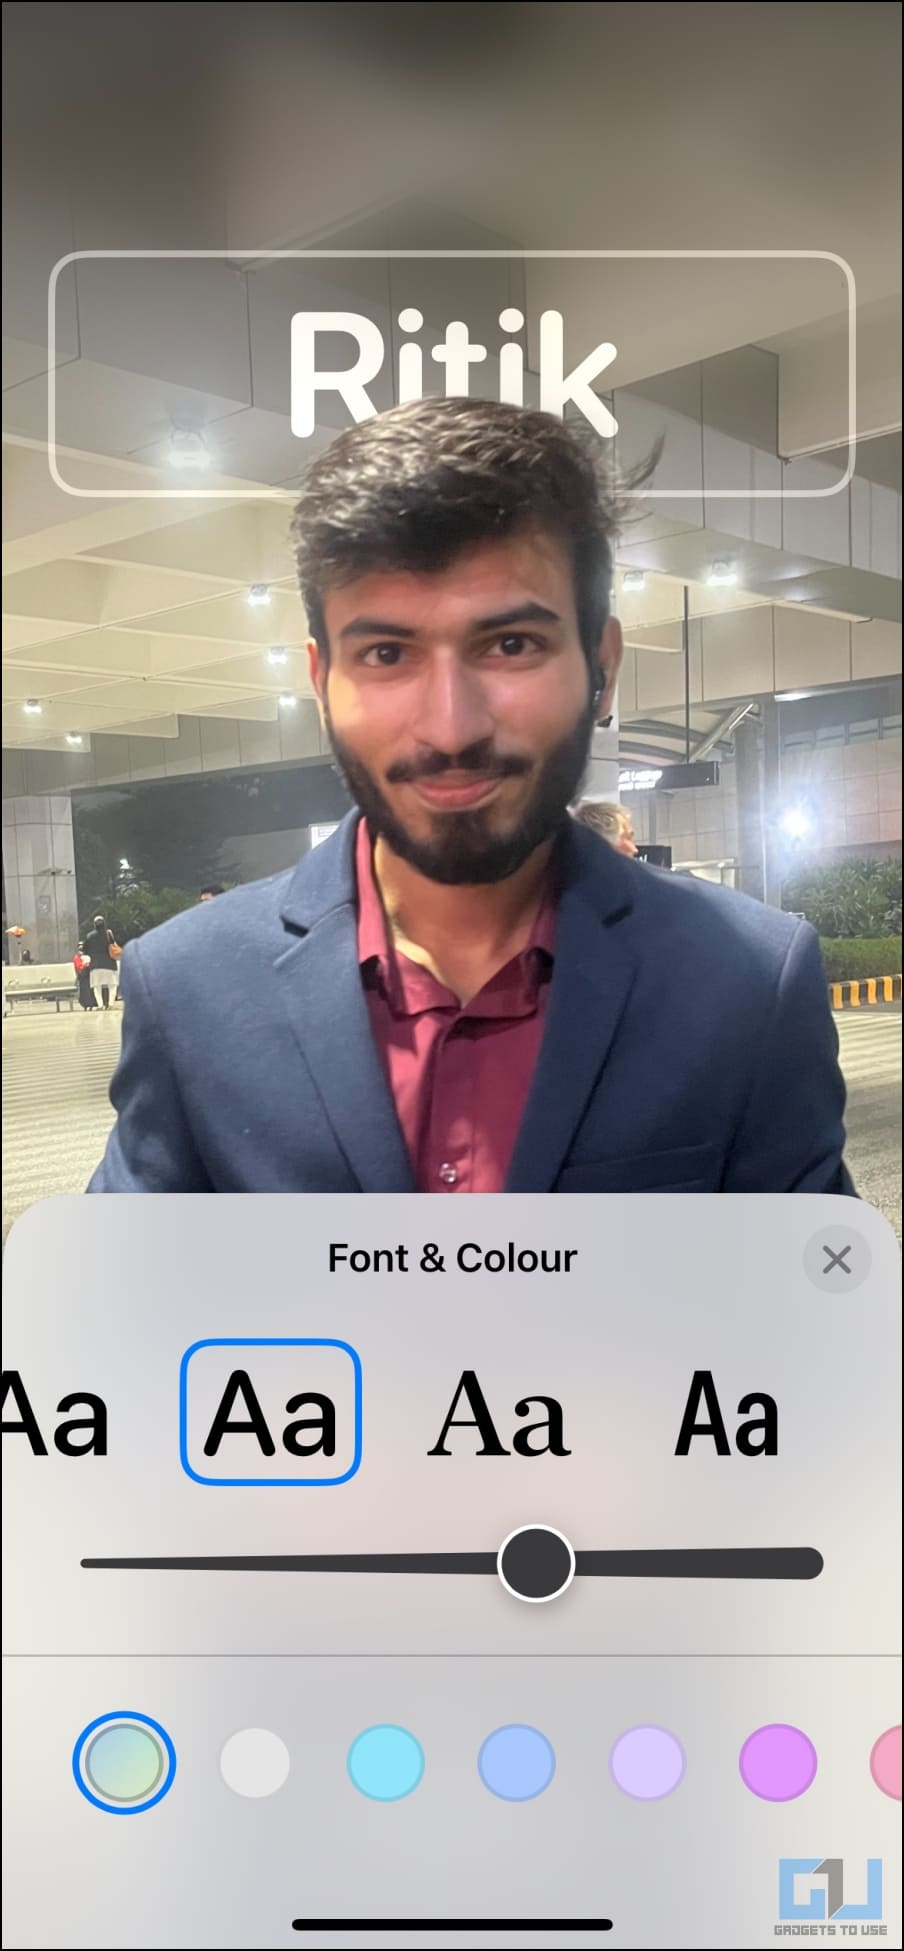
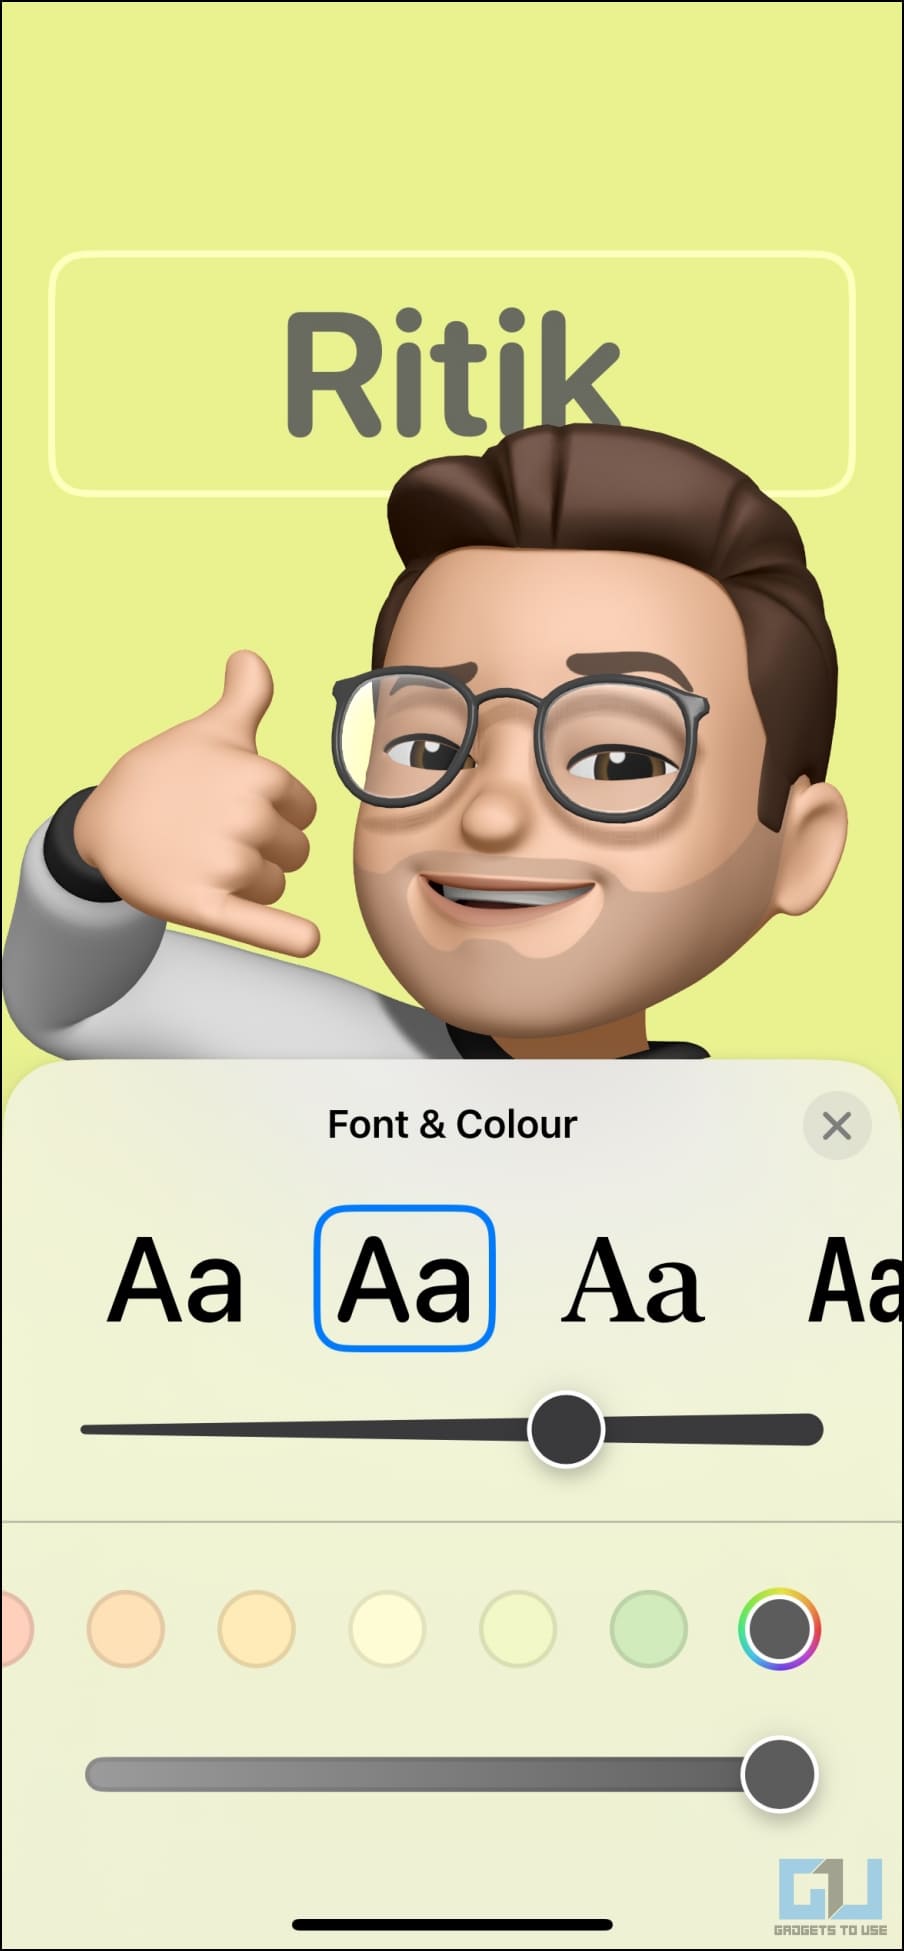
3. Tap your name at the top and select the desired font style. Use the slider to specify text thickness, whether you want it slim and narrow or big and bold.
4. Swipe through the choices and tap the color you like. You can also use the color wheel set a custom color for your name. Once done, use the slider at the bottom to tweak the saturation.
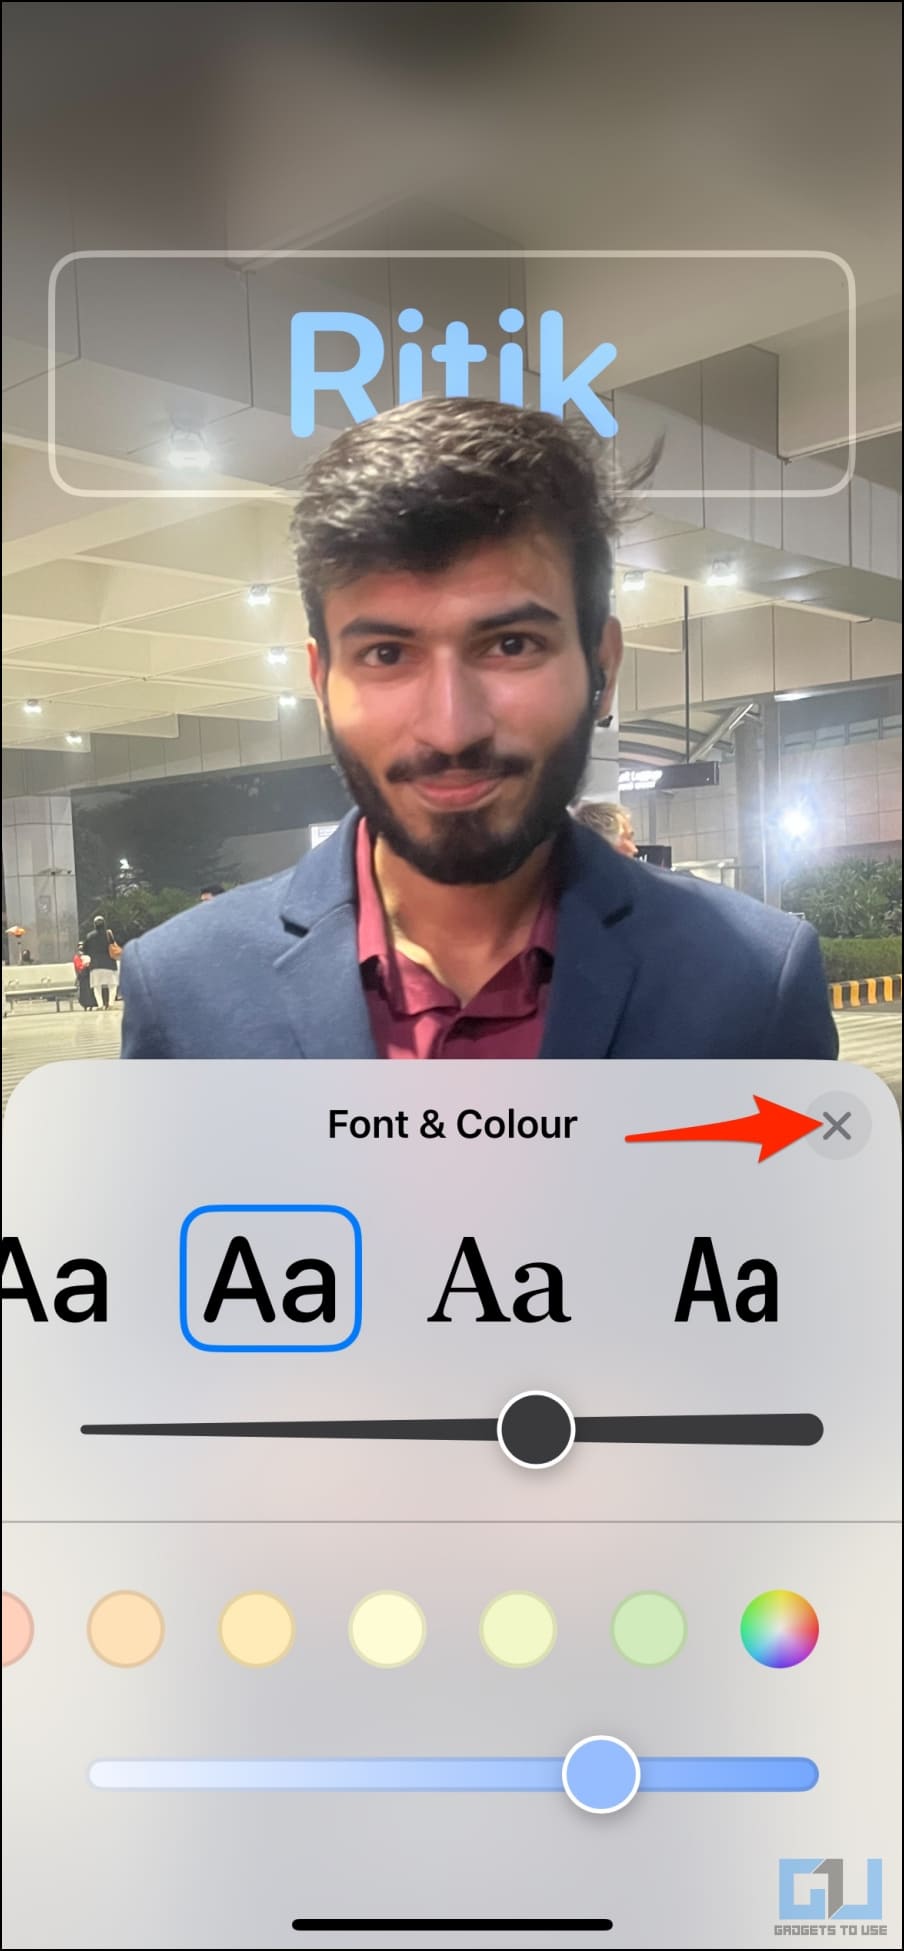
5. Once done customizing the name, tap the X icon.
6. Pinch in or out with your fingers to zoom in or zoom out the picture.
If it’s a portrait or image with the subject clearly visible, your iPhone will automatically apply a depth effect similar to the lock screen.
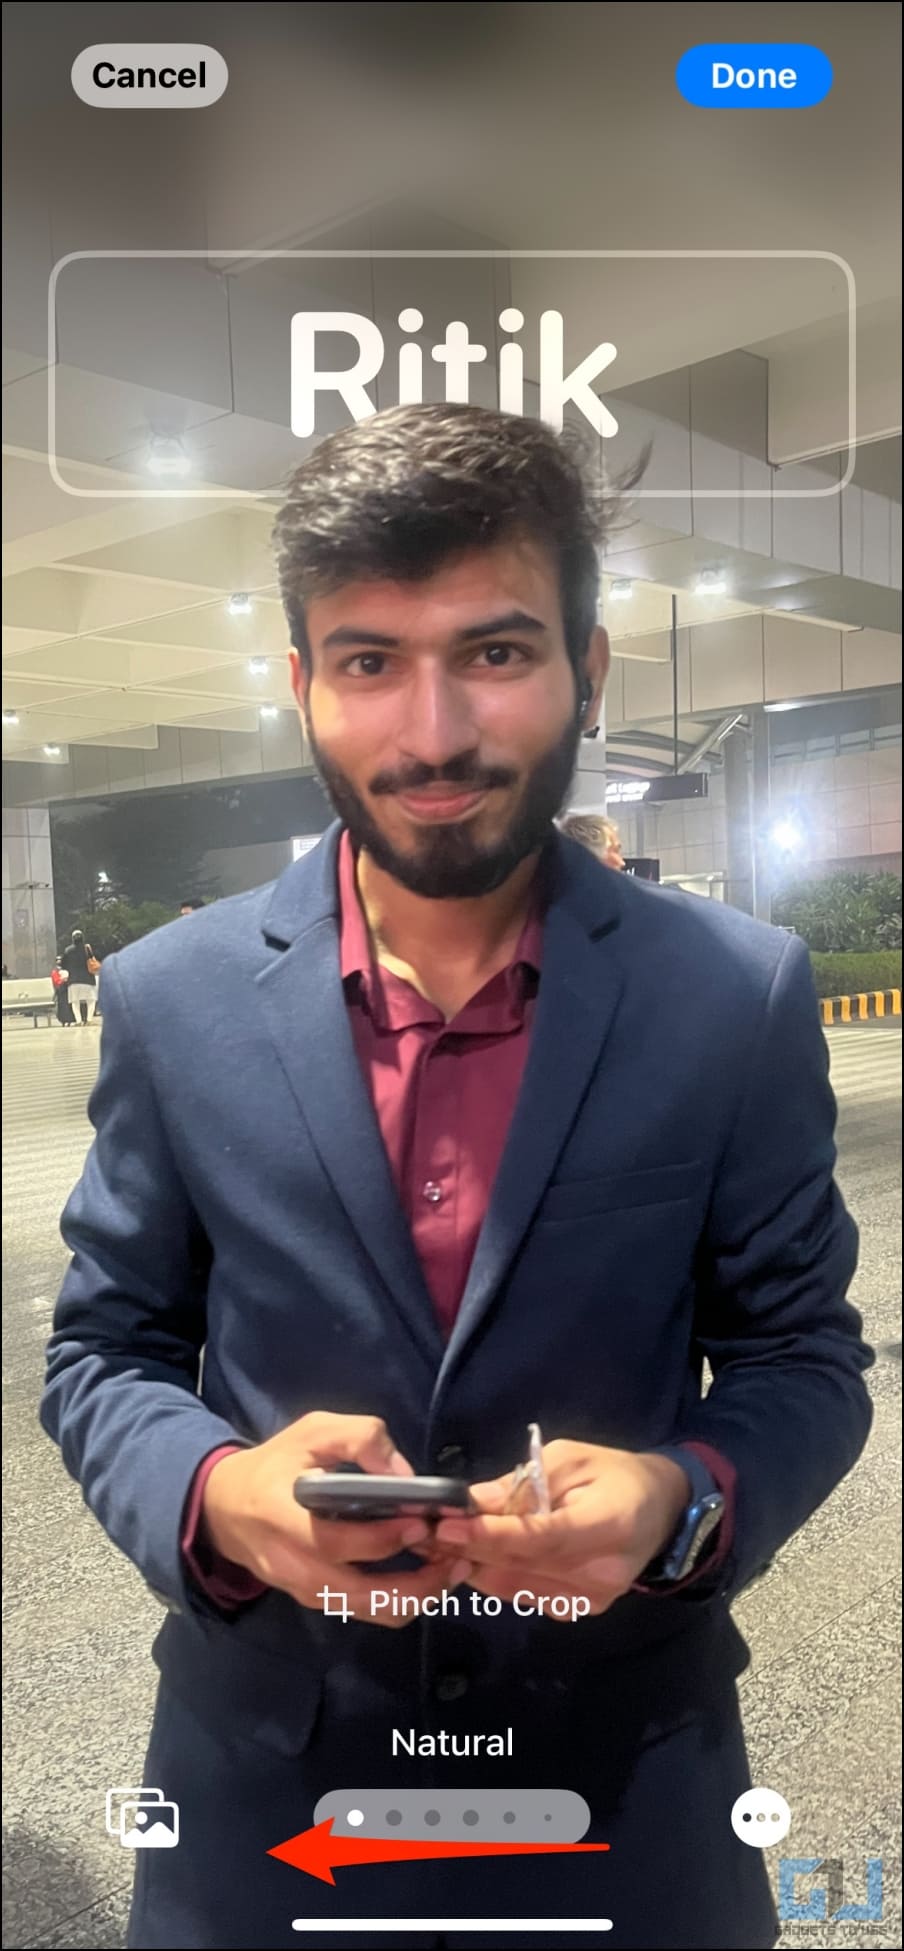
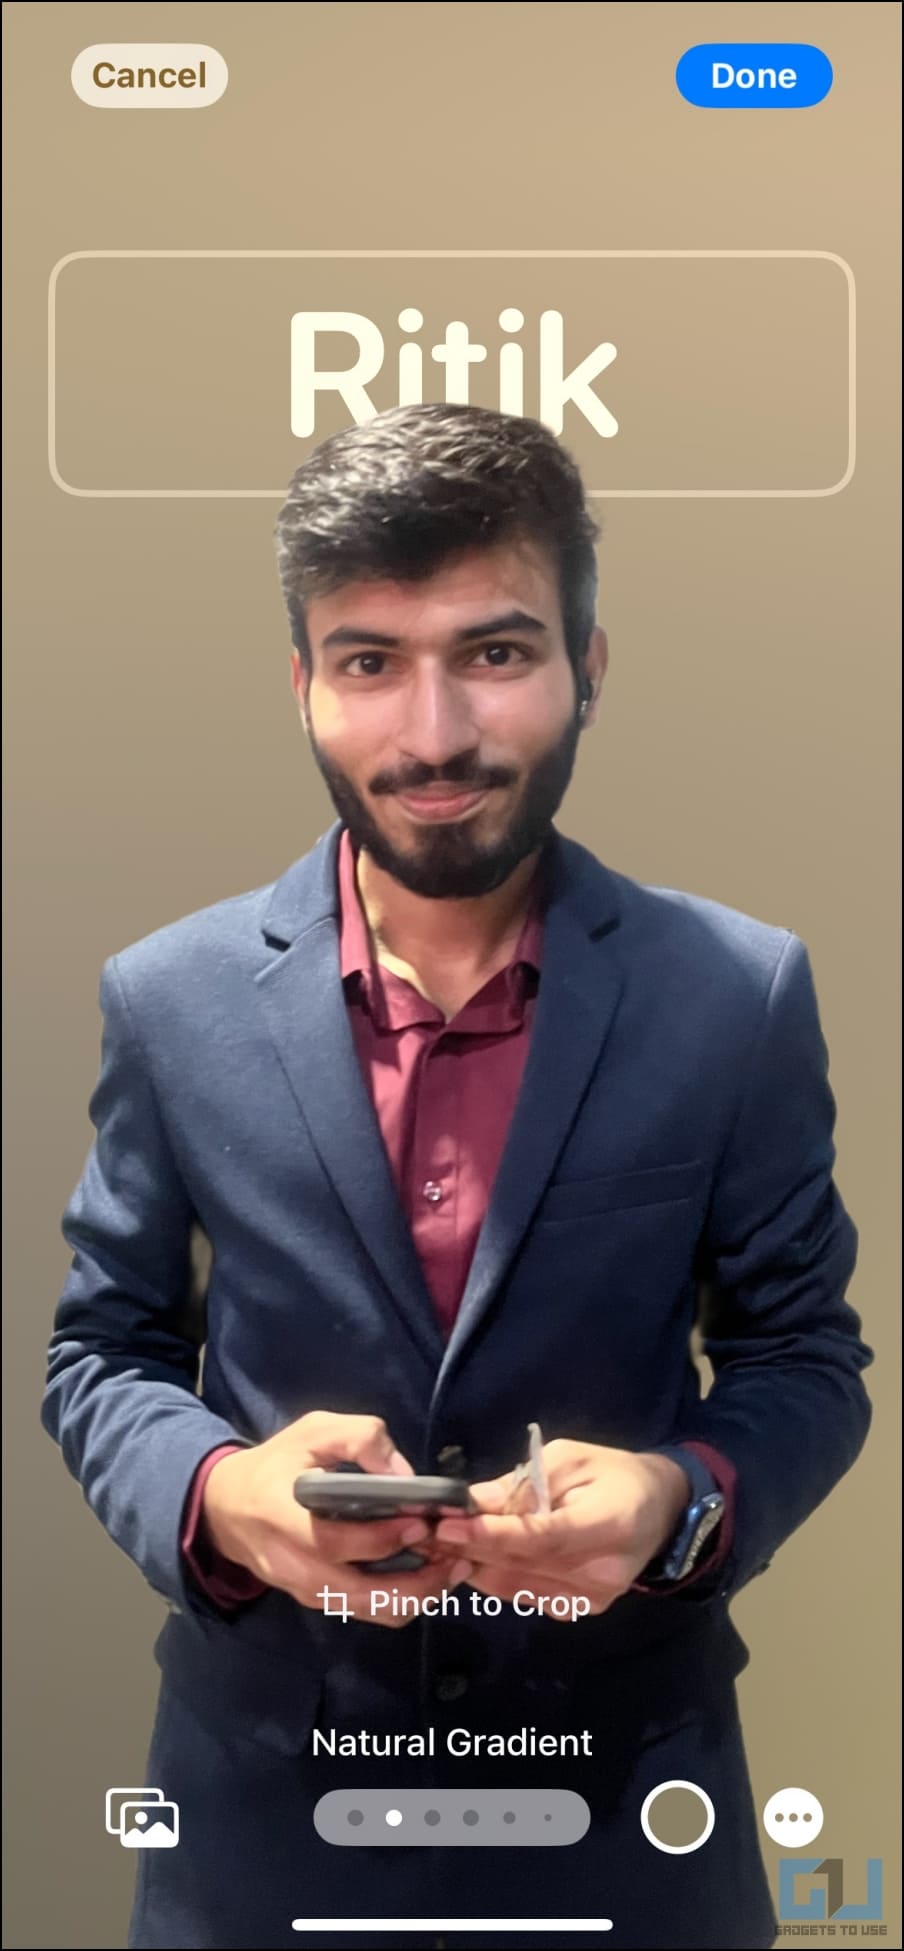
7. Next, swipe left on the image to select the filter you like:
- Natural: This is your image without any filters. Although, it will apply a little blur effect on top to keep your name visible.
- Natural Gradient: This option will add a natural gradient background to your photo while cutting out the subject. It chooses colors automatically based on the overall image’s color palette. You can customize the vibrancy by tapping the color ball at the bottom right.
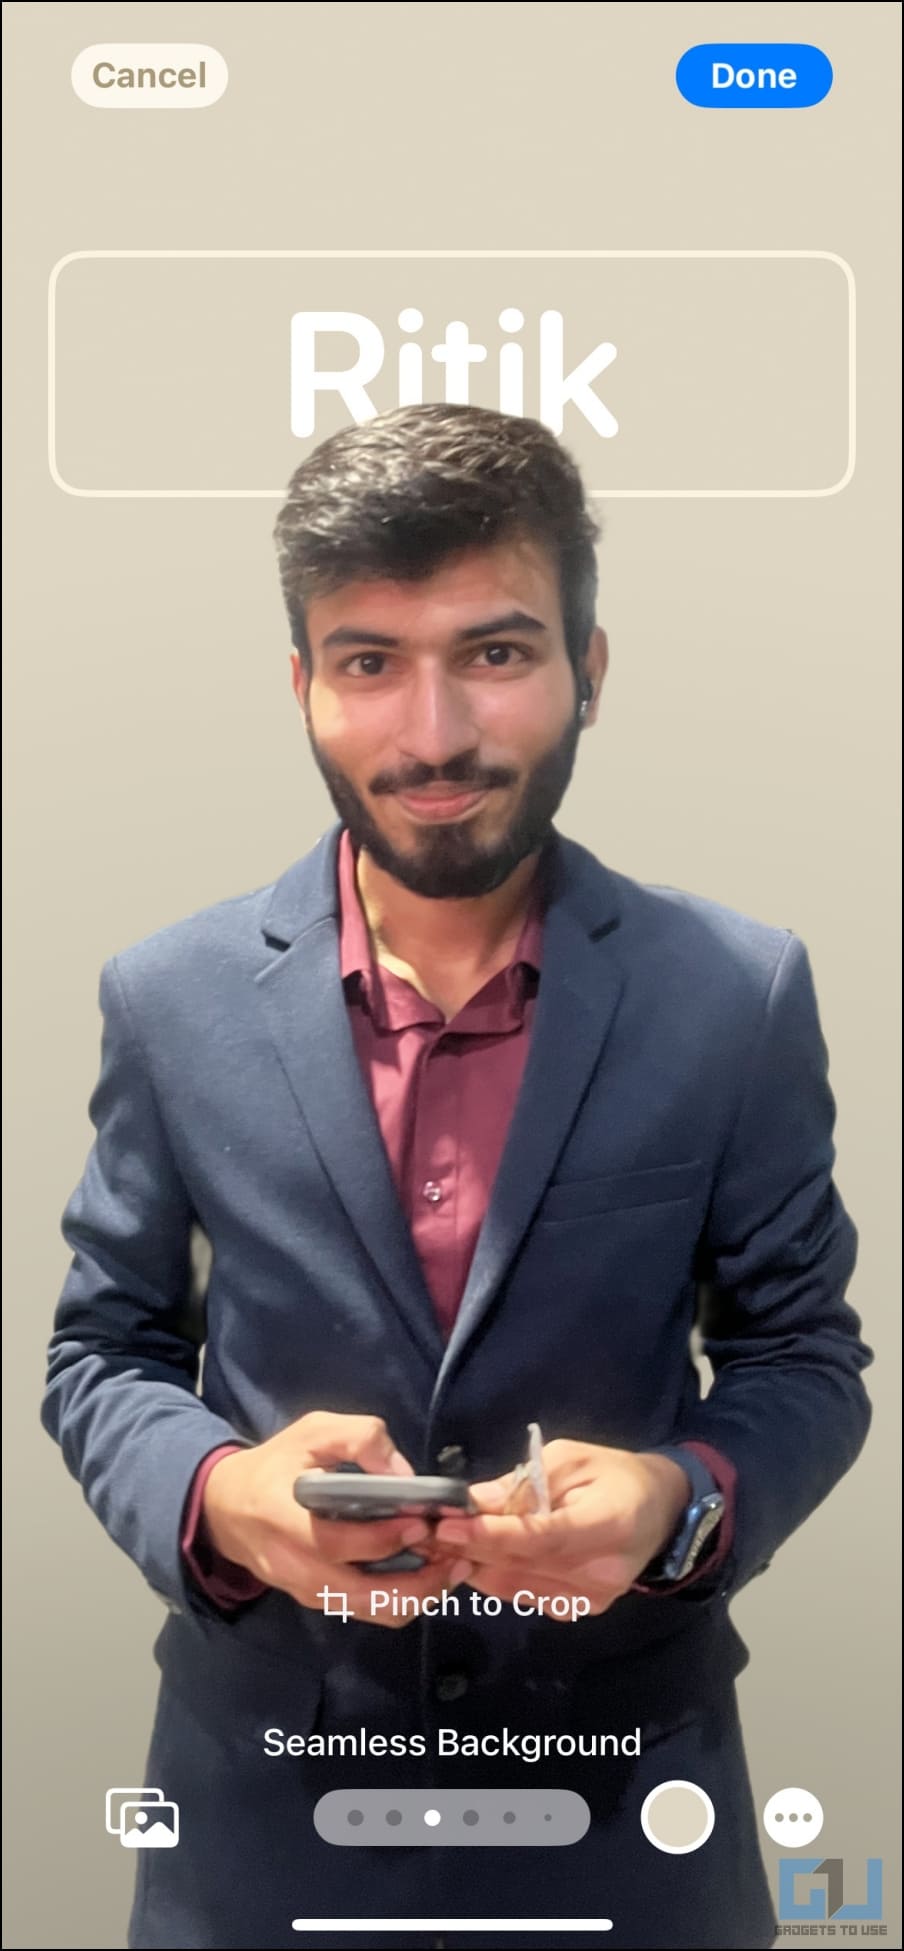
- Seamless Background: This adds a colored background to your photo. You can customize the color and its vibrancy based on your liking.
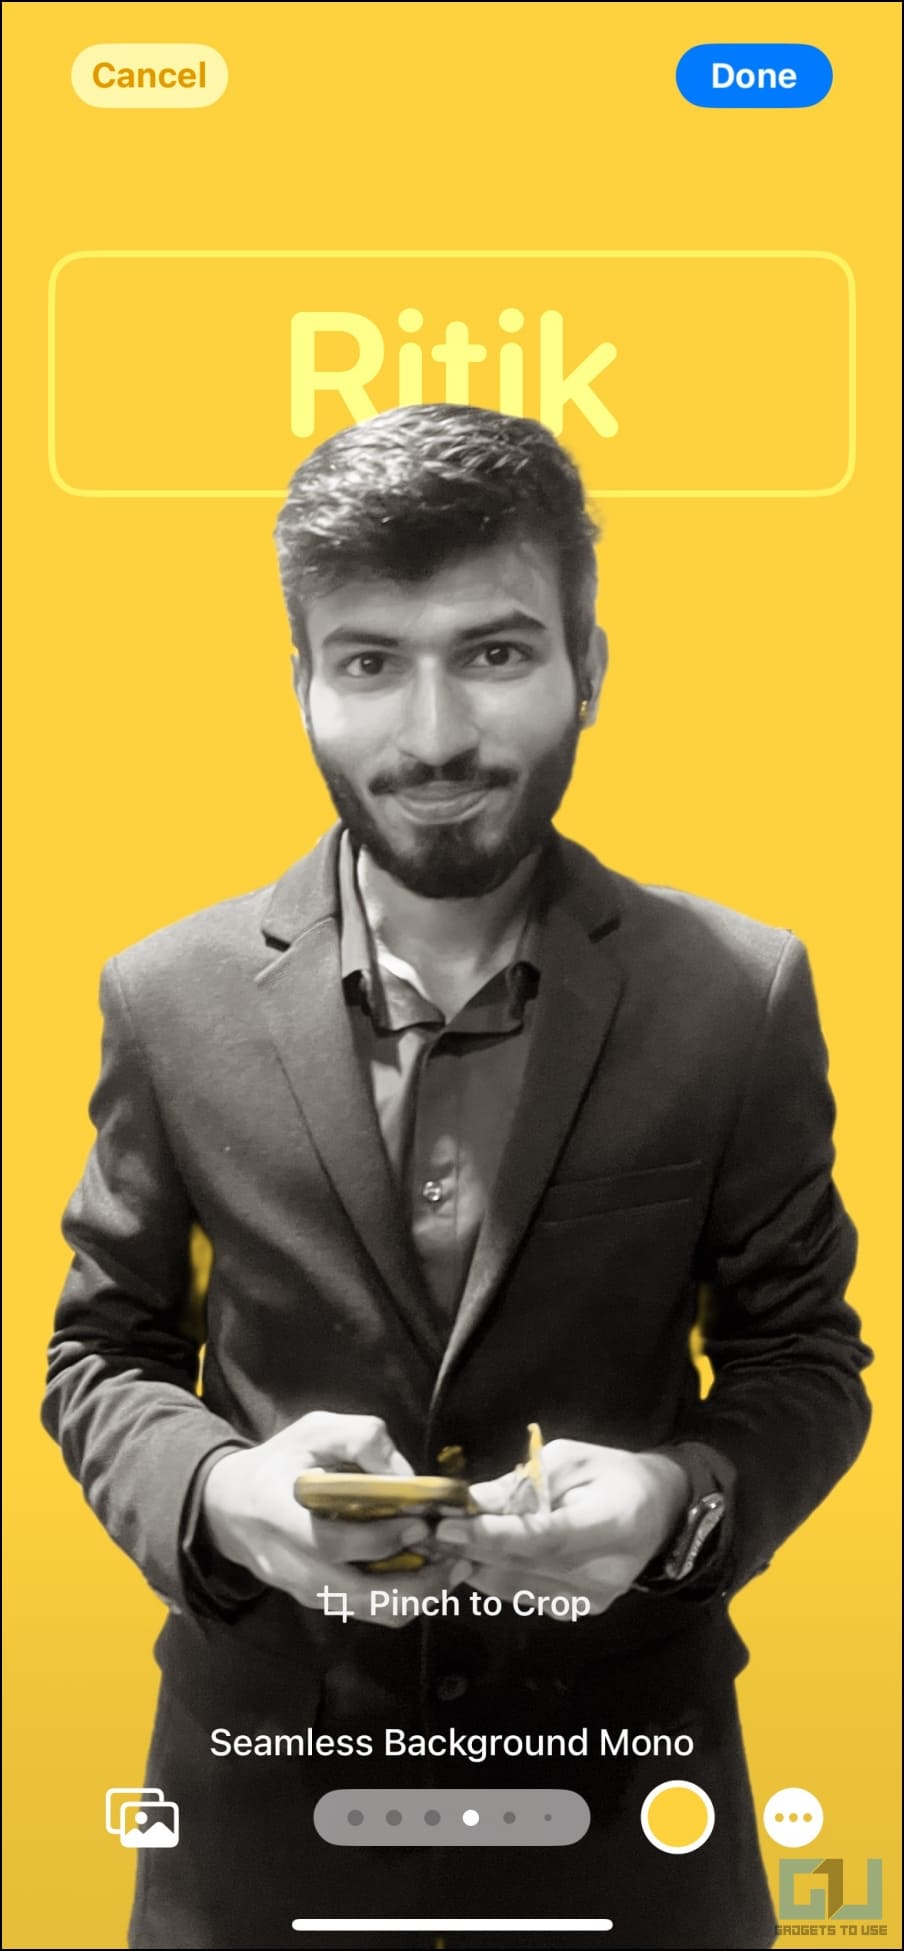
- Seamless Background Mono: It will convert your photo into monochrome while allowing you to keep a colored background. And as with the option above, you can choose the color and set its vibrancy.
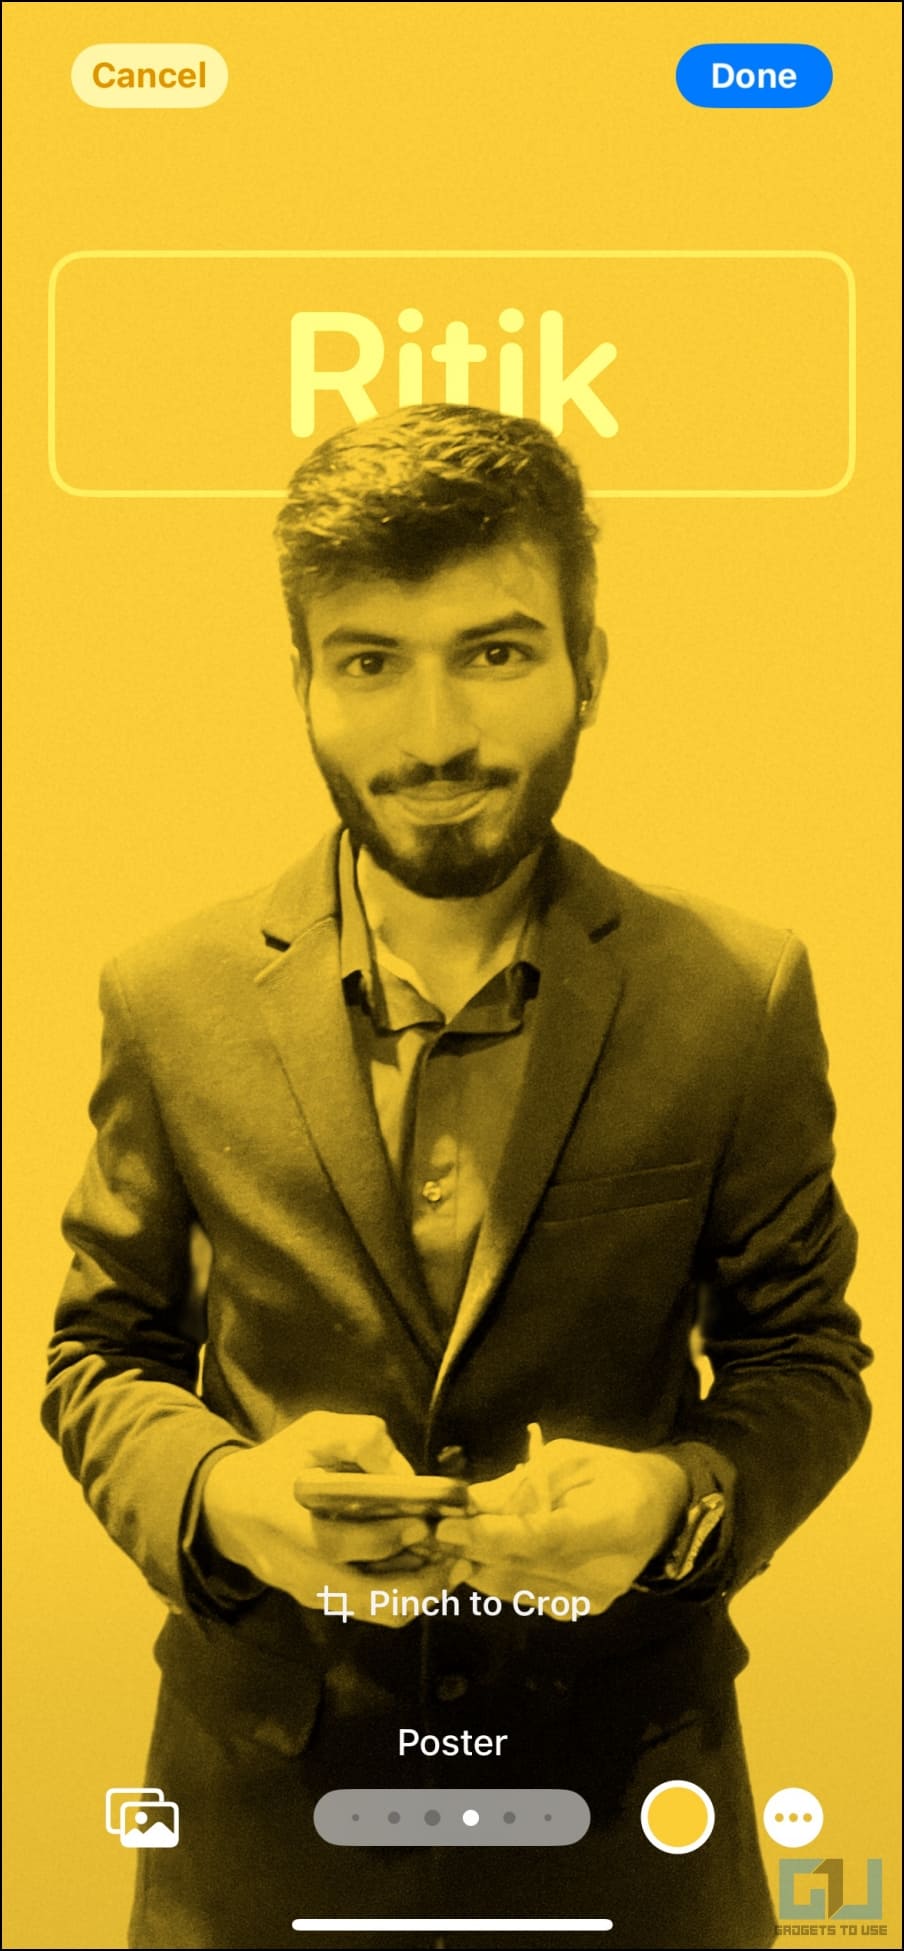
Poster: This filter will posterize your image with the background color being imposed on your photo. However, it looks good only in specific photos.
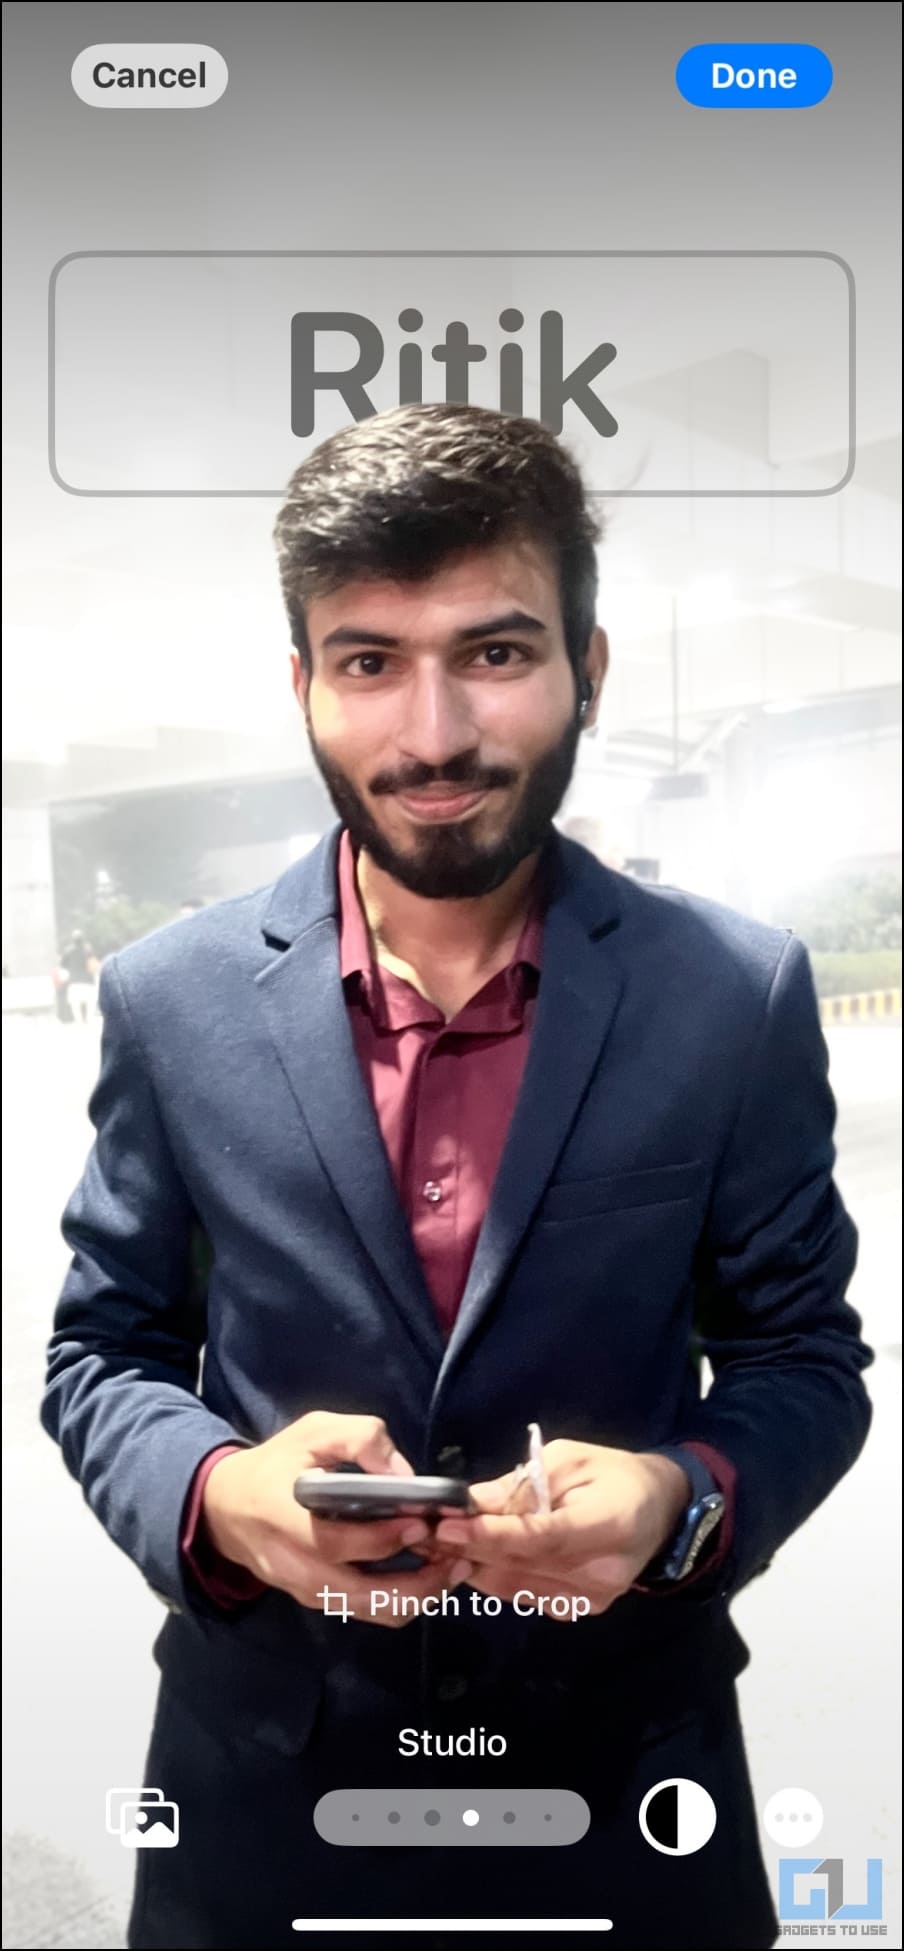
Studio: It applies Studio Portrait Lighting Effect to your photo, similar to the one available in the Camera app. You can tap the small button at the bottom right to switch between high and low-key lighting profiles. High-key reduces the lighting ratio (tones down shadows and creates less contrast) in the scene, while low-key uses a lot of darker tones and shadows to emphasize high contrast.
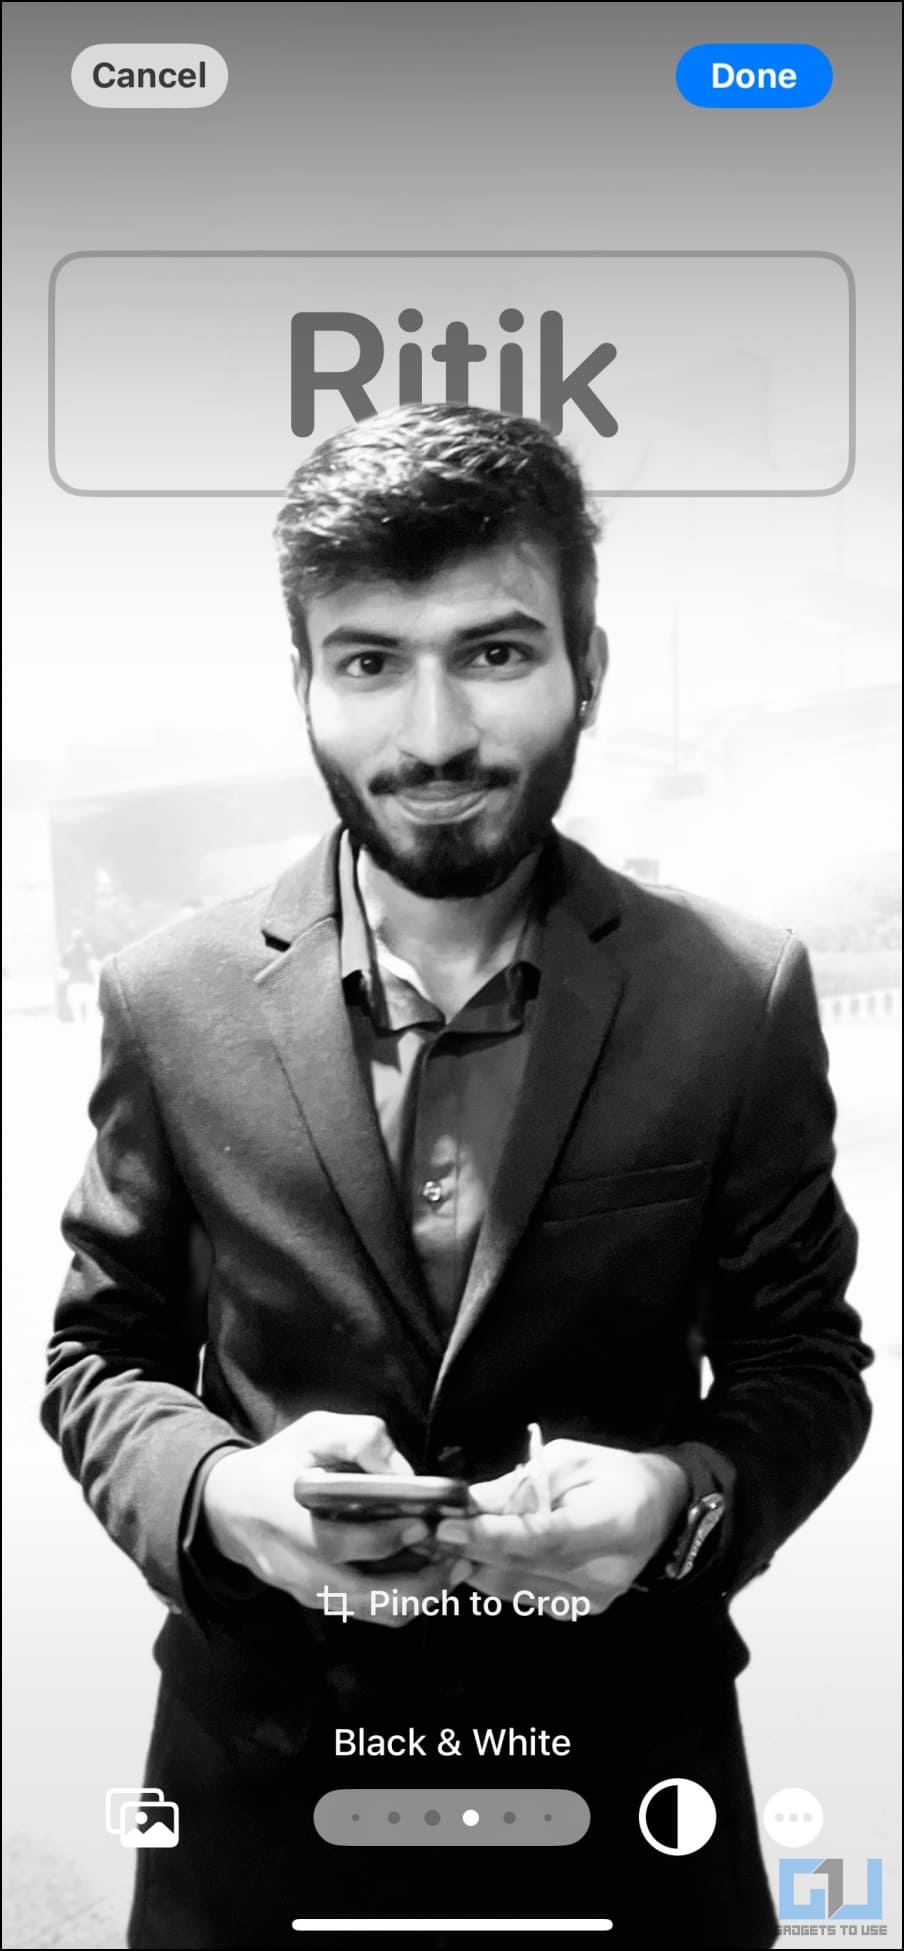
Black & White: This option converts your photo into a regular black and white picture. You can opt for a light or dark background using the button on the bottom right.
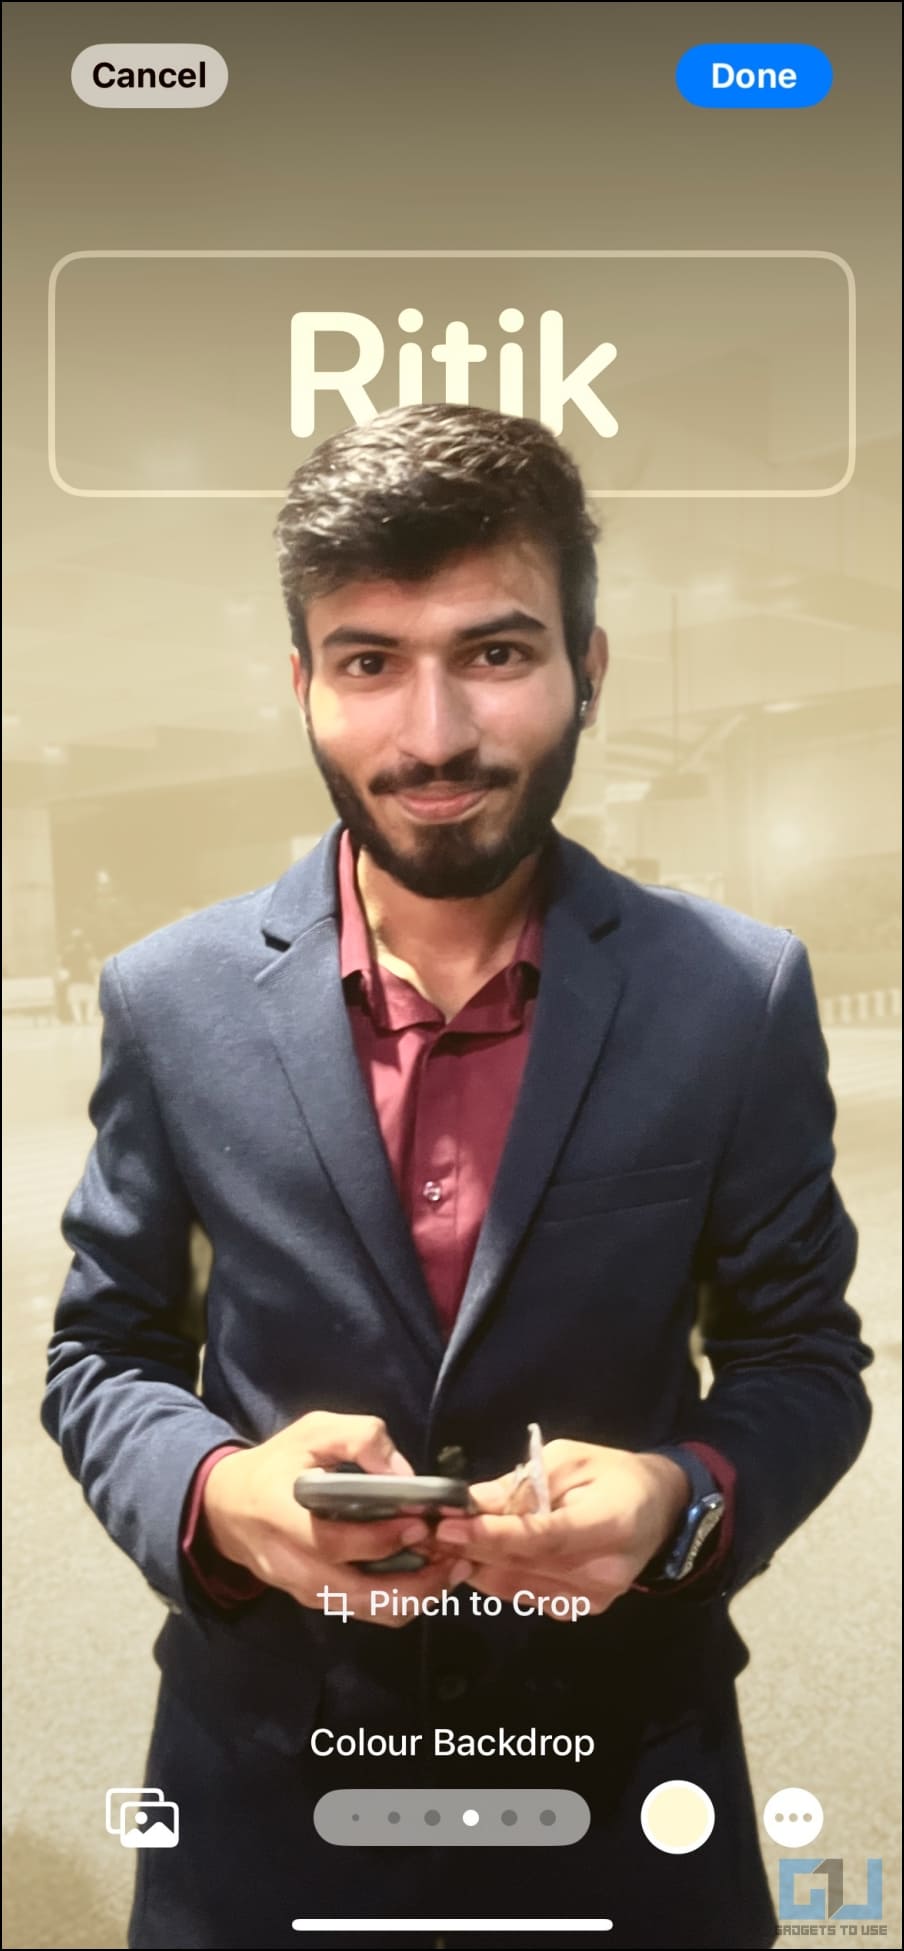
Color Backdrop: This will pop out the subject in the foreground while applying a color backdrop to your image. You can customize the color and its intensity through the given option. The background is blurred by default, but you can change it to solid color by tapping the three dots on the bottom right.
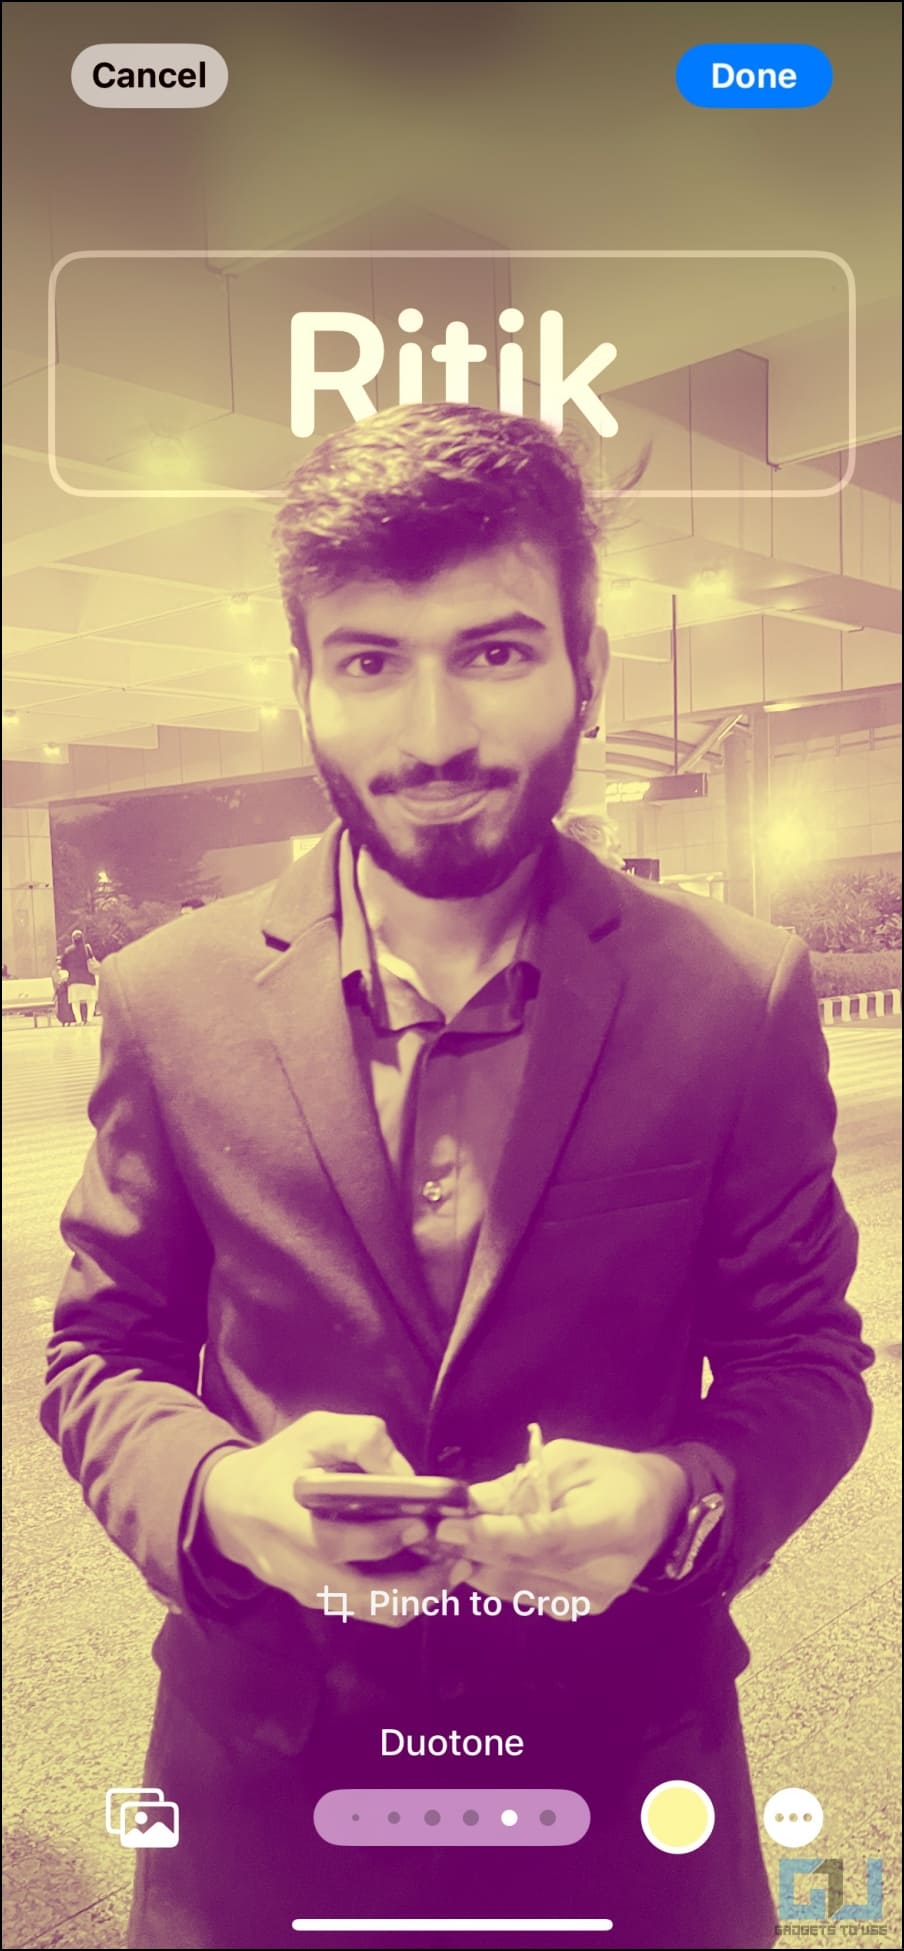
Duotone: It gives a two-tone, pop-like look to your photo by expressing it with two colors: a base color and a highlight color. You can change the background to solid if you want to.
Color Wash: As the name suggests, this filter applies a color wash effect to your photo.
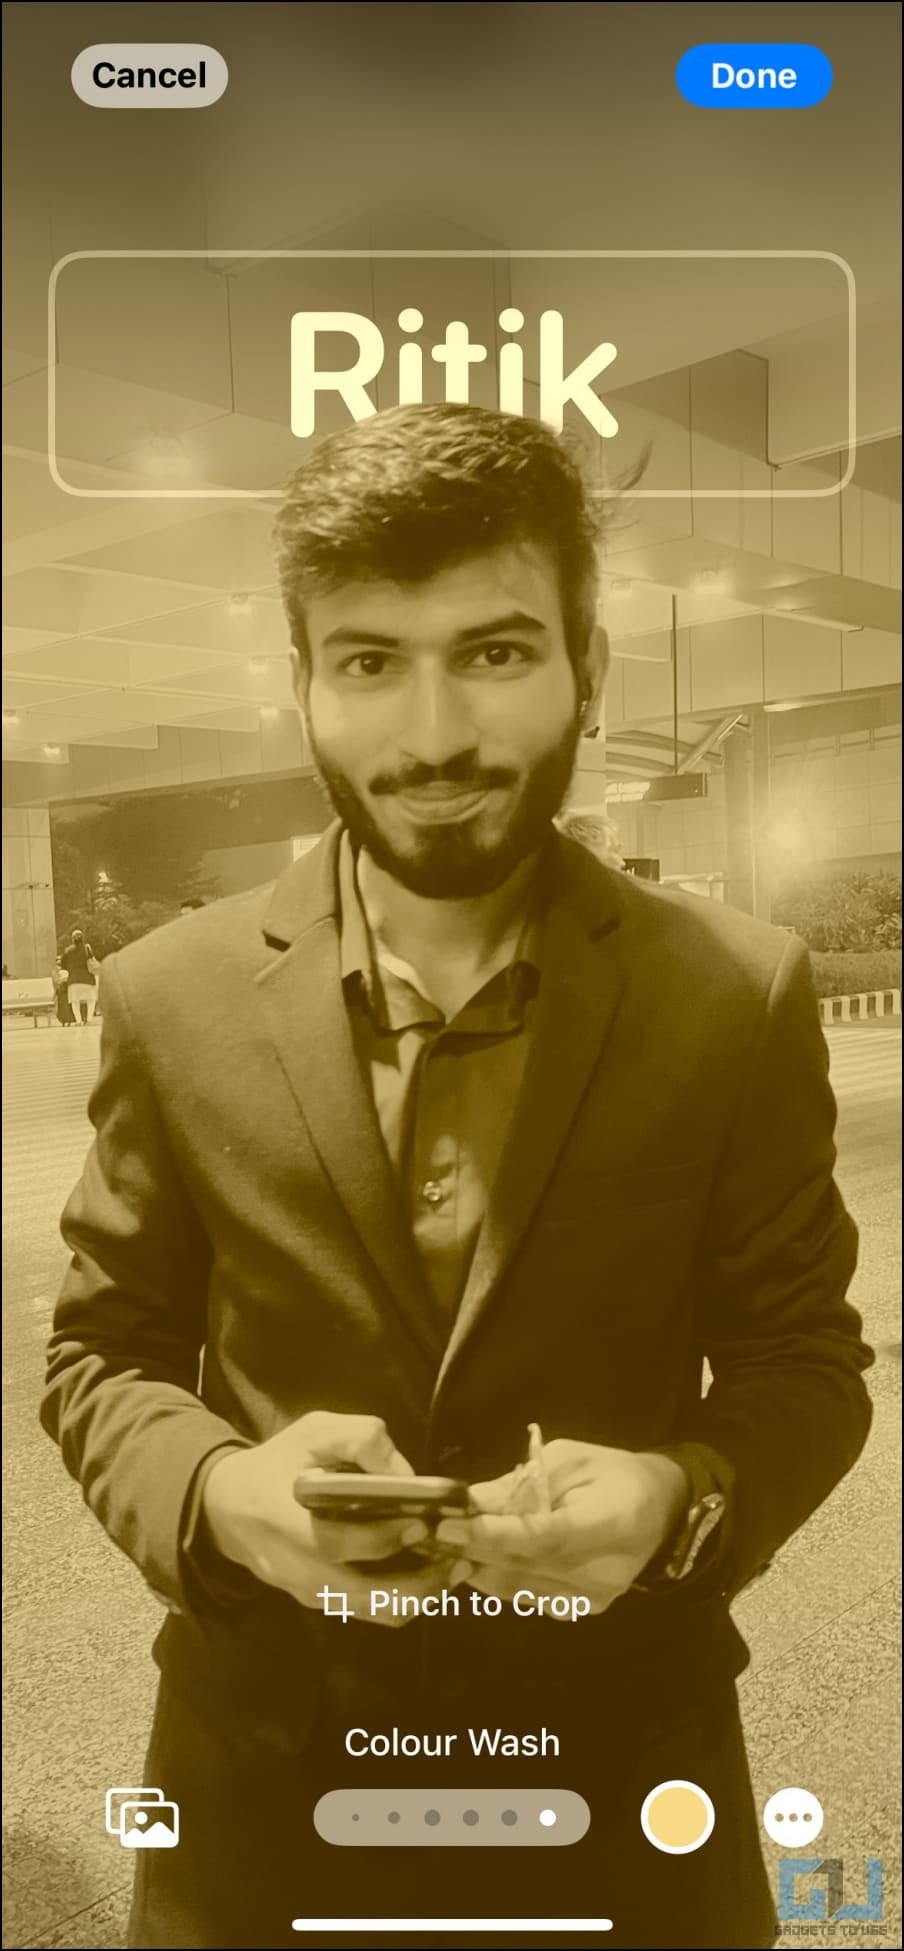
This sums up the filters you can set for the contact poster on your iPhone. Having so many options can be overwhelming but note that some filters are available only for portraits or photos with clear background separation.
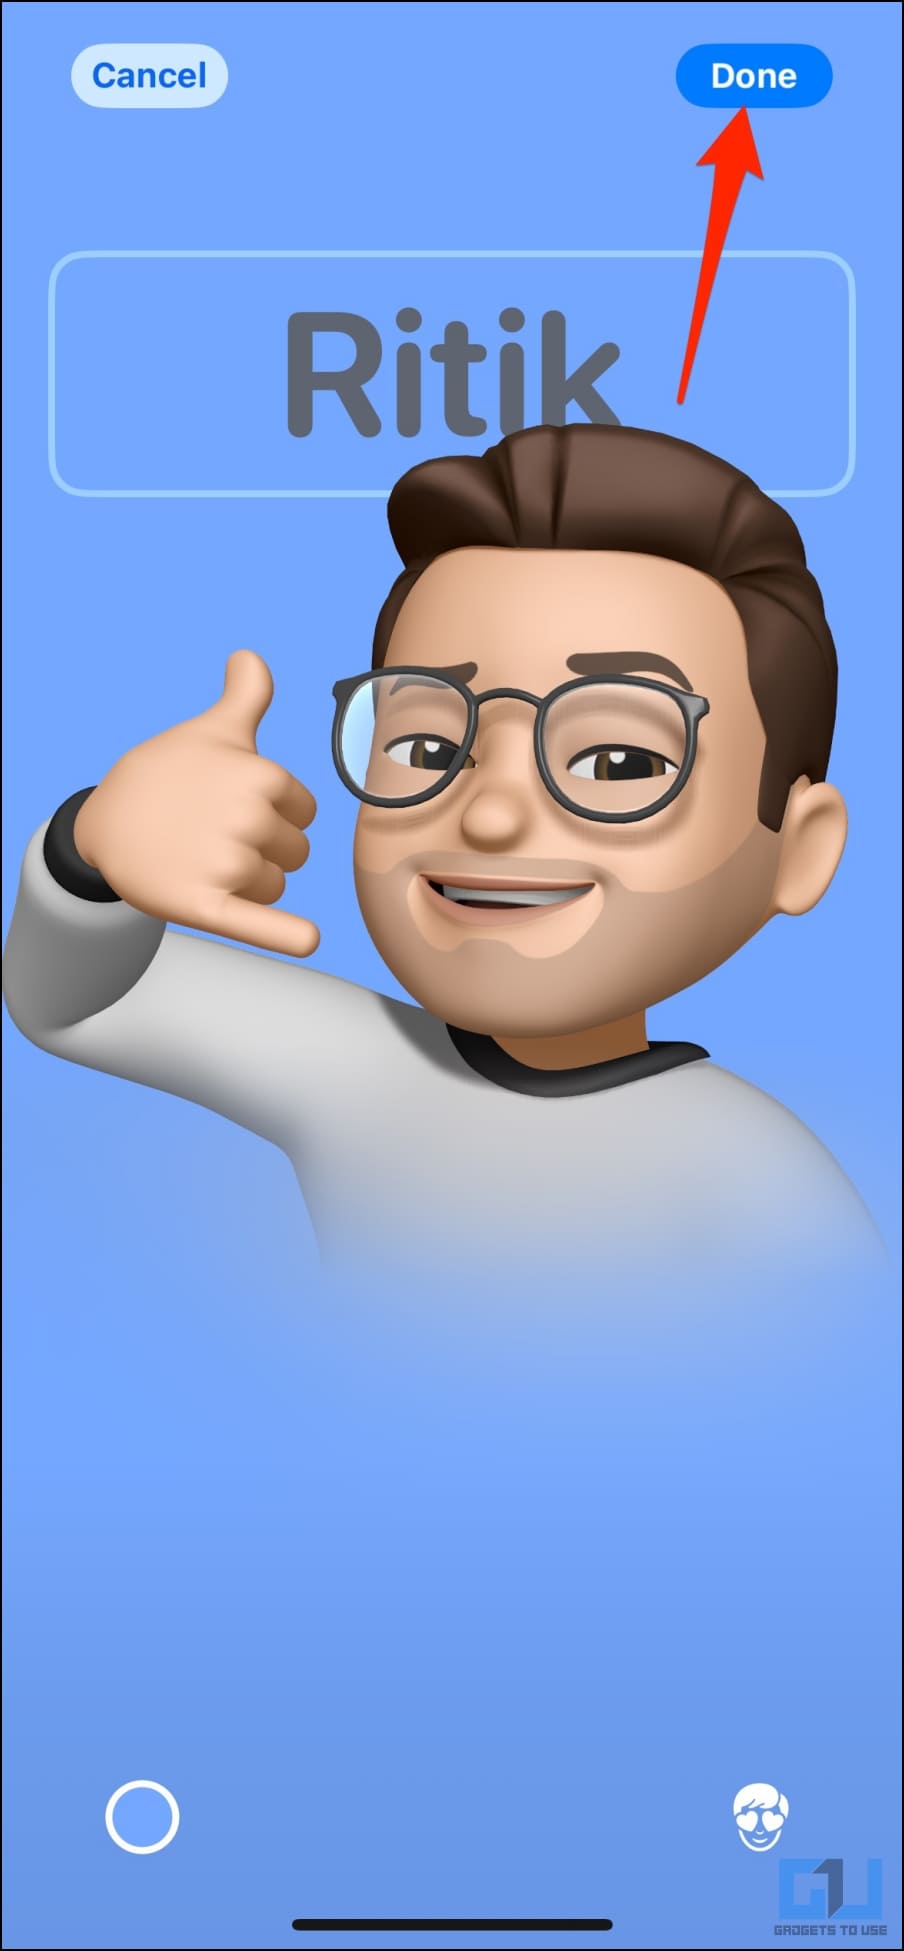
8. Once you have chosen the filter of your choice, customize the name font and size again if you want to. Then, tap Done in the top right corner.
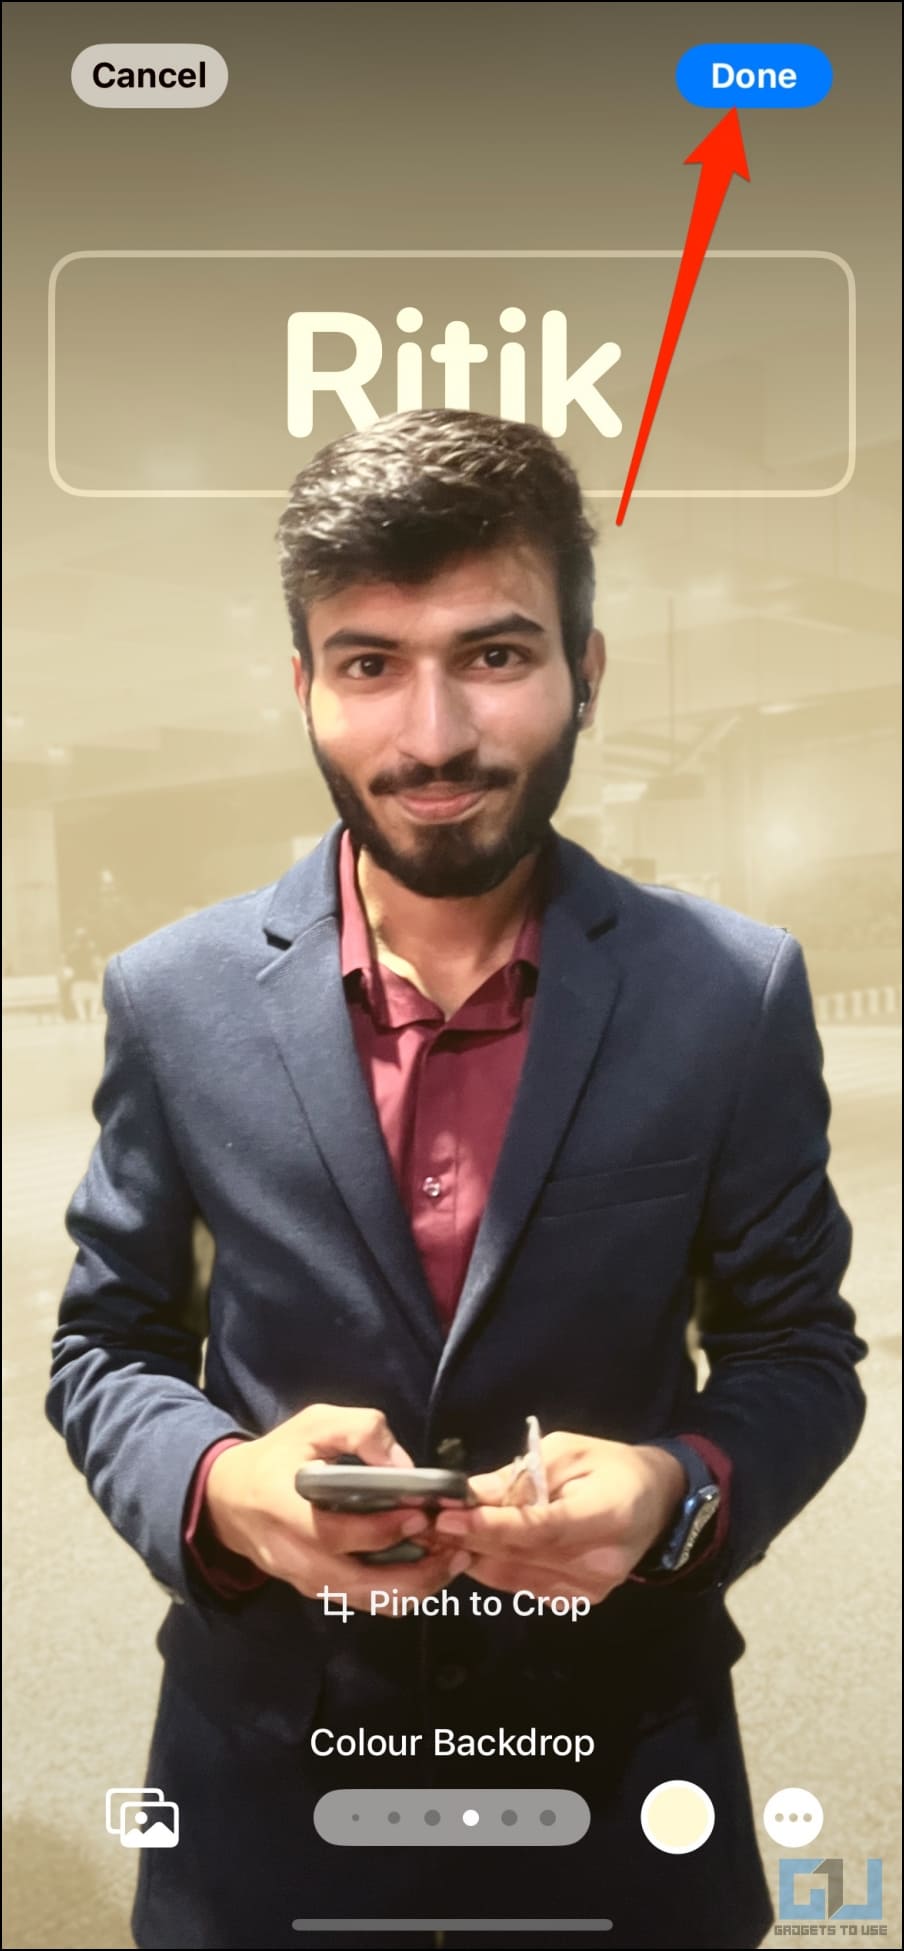
This way, you can create a contact poster using a fresh photo from the Camera or an existing image on your iPhone gallery.
(ii) Make Contact Poster Using Memoji
1. Select Memoji from the “Choose your Poster” menu.
2. Choose the memoji you like from the available options. You can also create a fresh memoji by tapping the + button.
3. Hold your iPhone in front of your face. It will automatically recognize and mimic your face. You can either make your own expression and tap the Shutter button OR choose between the preset facial expressions given at the bottom.
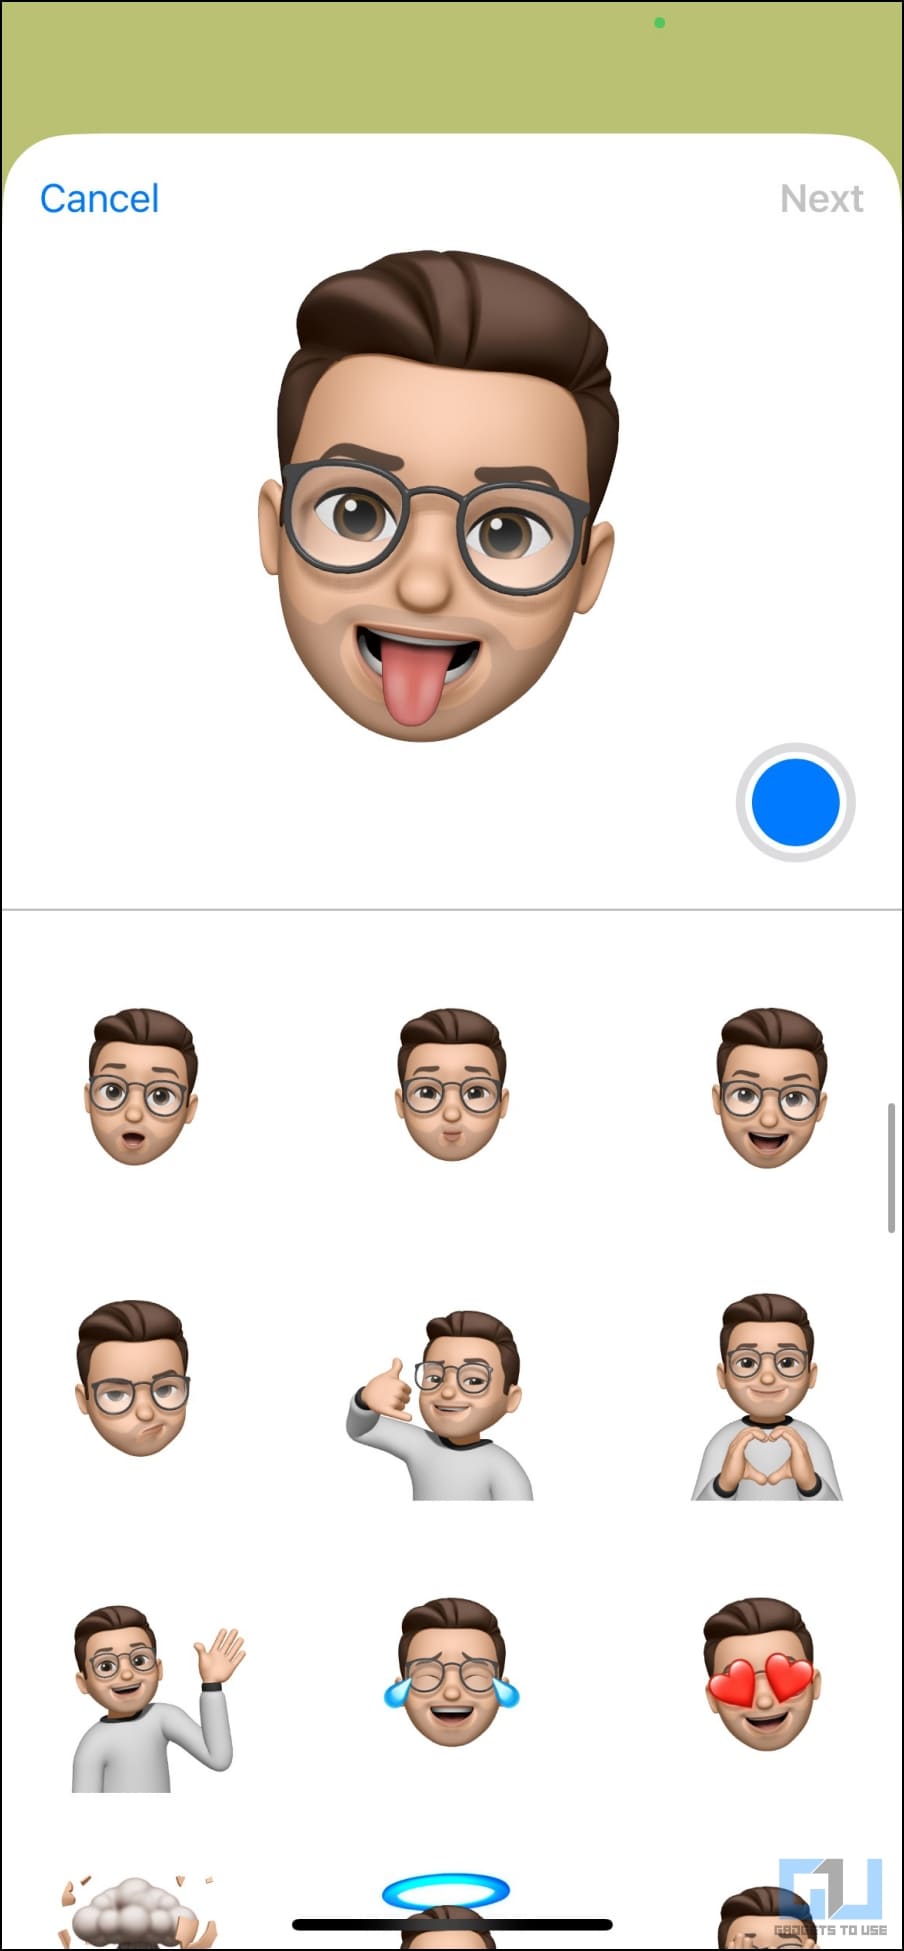
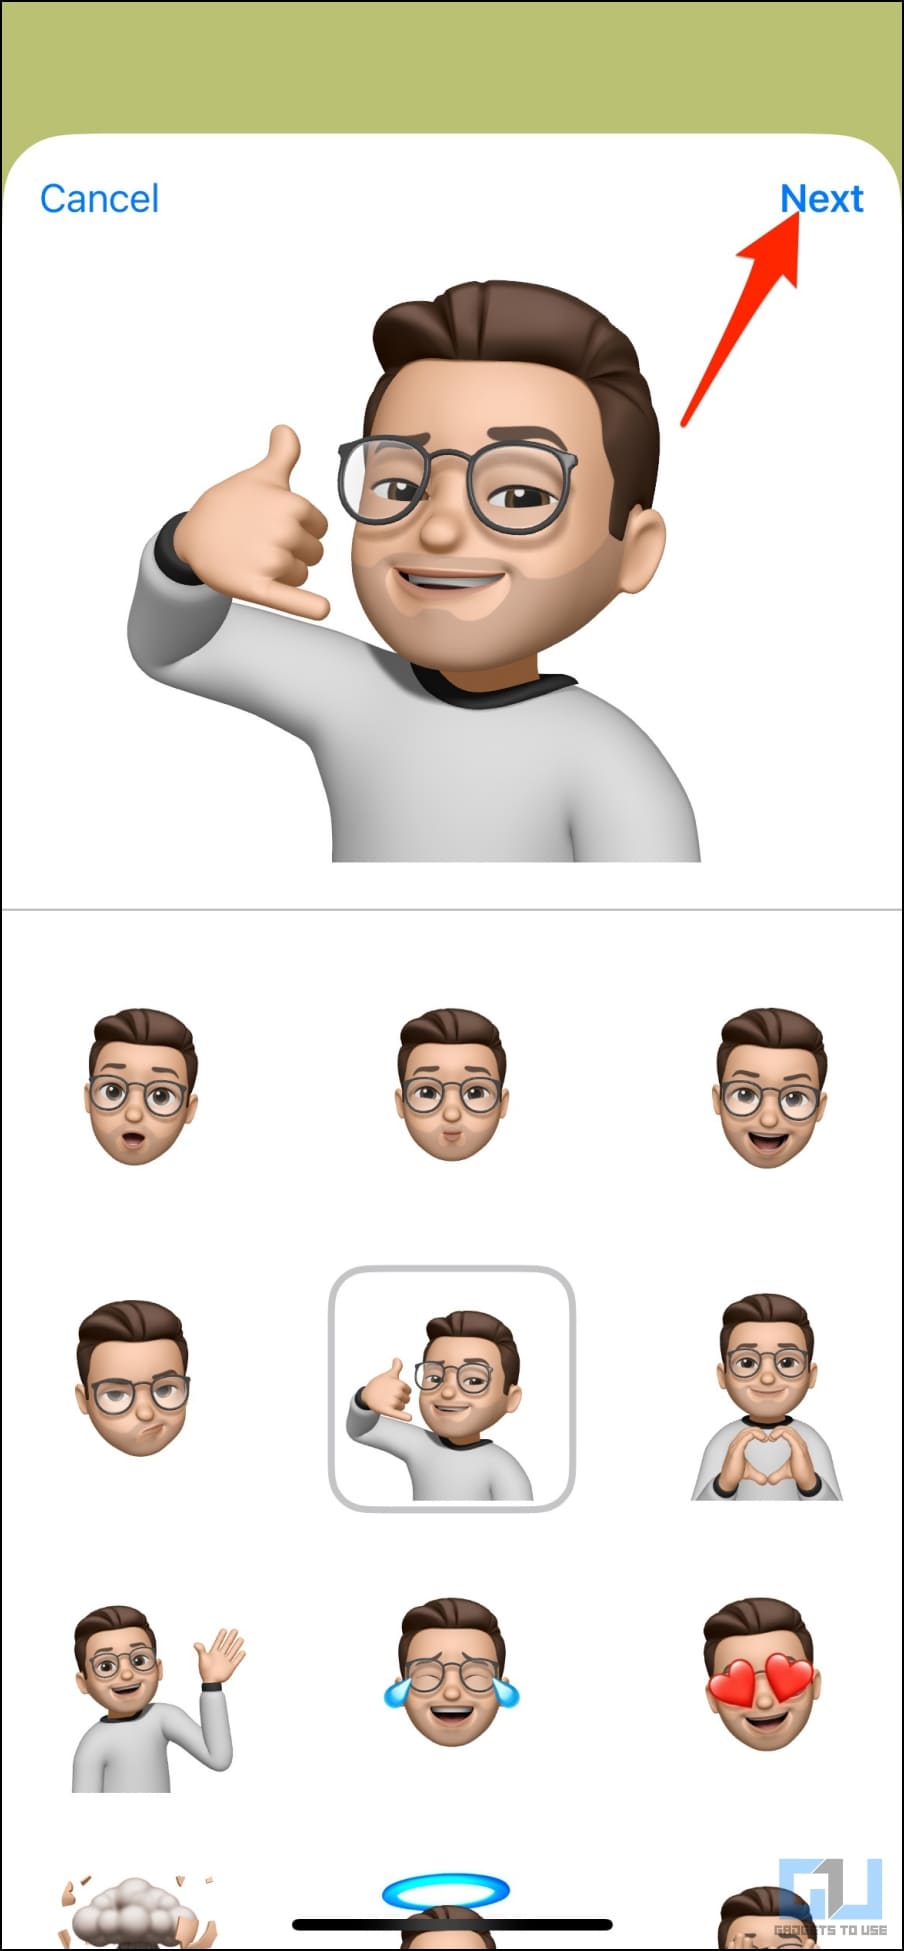
4. Click on Next.
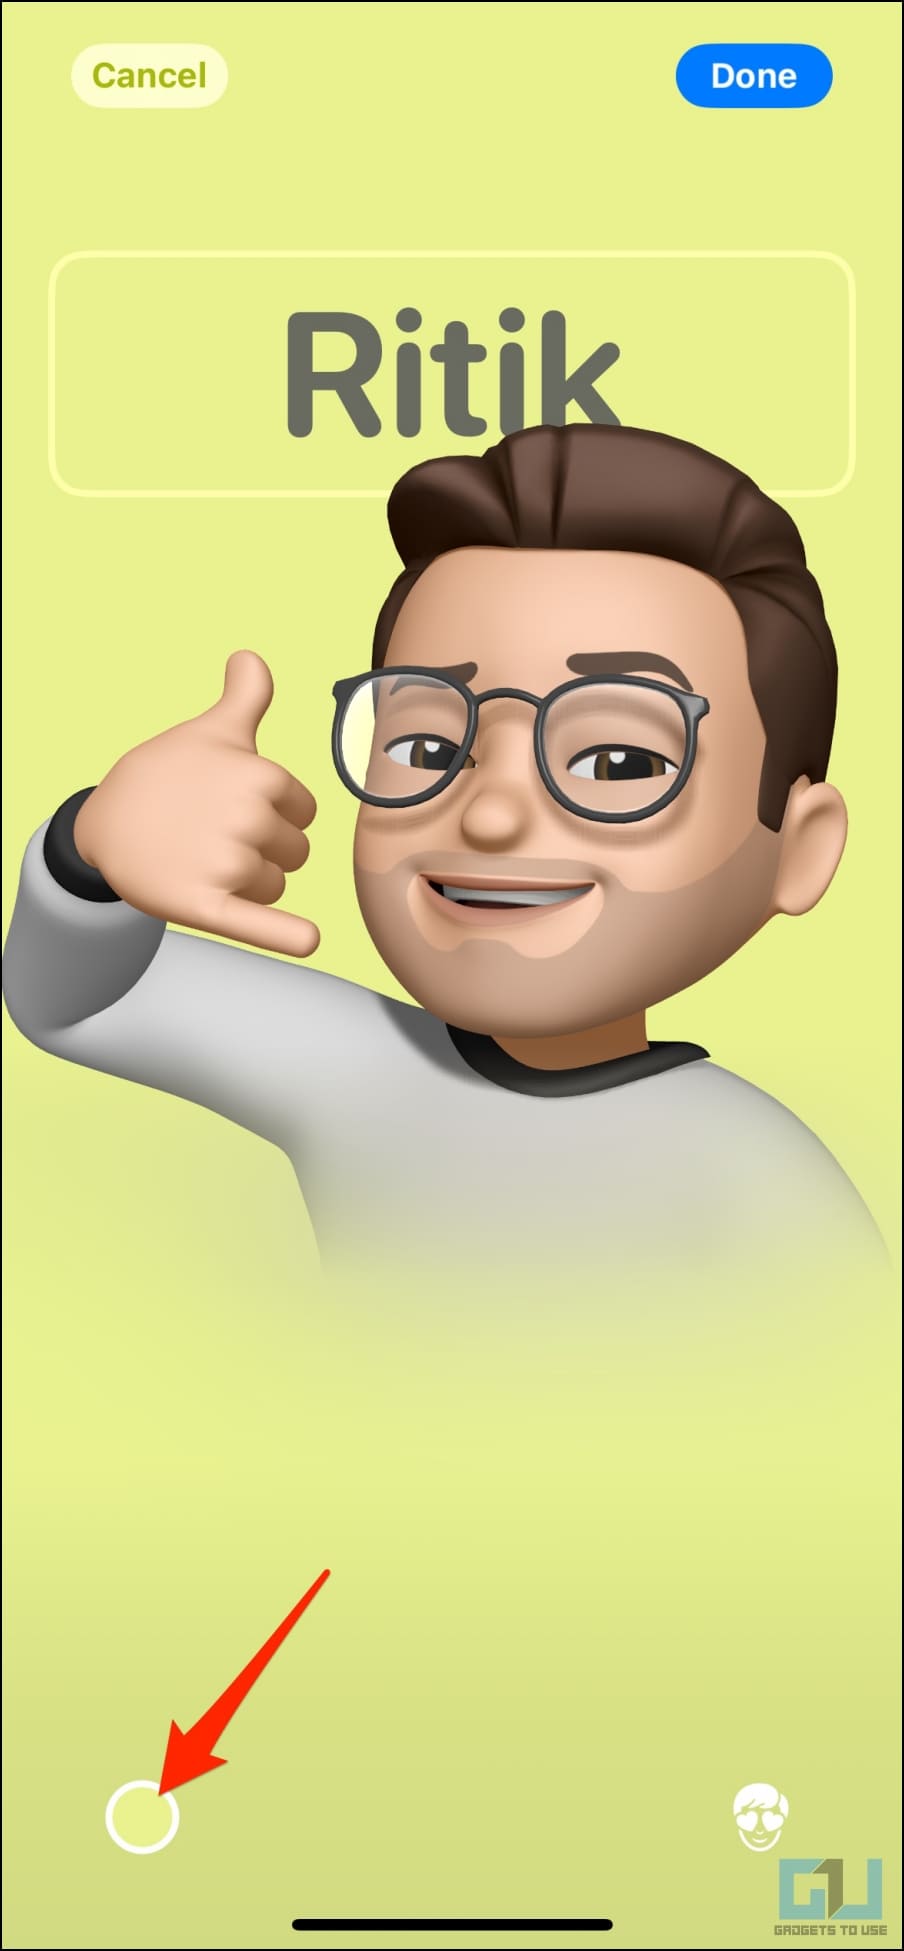
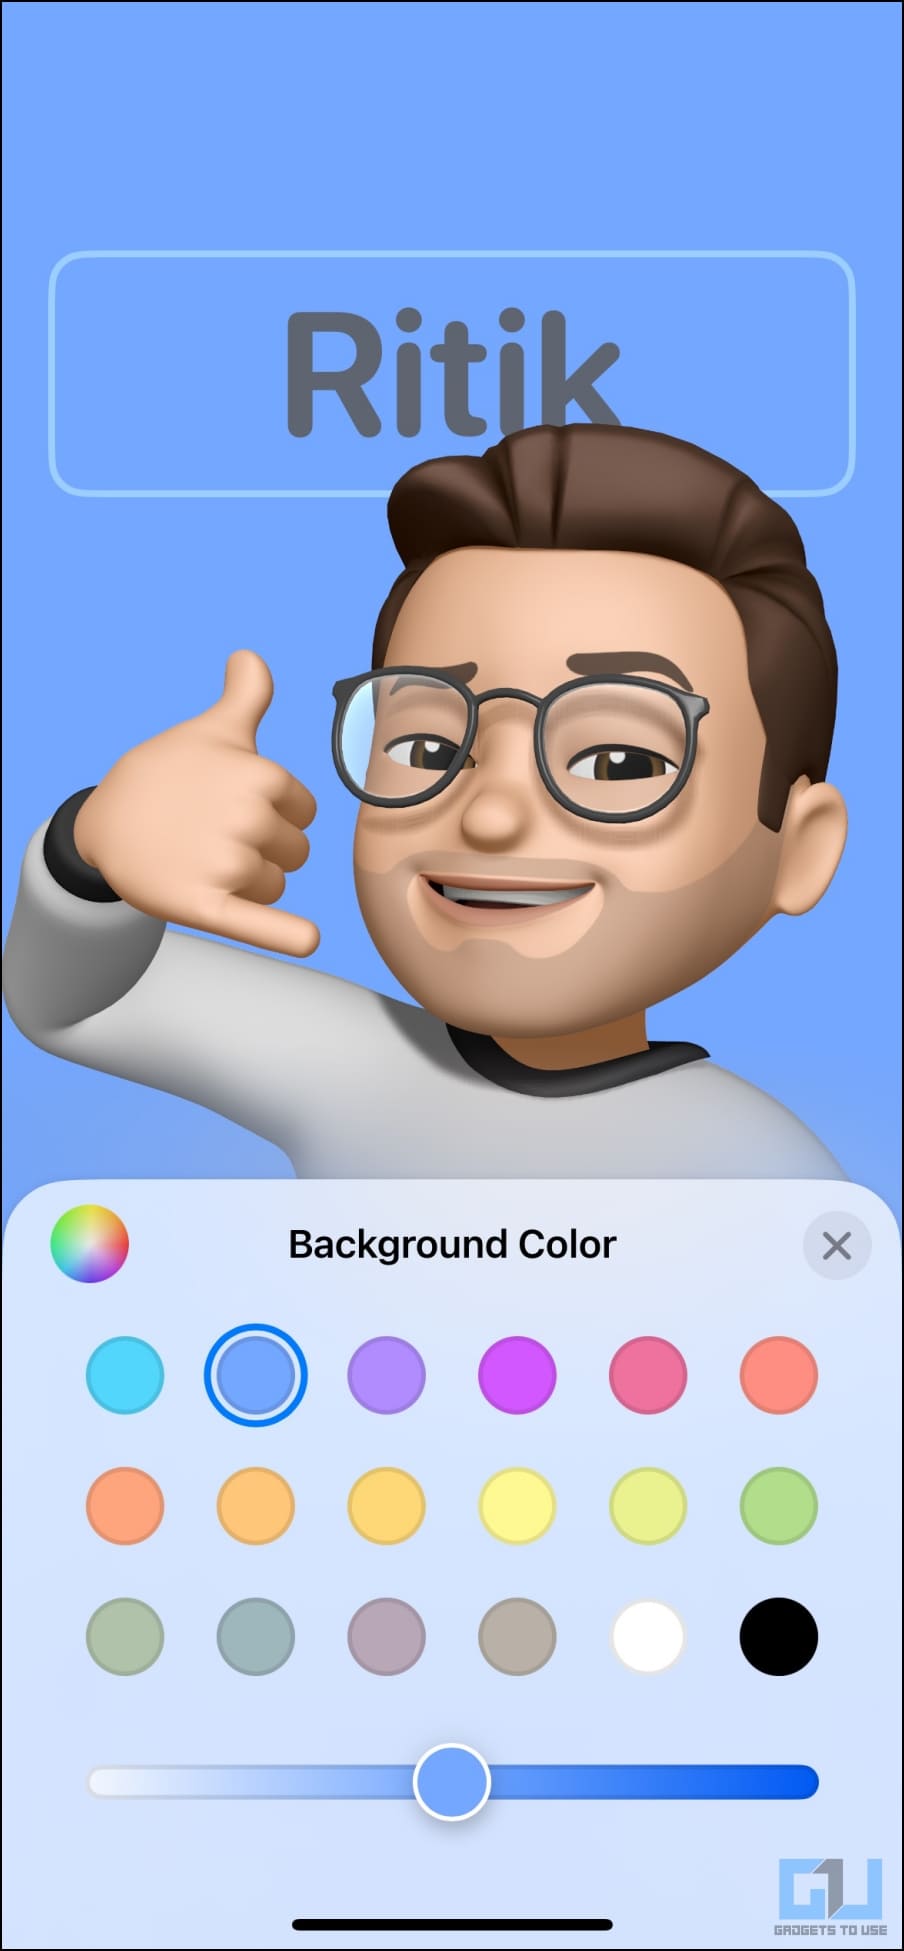
5. On the next screen, tap the Color icon at the bottom left and choose the background color of your choice.
6. You can further use the slider at the bottom to change the color saturation or vibrancy.
7. Next, tap your name on the top and customize the text style, weight, and color.
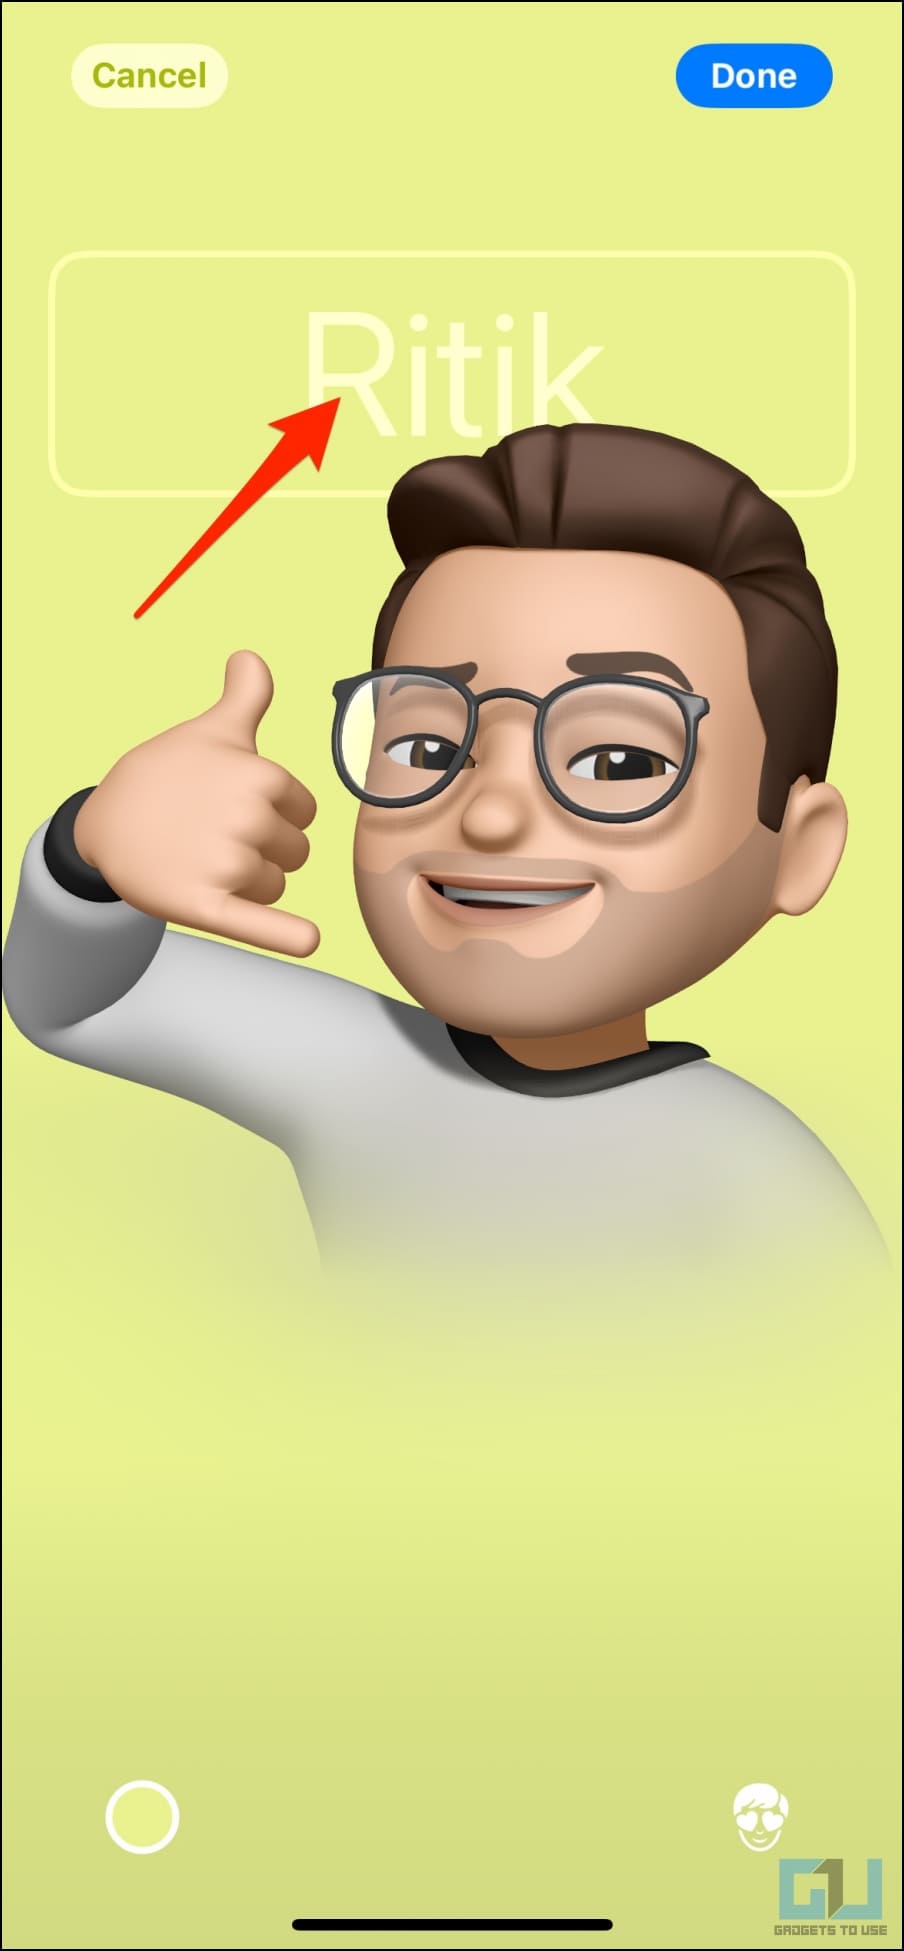
8. Tap the X button to save your personalization
9. Finally, tap Done in the top right corner.
You have now created your own personalized memoji Contact Poster, but there’s more to the process.
(iii) Create a Monogram (or name initials) Contact Poster
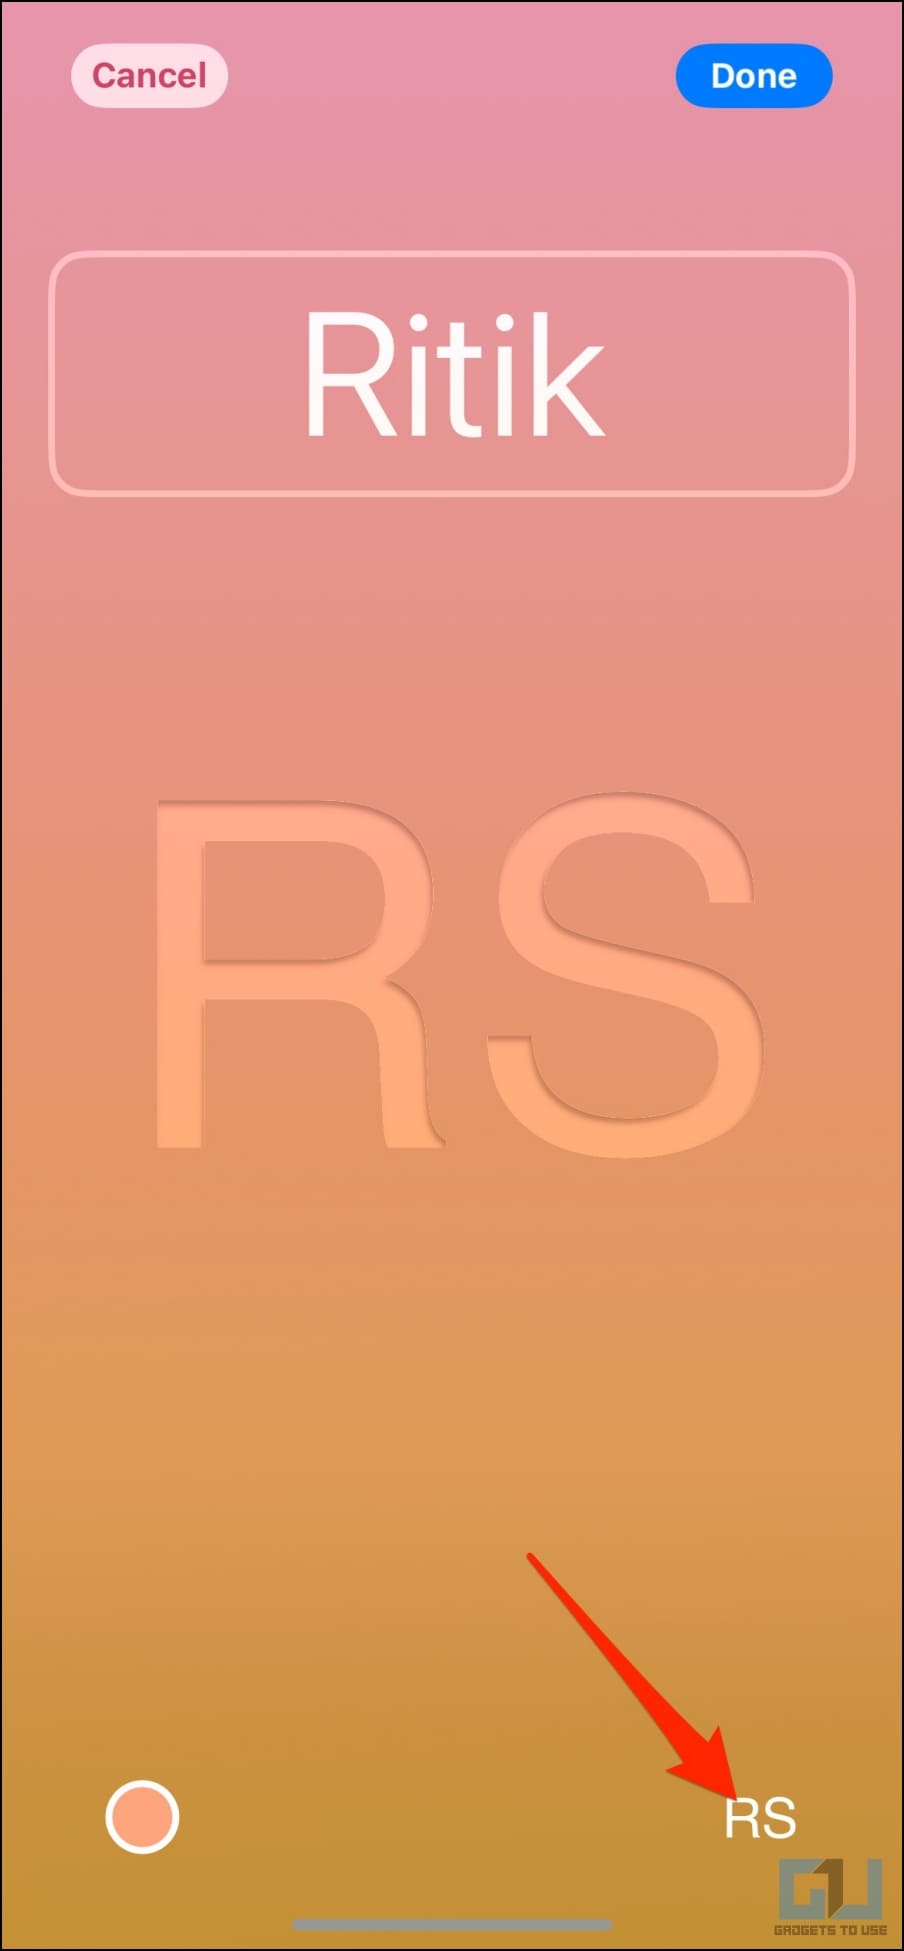
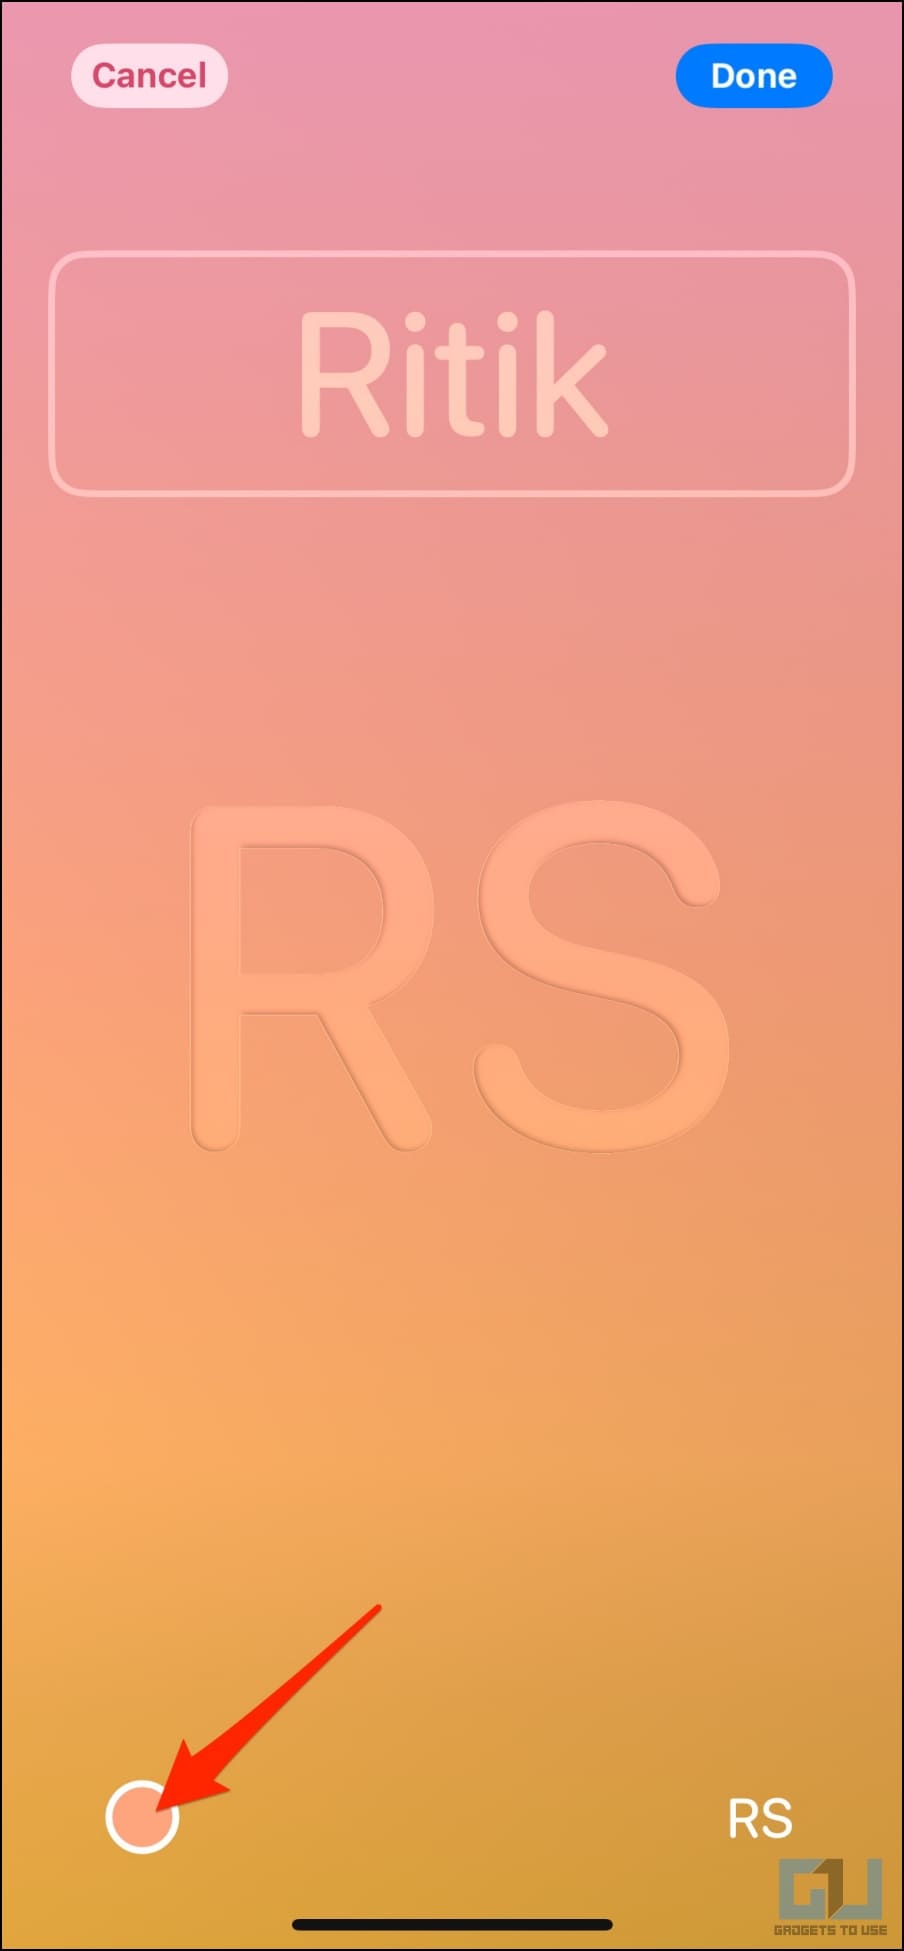
1. Click on Monogram under “Choose your Poster.”
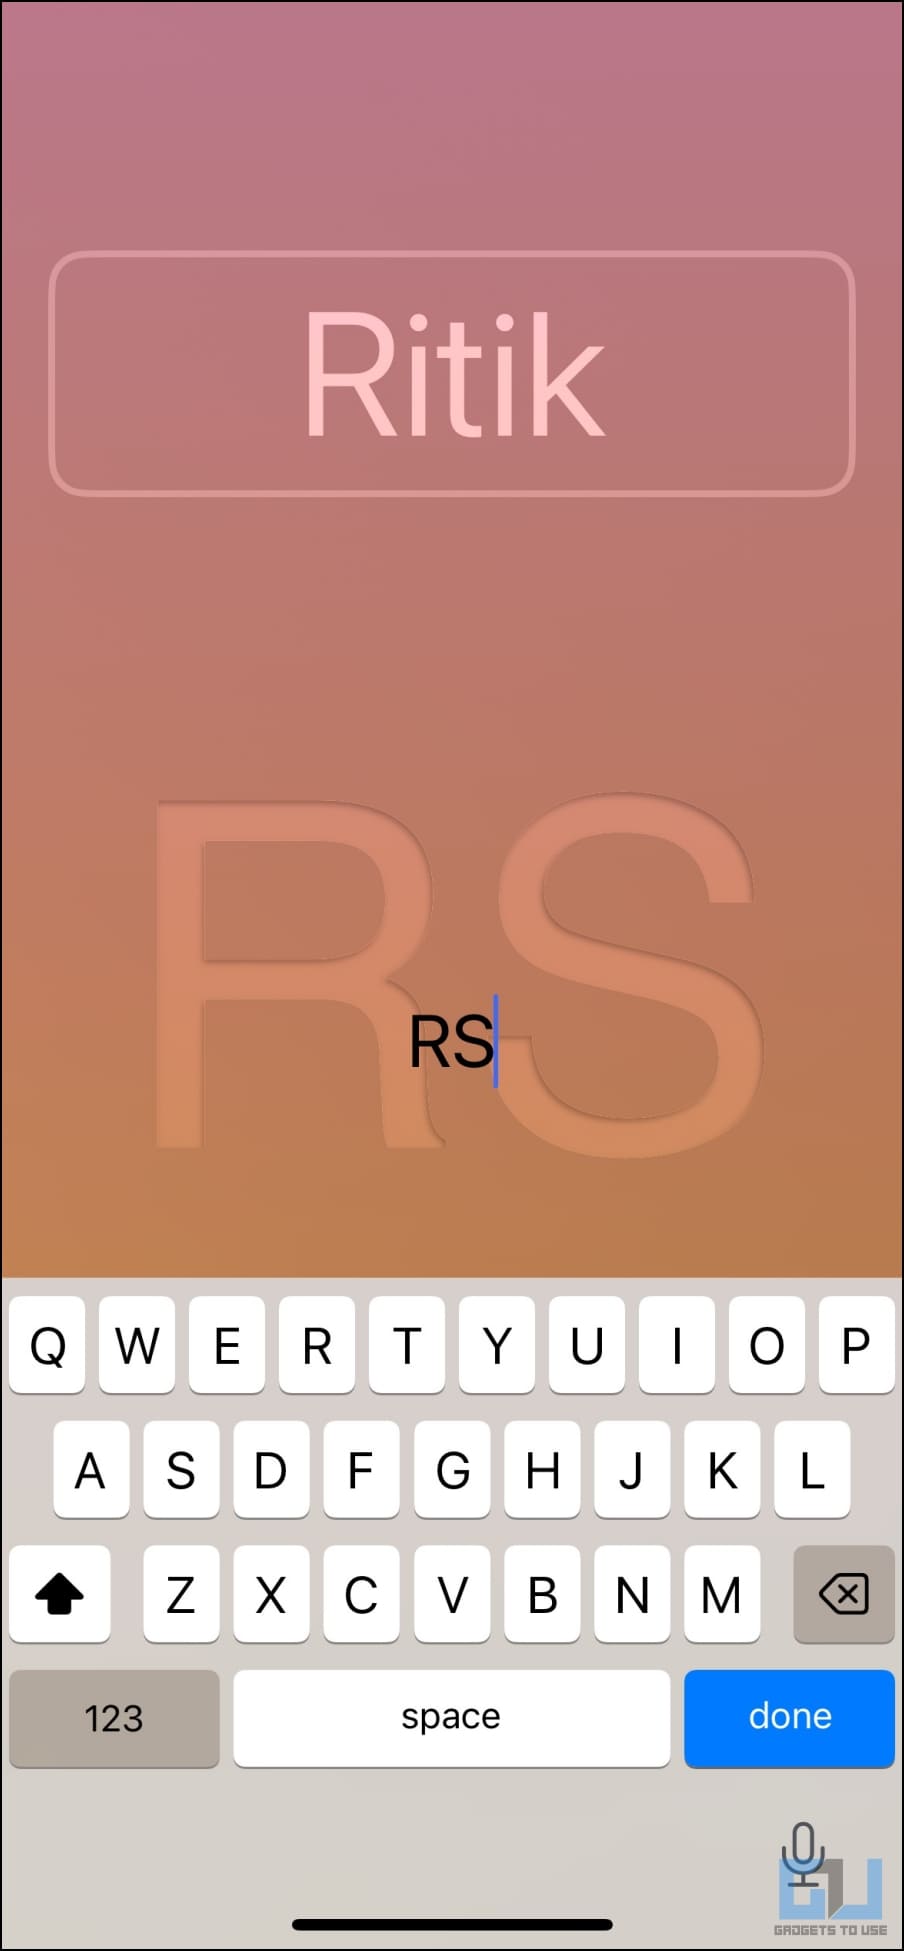
2. Now, tap your name initials on the bottom right to customize them if needed.
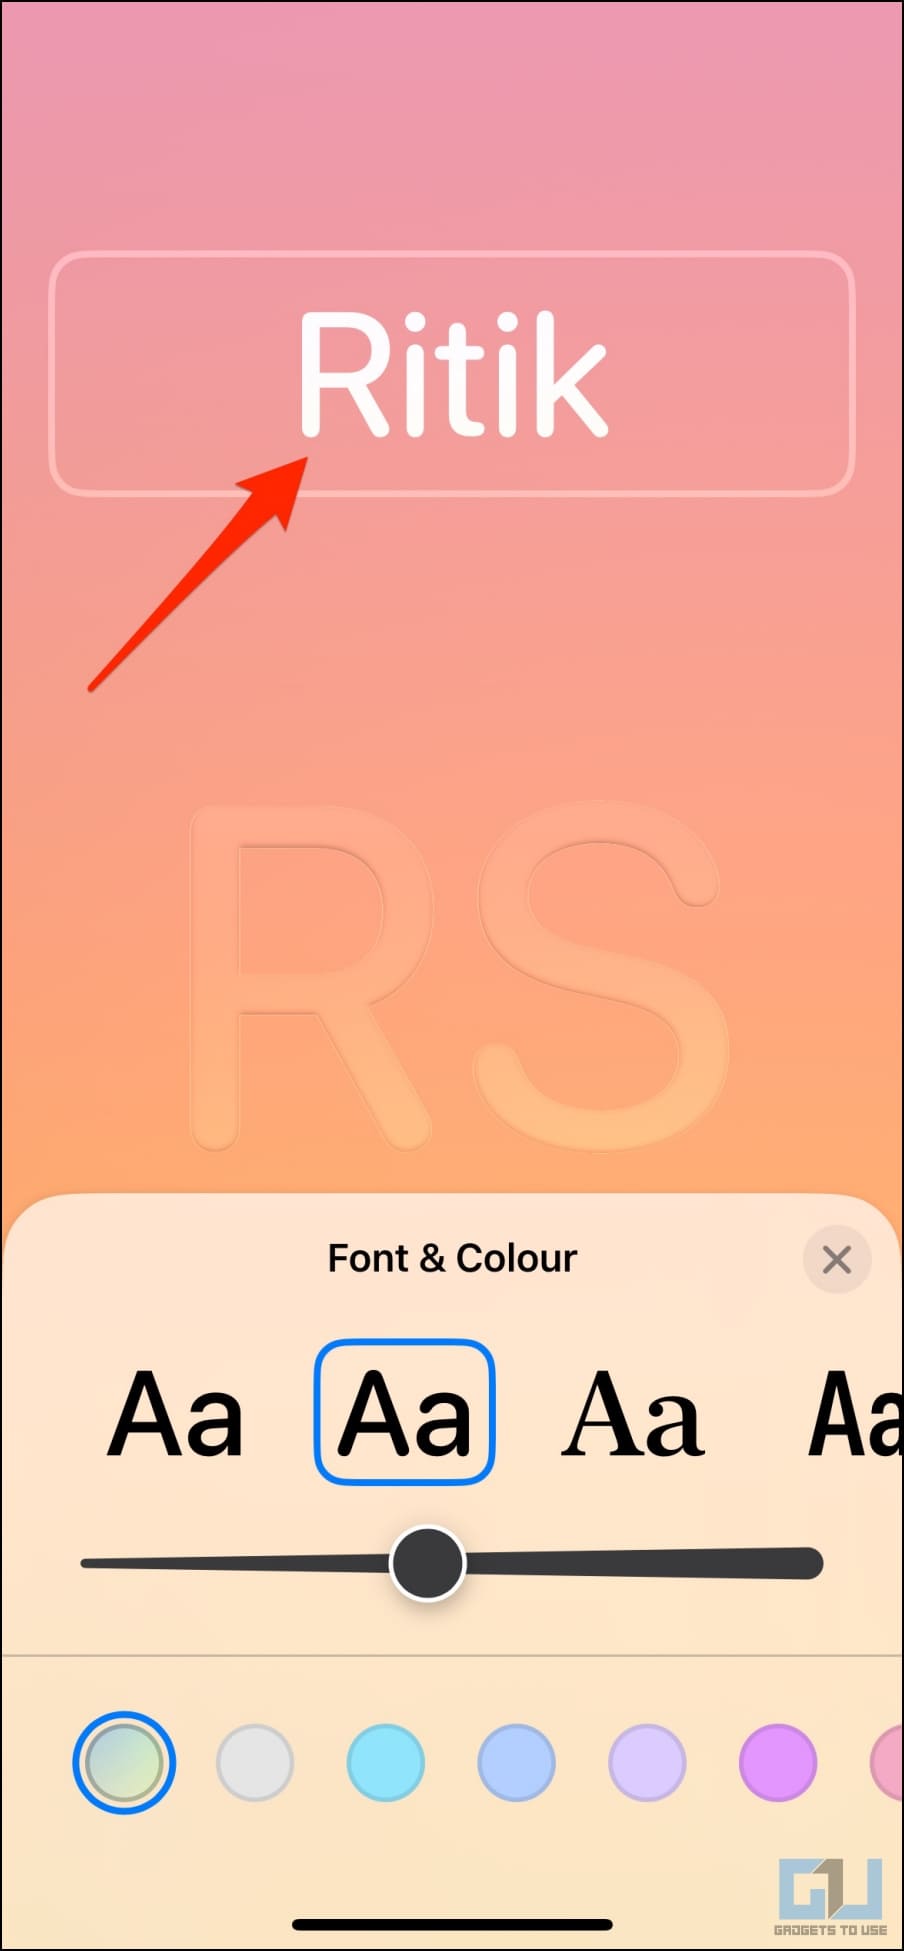
3. Click on the name at the top of the screen and choose the desired font, font weight, and color.
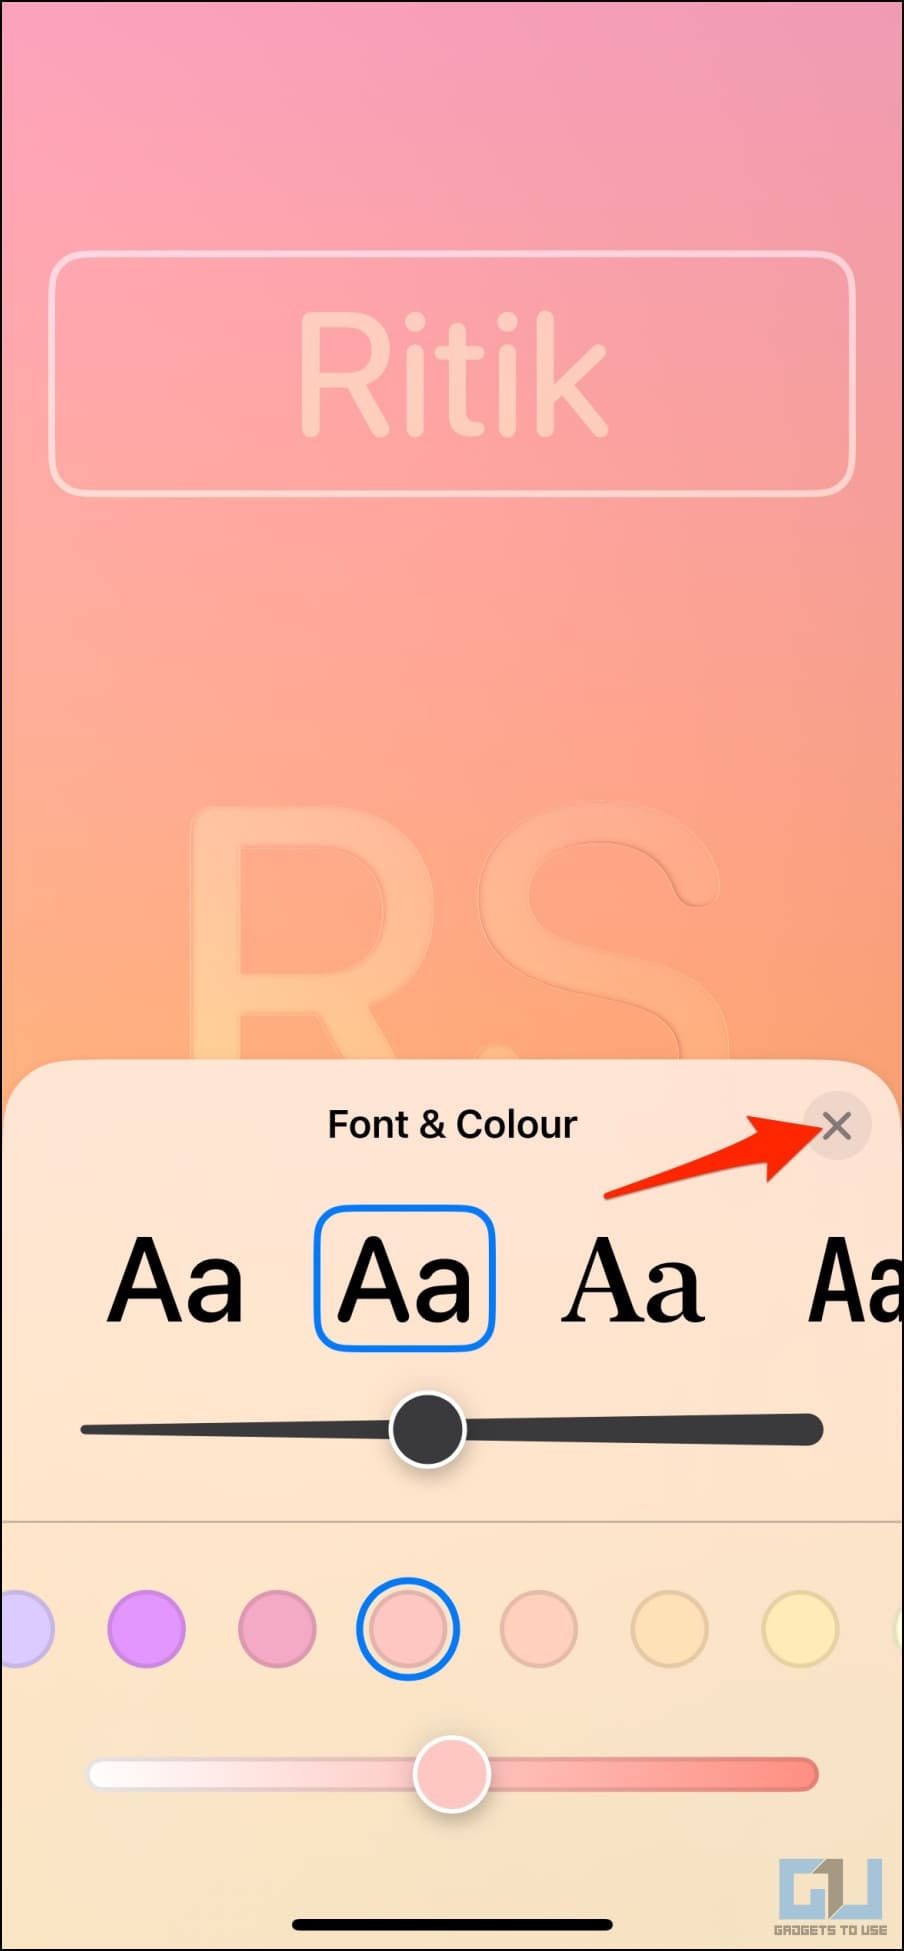
4. Tap the color icon on the bottom left and choose the color of your choice. You can also customize its vibrancy using the given slider.
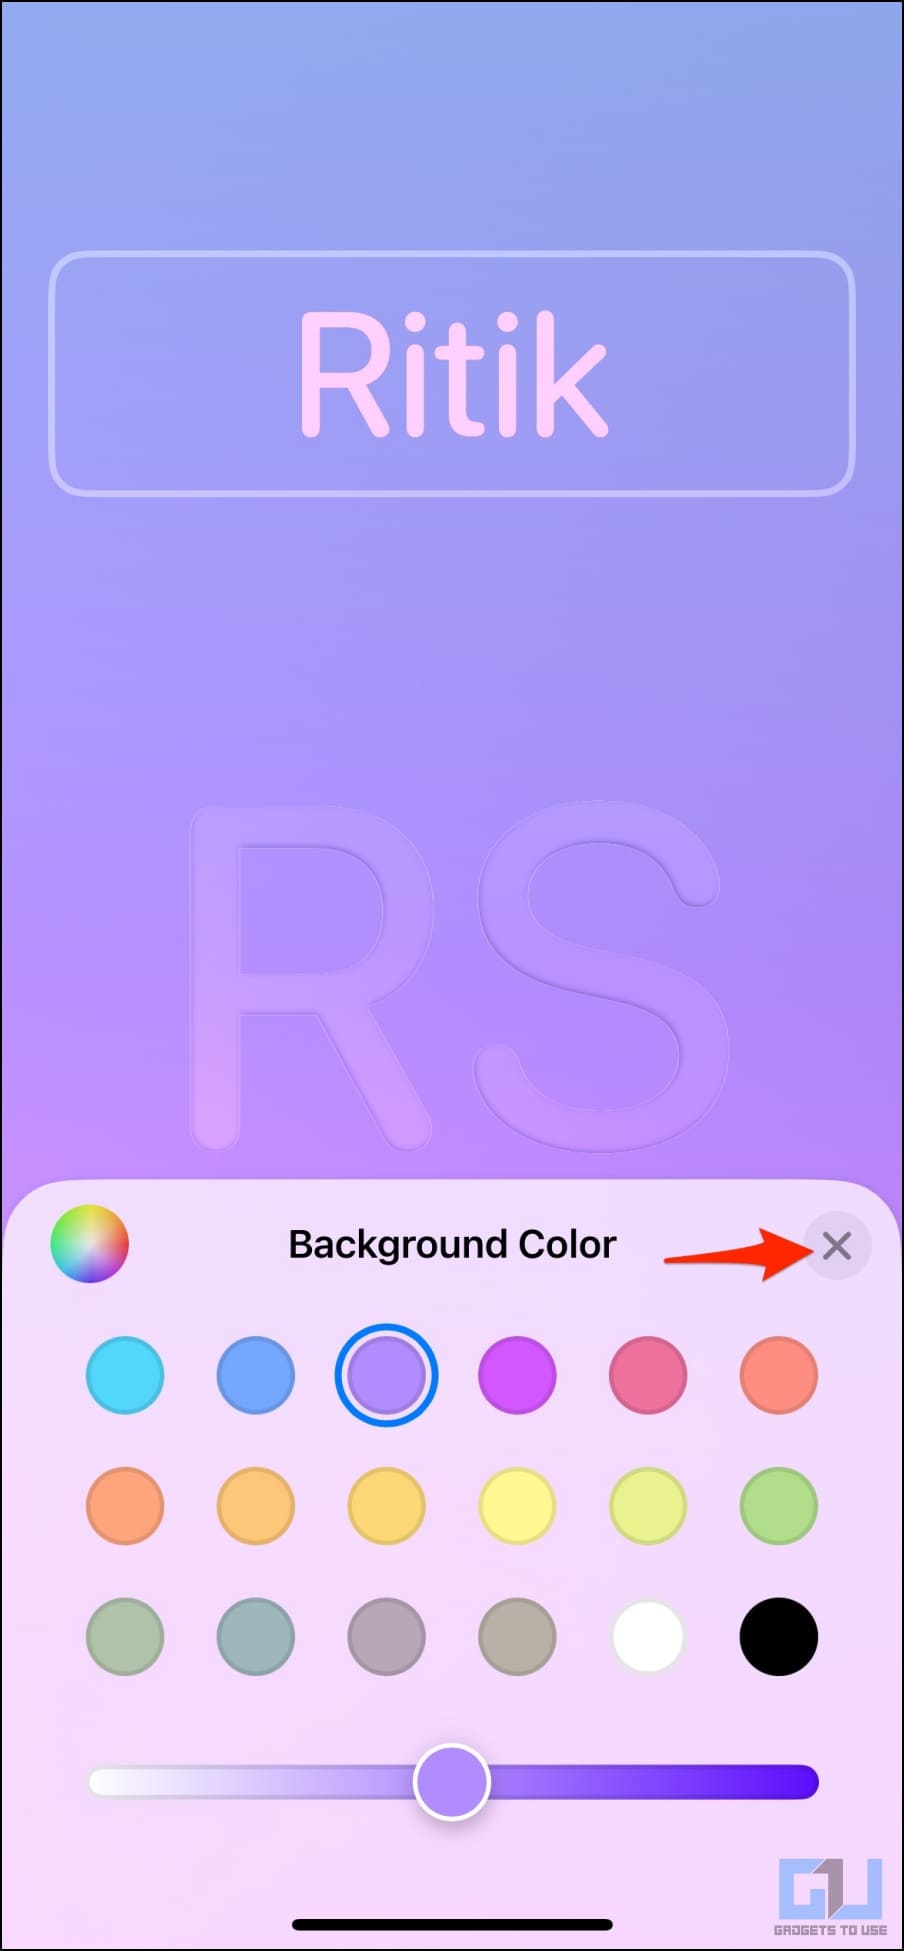
5. Tap Done on the top right corner to finish editing.
Step 4: Finalize the Contact Photo Poster
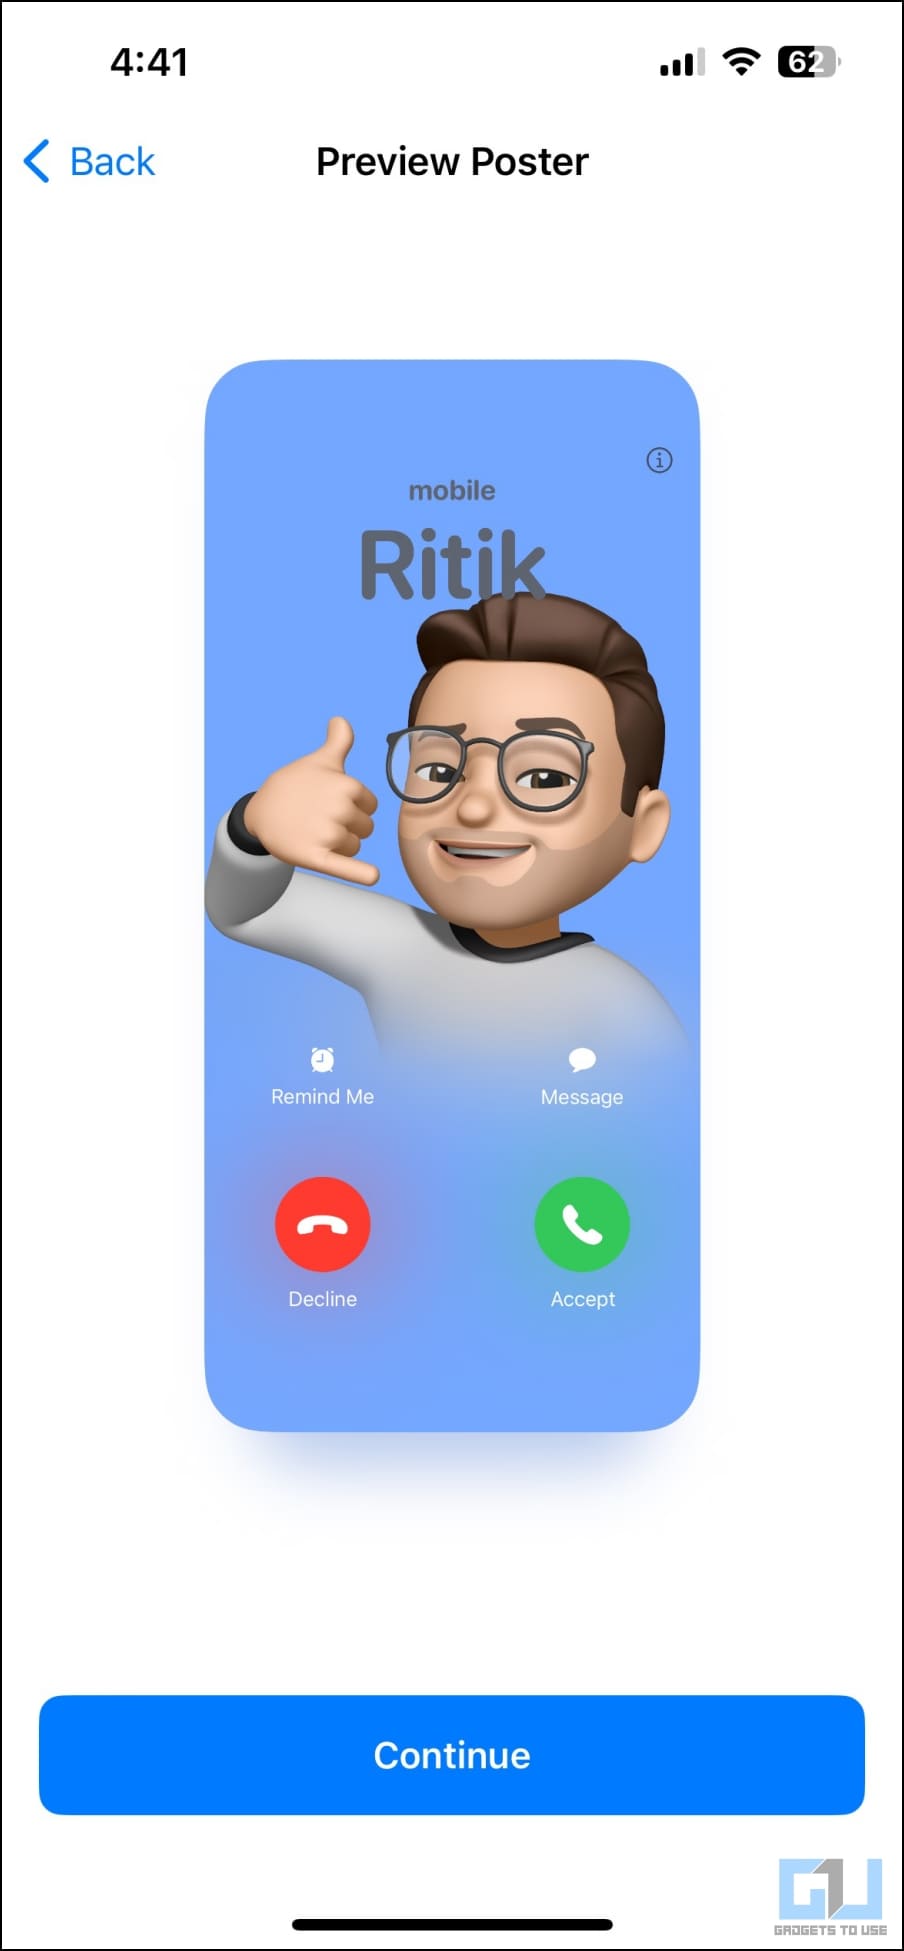
After you’ve created your contact poster using an image, memoji, or monogram, you will see a preview of the same on the next screen.
1. If you’re satisfied with the output, tap Continue at the bottom.
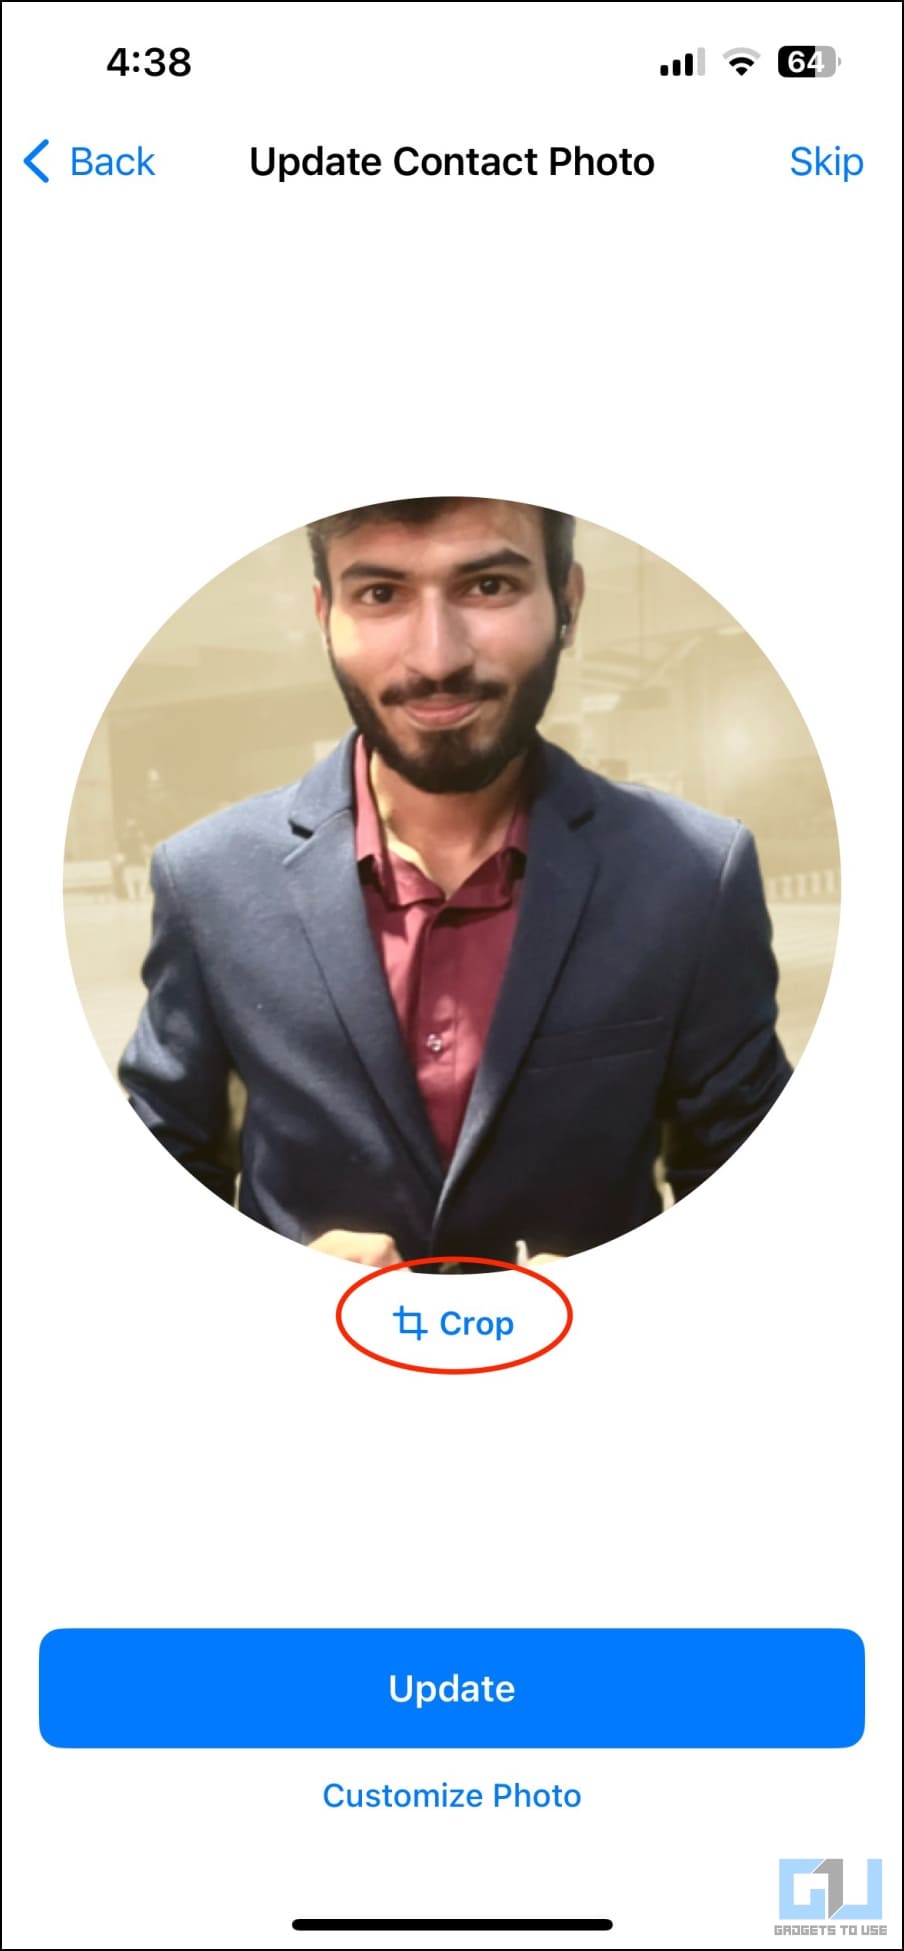
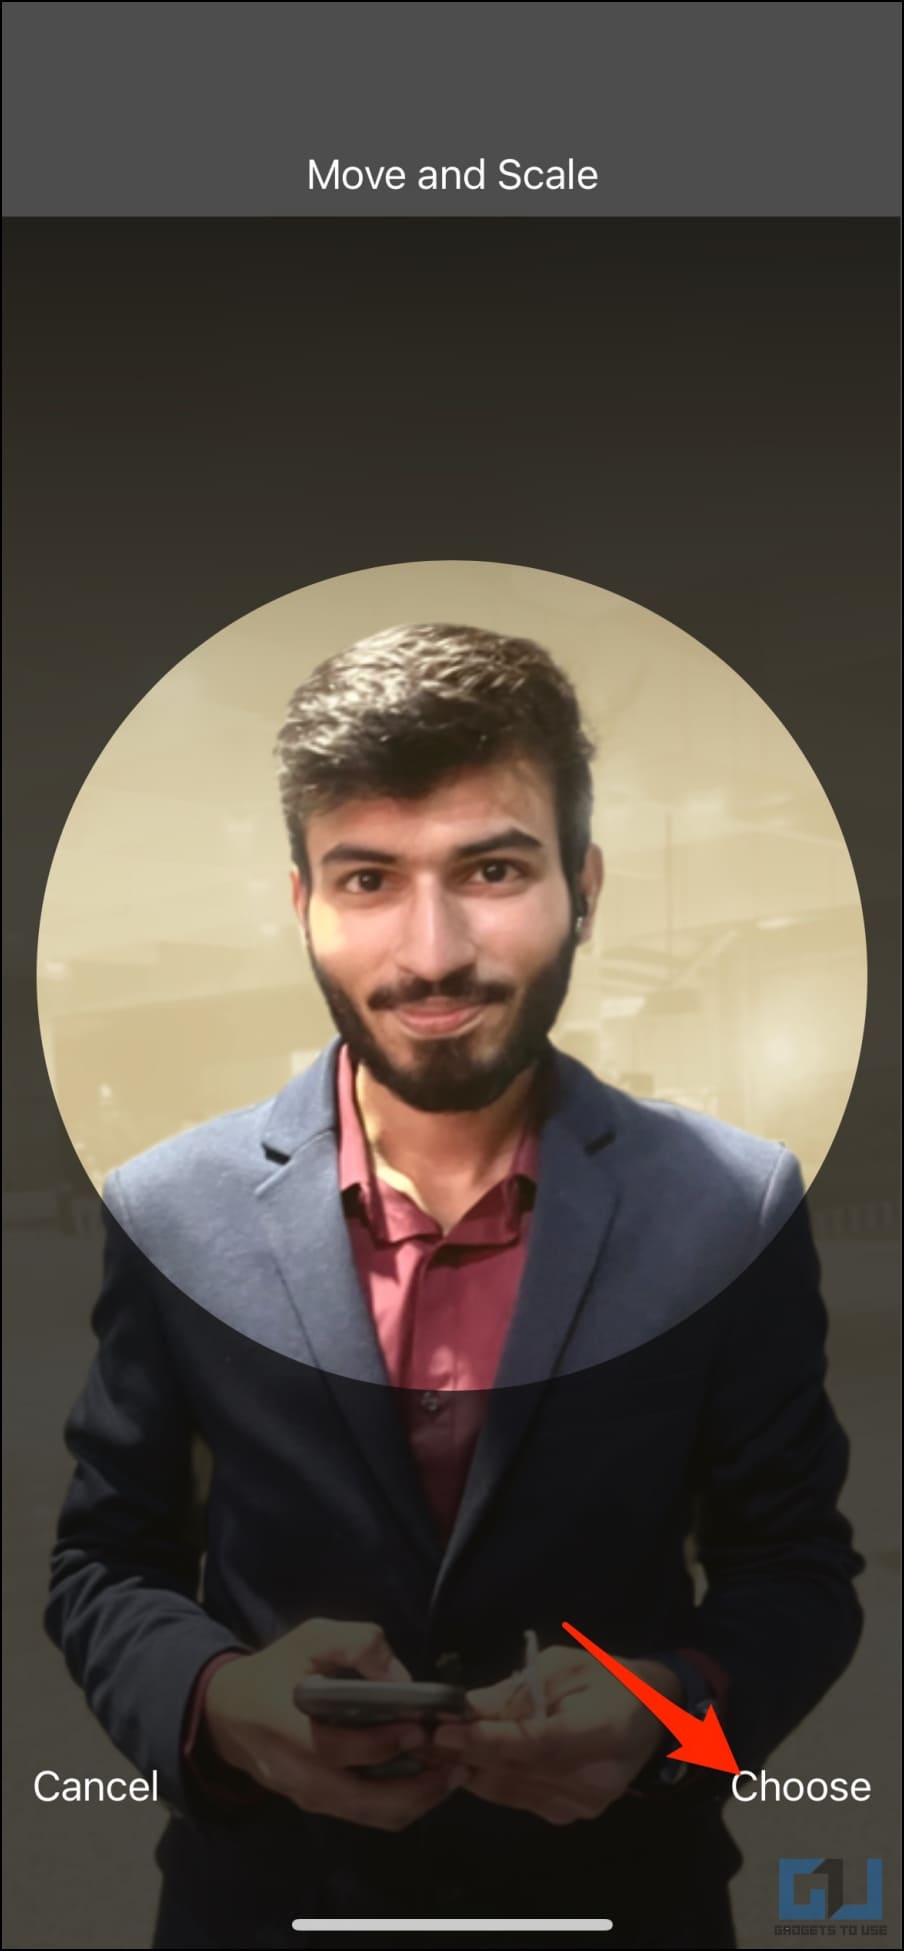
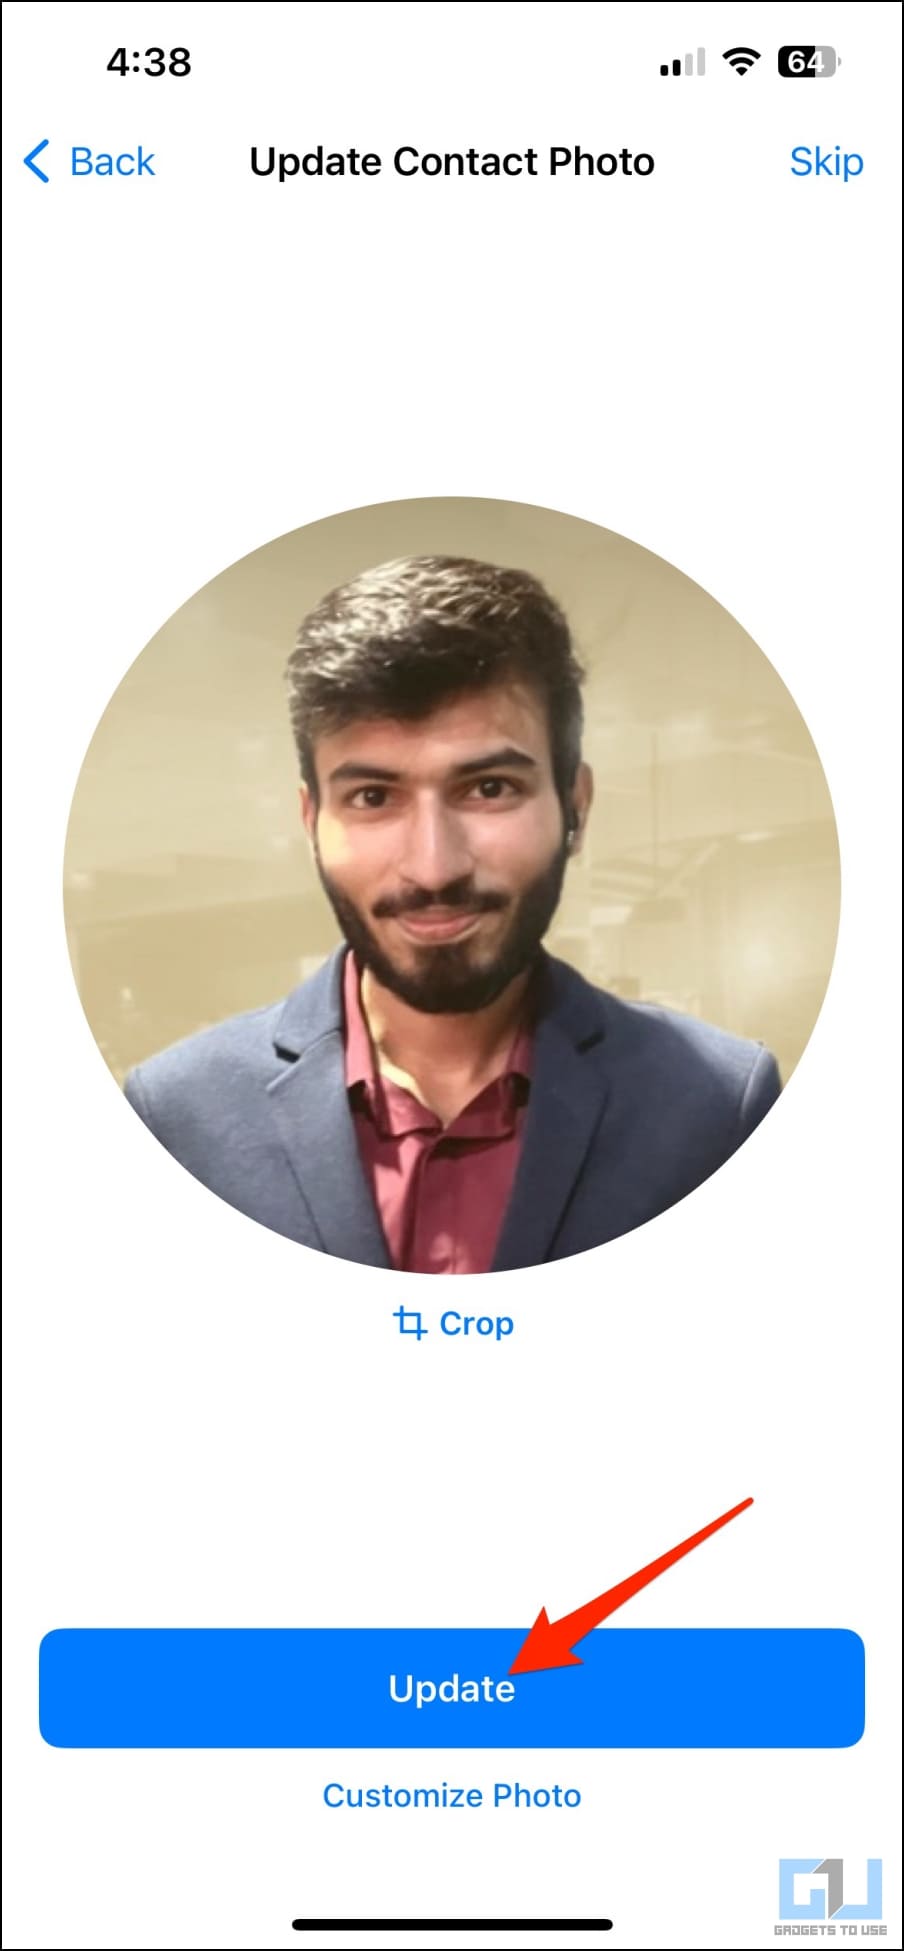
2. It will now ask you to update your contact photo. Hit Crop and use the pinch gesture to reposition the image in the circle as you like.
3. Click on Choose. Furthermore, select the filter you like.
4. Tap Done on the top right corner and click on Update.

5. It will now ask if you wish to use this photo everywhere, including Apple ID. Choose Use or Not Now based on your choice.
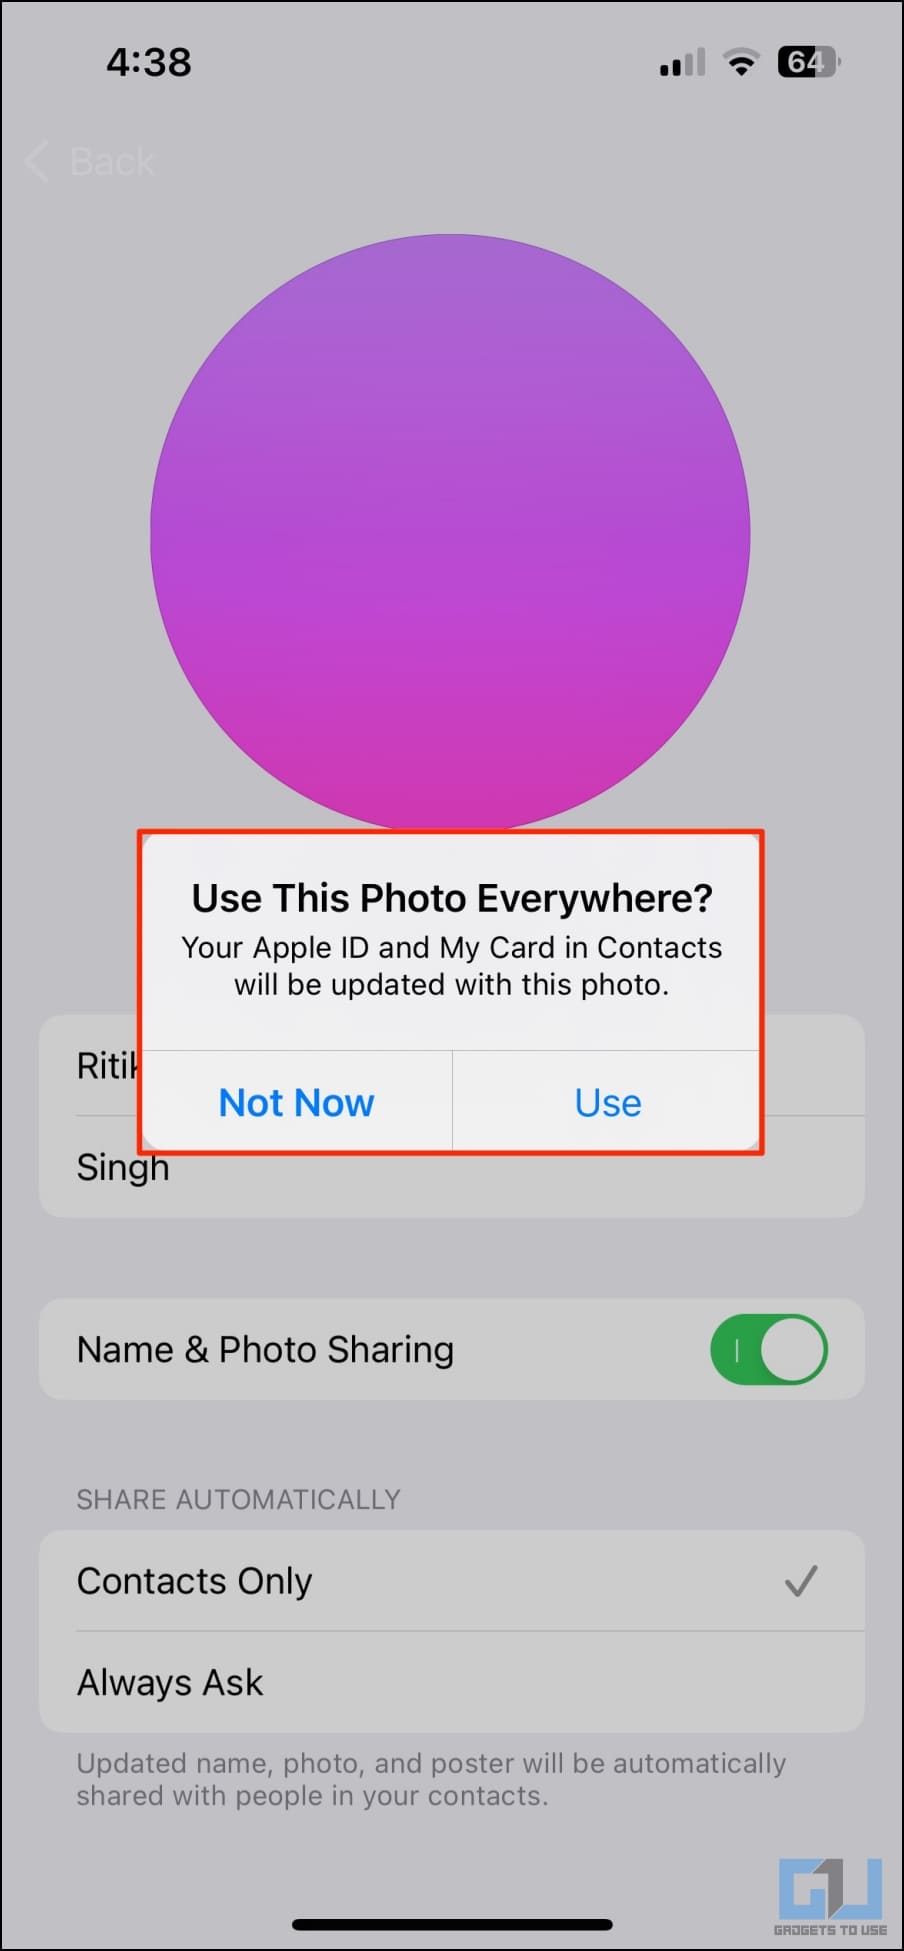
That’s it. The Contact Poster you created will now be used across your devices as My Card and also shared with other iPhone users when you call them.
How to Delete Your Saved Contact Posters on iOS 17?
In case you want to delete your saved contact poster, follow the steps below:
1. Open the Contacts app on your iPhone and tap My Card on top.
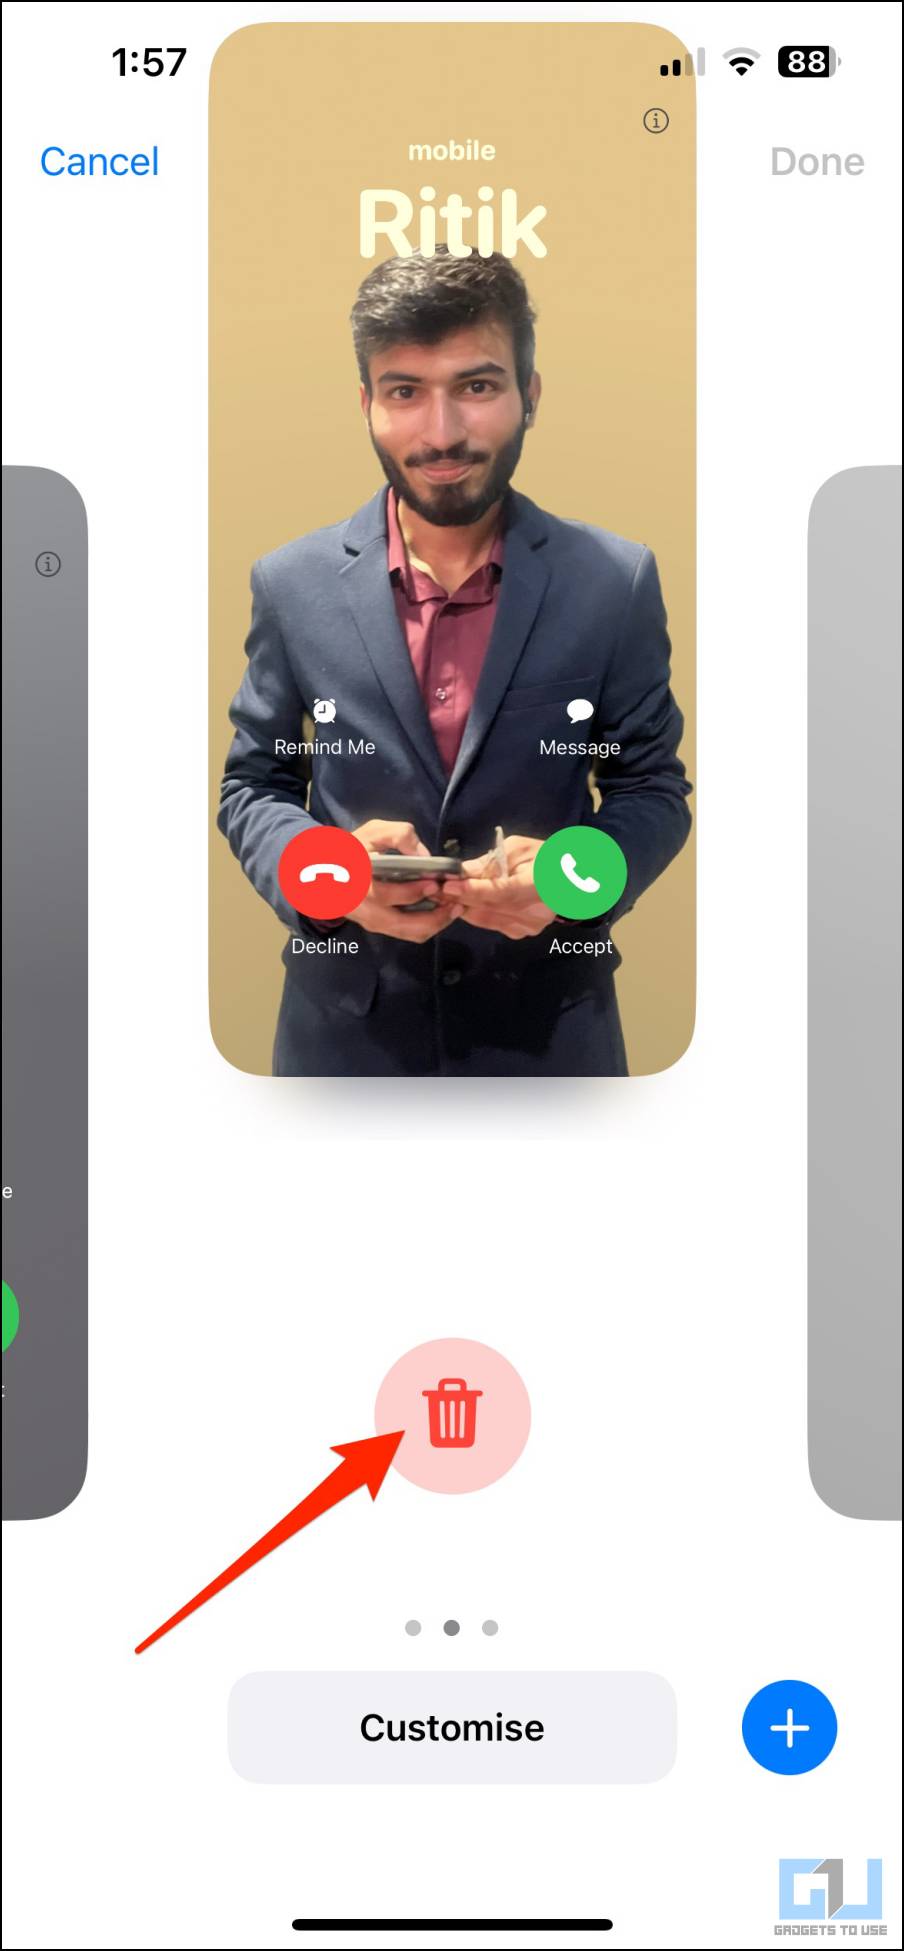
2. Here, tap Contact Photo & Poster.
3. Swipe up on the poster you want to delete and tap the Bin icon.
4. Finally, hit Delete to remove the template or saved contact poster.
Contact Poster Not Working or Showing on Other Party’s iPhone?
If your contact poster does not appear or show up when calling on another person’s phone, ask them to follow the steps below:
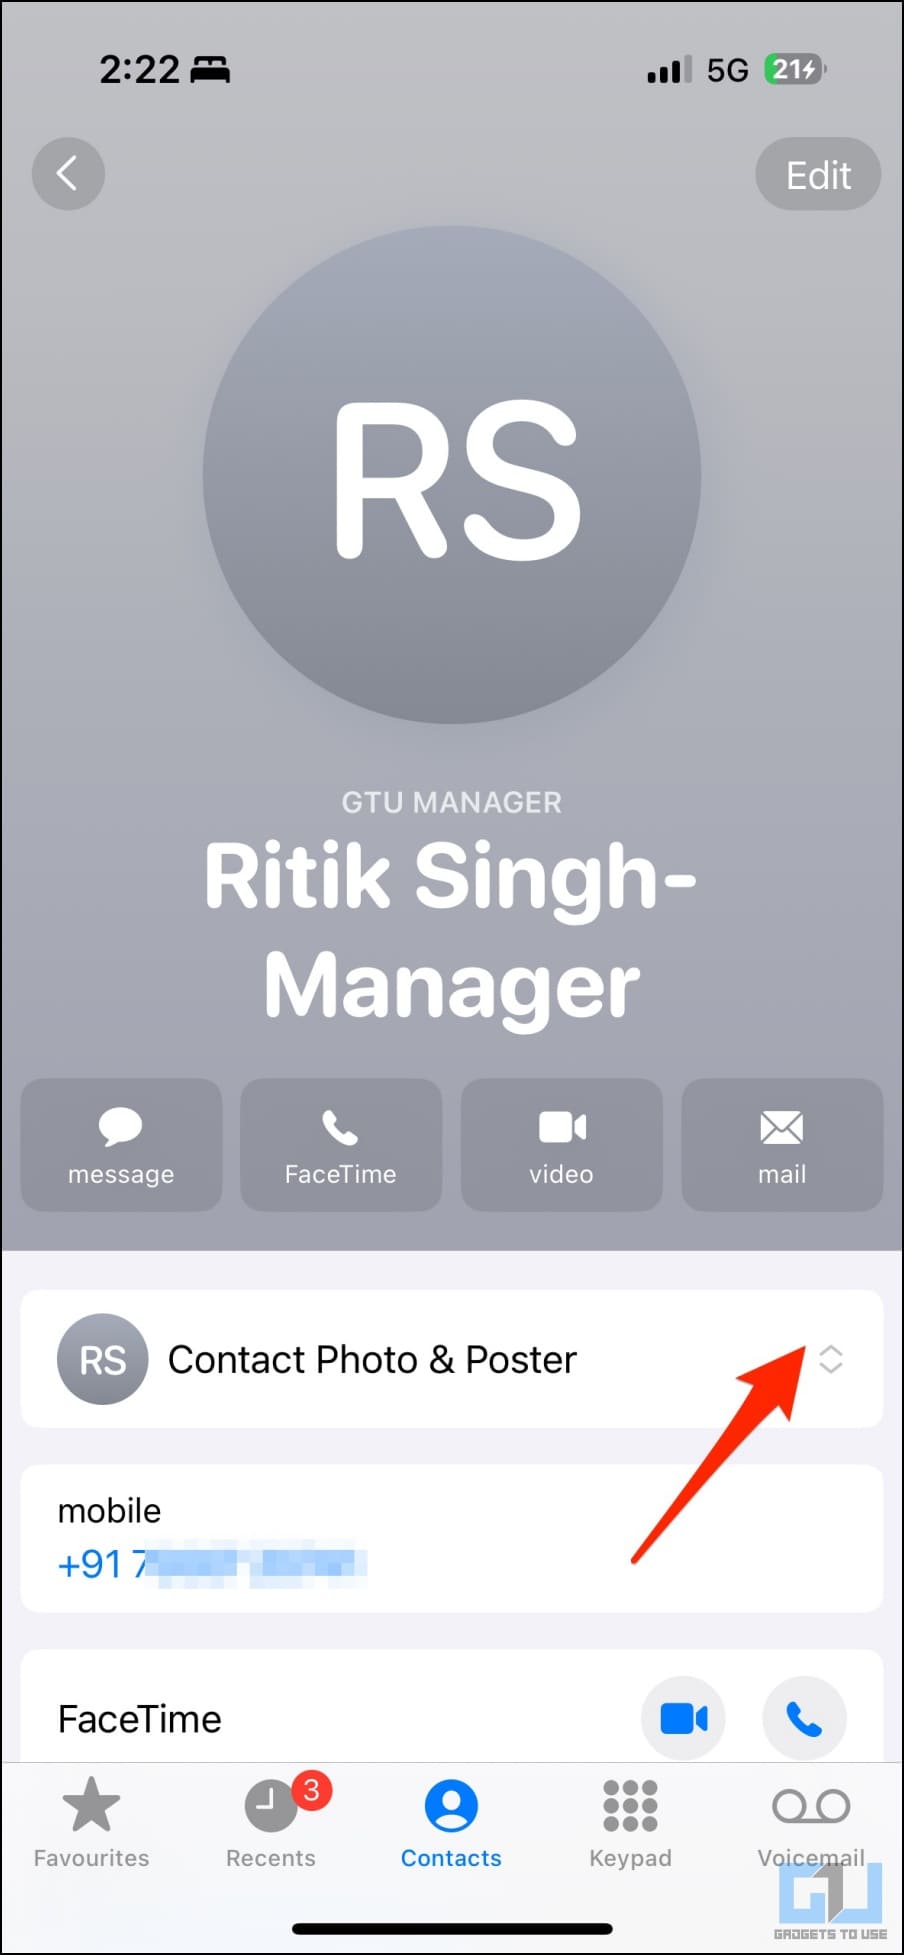

1. Launch the Contacts app and open your Contacts card.
2. Here, click on Contact Photo & Poster.
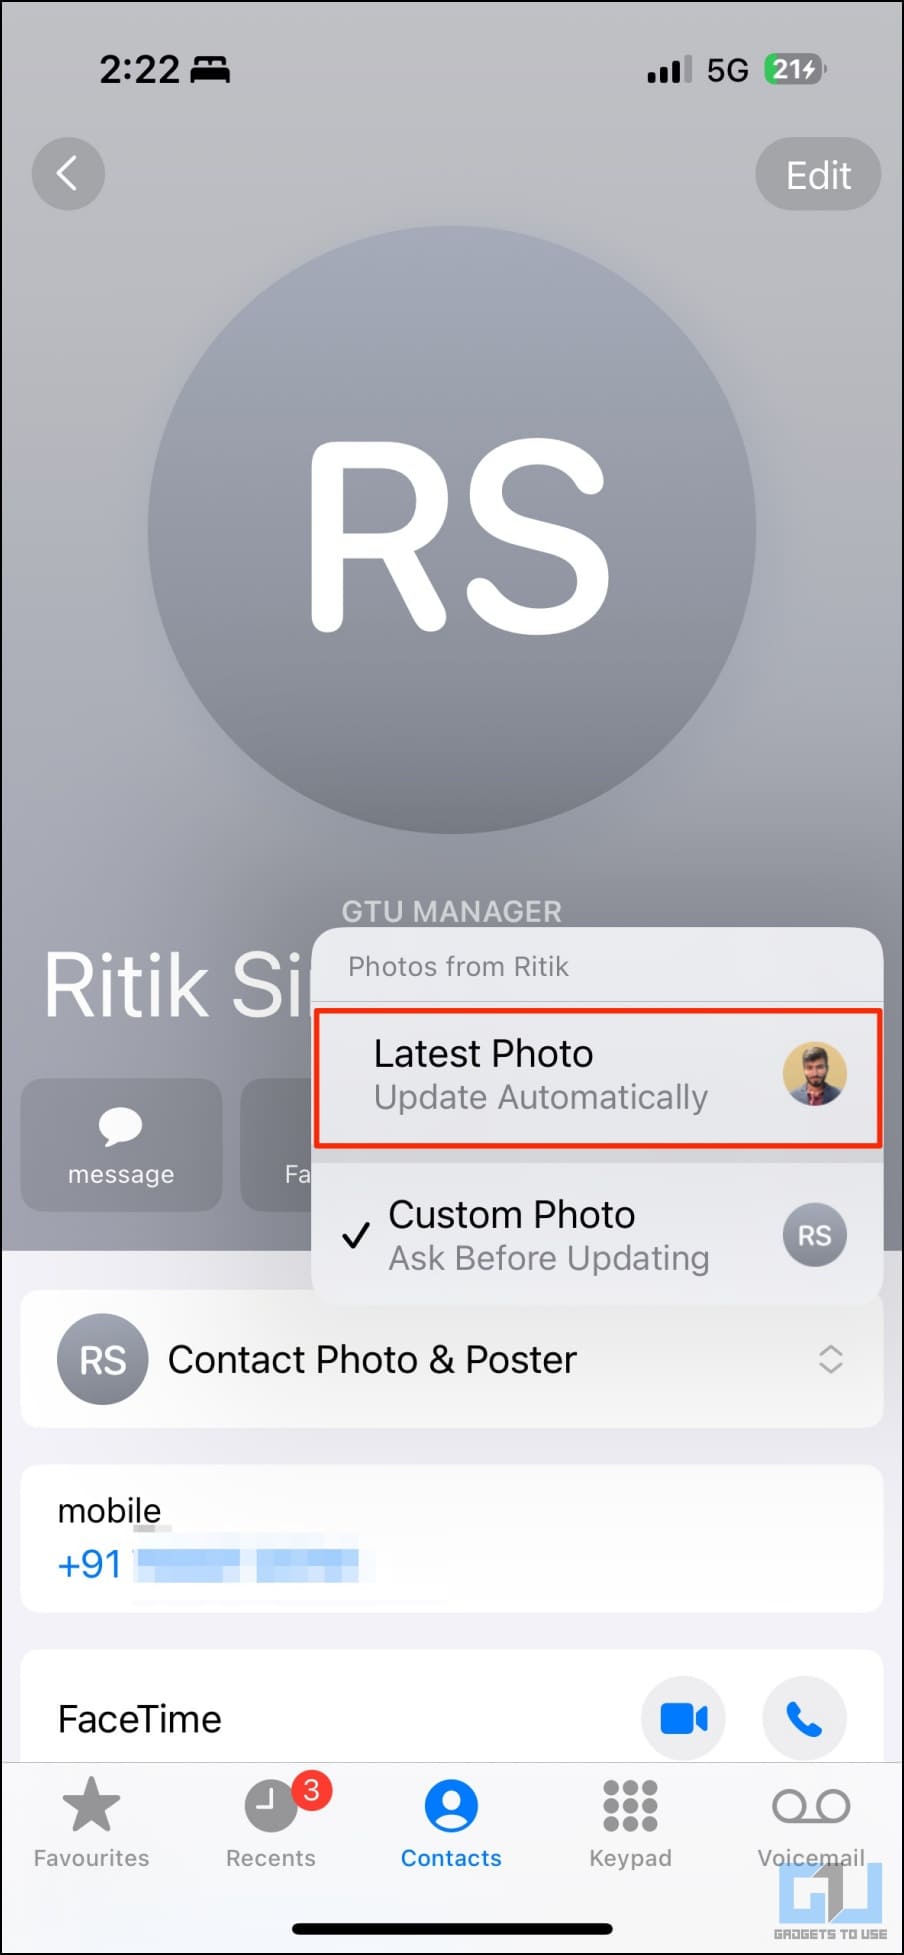
3. Change it to Latest Photo. If it’s already set to Latest, change it to Custom Photo and then back again to Latest.
This should update your latest Contact Poster on their iPhone. Apart from the solution above, do note:
- Both should have each other’s contact saved with the correct mobile number and email address.
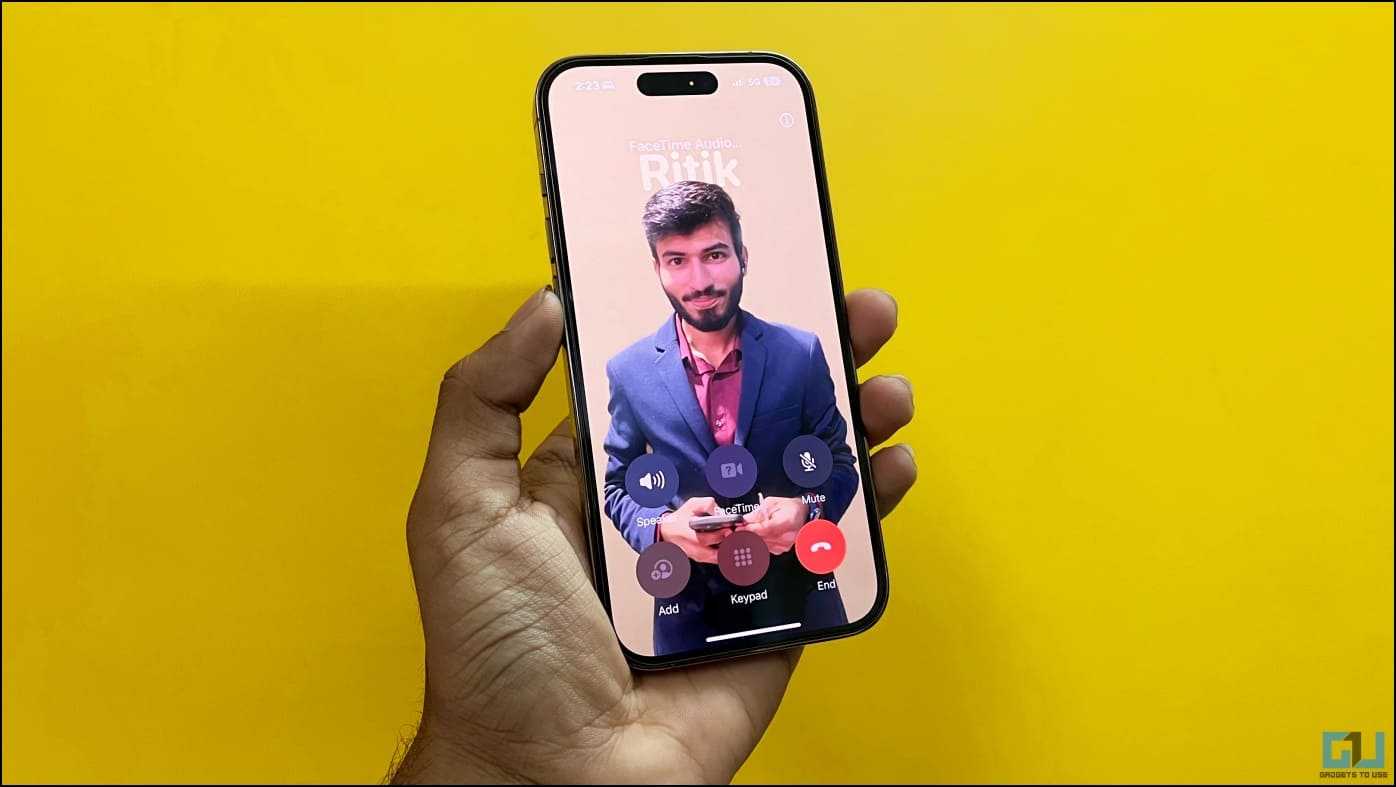
- Try calling them on FaceTime to see if the Contact Poster starts working.
- The feature is currently in the initial stage and may not work as intended. For us, Contact Posters are super buggy right now and do not work properly.
FAQs
Q. What is the Difference Between a Contact Photo and Posters?
Contact Photo is the circular image that appears on top of every incoming call. This is what we have been getting on iOS to date. Contact Poster, on the other hand, fills the complete screen with memoji or photos and supports filters and effects similar to iOS 16 lock screen.
Q. How to Set a Full-Screen Contact Photo for Incoming Calls on iPhone?
To showcase your full-screen photo or memoji when you call other people, go to your My Card in Contacts app. Click on Contact Photo & Poster, enter your name, tap Edit, add a photo or memoji, and customize it based on your liking, as shown in the guide above.
Q. Should You Use Contact Posters on iPhone?
Contact Posters are surely a cool way to show your photo or personalized memoji when calling other people. And you should indeed use the feature if you like it.
Q. Can You Create Contact Posters on iOS 16 and Older iPhones?
No. Officially, the Contact Poster feature is a part of the latest iOS 17 and is not supported on iPhones running iOS 16 or older.
Q. Can You Export Contact Posters?
As of yet, you cannot export Contact Posters. All you can do is take a screenshot if you like the image.
Wrapping Up
This is how you can create and customize Contact Posters on iOS 17. I hope this helps you personalize your full-screen contact poster on your iPhone. Do try it and let me know your experience and or any queries via comments or email. Stay tuned for more such tips, tricks, and how-tos.
You might be interested in:
- [Working] 13 Ways to Fix iPhone Hotspot Turns off Automatically
- 6 Ways to Delete Multiple Contacts on iPhone and iPad
- 10 Ways to Fix WhatsApp Not Working on Two Phones (Android, iPhone)
- How to Get Apple Passwords Shortcut on Mac and iPhone
You can also follow us for instant tech news at Google News or for tips and tricks, smartphones & gadgets reviews, join GadgetsToUse Telegram Group or for the latest review videos subscribe GadgetsToUse Youtube Channel.