Have you ever posted a photo or video to Instagram and found its quality is lost? Uploading the highest-quality content is crucial for grabbing viewer’s attention, but Instagram’s compression can sometimes make it difficult. In this blog post, we’ll unveil the secrets to maximizing video quality during upload and improving the quality of your Instagram uploads. 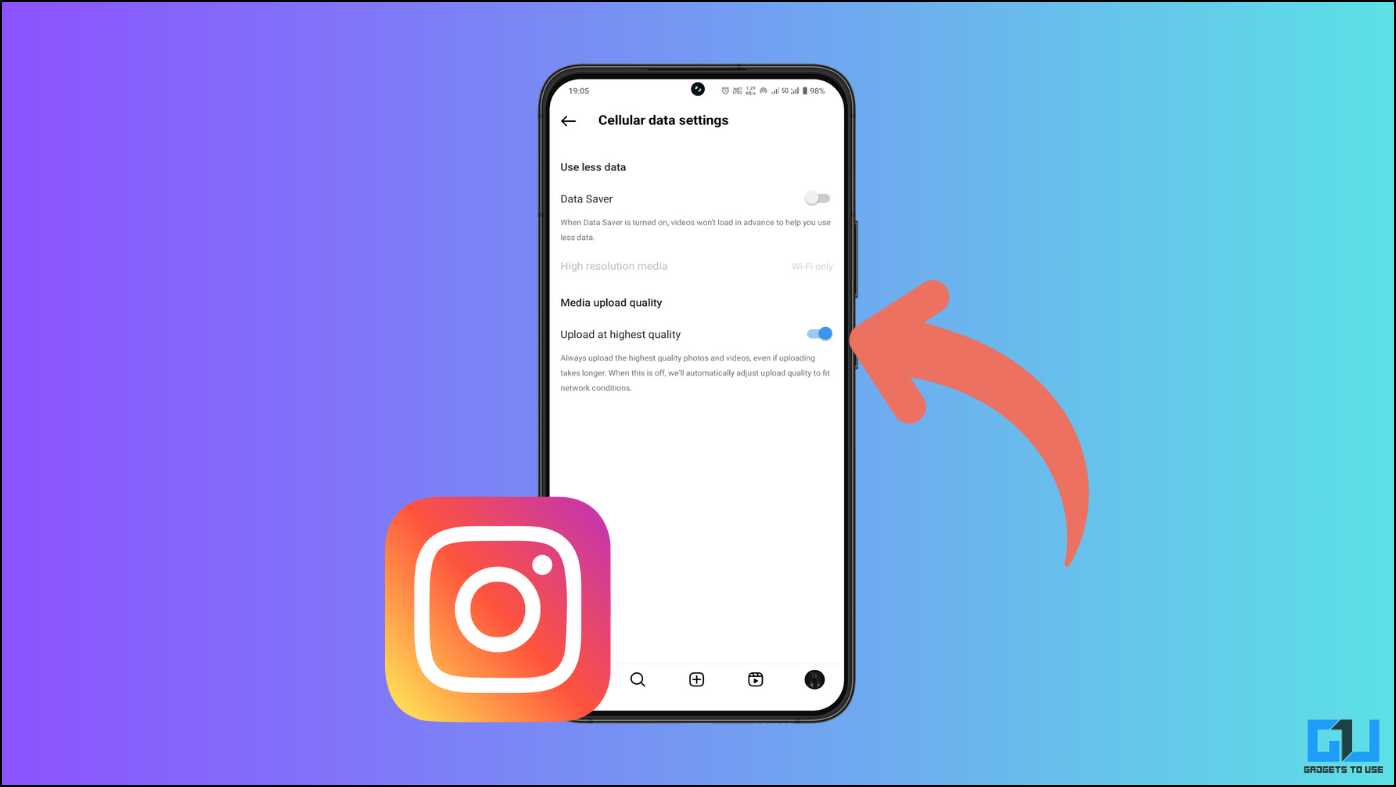
How Can I Upload on Instagram Without Losing Quality?
Instagram uses a compression algorithm for all media uploaded to the platform. This is in place to reduce the platform server load and make the user experience more consistent. However, this can be a hurdle to overcome when uploading high-quality content, as compression can become a bottleneck. We will delve into some methods you can follow to upload media to Instagram without losing its quality.
Method 1 – Enable High-Quality Uploads on Instagram
By default, Instagram uploads media of a lower quality, which makes uploading easier and puts less work on the servers. However, Instagram also offers a hidden “High-Quality Uploads” option. Here’s how it can be enabled from Instagram’s Settings: 1. Go to your Instagram profile by tapping the picture in the bottom right corner. 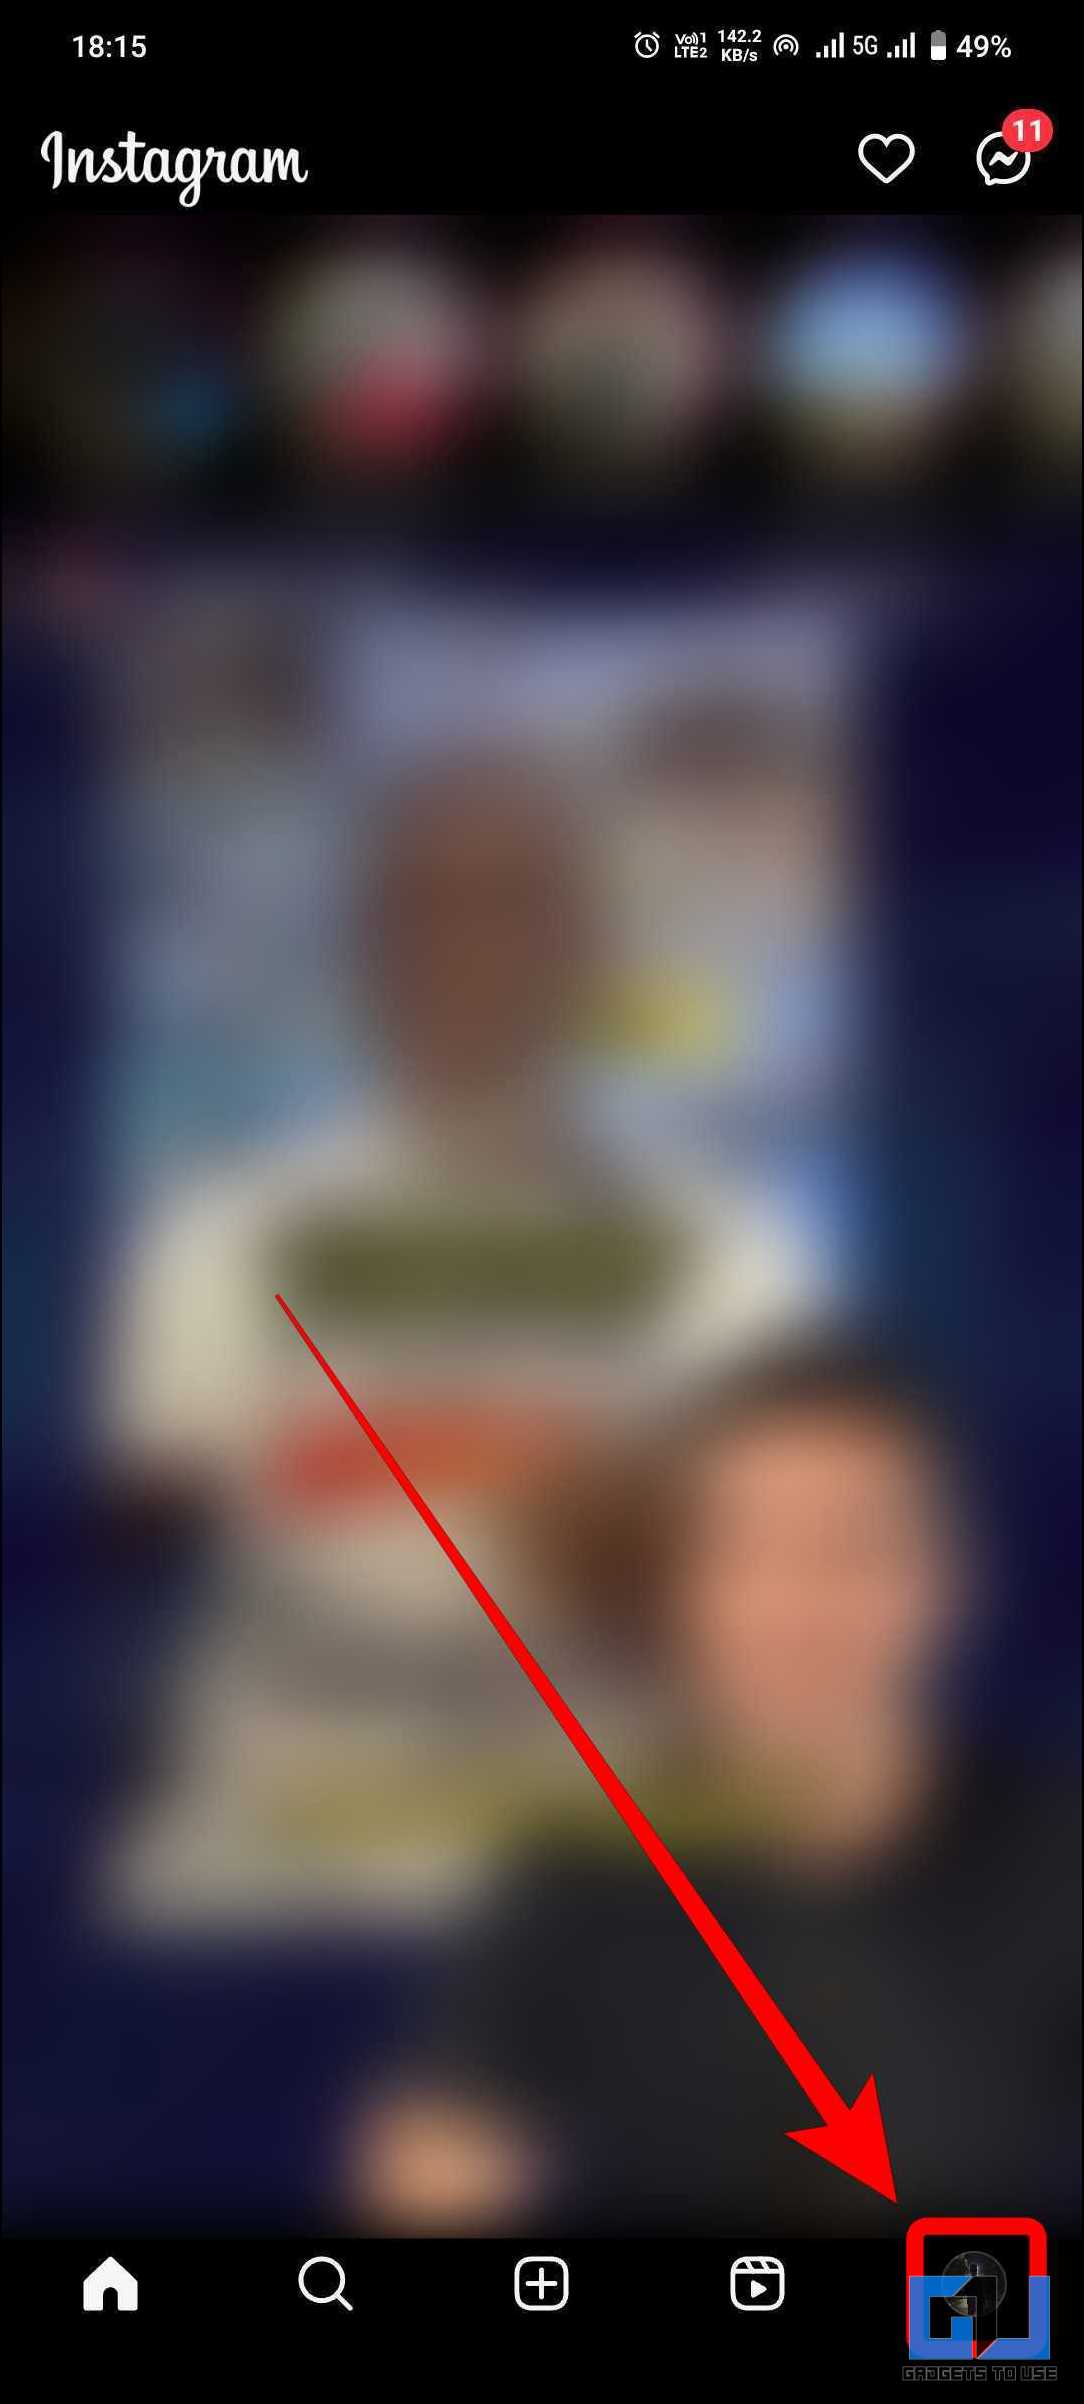 2. Tap the hamburger menu (three-line) in the top-right corner.
 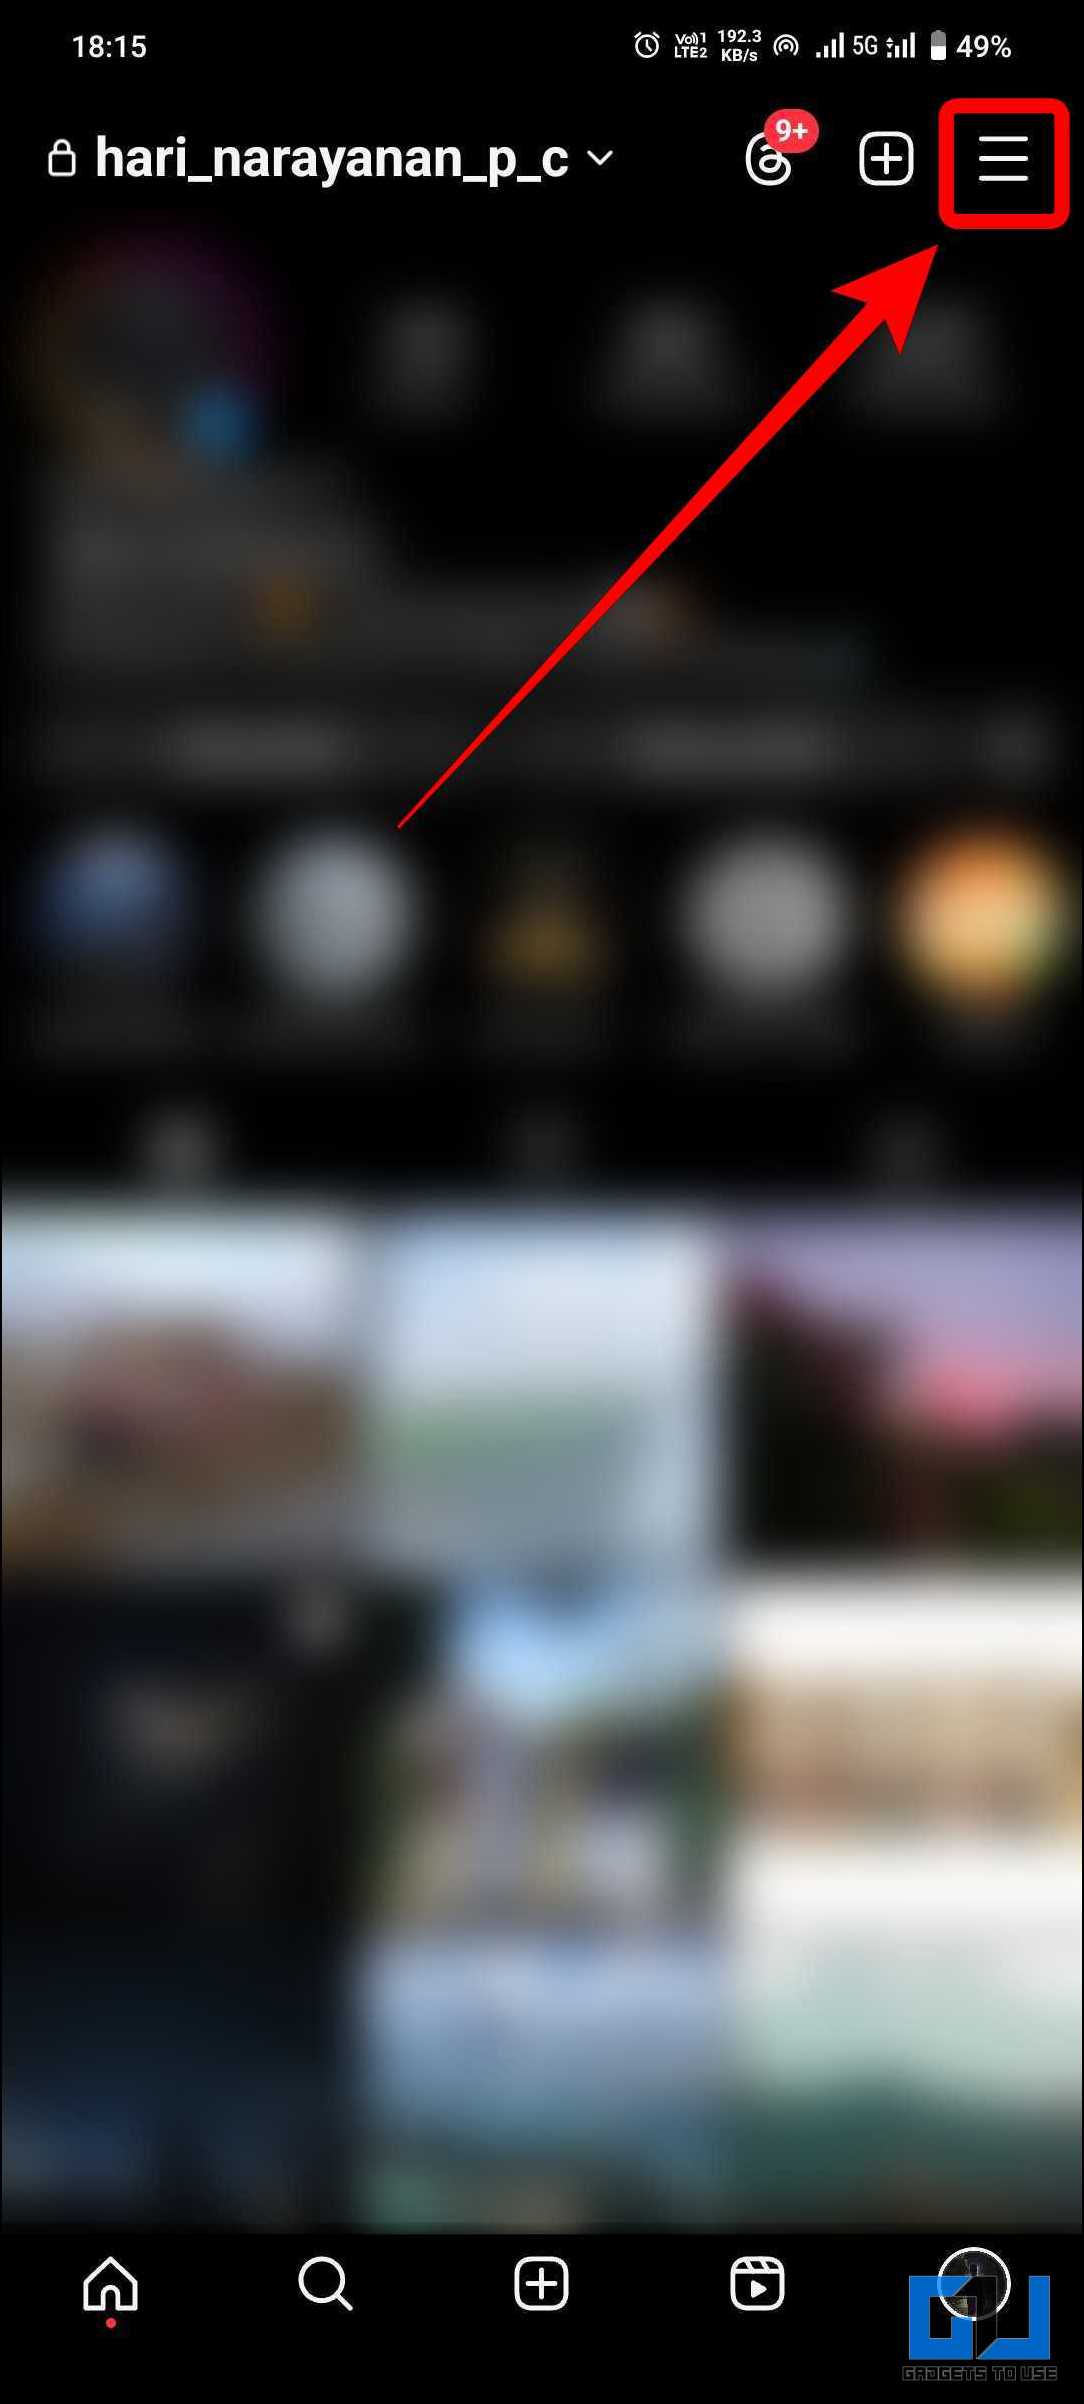 3. Tap on “Data usage and media quality.”
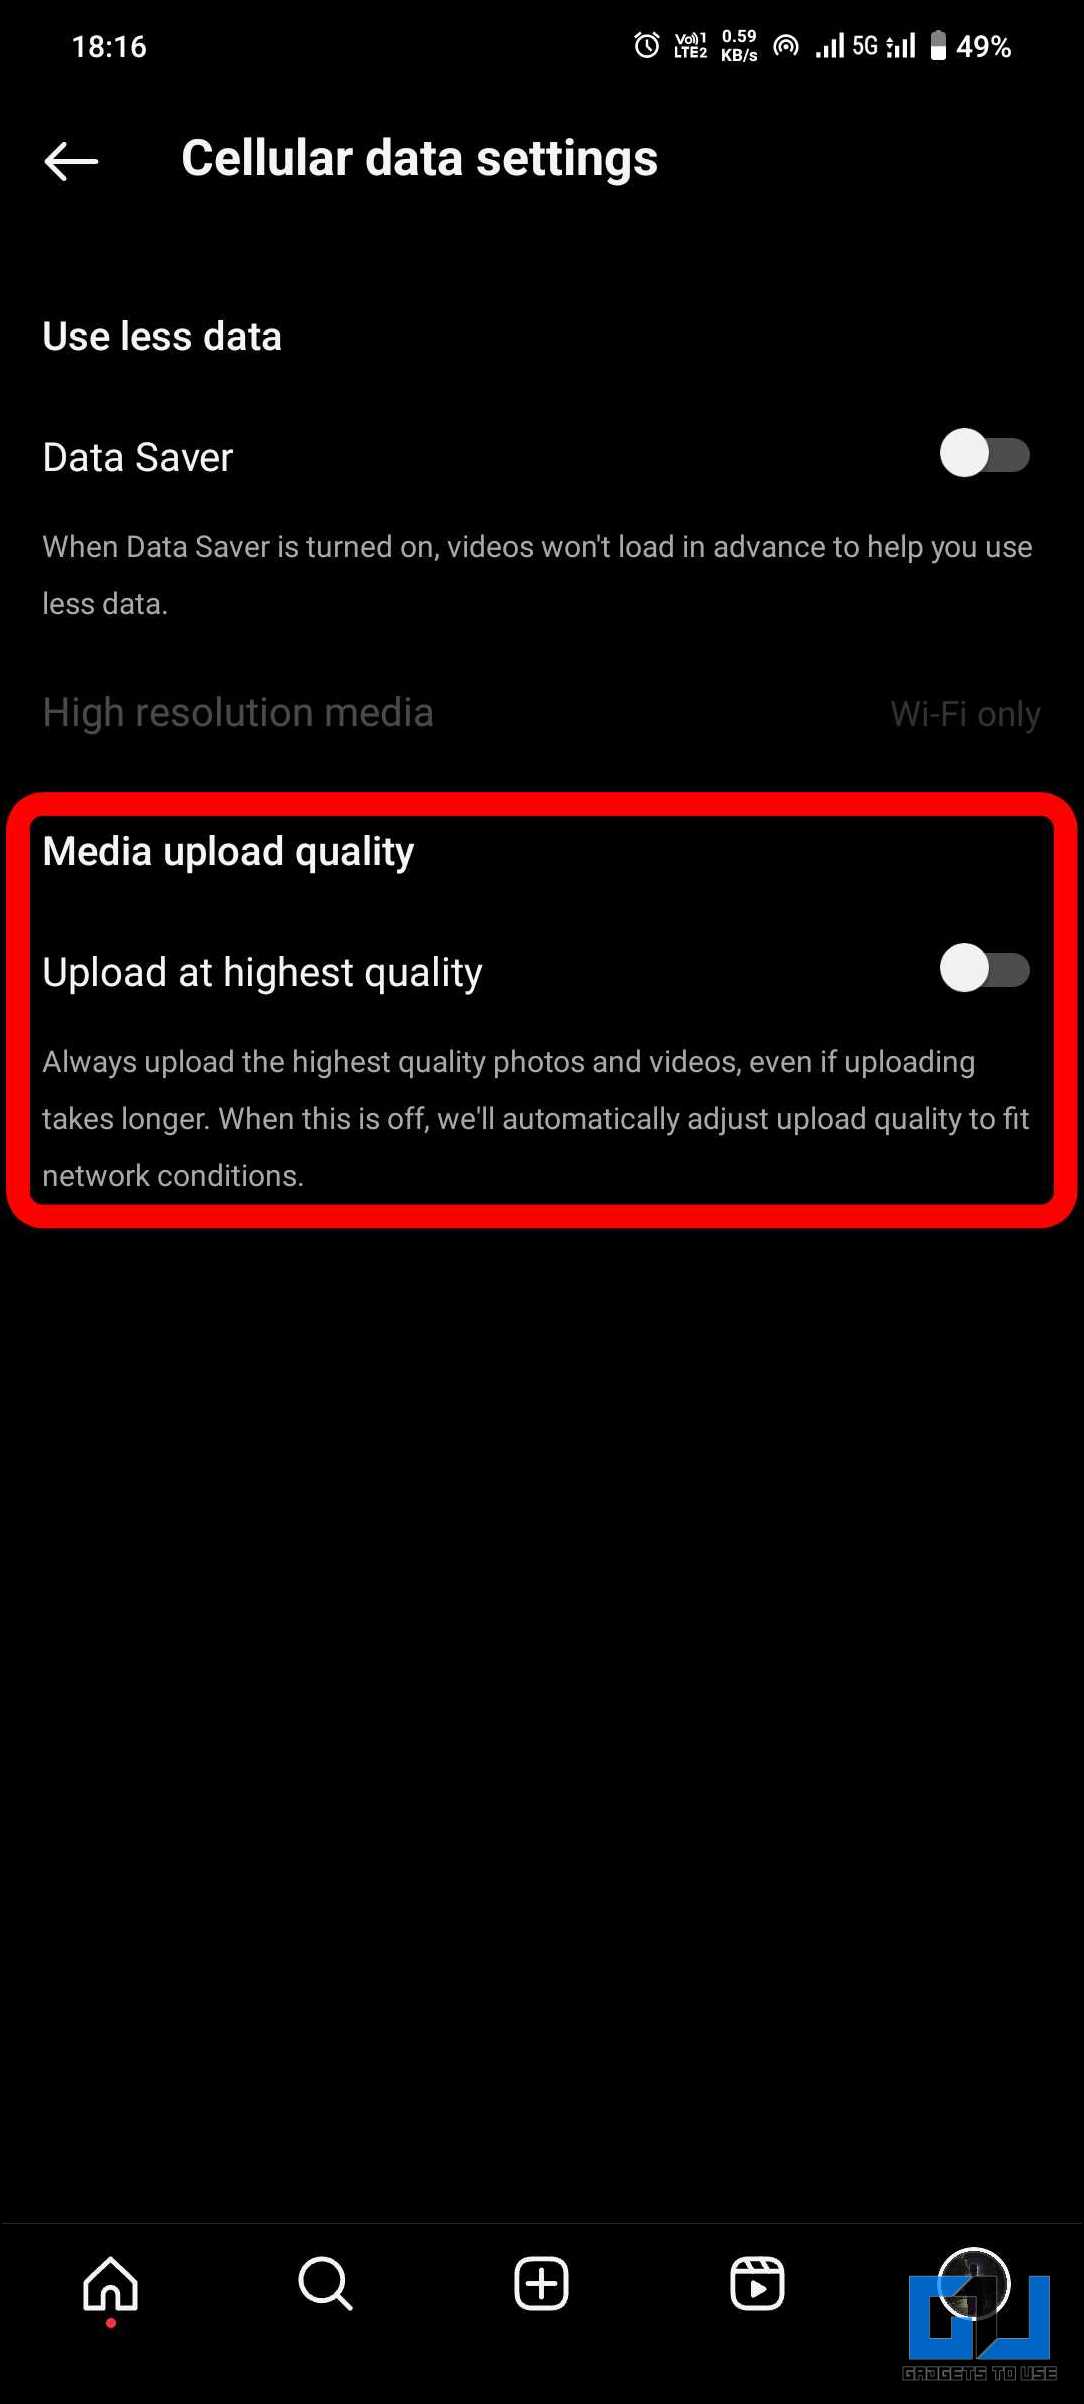
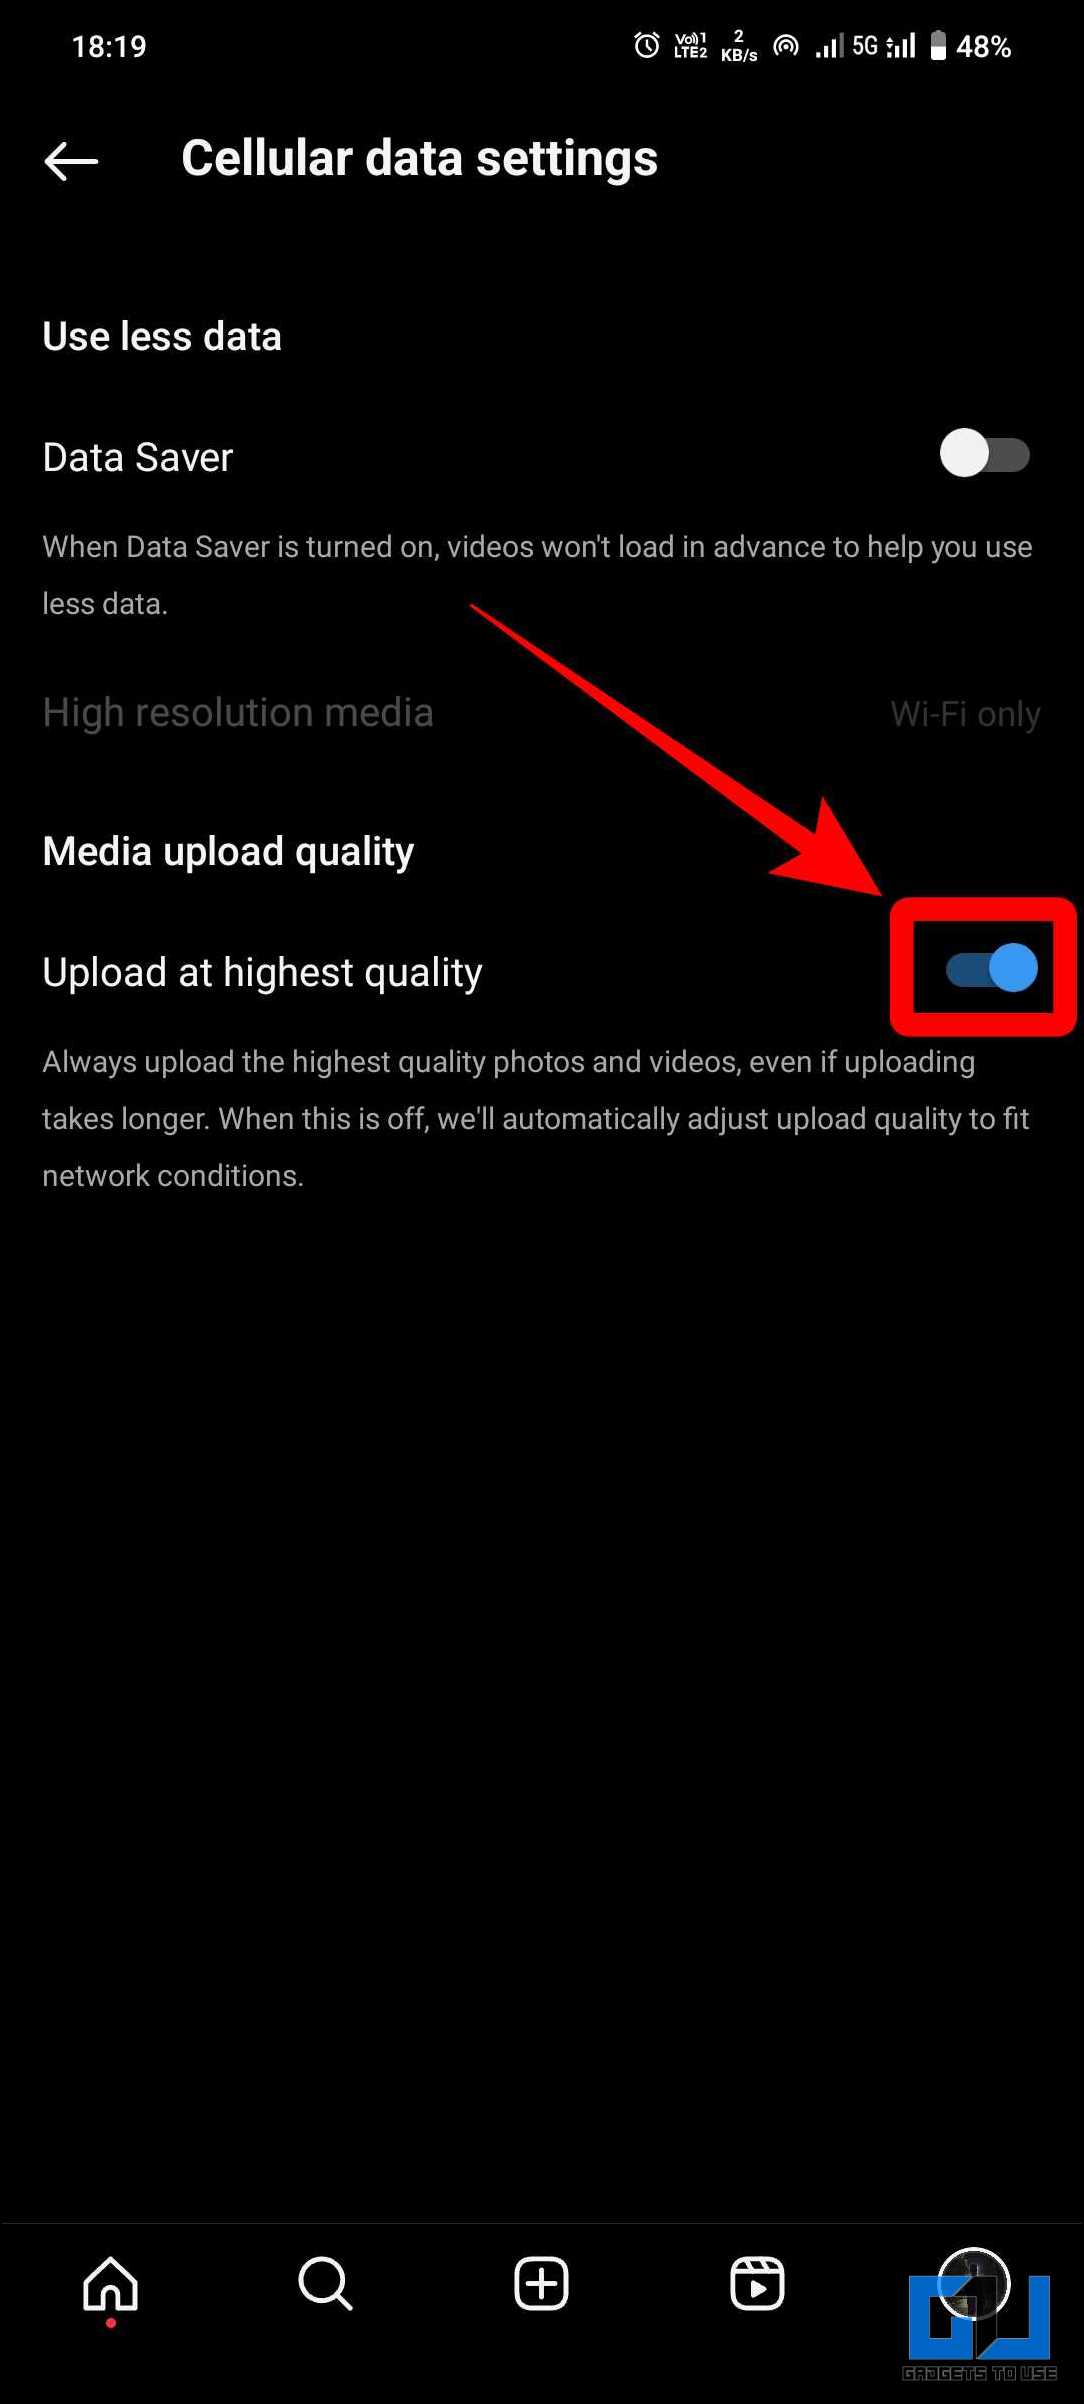
 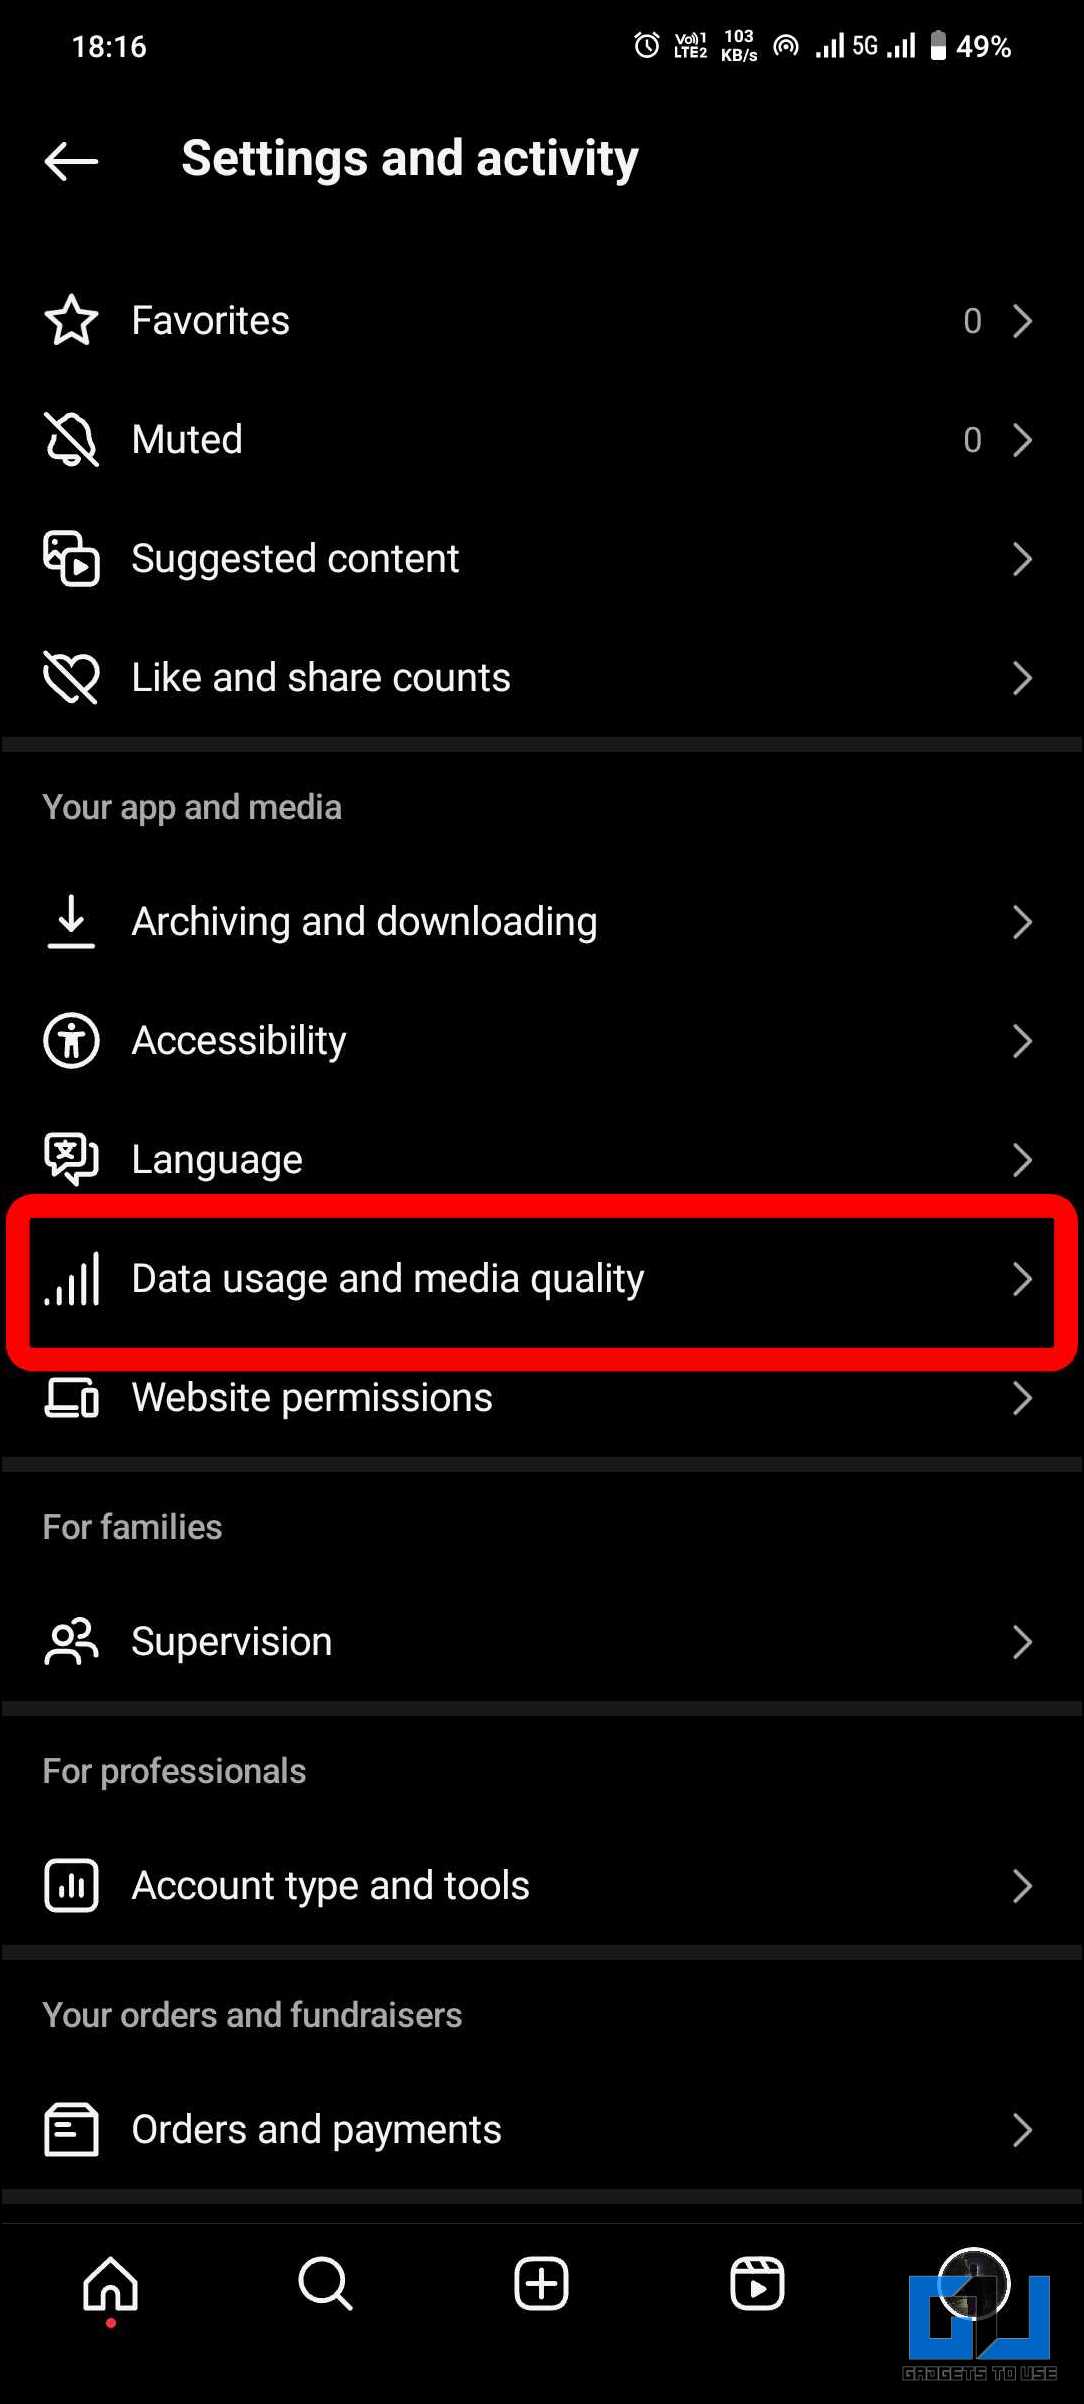 4. Under “Media upload quality,” enable the toggle for “Upload at the highest quality.”
Method 2 – Use Your Phone’s Native Camera App
Instagram’s camera app is not optimized for each phone and can introduce additional compression during capture. Sticking to your phone’s native camera app ensures you capture the highest quality possible. Using the native camera app over the built-in camera option in social media apps offers the following advantages – 1. The native camera app provides greater control over settings such as exposure, focus, and white balance. This ensures you capture the best possible image quality from the start. 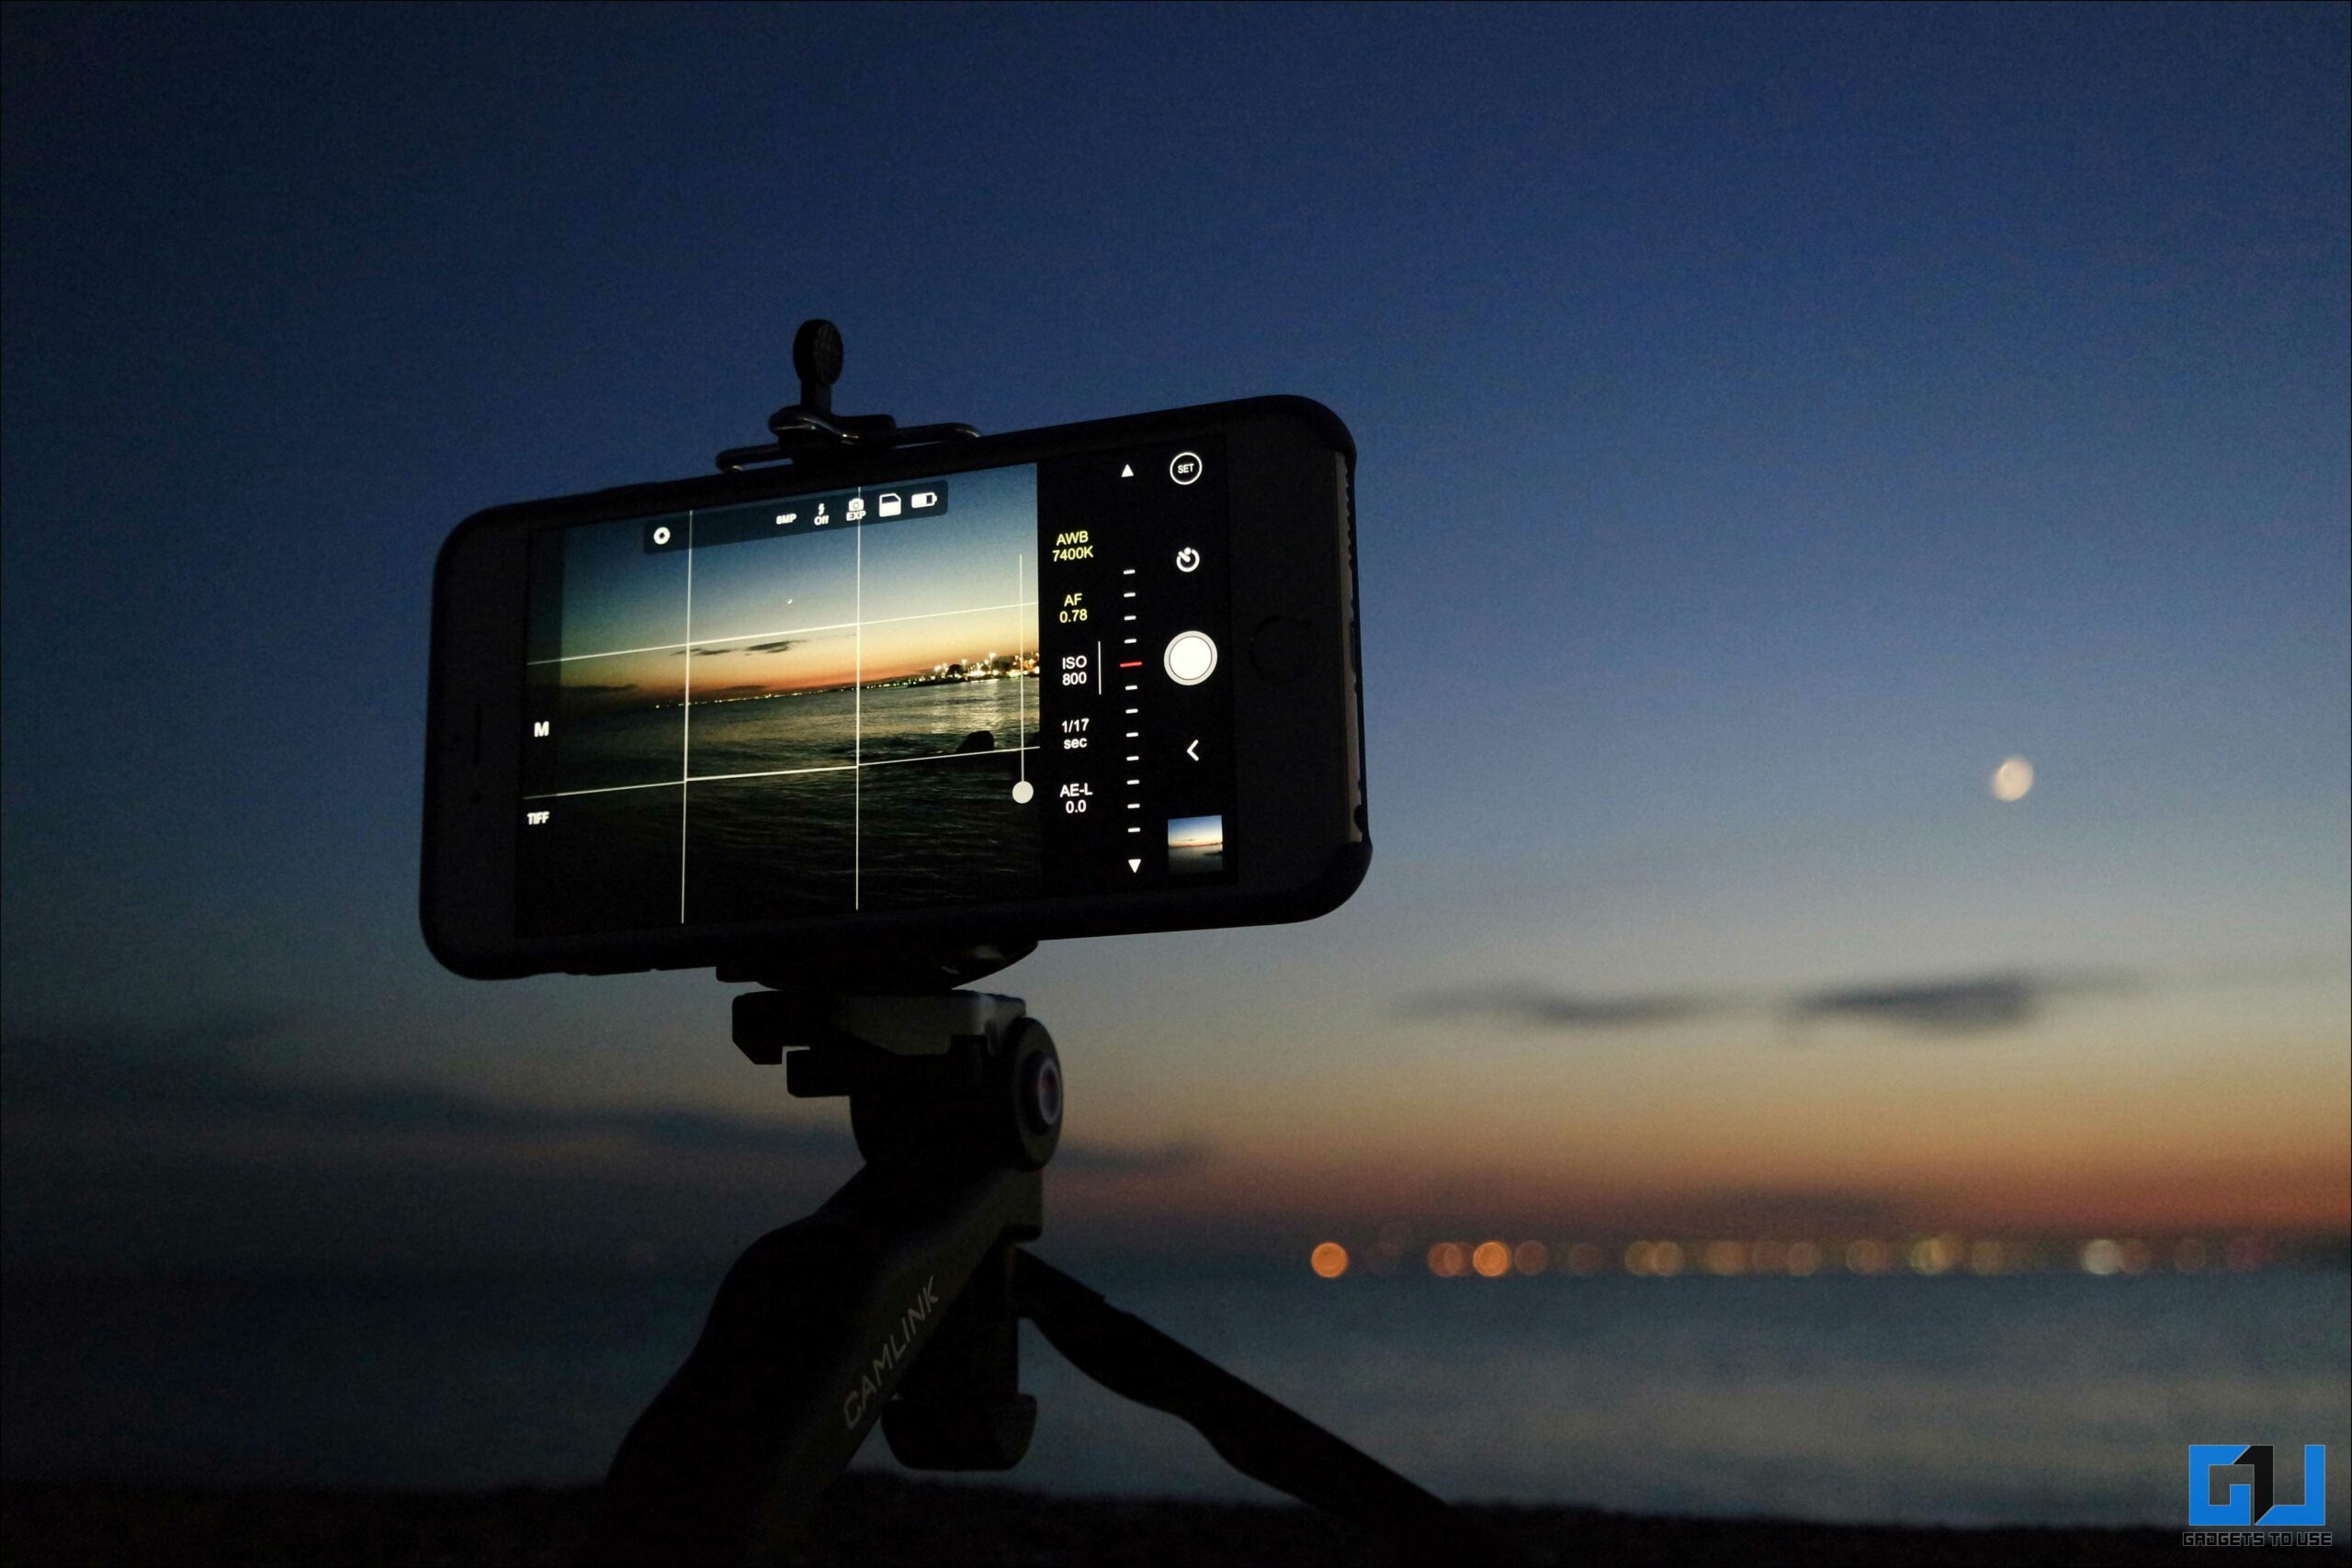 2. The native camera app often saves images in a higher-quality format than social media apps, which may compress photos to reduce file size.
 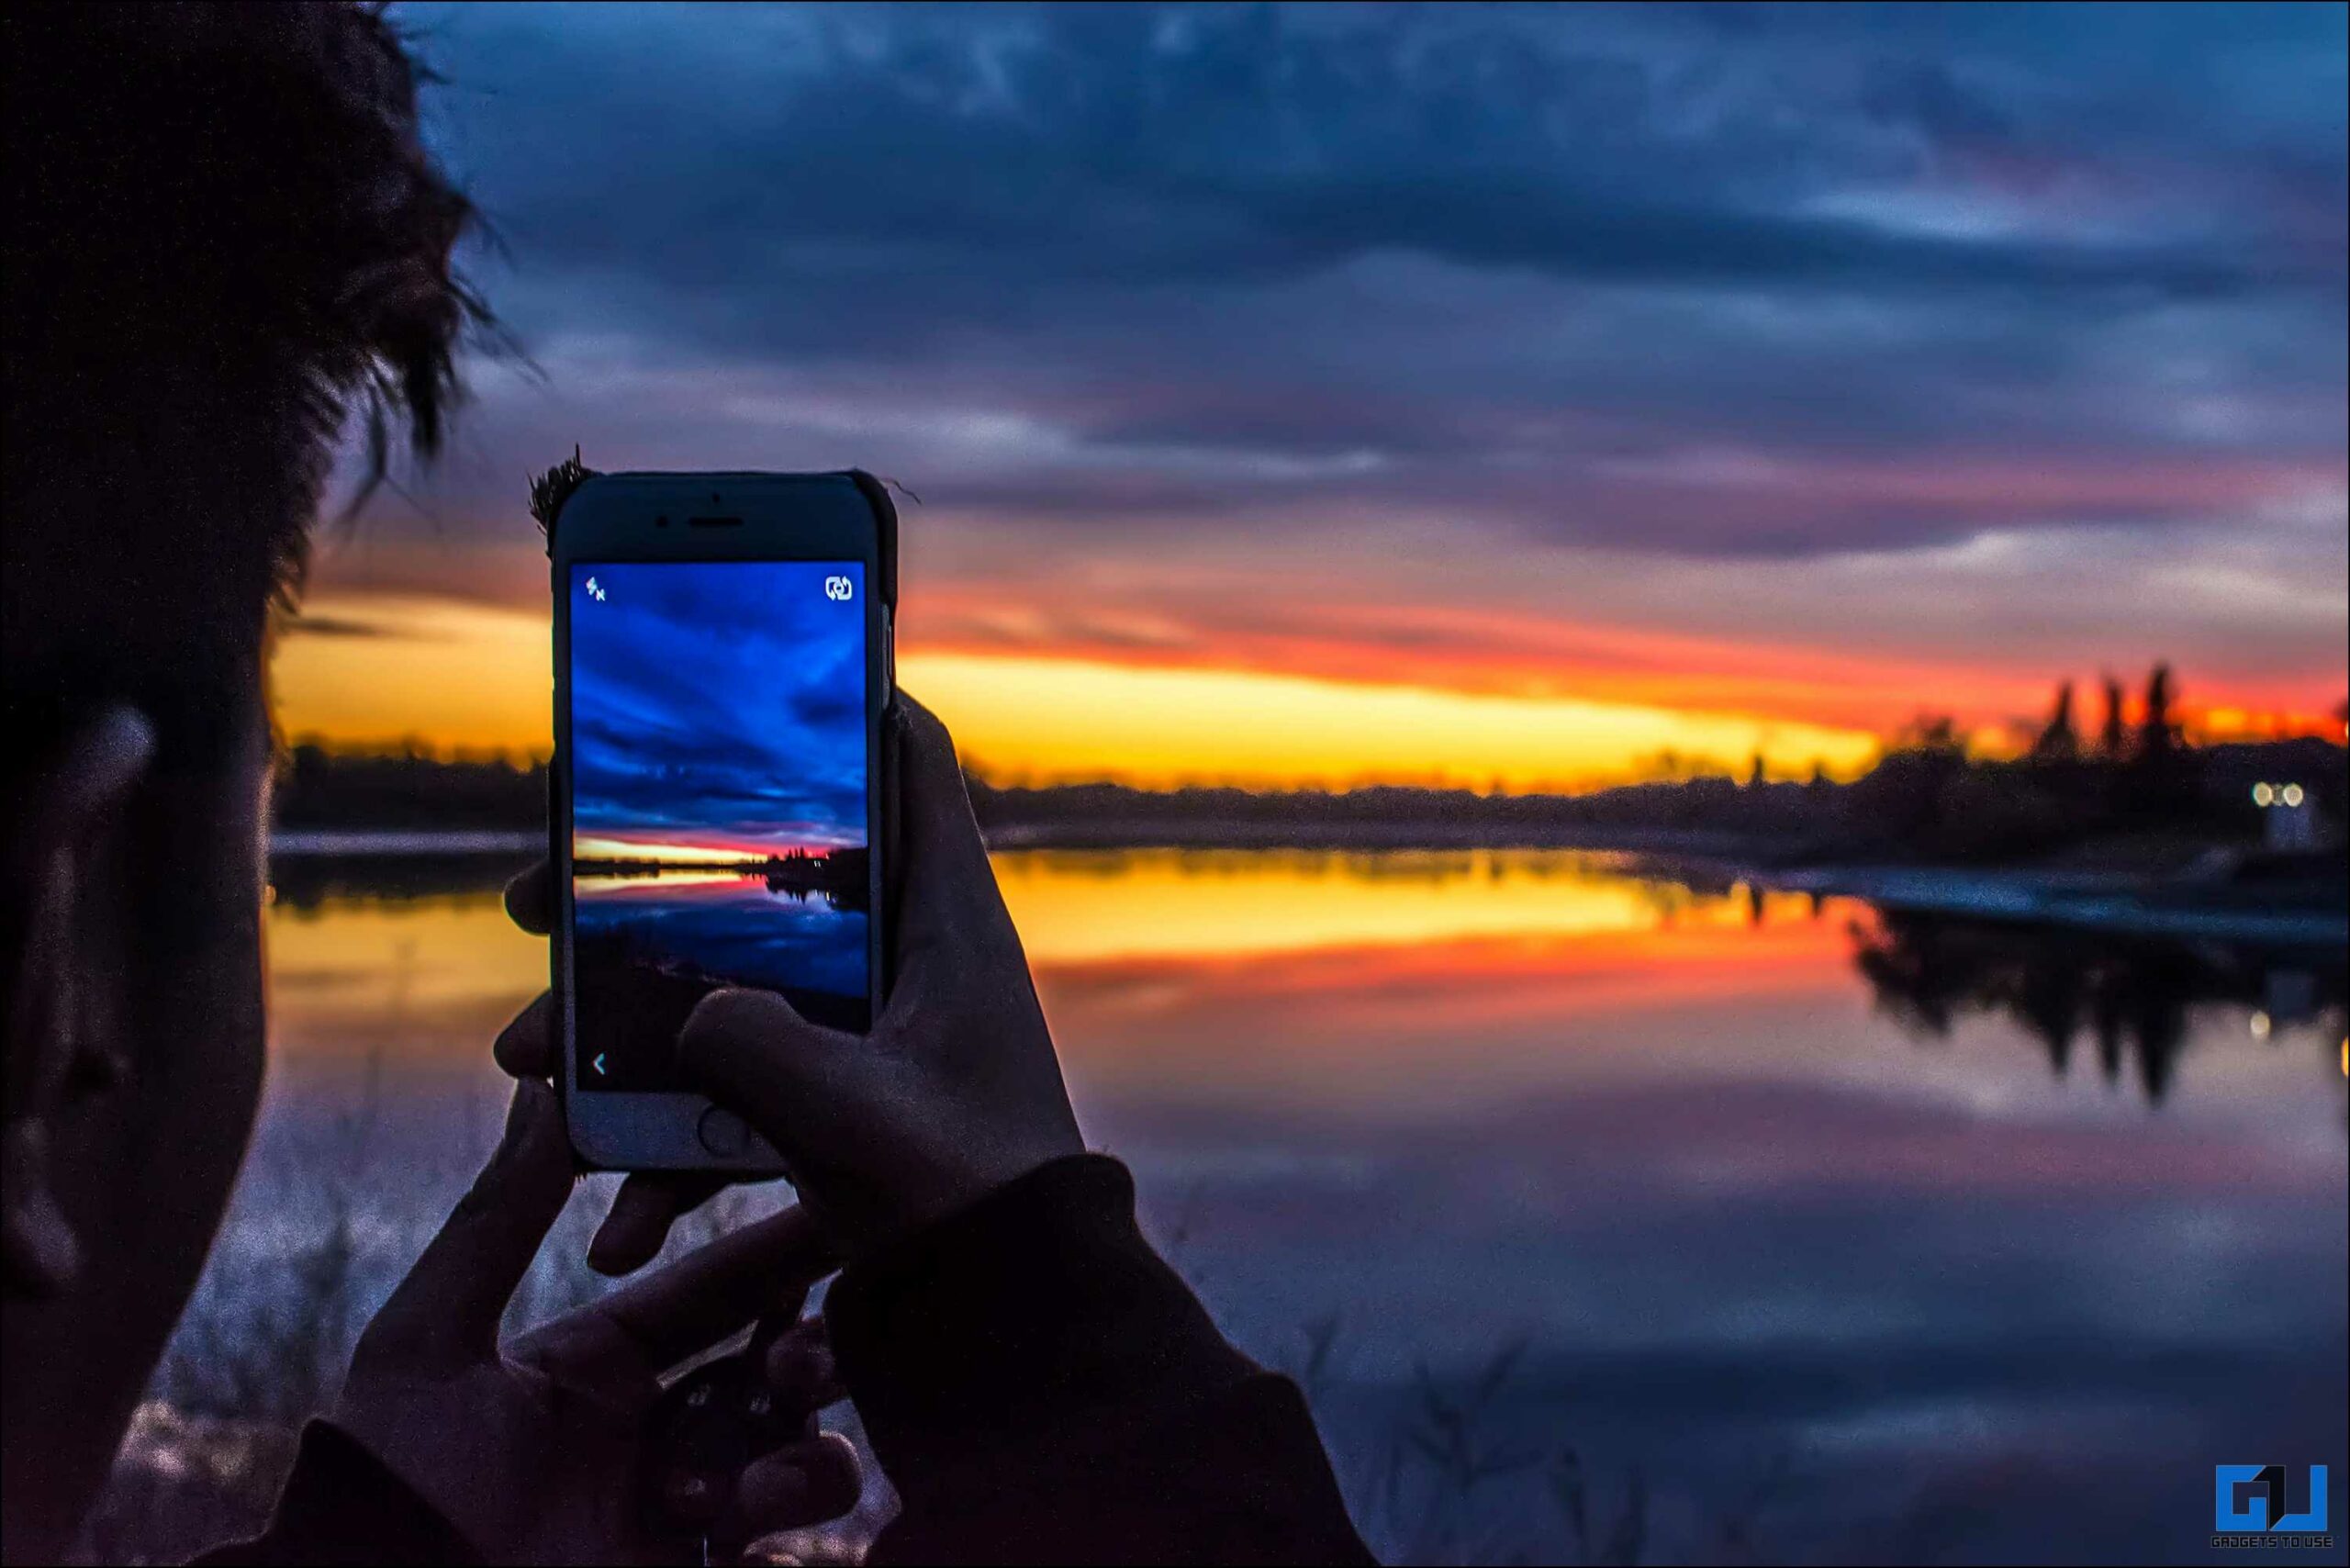 3. Using the native camera app allows you to organize and edit your photos before sharing, enhancing the overall quality of your content.
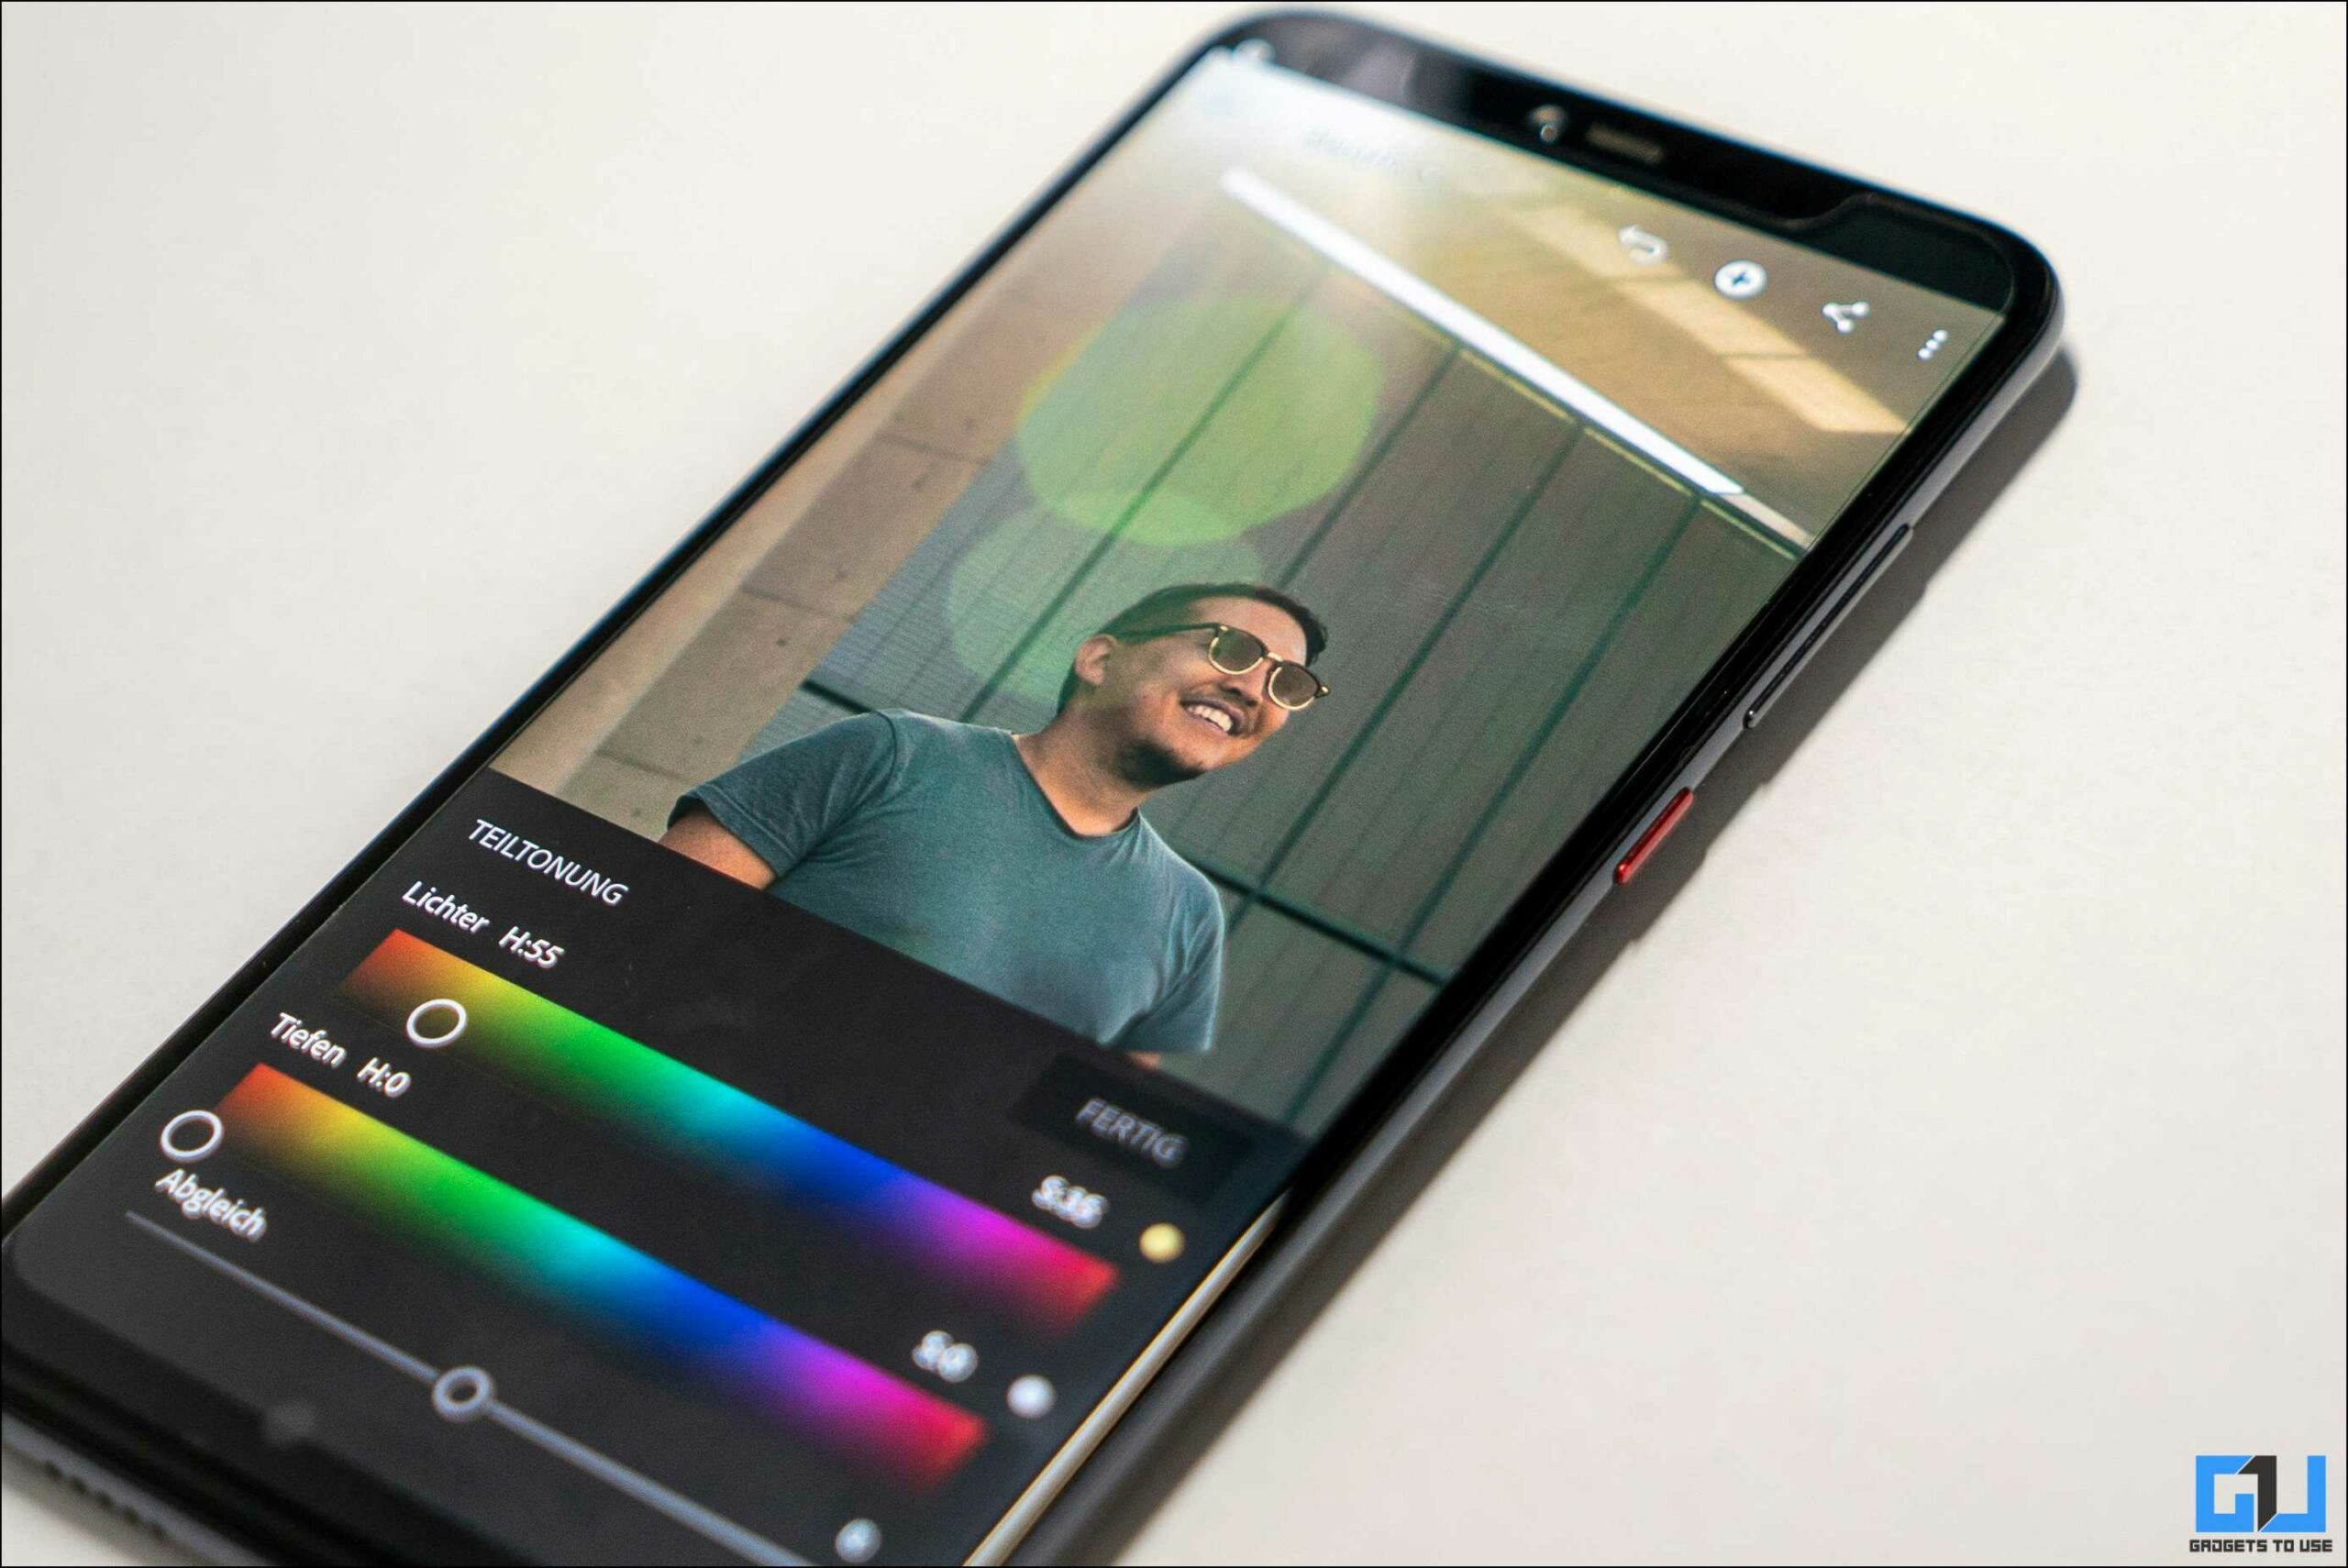
Method 3 – Shoot Your Content at the Highest Quality Possible
Most smartphones offer different settings for capturing photos and videos. It is best to take advantage of the highest possible settings to achieve the highest quality out of the device. This allows for more editing flexibility, as there will be more room to play around. After editing, you can export as per the requirements so that the media is most compatible when uploaded to Instagram. 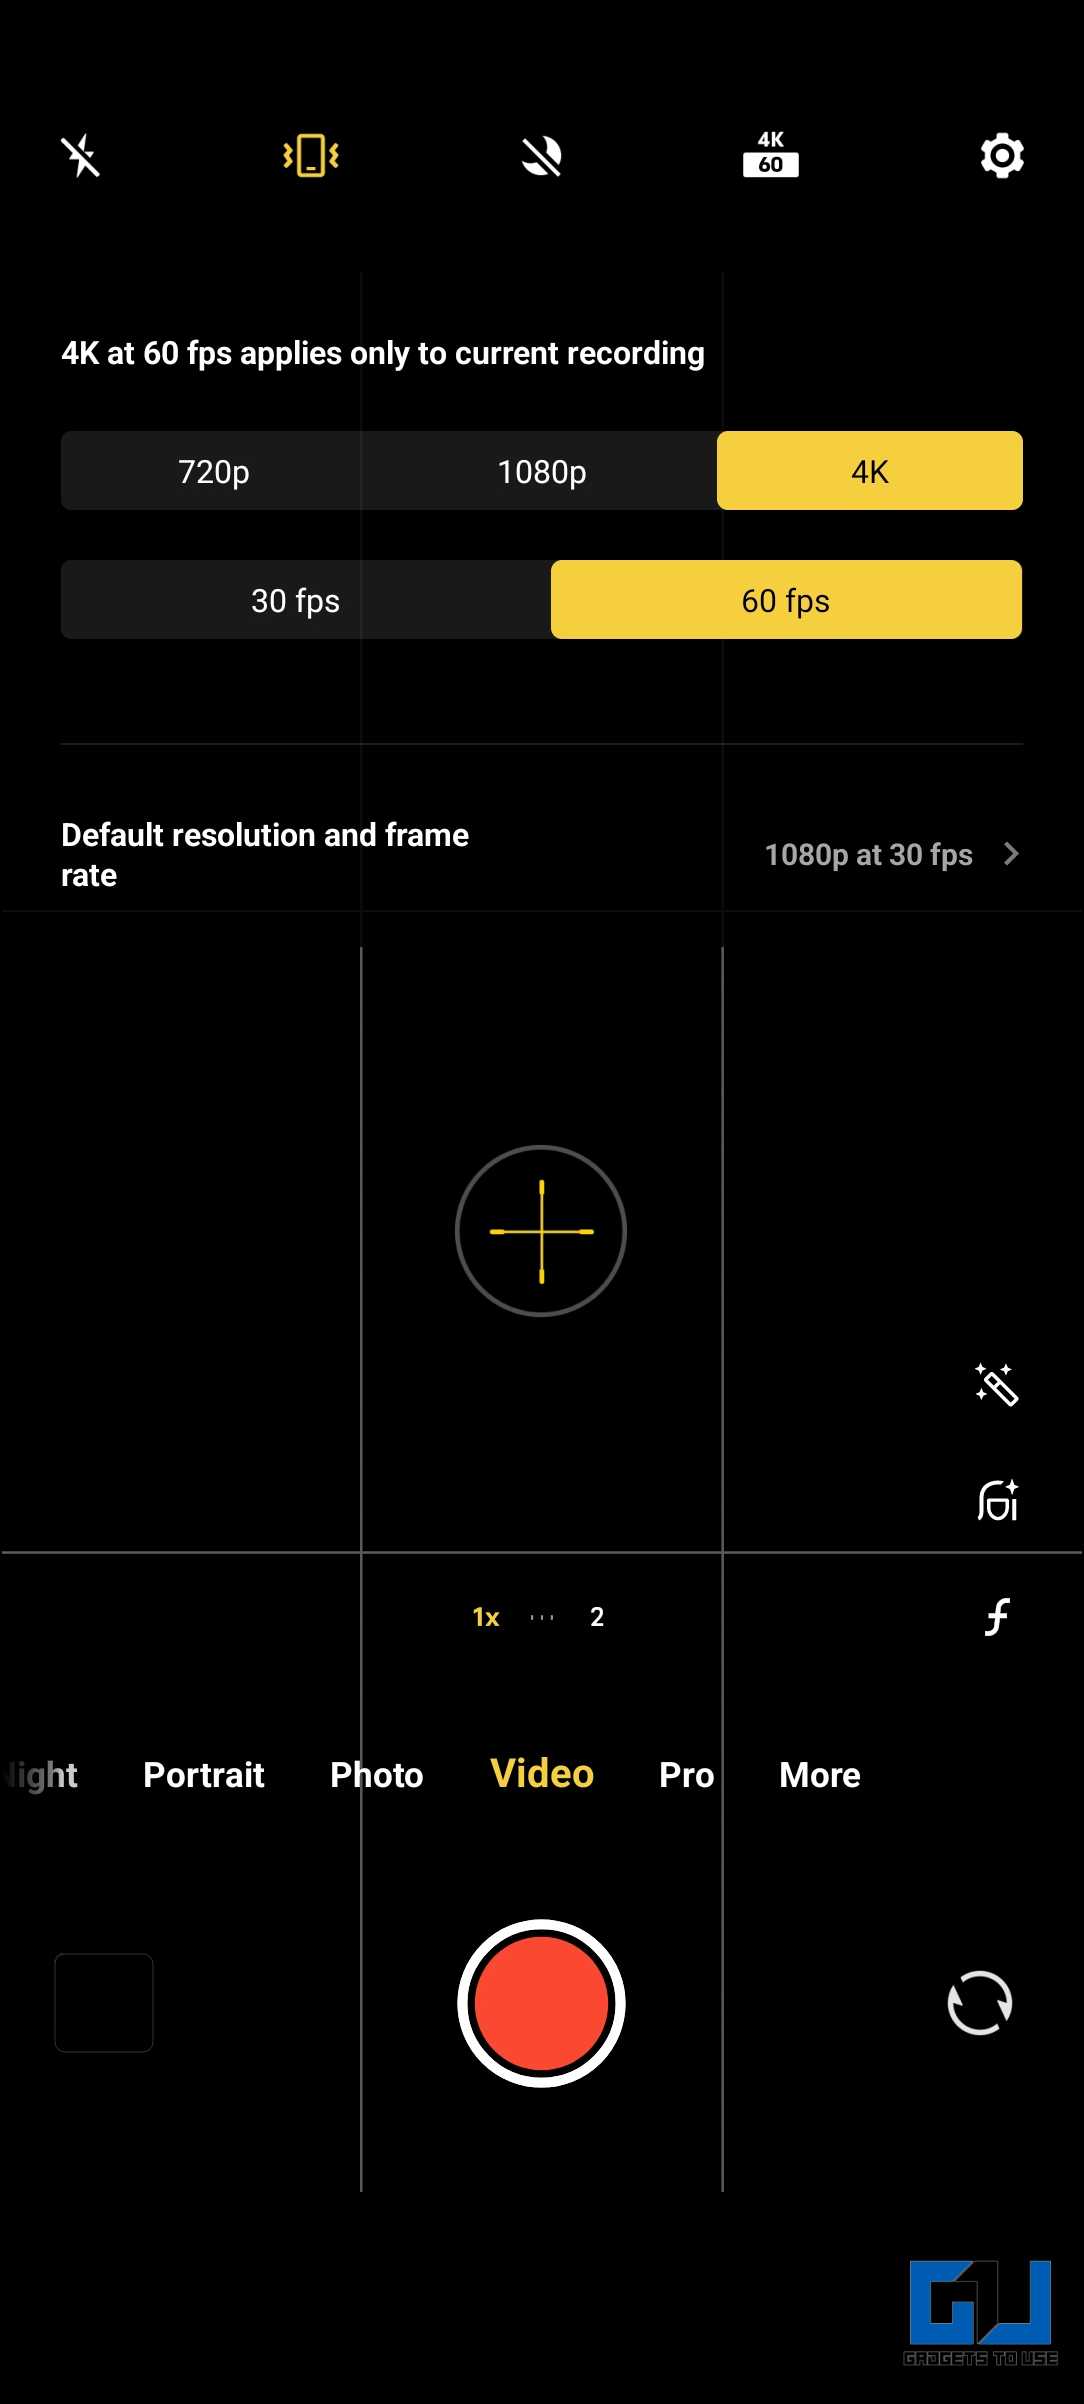
Method 4 – Enable High-Compatibility Mode for Videos
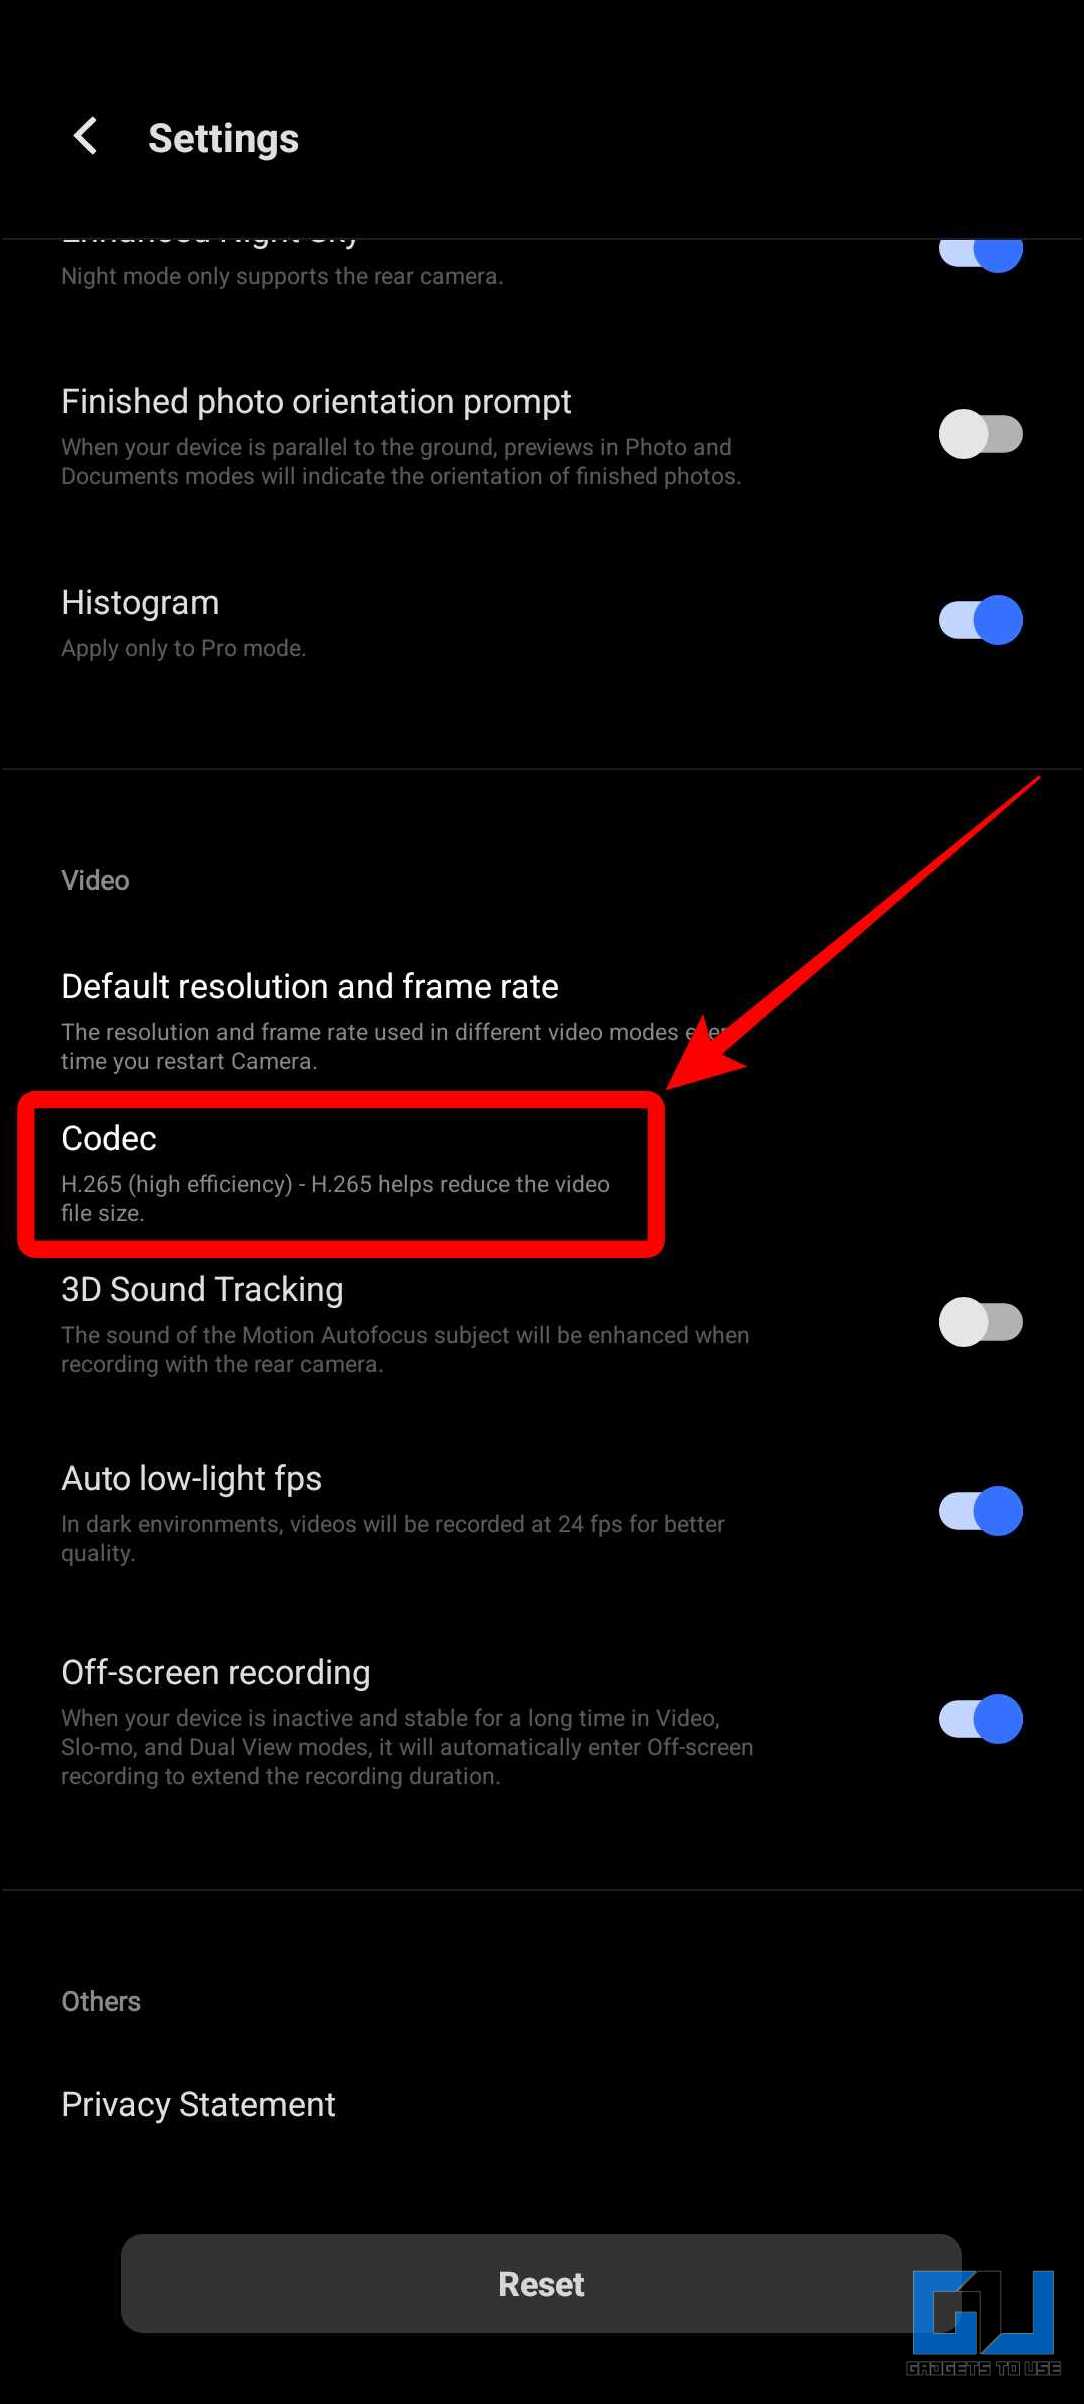
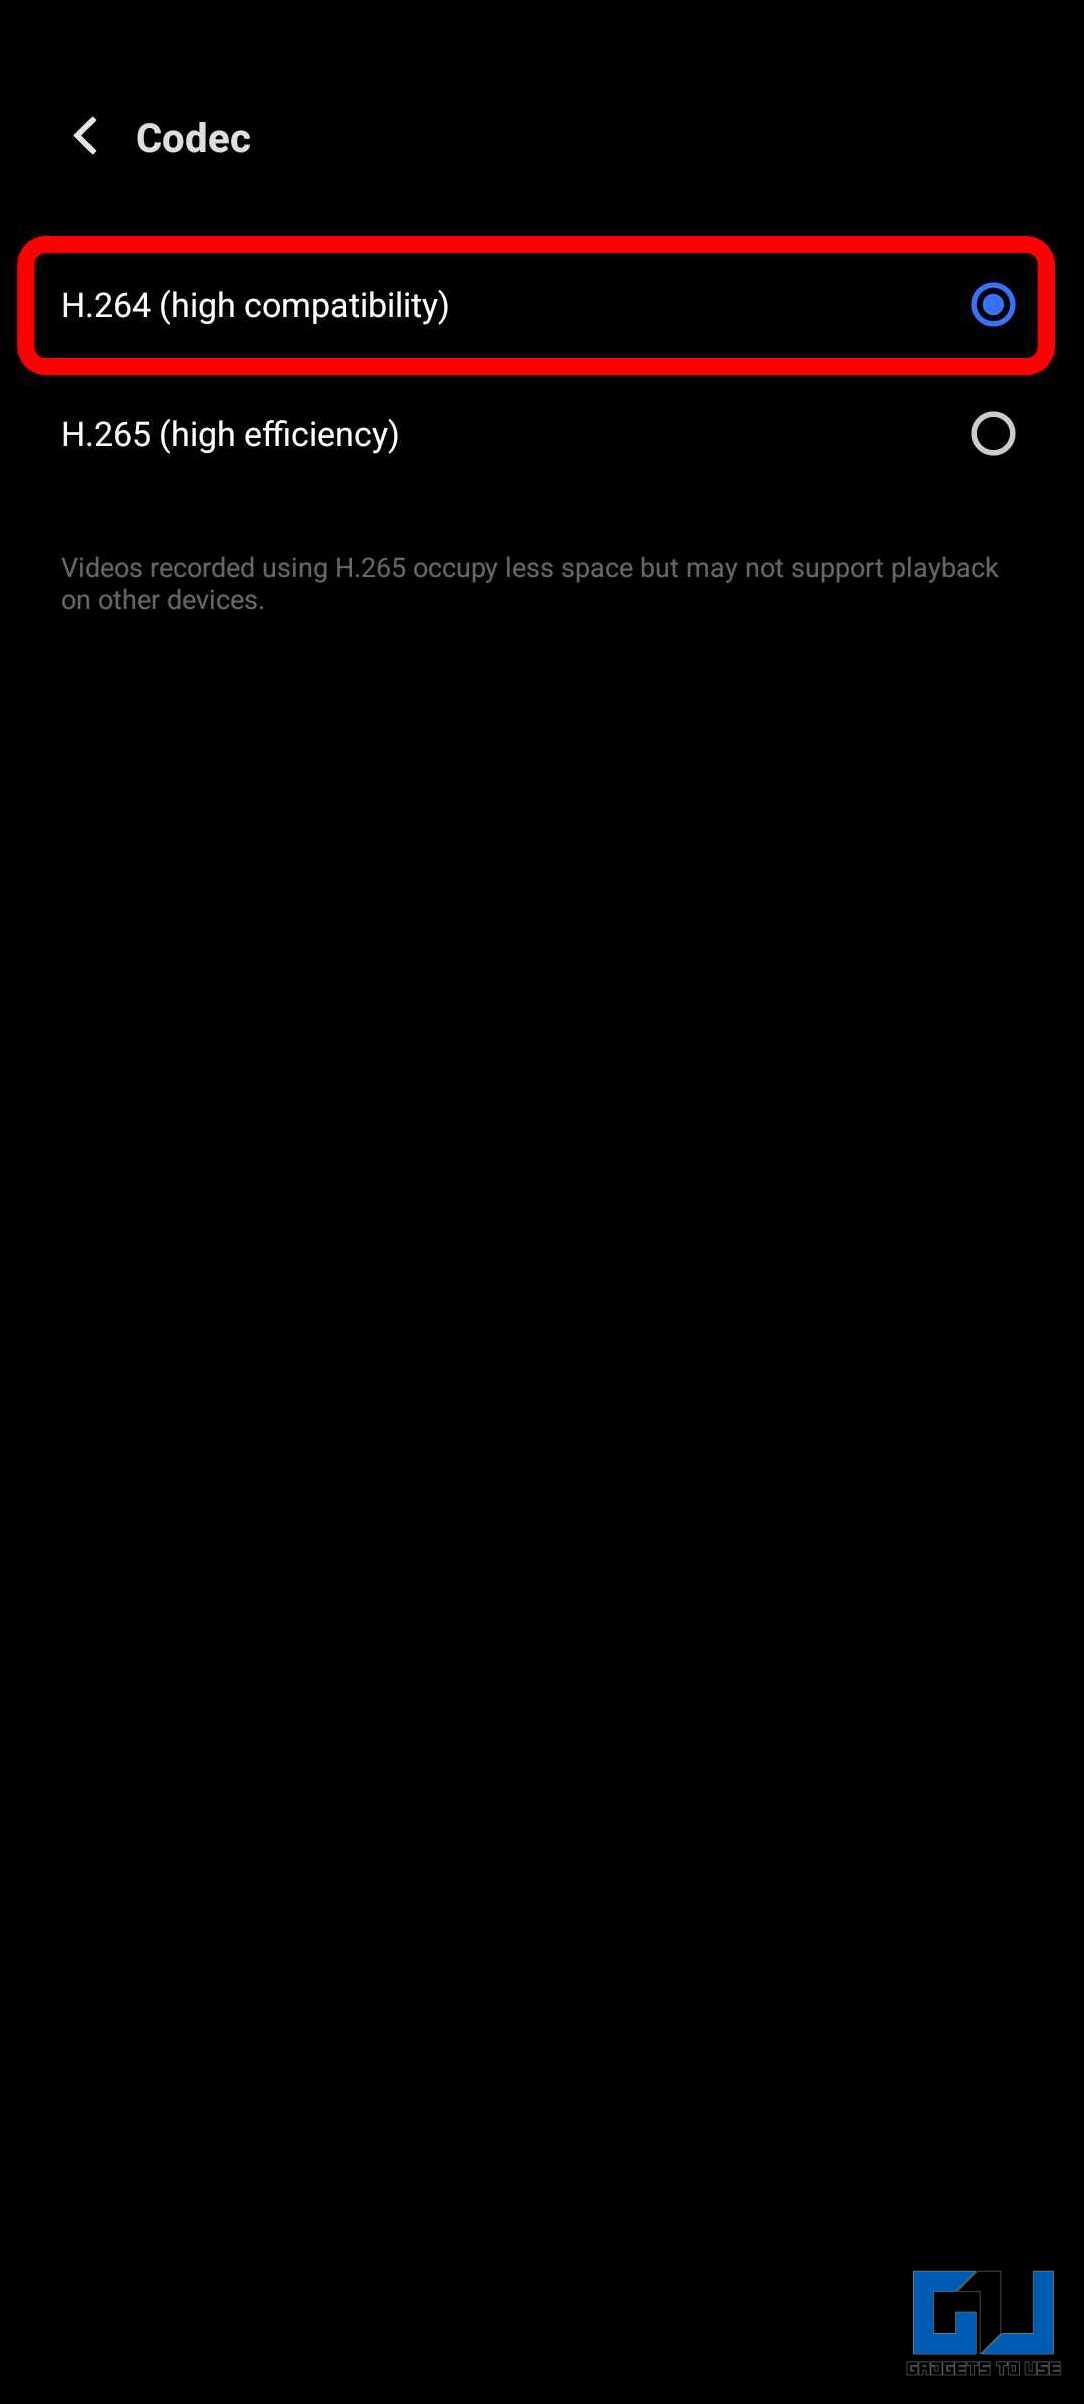
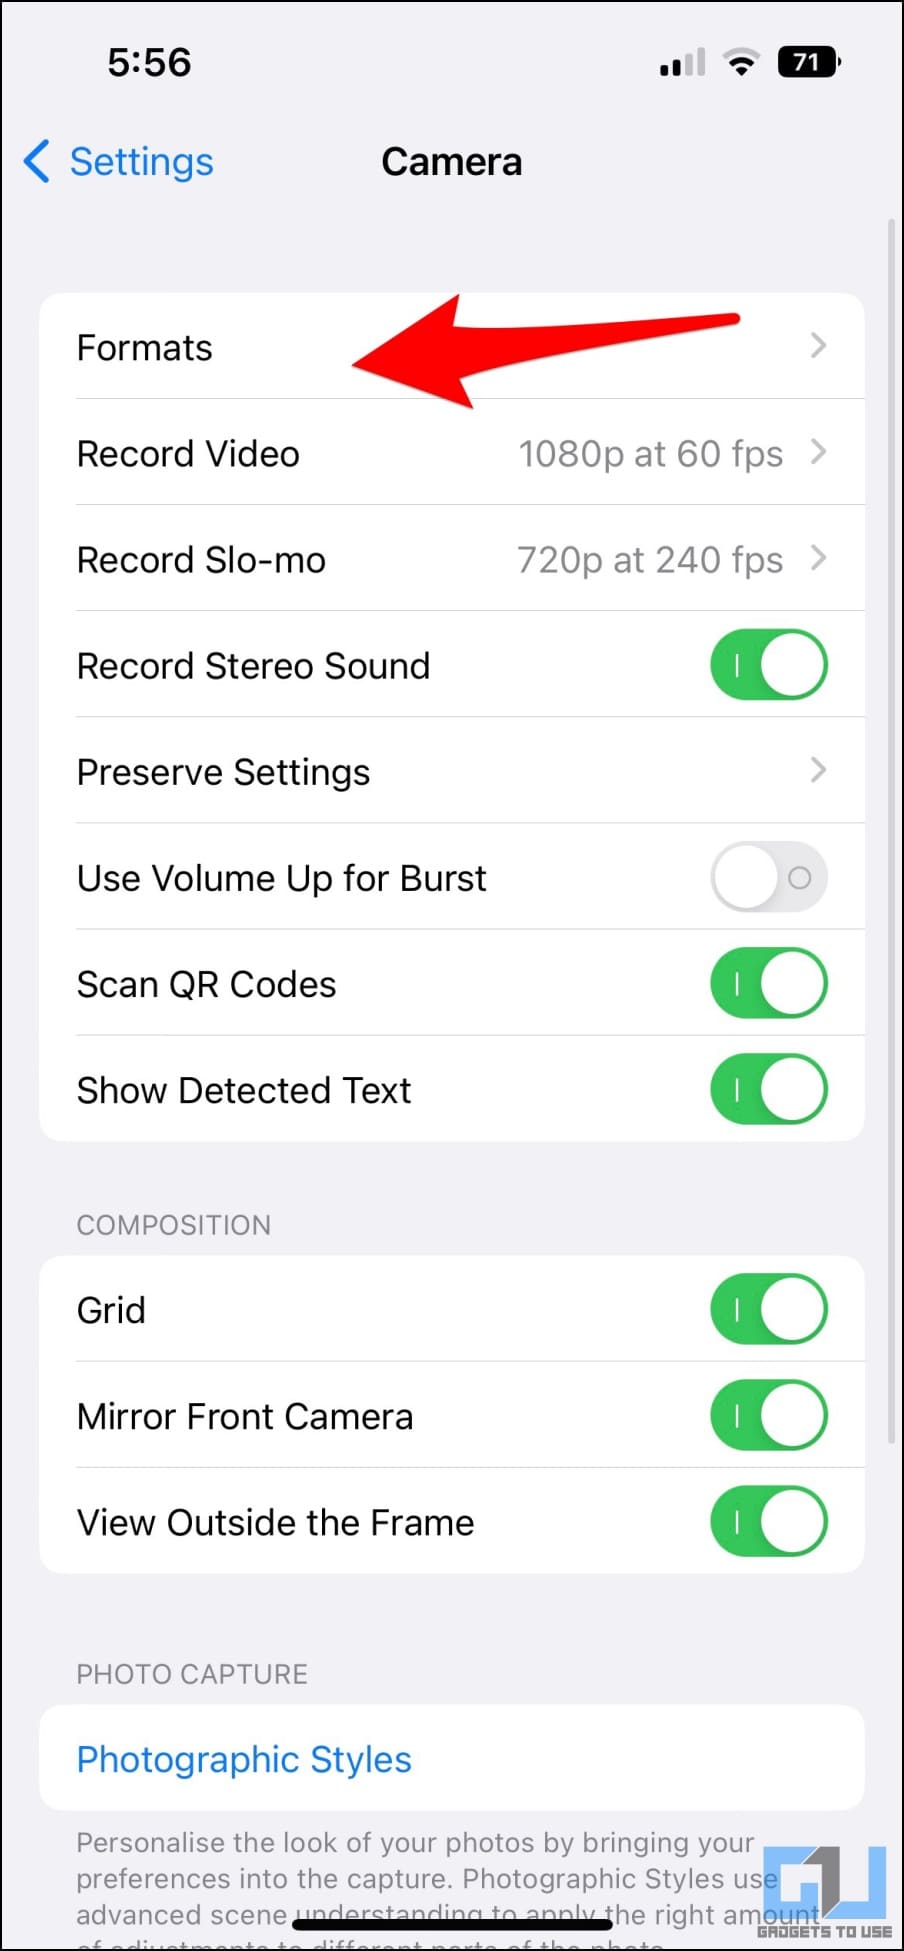
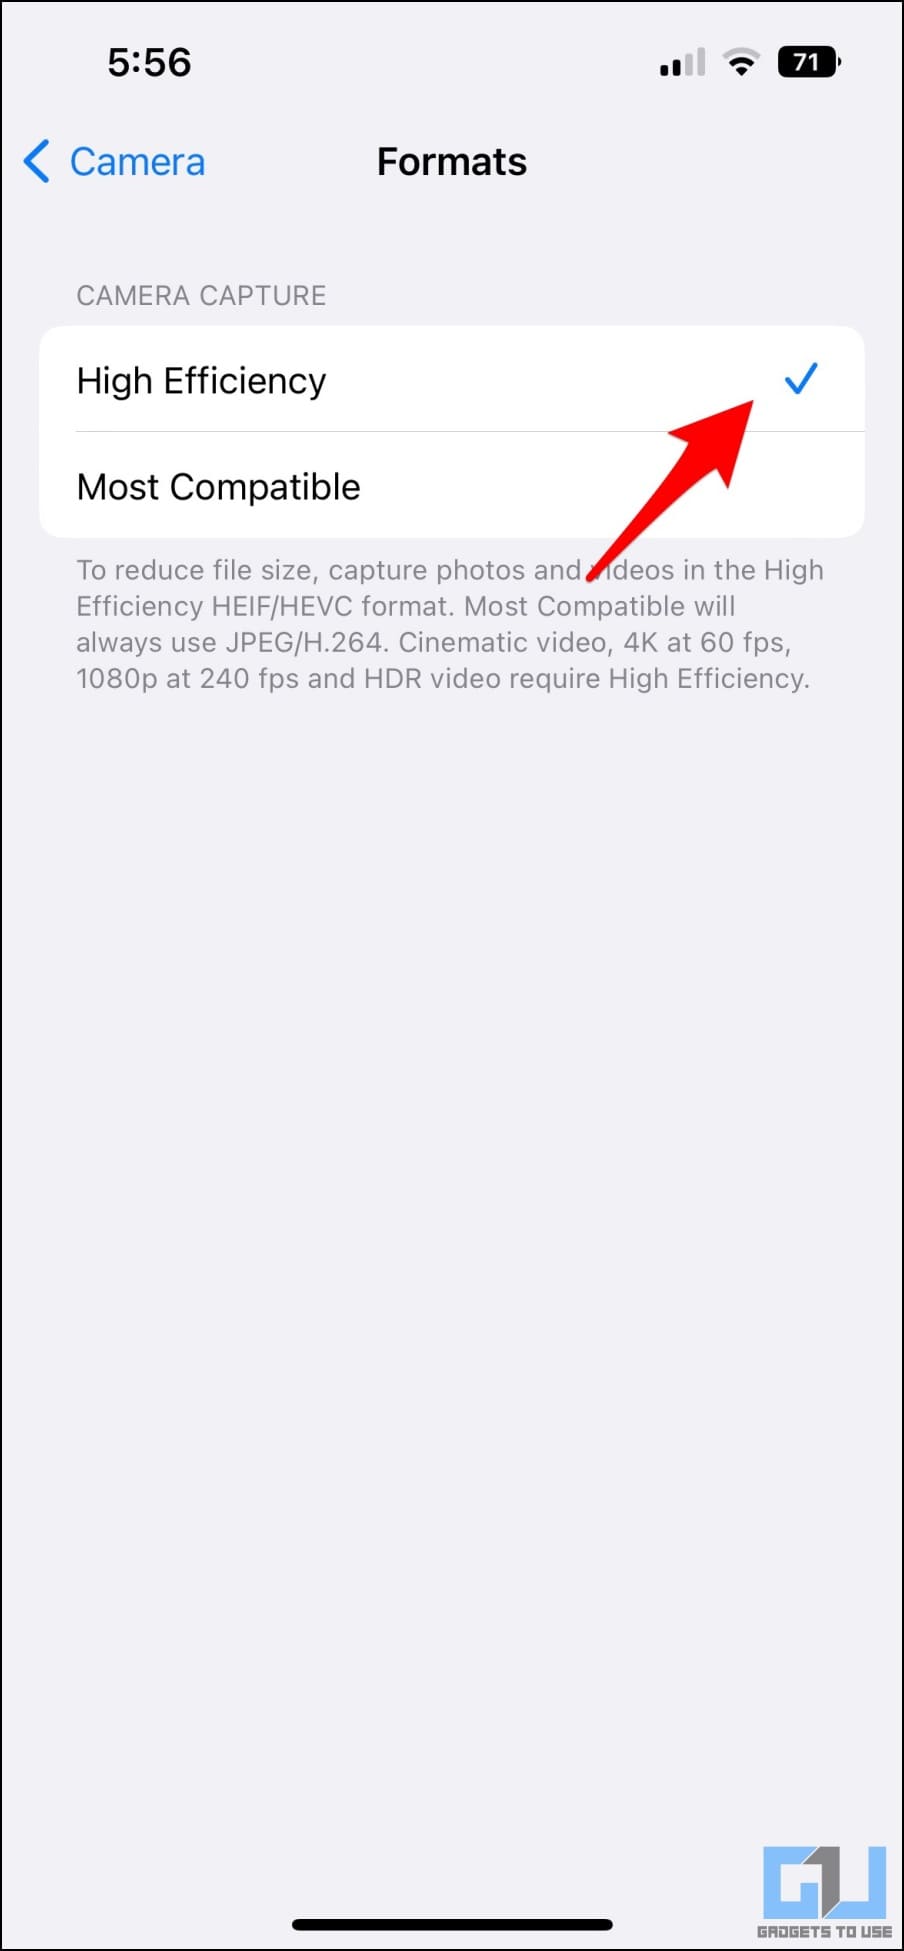
By default, your smartphone’s camera app will be set to “high-efficiency” or H.265 video codec. The codec (coder-decoder) handles the compression and decompression of the video file. “High-efficiency” or H.265 vide,o codec, prioritizes smartphone storage while providing better quality thanks to better compression efficiency. However, this codec can encounter compatibility issues as Instagram supports “high compatibility” or the H.264 codec. Thus, it is better to record the “high-compatibility” or H.264 codec in the first place so that Instagram does not apply its re-encoding to convert it to the H.264 codec. If this re-encoding occurs, it can cause further quality loss over Instagram’s compression. To enable the “high compatibility” or H.264 codec on your smartphone, go to the camera settings and scroll down to “Codec.” Here, you can choose between “high-compatibility” (H.264) or “high-efficiency” (H.265) codecs. Select the toggle for “high compatibility (H.264).
Enabling high compatibility mode prioritizes smooth playback over a slightly smaller file size. This translates to a better viewing experience for your Instagram audience, regardless of their device.
Method 5 – Ensure Media Is in the Correct Aspect Ratio
Following Instagram’s recommended aspect ratios is vital to ensure your posts look their best. This helps prevent unwanted cropping or black bars around your content, ensuring that your media is displayed in the best way possible. Using the recommended aspect ratio, you can ensure the viewers see everything you intended and help give your content a clean and polished look. 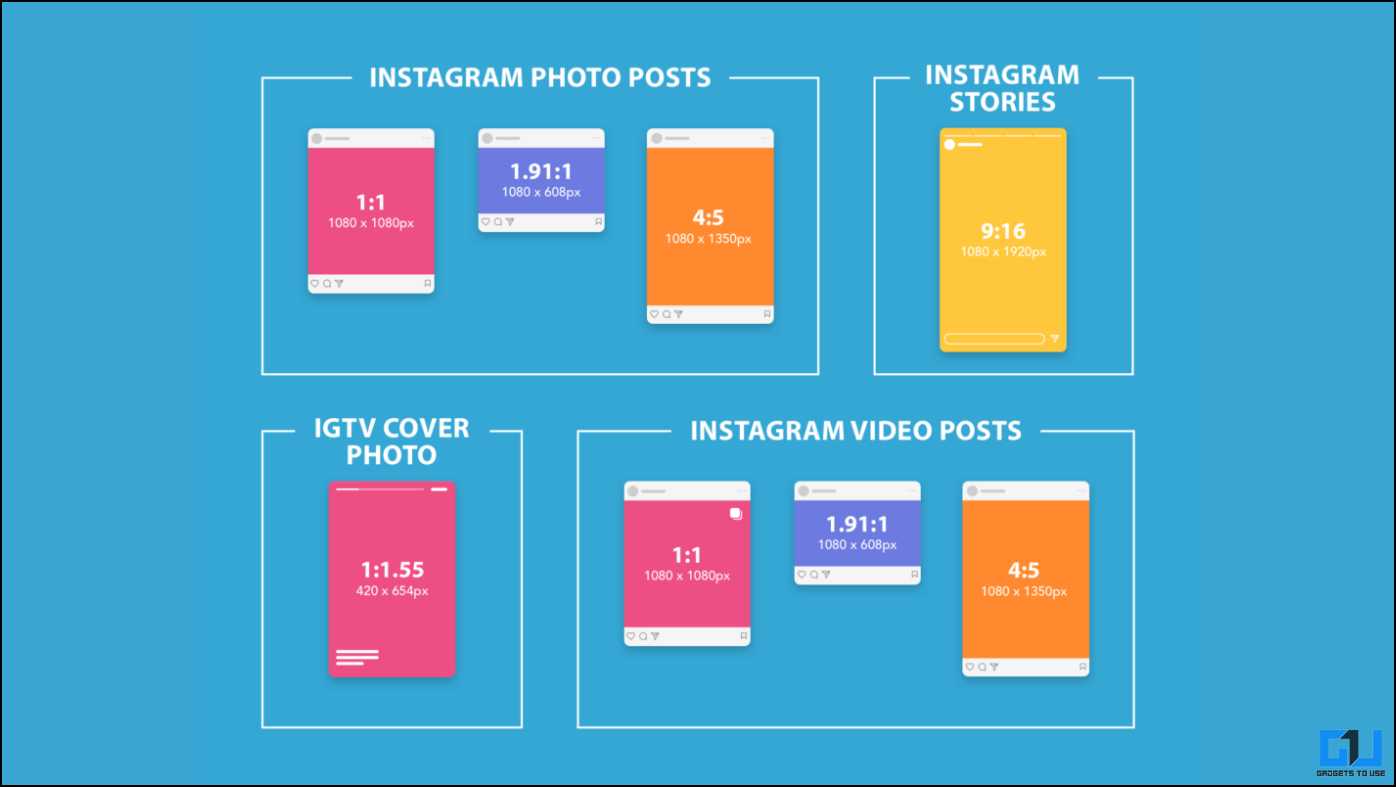 Here are the recommended aspect ratios for different types of Instagram media –
- Feed Post Photo: Square (1:1), Landscape (1.91:1), Portrait (4:5)
- Feed Post Video: – Landscape (16:9)
- Story: Vertical (9:16)
- Reels: Vertical (9:16), Landscape (16:9) of up to 90 seconds
- Live Video: Portrait (9:16) or Landscape (16:9)
While Instagram allows some flexibility with aspect ratios, using the recommended ones ensures your content displays optimally without cropping or black bars. You can use editing tools to adjust your media’s aspect ratio before uploading to Instagram.
Method 6 – Use the Correct Media Formats
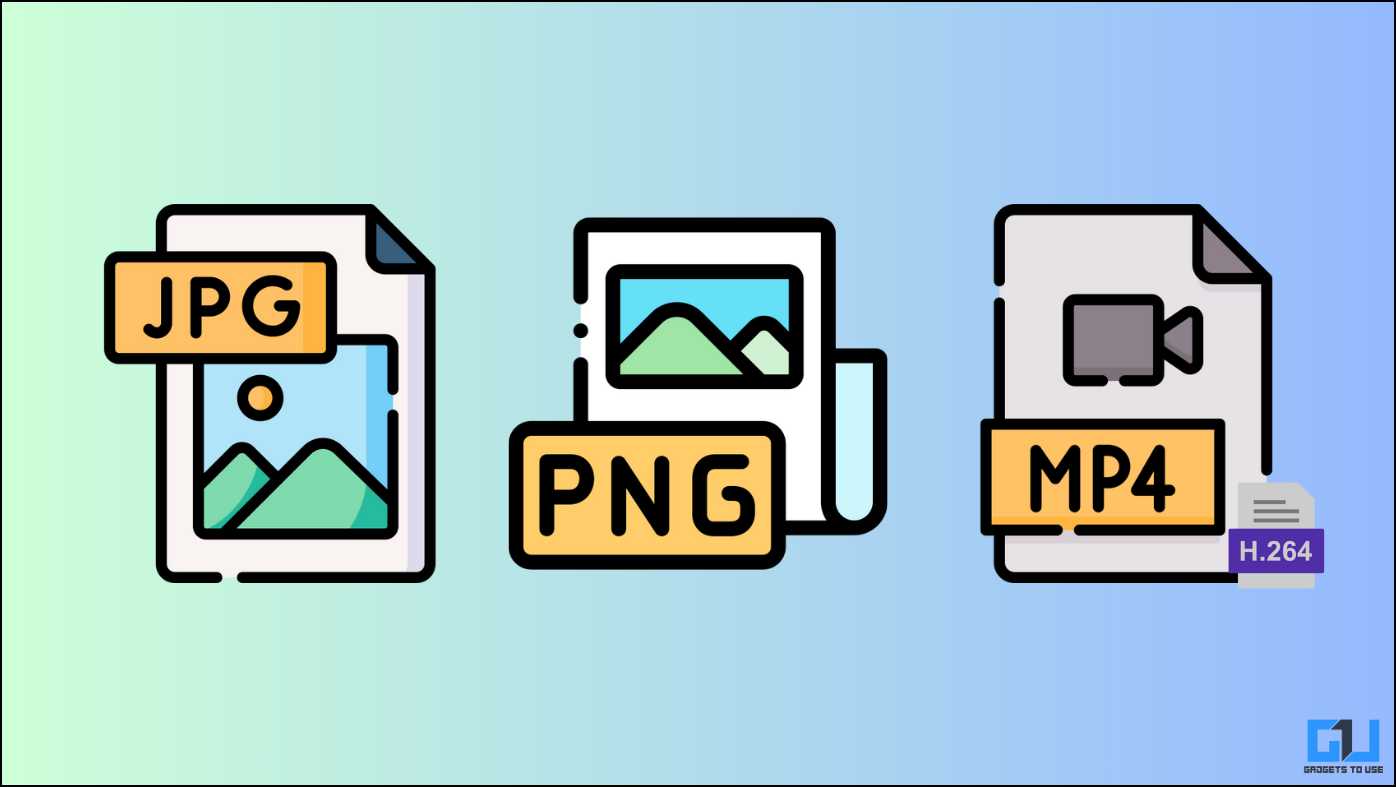
Instagram prefers specific media formats for photos and videos to ensure smooth uploads and playback. Here’s a quick breakdown of the recommended formats:
- Photos: JPEG (.jpg) in sRGB color space
- Videos: MP4 (.mp4) with H.264 codec
 Using the correct formats has several benefits –
- It ensures compatibility, which reduces the likelihood of errors or glitches during the upload process.
- It helps preserve the quality of your photos and videos. If you use incorrect formats, Instagram may have to re-encode your media, which could lead to quality loss.
- Sticking to the recommended formats helps store and deliver your content efficiently.
Using the correct formats ensures a smooth upload, retains the content quality, and contributes to efficient storage and delivery of your content on Instagram.
Method 7 – Compress Media Before Uploading
Compressing your media beforehand is a good practice to minimize quality loss due to Instagram’s compression. We have already discussed how capturing media of the highest quality is essential. However, uploading that file as such will cause Instagram to compress the media and reduce its quality. To prevent this, we can manually compress the media to the recommended settings. For images, export them as JPG with the long side having 1080px and quality set to 80%. You can also try increasing the sharpness slightly when editing to compensate for the loss in sharpness caused by Instagram’s compression. 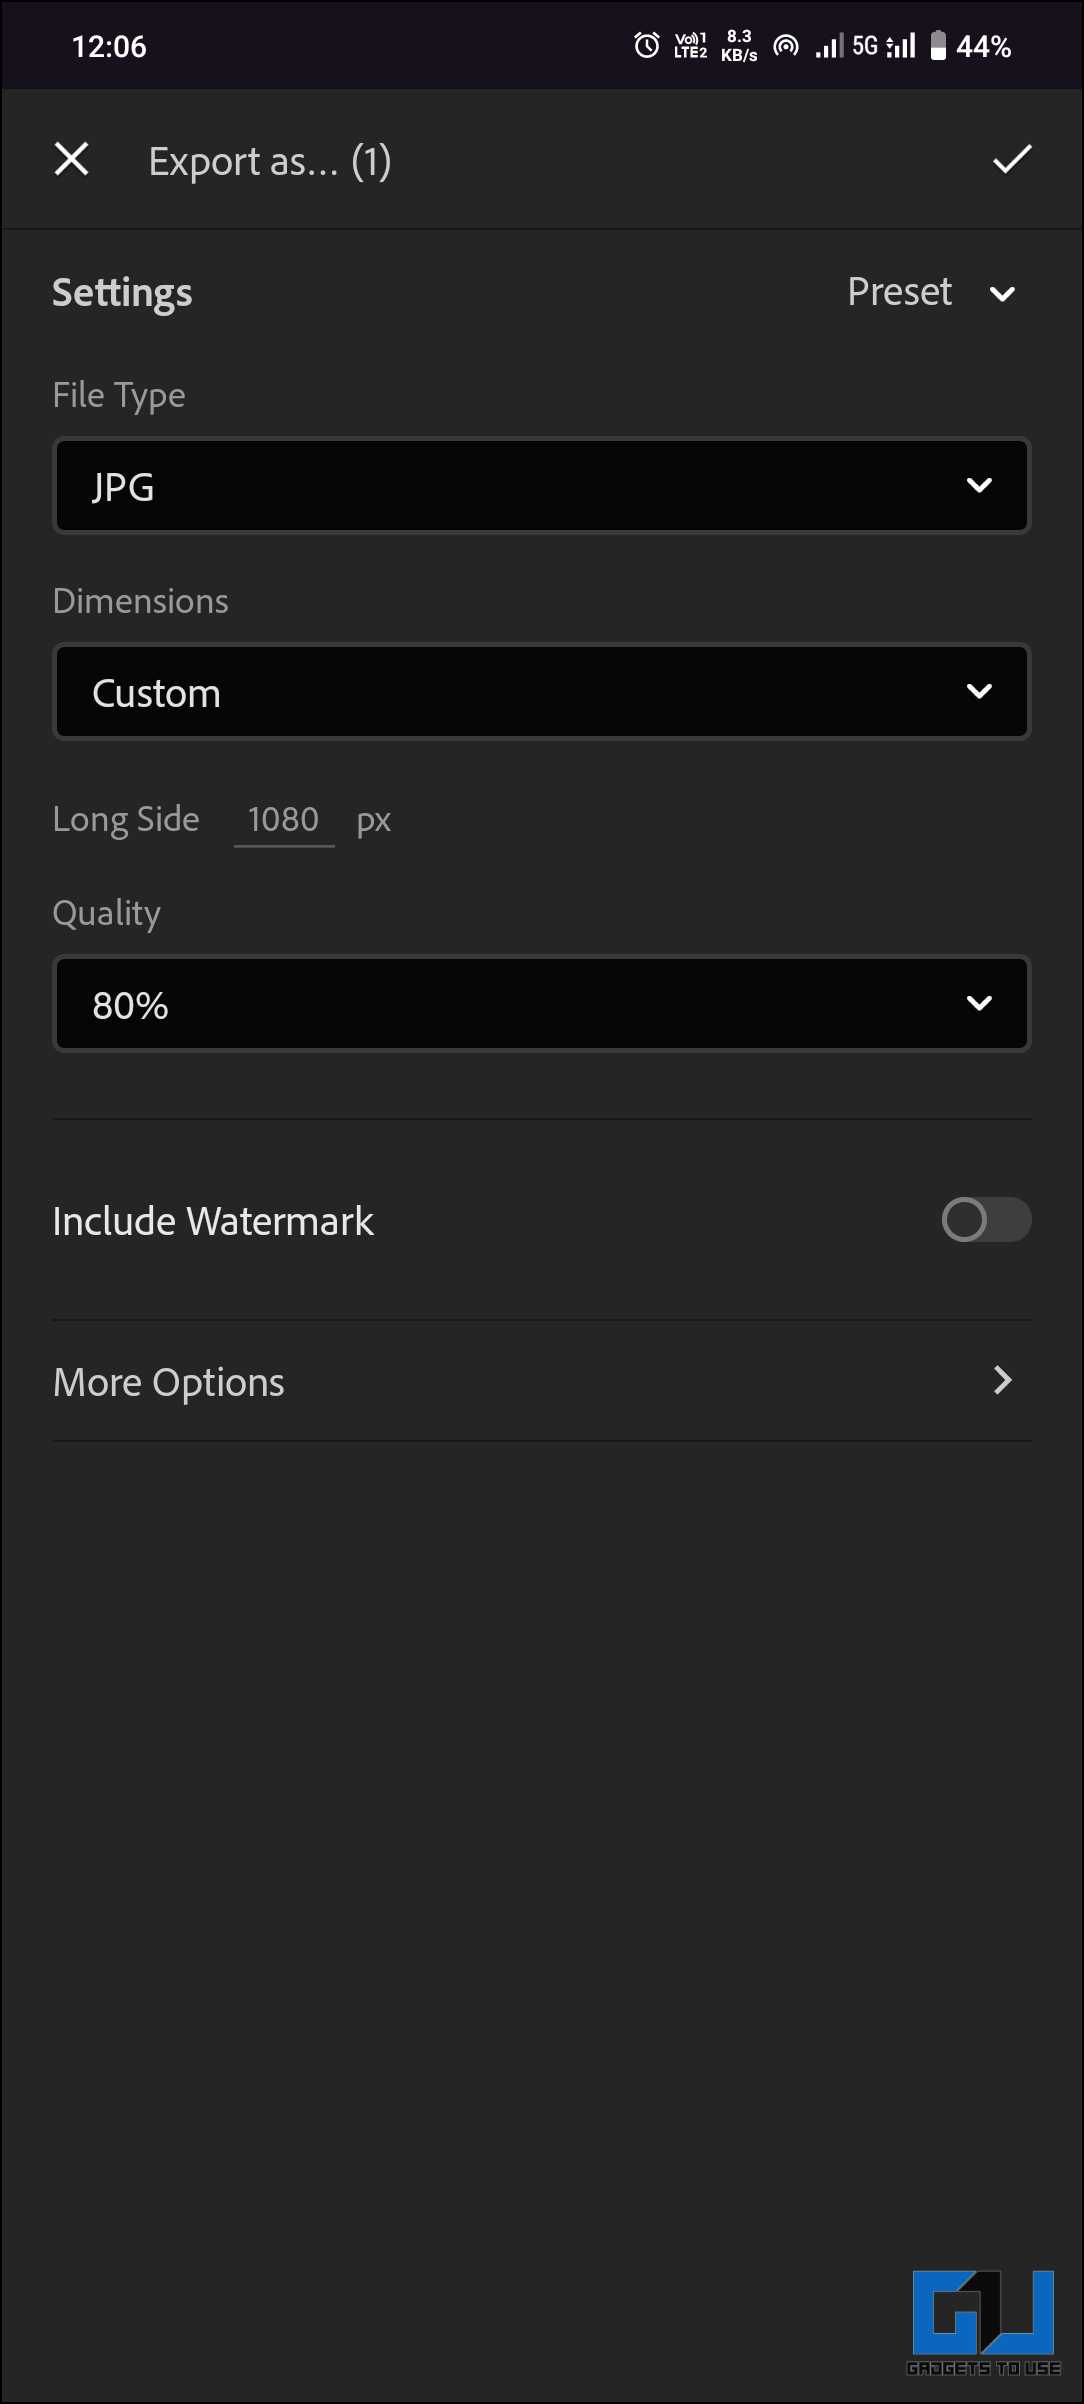 When handling high-quality videos, it is best to compress them to 1080p at 30fps (the max resolution and frame rate supported by Instagram). To manually compress videos, you can use any video editor and punch in the settings when exporting the video. The best export settings for Instagram videos are –
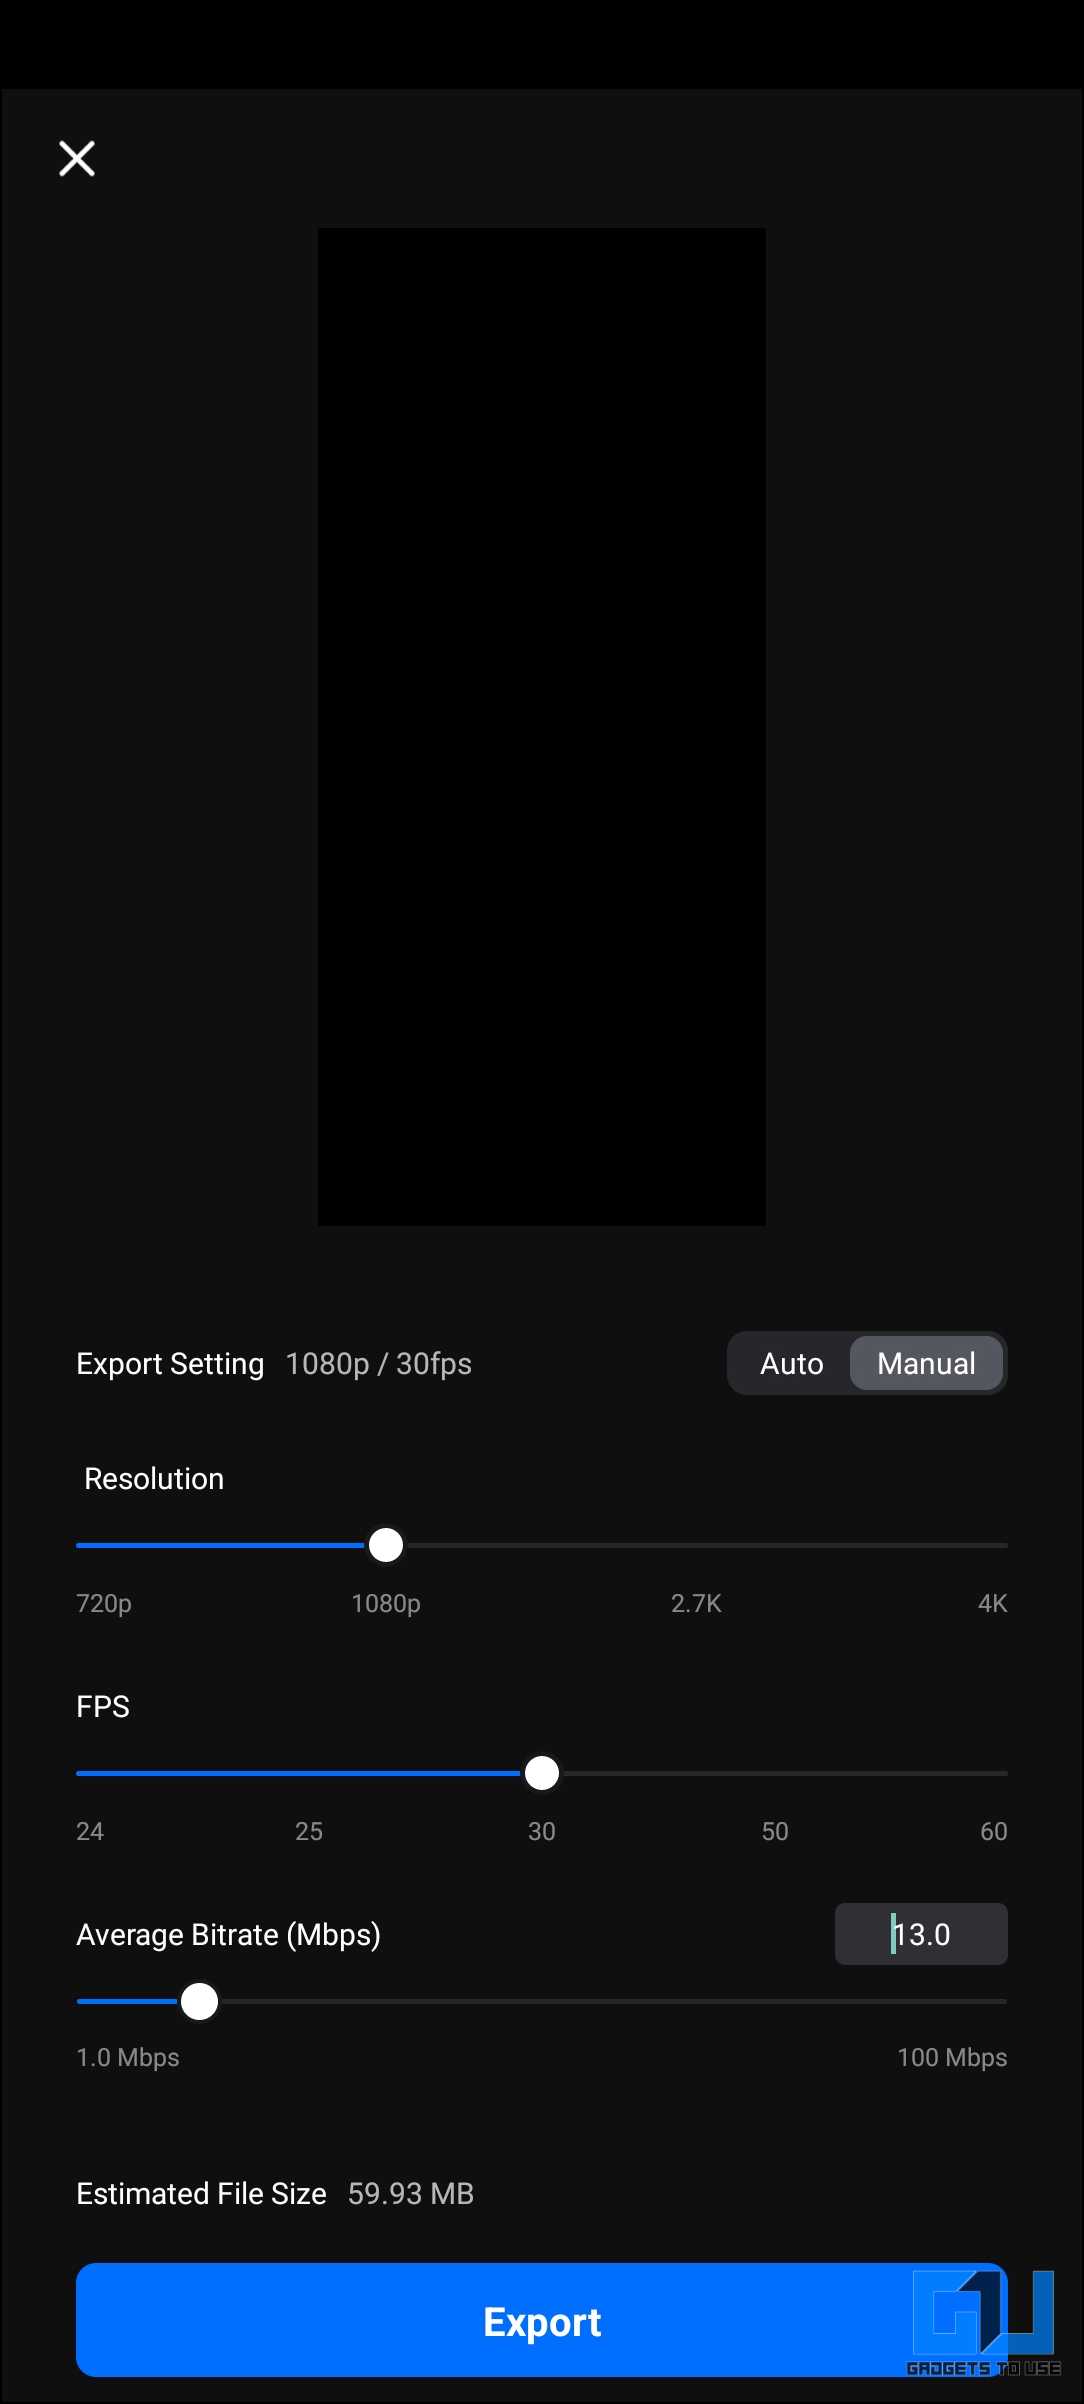
- File Format – MP4 or MOV
- Video Codec – H.264 codec
- Resolution – 1080p
- Frame Rate – 30 fps
- Video Length – within 1 minute
- Audio Codec – AAC audio codec
 If you want to make your reels stand out and have the highest quality possible with punchy colors and dynamic range, follow our curated guide to upload HDR reels on Instagram.
Method 8 – Ensure Image Quality Isn’t Lost During Transfer
It might not be obvious, but some quality loss happens when transferring images between devices. It is essential not to have this loss in quality. WhatsApp and other messaging applications are notorious for adding potent compression to files when sending such files. So, avoid messaging apps while transferring your media. The ideal method for transferring media is to use data cables and transfer them directly from memory cards. This ensures that no quality loss happens during the transfer. You can also use cloud storage services like DropBox, Google Drive, etc. On Apple devices, you can use AirDrop can for faster transfer. ![]()
Method 9 – Ensure a Strong Internet Connection
A strong internet connection is crucial for adequately uploading any media. If the connection is weak, Instagram might apply even stronger compression so that the media can be easily uploaded, further degrading the quality of the media. When it comes time to upload on Instagram, ensure you are in an area with a strong internet connection. Use a wired connection if possible, as it will have better speed and stability. If you are in an area with a weak connection, postpone the upload to when you can access a stable and strong connection. You can test the connection’s speed using internet speed test tools like SpeedTest by Ookla and Fast.com. 
Method 10 – Upload via the Web App
One last method to ensure the highest-quality uploads to Instagram is to use the Instagram website instead of the mobile app. This eliminates some of the compression that the Instagram app causes. 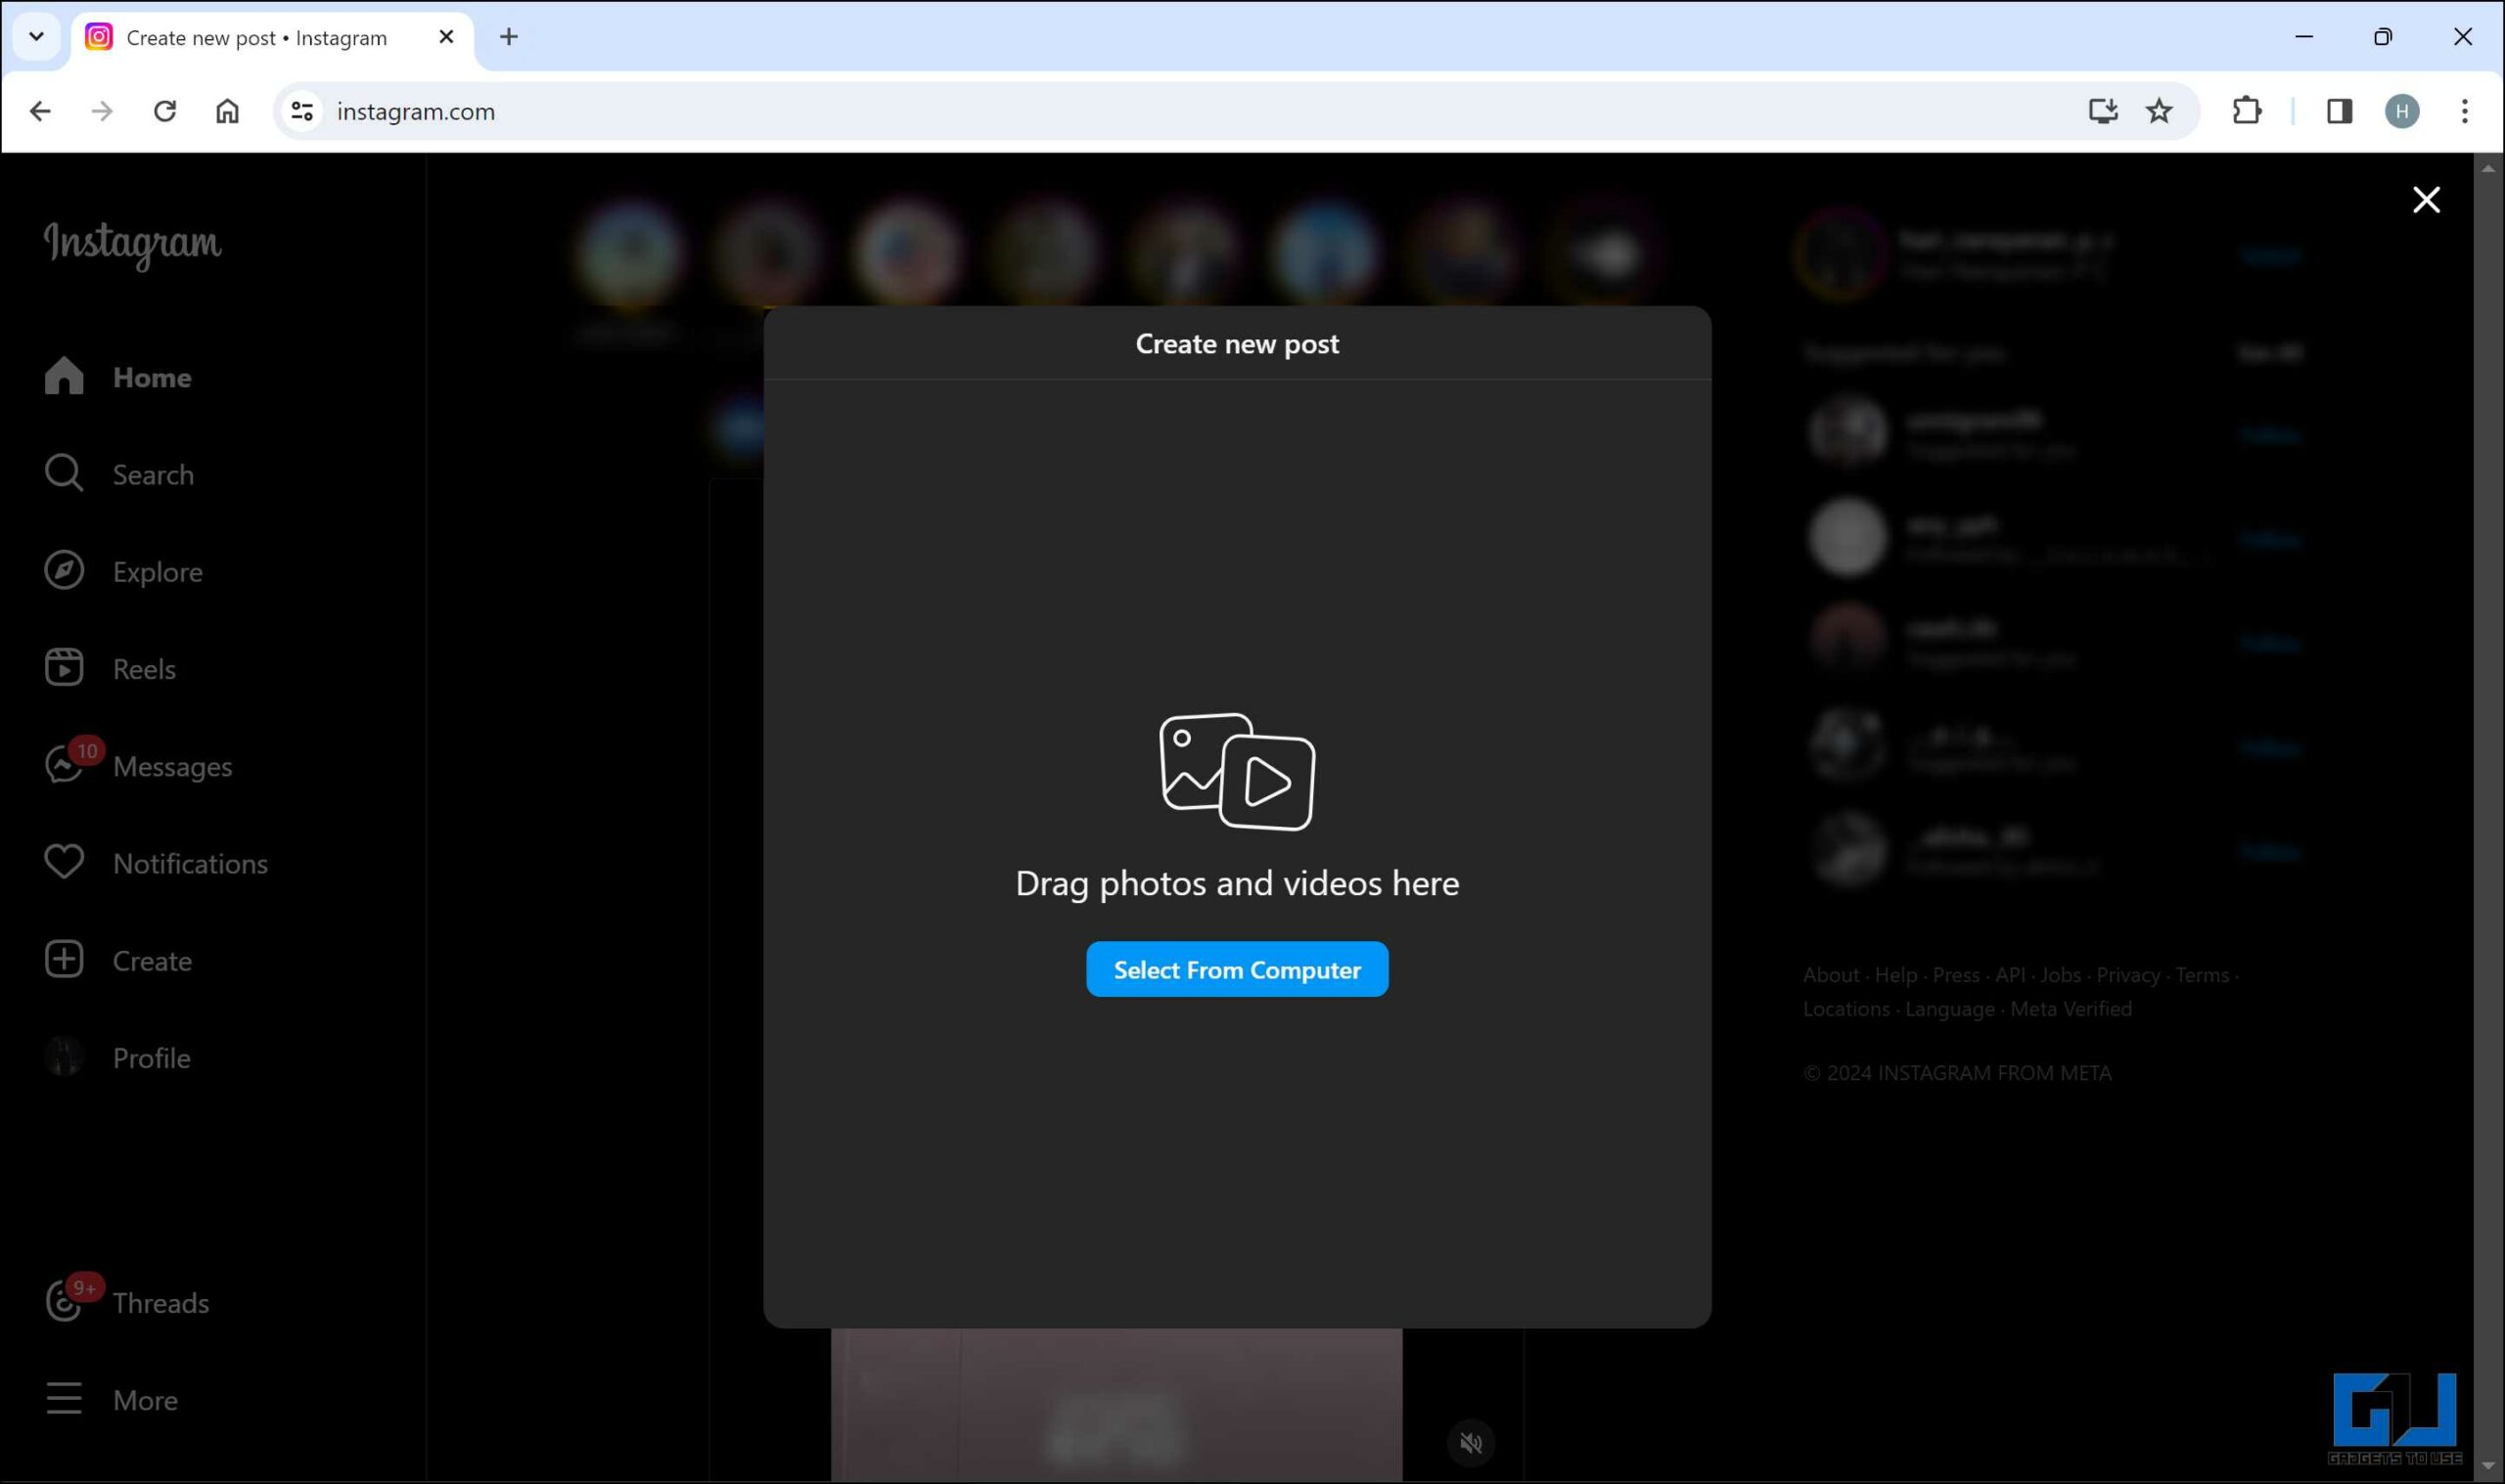
FAQs
Q. Why Do My Photos and Videos Look Blurry on Instagram?
There are several reasons why your Instagram photos might be low quality. Instagram’s compression algorithm is one of the main culprits, reducing the image quality to improve load times and server efficiency. Other reasons include using low-quality source media, incorrect aspect ratios, or low-resolution uploads.
Q. Why Does Instagram Reduce the Quality of My Images and Videos?
Instagram compresses your photos and videos to save storage space and bandwidth. This is necessary because millions of uploads are made daily, and handling all those puts pressure on the servers. Although this compression leads to some loss in quality, it ensures faster loading times and a smoother experience for all platform users. As mentioned in this blog post, it is recommended to use appropriate formats and settings when uploading your media.
Q. How Do I Ensure I Get the Best Quality Uploads on Instagram?
For the highest-quality Instagram uploads, start with high-quality photos and videos. Under settings, enable “High-Quality Uploads” and use the recommended formats (JPEG for photos, MP4 with H.264 for videos). You can also pre-compress your media, adjust the aspect ratios, and keep the file size under Instagram’s limits. These steps help minimize quality loss from Instagram’s compression.
Q. How Do You Upload Videos to Instagram Without Losing Quality?
Unfortunately, you can not completely prevent quality loss when uploading to Instagram, as it uses a compression algorithm on everything to save storage space. However, you can minimize it by following the methods mentioned in this blog post.
Conclusion
While you can not eliminate Instagram’s compression, you can use the simple methods mentioned above to decrease the effect. Following these steps ensures you get the highest possible quality when uploading media to Instagram. Now, you can put forward your best work in the highest possible quality for the viewers to enjoy. Stay tuned to GadgetsToUse for more such reads. You might be interested in the following:
- 5 Ways to Turn Off Instagram Broadcast Channel Notifications
- 11 Secret Tricks for Instagram Reels You Must Know in 2024
- How to Add a Song to Your Instagram Profile
- How to Upload High Quality Video or Photo as WhatsApp Status
You can also follow us for instant tech news at Google News or for tips and tricks, smartphones & gadgets reviews, join the GadgetsToUse Telegram Group, or subscribe to the GadgetsToUse Youtube Channel for the latest review videos.