Quick Answer
- And if you are here, you want to know how to filter out the geotagged images according to the location where those were shot.
- You can also tap the map above the pictures to open it and drag and swipe to check images shot at other locations.
- If you zoom out on the map a bit, blue blobs will appear at certain locations, depicting pictures from the said location.
Your smartphone adds a location tag whenever you take a picture from it. This comes in handy in various situations, so you can easily check out the location for that image. And if you are here, you want to know how to filter out the geotagged images according to the location where those were shot. Here, we’ll discuss tips and tricks to do the same on your smartphone or desktop. You can also check out how to easily filter images according to a face on your iPhone.
How to Filter Images According to Geolocation on Smartphone or PC?
There are various ways on different devices to find pictures according to location. We will talk about those methods for each device so you can use the method that suits you the best.
Method 1 – Filter Geotagged Images on Desktop
The web version of Google Photos has many similar features on your smartphone. You can easily filter out images according to where you took those pictures. Follow these steps to easily filter pictures shot at a specific location through all your photos.
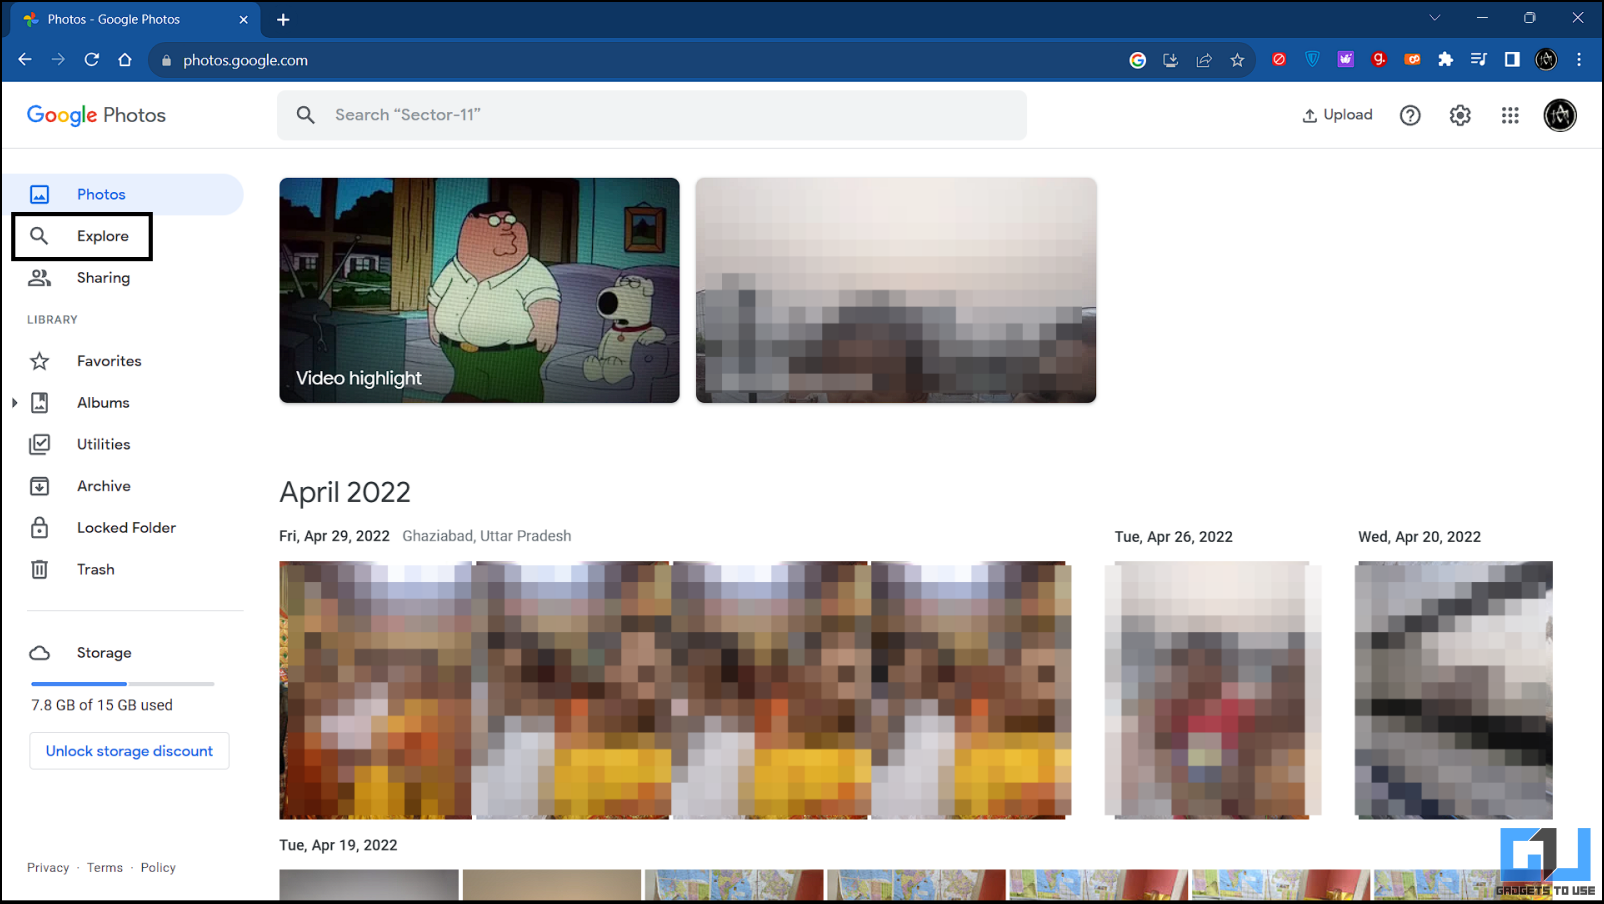
1. Open Google Photos on a PC browser and log into your Google Account.
2. Select the Explore option from the left panel.
3. Under the Places section, click the View All link to open the list of the locations.
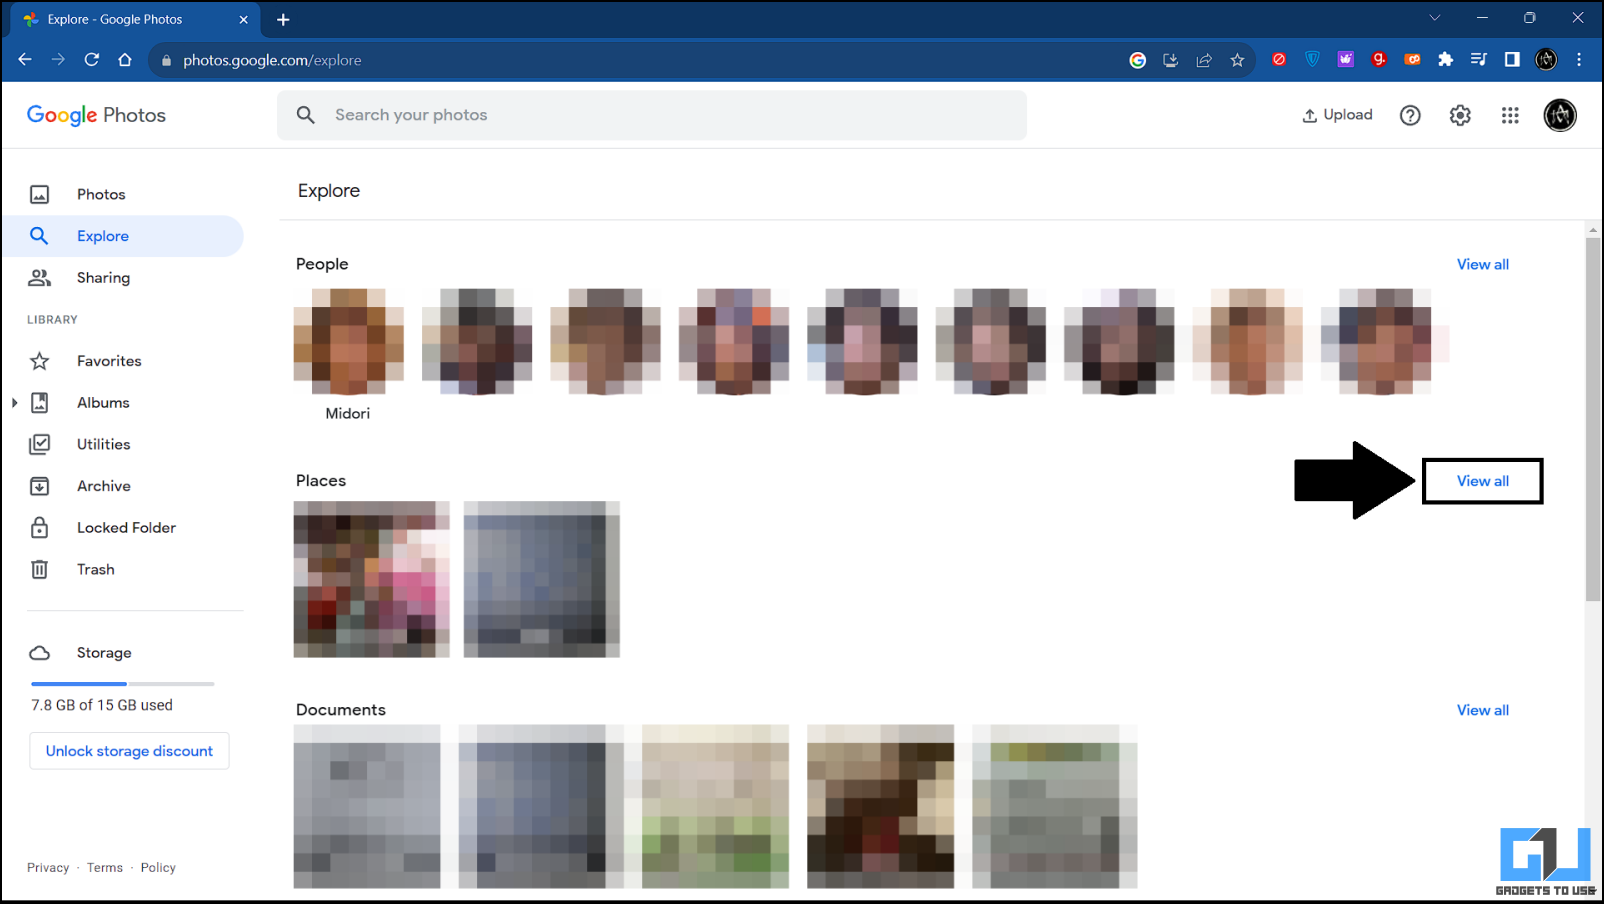
4. Here, you will see the albums with different location names.
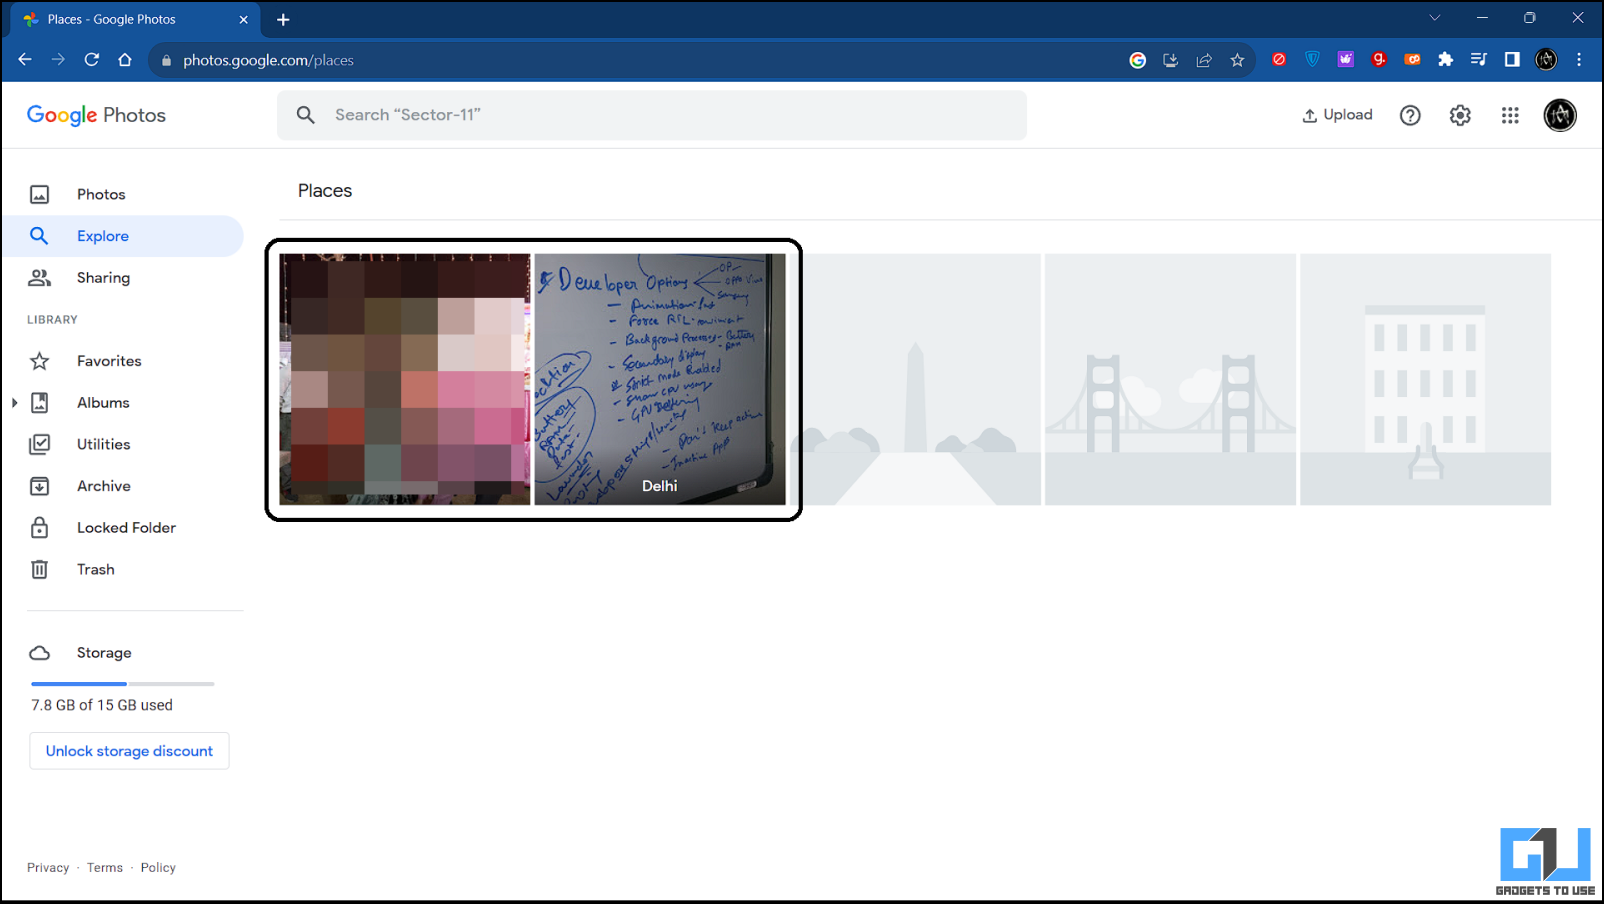
5. Open the desired location to see all the pictures captured at the same location.
Here, you will find all the pictures related to that particular location. You can download the pictures to your PC if you want. But this feature only works for the pictures uploaded to Google Photos. You can do the same on your Android smartphone as well.
Method 2 – Filter Geotagged Photos on Samsung Galaxy Smartphones
Samsung’s default gallery app lets you search for the pictures you took at a location. You don’t need any third-party app for that. This feature is available on all Samsung Galaxy smartphones running OneUI. Here’s a step-by-step guide for your walkthrough.
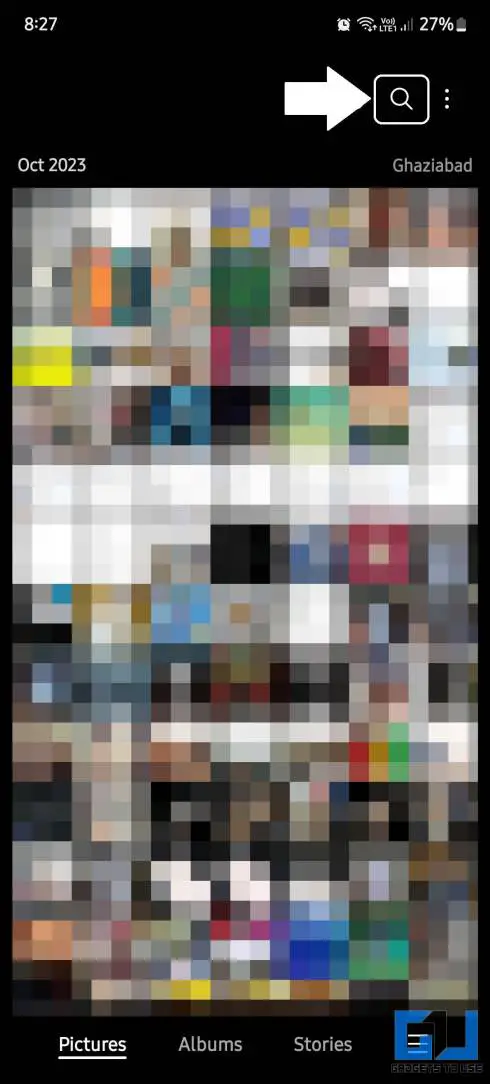
1. Open the Gallery app on your Samsung smartphone.
2. Tap the search icon in the top right corner.
3. The search page will show several search filters for your images.
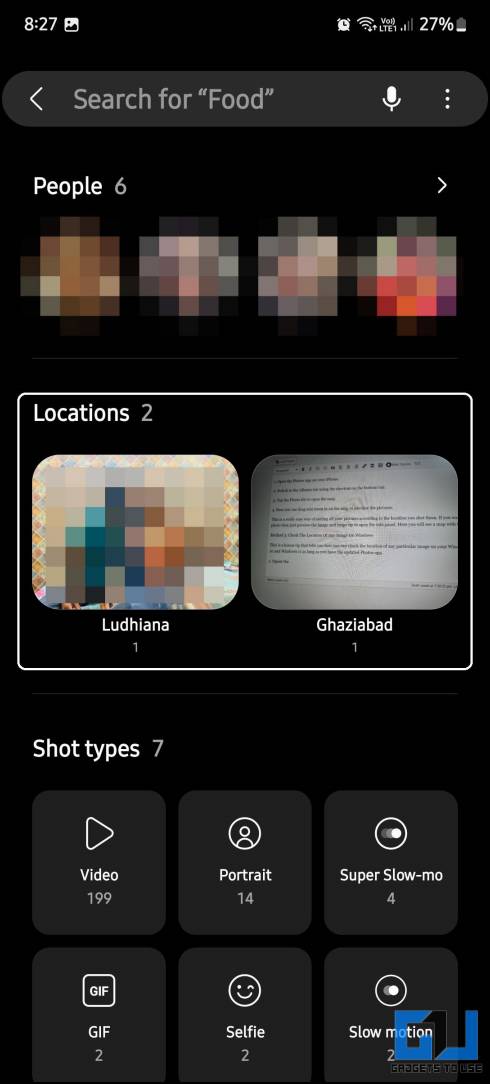
4. Select the desired location under the Locations section.
5. You will be presented with all the images you took at that location.
You can also tap the map above the pictures to open it and drag and swipe to check images shot at other locations.
Method 3 – Filter Geotagged Pictures on Android
You can try the Google Photos trick if you do not own a Samsung smartphone. Google Photos app lets you filter the camera photos according to the location.
1. Download and open the Google Photos app from the Google Play Store.
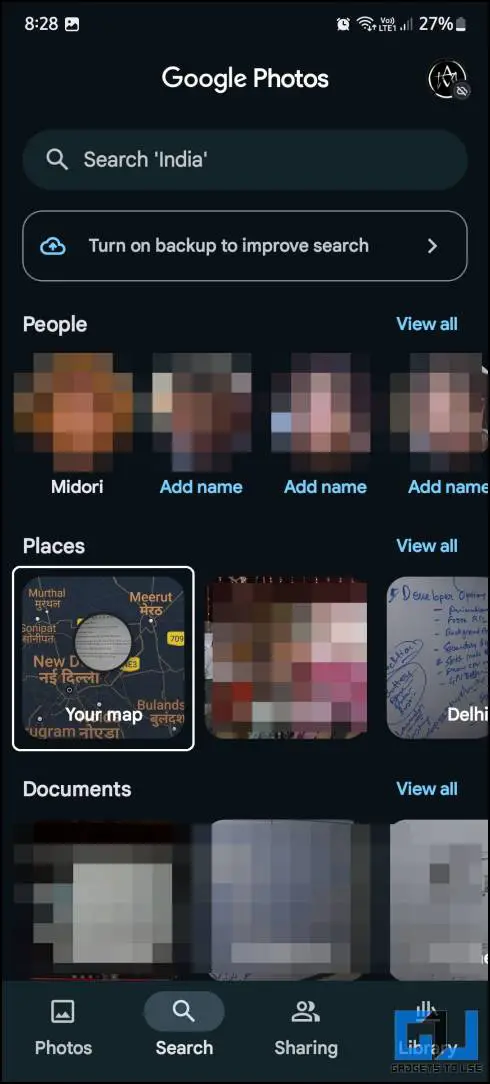
2. Switch to the Search tab from the bottom navigation bar.
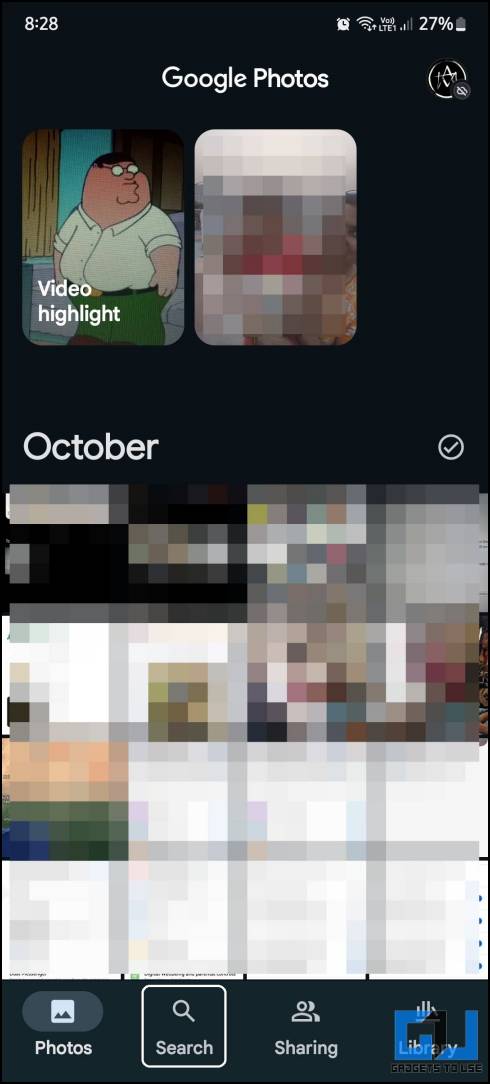
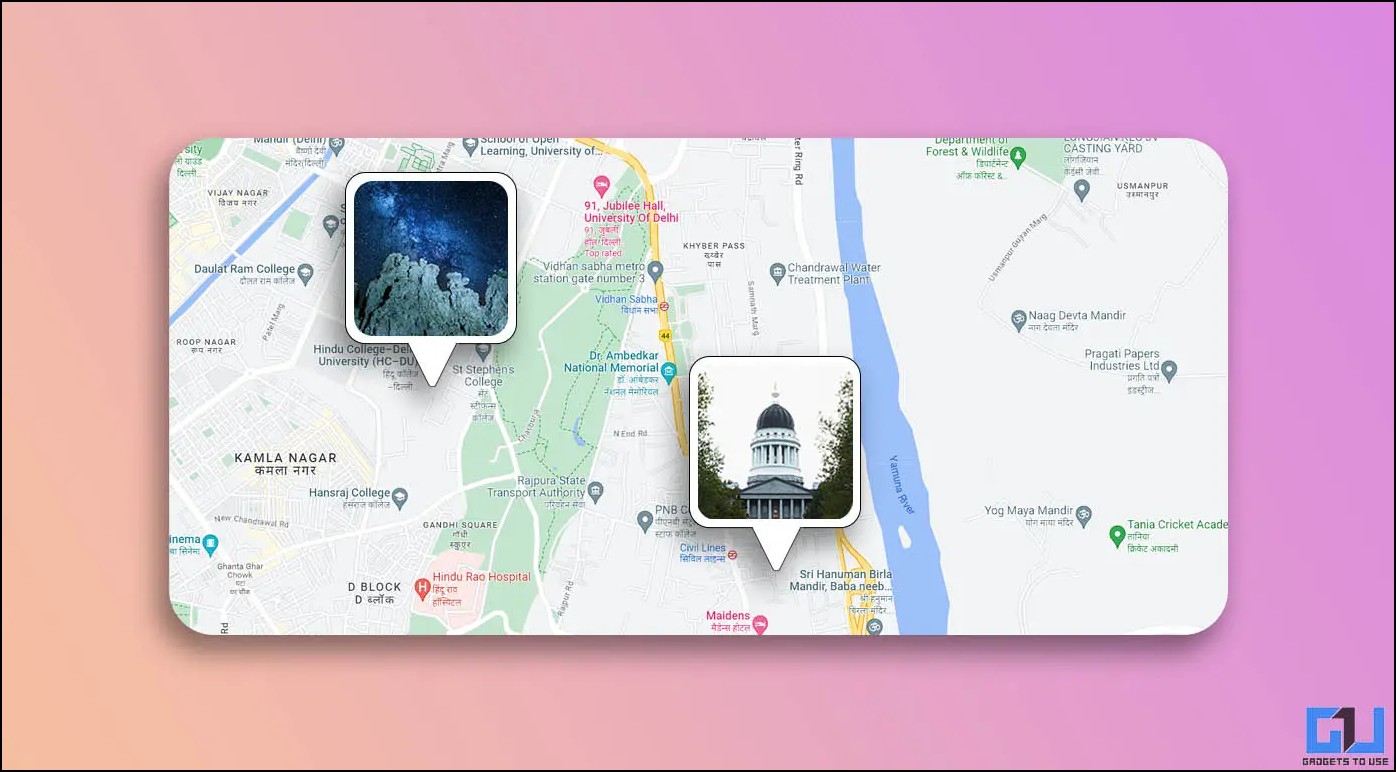
3. Tap the Your Map option under the Places section.
4. Drag on the map to see the pictures shot at other locations.
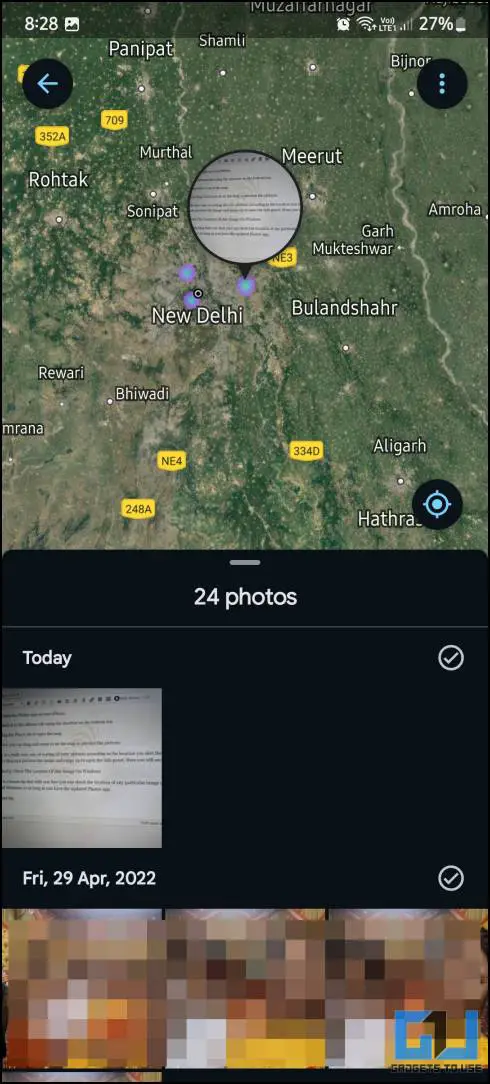
5. Tap the location, and the pictures will appear below the map.
If you zoom out on the map a bit, blue blobs will appear at certain locations, depicting pictures from the said location. You can then zoom in on that location to view those pictures.
Method 4 – Filter Geotagged Pictures on iPhone and iPad
The photos app on an iPhone also lets you see your pictures on an interactive map. You can locate all your photos on that map by dragging and zooming. Here’s how it can be done.
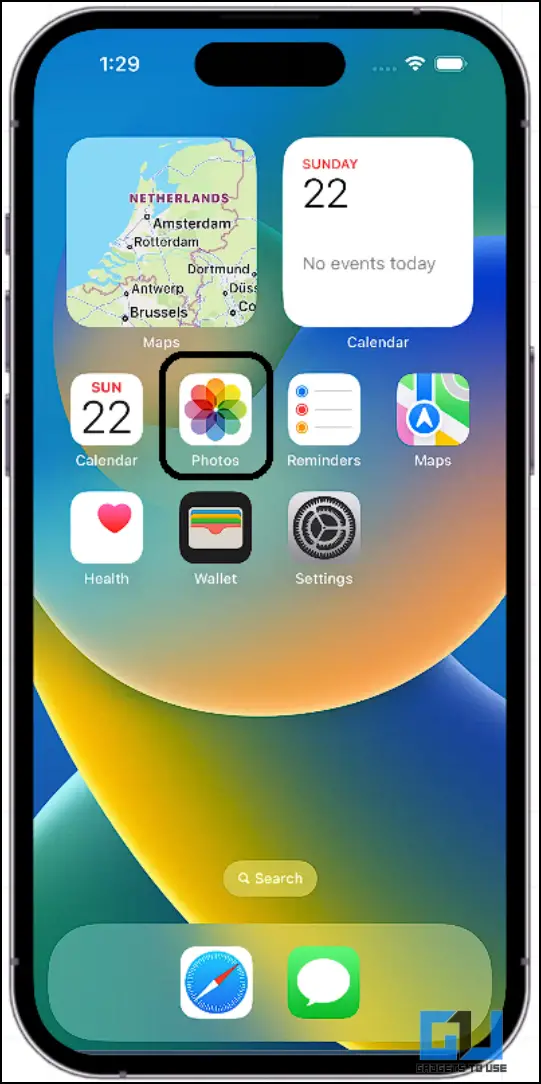
1. Open the Photos app on your iPhone.
2. Switch to the Albums tab using the shortcut on the bottom bar.
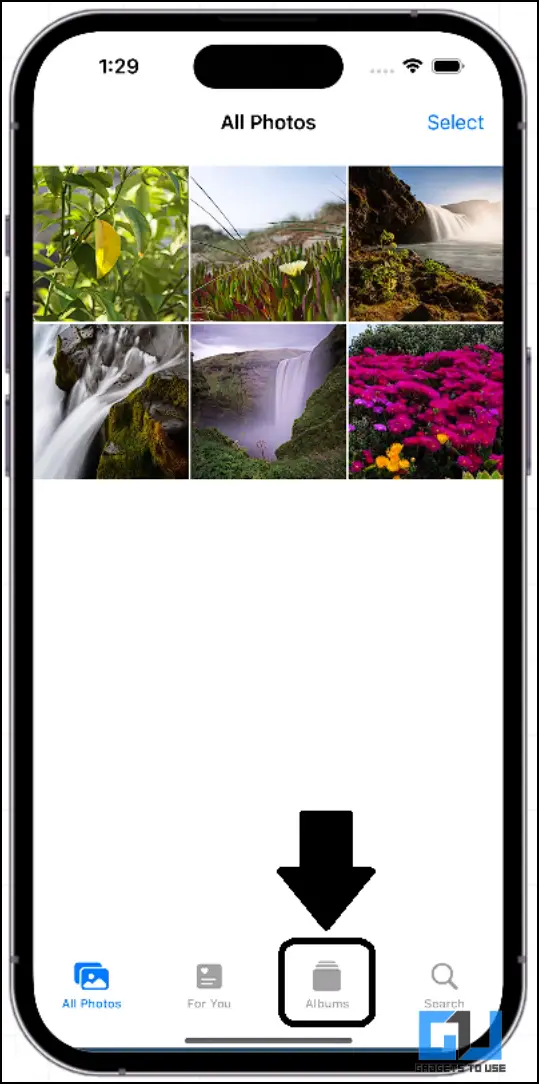
3. Tap the Places tile to open the map.
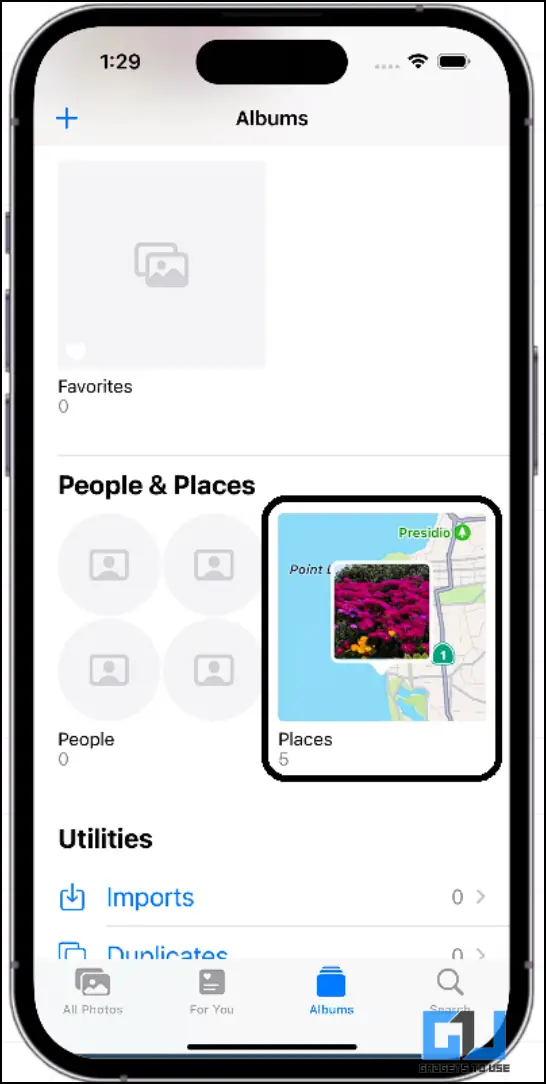
4. Now, you can drag and zoom in on the map to preview the pictures.
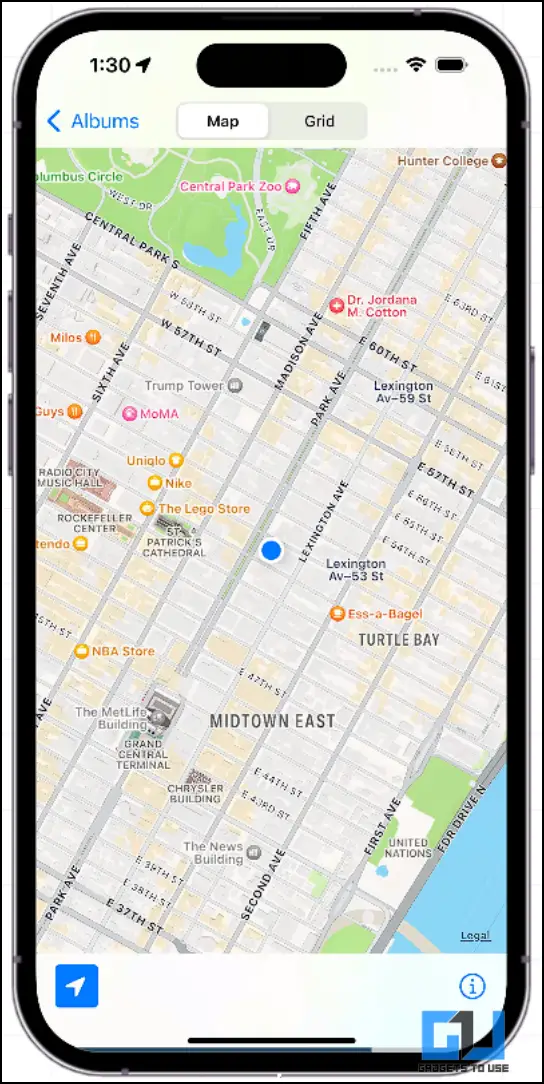
This is a convenient way of sorting all your pictures according to the location you shot them. To know the location of any particular photo, preview the image and swipe up to open the info panel. Here, you will see a map with the location associated with that picture.
Method 5 – Check the Location of Any Image on Windows
This bonus tip tells you how to check the location of any particular image on your Windows PC. This works on both Windows 10 and Windows 11 as long as you have the latest Photos app.
1. Open the image on your Windows PC on the Photos app.
2. Tap the (i) button in the toolbar at the top.
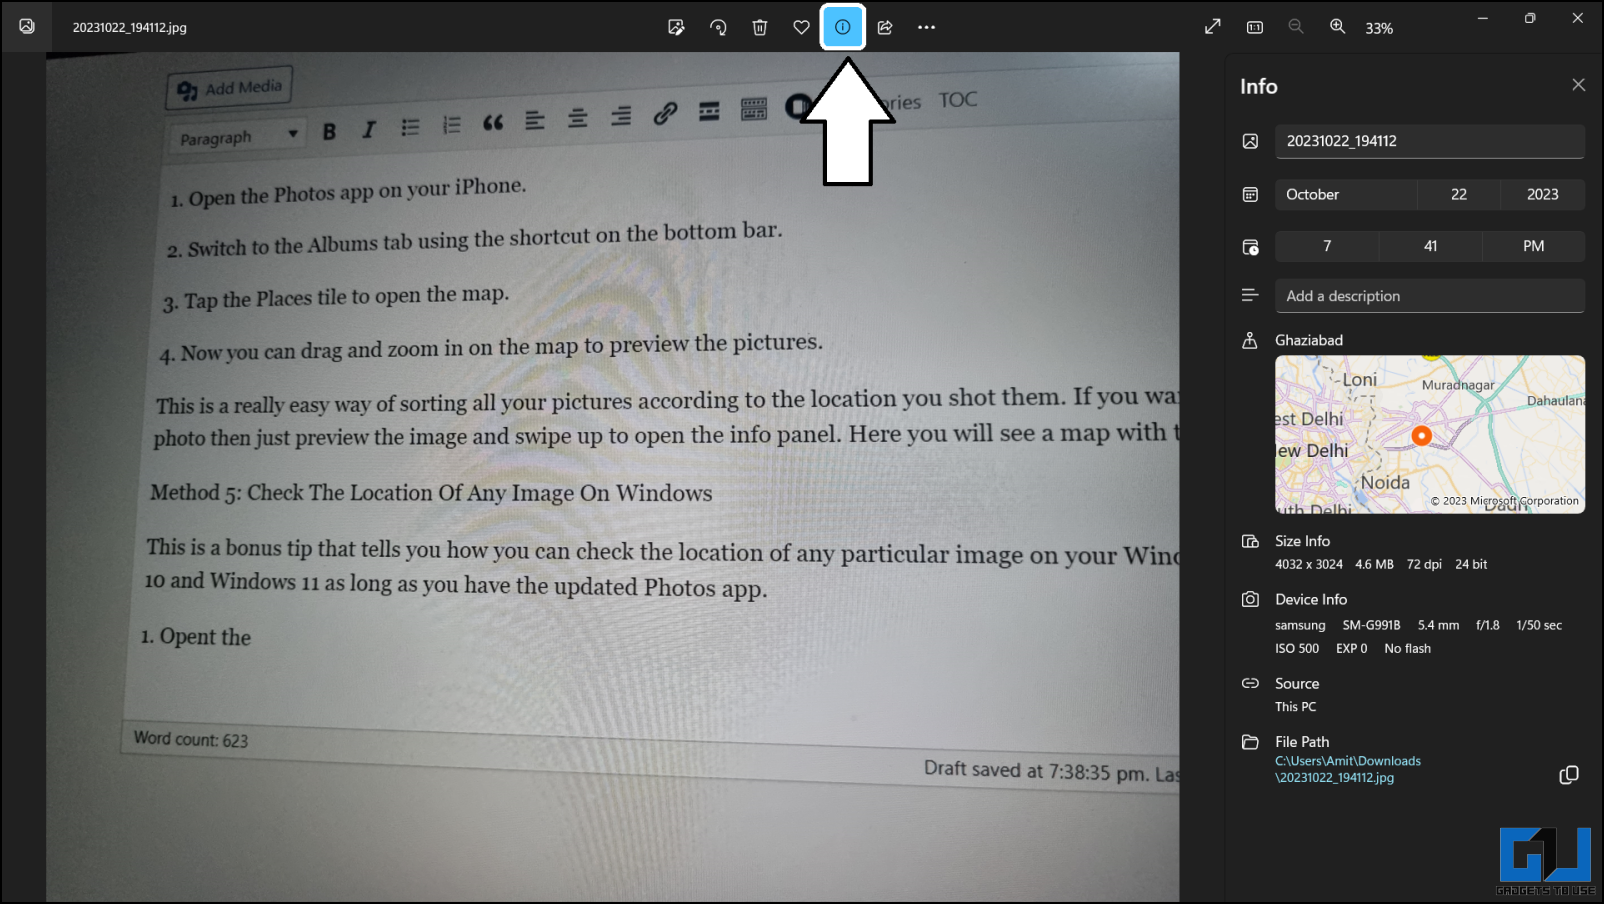
3. The sidebar will open with the information on that image, including the location.
You can zoom in and pan the map on the information bar in the Photos app. This is how you can easily see the location of that image on a Windows PC.
FAQs
Q. How to Filter Images According to Location on My Smartphone?
Using the default gallery app, you can easily filter your photos on your Android and iOS. You can also check out the location attached to any particular photo. Follow the methods mentioned above to learn more about it.
Q. How to Filter Images According to Location on Desktop?
To filter the images on a desktop, you must use the web version of the Google Photos service, and your photos must be uploaded to the Google Cloud server to use this feature. To know the geolocation of an image, you can use the Windows Photos app.
Q. How to Check the Location of Any Particular Photo on Your Smartphone?
The Photos or Gallery app on most smartphones lets you check the details attached to the image. You can use this to check the location of any particular photo on your smartphone.
Wrapping Up
This is how you can easily filter images according to the location on any device, including your smartphone or desktop. This data can come in handy to look back at your memories from a particular location; this location data can also be removed if you want to. Stay tuned to GadgetsToUse for more such reads, and check the ones linked below.
You might be interested in:
- How to Blur Your House or Sensitive Content on Google Maps
- 4 Ways to Measure Distance Between Two Points in Google Maps
- Top 3 Ways to Find Elevated Roads on Google Maps in Your Route
- 3 Ways to Use Google Maps on Phone While Connected to Android Auto
You can also follow us for instant tech news at Google News or for tips and tricks, smartphones & gadgets reviews, join GadgetsToUse Telegram Group, or for the latest review videos subscribe GadgetsToUse Youtube Channel.