Quick Answer
- – Lastly, you can switch to Enhancer tab and enable rules to undo when you swipe to dismiss a notification, Smart shh (mute too frequent notifications automatically), SMS Captcha (add a copy OTP button on SMS notification if not available by default), etc.
- But what if you could auto remove all notifications in a single tap or make them disappear on their own.
- You can manually select apps to hide notifications for, make it remove notifications based on the app icon (for marketing alerts), and even set keyword-based filters (read ads like “free videos,” “games,” etc.
An average user has over 80 apps on their Android phone. With capable hardware, handling them isn’t a problem, but you might get lost in a pool of endless notifications since too many apps = too many alerts = too much clutter and distraction. But what if you could auto remove all notifications in a single tap or make them disappear on their own? Here’s how you can automatically clear notifications on your Android phone.

How to Automatically Clear Notifications on Android?
We all use multiple apps on our phones from different categories like social media, shopping, messaging, entertainment, and so on. Most of these apps throw notifications every now and then, which may not only distract you but also make you skip important alerts.

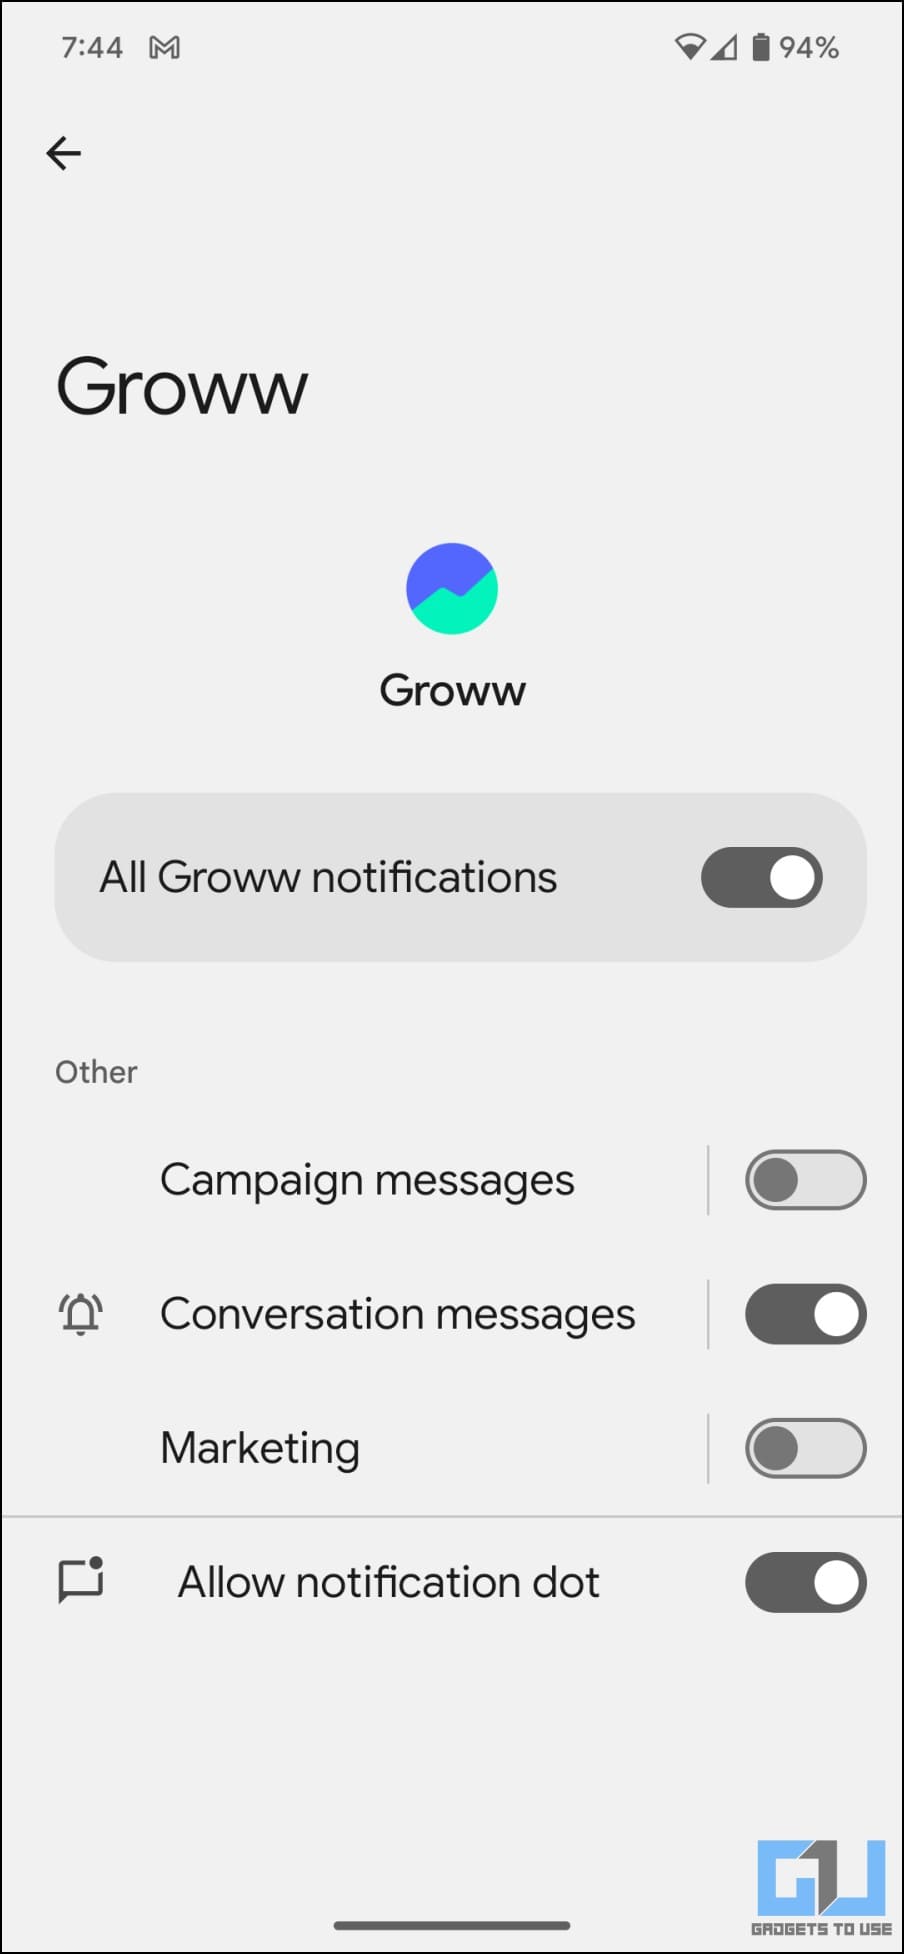
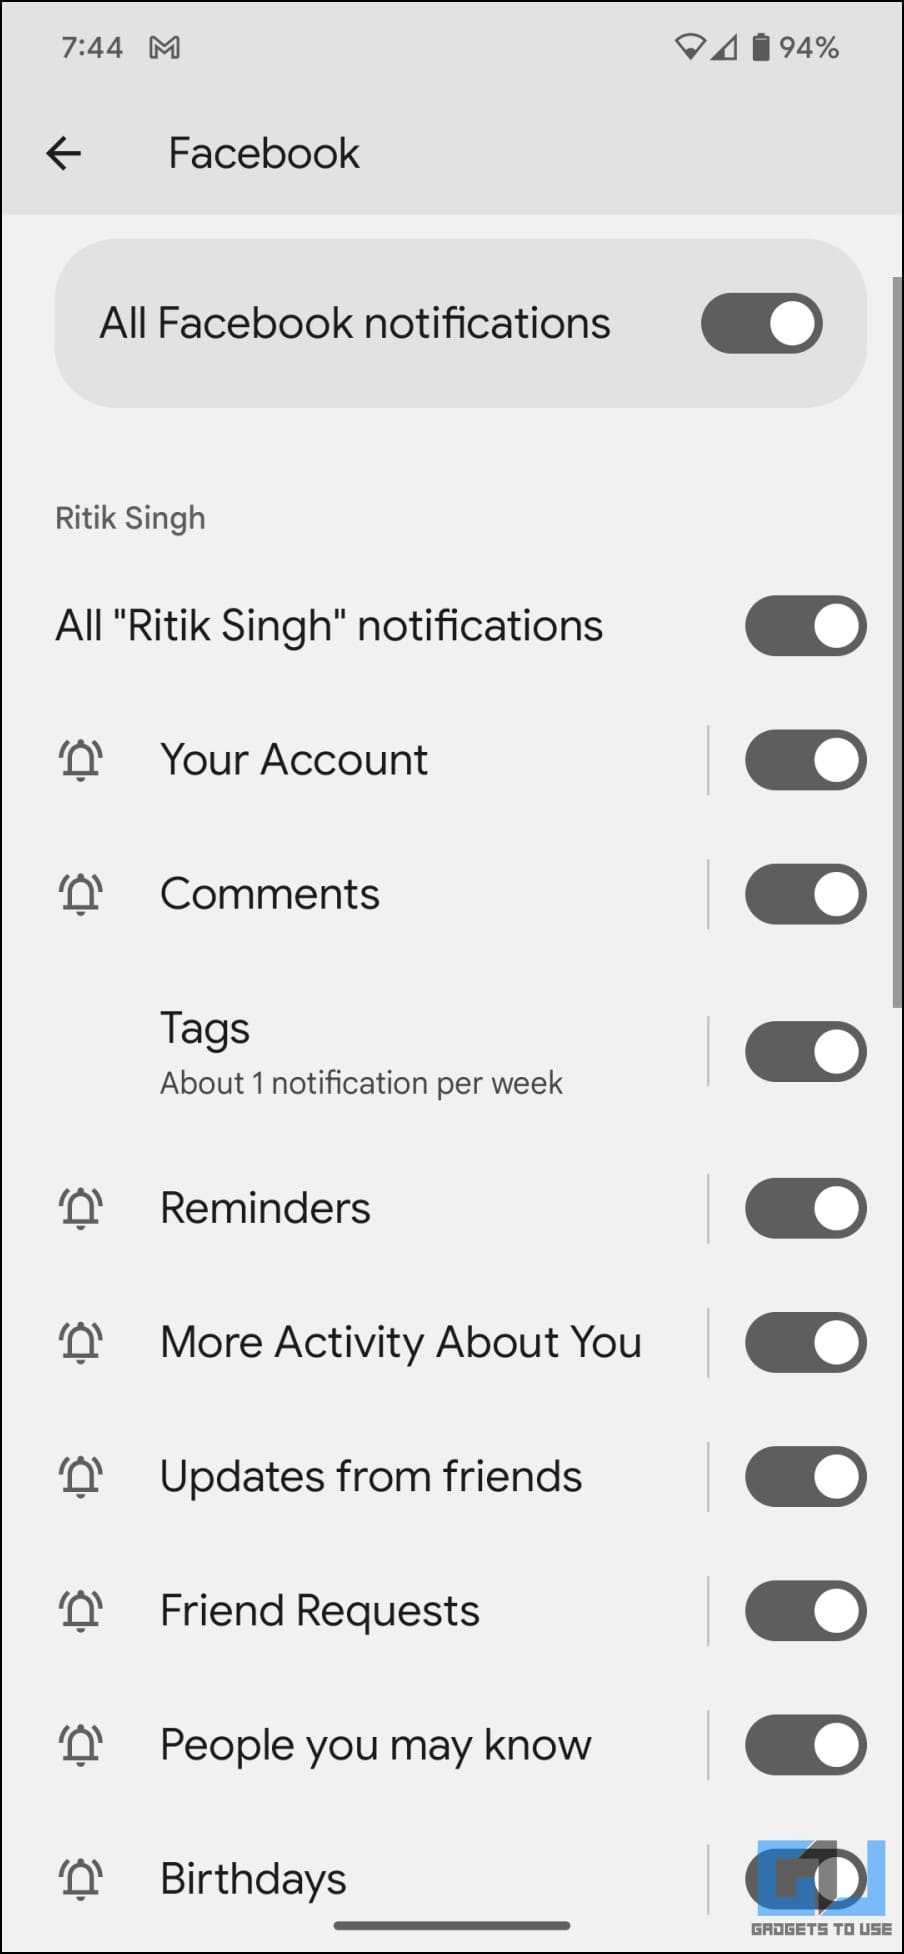
Android tries to curb this by keeping notifications off by default for apps you install on Android 13 or 14. But again, many of you may still not have access to the update. Older Android versions allow you to control certain notifications granularly, but not all apps support it.
This is where third-party applications come to the rescue. Using them, your Android phone can clear notifications automatically, hide them until a specific time, or even silence them using AI. Read on.
Method 1- Using Auto Clear Notifications app
Auto Clear Notifications lets you remove unwanted notifications automatically. You can manually select apps to hide notifications for, make it remove notifications based on the app icon (for marketing alerts), and even set keyword-based filters (read ads like “free videos,” “games,” etc.).
The app keeps a backup of cleared notifications to check if you missed something important.
1. Install Auto Clear Notifications on your Android phone.
2. Open the app and grant permission to access notifications.
3. Once done, enable the toggle for “Turn on auto cancel notifications.”
4. Check the boxes for the application name, icon group, and filters.
5. Now, scroll to the “App List” tab.
6. Tap the + icon and select apps you want to auto-remove notifications for.
7. You can also choose to clear notifications based on the app icon (some apps use different icons for different notifications, such as marketing) or add keyword filters (for example: video, hot games, download now, invest, buy now, cart, offer, discount, etc.).
8. Once done, enable Keep backup of cleared notifications on the app home page.
The app will now automatically remove app notifications based on the rules you’ve set. You can see all of them later in the “Cleared Notifications” tab.
Method 2- Automatically Clear Notifications Using FilterBox AI
FilterBox is a highly versatile app with multiple ways to deal with notifications. For starters, there’s a local AI engine onboard to detect and automatically swipe away spam alerts. Furthermore, you can create rules to block certain notifications, use recommended ones, or even import from other users.
Here’s how you can use FilterBox to get rid of unwanted notifications on your phone:
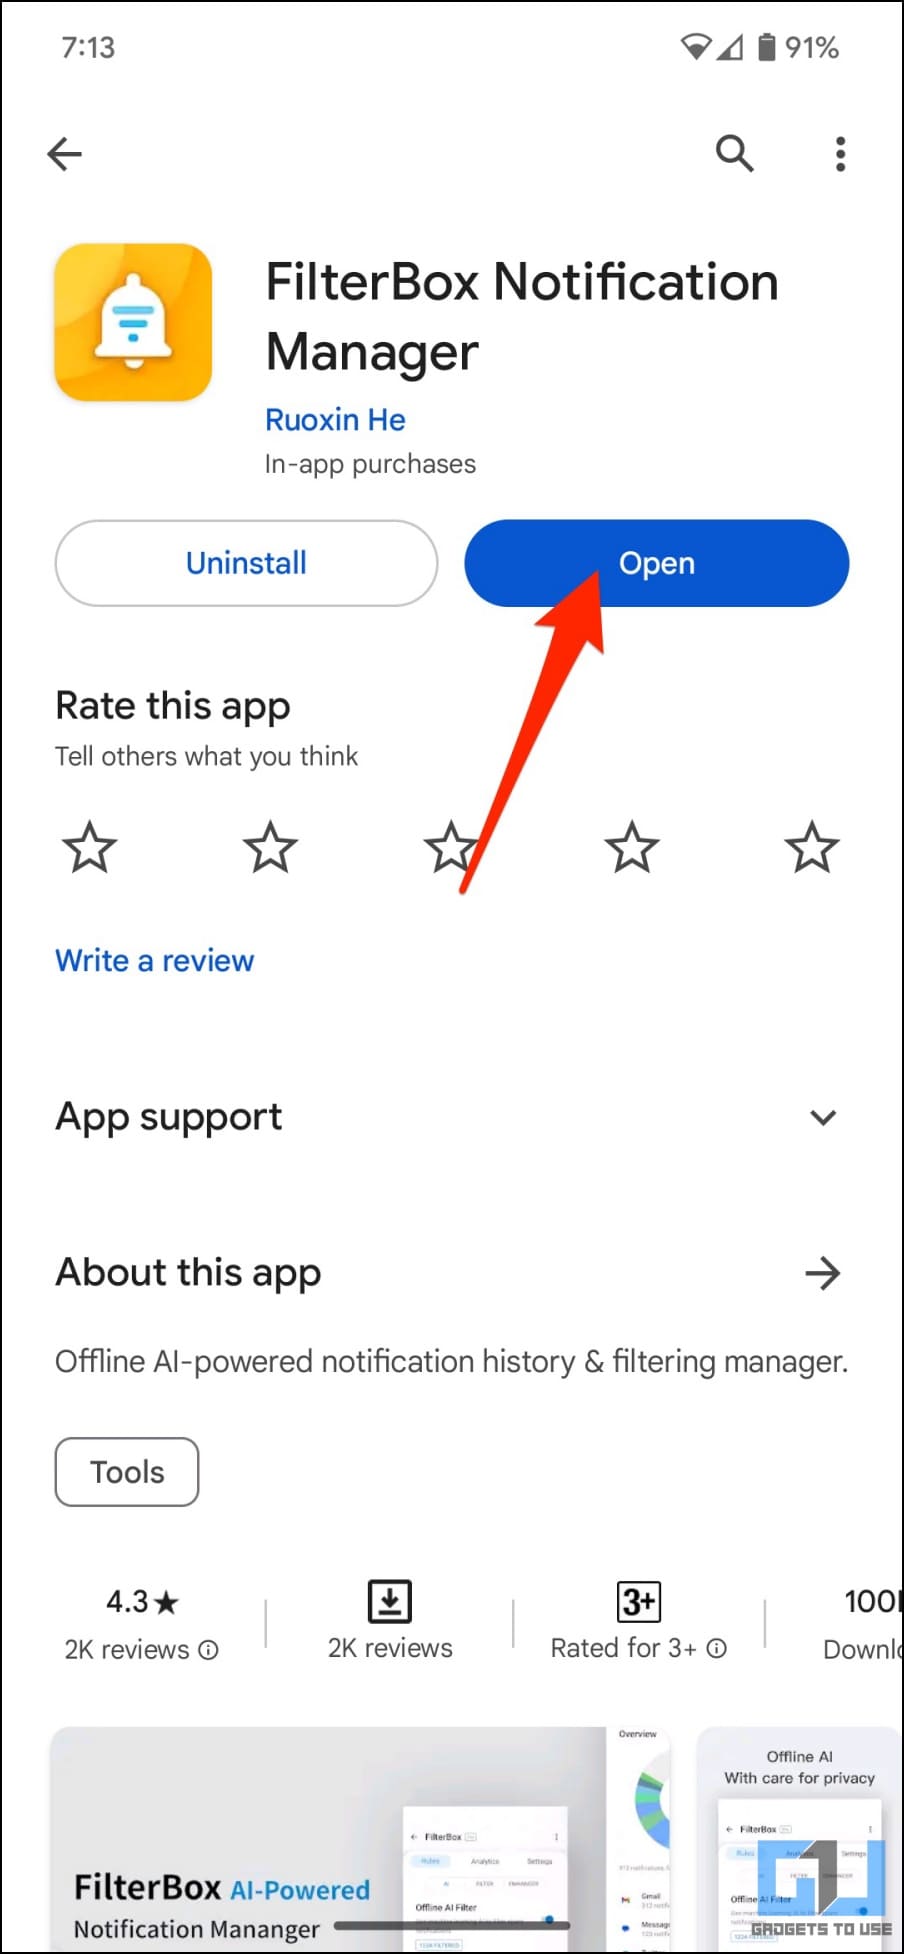
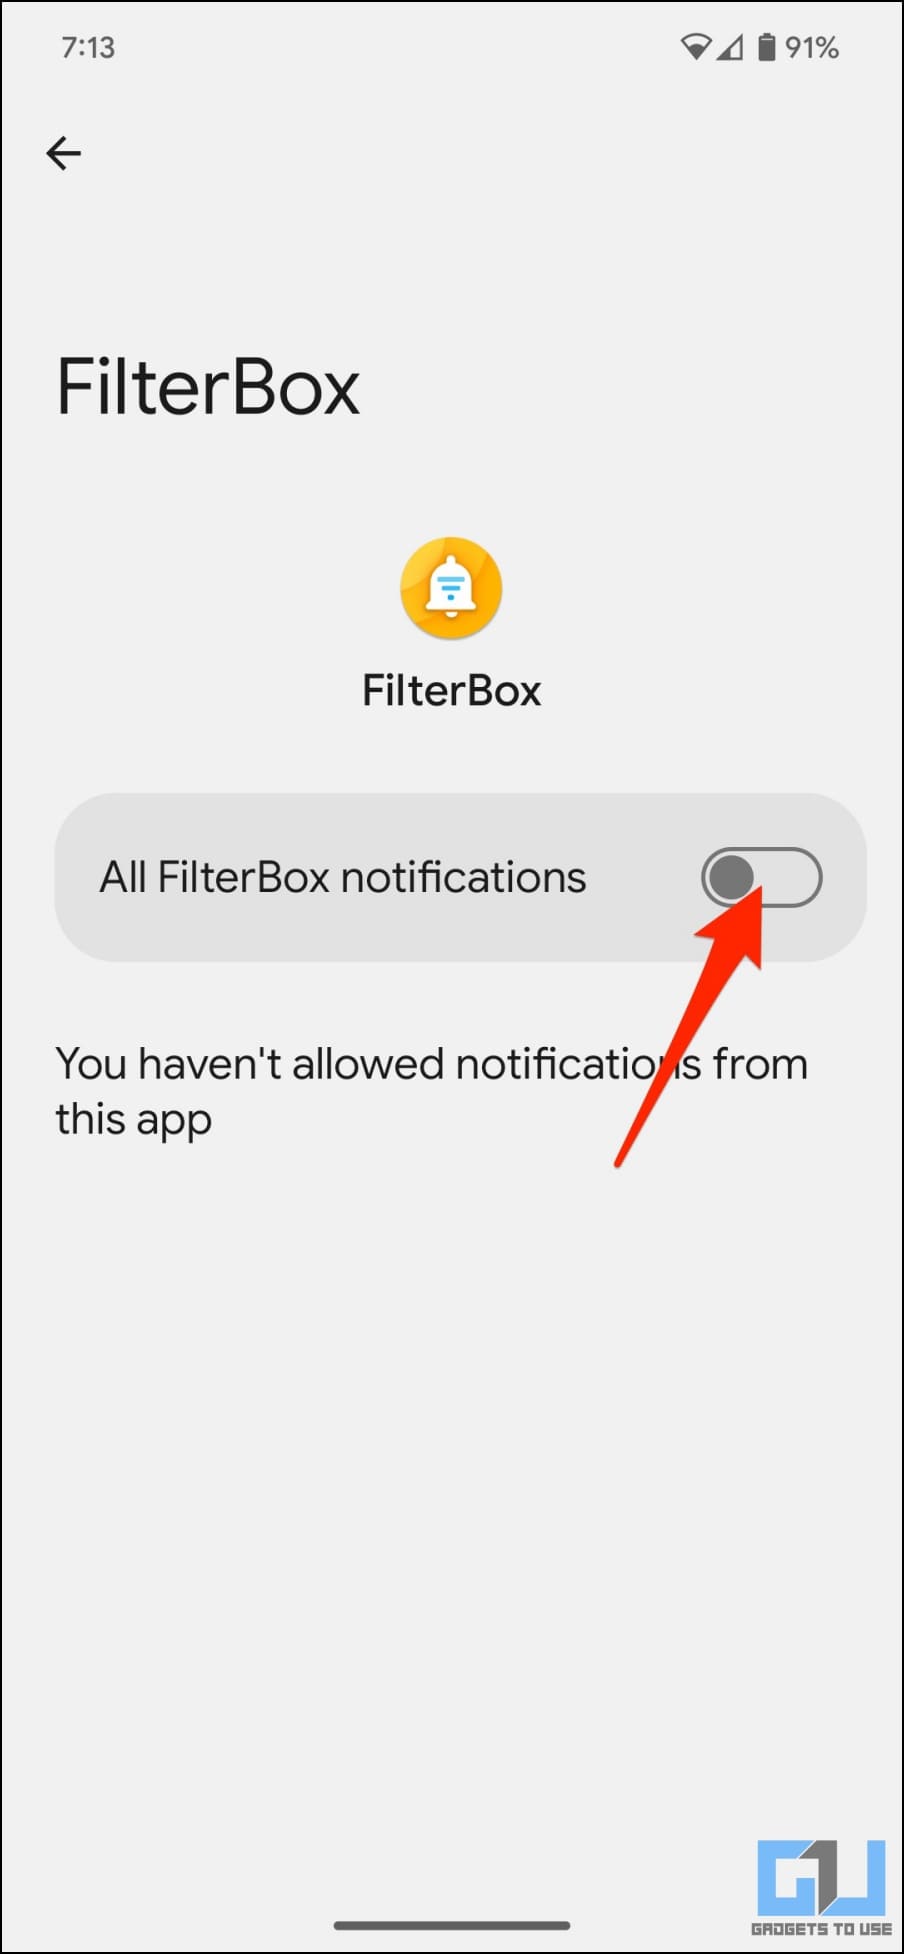
1. Download and open the FilterBox Notification Manager app on your Android phone.
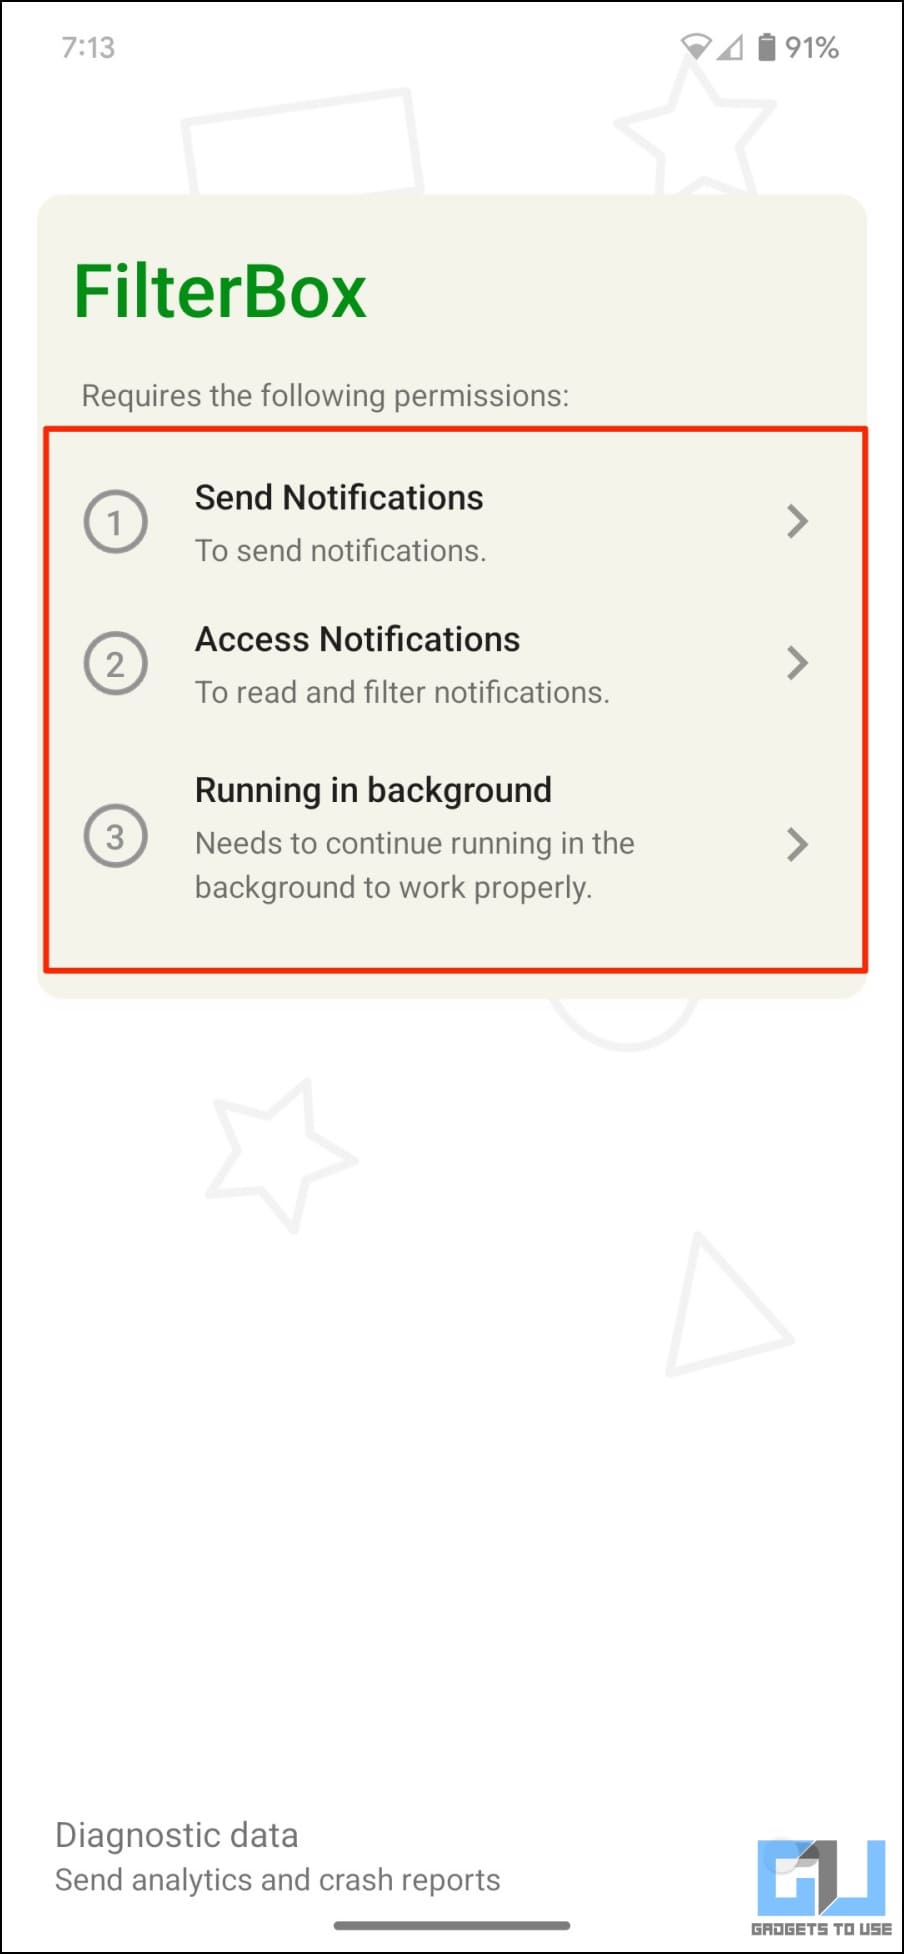
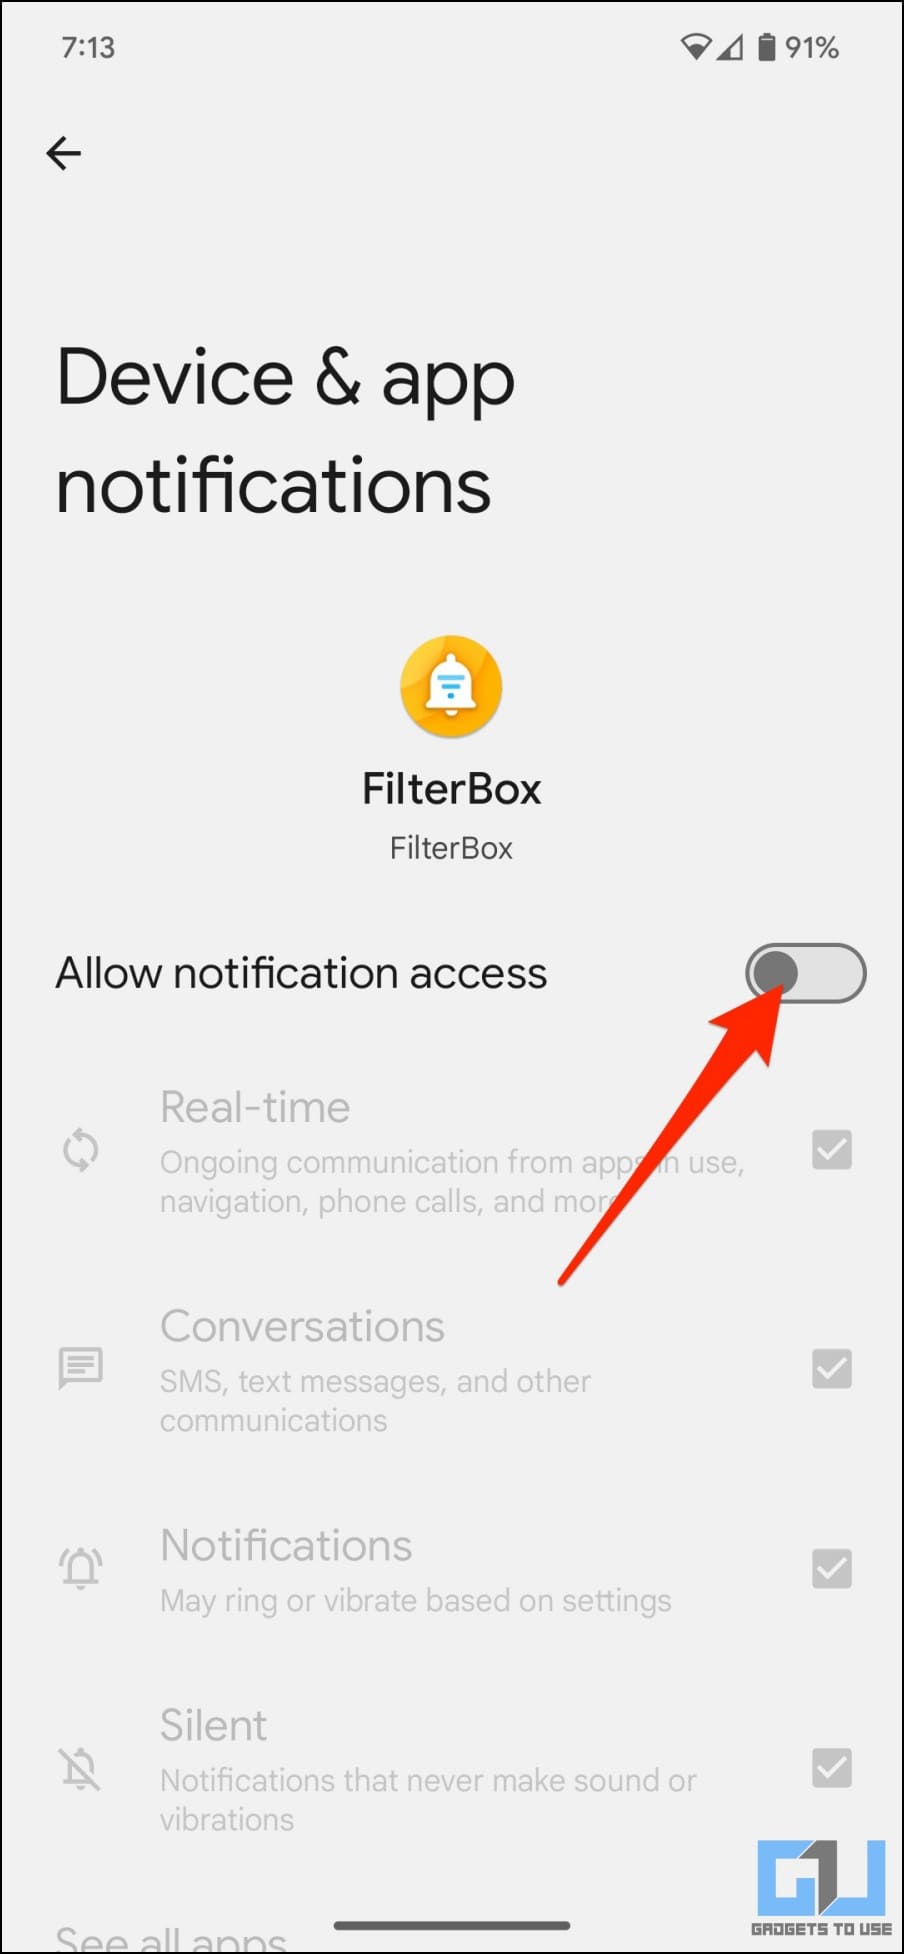
2. Tap and allow permission to send and access notifications and to run in the background.
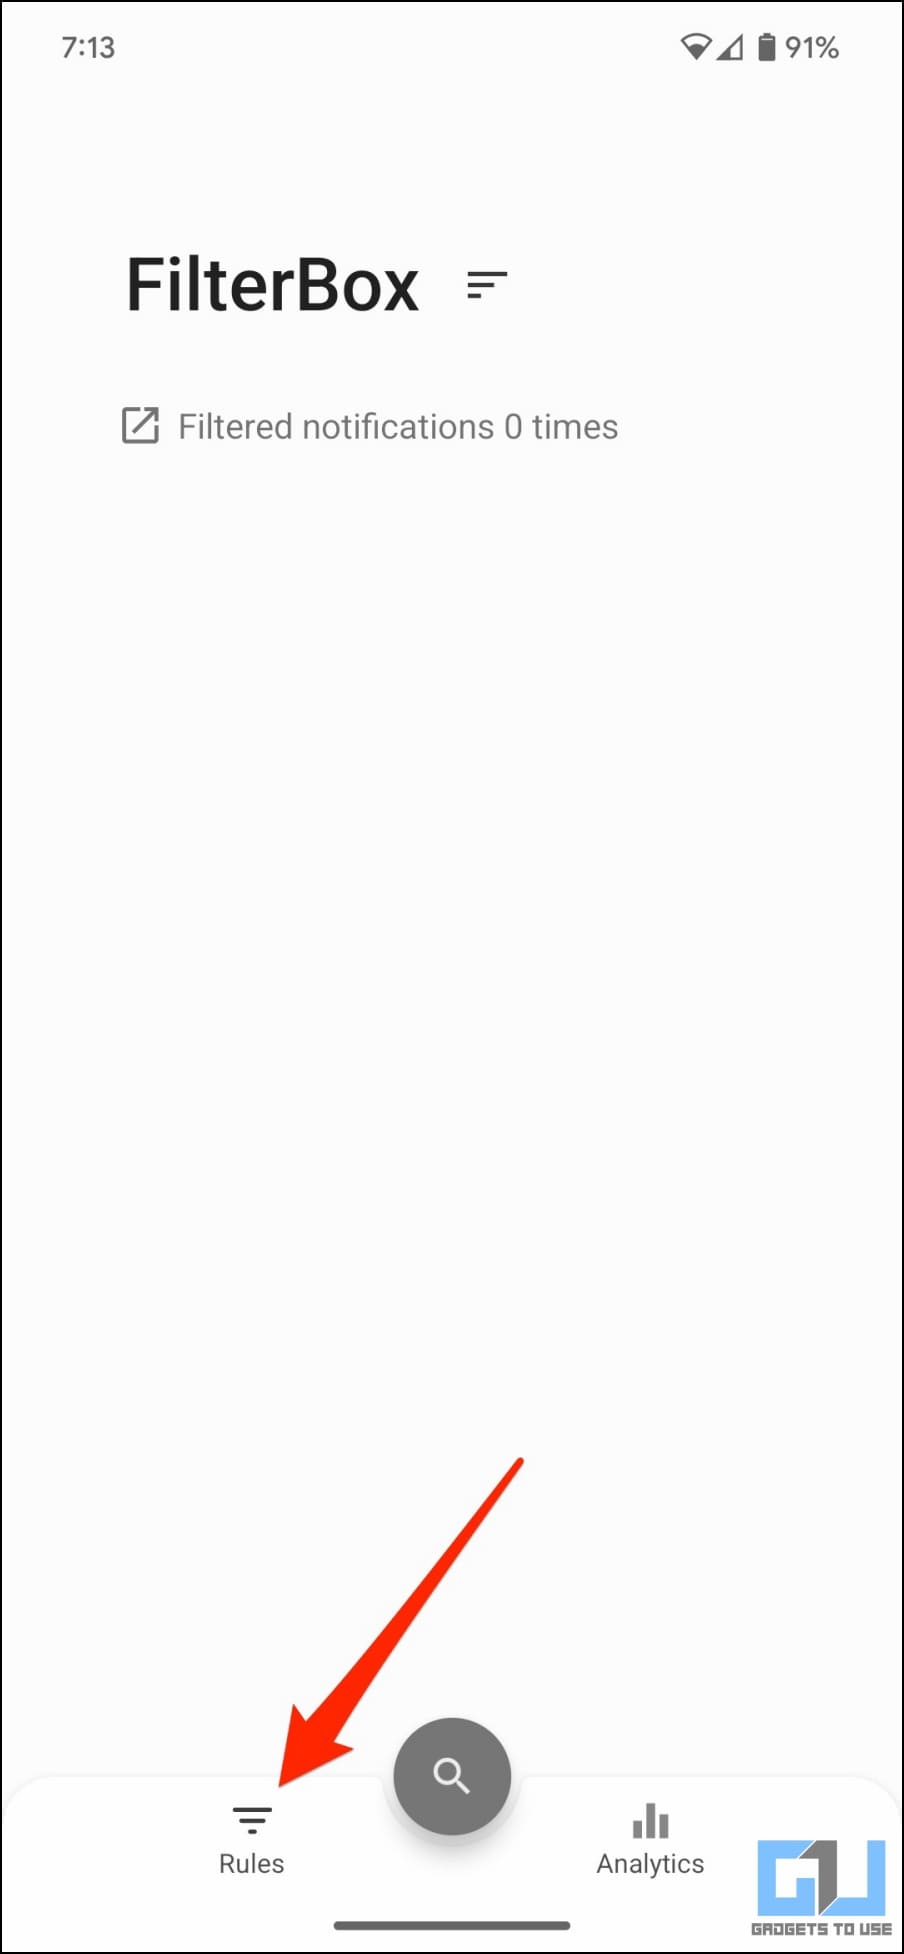
3. You can now set rules to block certain types of notifications. To do so, go to the Rules tab.
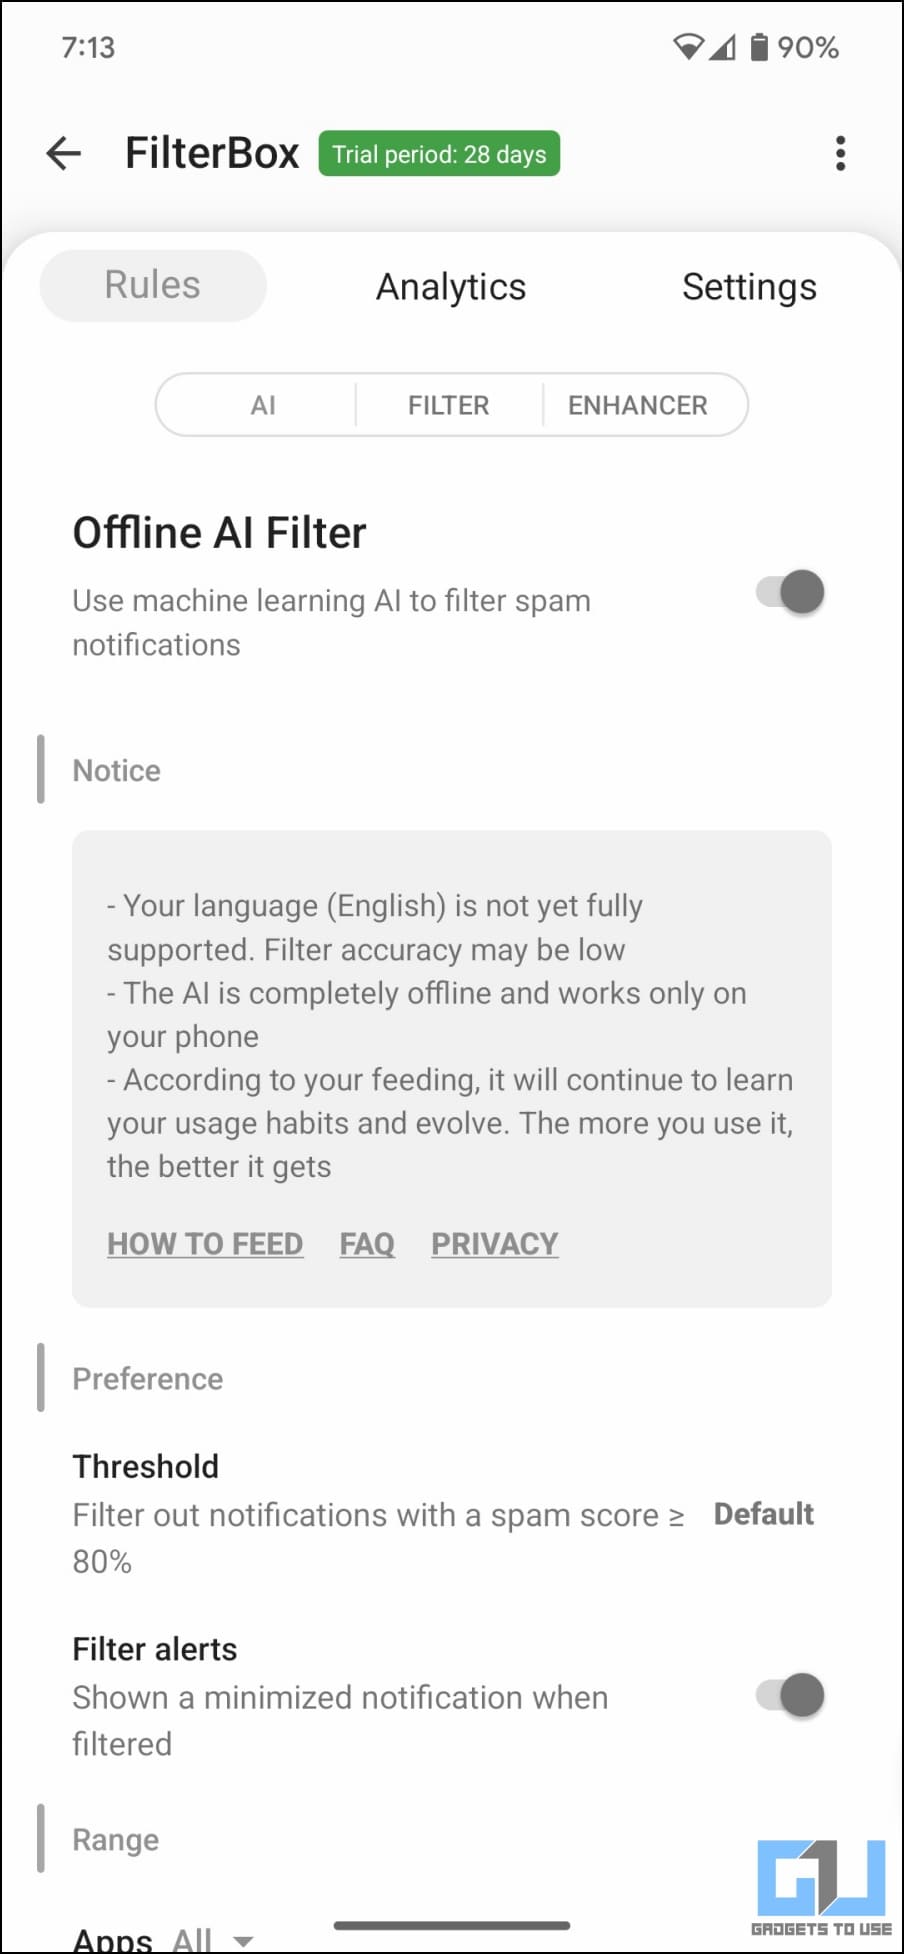
4. Here, you’ll find three tabs: AI, Filter, and Enhancer.
– In the AI tab, enable Offline AI Filter to activate machine learning AI for filtering spam notifications.
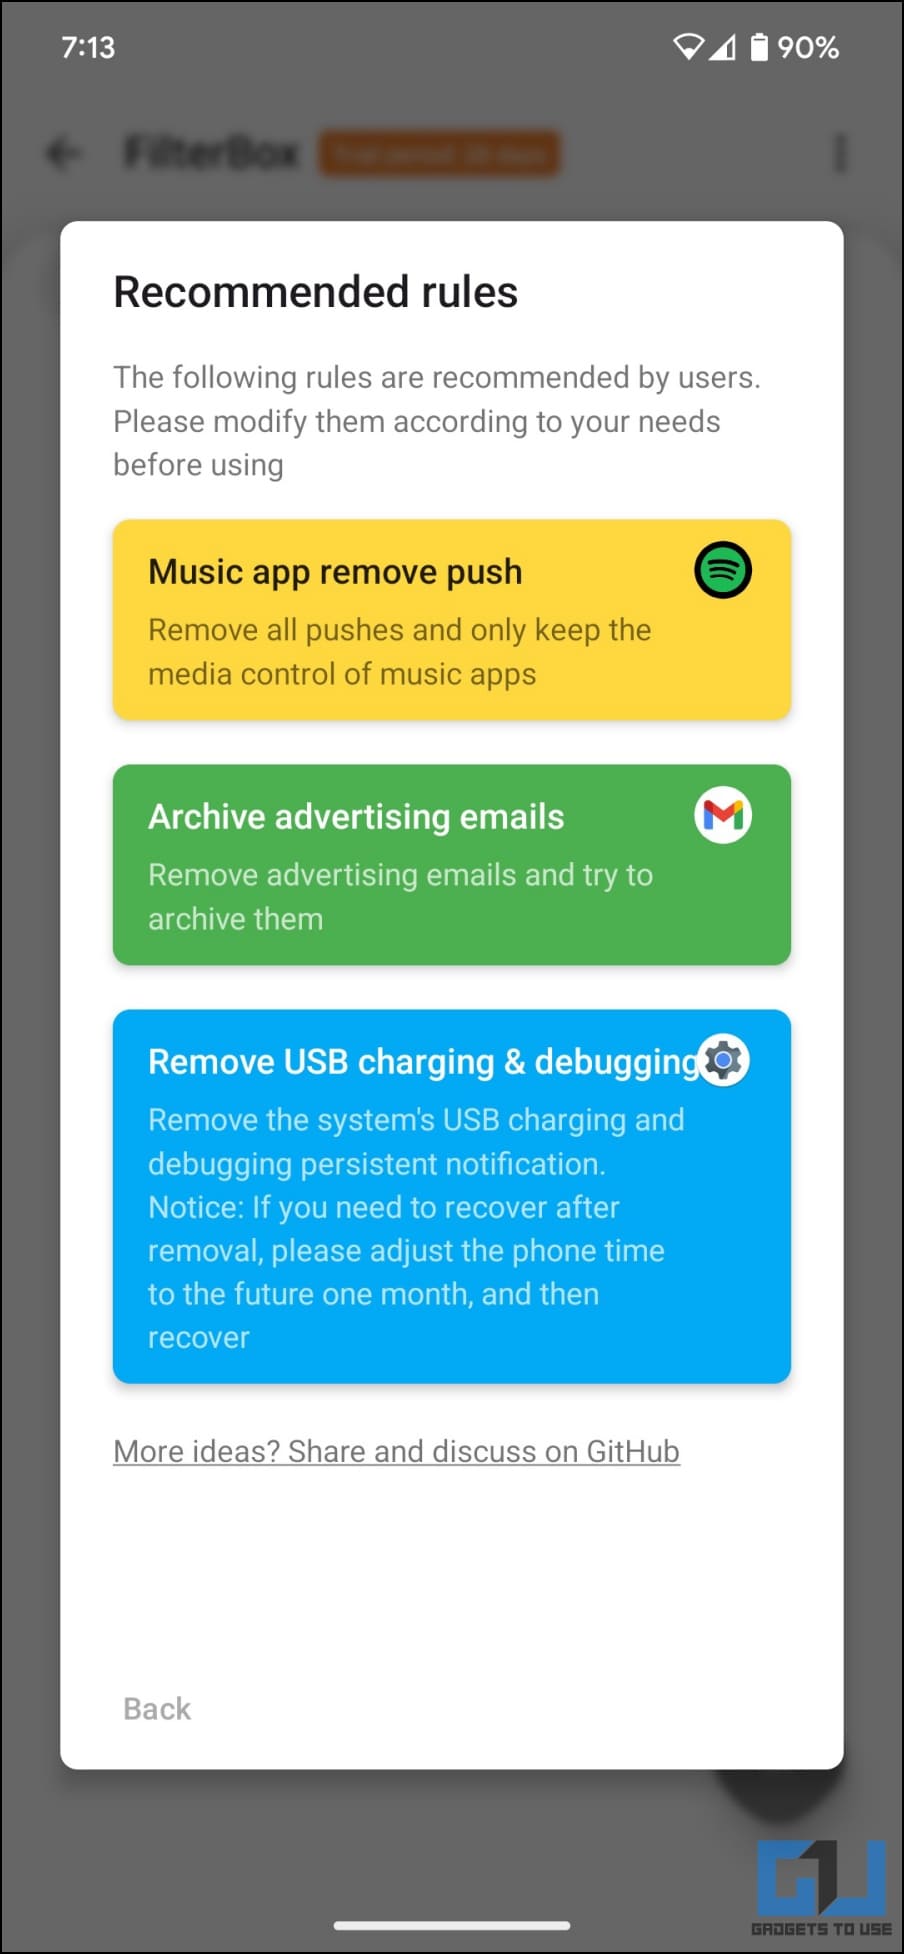
– Next, you can click on Filter and tap the + button to add or create your own rules. There are built-in recommendations like removing all notifications for music apps except for media controls, removing and archiving advertising emails automatically, and removing the system’s USB charging/ debugging notifications that are otherwise persistent.
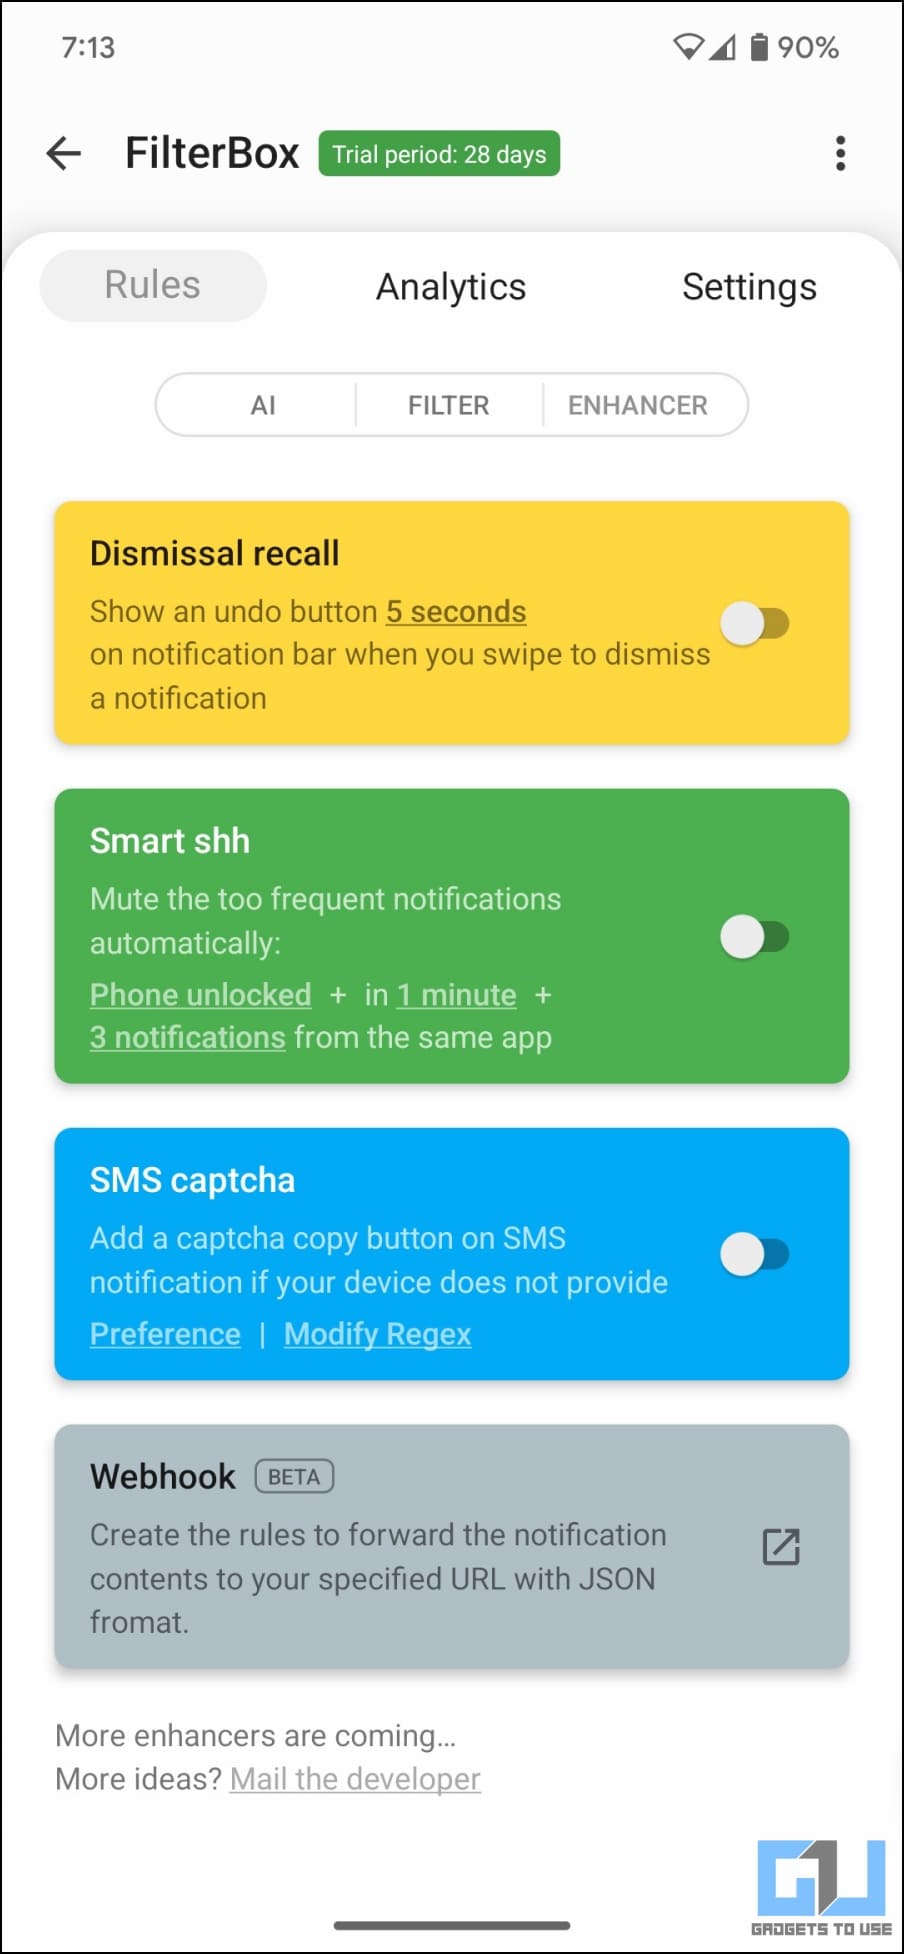
– Lastly, you can switch to Enhancer tab and enable rules to undo when you swipe to dismiss a notification, Smart shh (mute too frequent notifications automatically), SMS Captcha (add a copy OTP button on SMS notification if not available by default), etc.
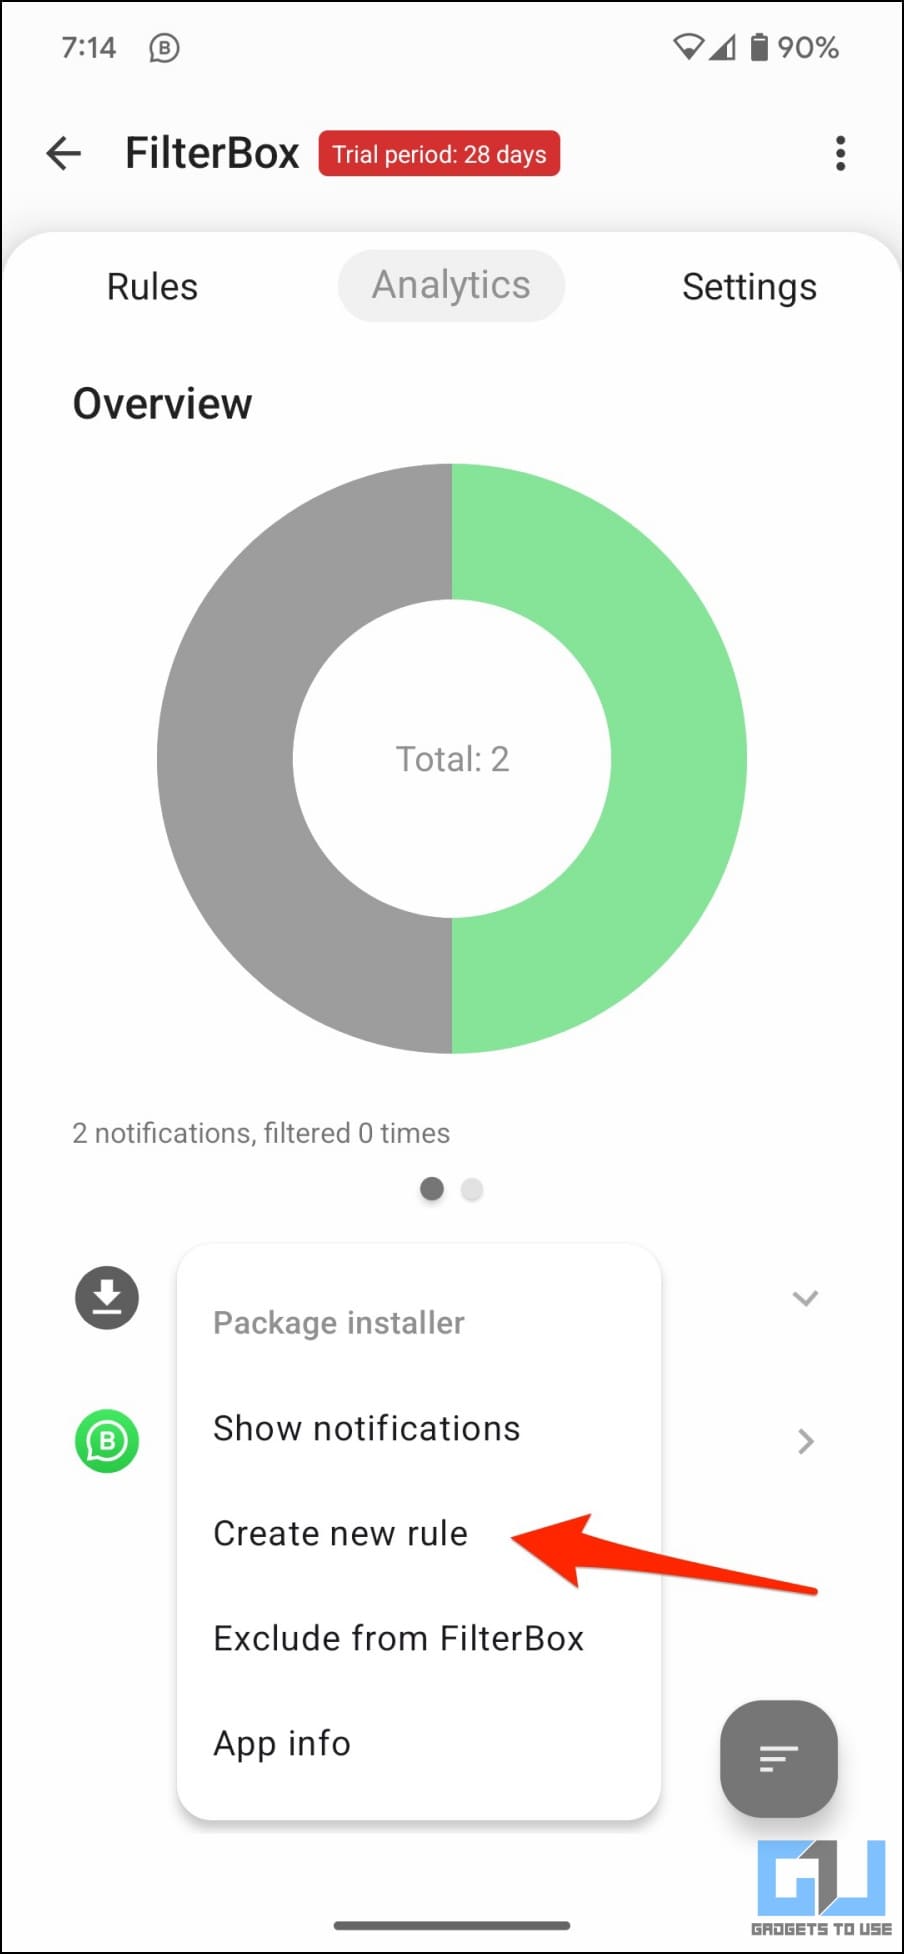
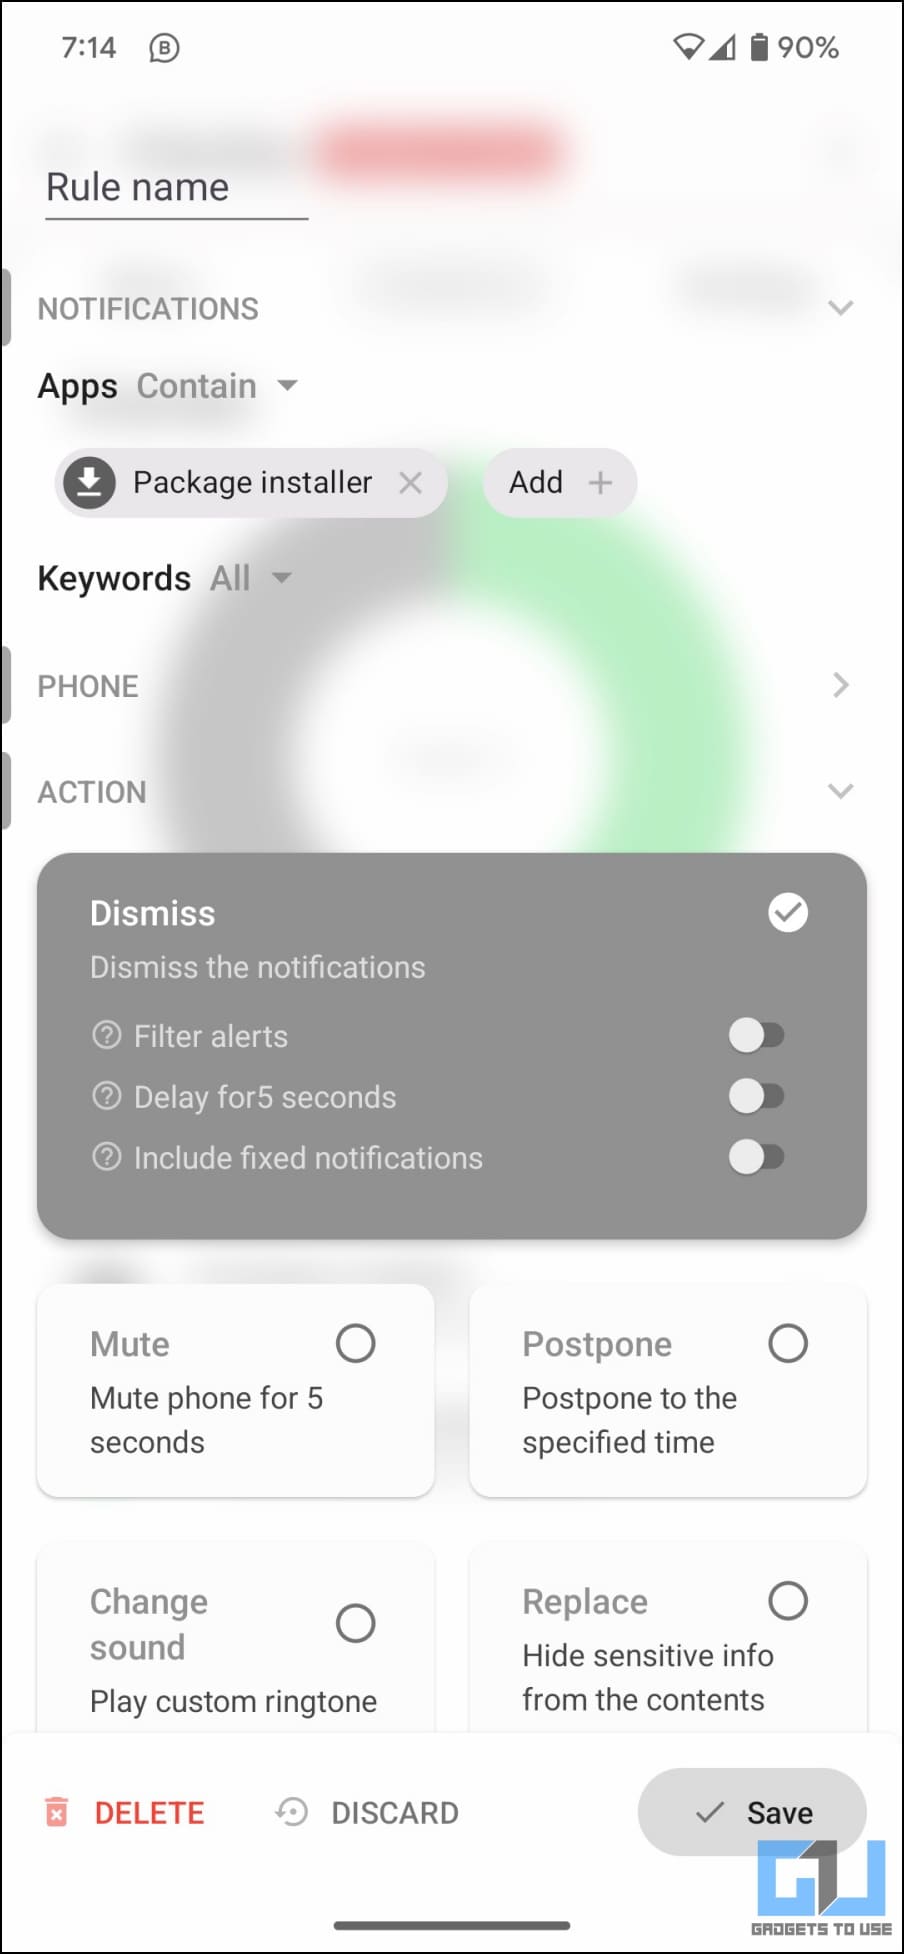
5. The Analytics tab will show you all the notifications the app has filtered/ not filtered so far. You can tap an unfiltered notification to create a new rule (for example, automatically dismiss the notification, mute the phone for 5 seconds, hide sensitive content, etc., when the notification arrives).
In the Settings tab, you can change the app theme, how long to store notifications for, backup rules, set biometric lock, hide Filterbox from recent apps, and more.
Method 3- Block Persistent Notifications with TidyPanel app
TidyPanel is designed to block persistent notifications like “Message is using SMS,” “app is running in the background,” “displaying over other apps,” “USB charging this device,” etc., that you cannot swipe away like others.
The app claims to have nearly zero battery consumption and no ads or data tracking. Here’s how you can use it to clean sticky apps or system notifications on Android:
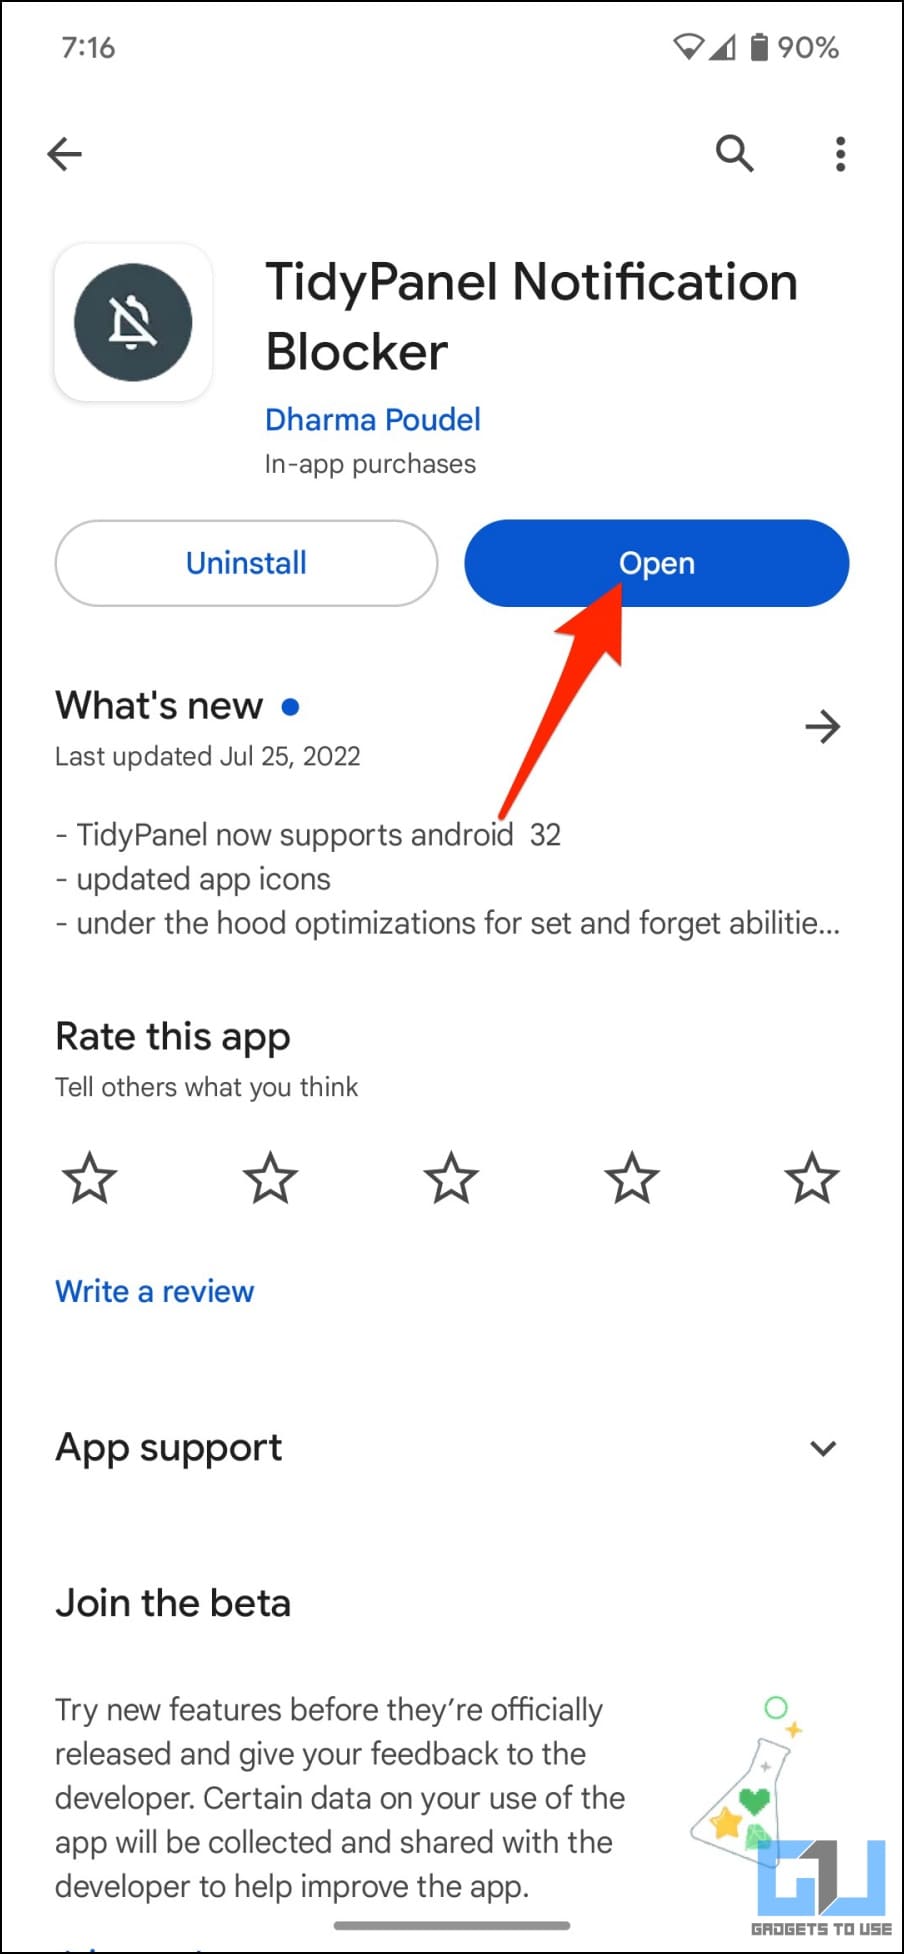
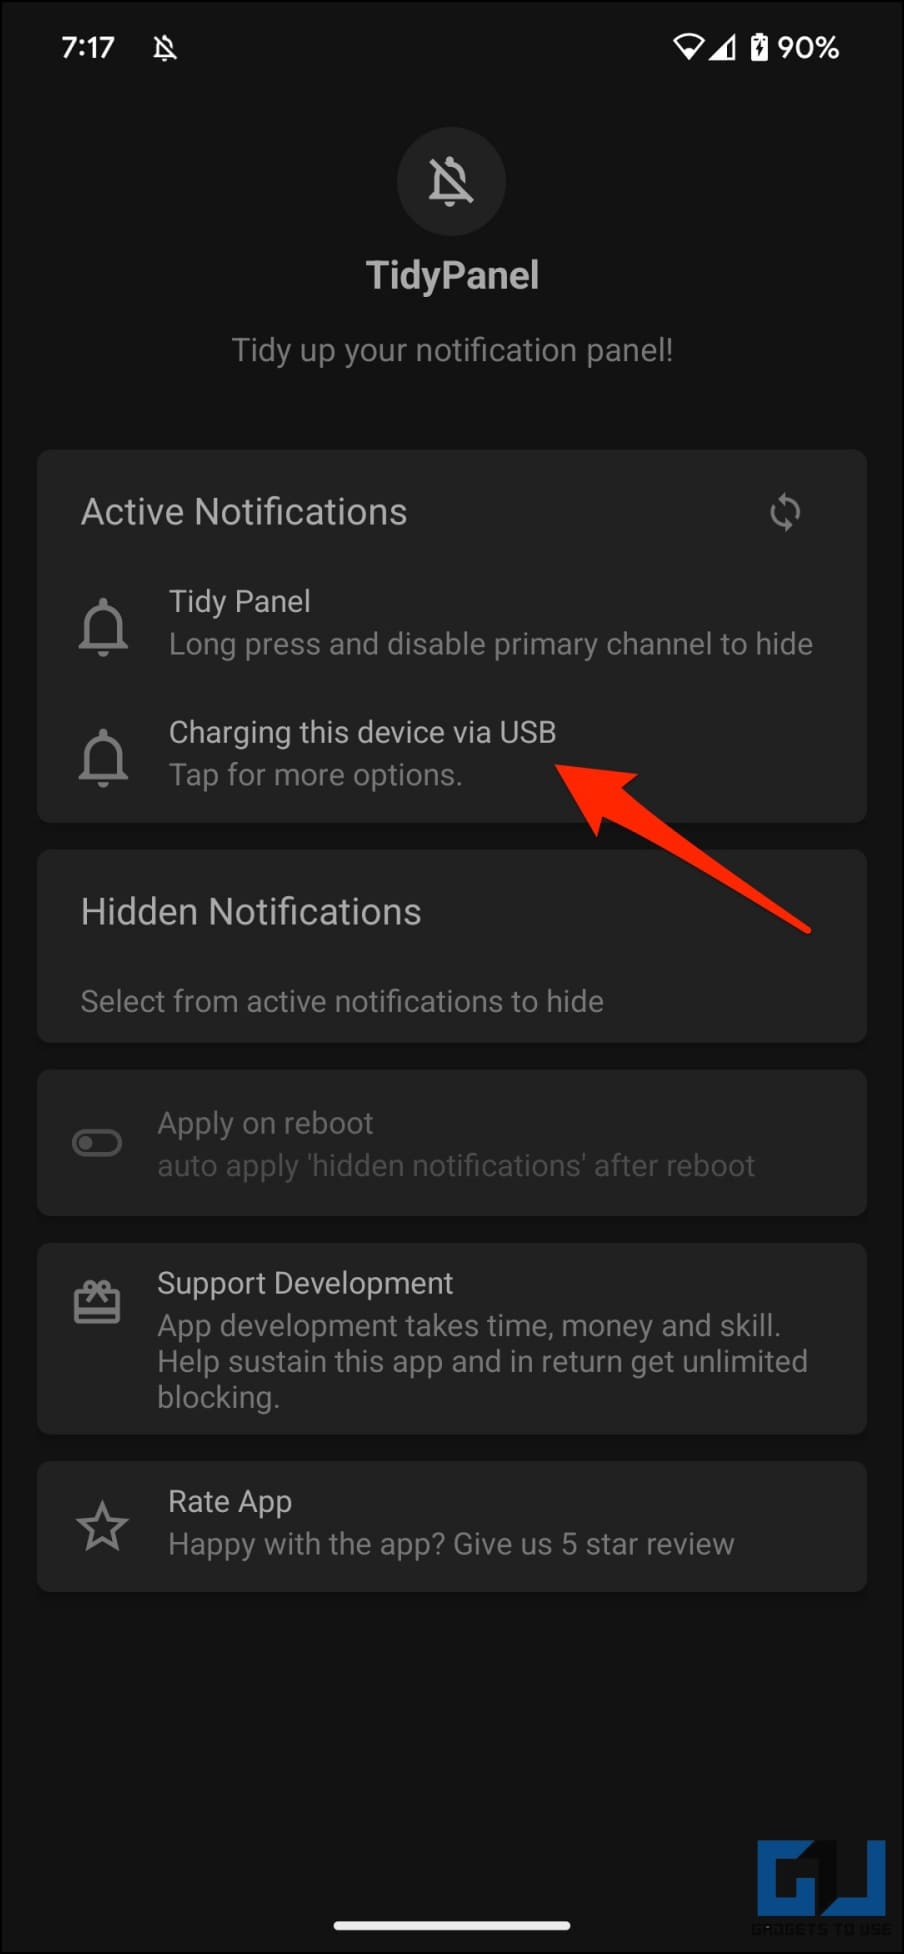
1. Install and open the TidyPanel Notification Blocker on your Android phone.
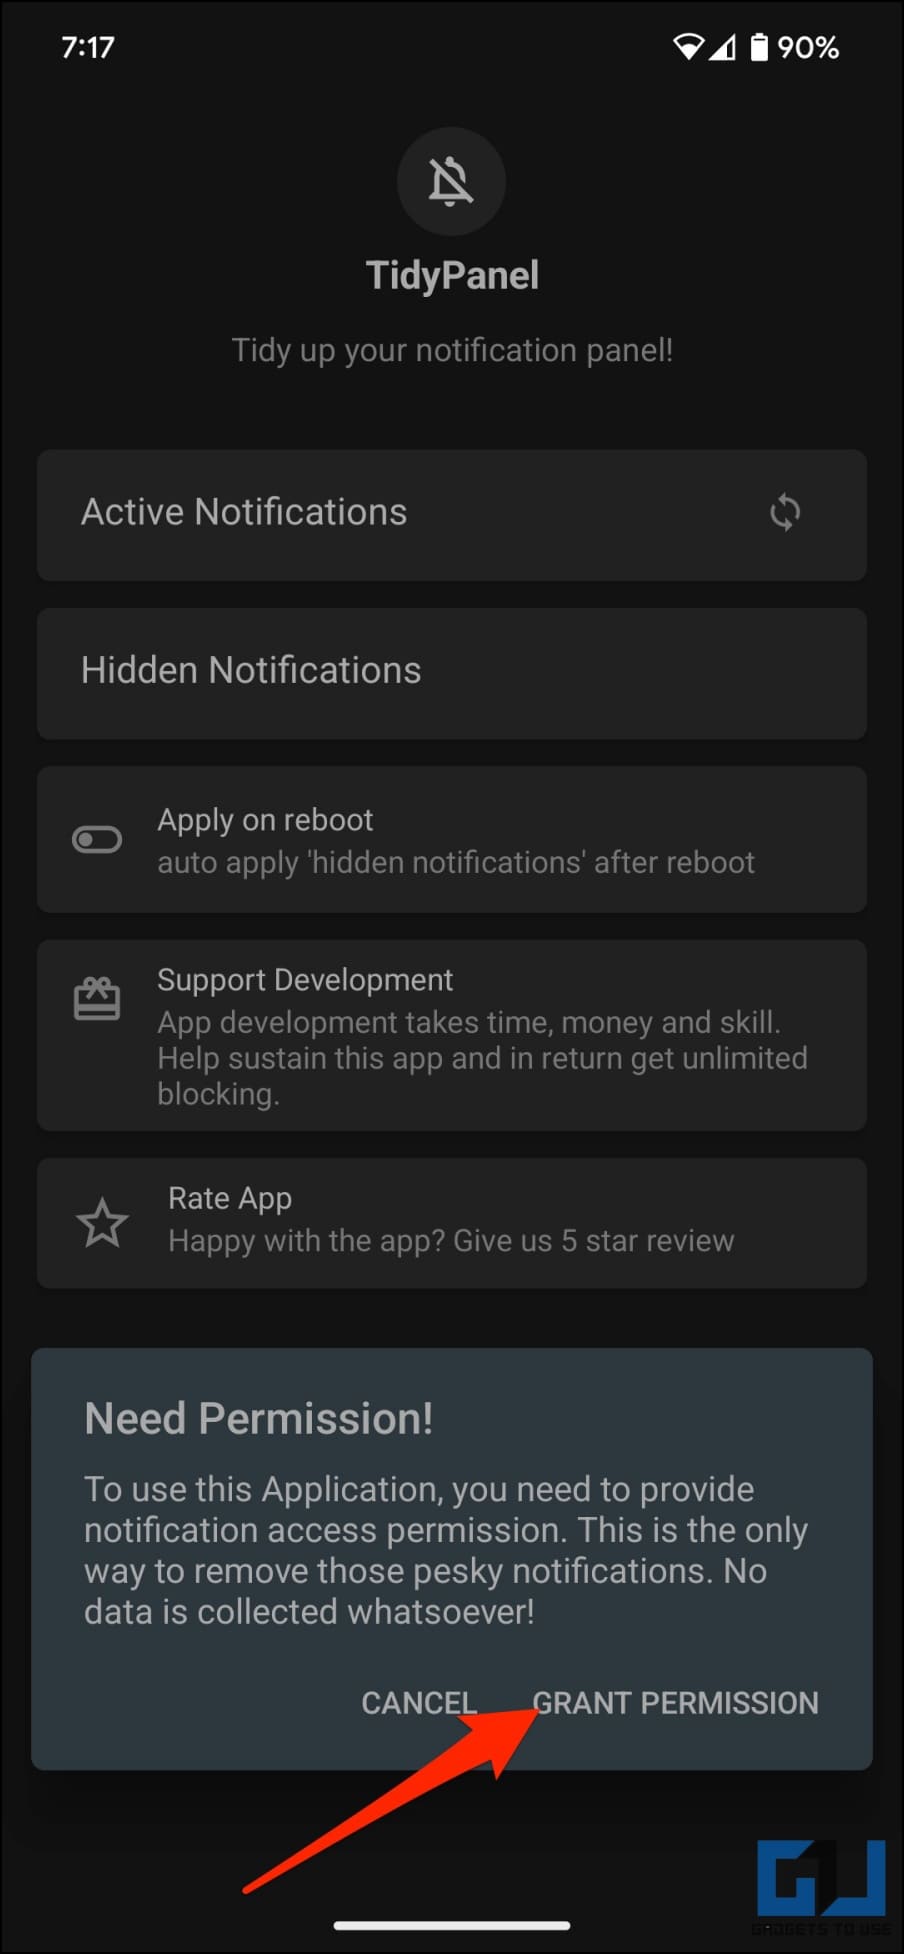
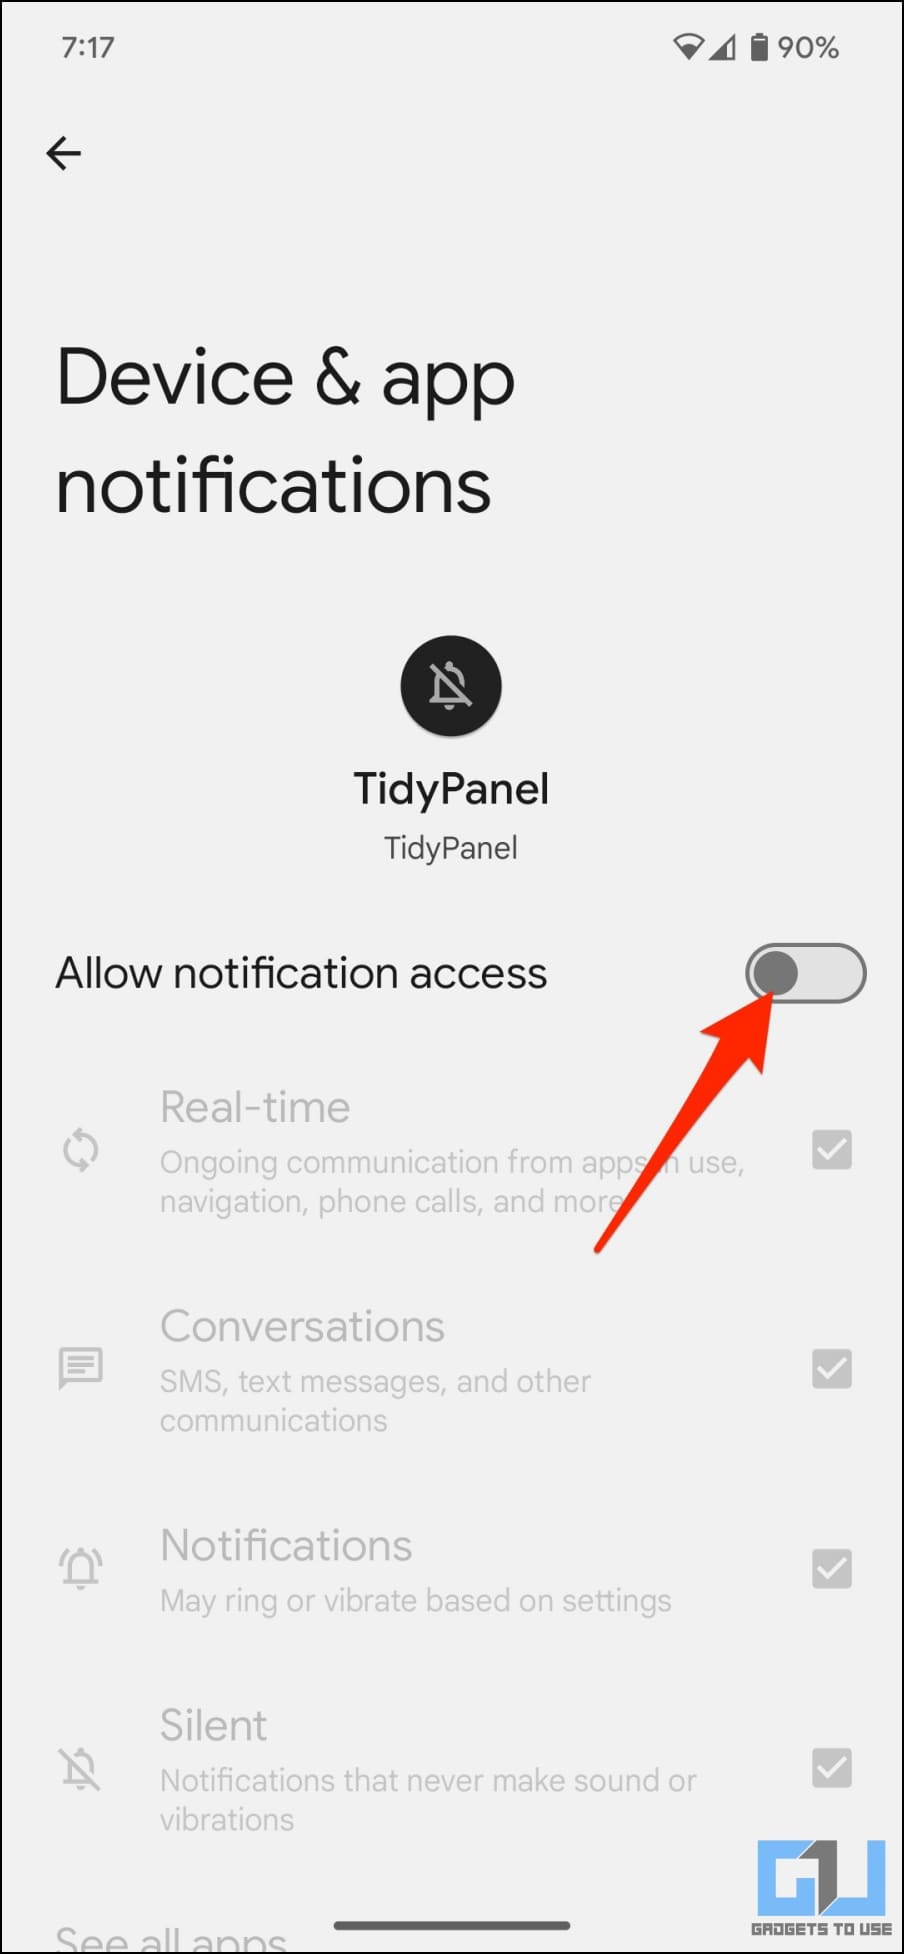
2. Tap Grant Permission when prompted. Select “TidyPanel” from the list, and enable Allow notification access.
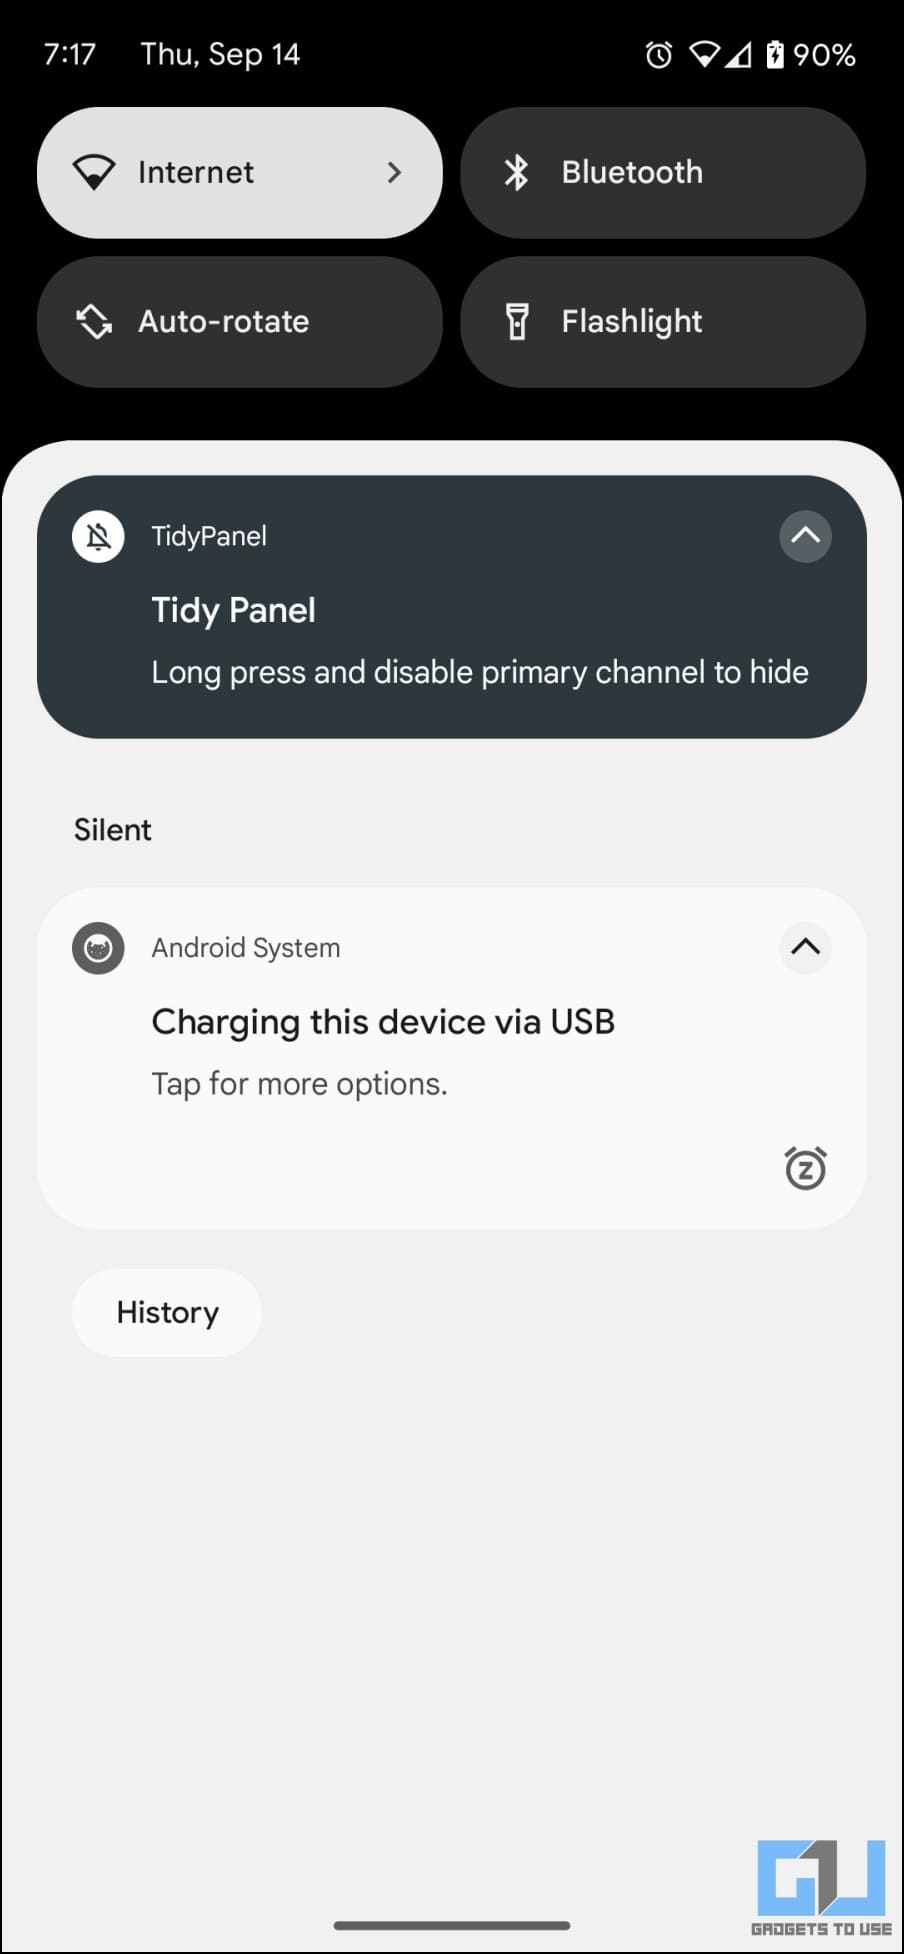
3. Once done, the app will show all the current notifications under “Active Notifications.”
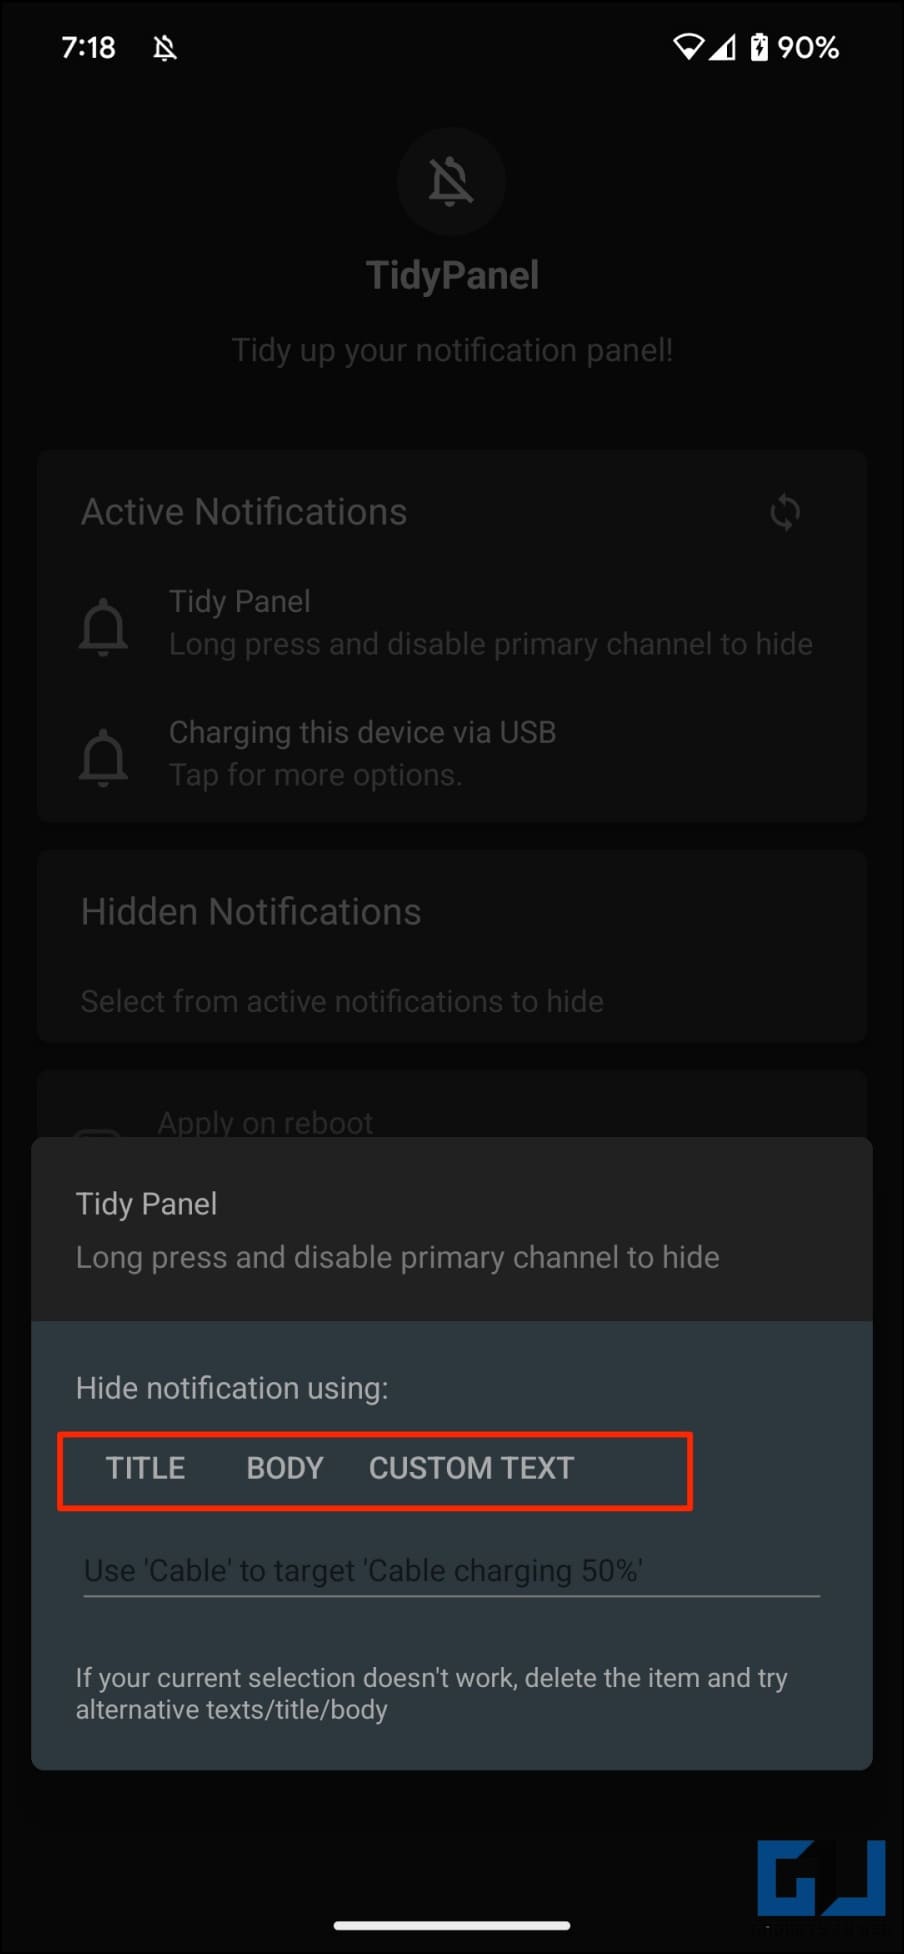
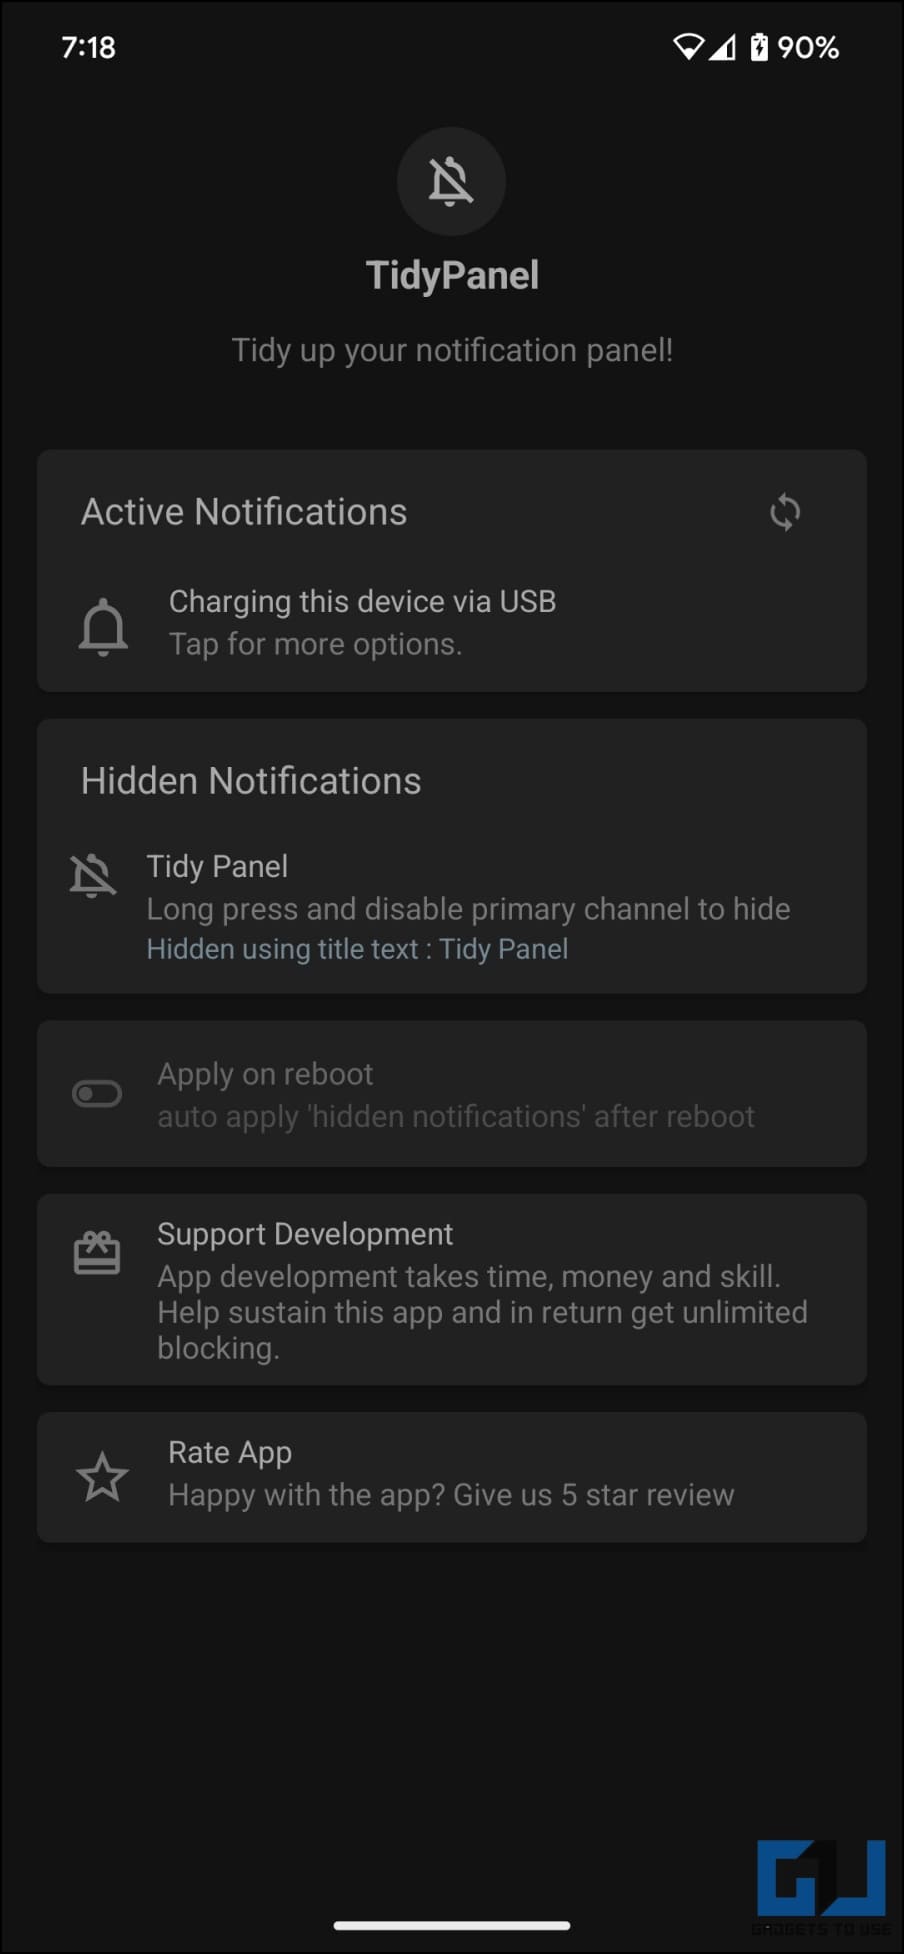
4. To block a notification type, tap it and select how you want to block it: using Title, Body, or Custom Text.
Choosing Title should clear the majority of the sticky notifications. However, for some dynamic notifications like battery percentage while charging, you may have to select Body or use Custom Text like “charging” to target “Cable charging: 100%”.
Wrapping Up
This is how you can auto-clear notifications on your Android phone. I hope the above guide helps you steer clear of spam, ad, and marketing notifications while also being able to remove sticky system notifications that may clutter the panel. Stay tuned for more such tips, tricks, and how-tos.
You might be interested in:
- 4 Ways to Stop Instagram Broadcast Invite Spam Notifications
- 5 Ways to Stop Notifications on Windows
- 3 Ways to Get Double Tap to Lock on Pixel (Or Any Android)
- 3 Ways to Mirror Android Phone on Windows 11/10 (With and Without App)
You can also follow us for instant tech news at Google News or for tips and tricks, smartphones & gadgets reviews, join GadgetsToUse Telegram Group or for the latest review videos subscribe GadgetsToUse Youtube Channel.