Quick Answer
- Press the Windows + I hotkey to open the Settings app and click Personalization in the left sidebar to configure the Taskbar.
- Navigate to the below-listed path to change key values in the registry for disabling Copilot on Windows 11.
- Navigate to the following path inside the Policy Editor and double-click Turn Off Windows Copilot to set its value to Enabled.
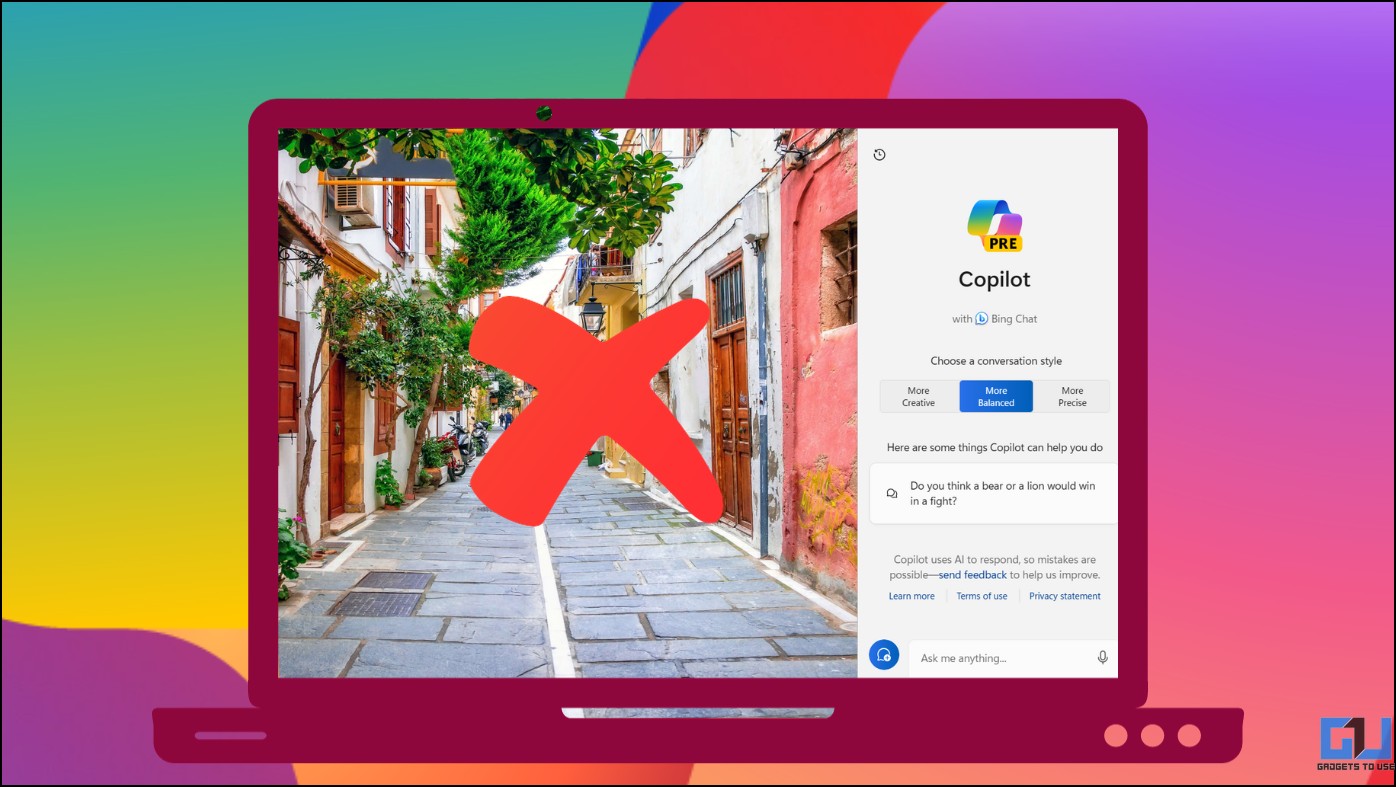
Following the footsteps of Google, Microsoft recently embedded its AI assistant, Copilot, to Windows to assist users across different Microsoft applications. This allows users to create documents, draft summaries, prepare sheets, or design presentations using AI under a single roof. If this feature isn’t useful to you or your system struggles to run it, disabling it becomes reasonable. In this article, let’s look at several ways to disable Copilot on Windows 11.
How to Disable Copilot on Windows 11?
Disabling the Copilot AI feature is quite easy on Windows 11. To disable it, you can temporarily turn it off from the Windows Settings app or use permanent methods like Registry and Group Policy Editing. Let’s look at each of these methods in detail below:
Method 1 – Disable Copilot Temporarily From the Settings App
If you don’t wish to get bothered by the Copilot icon in your Taskbar, you can turn it off temporarily by configuring the Taskbar settings. Follow these steps for an easy fix.
1. Press the Windows + I hotkey to open the Settings app and click Personalization in the left sidebar to configure the Taskbar.
2. Turn off the toggle next to Copilot to disable it temporarily.
Method 2 – Use Registry Editor to Disable Copilot on Windows
Editing the Windows registry is a permanent solution to disable Copilot once and for all. Navigate to the below-listed path to change key values in the registry for disabling Copilot on Windows 11.
For Single User
1. Press the Windows key and search for Registry Editor to open it with elevated permissions.
2. Copy-paste the following path in its navigation bar and hit the Enter key
Computer\HKEY_CURRENT_USER\Software\Microsoft\Windows\CurrentVersion\Explorer\Advanced
3. Double-click the ShowCopilotButton DWORD key.
Tip: If you can’t find the ShowCopilotButton key, right-click Advanced to create a new DWORD (32-bit) Value and name it as ShowCopilotButton.
4. Finally, set its Value Data to 0 and press OK to save changes.
For All Users
1. Navigate to the following path in the Registry Editor window:
HKEY_LOCAL_MACHINE\SOFTWARE\Policies\Microsoft\Windows
2. Right-click Windows and create a new key named WindowsCopilot.
3. Next, right-click WindowsCopilot and create a new DWORD (32-bit) value.
4. Name this key as TurnOffWindowsCopilot and set its Value to 1. Click OK to save changes.
Method 3 – Disable Copilot on Windows With the Group Policy Editor
Besides the Registry Editor, you can use the Group Policy Editor on Windows to shut down the Copilot AI feature. Here’s what you need to follow.
1. Open the Run window by pressing the Windows + R keys and type the following to launch the Group Policy Editor.
gpedit. msc
2. Navigate to the following path inside the Policy Editor and double-click Turn Off Windows Copilot to set its value to Enabled.
User Configuration > Administrative Templates > Windows Components > Windows Copilot
Method 4 – Use Quick Registry Files to Disable Copilot on Windows 11
Suppose you don’t wish to deal with the hassle of manually editing registries and group policies. In that case, you can use our quick registry files to disable or enable the Copilot AI on Windows 11. Here’s how it can be done.
1. Download the DisableWindowsCopilot registry file from our Google Drive link.
2. Double-click the registry file and click Yes to apply changes. Reboot Windows after executing the file.
3. If you change your mind, use the EnableWindowsCopilot registry file to revert changes.
Method 5 – Disable Copilot on Windows 11 With Vivetool
ViveTool is an experimental open-source tool to manage hidden features on Windows. Consequently, you can use it inside the terminal to disable the Copilot feature on Windows 11.
1. Download the ViveTool from GitHub and extract the compressed file.
2. Move the extracted folder to your system’s C drive and rename the folder to ViveTool.
3. Next, open the Command prompt with elevated permissions and execute the following commands one by one:
cd C:\ViveTool
vivetool /disable /id:44774629,44776738,44850061,42105254,41655236
4. Close CMD and restart your system to see the applied changes.
5. In case you decide to revert it, execute the following commands on the Command Prompt terminal:
cd C:\ViveTool
vivetool /enable /id:44774629,44850061,44776738,42105254,41655236
Method 6 – Disable Copilot in Microsoft Edge on Windows 11
In addition to the standalone Copilot feature, you can disable Copilot in the Microsoft Edge browser by following these easy steps:
1. Open Microsoft Edge and click the three-dot menu in the top-right to open browser Settings.
2. Expand the Sidebar on the left to spot the Copilot settings.
3. Finally, toggle off Show Copilot to turn it off.
FAQs
Q. How to Disable Copilot in Windows 11 Home?
You can disable it temporarily using the Settings app or shut it down permanently using the ViveTool. Check the steps above for more details.
Q. Can I Disable the Windows Copilot (Preview)?
Yes. Use the Registry Editor or local Group Policy Editor on Windows 11 to disable the Windows Copilot (Preview). If you don’t wish to deal with technicalities, download and execute our registry files for an instant fix.
Q. How to Disable Copilot in Microsoft Edge?
Head to your Edge browser settings and turn off Copilot for the Sidebar settings. Read the steps in this guide for precise details.
Wrapping Up: No More ‘Copilot’ing!
So these are all the nits and grits to disable the Copilot AI feature on Windows 11. If you found it useful, spread the word with your friends and subscribe to GadgetsToUse for more informative guides. Also, don’t forget to check our trending featured Windows 11 articles below:
You might be interested in:
- How to Install Android Apps Using Windows 11 Subsystem
- 6 Ways to Pin any App or Feature to Taskbar in Windows 11
- 7 Ways to Resize Icons on Windows 11/10
- 2 Ways to Add an Extra Taskbar to Windows 11/10
You can also follow us for instant tech news at Google News or for tips and tricks, smartphones & gadgets reviews, join GadgetsToUse Telegram Group, or for the latest review videos subscribe GadgetsToUse Youtube Channel.
