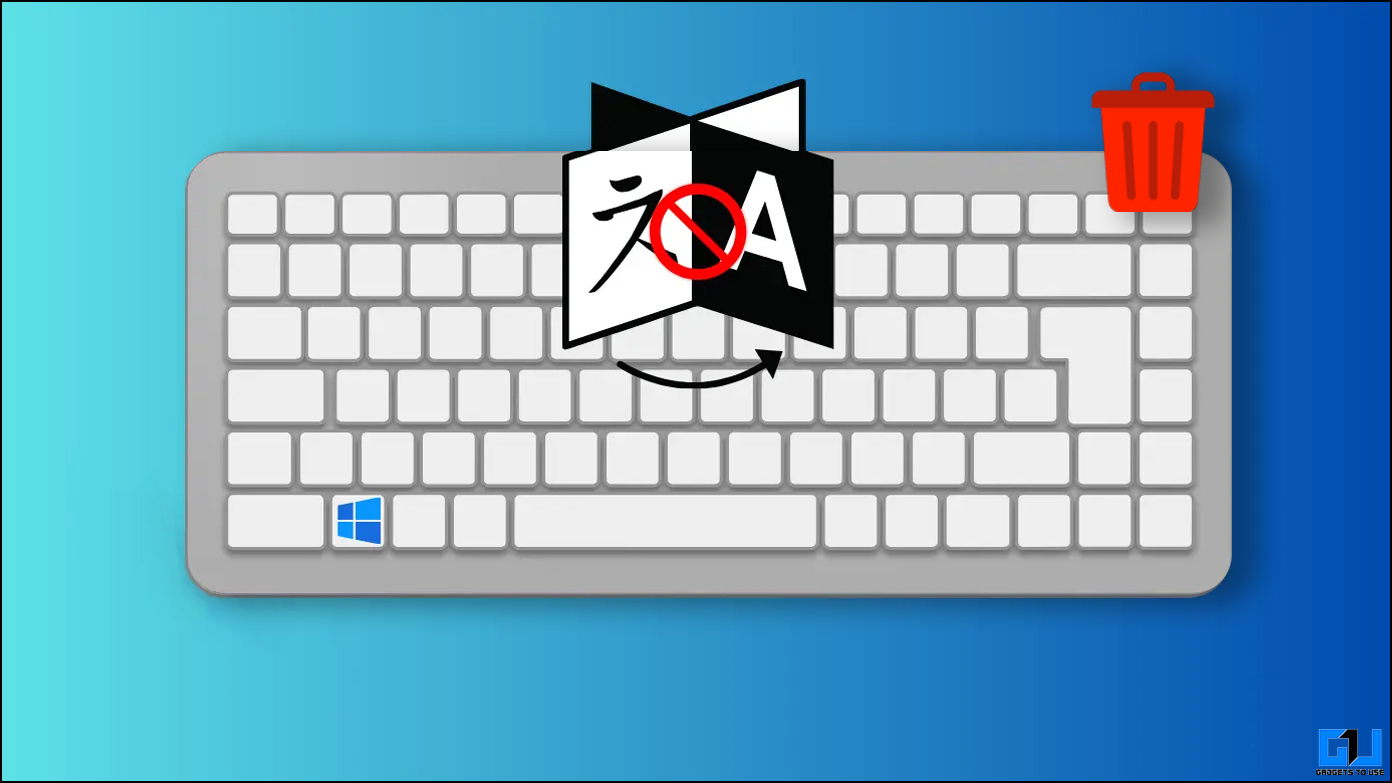
When you set up your Windows 10 or 11 PC, after first boot, you often get a notification that says, “Windows Finished setting up additional languages” or something similar. It adds additional languages that Windows considers relevant to you and your region. It can be annoying as it affects the Windows keyboard settings that we have set. Fret not, as this guide will help you remove the unnecessary keyboard layout from Windows.
Understanding the Issue
Before jumping to the solutions, let’s understand the issue so that we know why it is important to stop Windows from adding additional languages and keyboard layouts.
- It clutters up your language layout tray.
- Fill up the Windows drive (Local Disk C), which should have enough room for your computer to run Windows.
- Adds extra clicks while changing the keyboard using shortcuts.
- Changes in system language in some cases.
How Do I Remove and Stop Windows From Adding Additional Languages?
Now that we know the precise issue and understand why stopping Windows from adding additional languages is important. Let’s look at removing any additional keyboard layout from Windows.
Method 1 – Install and Delete Language
One of the easiest ways to stop Windows from adding languages repeatedly is to let it do it completely and then remove it once and for all.
Follow these steps once your Windows PC finishes with the recommended language installation.
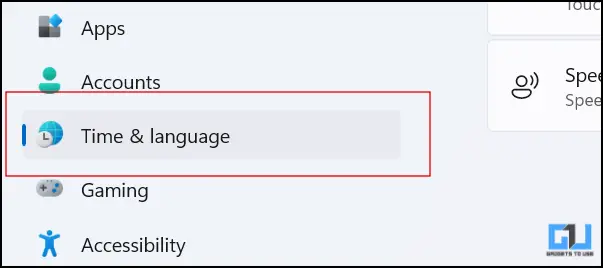
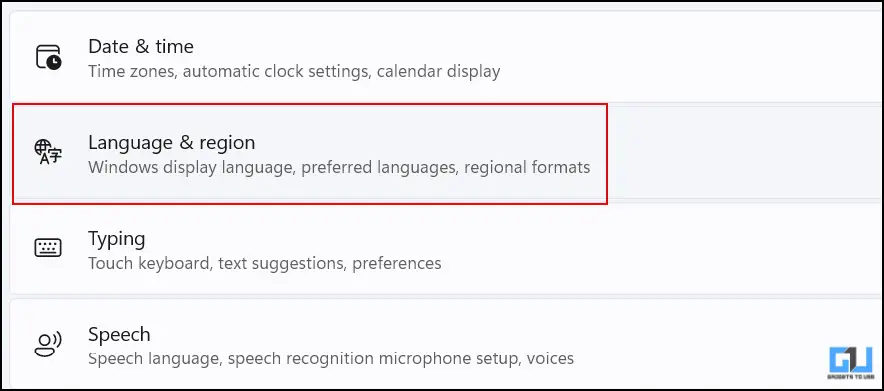
1. Go to Windows Settings.
2. Go to Time & Language settings from the left pane.
3. In Time & language settings, go to Language & Region settings.
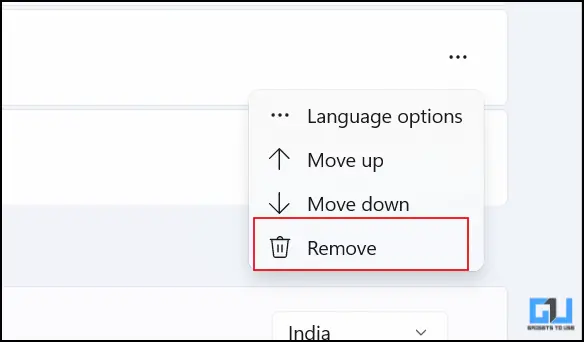
4. Click the three dots next to the added language.
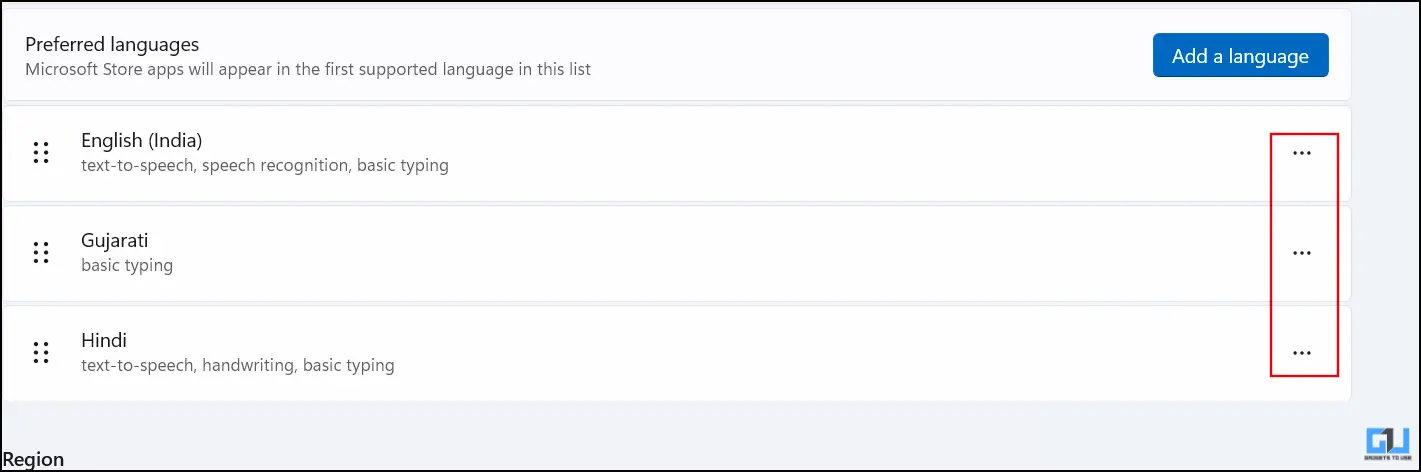
5. Click Remove from the menu.
Method 2 – Change Language Settings From Control Panel
If the problem persists and Windows keeps adding new keyboard layouts or changing the display languages, here’s a solution you can use:
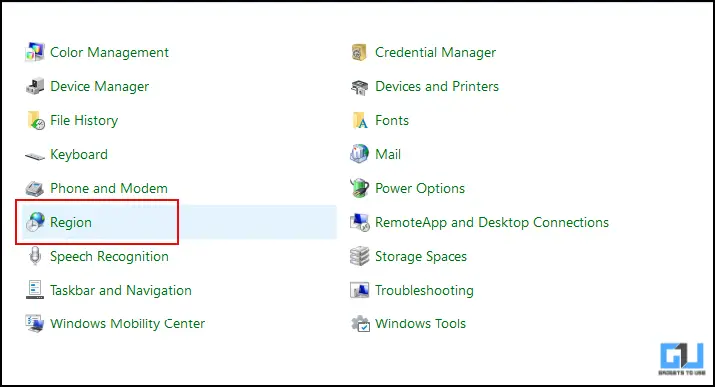
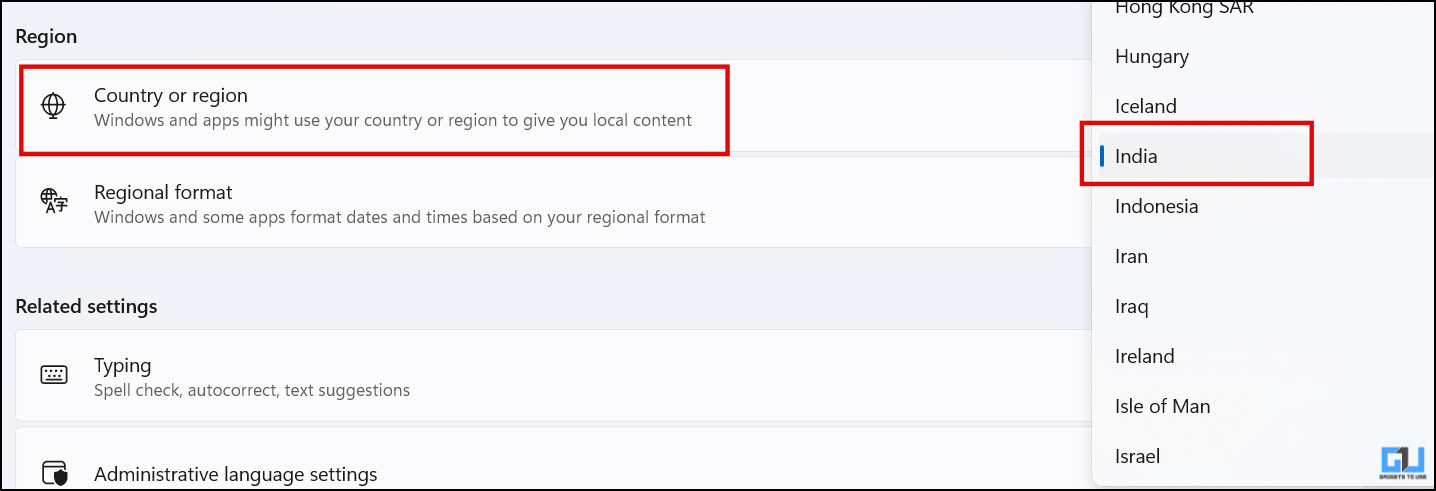
1. Open the Control panel on your computer.
2. Search or navigate to the Region menu in the Control Panel.
4. Click on Format.
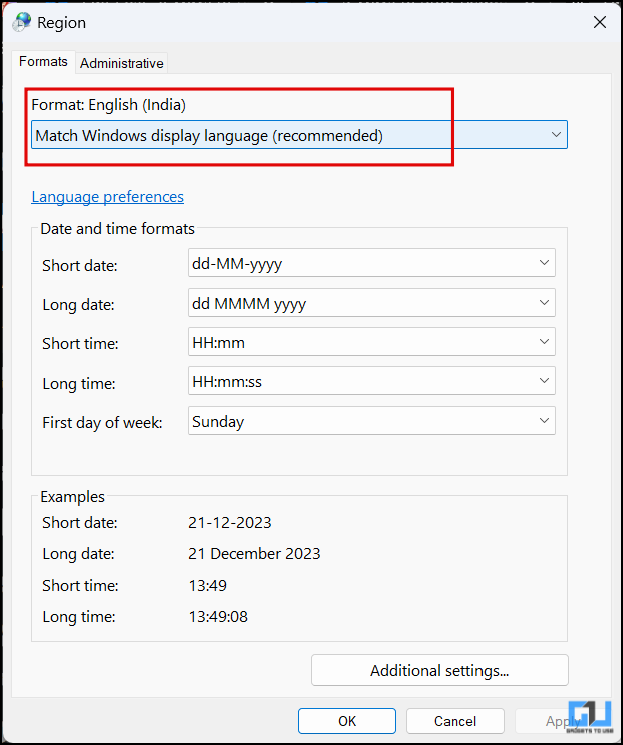
5. Choose your preferred language and hit Apply at the bottom of the dialogue box.
Method 3 – Change Windows Language and Region Settings
There’s a chance that you might have selected the wrong region while setting up your Windows PC if the problem remains. First, change your language and follow the below-mentioned steps to fix it:
1. Go to Windows Settings.
2. Switch to the Time & Language settings from the left pane.

3. In Time & language settings, go to Language & Region settings.
4. Click the drop-down menu next to Country & Region.
5. Select your region and restart the computer.
Method 4 – Edit Registry
There’s one more sure-shot way that can help you if your Windows 10 or 11 keeps changing the language and keyboard layout. You need to edit the Windows registry keys. If you are unfamiliar with the registry, follow the steps, and you will get your solution.
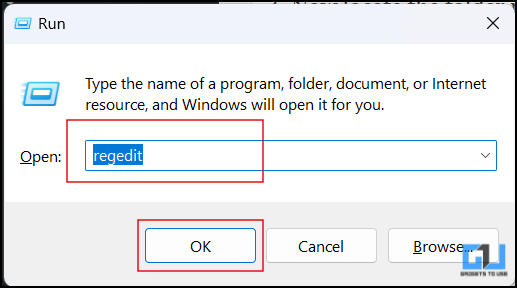
1. Press the Windows + R key simultaneously to open Run Window.
2. Enter “Regedit” and press OK.
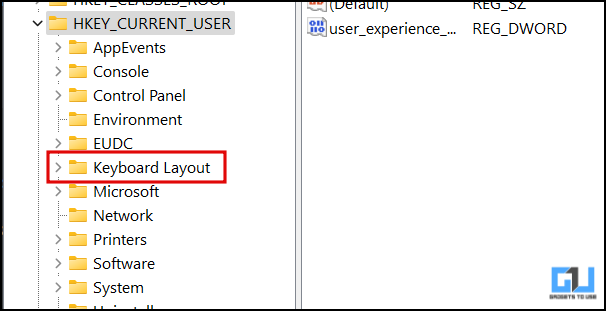
3. Now locate HKEY_CURRENT_USER and click on the drop-down arrow.
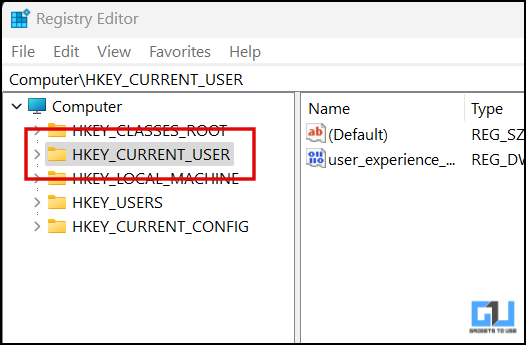
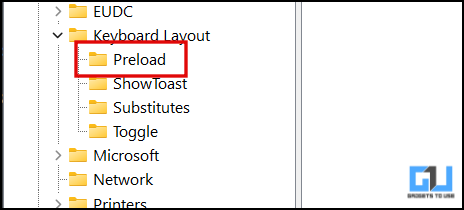
4. Now locate the folder named Keyboard Layout and click on it.
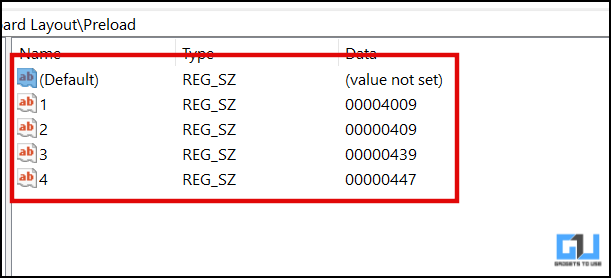
5. Select Preload within subfolders.
6. Right-click and delete the keyboard layouts you don’t want.
Method 5 – Disable Keyboard Layout From Windows Powershell
If none of the above methods works, you use the Windows Powershell to remove a Windows keyboard layout. So, without further ado, let’s take a look at how it can be done:
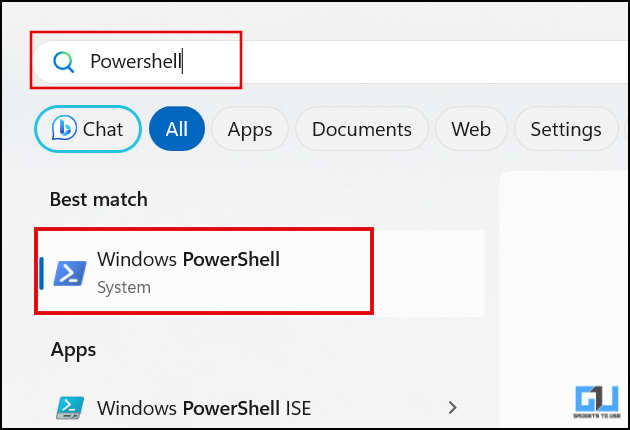
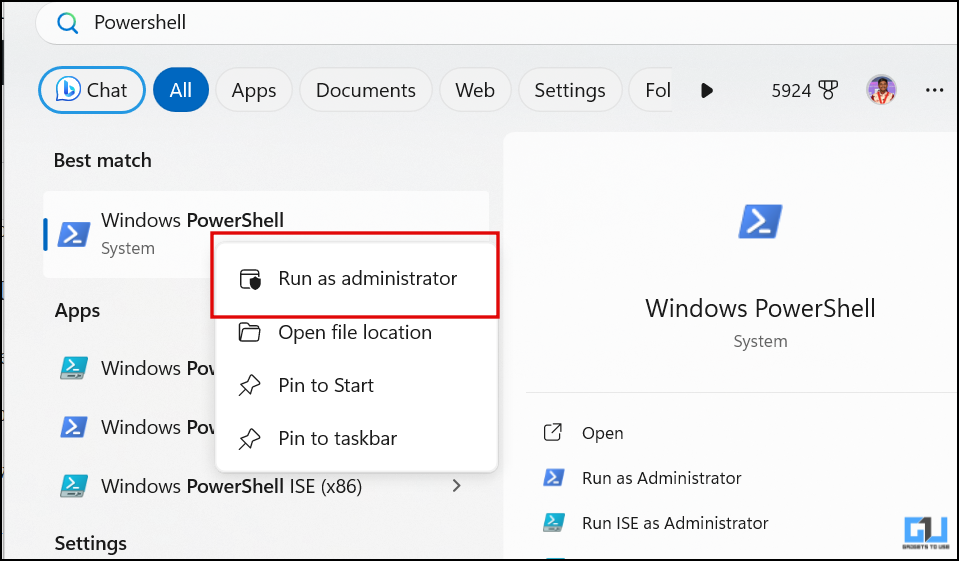
1. Press the Windows + S key and search Powershell in the search window.
3. Select Run as Administrator from the popup menu.
4. Now type or copy the following command and hit Enter:
Get-WinUserLanguageList
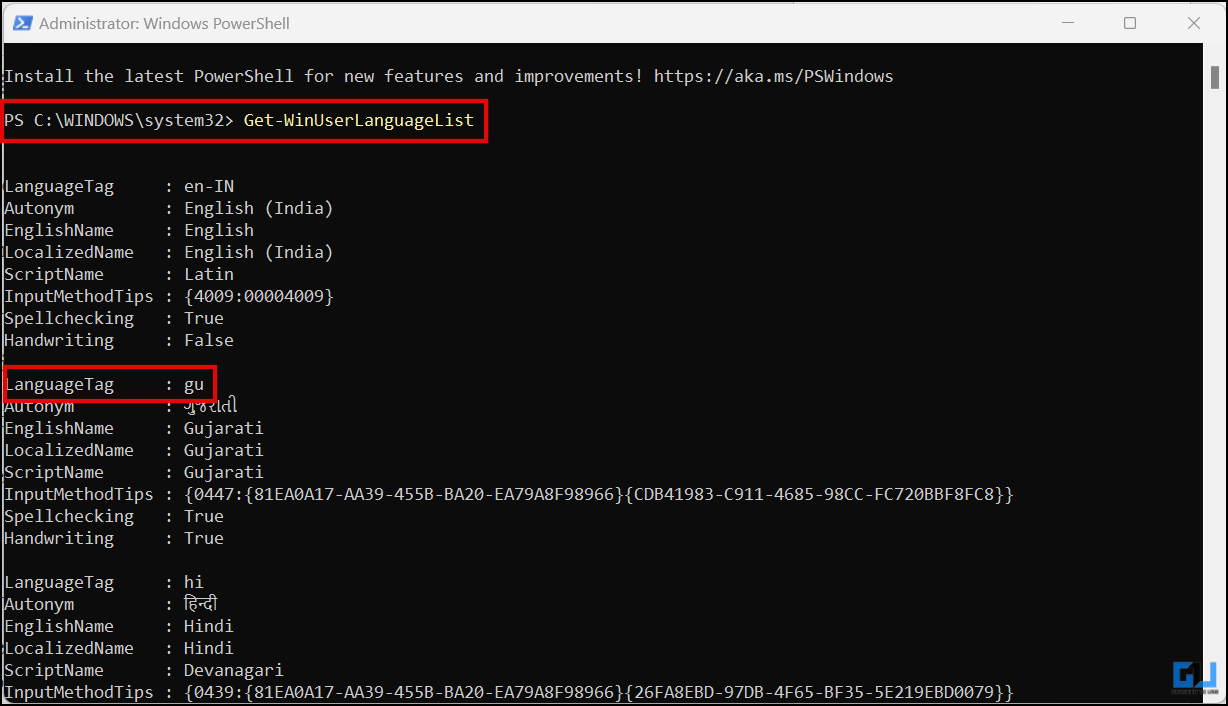
5. From the list, note the “LanguageTag” of the languages you want to remove from the results.
6. Once you get the LanguageTags, execute the following commands one at a time; replace “<LanguageTag>” with the tag you noted previously.
$LangList = Get-WinUserLanguageList
$MarkedLang = $LangList | where LanguageTag -eq <LanguageTag>
$LangList.Remove($MarkedLang)
Set-WinUserLanguageList $LangList -Force

Method 6 – Reset Your Computer
As lender of the last resort, if nothing works, take a full backup of your computer and follow the instructions to reset your Windows PC.
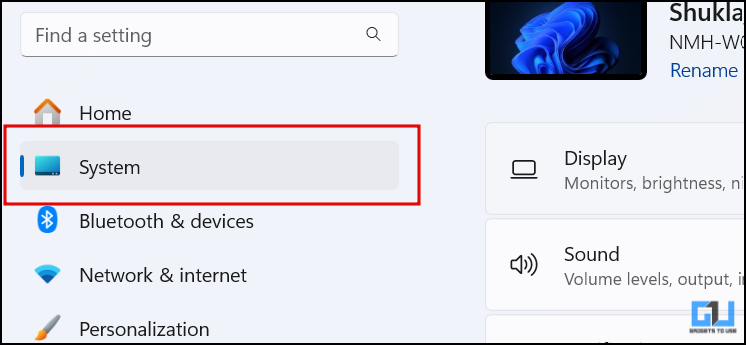
1. Open Settings on your computer.
2. Go to System Settings.
3. Now click on Recovery.
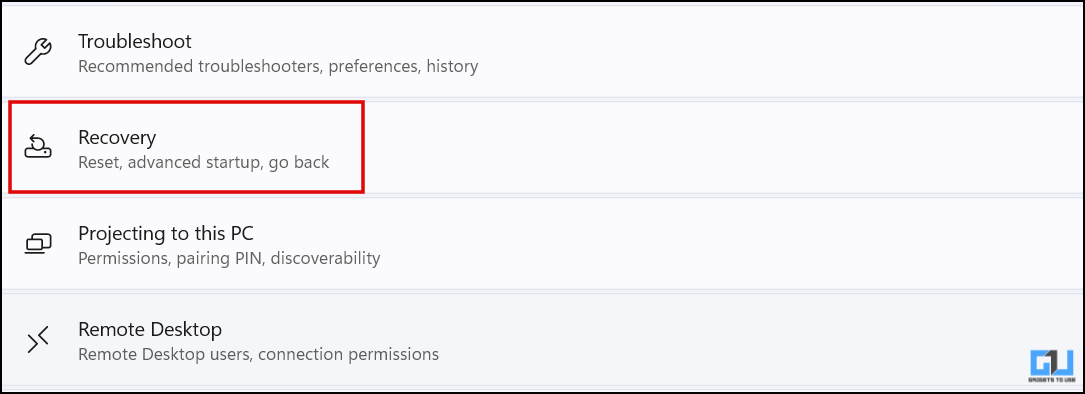
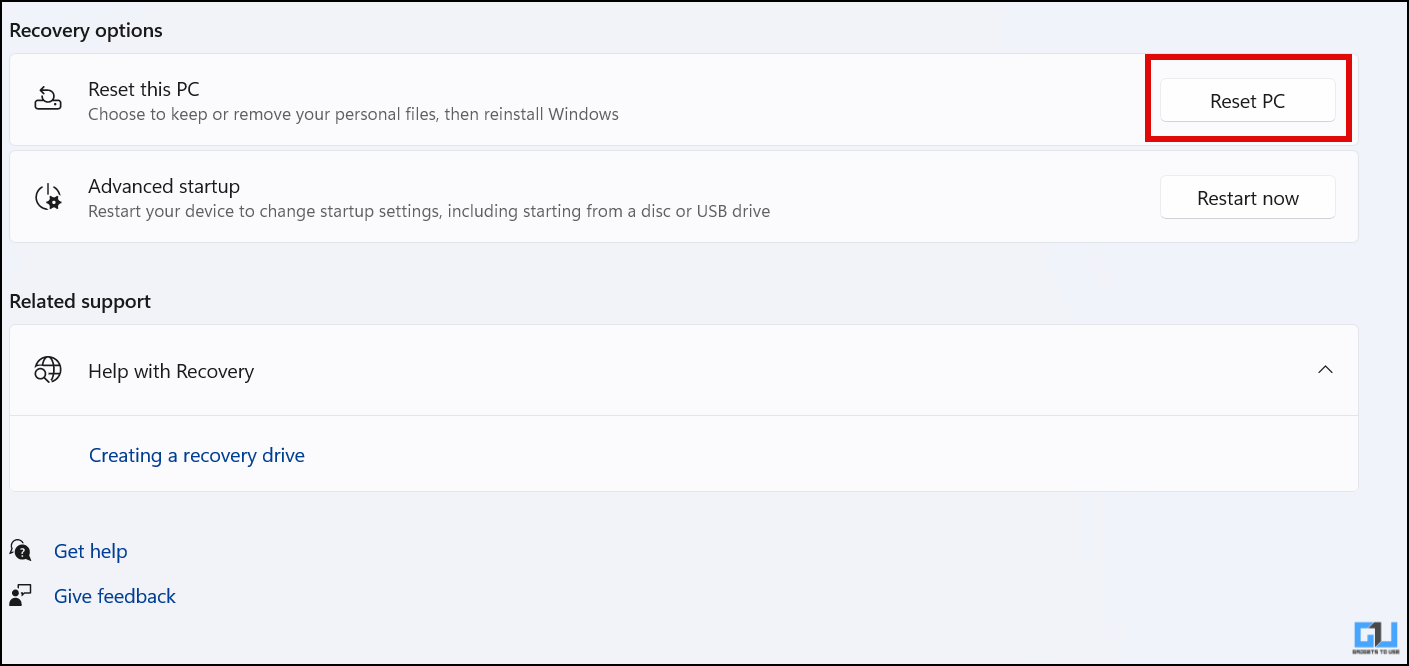
4. Go to Reset this PC.
This will completely reset your Windows computer; you can now set it up from scratch.
FAQs
Q. What Is the Keyboard Shortcut to Changing the Windows Keyboard Layout Quickly?
Press the Windows Key + Spacebar to change the keyboard layout on your Windows PC quickly.
Q. How Do I Delete Additional Languages Added by Windows?
Go to Language and Region settings from Windows settings, click on the language, and then select delete to remove the additional languages. Follow the first method for more details.
Wrapping Up
These are the ways to change or remove an unnecessary keyboard layout from Windows 10 or 11 PCs; once you have deleted any extra layouts, use the Windows + Spacebar key to switch between the available ones quickly. Stay tuned to GadgetsToUse for more such reads, and check the ones linked below.
You might be interested in:
- 12 Ways to Fix Swapped Keyboard Keys on Windows 11/10
- 8 Ways to Fix Alt and Start Key Swapped in Logitech KeyBoard
- 3 Ways to Avoid Permanent Keyboard Marks on MacBook Screen
- 7 Ways to Fix Keyboard Backlight Not Working On Your Mac
You can also follow us for instant tech news at Google News or for tips and tricks, smartphones & gadgets reviews, join the GadgetsToUse Telegram Group, or subscribe to the GadgetsToUse Youtube Channel for the latest review videos.