Screenshots are the best way to save what’s happening on your phone’s screen. There are multiple ways to capture screenshots on Android, but some apps may not let you take screenshots for some reason, and even if you try, it’ll save a blank screen. In such a case, it becomes impossible to save things. So, here I will tell you how to bypass that restriction and take a screenshot on Android even if the app doesn’t allow it.
How to Take a Screenshot When App Doesn’t Allow on Android?
Several third-party apps can bypass the screenshot restriction but require root privileges. It is not always feasible, and not everyone is willing to root their phone. In that case, you can resort to tweaking in-app settings, taking help from Google Assistant and your PC. Here’s how to capture any app that doesn’t allow taking screenshots natively without rooting your Android phone.
Method 1 – Tweak App Settings to Allow Screenshots
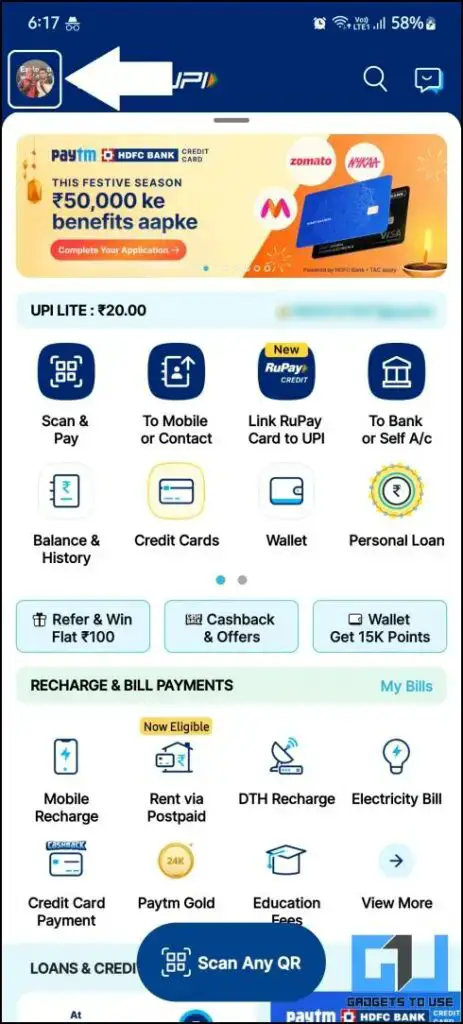
Some apps do not allow taking screenshots natively, but you can capture screenshots after modifying the settings. One such app is Paytm (a payment app), which allows you to capture screenshots of any in-app screen using your default screenshot gesture provided you manually enable it in the settings, as shown below.
1. Open the Paytm app on your phone.
2. Tap on the profile picture to open the hamburger menu.
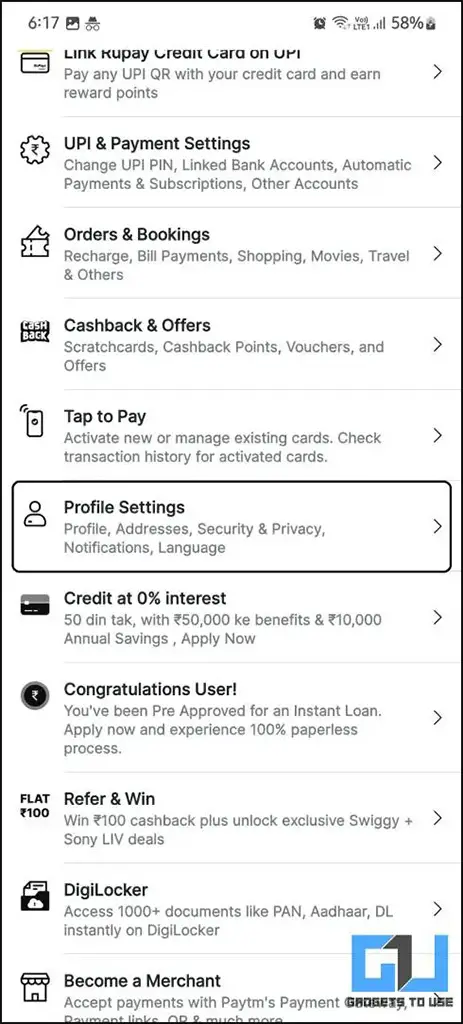
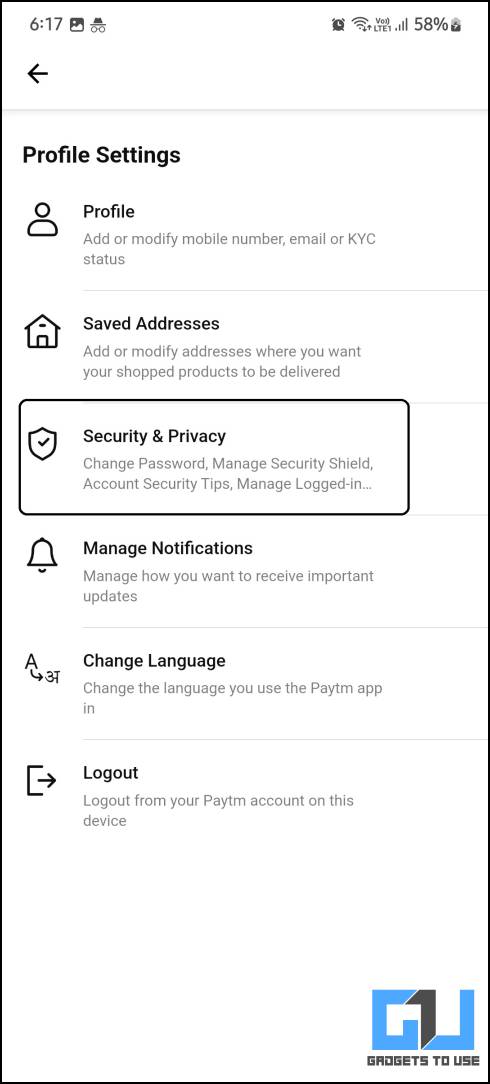
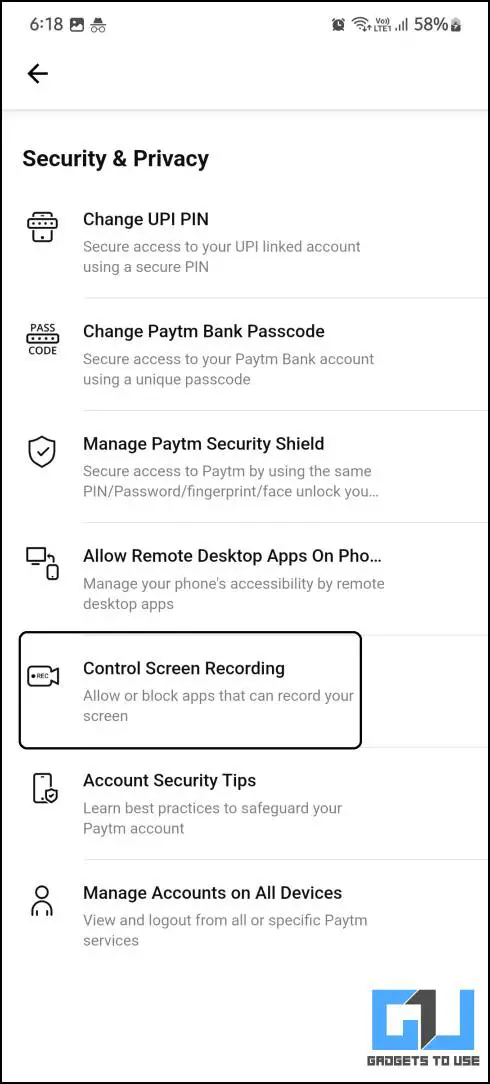
3. Go to Profile Settings > Security and Privacy > Control Screen Recording.
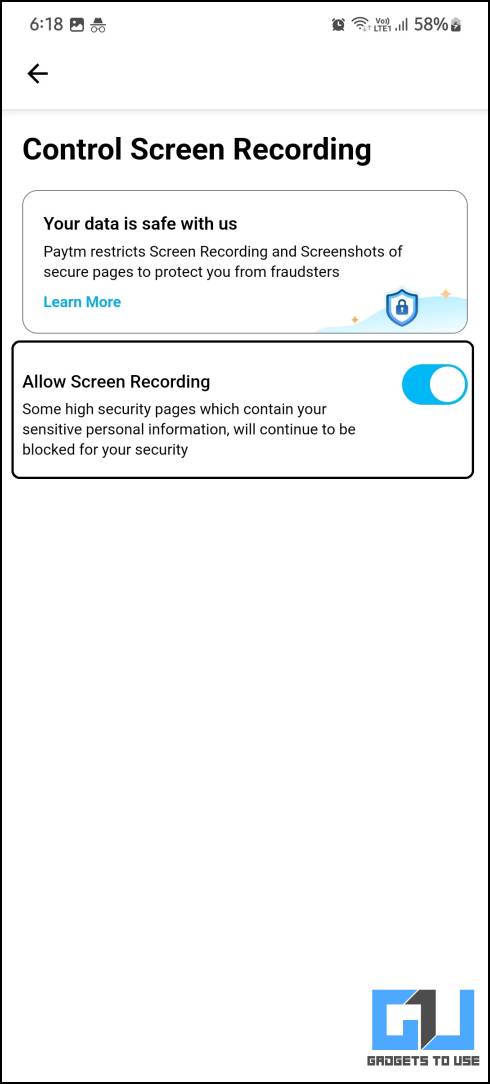
4. Enable the Allow Screen Recording toggle.
You can now capture screenshots inside Paytm with all the screen content instead of a blank black screen. But remember that this setting automatically disables once you close the app. You need to re-enable it to take screenshots the next time.
Method 2 – Take Screenshot Using Google Assistant
Google Assistant lets you capture and share a screenshot on your smartphone without even touching the phone. It takes a screenshot to help you with the content on your screen. You can use this trick to capture screenshots from apps that don’t allow you to take screenshots.
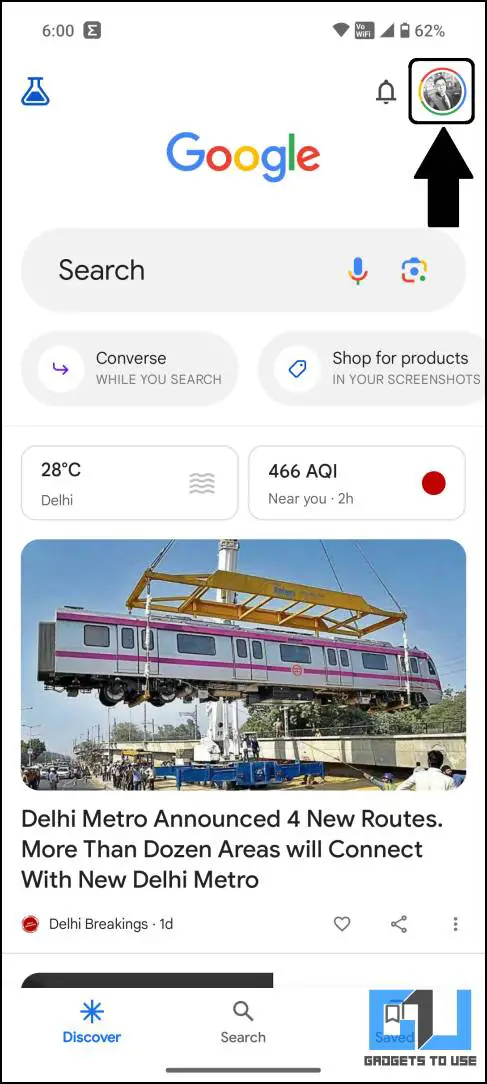
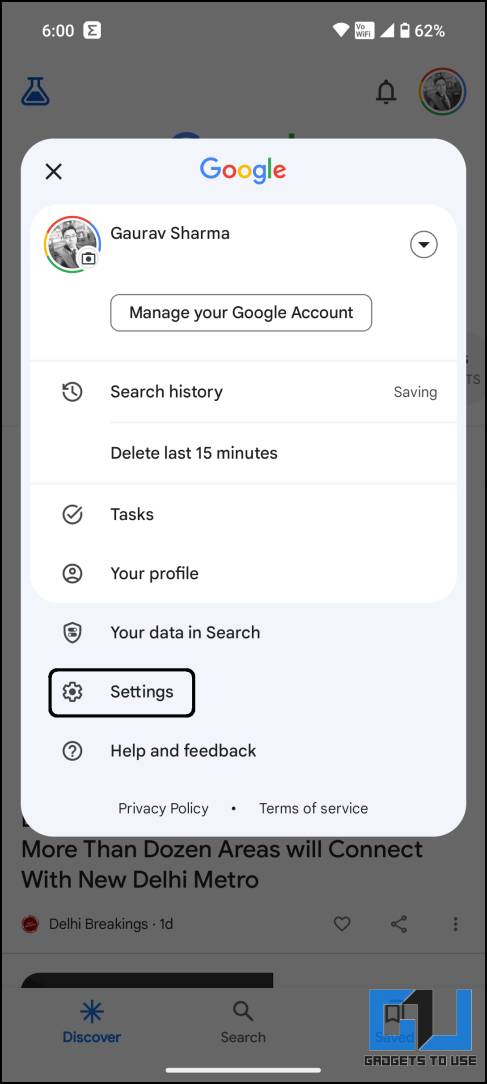
1. Open the Google App and tap your profile picture to access Settings.
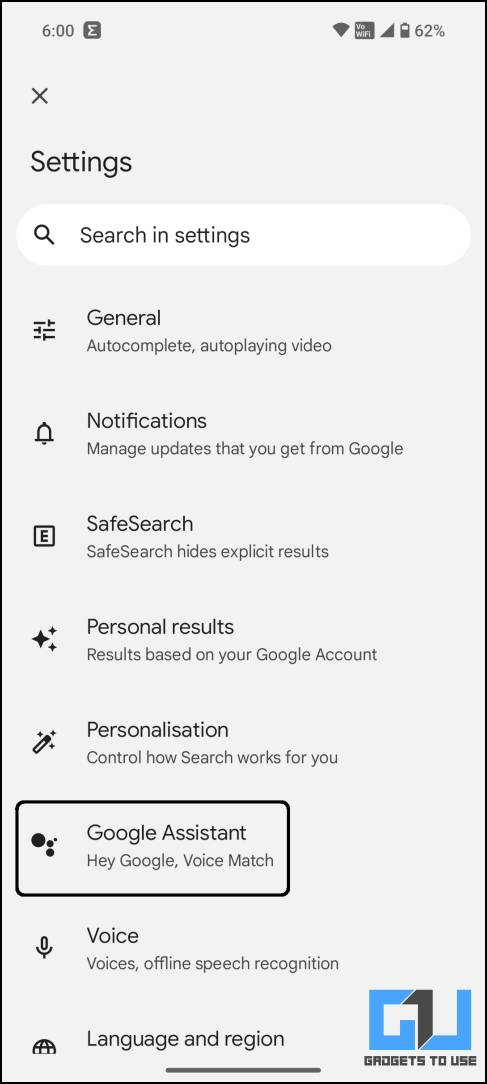
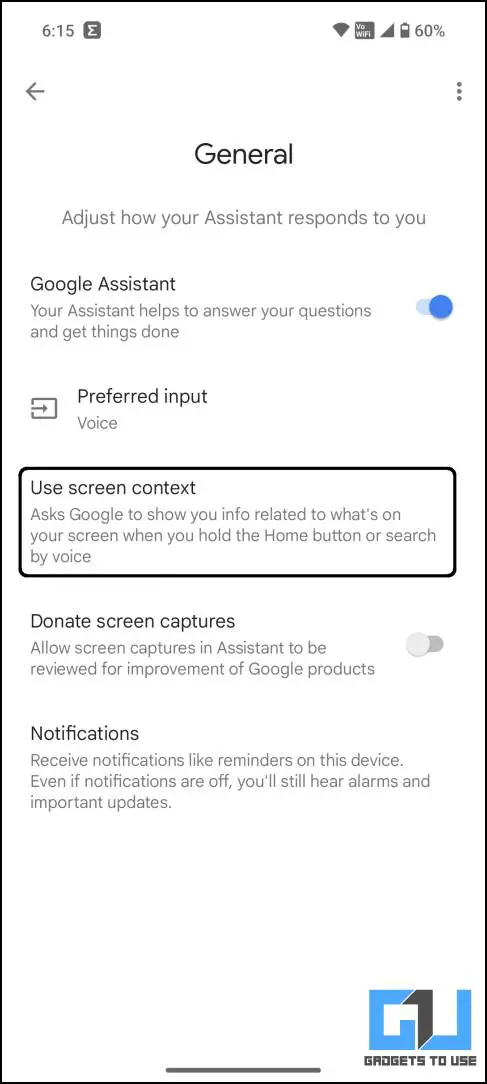
2. Under Settings, tap on Google Assistant to access Google Assistant Settings.
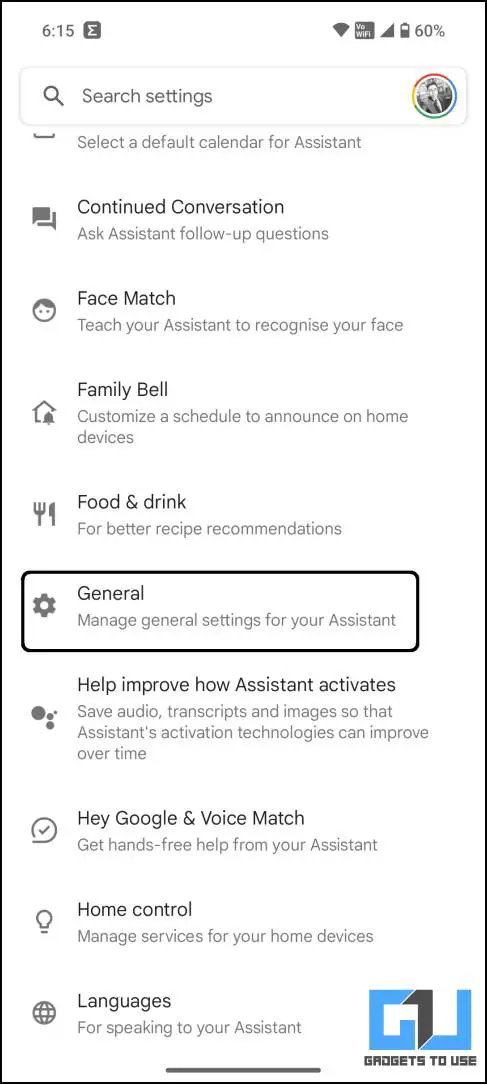
3. Scroll down to General Settings and tap on Use Screen Context.
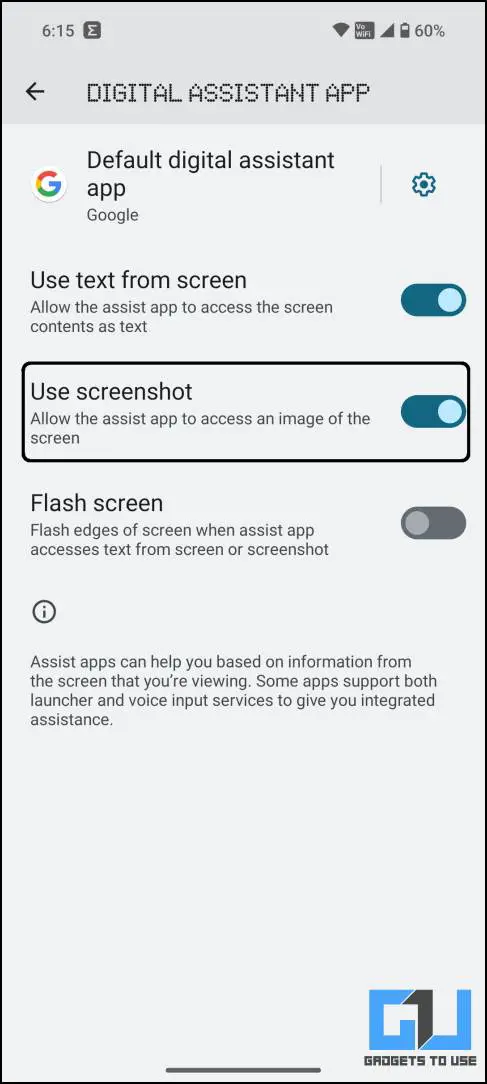
4. Here, enable the toggles for Use screen context and then enable the toggle for Use screenshot.
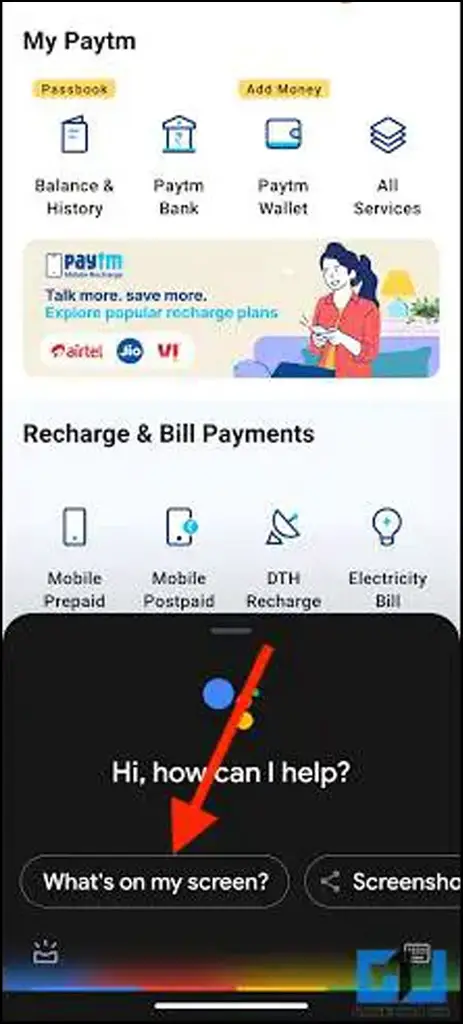
5. Now, open the app that doesn’t allow screenshots, hold the Home button, or swipe up from the lower left or right corner to launch Google Assistant.
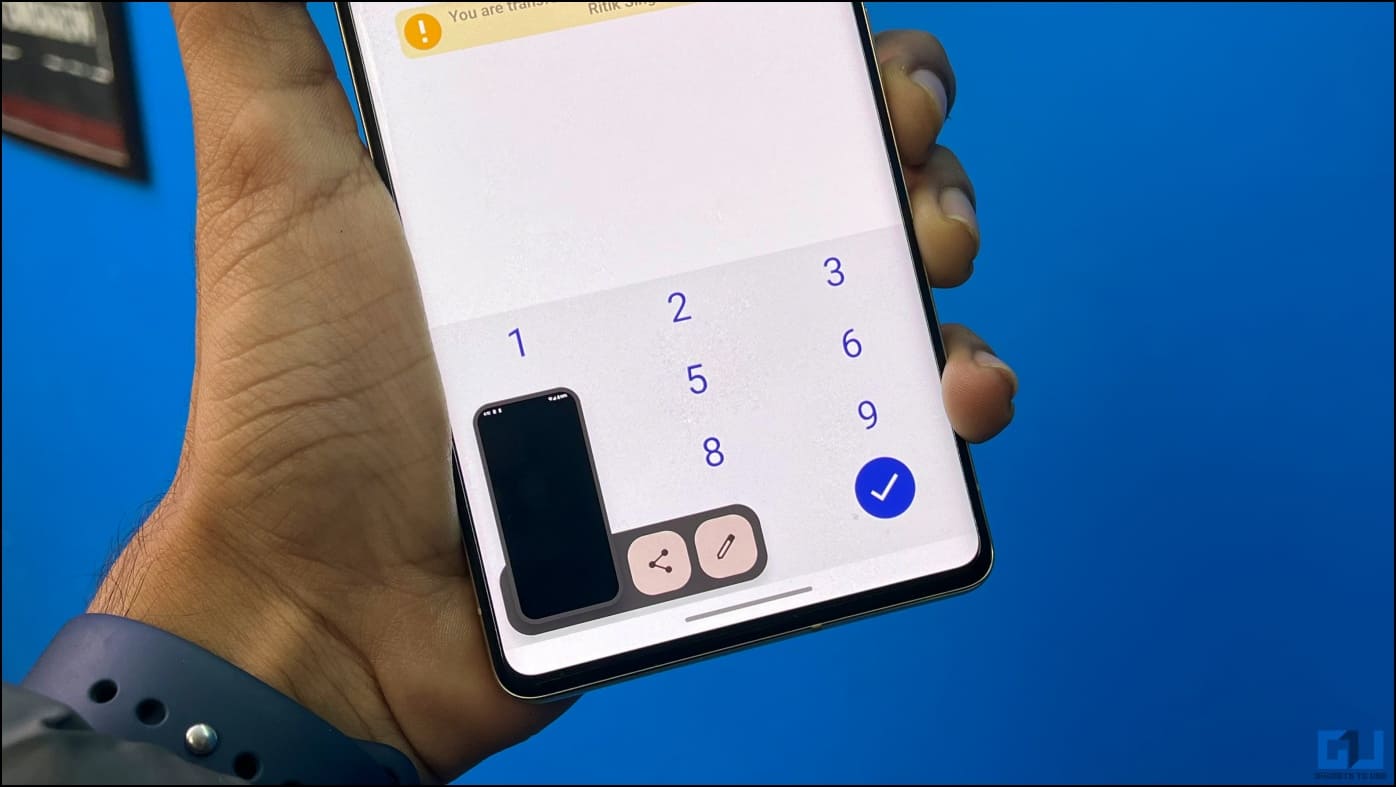
6. Type or ask Google Assistant What’s on my screen?
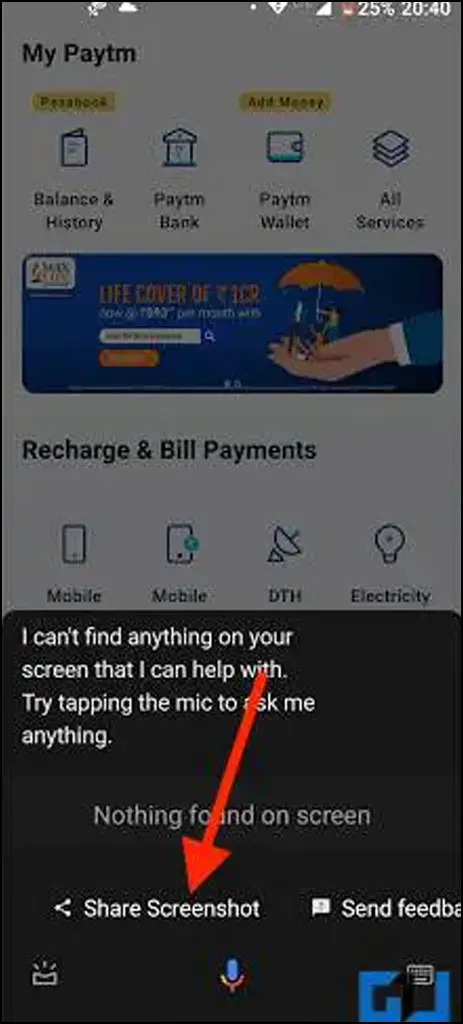
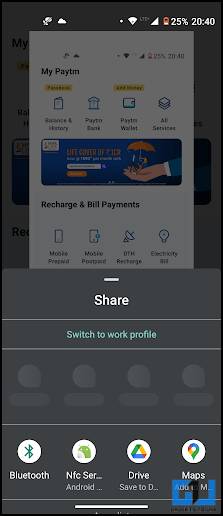
7. After that, tap the Share Screenshot button.
That’s it. The screenshot will be captured, and you can share it on other apps. However, if the result from this method is either blacked out or distorted, move to the next trick.
Method 3 – Capture the Android Phone Screen Using Scrcpy (Desktop)
You can also use desktop software that can record your phone’s screen. Here, I will use Scrcpy, which can mirror and record your Android device’s screen, and the best part is that it does not even require root access. However, this method does not work on streaming apps like Prime Video and Netflix, which use DRM protection.
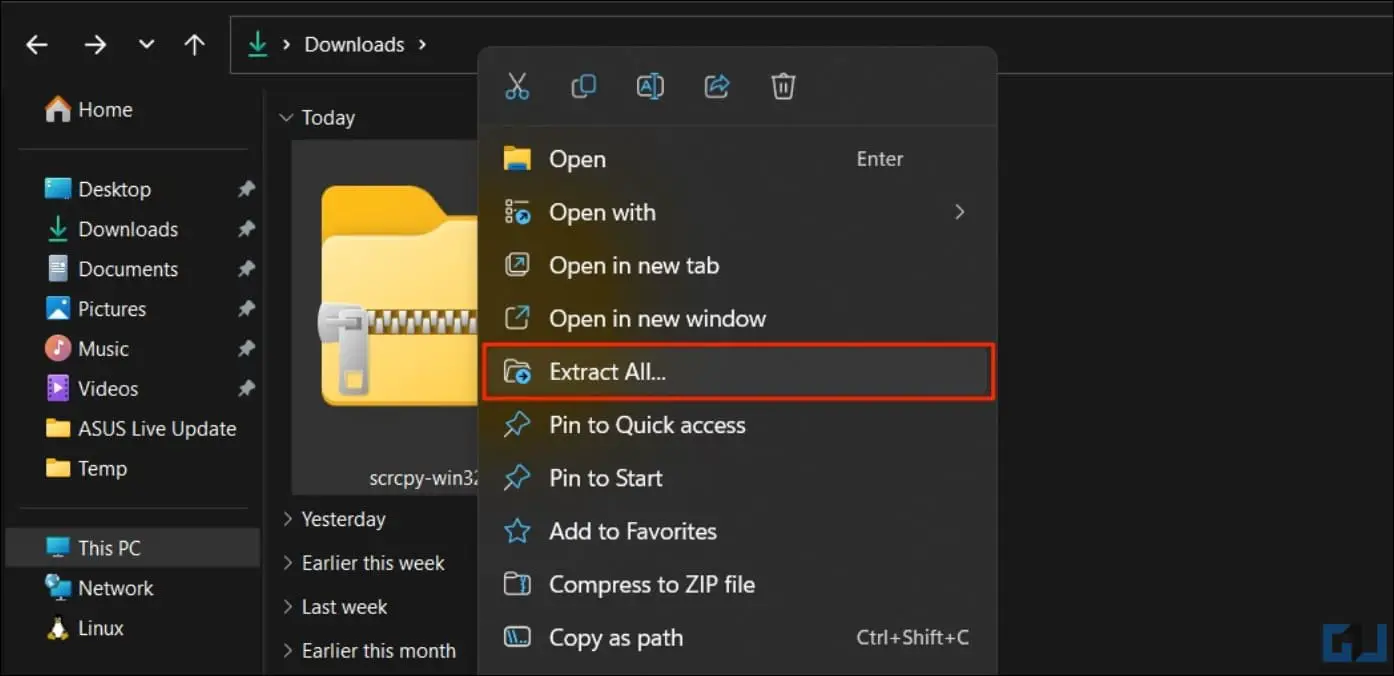
1. Download Scrcpy from GitHub for Windows, Linux, or Mac. Extract the zip file anywhere on your computer.
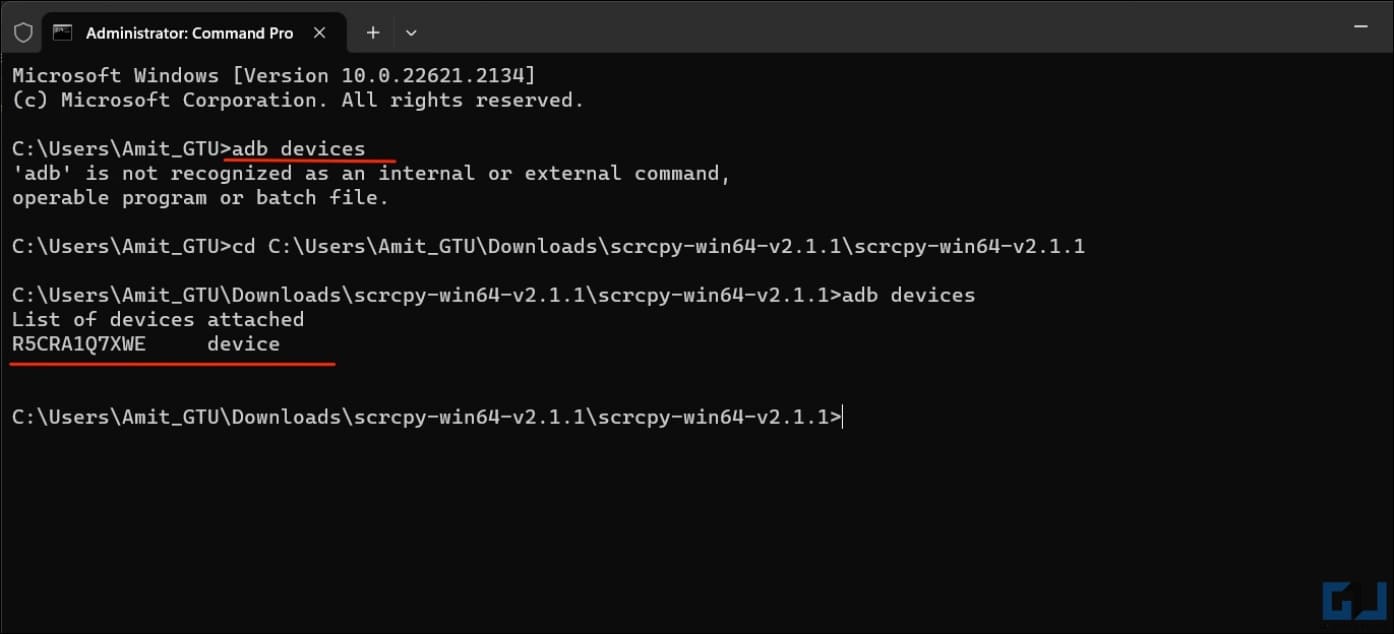
2. Now, connect your Android phone with ADB on your Mac or Windows computer. Run the command “adb devices” to check if your PC recognizes your device.
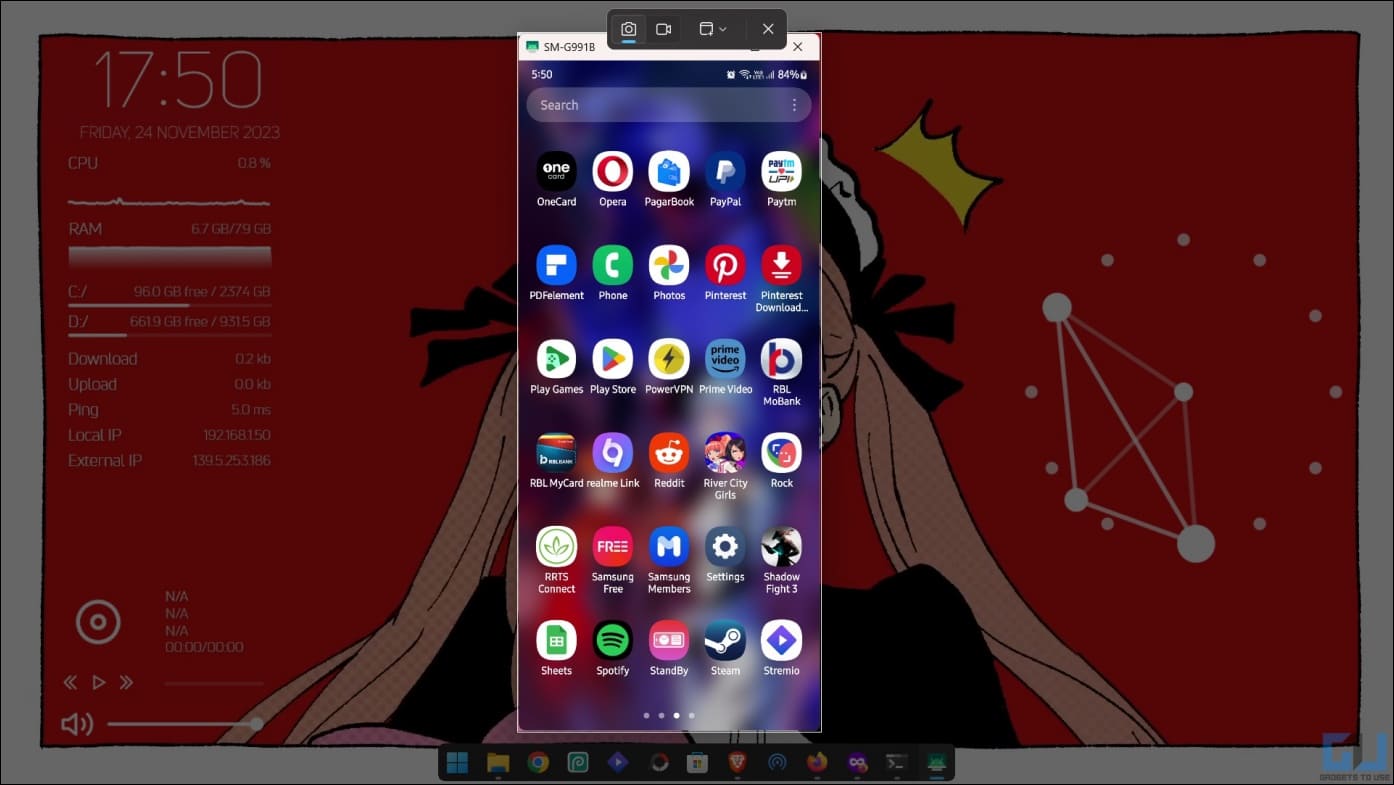
3. Open the extracted scrcpy folder and double-click on the scrcpy.exe file.
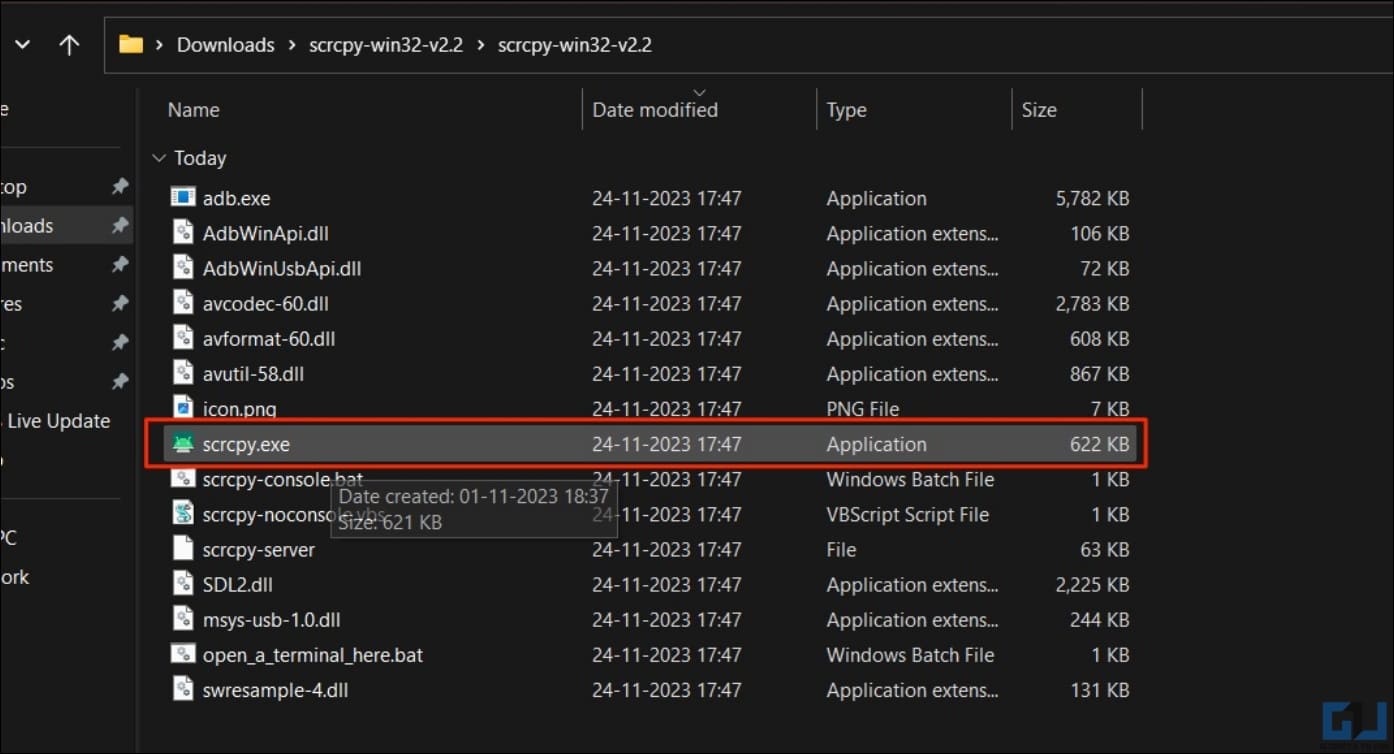
4. It will instantly start mirroring your Android screen on your PC.
5. You can now capture the screen using your Mac or Windows’s built-in feature.
Windows users can press Win + Shift + S to open the screenshot tool. Meanwhile, Mac users can press Command + Shift + 4 to capture the area.
Method 4 – Take Screenshots in Google Chrome’s Incognito Tab
If you use Incognito mode a lot on your phone, this simple trick will allow you to take screenshots of the incognito tabs in Google Chrome. All you need to do is enable a Chrome flag to capture screenshots in private browsing mode, as shown below:
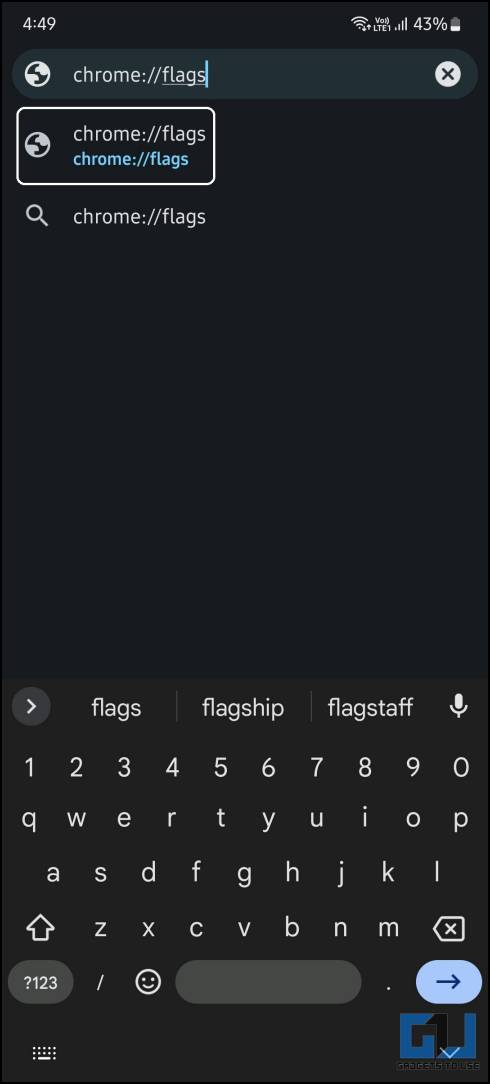
1. Open Google Chrome, type chrome://flags in the address bar, and press Enter.
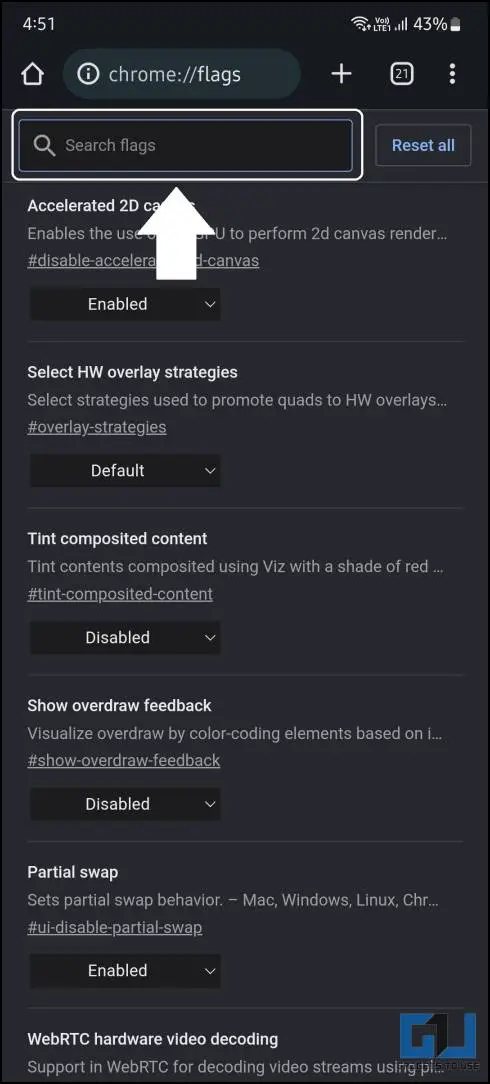
2. Search for “Incognito” and look for Incognito Screenshot.
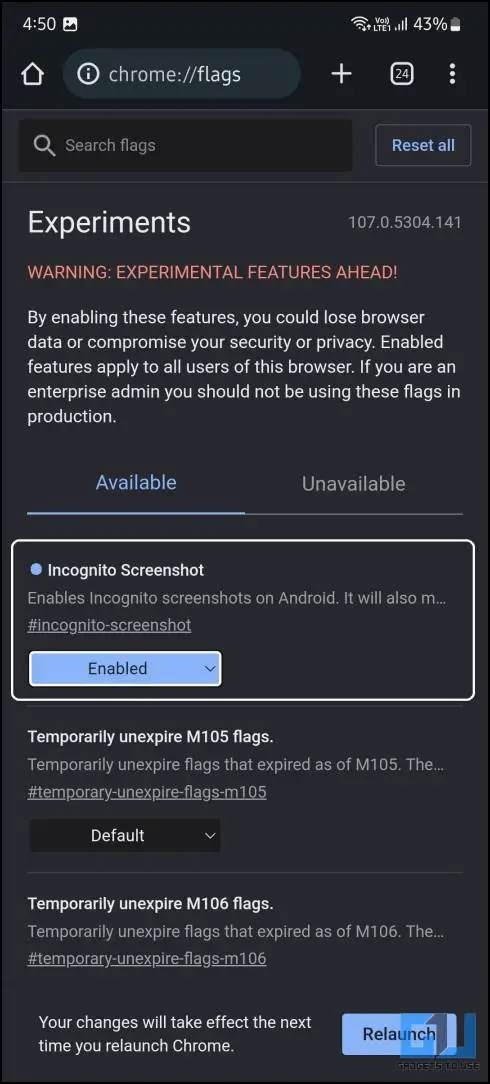
3. Enable the “Incognito screenshot” feature and Relaunch Chrome.
4. Now, you can take screenshots under the incognito tab using the same shortcut method you always use.
Now, Chrome will let you capture screenshots of any webpage in incognito mode.
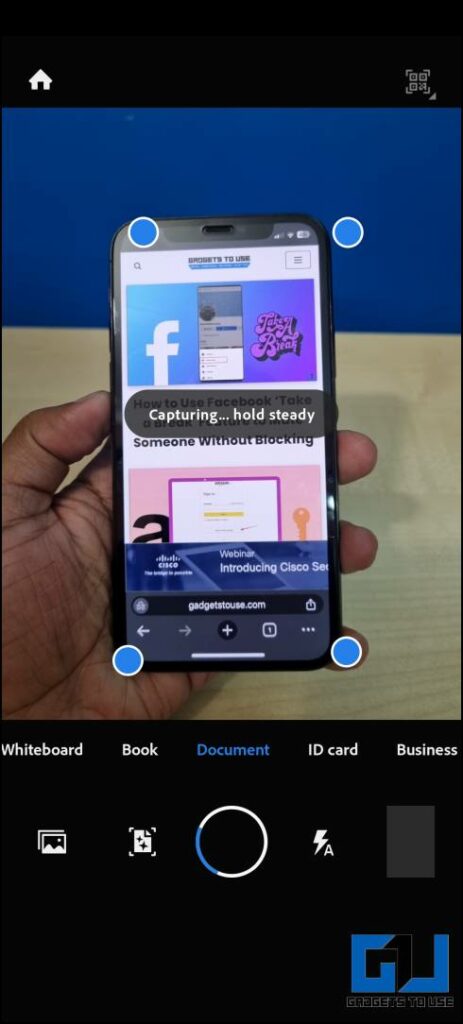
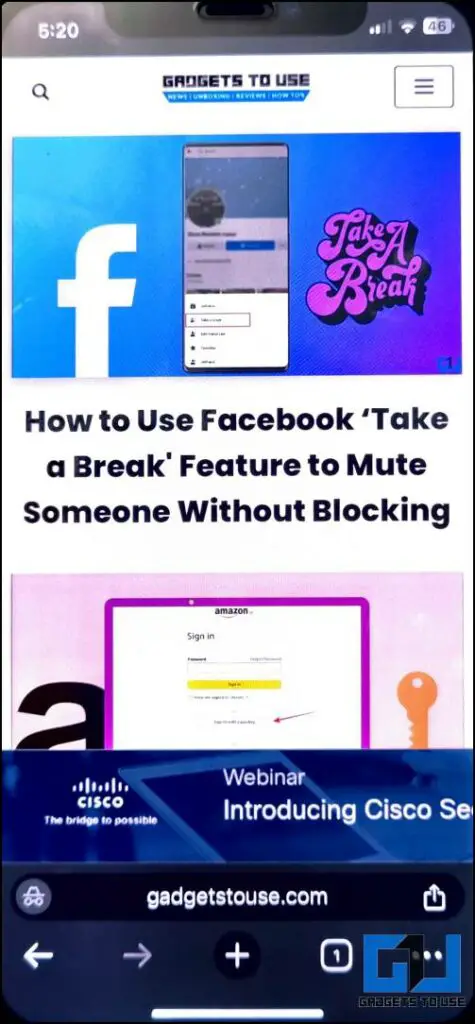
Method 5 – Take a Picture of the Screen Using a Doc Scanner App
The last resort is to capture a picture of your phone using a secondary phone displaying the restricted app or screen. For better results, I recommend you use a document scanner like Adobe Scan, which crops and saves the picture like a document. You can edit the screenshot if required, share it with your friends, or save it to the gallery.
Method 6 – Using Virtual Android App
Virtual Android is another app that can let you take screenshots by creating a virtual environment on your device. Here’s how you can get started.
1. Install the Virtual Android App from the Google Play Store and launch it.
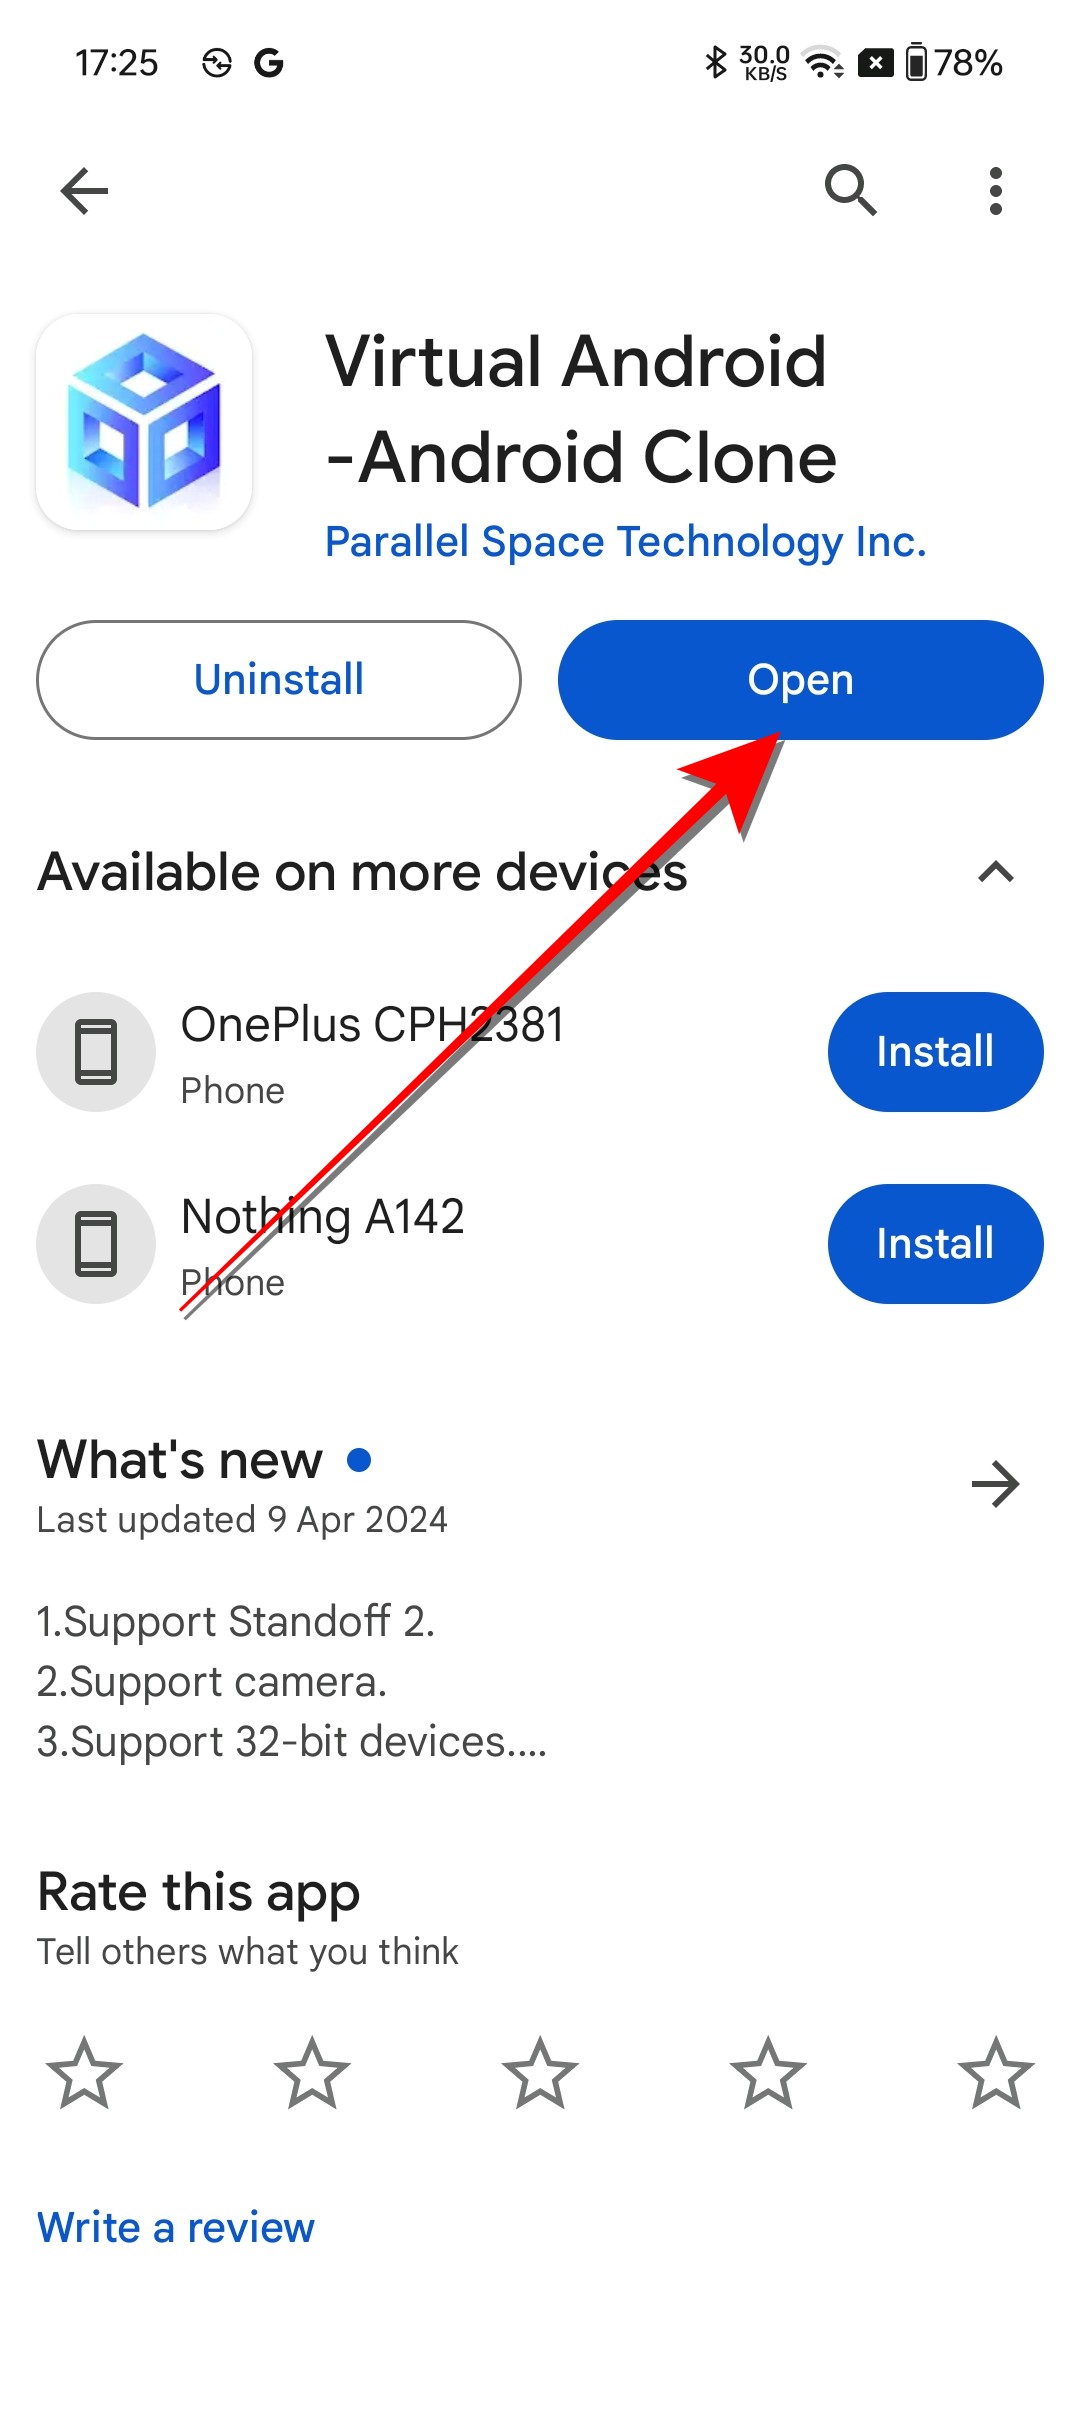
2. Follow the on-screen installation instructions and start the app.
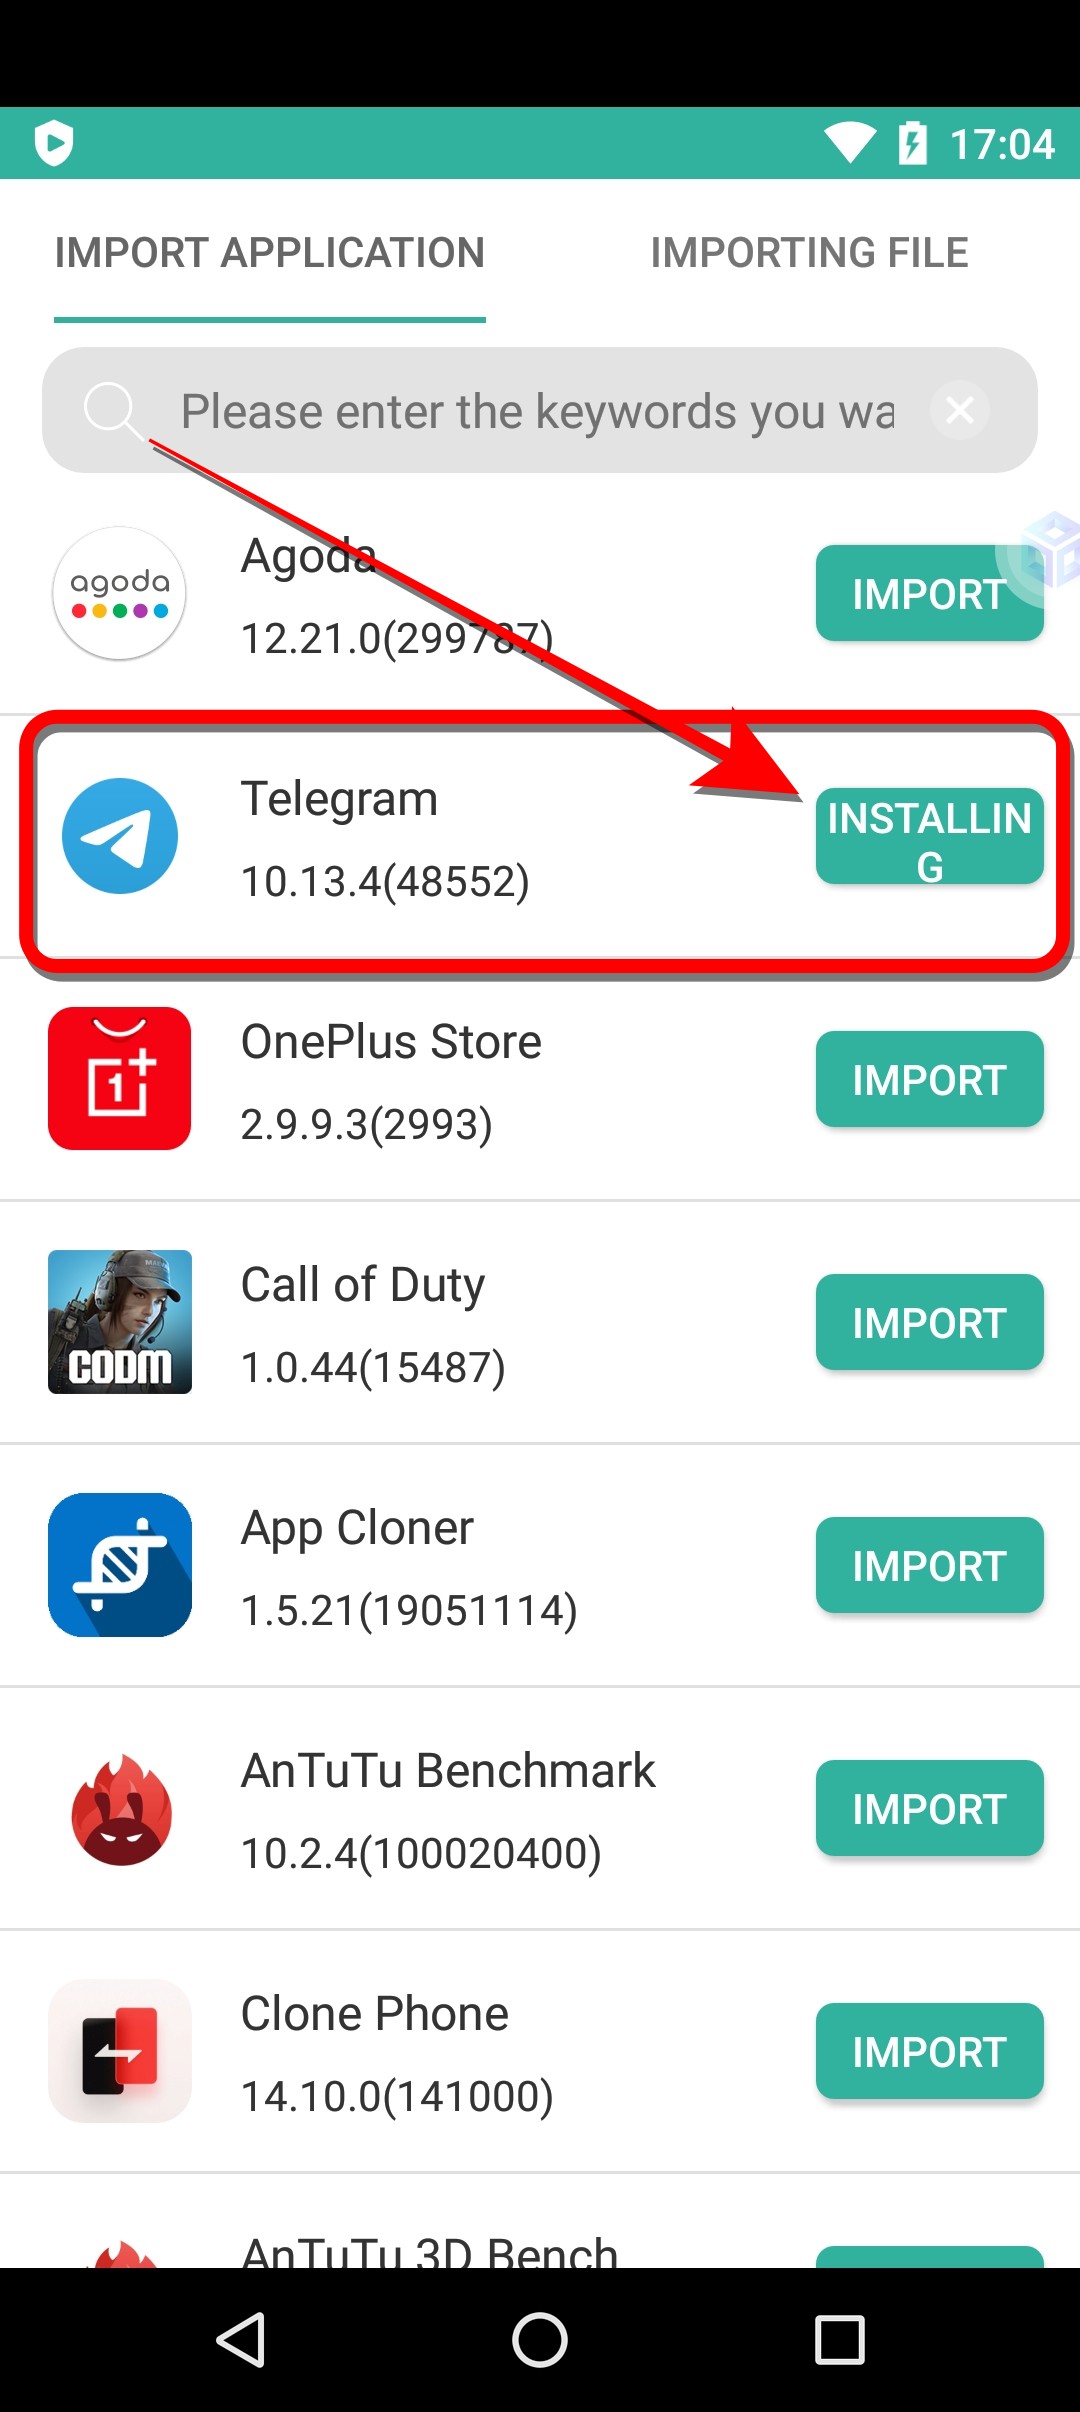
You will now see an “Import” icon on the home screen of the Virtual Android.
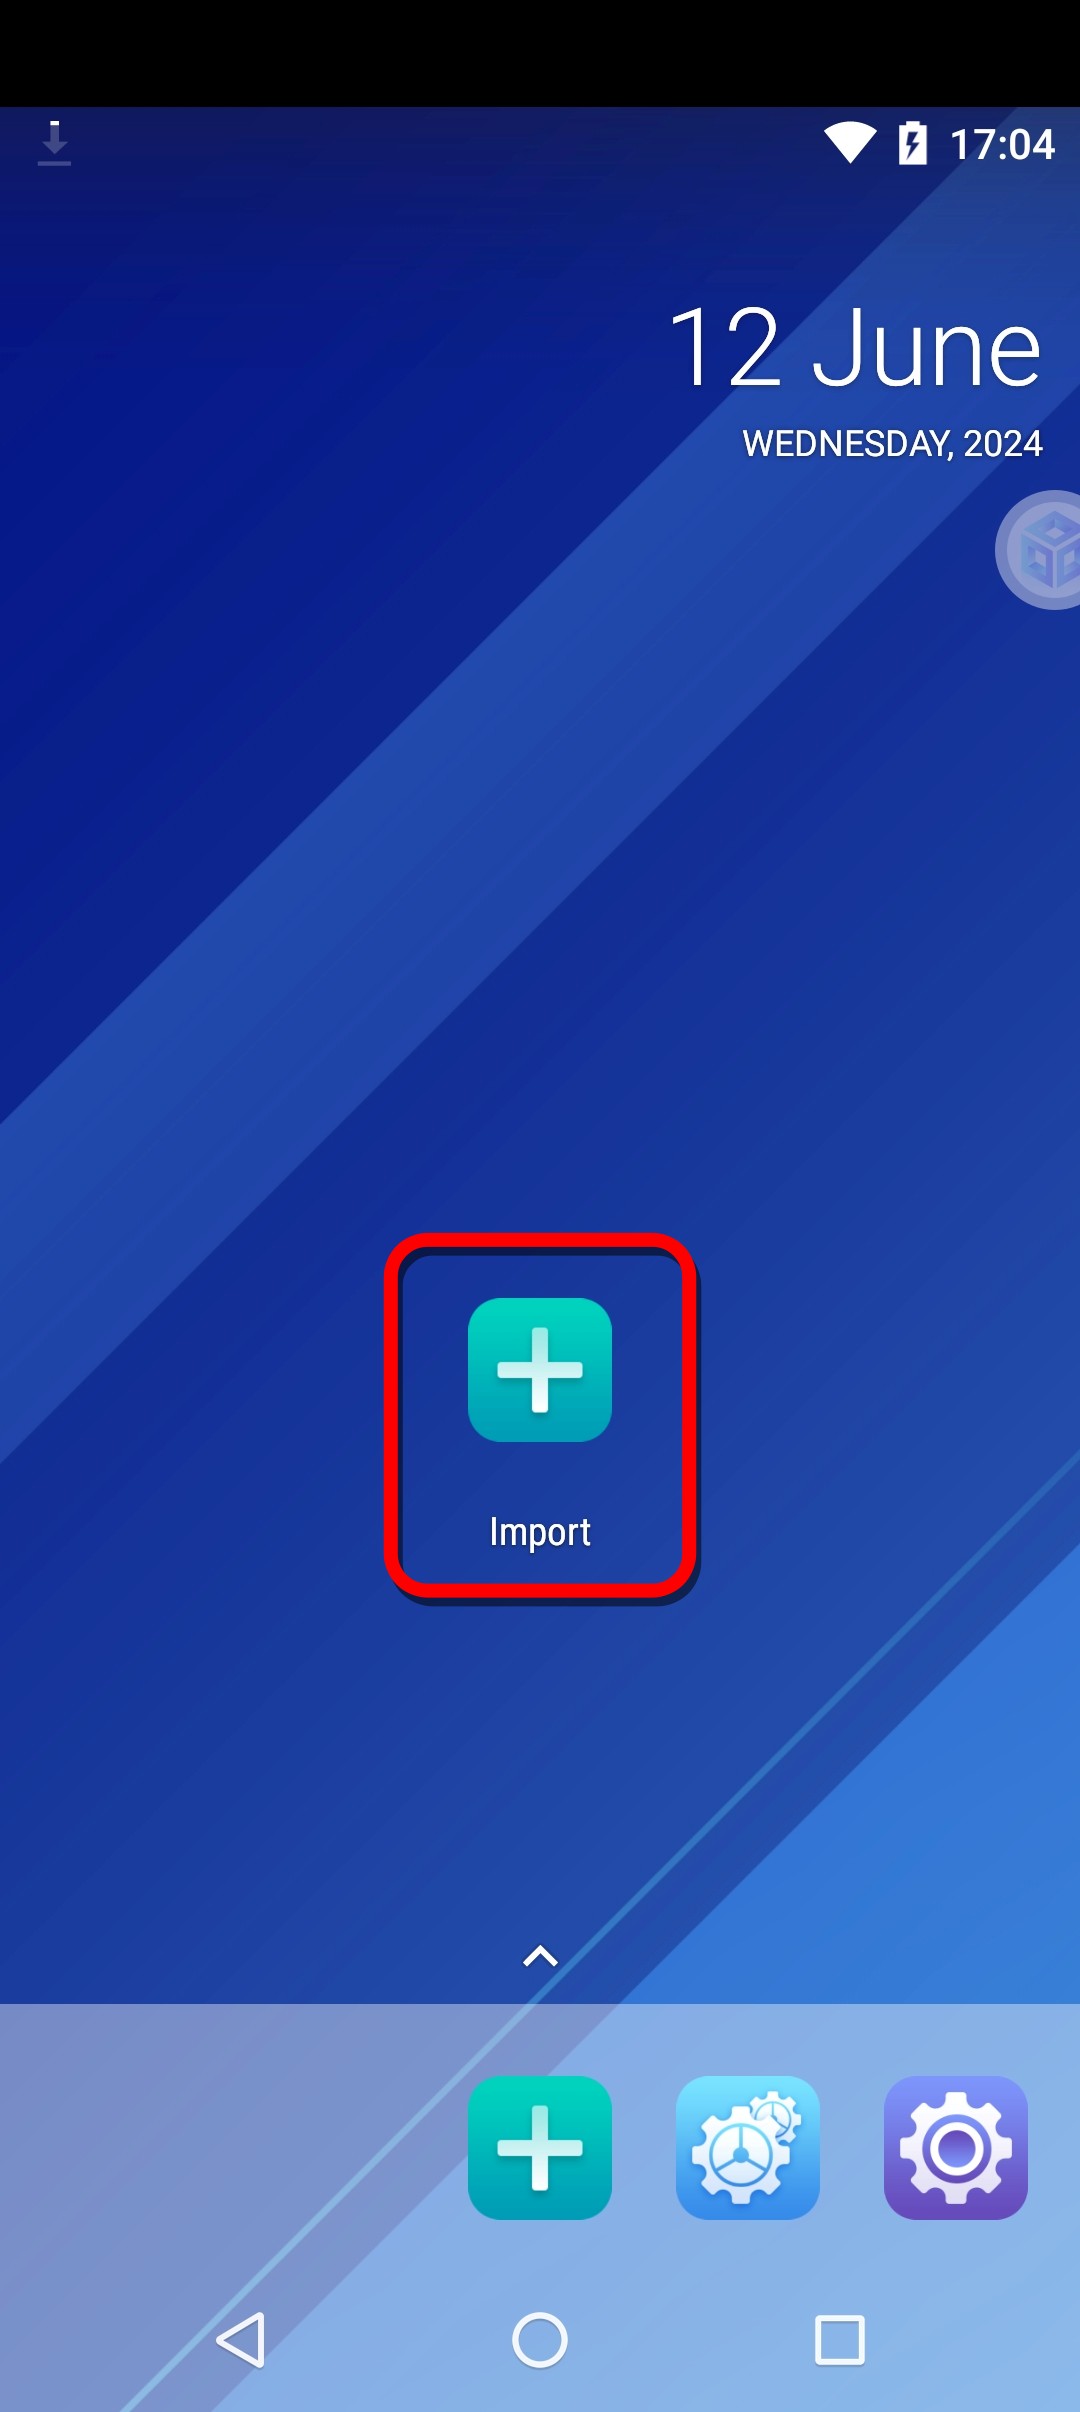
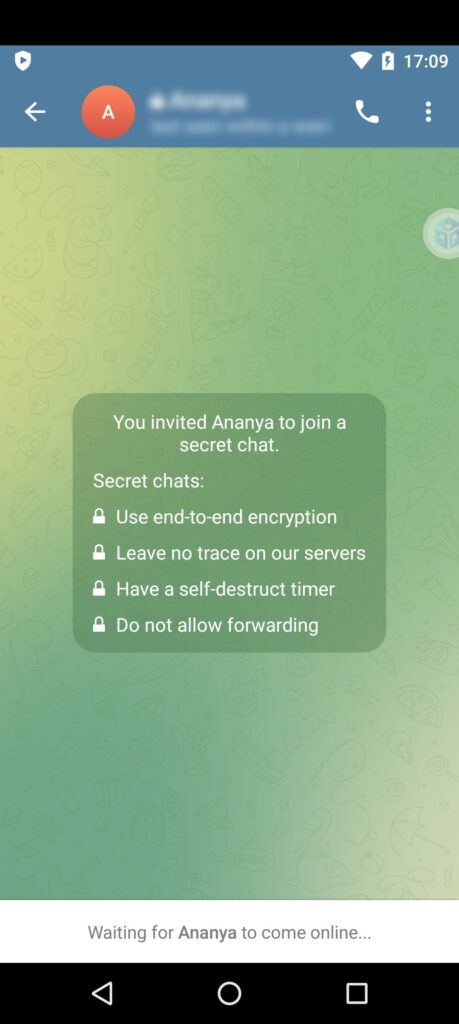
3. Upon launching the Import shortcut, you will be able to see a list of apps similar to the image below. I have imported “Telegram” as the Safe Chat in it, prevents taking any screenshots for example.
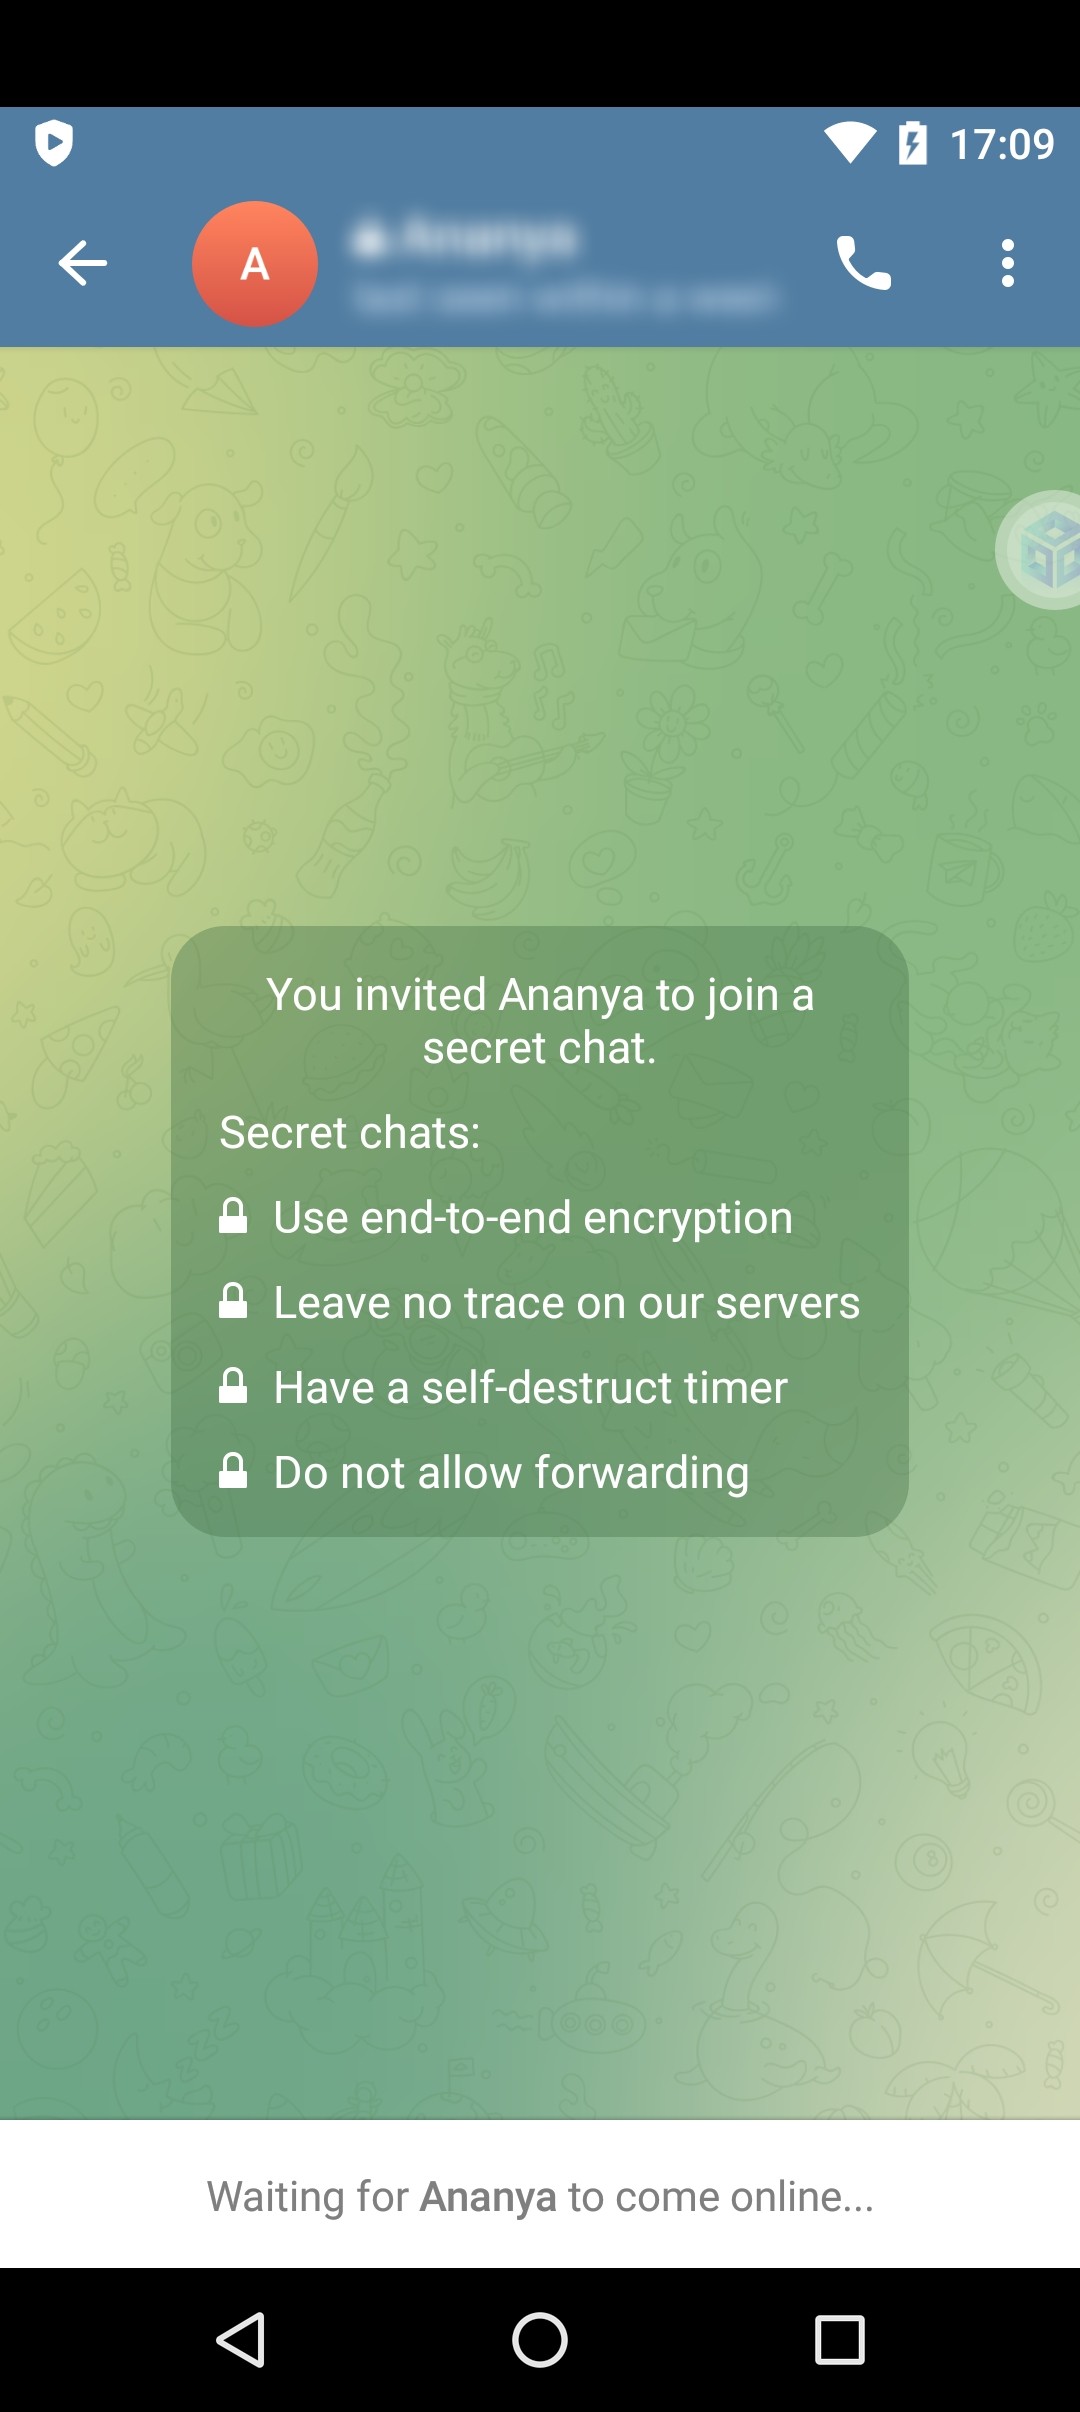
4. Once done, launch the cloned app and open the Secret Chat window.
5. Now, you will be able to save screenshots on prohibited apps.
Method 7 – Using App Cloner To Take Screenshots
The App Cloner is a paid app on the Google Play Store that can also modify and clone apps to allow you to take screenshots in it. However, here is a link of the App Cloner Mod, which you can get started with.
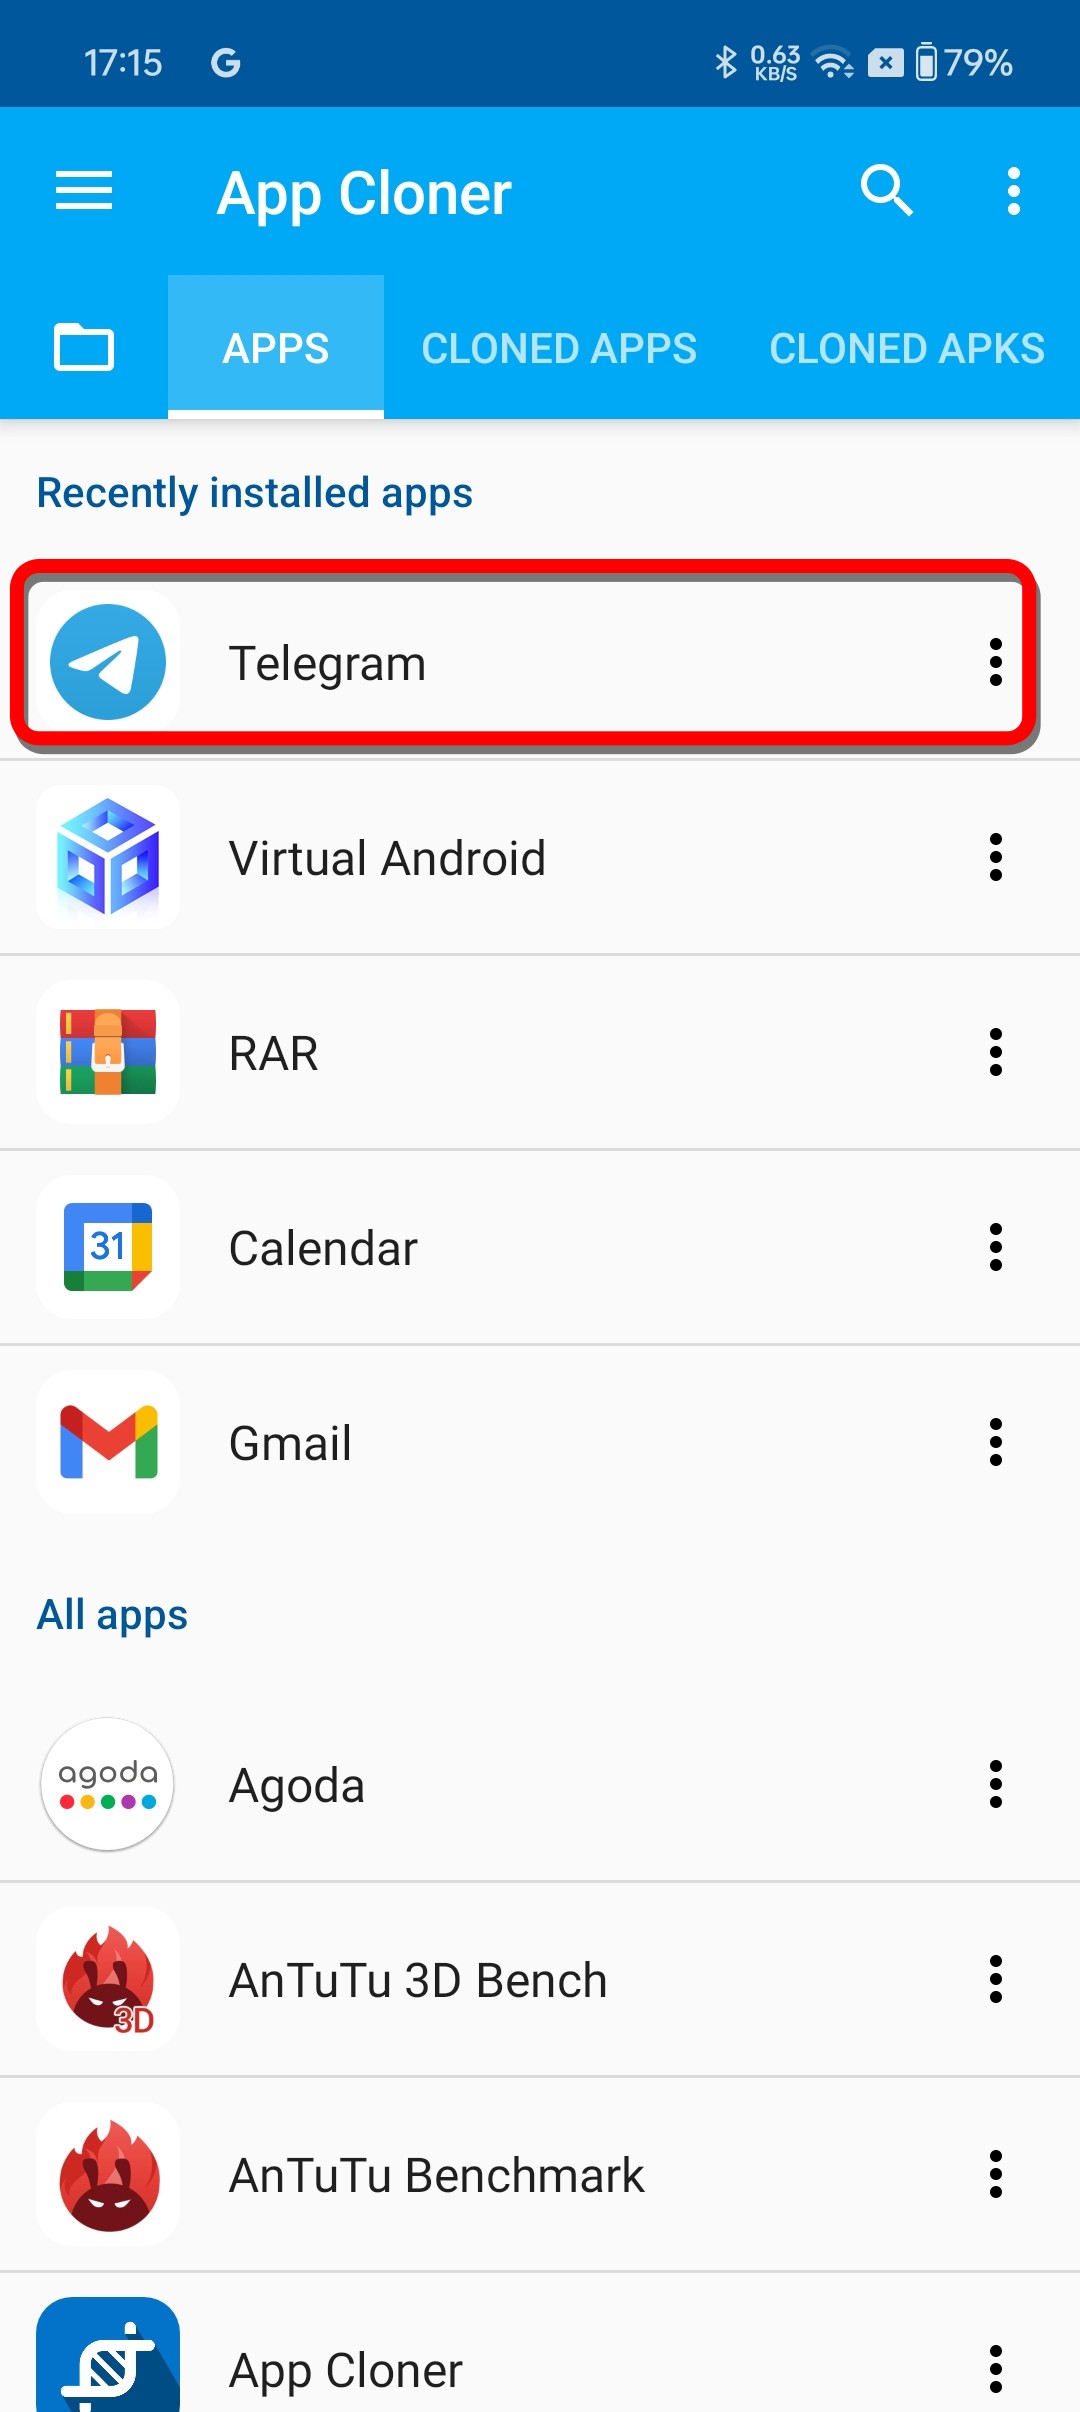
1. Open the App Cloner app on your phone.
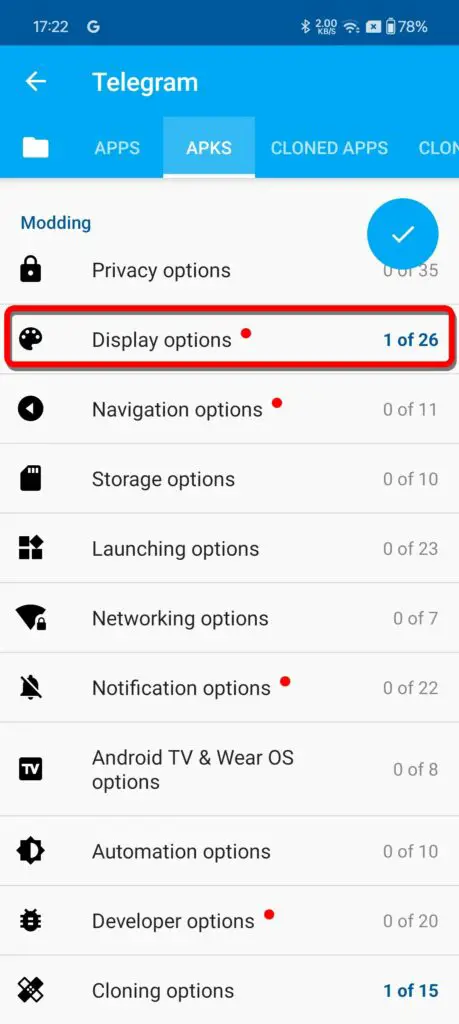
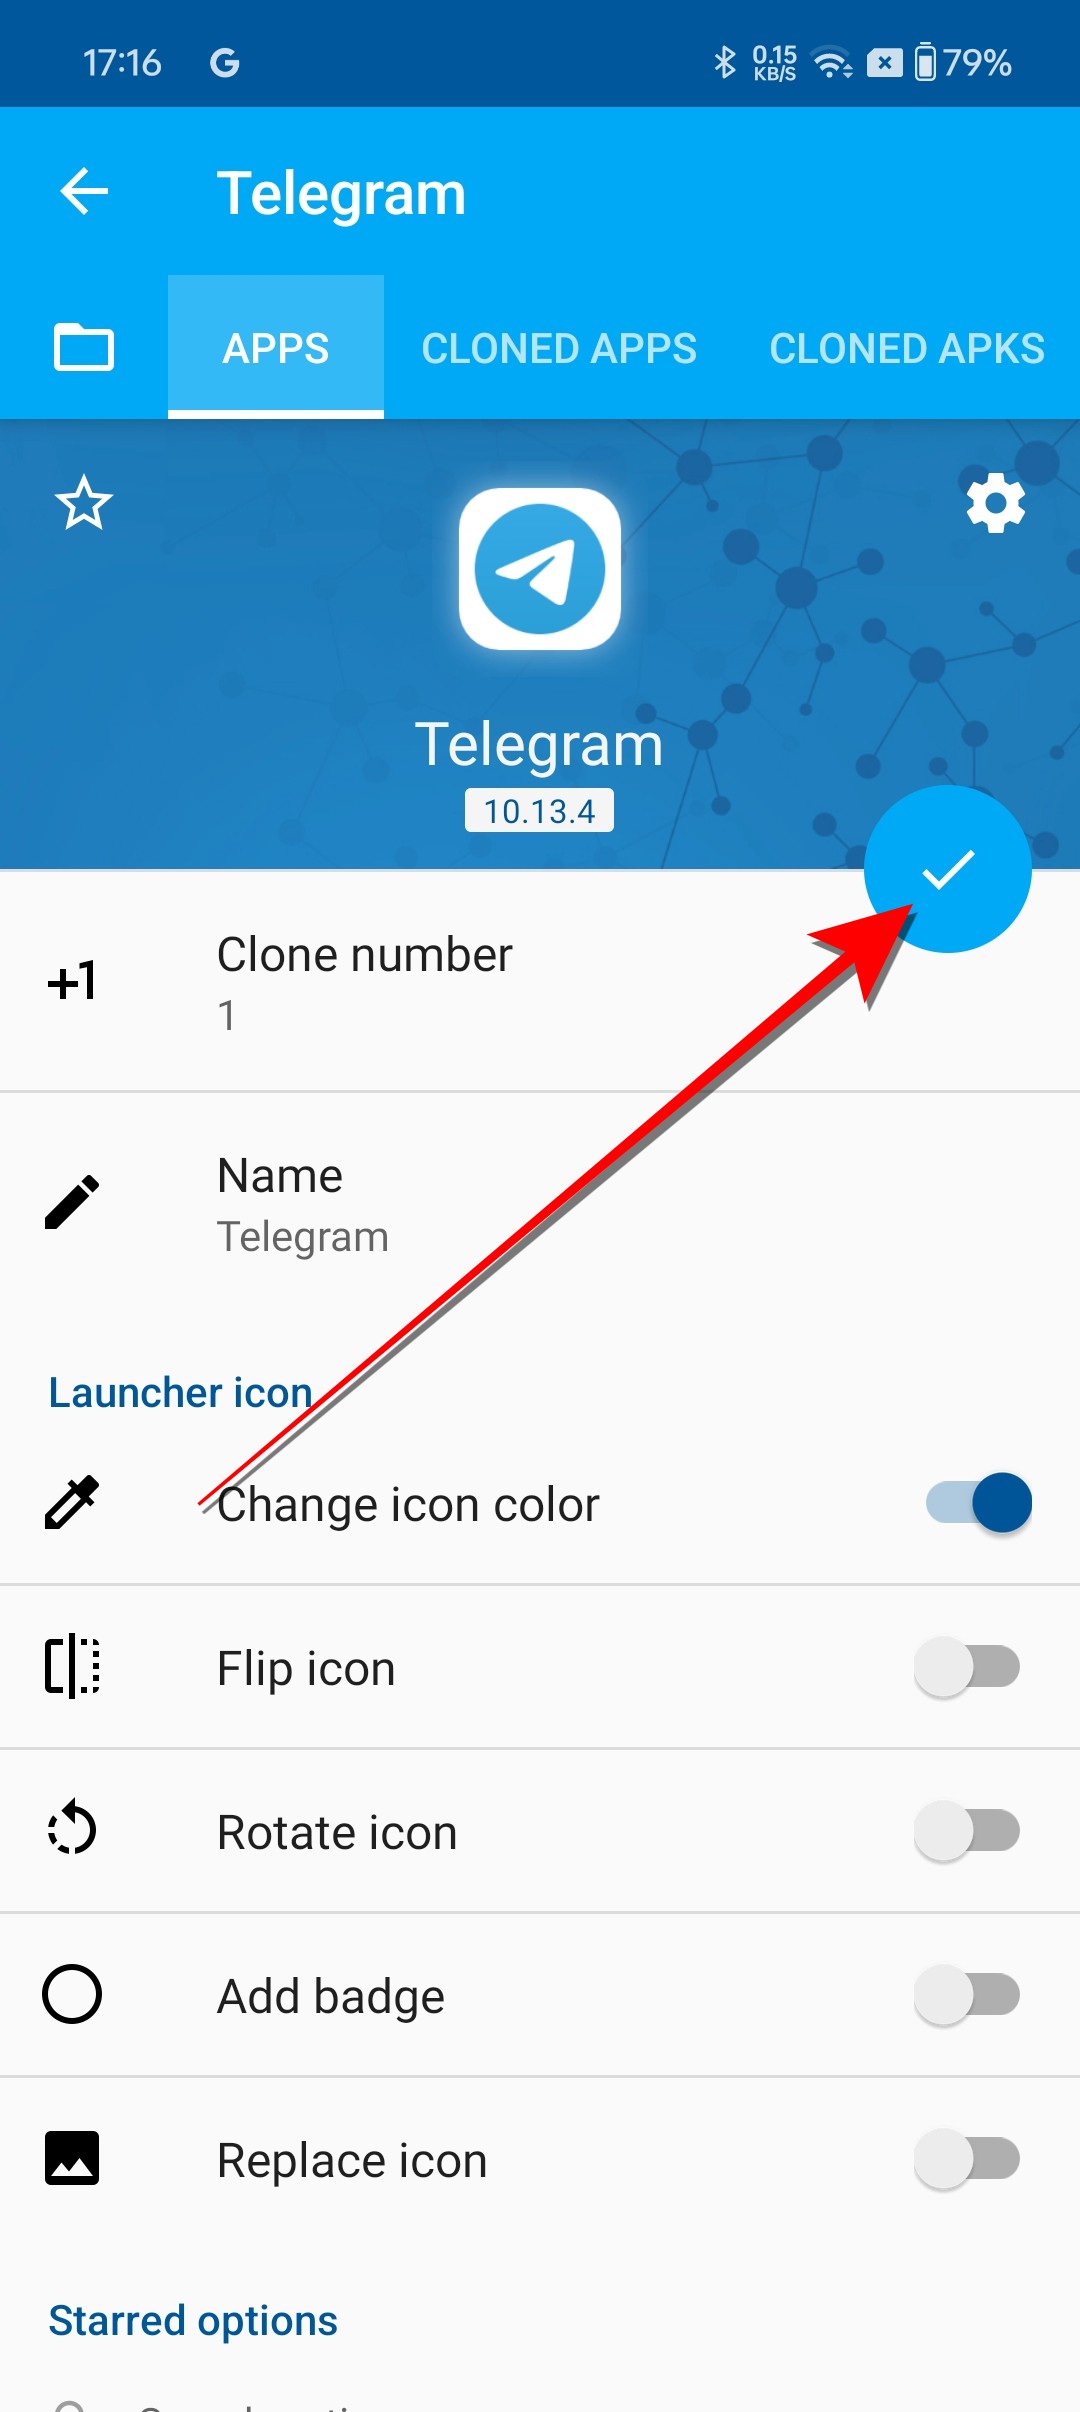
2. You will see a list of apps, as shown in the image below. Select the app from which you want to take screenshots.
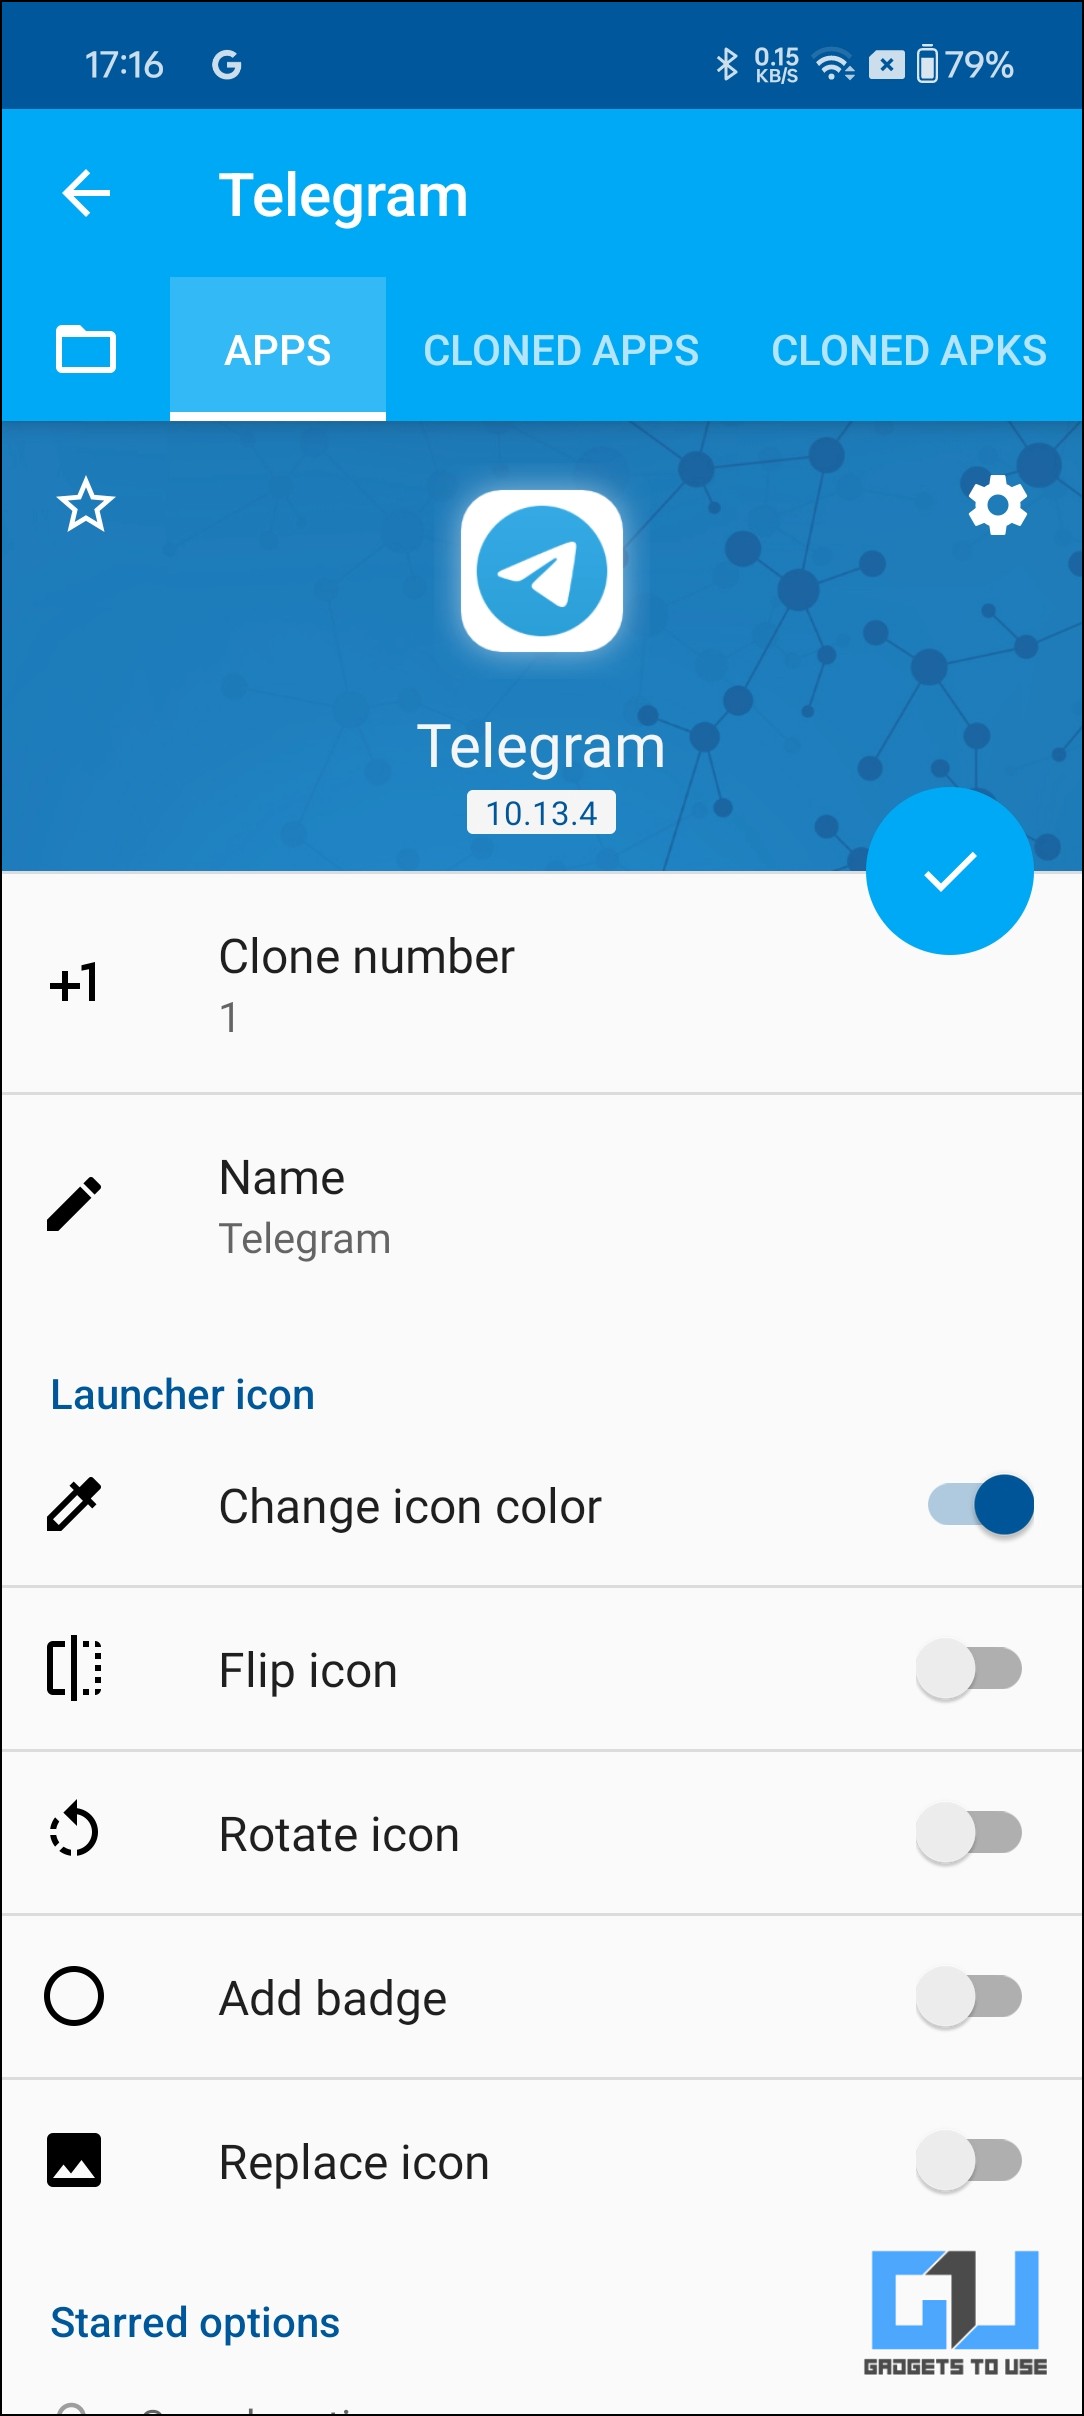
3. Next, you will be able to see multiple options for cloning the app. It is recommended that you change the colour icon/name for identification.
4. Scroll down to “Display options” and locate “Allow Screenshots.”
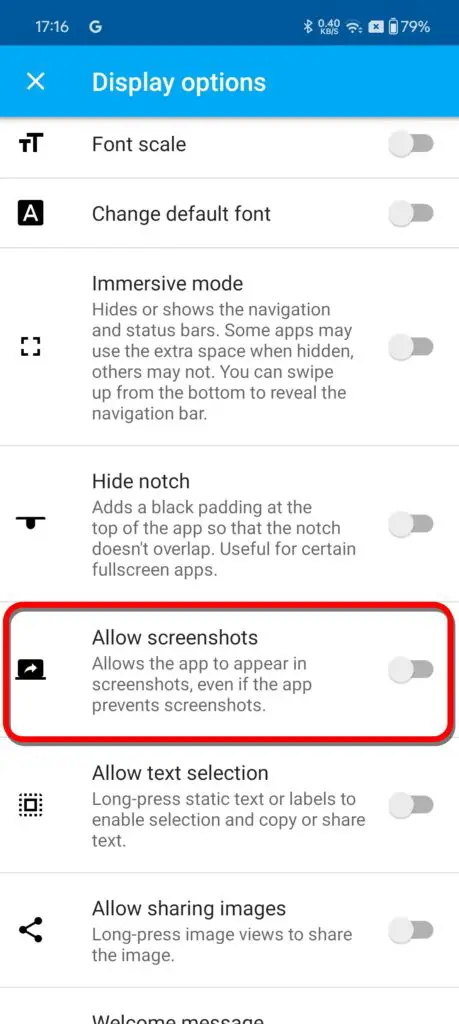
5. Toggle to turn the feature on.

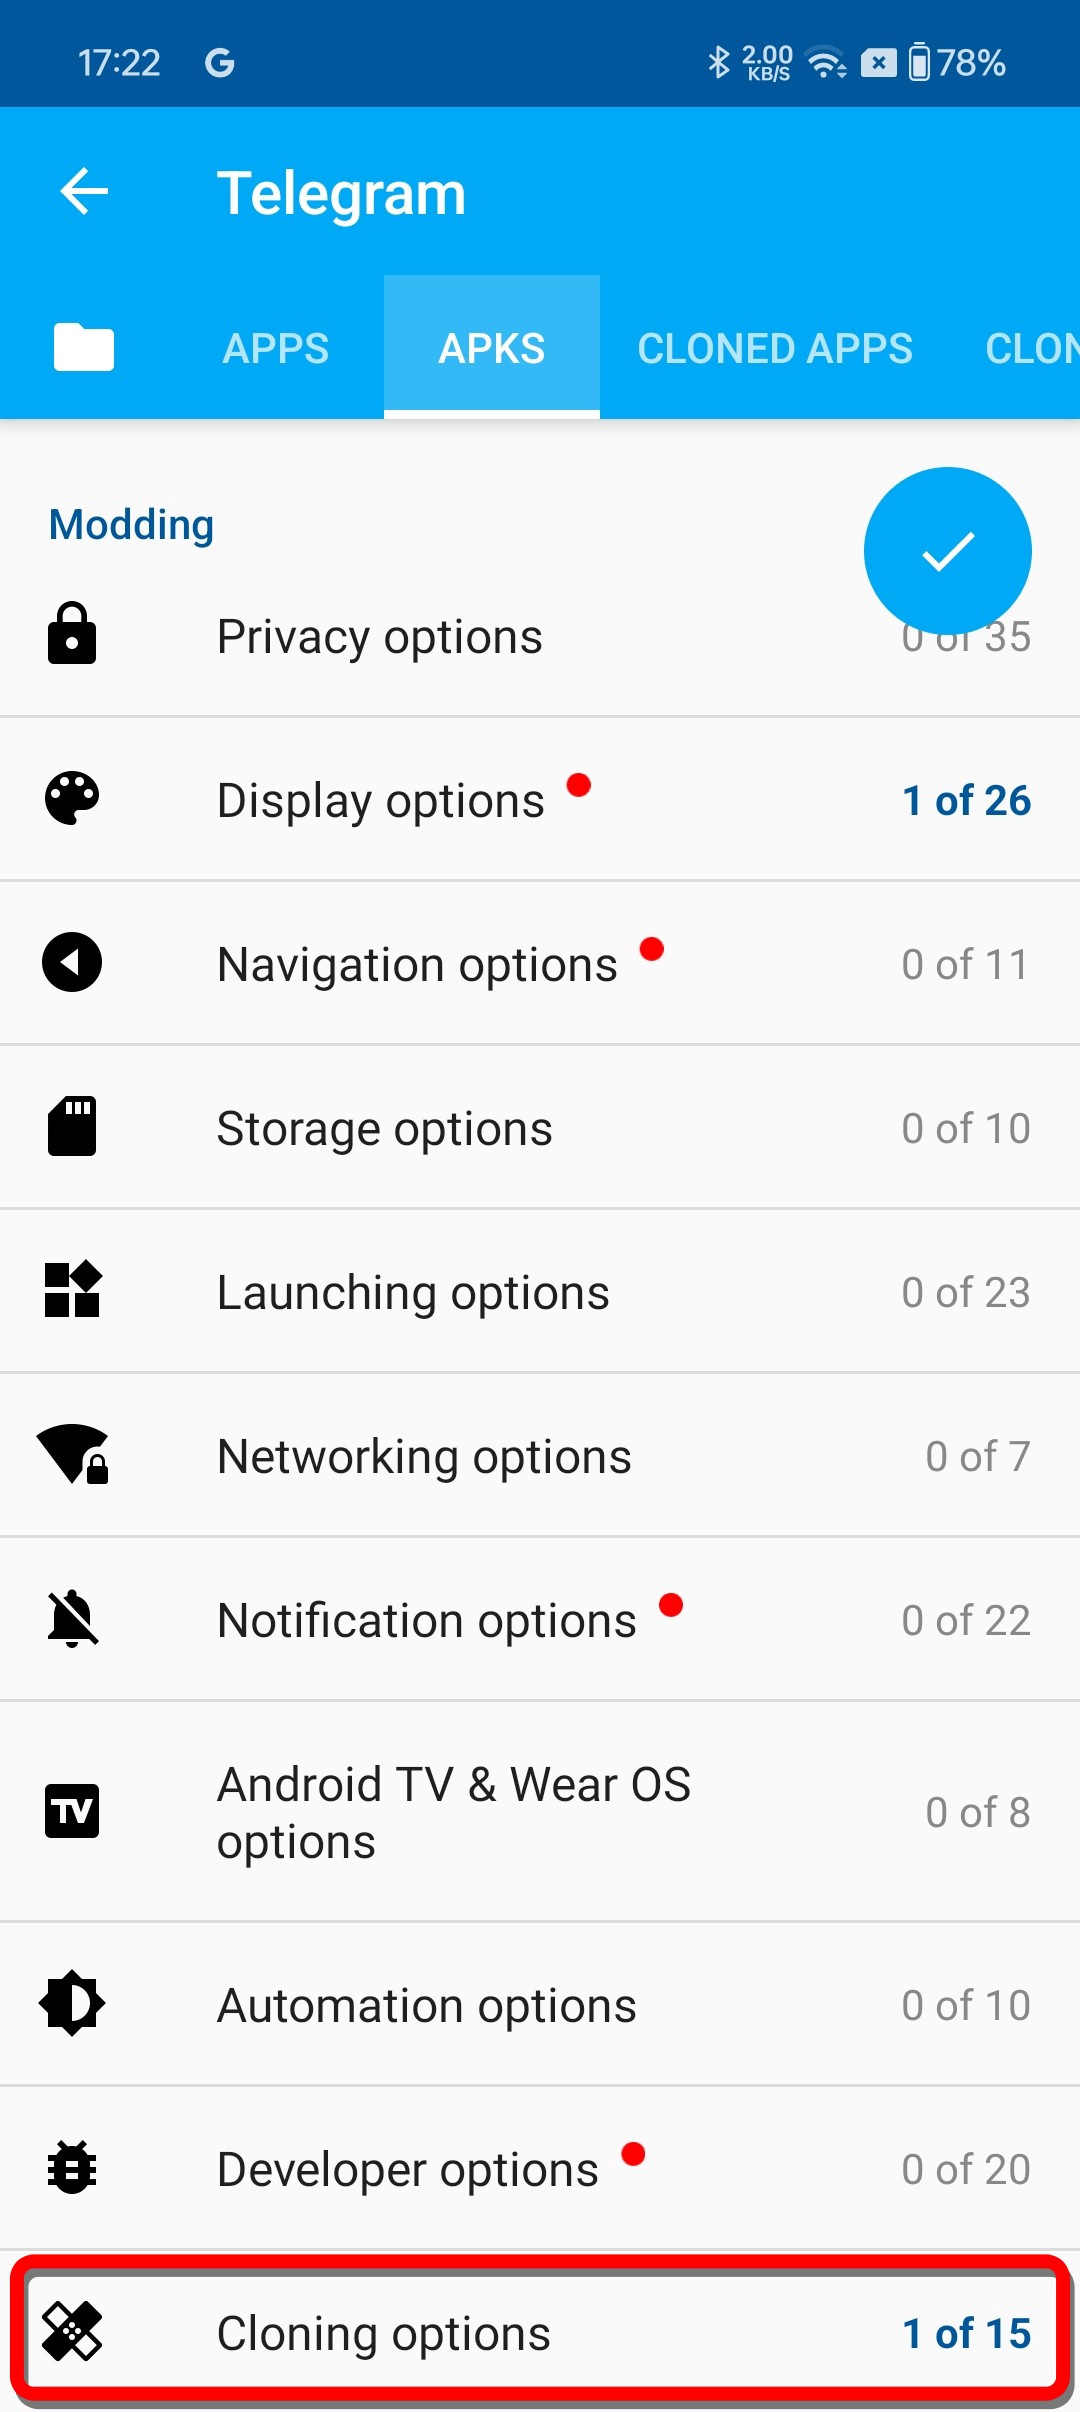
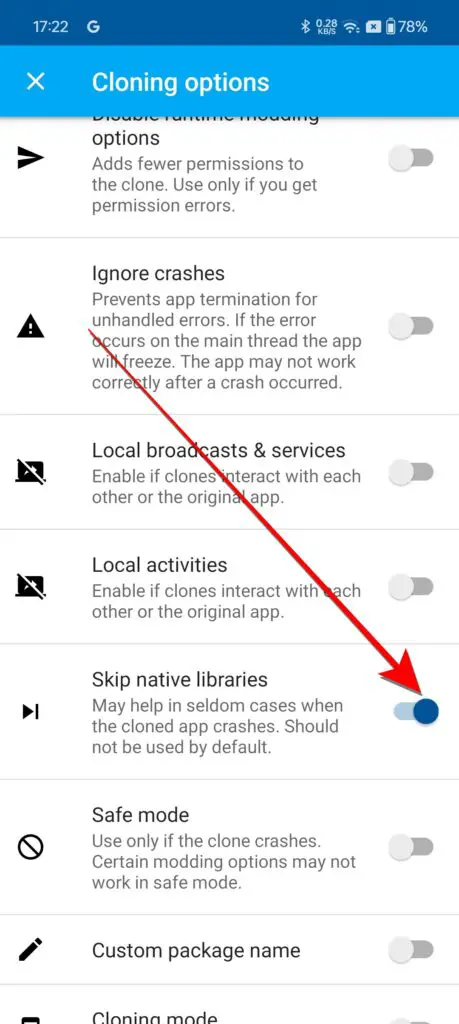
6. Next, locate the “Cloning settings” in the Clone App screen.
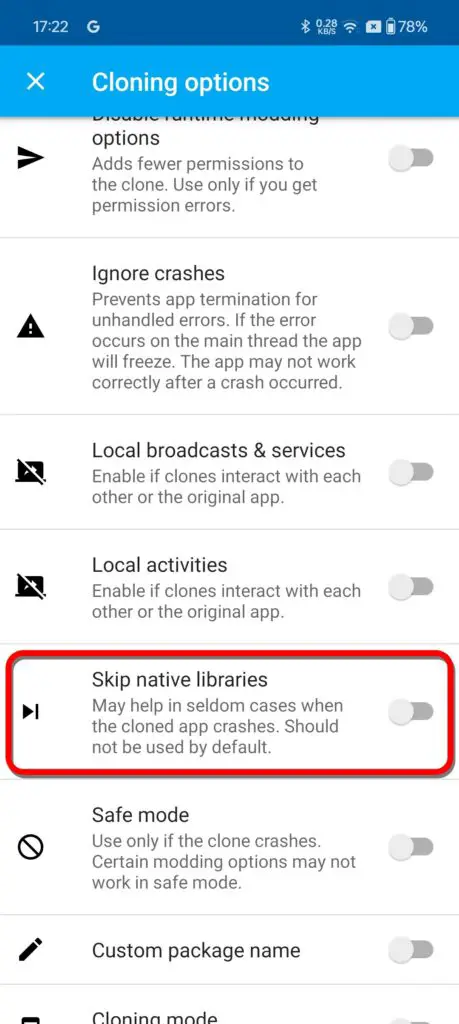
7. Once opened, locate “Skip native libraries” option and turn it on.
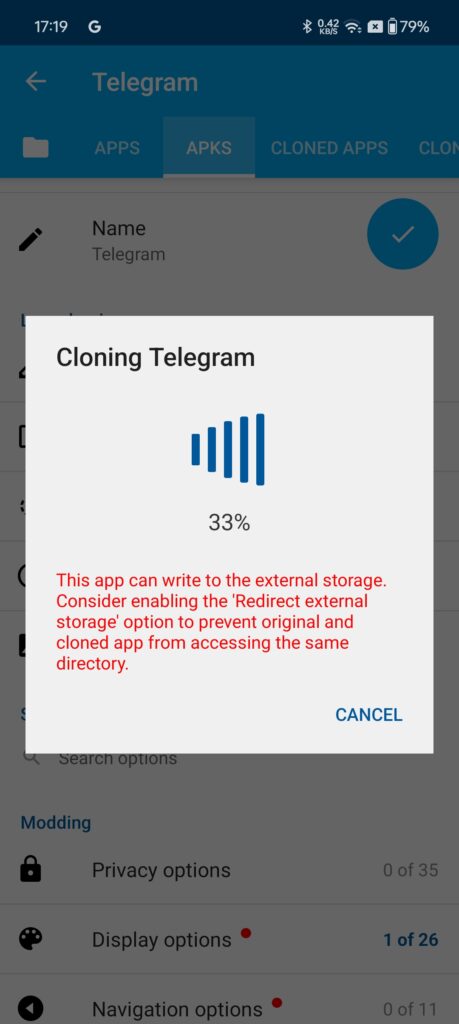
8. Now return to the Cloning main screen and proceed to clone the app.
9. Once the cloning is done, you will be able to take screenshots from the app.
Note – If this method doesn’t work for you, you can try toggling on/off other options in the cloning menu.
FAQs
Q. Why Do Certain Apps Not Allow Taking Screenshots?
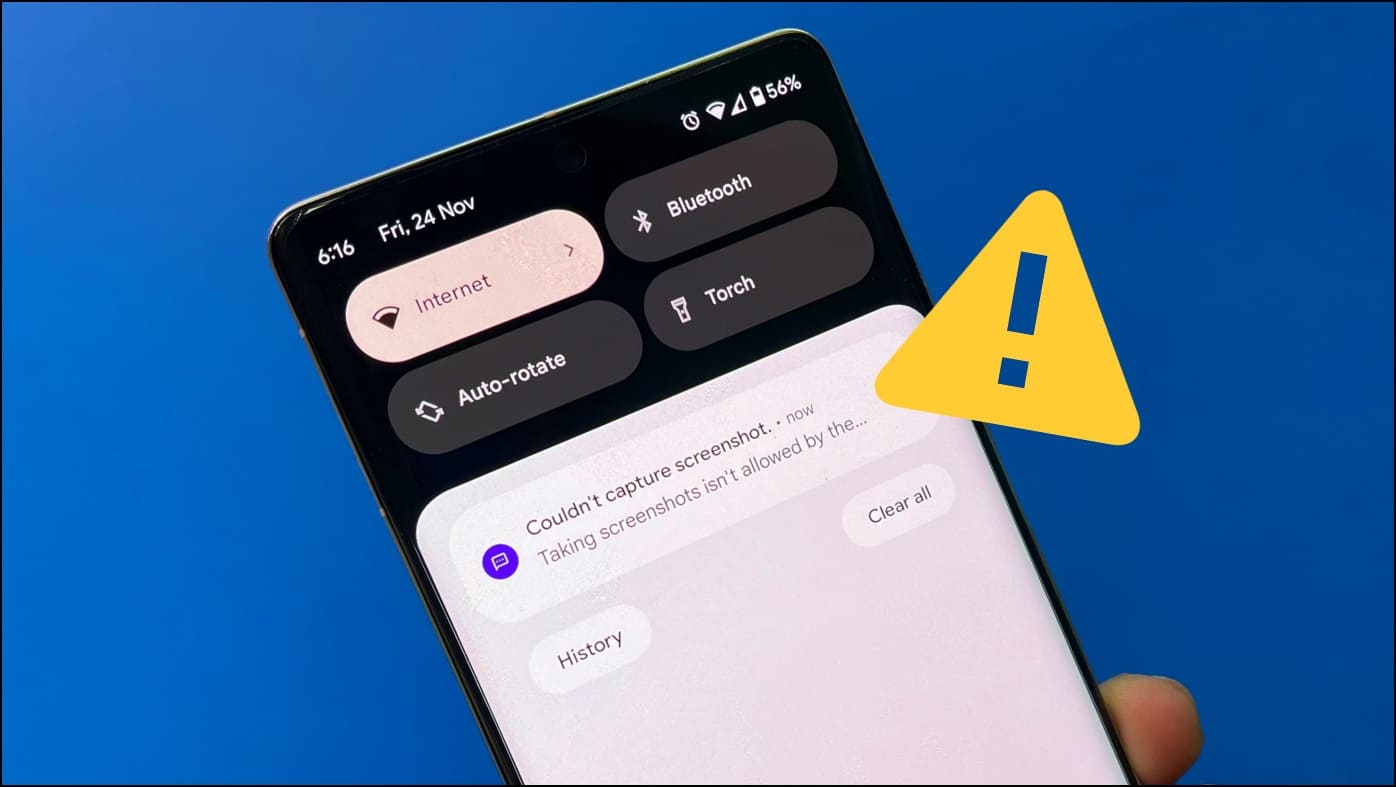
Apps like banking apps or wallet apps do not let you take screenshots because they contain sensitive information. Sharing these screenshots can be dangerous for your account; that’s why developers disallow users from taking screenshots in the first place.
You’ll either see a “couldn’t take screenshot” notification or a blank screen when trying to take a screenshot. Likewise, most OTT apps do not allow screenshots to prevent content piracy. This is why you cannot capture screenshots or screen record apps like Netflix, Prime Video, Sony Liv, and Disney Hotstar.
Q. Is It Wrong to Take Screenshots Using These Tricks?
The feature saves you from potential threats caused by sharing such sensitive information. It is not wrong if you mask the sensitive information on those screenshots. But again, do not use the methods for pirating content- it may land you in trouble.
Q. None of These Tricks Worked On My Phone. Should I Root My Phone?
We never recommend anyone to root their Android phone since it makes your device more vulnerable to viruses and malware that can steal your private data. If you still want to do that, no problem; it is your device, and you can go ahead and root your phone.
Wrapping Up
So, this is how you can take a screenshot in any app that doesn’t allow capturing screenshots natively. These methods are foolproof but don’t work with all apps. So, you must use the rooting method to take screenshots on all apps. Stay tuned to GadgetsToUse for more such tips, and check the ones linked below.
You might be interested in:
- 7 Best Fixes For Can’t Take Screenshot Error on Android Phone
- 3 Ways To Edit, Crop, Add Text On Screenshot on Android
- 8 Ways to Take a Screenshot on Any iPad
- 6 Easy Ways to Take Screenshot on Any Windows Laptop
You can also follow us for instant tech news at Google News or for tips and tricks, smartphones & gadgets reviews, join GadgetsToUse Telegram Group or for the latest review videos subscribe GadgetsToUse Youtube Channel.