Despite Windows 11’s new useful features, Microsoft removed some existing ones, such as the Drag and Drop file feature, creating inconvenience for basic navigation activities. That said, if you’re unhappy about the same and wish to bring it back, this explainer has precisely what you need. In this article, we have demonstrated several effective methods to get the Drag and Drop feature on Windows 11 taskbar. Additionally, you can learn to install Windows 11 on Unsupported Systems with just a single tool.
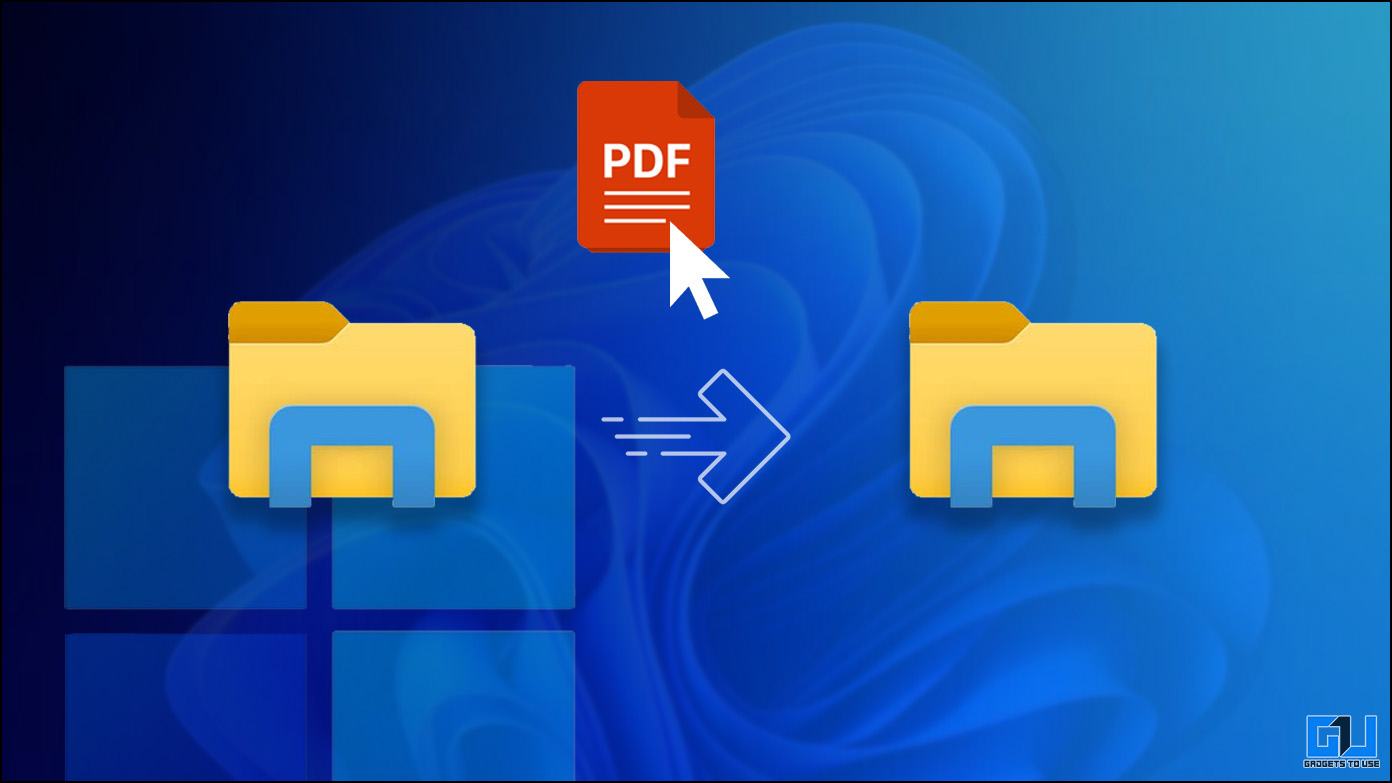
How to Get Drag and Drop Feature on Windows 11 Taskbar
With the help of several tools and tweaks, restoring the drag-and-drop feature on Windows 11 is pretty simple. Follow these methods to achieve the same.
Upgrade to the Windows 11 22H2 Update
After getting a boatload of user requests to restore the drag-and-drop taskbar functionality, Microsoft has finally rolled it out in its 22H2 feature update. Here’s how you can update your system to experience it.
1. Press the Windows + I key to open the Settings app and expand Windows Update in the left sidebar to check for new system updates.
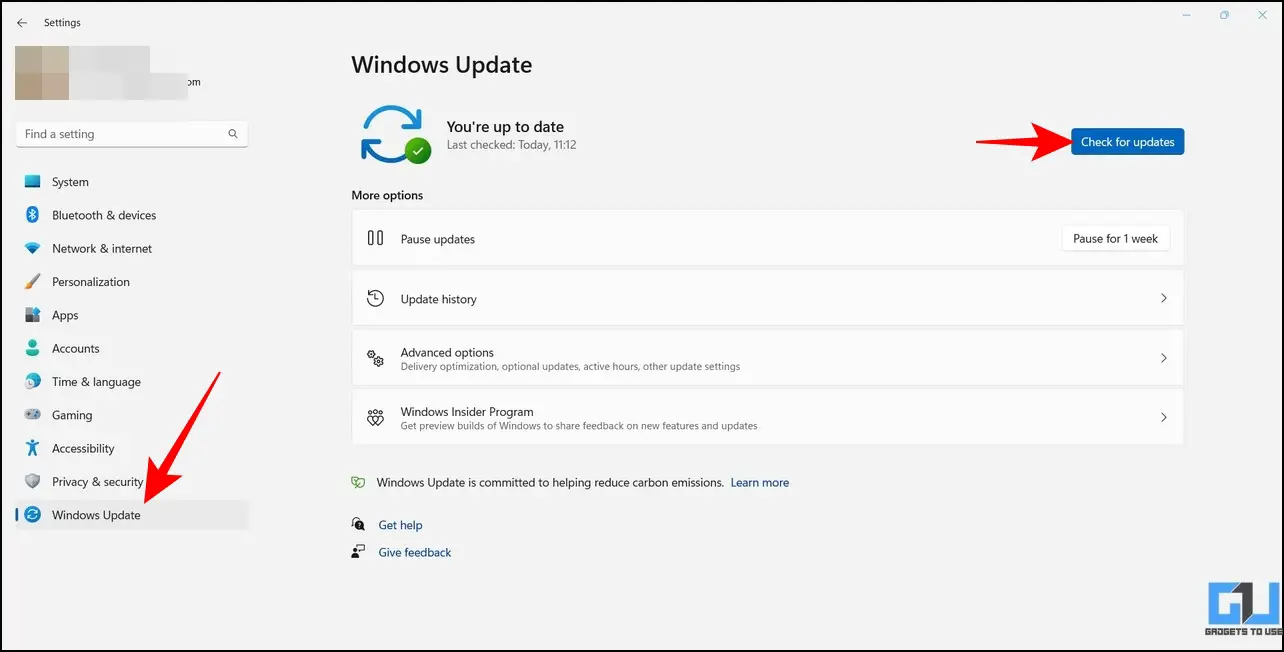
2. Wait a few seconds to receive the latest 22H2 update. Click the Download and Install button to upgrade your system.
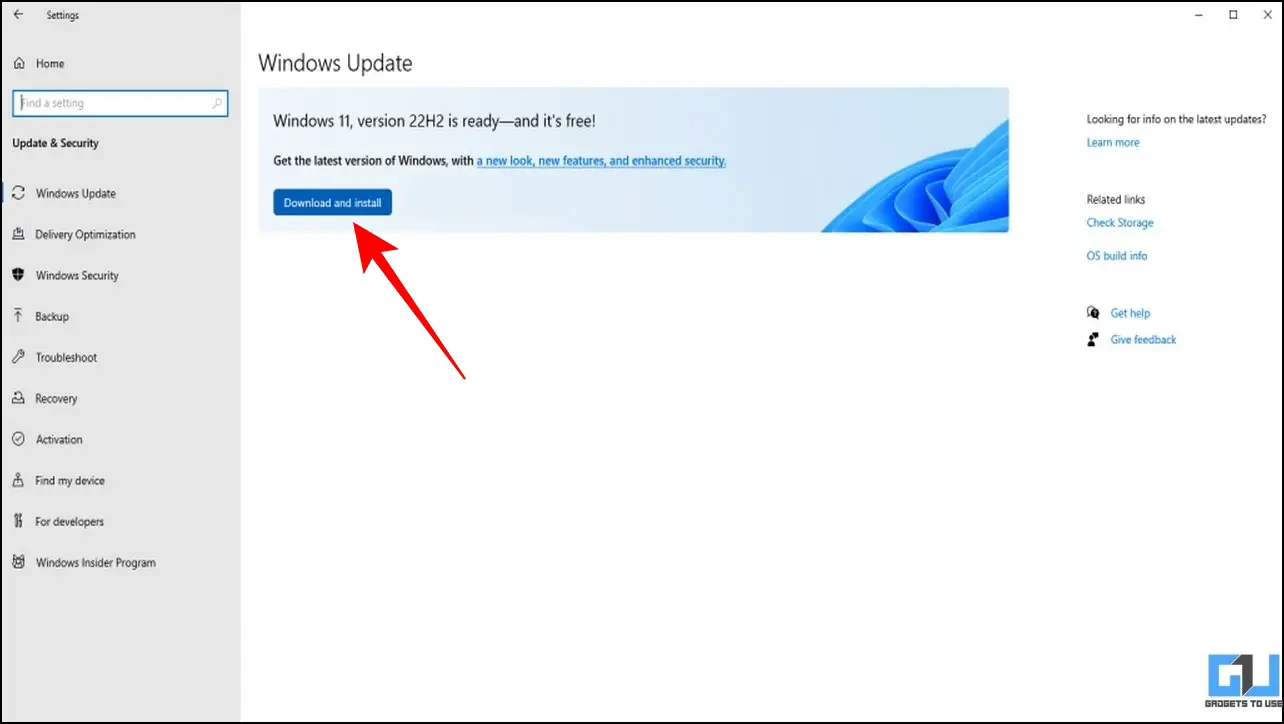
3. If you haven’t received the 22H2 update yet, follow the next methods to achieve the same.
Try Alt+Tab Method to Simulate the Drag and Drop Feature
One of the simplest workarounds to achieve this functionality in Windows 11 is to use the Alt + Tab method. Here’s what you need to do:
1. Click and drag the file you wish to use in the desired app using this feature.
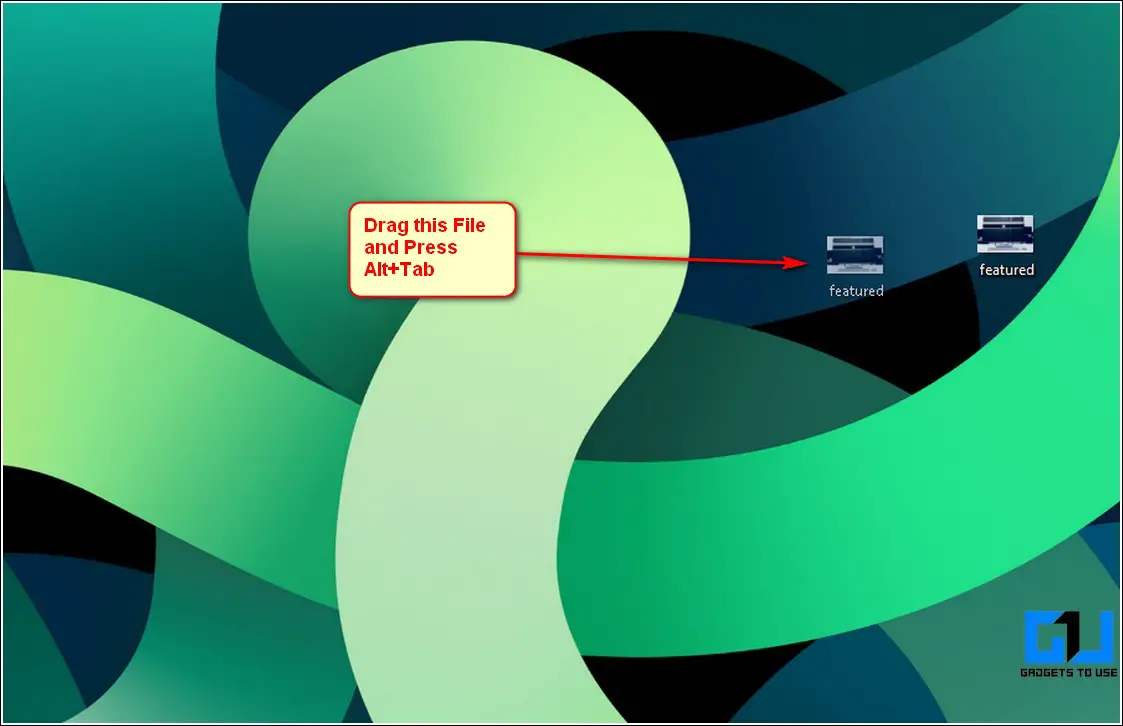
2. Now, press the mouse button and drag the file, switch your window by pressing the Alt+Tab key combination, and open your desired app window.
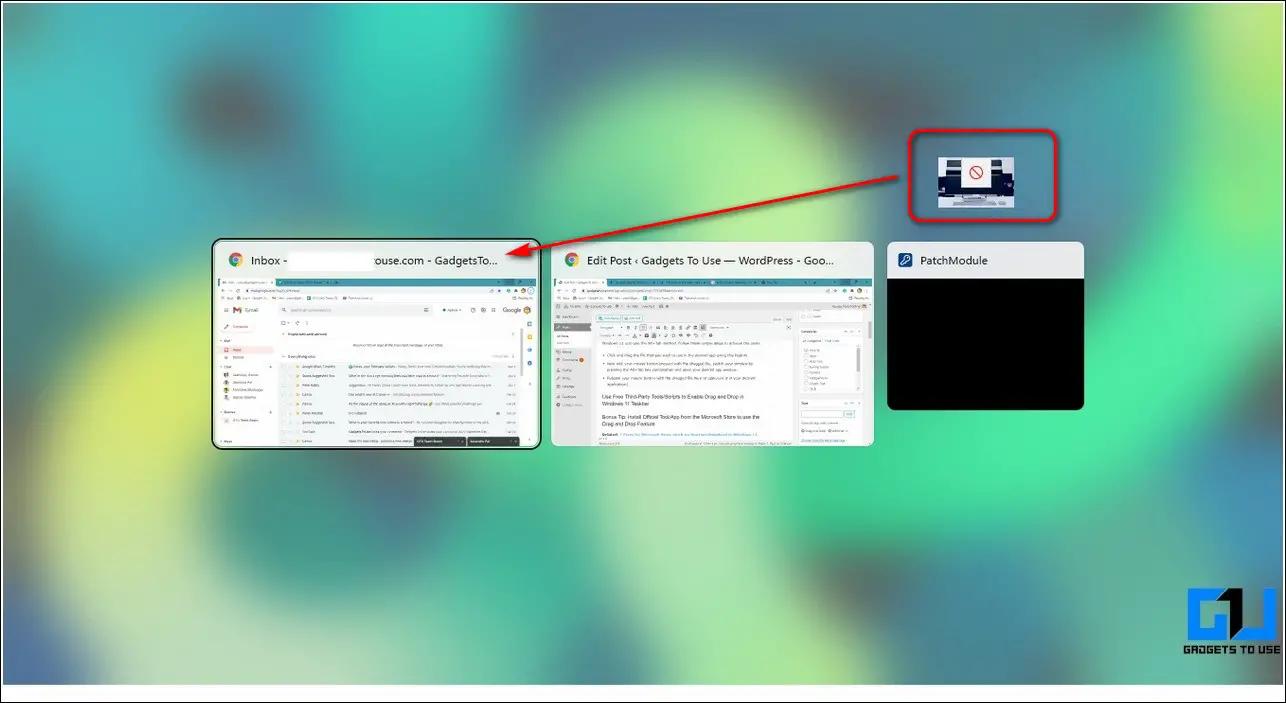
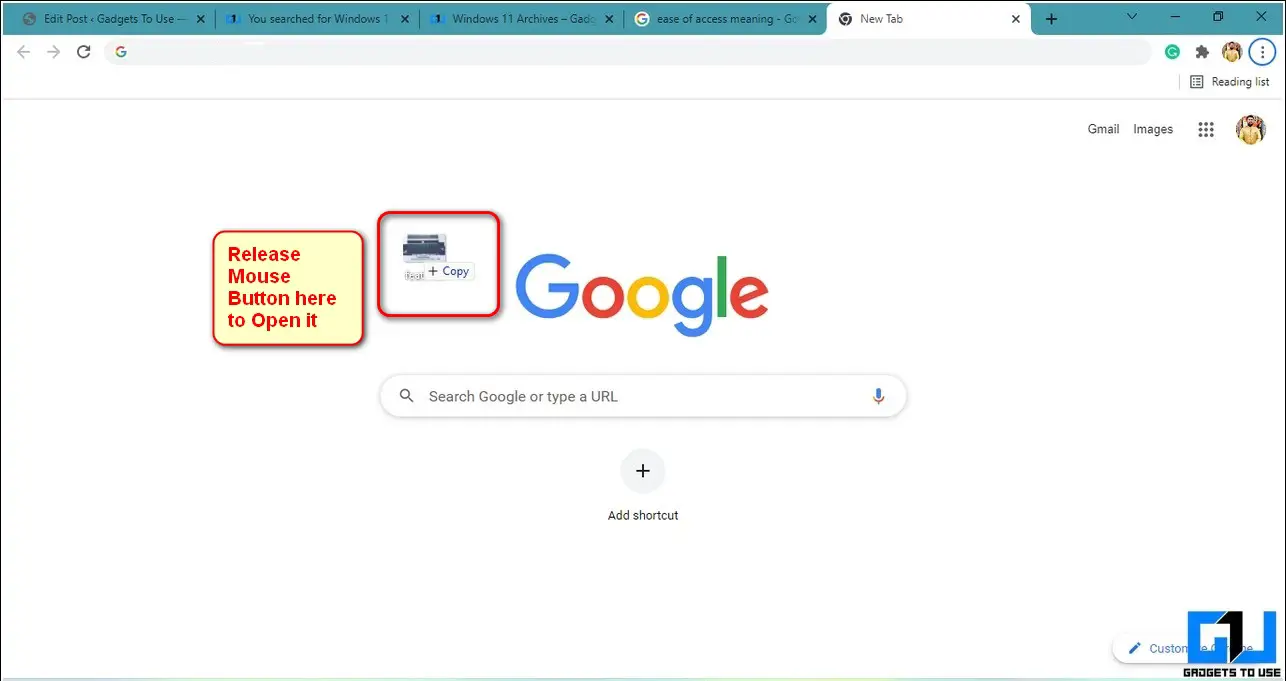
3. Release your mouse button with the dragged inside the opened window to open/use it in your desired application. That’s it. You’ve successfully opened your file inside your desired application using the drag and drop feature similar to taskbar functionality.
Use Free Third-Party Tools/Scripts to Enable Drag and Drop Feature
Another effective fix to enable the drag-and-drop feature in Windows 11 taskbar is to use a free tool/script available on GitHub. Follow these steps to achieve the same.
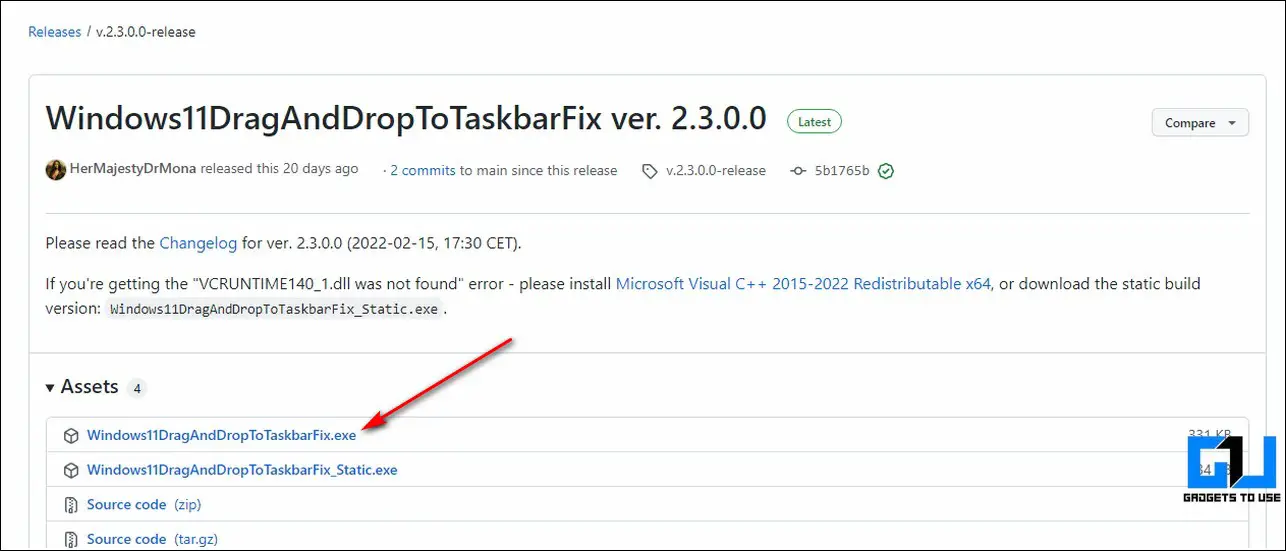
1. Access the GitHub page for the Windows 11 Taskbar Fix.
2. Next, click the Windows11DragAndDropToTaskbarFix.exe file to download it.
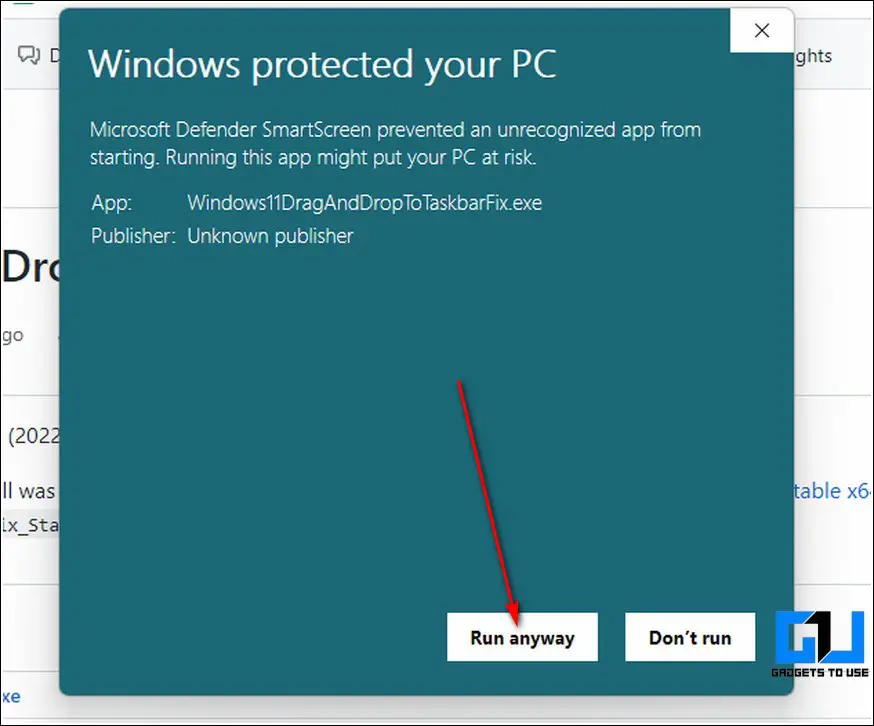
3. Double-click on the downloaded file to install it. Click on the Run Anyway button if prompted by the Microsoft Installer.
4. That’s it. The tool will now start automatically on your Windows 11 system. Try dragging a file to your taskbar and then pick the desired app window in which you wish to open it. Congrats. You can now easily use this feature in your Windows 11 taskbar.

Tweak the Windows Registry Files
Besides downloading third-party tools and scripts, you can also tweak Windows Registry files to revive the drag-and-drop taskbar feature. Here’s what you need to follow.
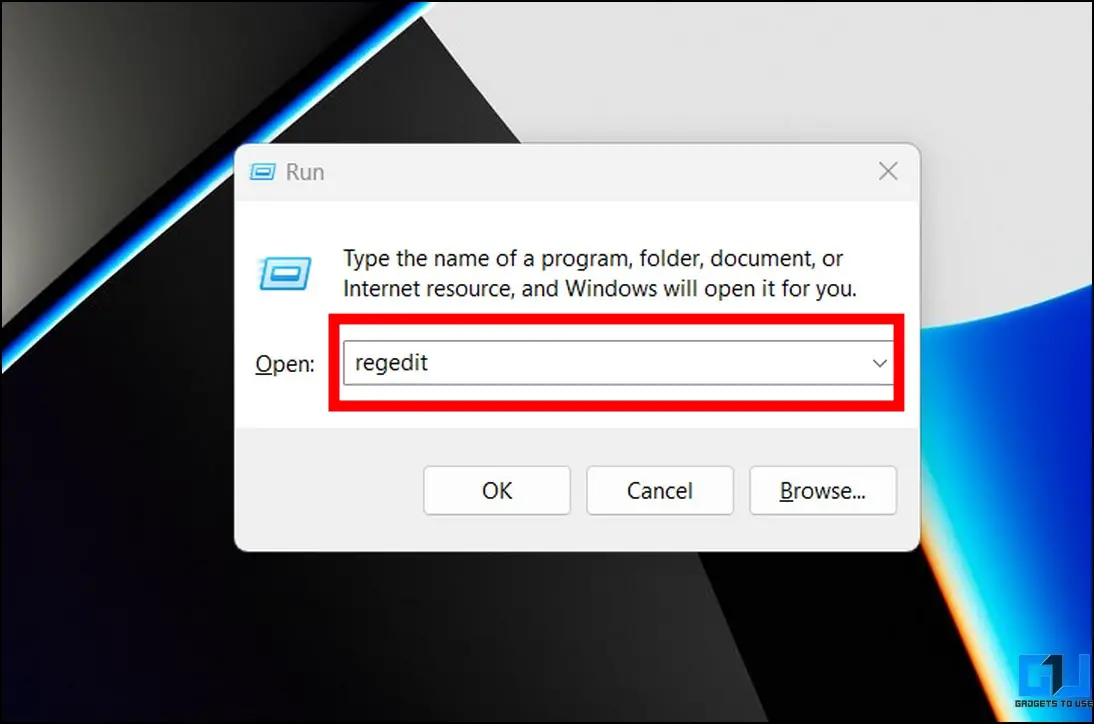
1. Open the Run window by pressing the Windows + R hotkeys and type ‘regedit‘ to run the Registry Editor window.
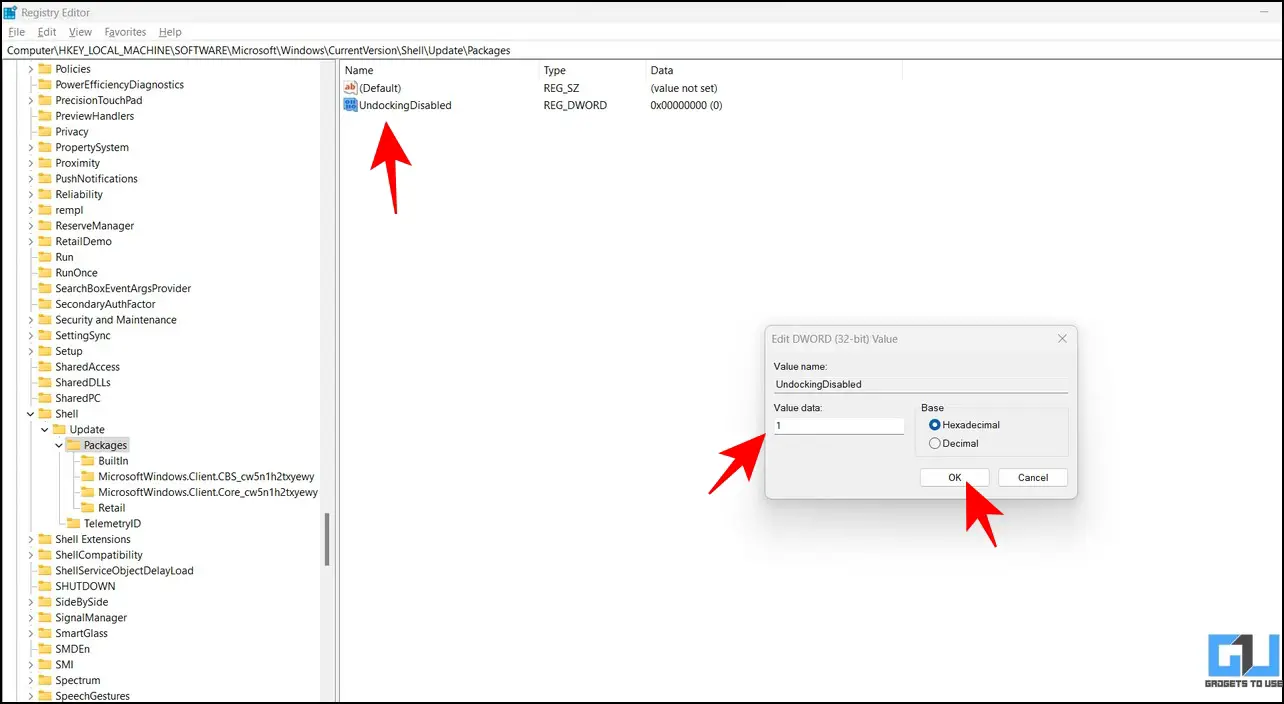
2. Next, copy and paste the following path in the navigation bar and hit the enter key.
HKEY_LOCAL_MACHINE\SOFTWARE\Microsoft\Windows\CurrentVersion\Shell \Update\Packages
3. Right-click the Packages folder to create a new DWORD (32-Bit value).

4. Name this key as ‘UndockingDisabled‘ and set its value to 1. Click the OK button to save changes.
5. Restart your system to experience changes.
Note: Enabling the drag-and-drop taskbar functionality using this method makes the Start and Search taskbar icons static, i.e., you can not click to use them. To revert changes, you can delete the created Undocking Disbaled in the Registry Editor app and reboot your system.
Install the Official Microsoft Store App to get Drag and Drop Feature
Another working method to enable the drag and drop feature in your Windows 11 taskbar is to use an official Microsoft app providing the same. Follow these steps for an easy fix.
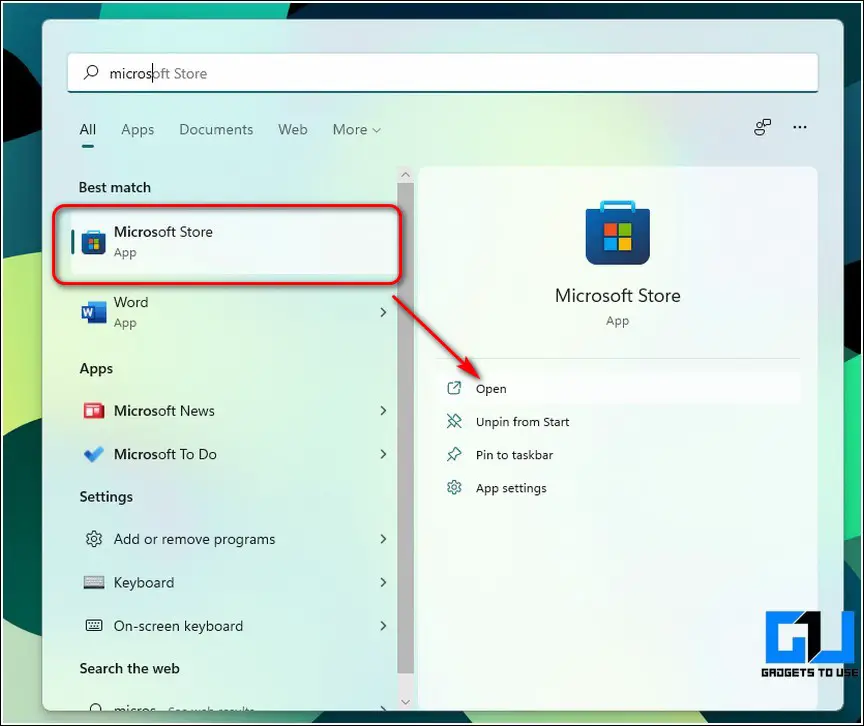
1. Open the Microsoft Store app on your Windows 11 system.
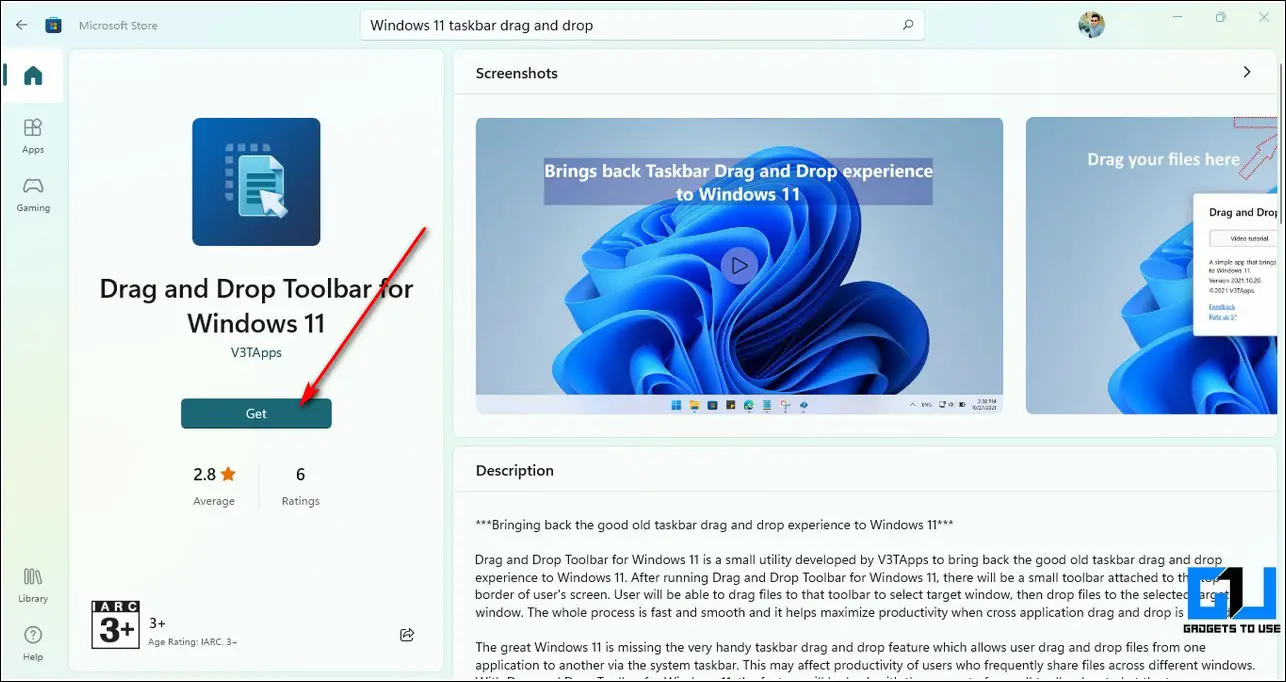
2. Next, search for the Drag and Drop Toolbar for Windows 11 app and click the Get button to install it to your system.
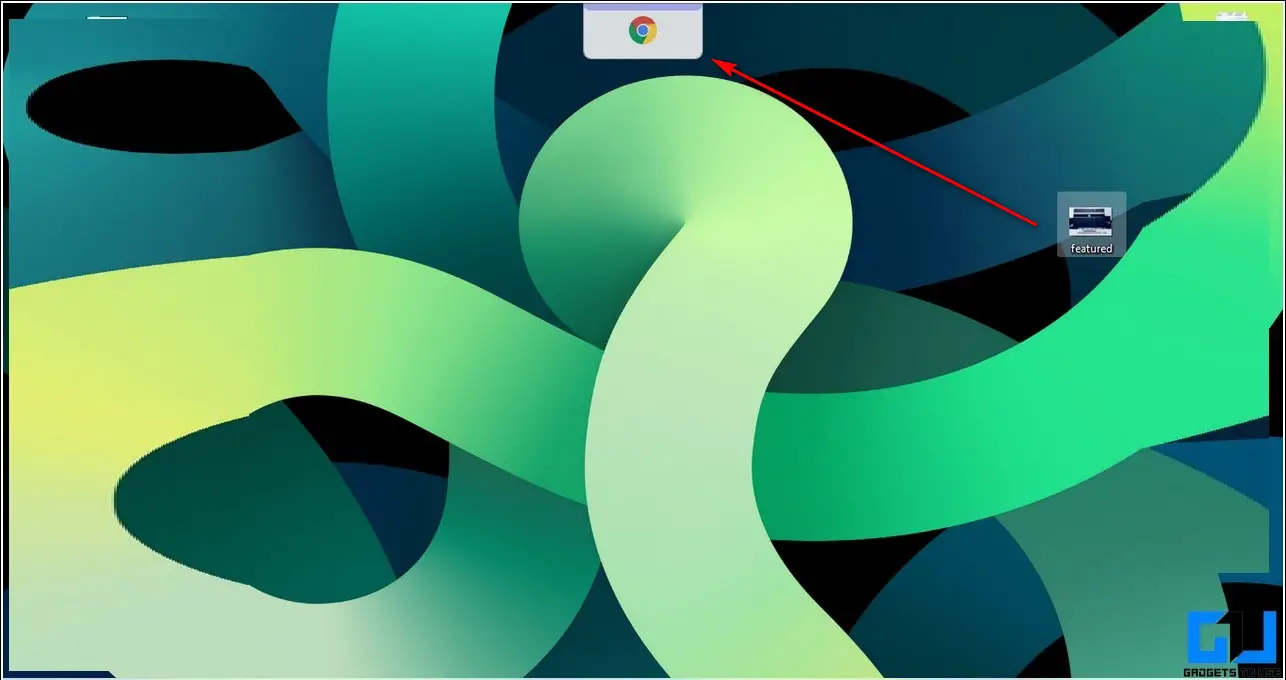
3. This app will now launch a separate notch-shaped taskbar at the top-middle center of your screen.
4. You can drag your file to this mini taskbar to open your file in the desired application.
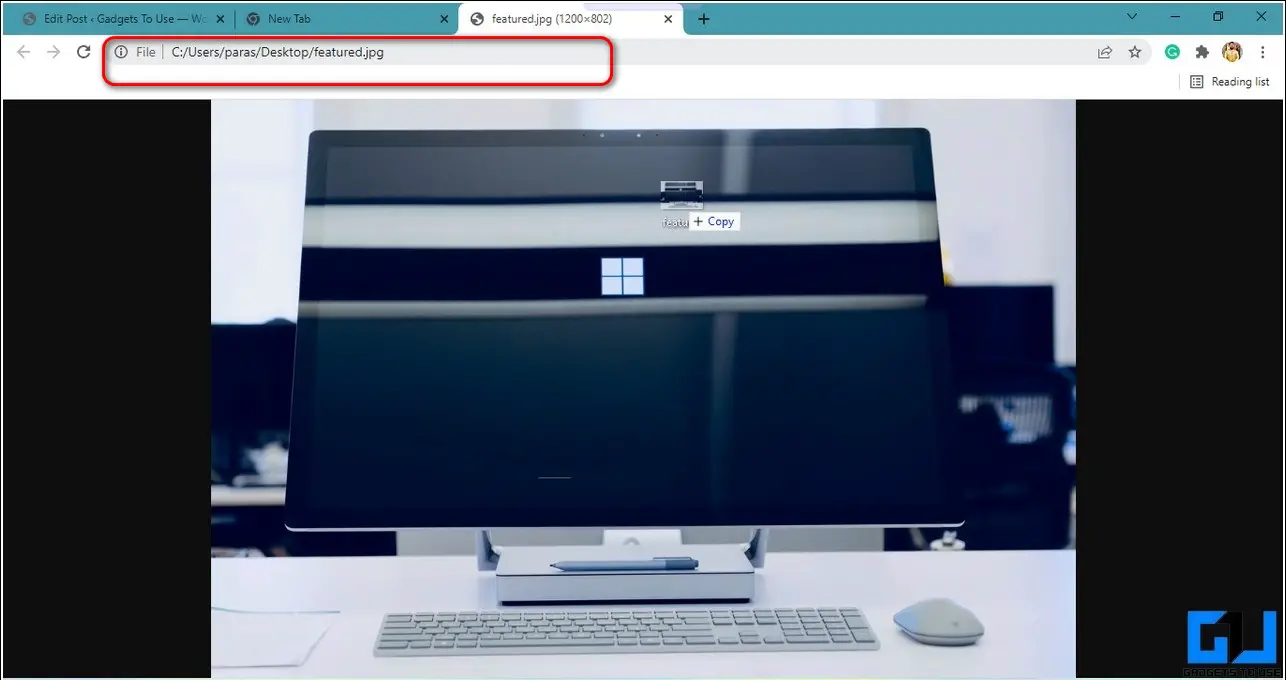
5. Your dragged file will instantly open in your chosen application.
Bonus: Switch Screen Layout to Drag and Drop files Quickly
Besides using the taskbar to drag and drop files, you can switch your current screen layout on Windows 11 to open two or more folders for exchanging files. Follow these easy steps to achieve the same.
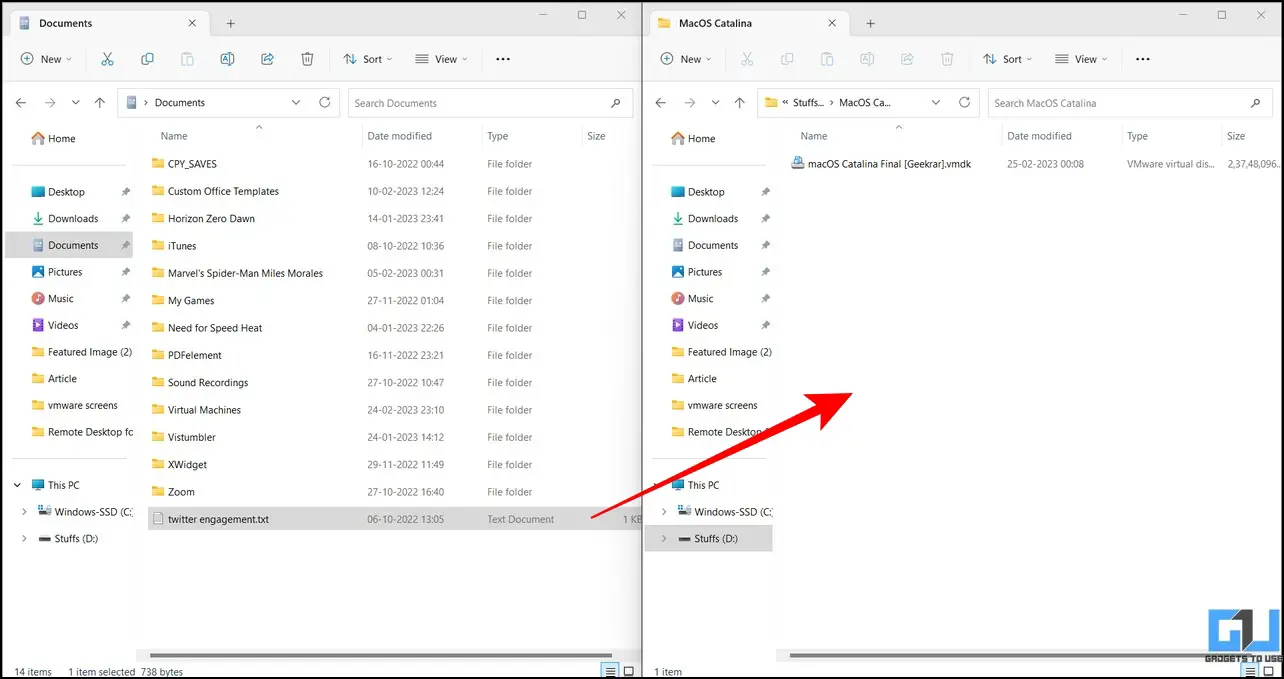
1. Open your desired folder and hover the mouse cursor over the Maximize/Minimize button to switch screen layouts.
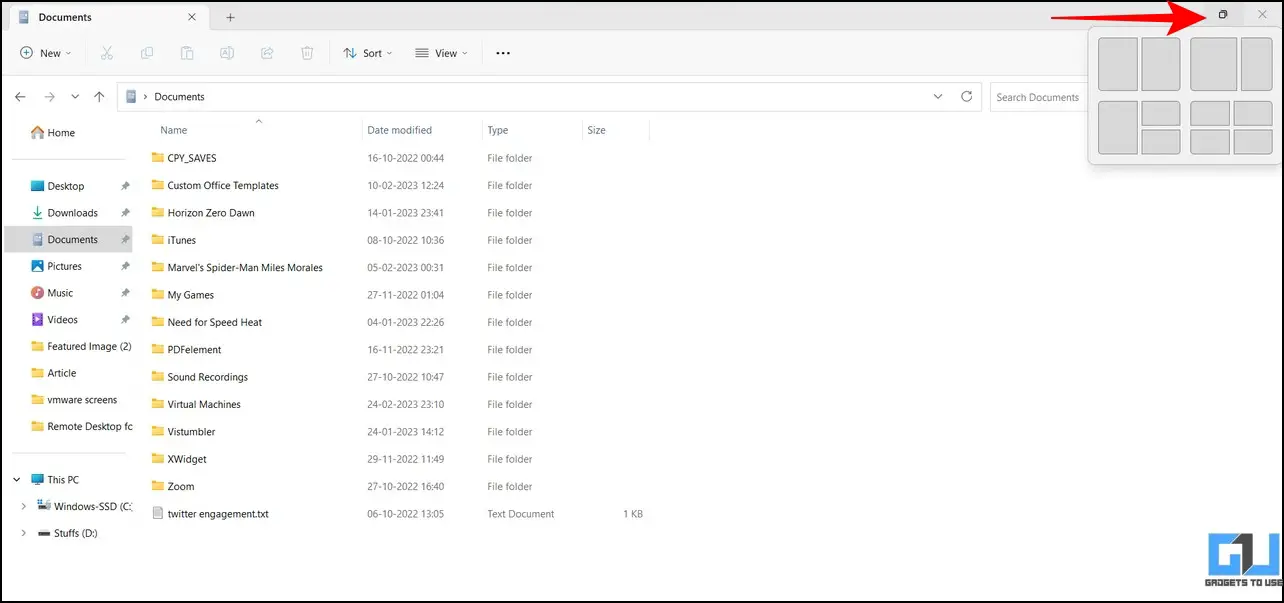
2. Pick your preferred split screen layout and open the folders to exchange files between them.
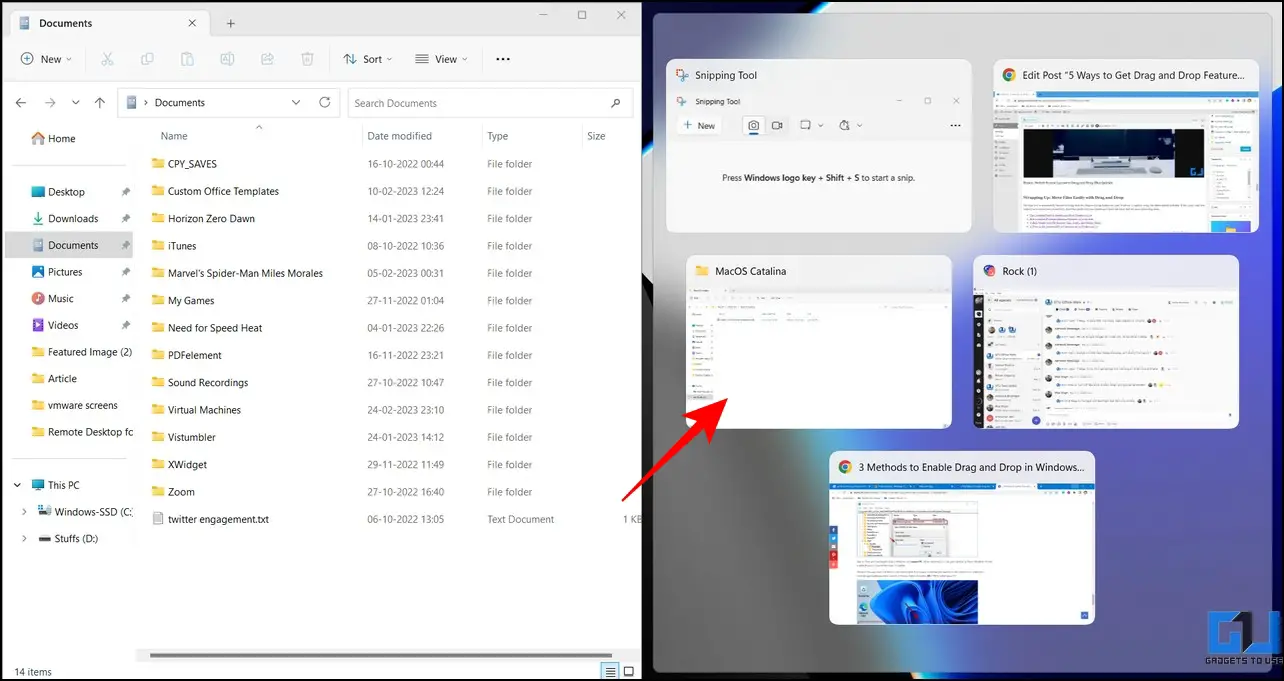
3. Finally, drag your file from one folder to another to transfer it.
FAQs
Q: How to enable the drag-and-drop feature in Windows 11 taskbar?
A: You need to install the 22H2 update of Windows 11, to get the drag-and-drop feature. In case you have not received the update, follow the other easy methods in this explainer to enable the drag-and-drop feature on Windows 11 taskbar.
Q: How to use the GitHub tool to use drag and drop on Windows 11?
A: GitHub’s taskbar fixer tool tweaks the system to make drag and drop available to Windows 11 users. For more details, refer to the method listed above.
Wrapping Up: Move Files Easily with Drag and Drop
We hope you’ve successfully learned to bring back the drag-and-drop feature on your Windows 11 taskbar using the above-tested methods. If this quick read has helped you to boost your productivity, share this guide with your friends and check the below link for more interesting reads. Stay subscribed to GadgetsToUse for more such reads.
You might be interested in the following:
- The Complete Guide to Install macOS on Windows 11/10
- 6 Ways to Pin Any App or Feature to Taskbar in Windows 11
- 15 Best Windows 11 File Explorer Tips, Tricks, and Hidden Hacks
- 11 Ways to Fix Internal SSD not showing up in Windows 10/11
You can also follow us for instant tech news at Google News or for tips and tricks, smartphones & gadgets reviews, join GadgetsToUse Telegram Group, or for the latest review videos subscribe GadgetsToUse Youtube Channel.