Quick Answer
- The wallet will ask for a Signature Request, and all you need to do is click on the Sign button.
- 0 version of OpenSea would be something similar to that of eBay, where people can list their items for sale, and buyers who require the items will have the opportunity to bid on them.
- In the Description box, you can provide a detailed description of your NFT collection, and it accepts up to 1000 words.
NFTs have become the talk-of-the-town concept in today’s crypto sphere. According to CoinMarketCap, the total market capitalization of NFTs has surged to more than $10.27 billion USD. From kids and teens to big shots, everyone is trying their best to capitalize on the market advantages of NFTs. And guess what? Its ability to provide immutable ownership rights and its scarcity makes it an expensive asset. So are you a talented creator who wishes to create your masterpiece and tokenize it as the first NFT? Well, you’ve landed on the right page. Here’s how to create or mint your first NFT in OpenSea.
OpenSea – An Abstract
OpenSea, the largest decentralized marketplace for trading NFTs in the world, is a revenue-generating platform for creators and artists. It allows users to buy, sell, trade, mint, and hold NFTs securely on the Ethereum and Polygon blockchain networks.
Being backed by eminent crypto investors, including Mark Cuban, a16z, Ashton Kutcher, etc., OpenSea is one of the youngest NFT platforms achieving the massive feat of Unicorn status. Yes, you’ve guessed it right! OpenSea’s valuation is more than $1 billion now.
The features and functionalities of the platform offer users a seamless and hassle-free NFT trading experience. To put it in simple terms, the web 2.0 version of OpenSea would be something similar to that of eBay, where people can list their items for sale, and buyers who require the items will have the opportunity to bid on them.
As a Web 3.0 platform, OpenSea does the same by allowing people to tokenize artworks, videos, music, in-game assets, domain names, sports collectibles, and anything that humans feel is unique in NFTs.
Requirements to Mint your NFT in OpenSea
- A device- possibly a PC, laptop, tablet, or smartphone, with a good internet connection is mandatory.
- A wallet is crucial for any operation in the crypto realm. Similarly, you would require a web 3.0 wallet like MetaMask.
- Note that OpenSea is a marketplace that runs on robust Ethereum and Polygon networks. So your web 3.0 wallet should support Ethereum or Polygon network.
How to Create/Mint your First-Ever NFT for Absolutely Free in OpenSea?
Follow these steps to turn your NFT dream into reality!
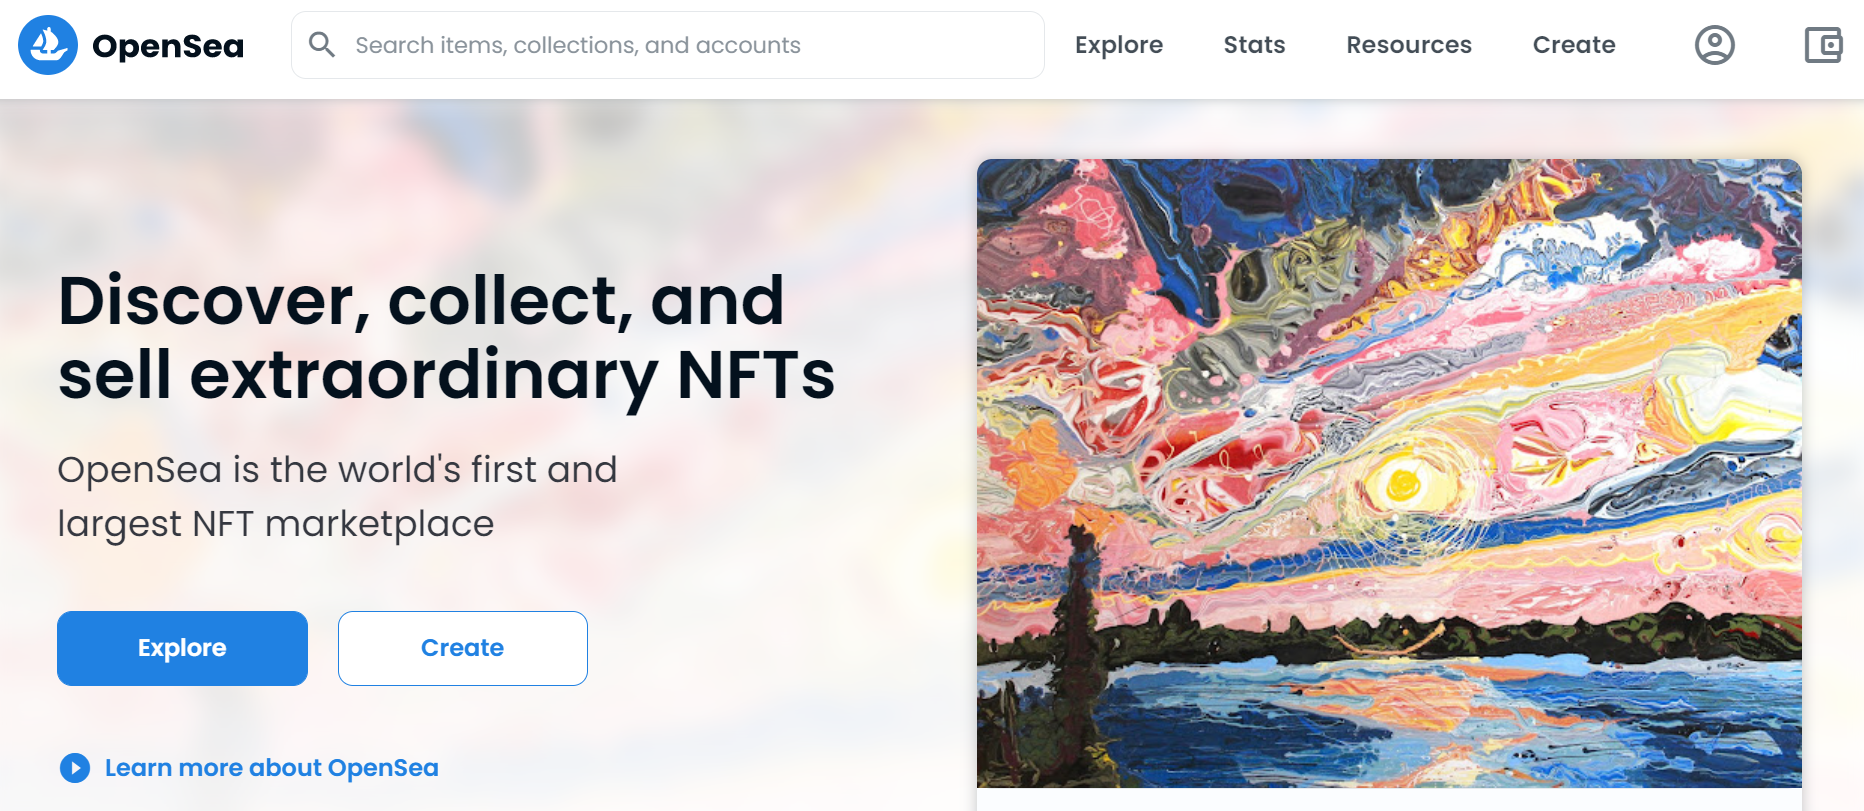
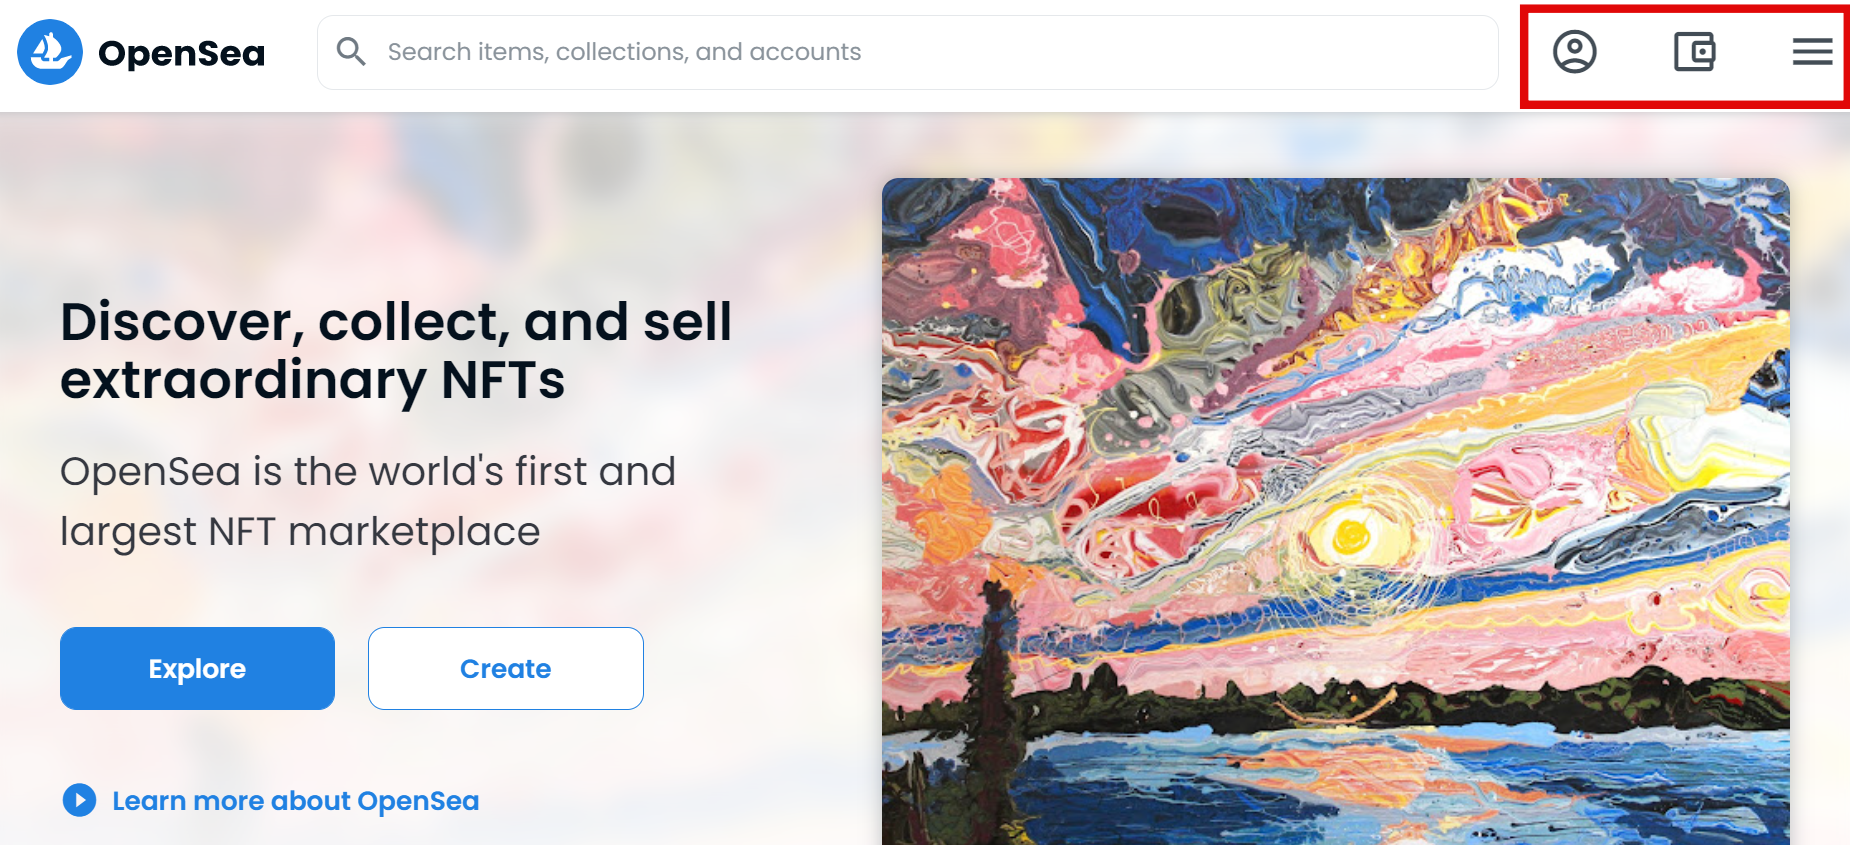
1. The first step is to visit the official website of OpenSea – https://opensea.io/.
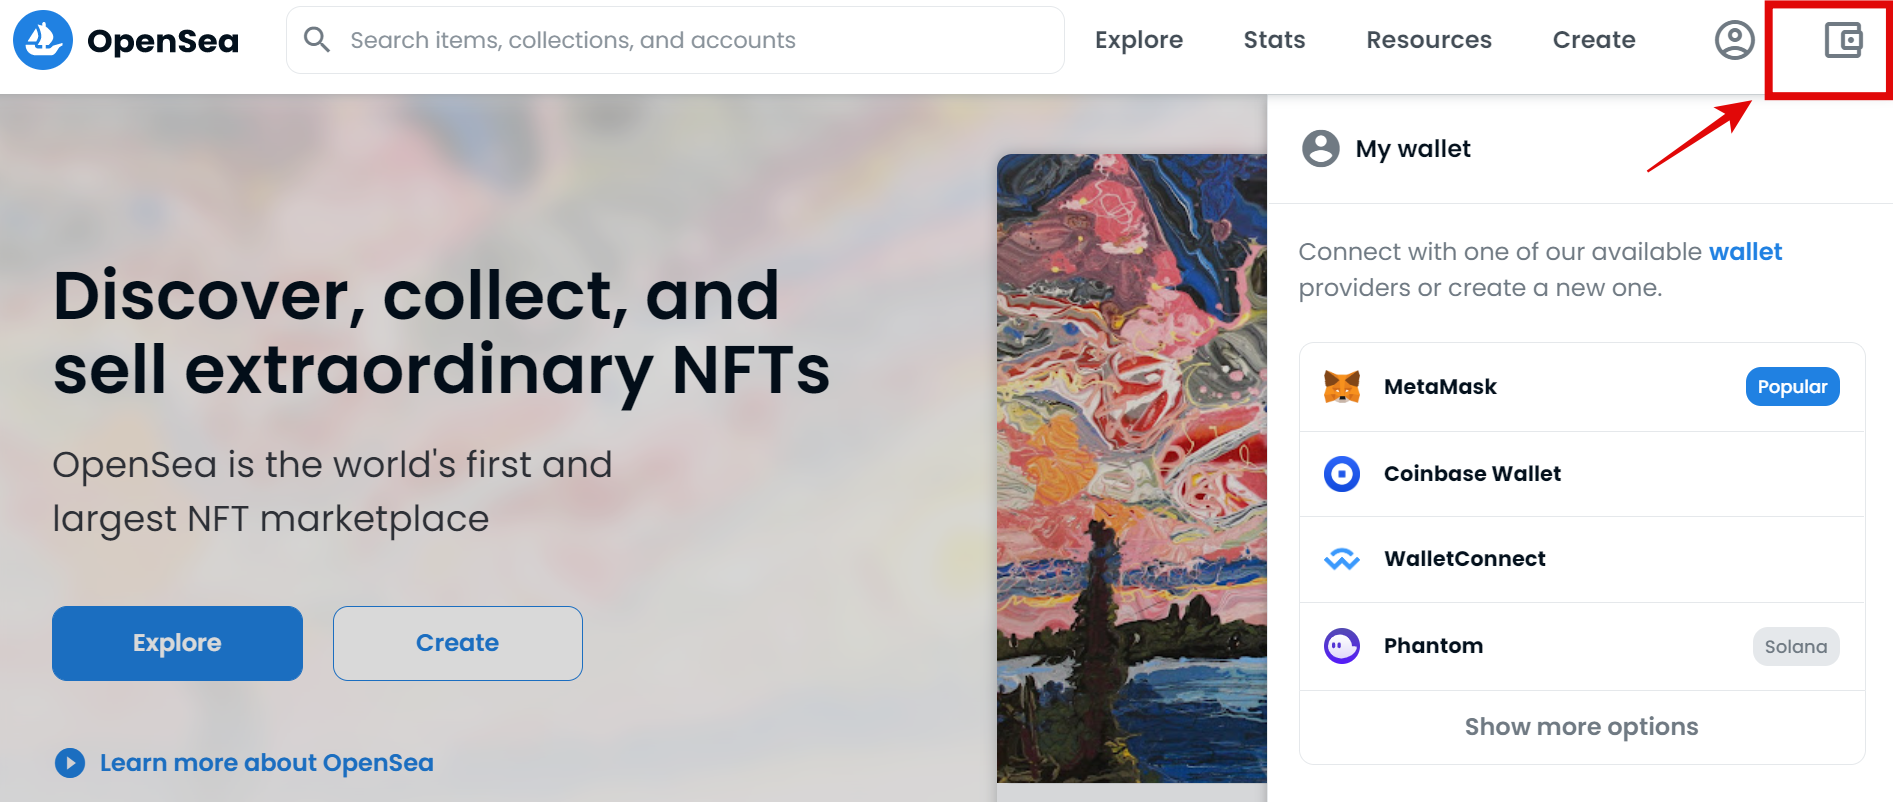
2. Click on the Wallet icon found in the top right corner of the home page. MetaMask, Coinbase, WalletConnect, and Phantom are the supported wallets in OpenSea.
3. Let’s take the example of MetaMask. By clicking on the MetaMask wallet option, the extension of your browser will ask you to enter the password.
4. Enter the right password and click the Unlock button.
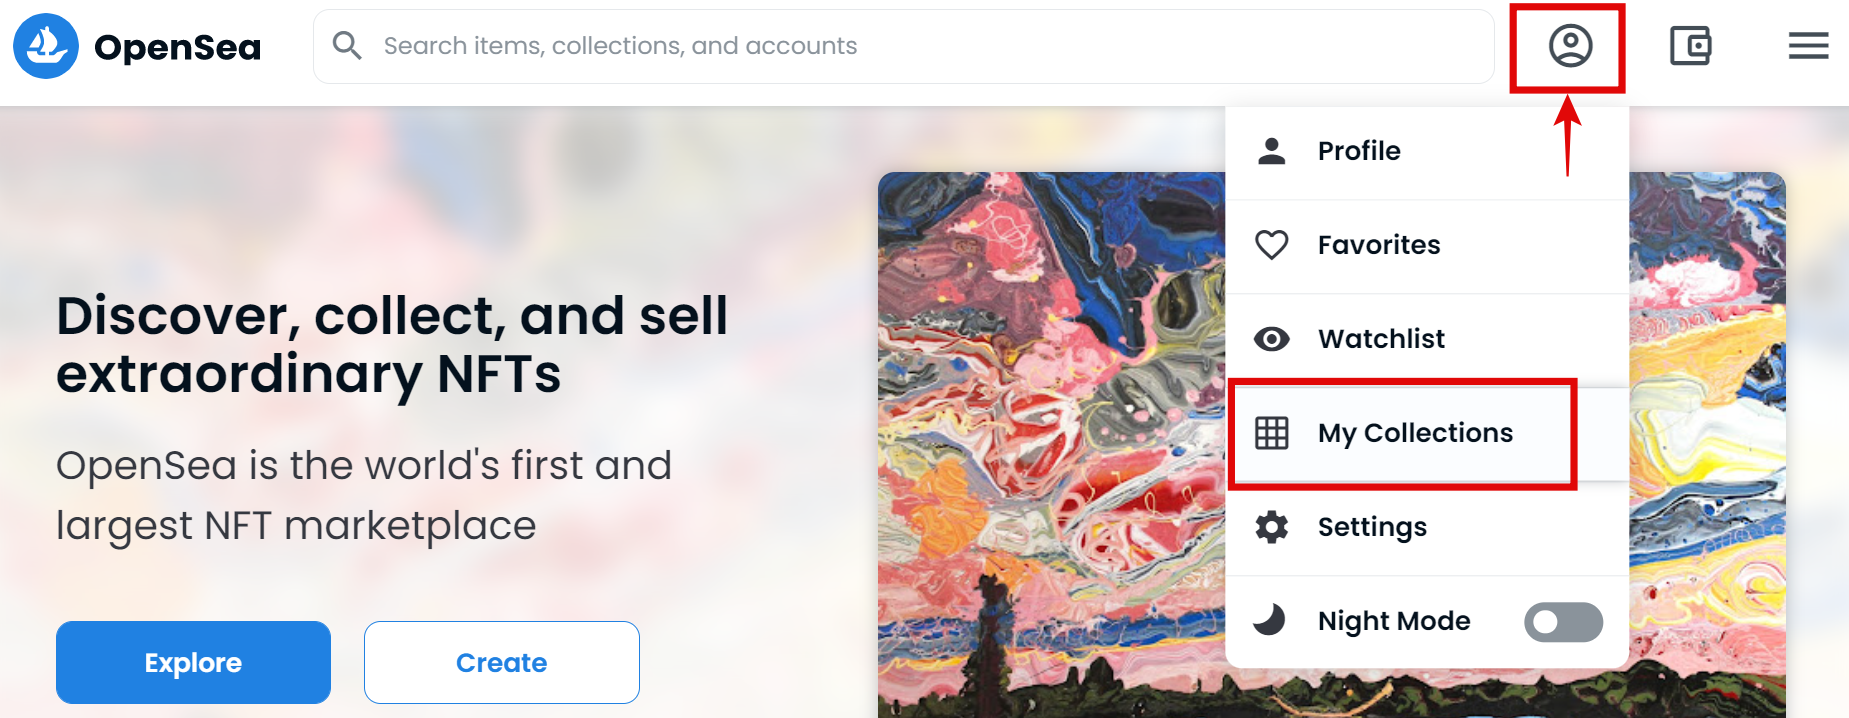
5. Once the wallet is connected, three options will be available – Profile, Wallet, and Menu options.
6. Now, move the mouse pointer over the Profile option and click on My Collections.
7. A new page will open. Click on Create a Collection button to start creating your NFT.
8. The wallet will ask for a Signature Request, and all you need to do is click on the Sign button.
9. Here, provide a Logo Image of 350*350 by clicking on the dotted circle. And next, provide a featured image of 600*400 which will be used to feature your collection on the homepage, category pages, etc.

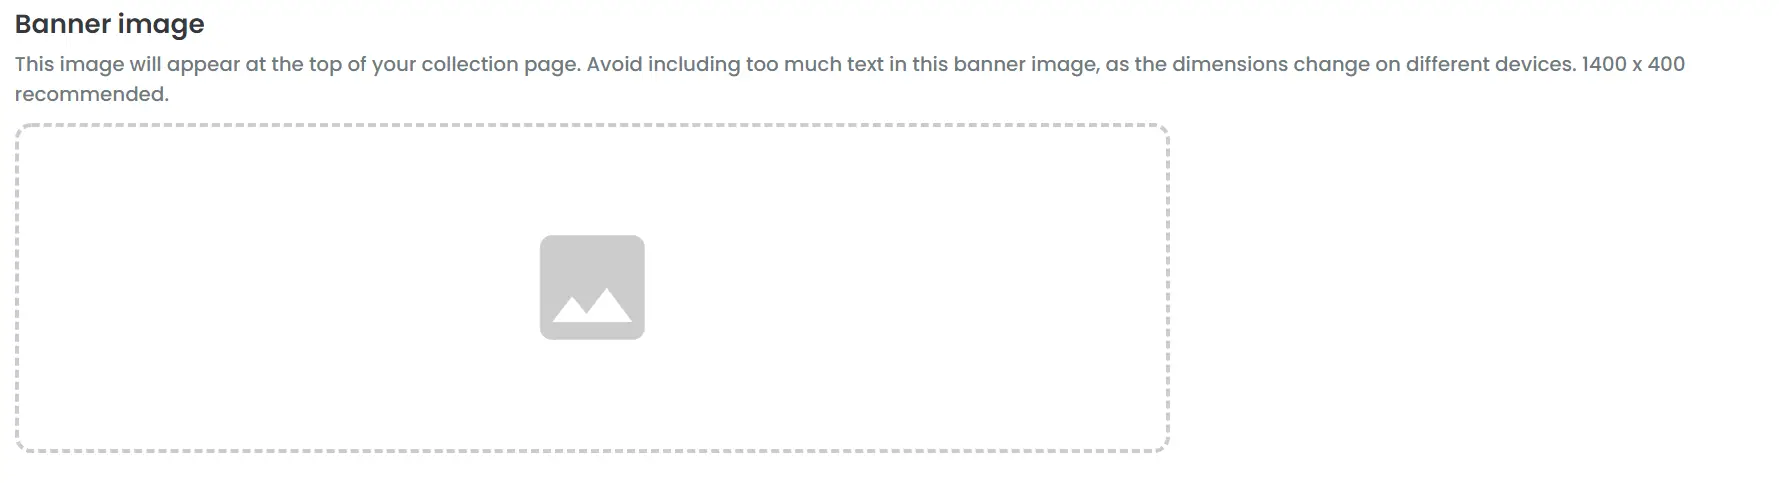
10. Now, select a banner image of 1400*400, which is similar to that of YouTube and Facebook banner images.
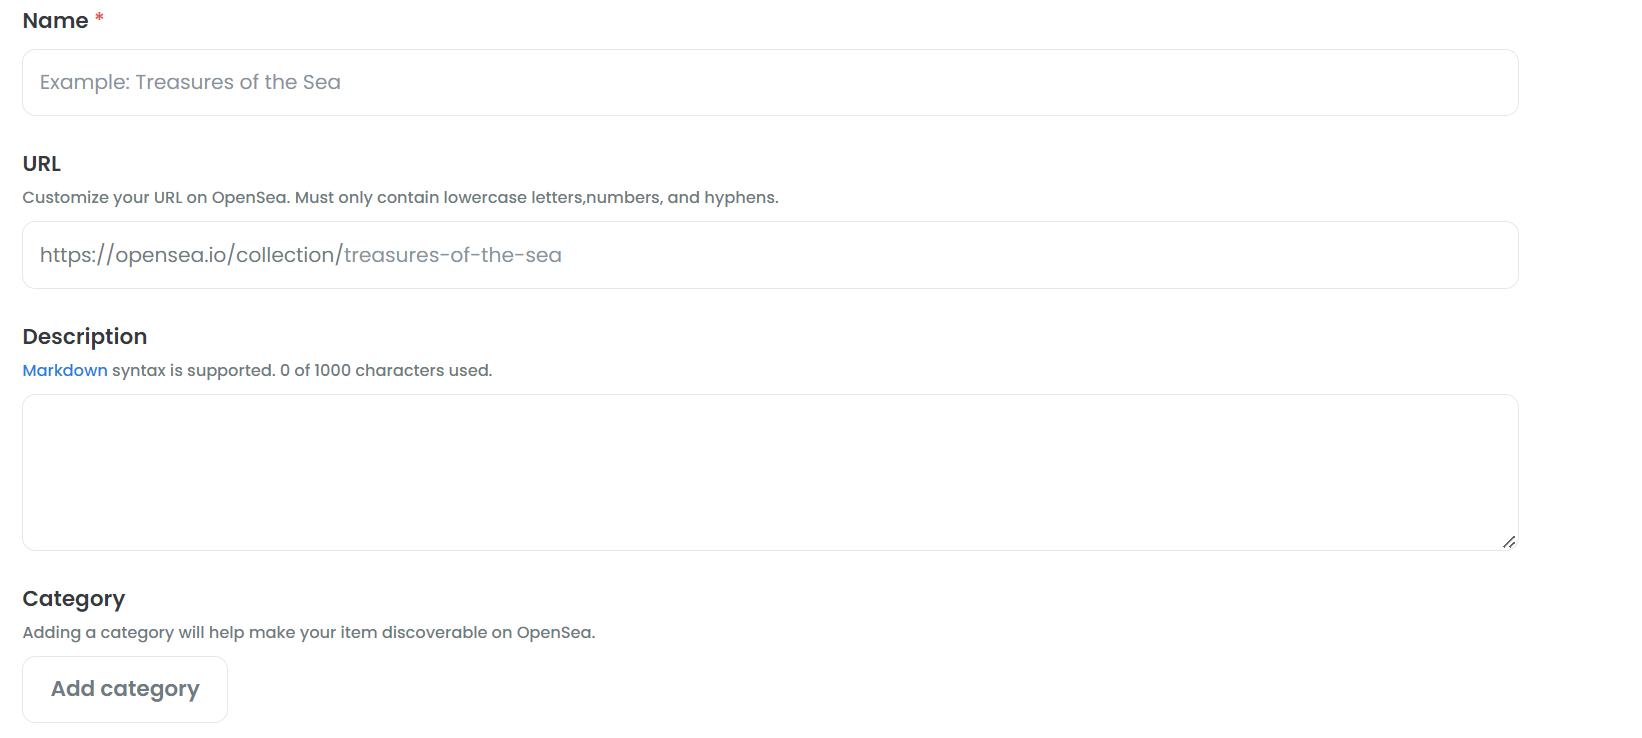
11. In the Name title box, type the name of your NFT collection.
12. You can customize the URL for your NFTs by typing your own words that match the name of the NFT collection. Note that only lowercase, numbers, and hyphens are allowed here.
13. In the Description box, you can provide a detailed description of your NFT collection, and it accepts up to 1000 words.
14. The Category button will enable you to segregate your NFTs into a particular category when there are more types of NFTs in your profile.
15. The Links section will allow you to link your social handles, such as Website, Discord, Instagram, Medium, and Telegram.

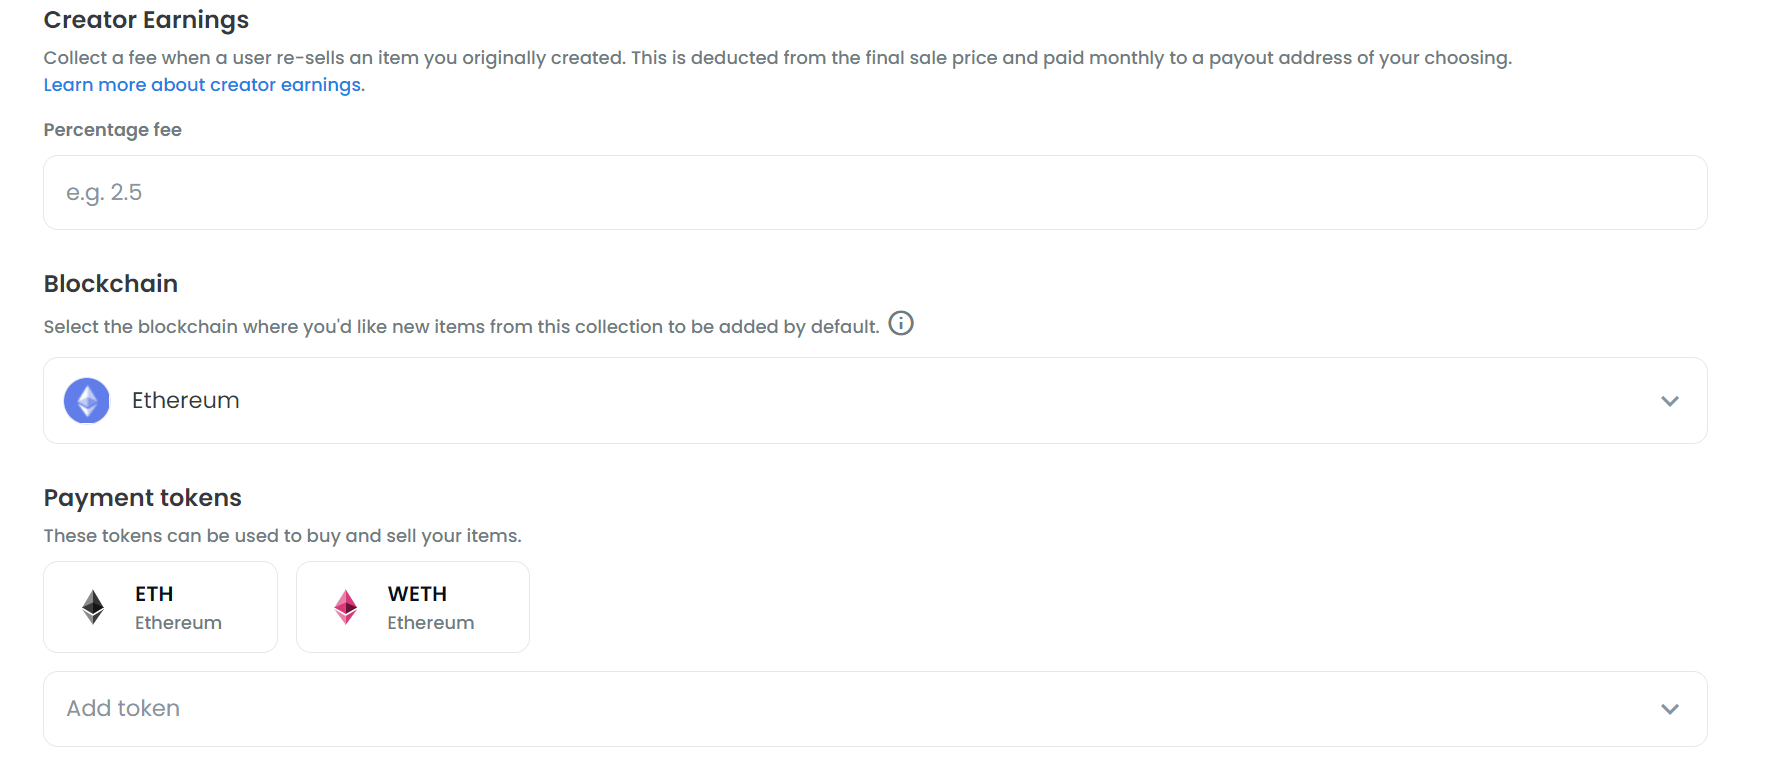
17. Creator Earnings are a percentage of royalty fees that you will receive on a monthly basis whenever your NFT gets sold in the secondary market.
18. The Blockchain drop-down box allows you to select either Ethereum or Polygon network. Choosing the Polygon network will drastically reduce the gas fee.
19. The Payment Tokens section is the type of currency you wish to receive by selling your NFT. Out of ETH and WETH, ETH is mostly preferred.
20. The Display Theme section provides three variations of displaying your NFTs. Choose your desired type to display your NFTs in the storefront.
21. If the collection comes under the Explicit and Sensitive content, switch on the toggle button available in this section.
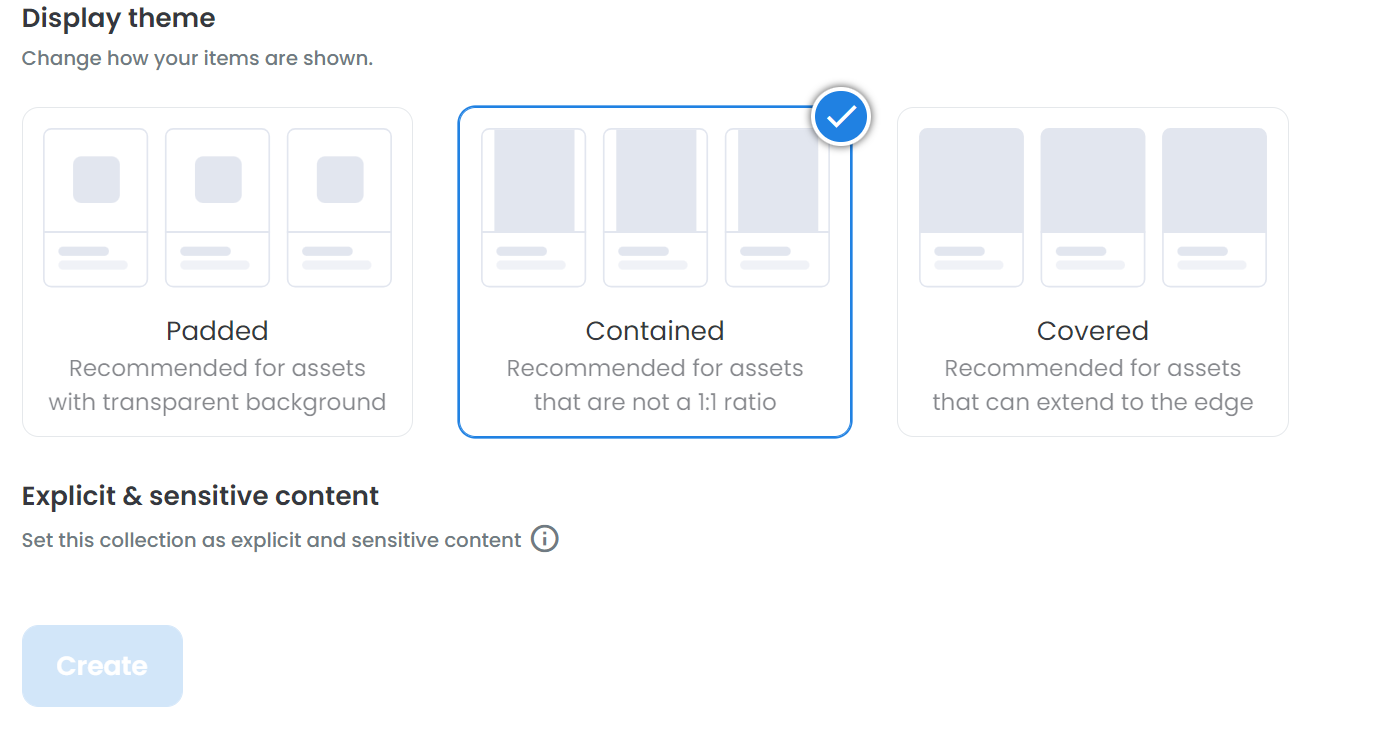
22. On clicking the Create button, the collection will be created with the uploaded profile picture and banner image.
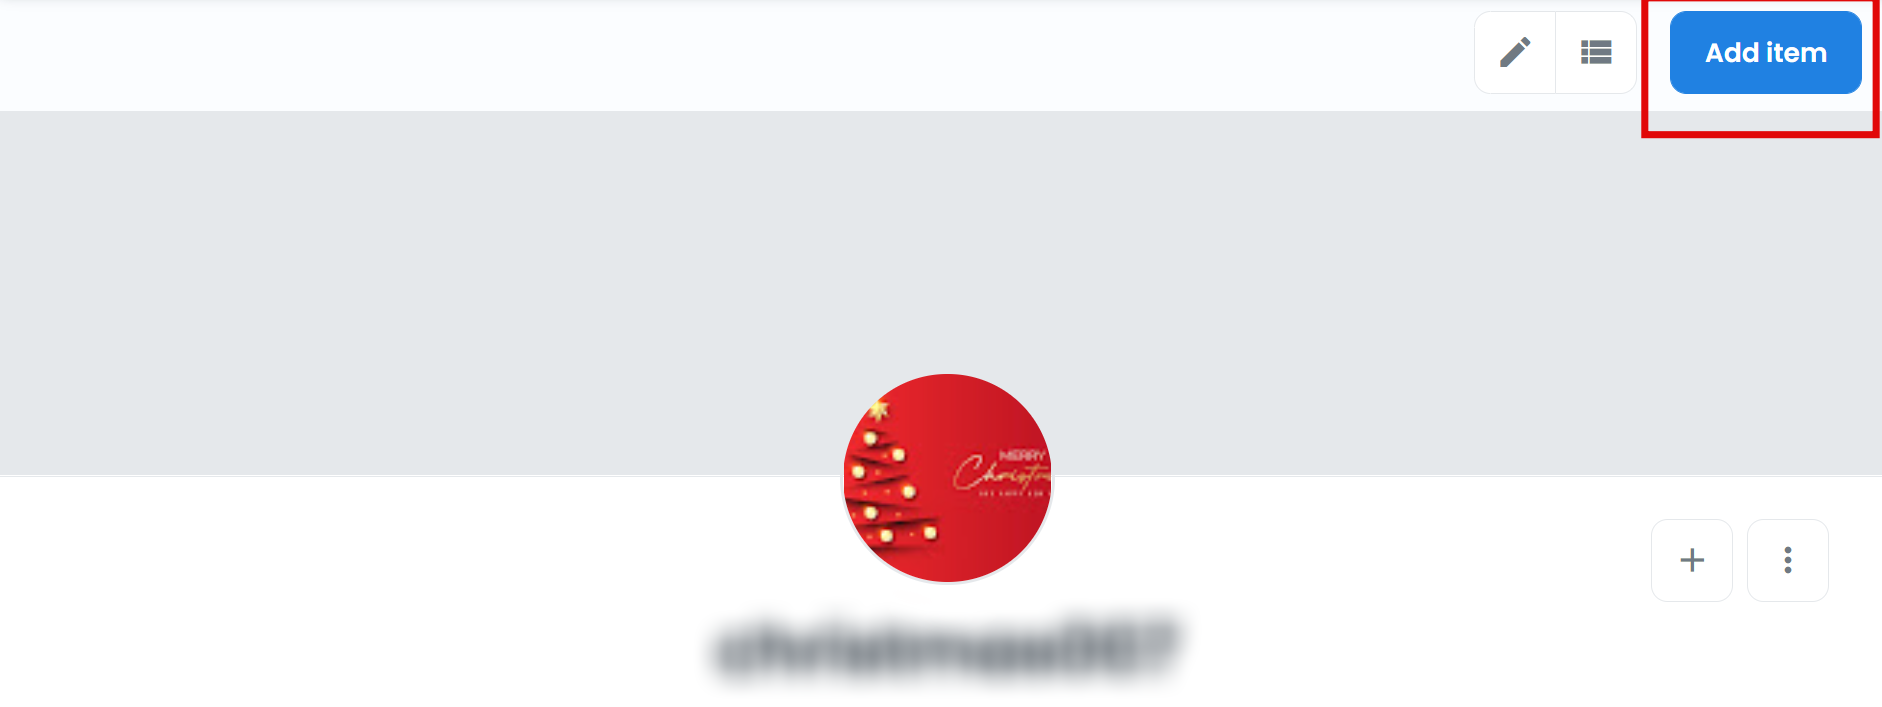
23. Now, on the top right side, click on the Add Item button.
24. Create New Item page opens. The first field will ask you to upload an image, video, audio, or even a 3D model of your NFT. The formats supported include JPG, PNG, GIF, SVG, MP4, WEBM, MP3, WAV, OGG, GLB, GLTF, and the maximum size should be 100 MB.
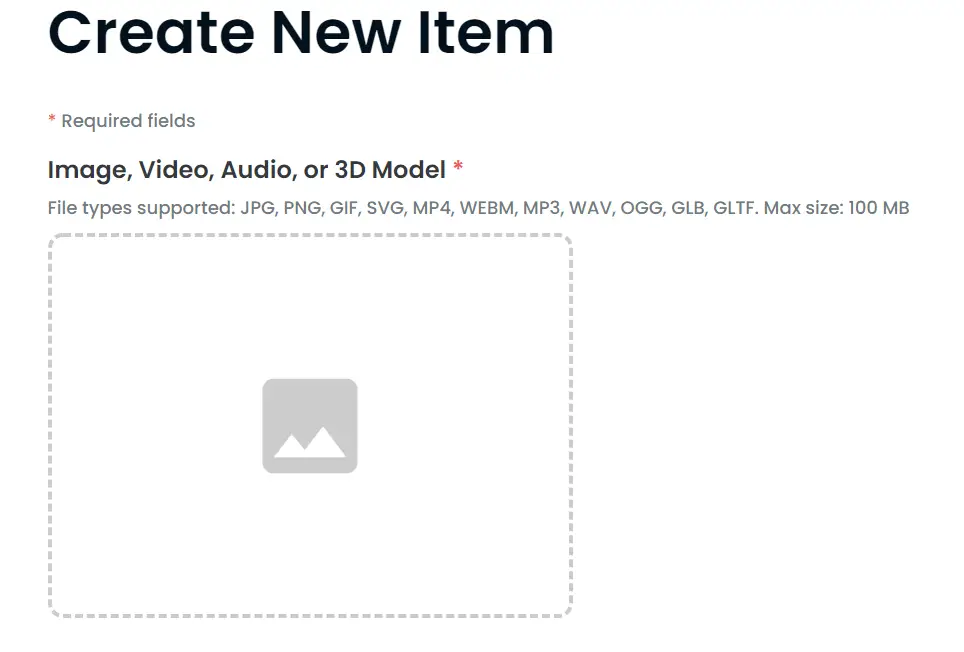
25. In the Name title box, provide the name of the NFT. Give any external link if available and provide a description.

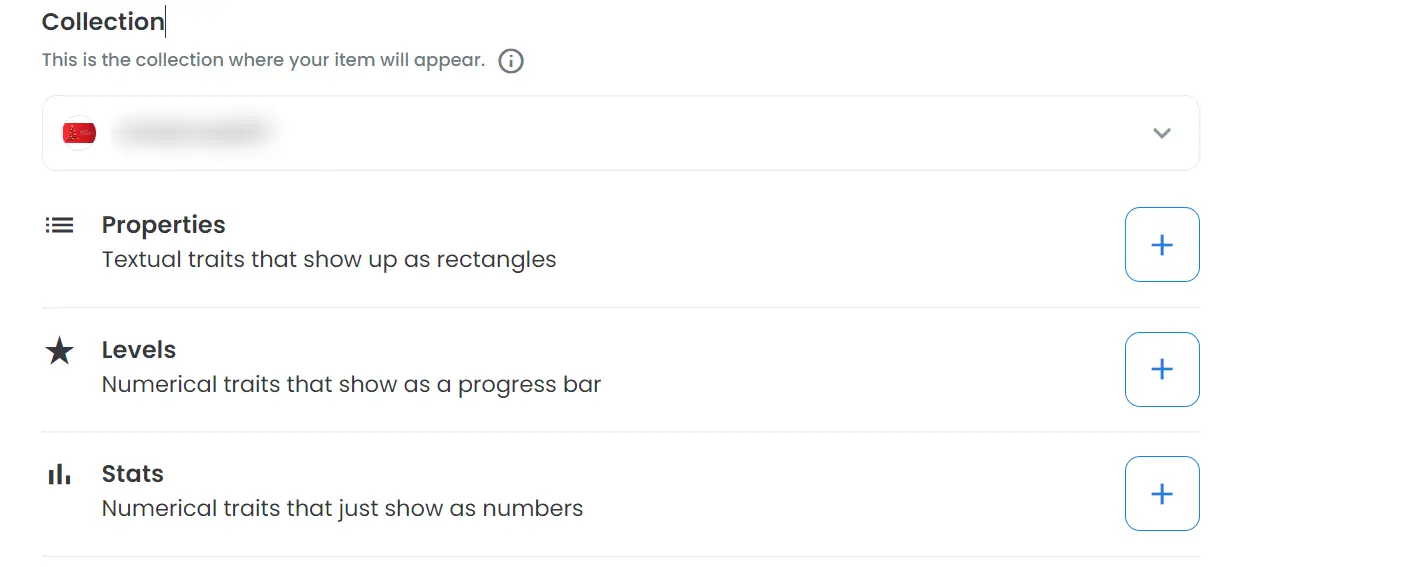
26. In the Collection section, choose the collection in which the NFT should appear.
27. If the NFTs have Properties, Levels, Stats, etc., the details should be provided accordingly.
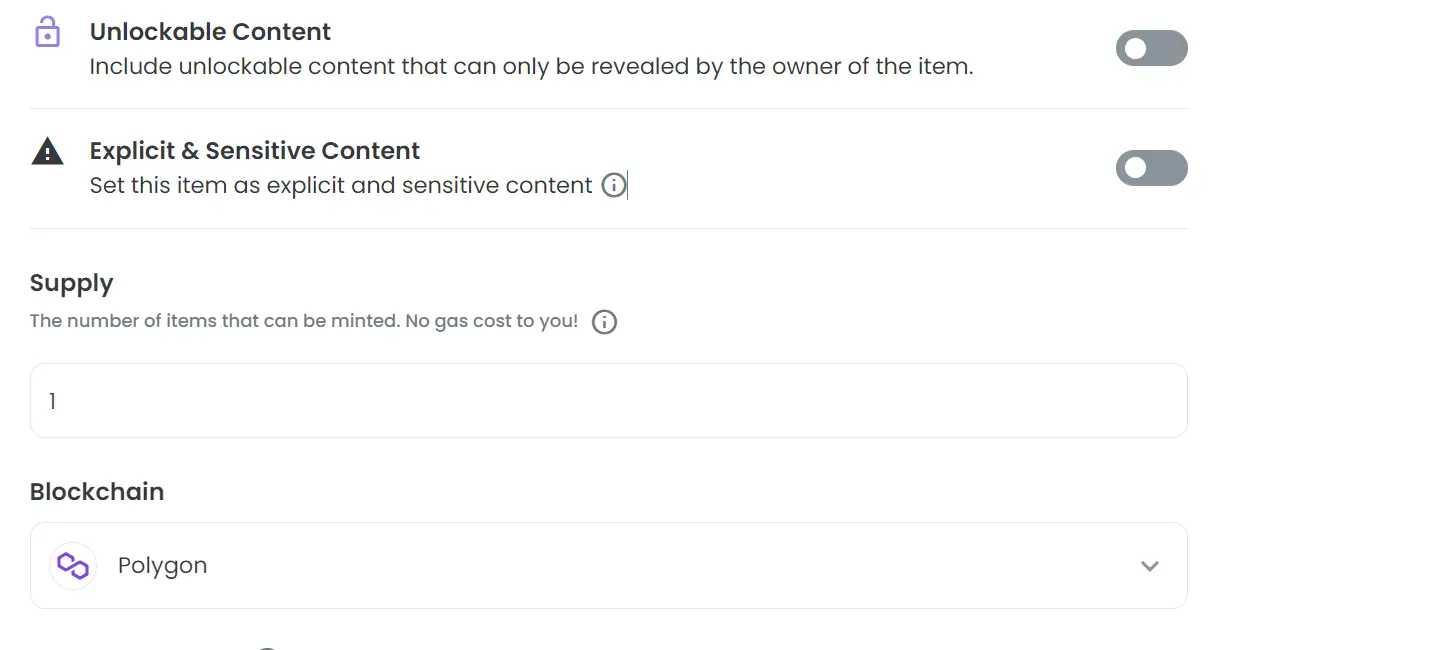
28. The Unlockable Content toggle button can be switched on if the NFT should be viewed only after buying the piece. If it is kept off, then anyone can see what the NFT actually is.
29. Again, if the NFTs fall under Explicit and Sensitive content, switch on the toggle button.
30. Enter the number of Supplies of NFTs to be minted. By giving 1, only one NFT of the uploaded item will be minted.
31. From the Blockchain drop-down, prefer the same network that you’ve previously chosen.
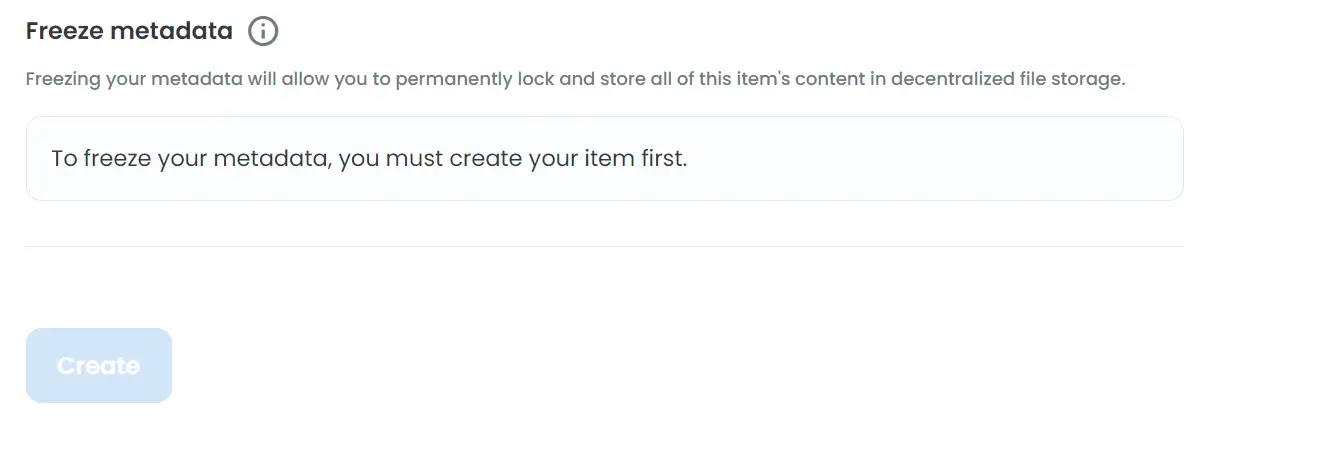
Freezing the Metadata section will work once you create/mint your NFT. This means that the minted NFT will be stored in the decentralized file storage.
32. Finally, click on the Create button.
Congratulations! You’ve created your first-ever NFT in OpenSea.
Wrapping Up
You might wonder why OpenSea didn’t charge you a penny. Yes, because they follow a mechanism called Lazy Minting. Earlier, artists had to pay for all the NFTs they mint on the platform, which may or may not get sold among NFT enthusiasts. It becomes difficult for them to pay each time when they mint an NFT. To get rid of this limitation, OpenSea introduced Lazy Minting.
This feature will allow anyone to mint and list the NFT for absolutely free. Once any NFT admirer comes forward to buy the asset, the gas fee will be added. During the purchase of the NFT, the trading fee (commission for OpenSea), plus the gas fee, will be deducted from the total price. This late implementation of the gas fee is called lazy minting. And it is really helpful for the artists to list their masterpieces then and there without worrying about the gas fee.
Why are you still waiting? Go create your first-ever NFT absolutely free in the OpenSea! Happy Minting!
You can also follow us for instant tech news at Google News or for tips and tricks, smartphones & gadgets reviews, join GadgetsToUse Telegram Group or for the latest review videos subscribe GadgetsToUse Youtube Channel.