The macOS 13 Ventura offers Stage Manager as one of its major highlights. However, showing recent apps in the sidebar takes a lot of space. And at the same time, it hides files on the desktop, which can be a bummer for people using the new multitasking tool. Here are tips and tricks to customize, hide recent apps, show desktop files, and add extra apps in Stage Manager on macOS Ventura.
MacOS Ventura Stage Manager Tips & Tricks
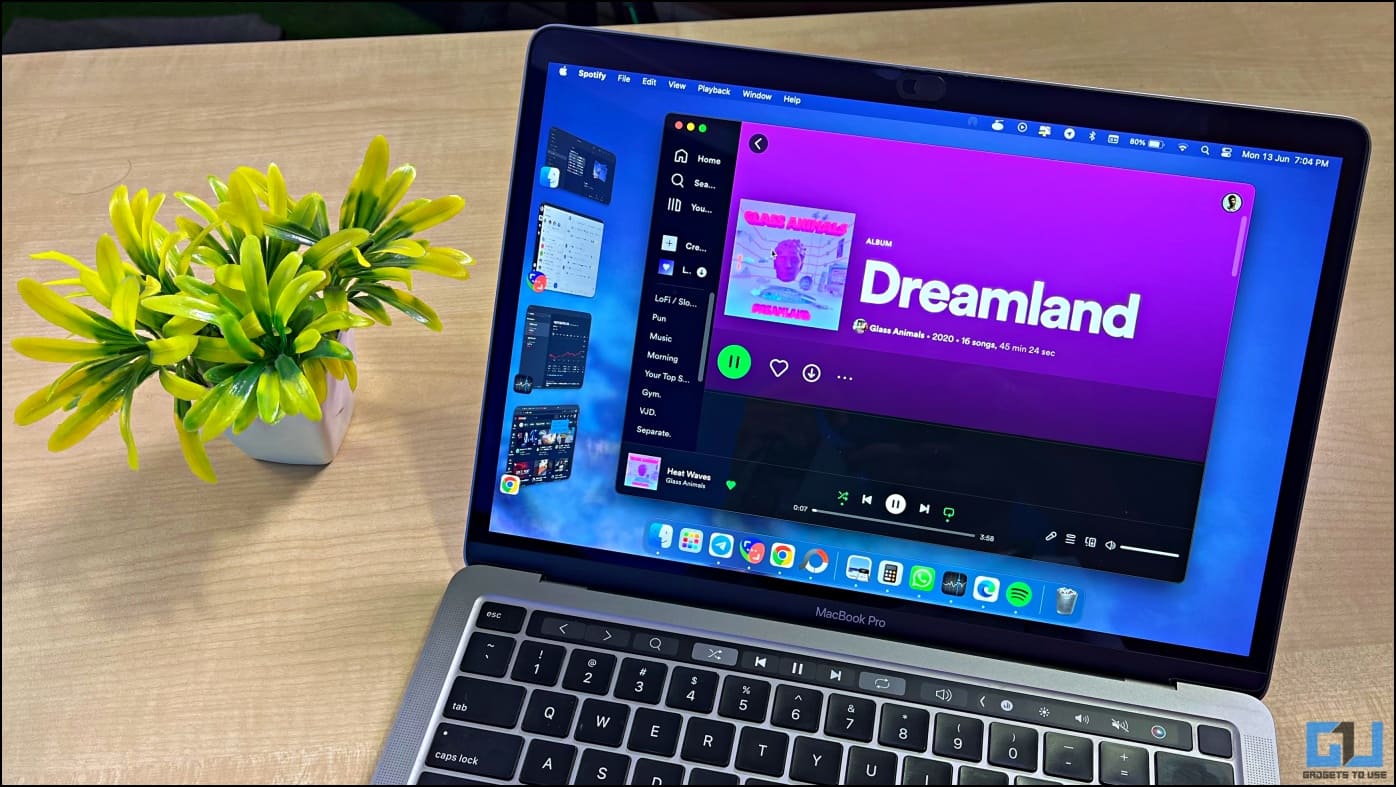
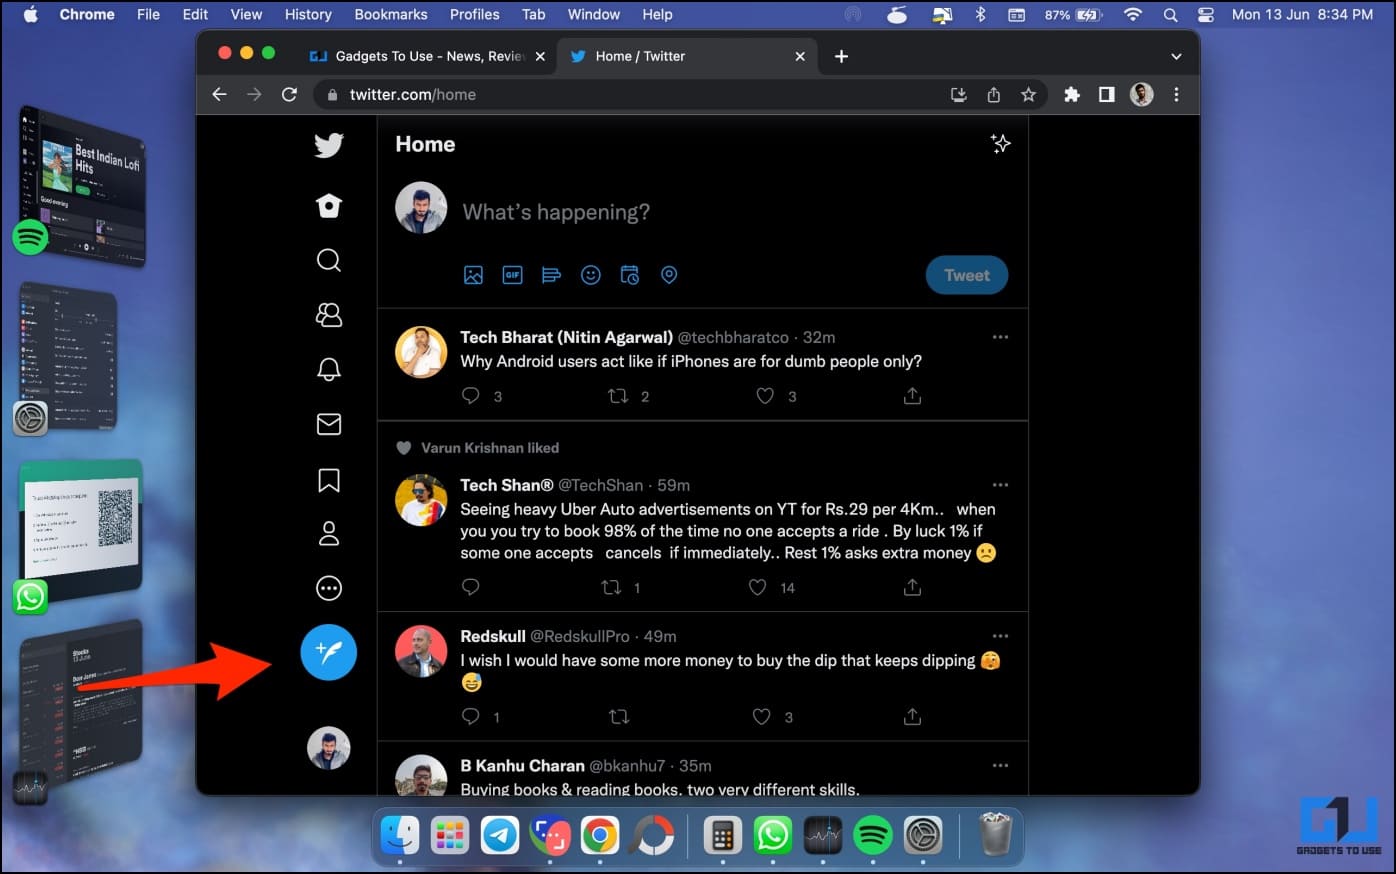
For starters, Stage Manager is a new window management tool on Mac. When activated, your open windows appear on the left of the screen. You can click the thumbnail to switch back and forth between apps quickly. And you can also group windows together.
Here are some tips and tricks to get the most out of Stage Manager on your MacBook or Mac running macOS Ventura. Read on.
Hide Recent Apps from macOS Ventura Stage Manager
By default, Stage Manager keeps the recent apps visible on the left part of the screen. This not only eats extra space but is also a privacy concern for people who don’t want other open apps to be revealed on the main screen when minimized.
Thankfully, you get a quick toggle to hide apps from the Stage Manager screen and make them show only when required. Here’s how to do it:
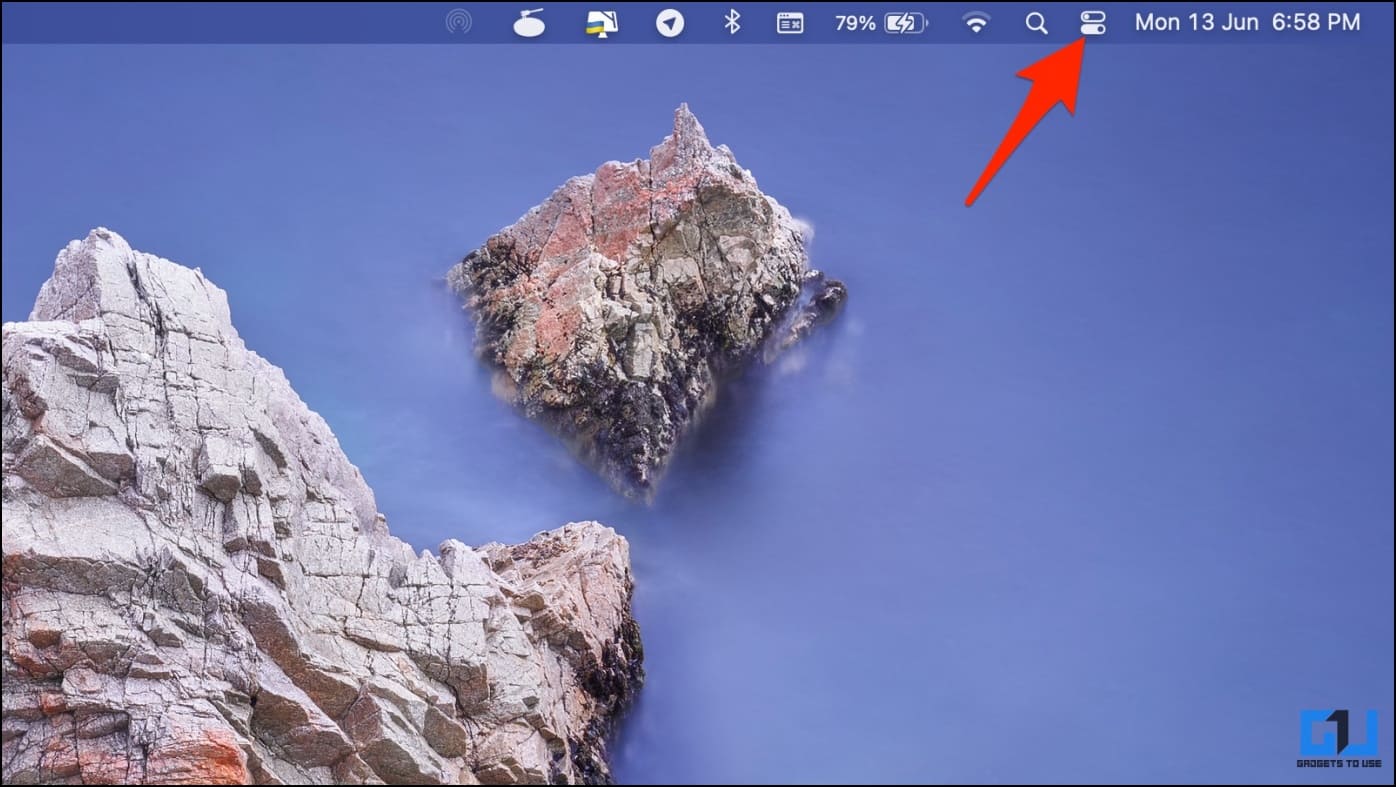
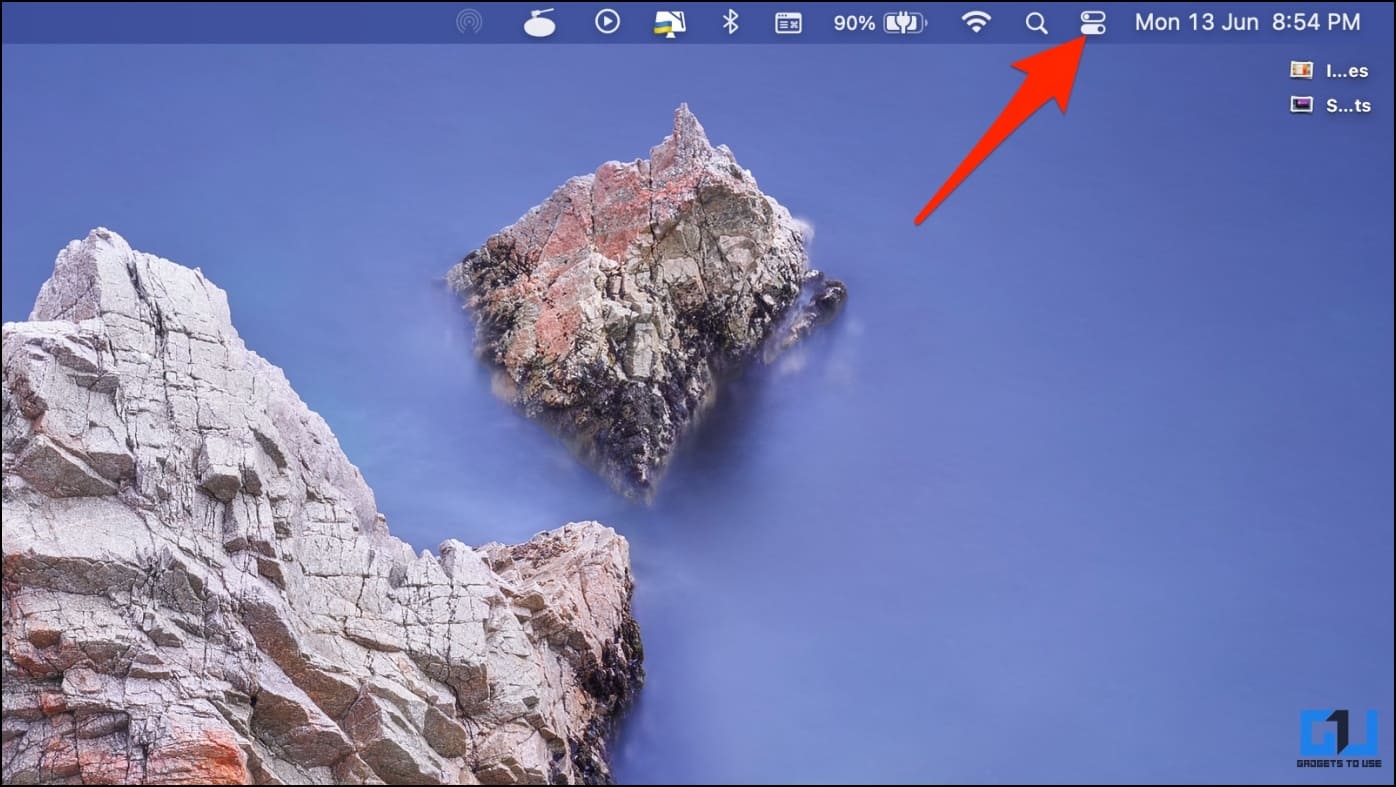
1. Click the Control Centre icon at the top right on your Mac.
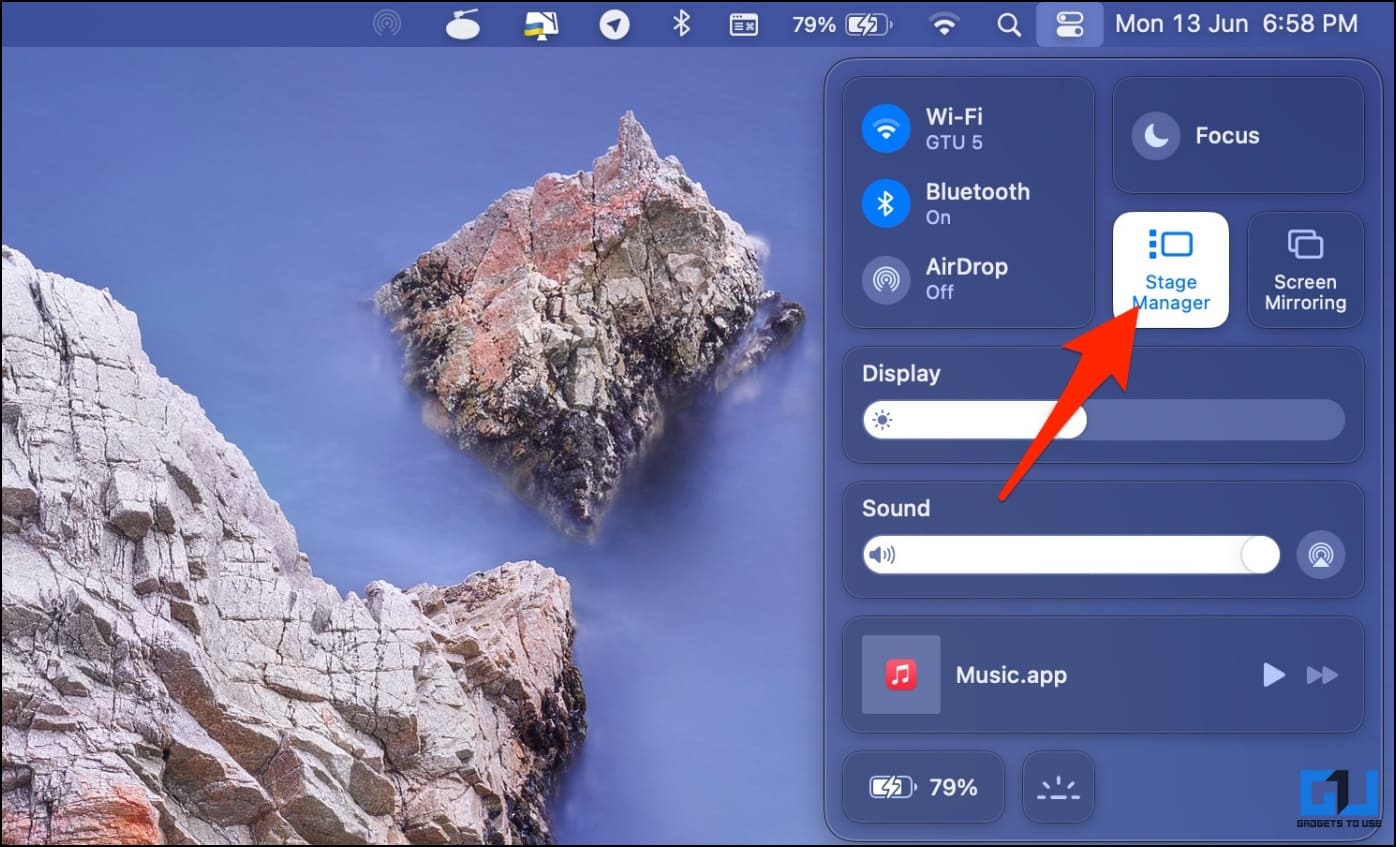
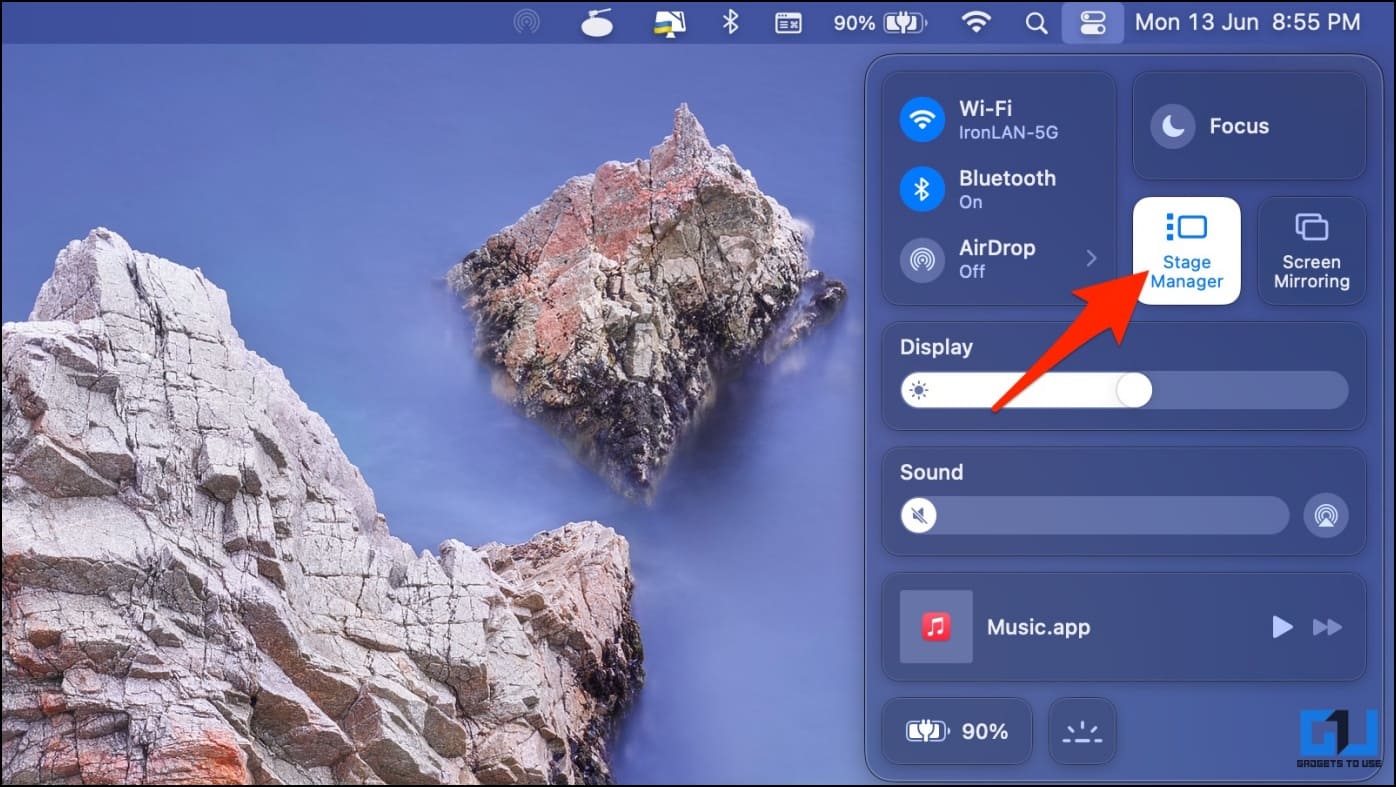
2. Once the center opens, click on Stage Manager.
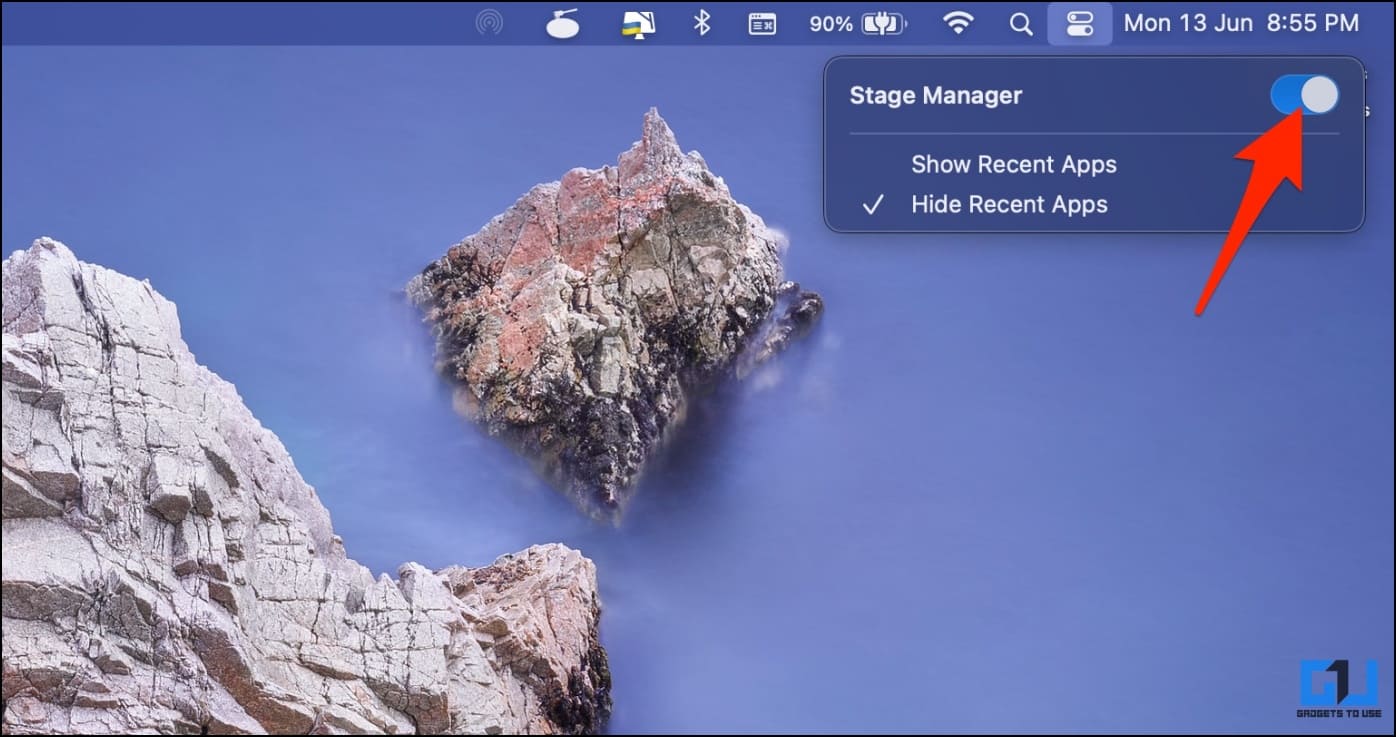
3. Here, tap Hide Recent Apps.
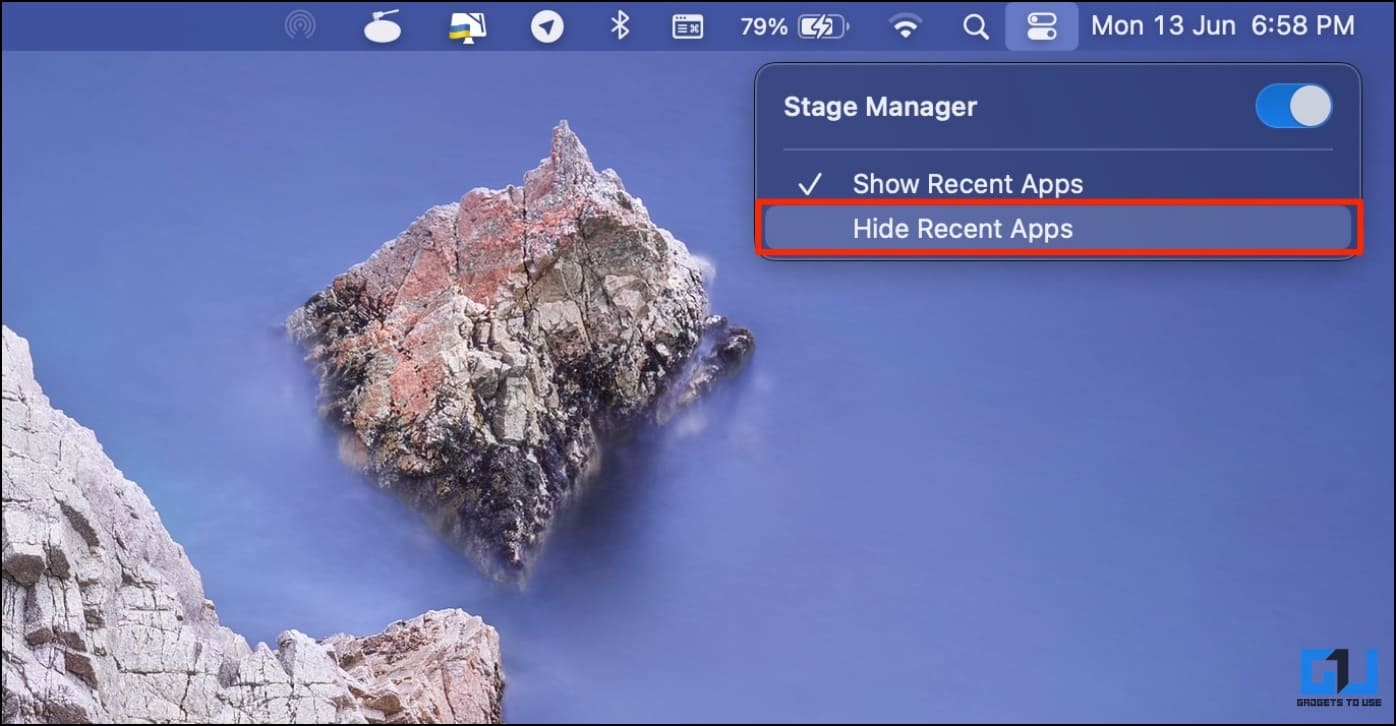
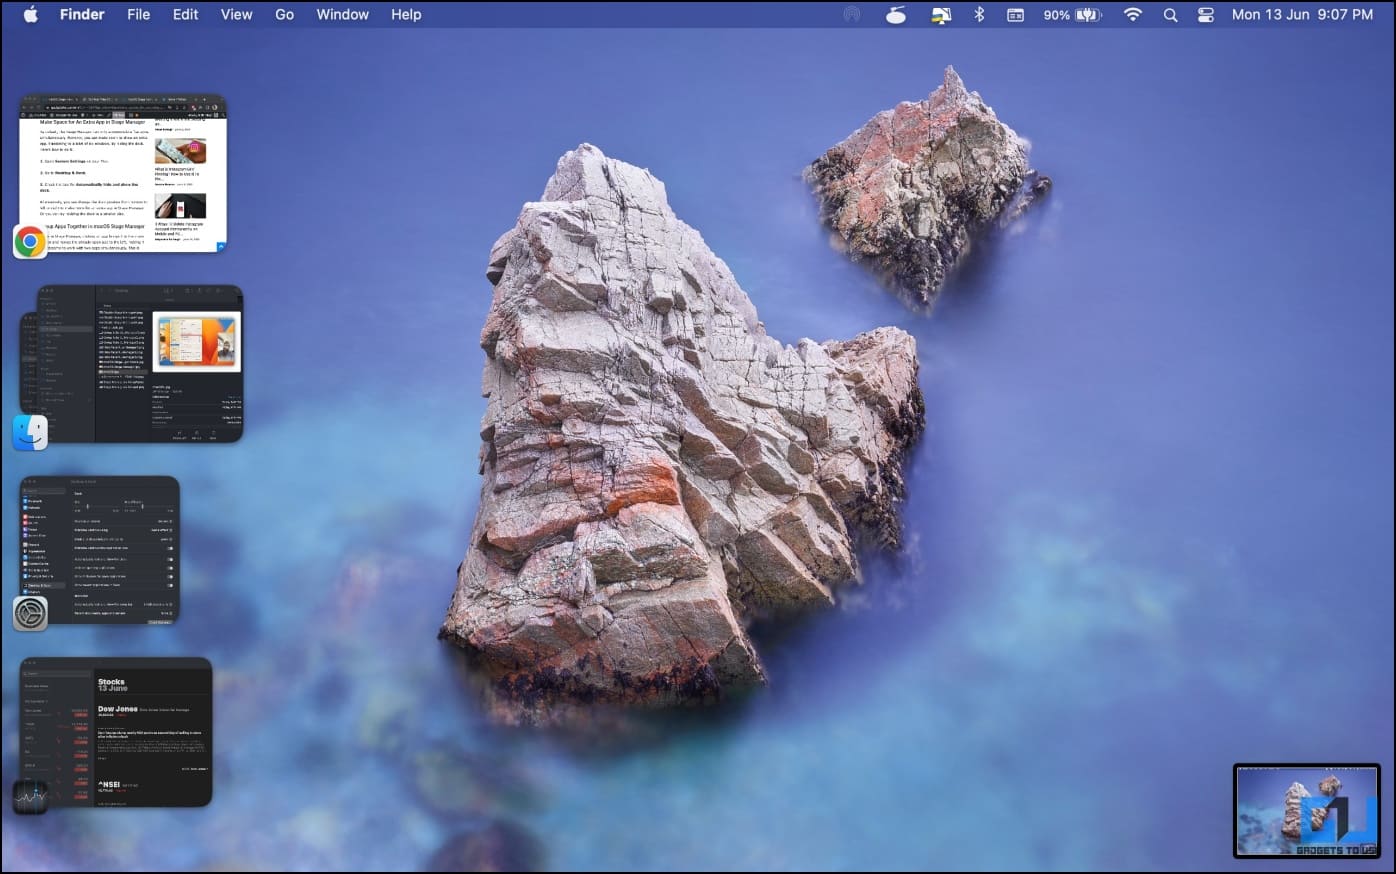
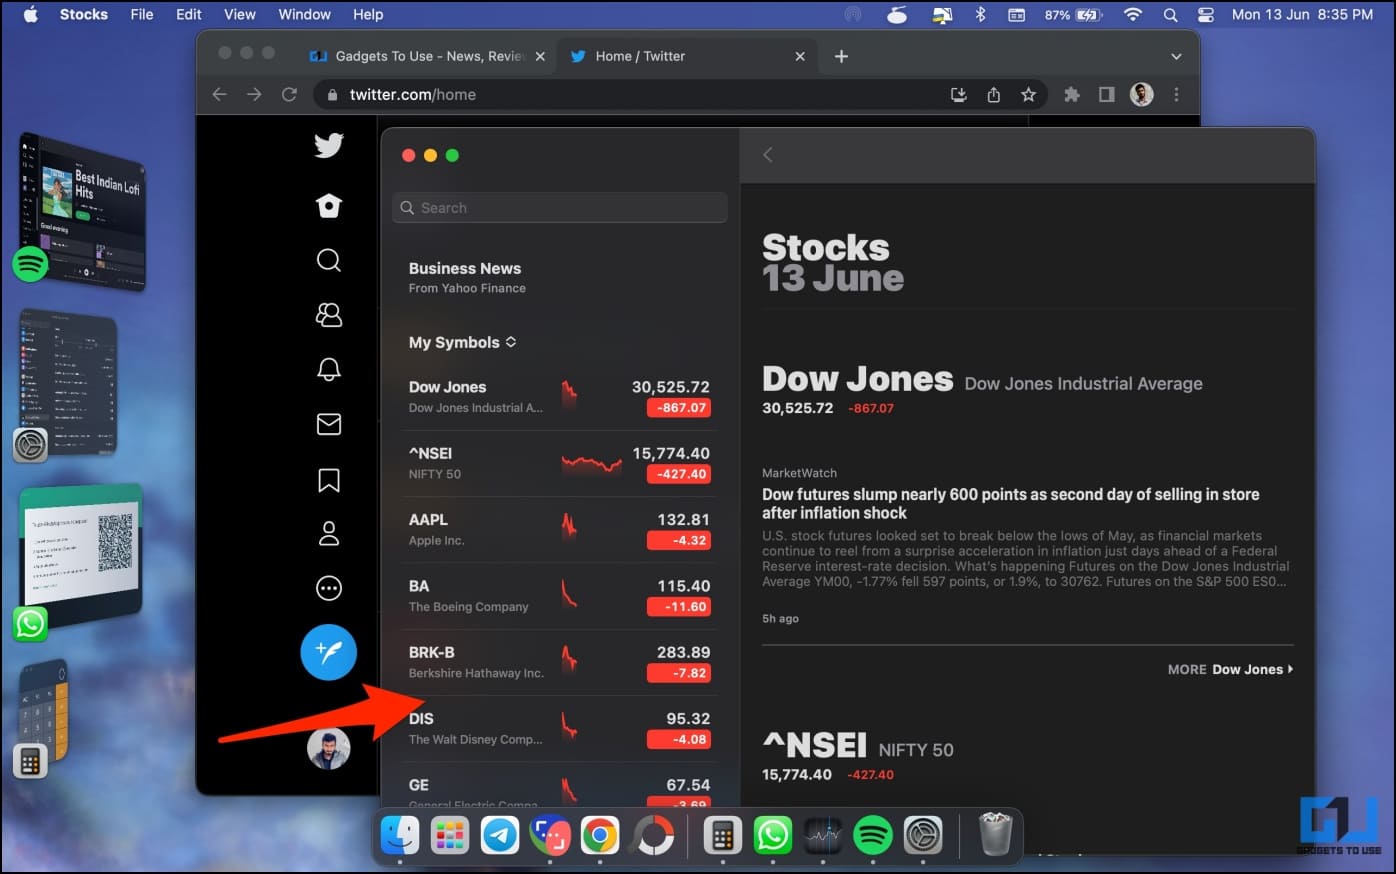
Once you do so, the recent apps will be hidden from the main view when using apps in Stage Manager. To switch to another app or to see what is open, hover your mouse pointer on the left to reveal all recent apps.
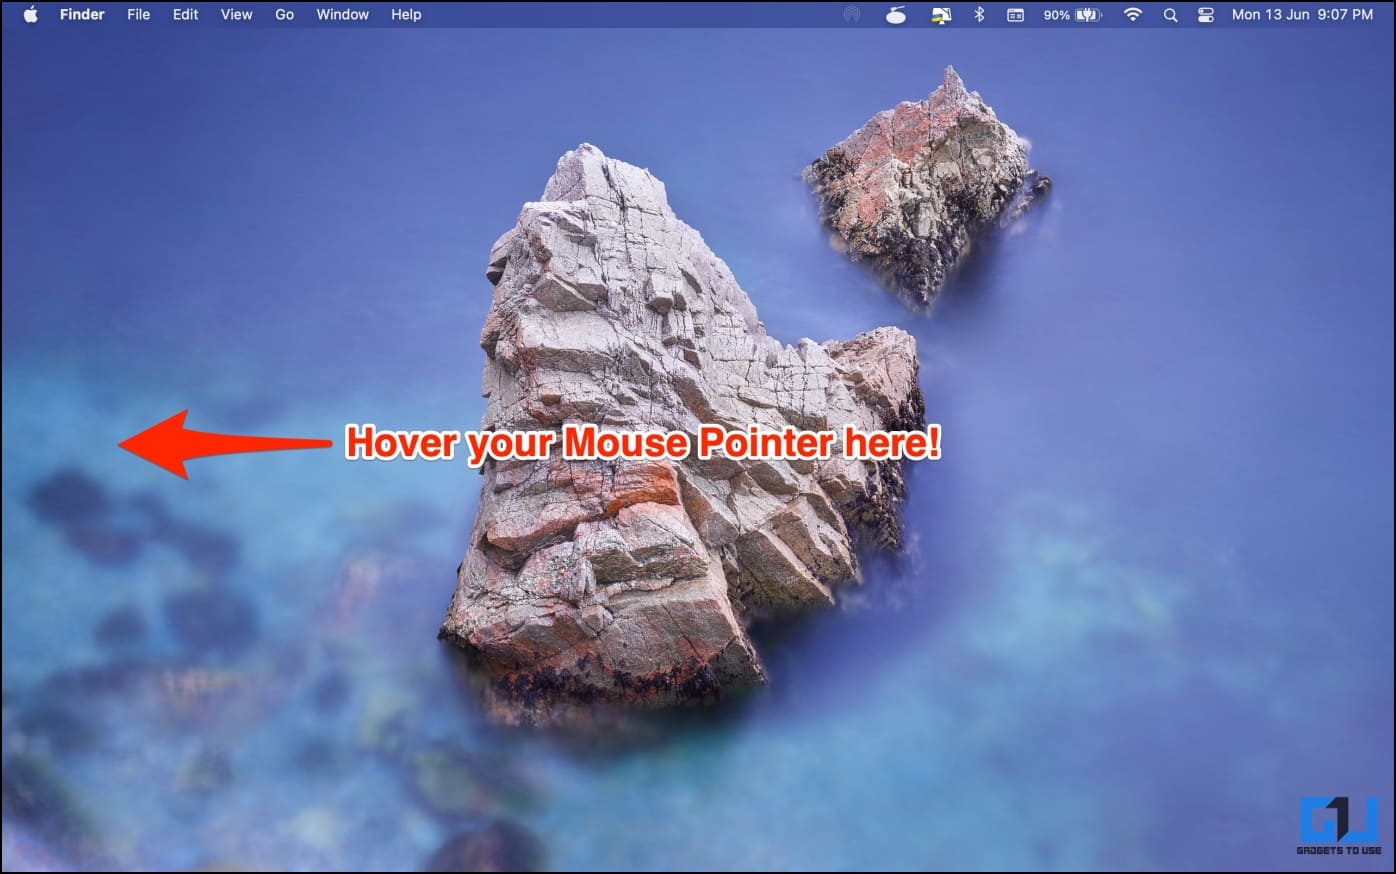
You can now click the app thumbnail to switch back and forth between the windows you’re currently working on. And once you shift your cursor back to the center, the apps will disappear automatically.
How to Show Desktop Files in Stage Manager
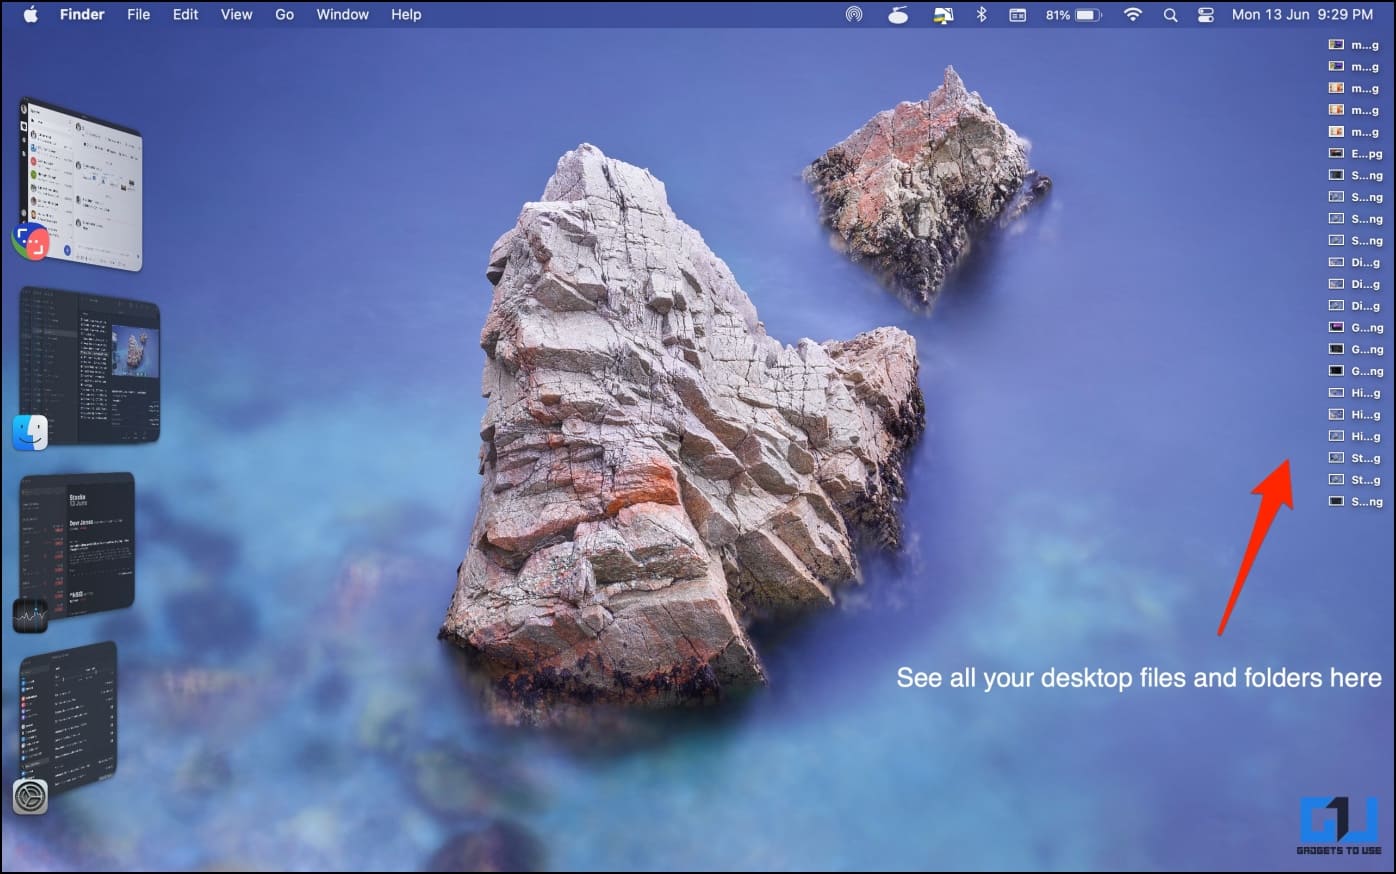
When active, the Stage Manager hides the files and folders on your Mac desktop. If you want to show the desktop files, click anywhere on the desktop while the current app is open.
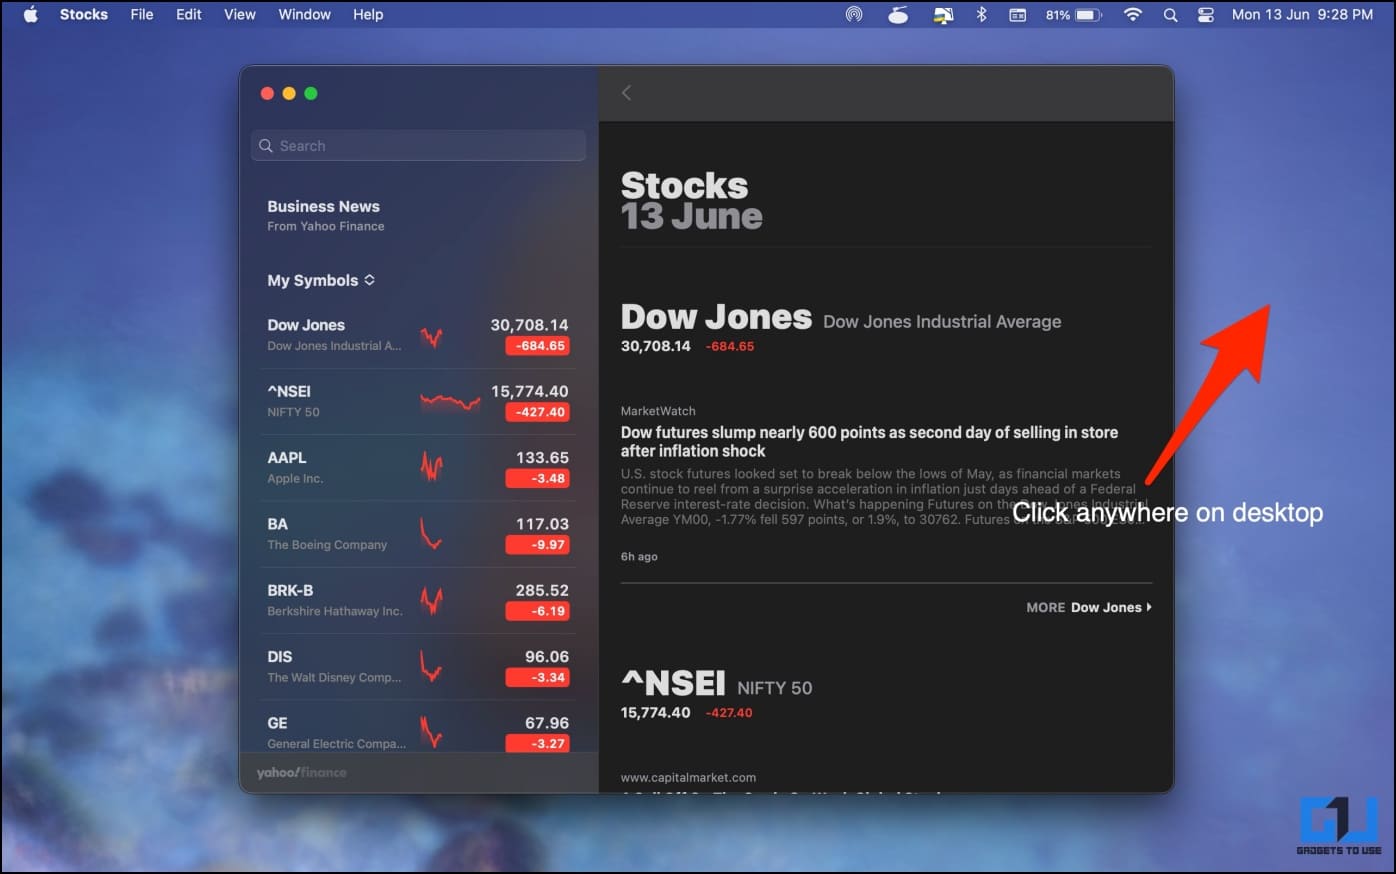
The app will automatically disappear, giving you a full desktop view with all your files and folders visible as usual. You can also open these files or folders. And if you click the desktop area again, the app will appear again, hiding the files back.
Make Space for An Extra App in Stage Manager
By default, the Stage Manager can only accommodate five apps simultaneously. However, you can make room to show an extra app, translating to a total of six windows, by hiding the dock. Here’s how to do it:
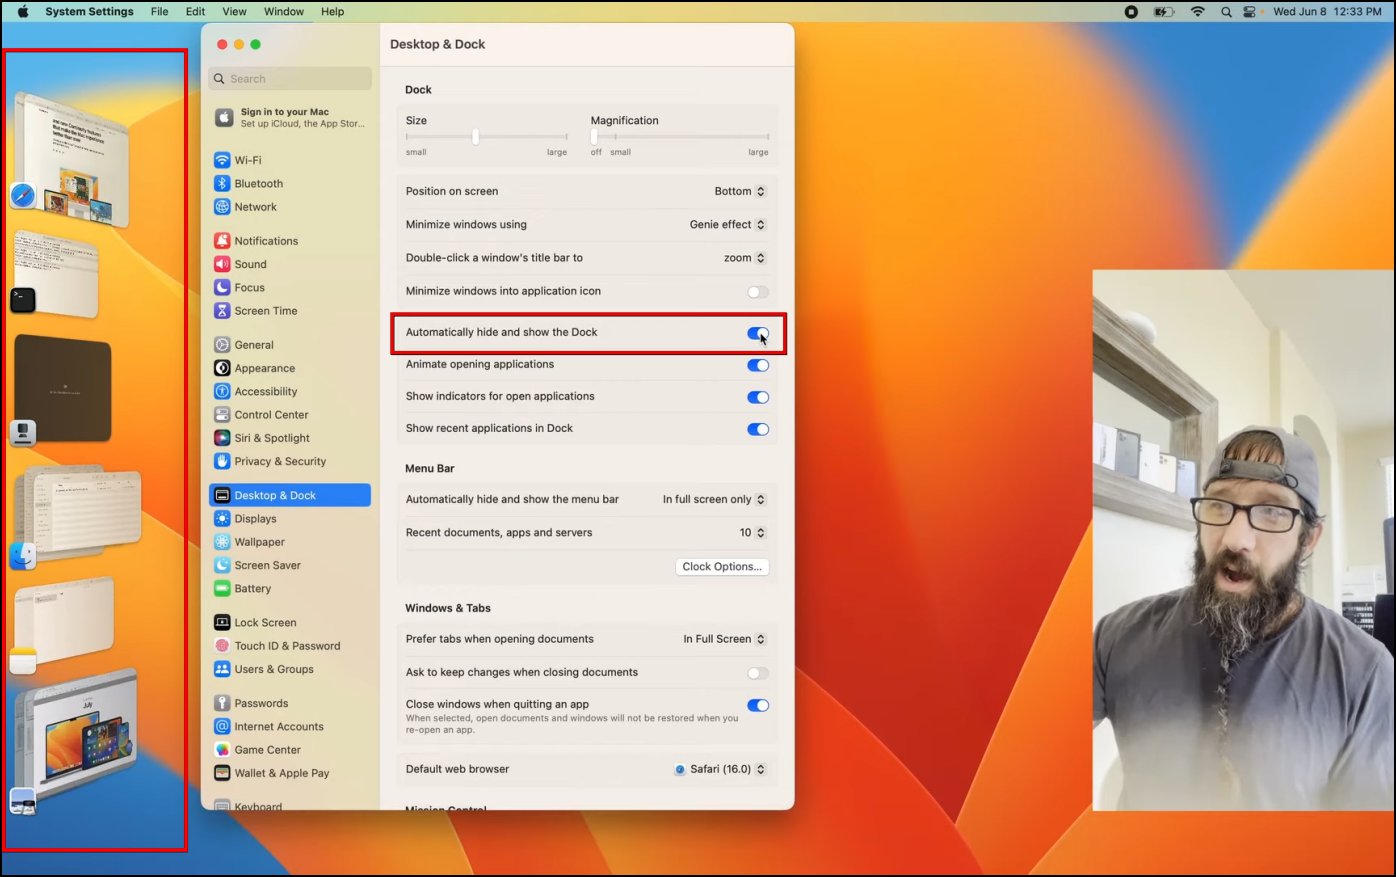
1. Open System Settings on your Mac.
2. Go to Desktop & Dock.
3. Check the box for Automatically hide and show the dock.
Alternatively, you can change the dock position from bottom to left or right to make room for an extra app in Stage Manager. Or you can try resizing the dock to a smaller size.
It may or may not work on MacBooks with smaller 13-inch screens. Our MacBook Pro 2020 13″ merely shows four windows in Stage Manager even with the dock hidden.
Group Apps Together in Mac Stage Manager
When in Stage Manager, clicking an app brings it to the main screen and moves the already open app to the left, making it troublesome to work with two apps simultaneously. This is where the ability to group apps together kicks in.
Here’s how you can group apps in Mac Stage Manager to work on them together:
1. To begin with, open an app you want to group with other apps.
2. From the Stage Manager sidebar, drag the thumbnail of the other app on the desktop.
3. That’s it. The two apps are now grouped together.
4. You can keep dragging multiple windows to group them together.
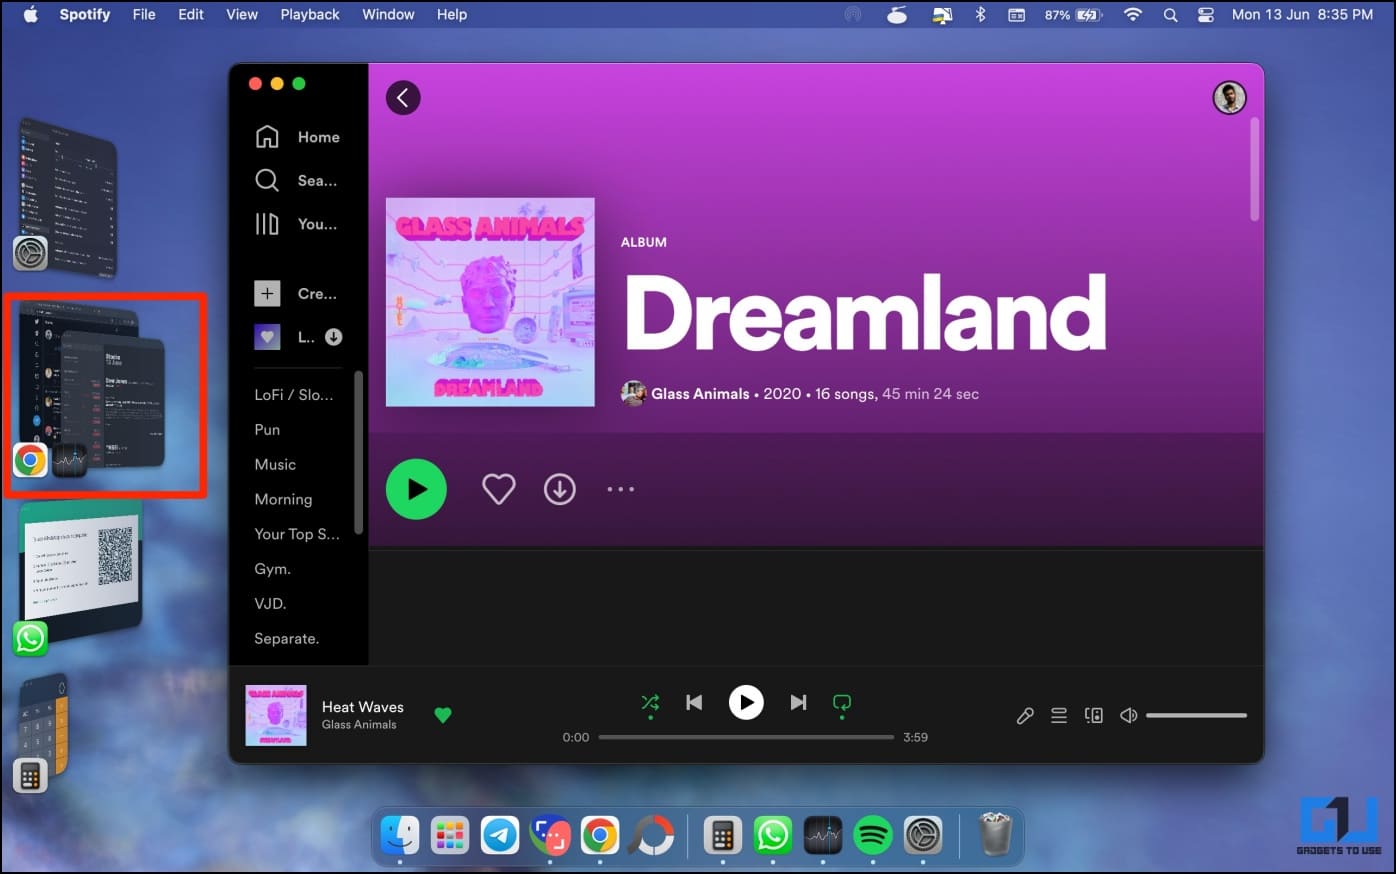
When you switch to another tab, the grouped windows will automatically move to the left. You can open all the windows anytime by clicking the group thumbnail. Mac preserves the window arrangement so you can continue how you left them.
To remove an app from the group, drag it away from the desktop to the sidebar. It will split and move to the left of the screen in Stage Manager.
Disable the Stage Manager on macOS Ventura
If you do not like the Stage Manager or find yourself better with using the traditional Mission Control for multitasking on Mac, here’s how to disable the Stage Manager on macOS Ventura:
1. Tap Control Centre at the top right on your Mac.
2. Click on the Stage Manager icon.
3. Next, turn off the toggle for Stage Manager.
Limitations of Stage Manager on macOS Ventura
Given that macOS Ventura is in its very early stages, Stage Manager does have some limitations which need to be refined along:
- Enabling and disabling Stage Manager is a slow process.
- There’s no keyboard shortcut or trackpad gesture for Stage Manager yet.
- Stage Manager can only show five windows (or 6 with the above trick).
- You cannot yet resize or rearrange the app windows.
- No option to scroll through windows in Stage Manager.
- You cannot close an app directly from the sidebar in Stage Manager.
- Stage Manager shows a live preview of apps with no option to disable them, which can slow down older Macs.
Wrapping Up
These were some tips and tricks to hide recent apps, show desktop files, and add extra apps to Stage Manager on macOS Ventura. I hope this helps you make the most of the new multitasking tool on your Mac. Stay tuned to GadgetsToUse for more such tips and tricks.
You might be interested in:
- How to Find and Download Software Update on macOS Ventura
- 7 Ways to Fix App Icon Stuck in Mac Launchpad After Uninstall
- 2 Ways to Use Continuity Camera on Mac and iPhone
- 2 Ways to Get Apple Continuity Camera on Windows PC
You can also follow us for instant tech news at Google News or for tips and tricks, smartphones & gadgets reviews, join GadgetsToUse Telegram Group or for the latest review videos subscribe GadgetsToUse Youtube Channel.