If you’re unable to view a website on your smartphone besides having a perfectly working internet connection, the DNS cache is the underlying culprit. Fortunately, you can clear it to restore web access. Let’s look at several methods to clear the DNS cache on any smartphone, whether Android or iOS. Additionally, you can learn to clear the cache on Windows to boost the speed.
What Is DNS Cache, and Why Should You Clear It?
Internet works on IP addresses. When you search a website on a browser, it contacts a Domain Name System (DNS) server to look up the IP address of the searched website, which further redirects you to the webpage. During this process, the IP address of the website searched gets stored locally on your smartphone to access it quickly the next time you access it, without contacting the server again, saving resources. This list of stored IP addresses is exactly what the DNS cache comprises.

However, the DNS cache often gets corrupted when a website moves to a new address or gets altered by an app update/unsolicited access. This creates issues in accessing your desired website on the browser. Luckily, you can clear it to enjoy uninterrupted access. Let’s look at different methods to fix it.
How to Clear DNS Cache on Phone?
In most smartphones, the DNS cache clears automatically by itself. But, if you’re facing issues while accessing certain websites, clearing these caches should fix it. Here’s how it can be done:
Note: Clearing DNS cache files logs you out of all websites and removes stored offline web pages on your smartphone. Consequently, you have to log in again to use the online services.
Method 1 – Toggle Airplane Mode (Android/iOS)
Toggling the Airplane/Aeroplane mode is the easiest way to clear the DNS cache on any smartphone. Doing this cuts off all wireless connections, and rejoining fixes most network problems.
On Android
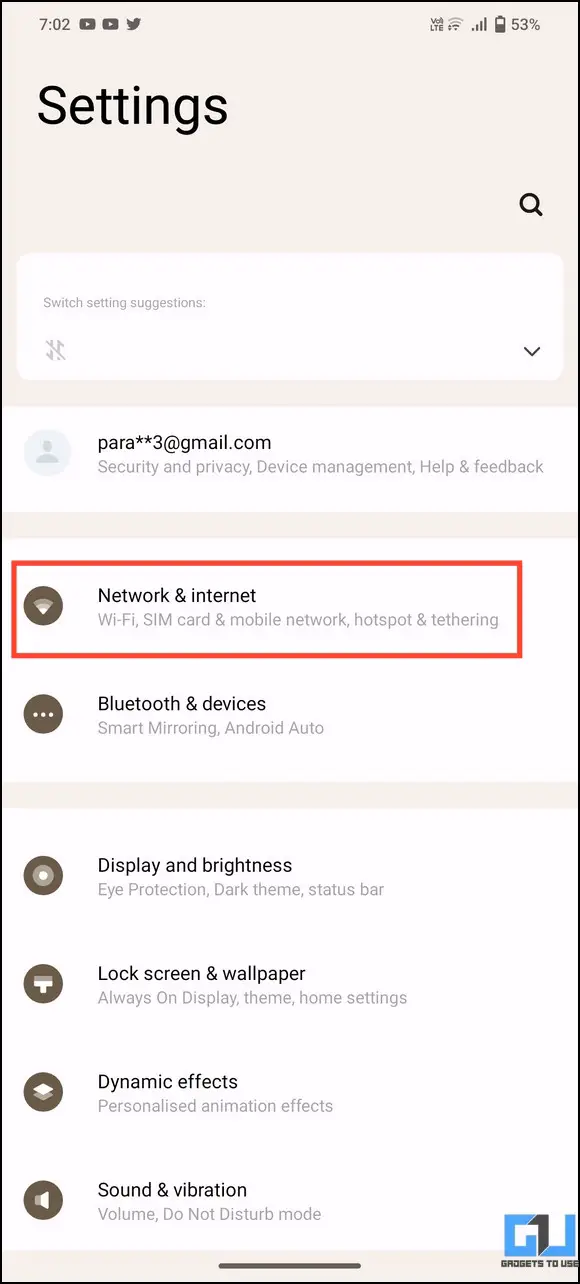
1. Open the Settings app and tap Network and Internet.
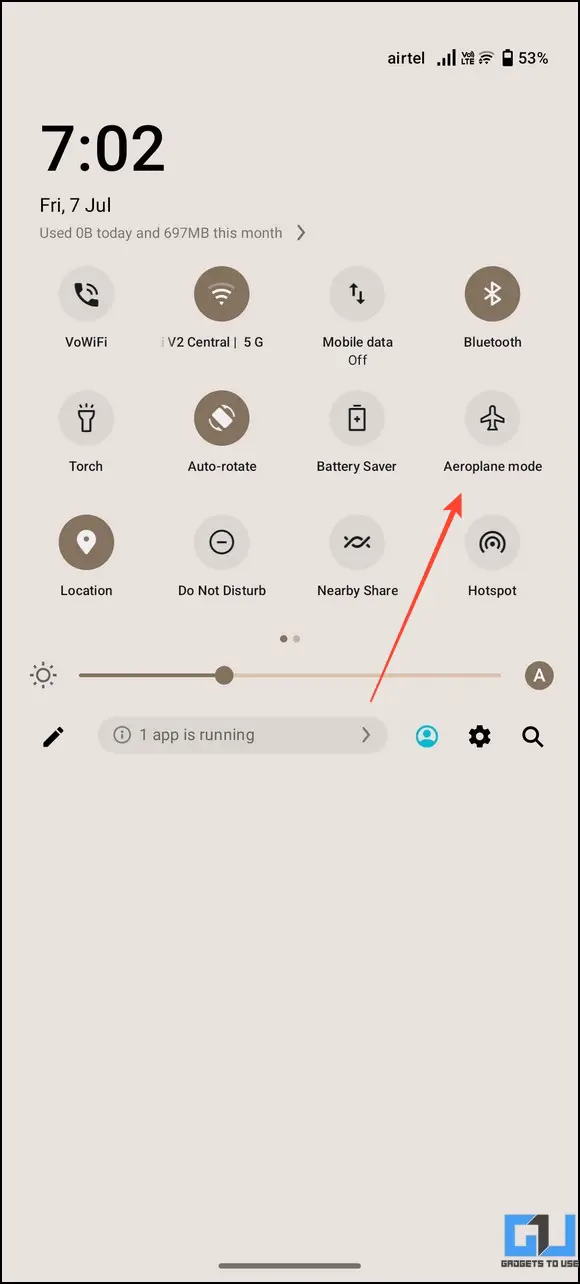
2. Tap on Aeroplane/Airplane mode toggle to enable it.
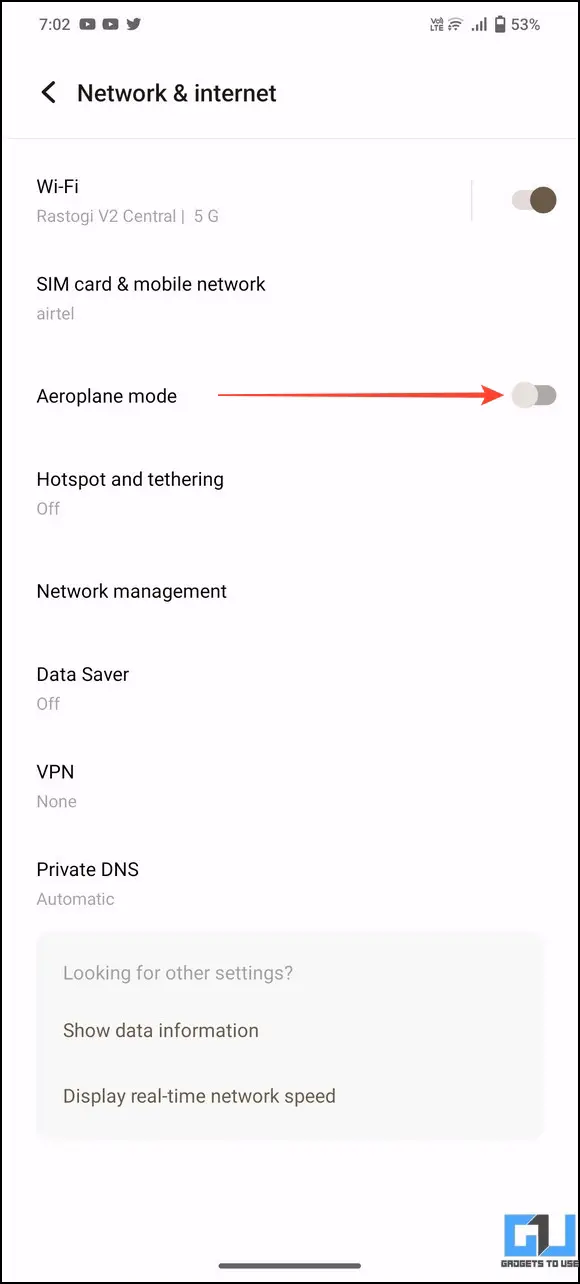
3. Disable the Airplane mode after a few seconds and revisit a website to verify if the issue is resolved. The webpage should load instantly without any delay.
Tip: You can also toggle Airplane mode on Android from the Notification panel.
On iOS
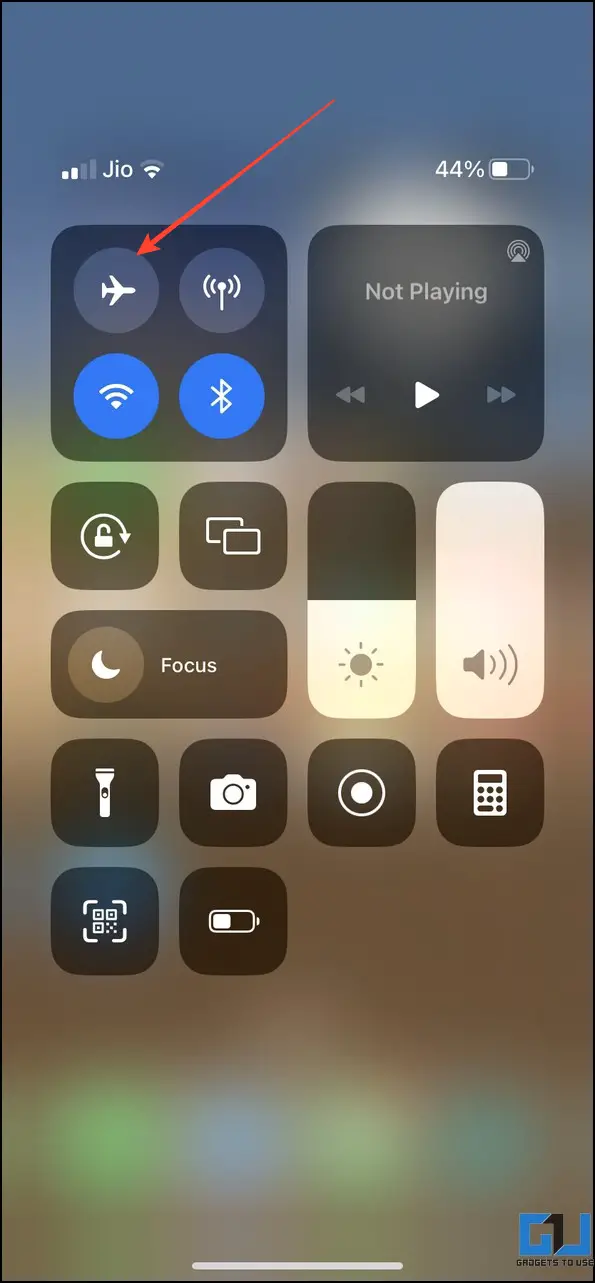
1. Open the Settings app and tap Airplane Mode to enable it.

2. Disable it after a few seconds to restore wireless connectivity. The existing DNS cache should be flushed out by now.
3. You can also enable and disable Airplane mode from the iOS control center for quick access.
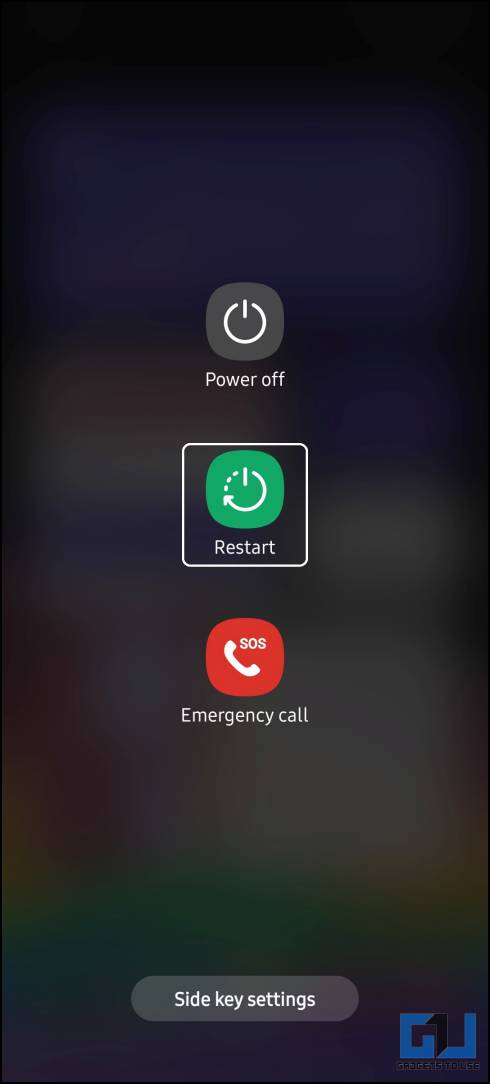
Method 2 – Reboot to Clear DNS Cache on Your Smartphone
Restarting a smartphone is the first aid to fixing most network problems. If you cannot browse any website on your smartphone’s browser, restarting your smartphone should automatically clear all the DNS caches, fixing the problem. Check our detailed guide to restart any Android phone or iPhone.
Method 3 – Delete Browsing Data (Android/iOS)
Another nifty method to clear the DNS cache on any smartphone is to delete its browsing data. Doing so will clear the browsing history and all the local site settings (including DNS Cache) stored on the device. Follow these steps for an easy fix:
On Android
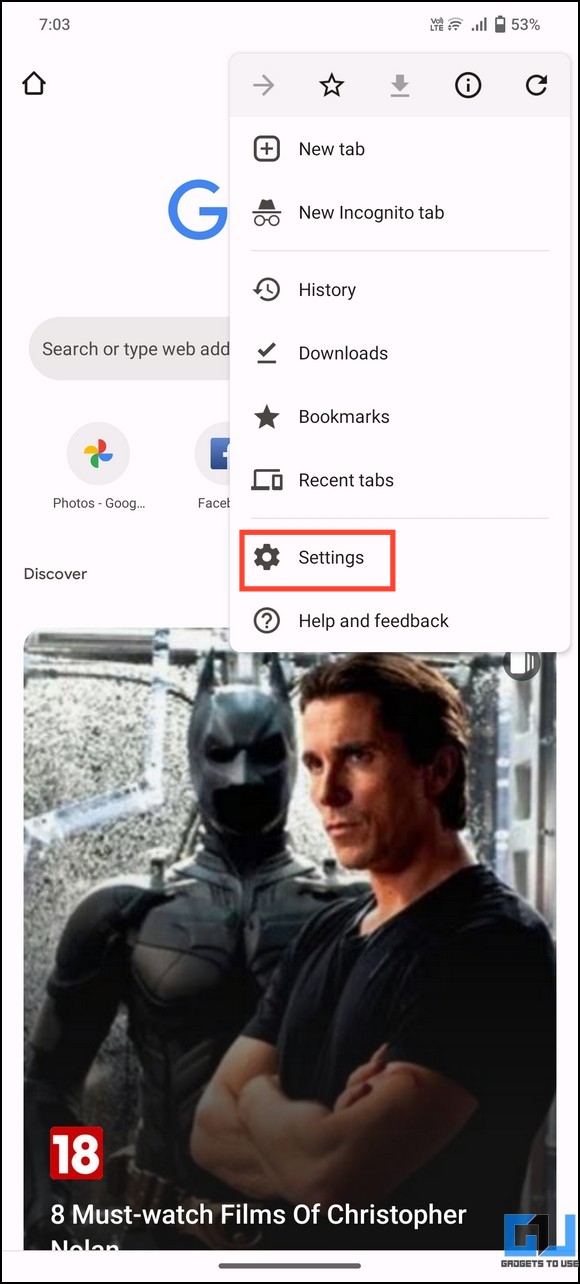
1. Open Google Chrome or any Chrome-based browser and tap the three-dot menu to access Settings.

2. Tap Privacy and Security and press Clear Browsing Data.


3. Ensure marking Cookies and Site Data and press the Clear Data button.
Tip: You can also clear your browser app cache from the Settings app on Android to remove all DNS cache files.

On iOS
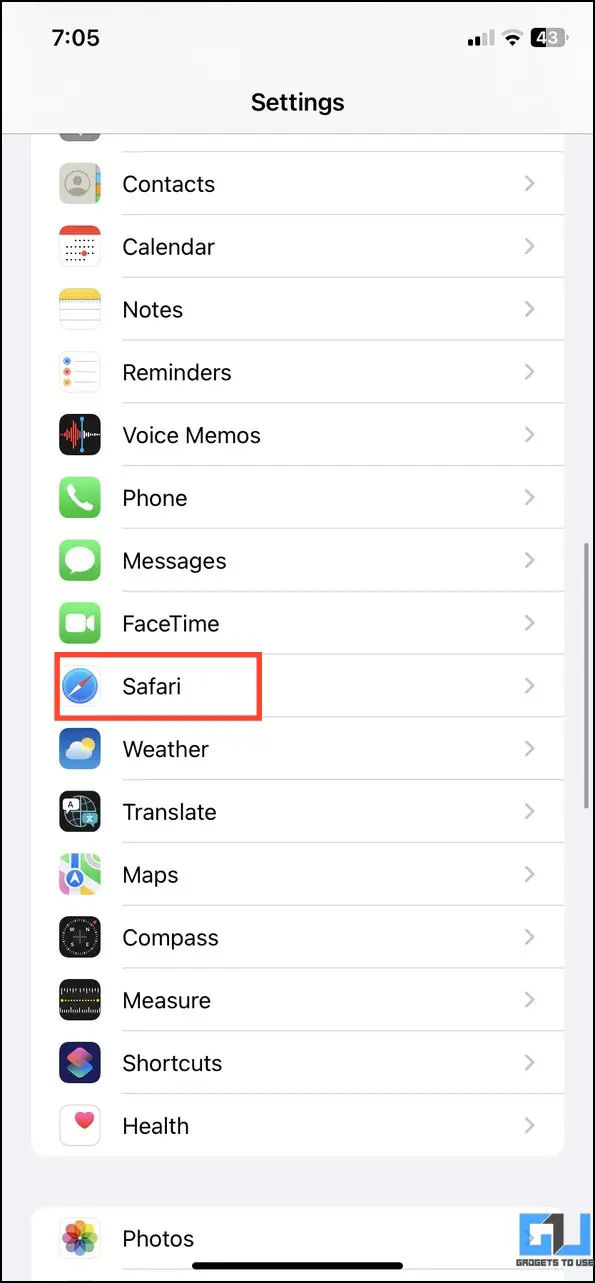
1. Open the Settings menu to access Safari settings on your iPhone.
2. Scroll down and tap Clear History and Website Data to reset the DNS cache.

Note: If you don’t wish to remove the browser history, untick the Browsing History option before clearing the Site Data.
Method 4 – Access Browser Settings to Clear DNS Cache on Smartphone (Android/iOS)
Besides manually clearing browser caches, you can access in-built Google Chrome features on Android to clear DNS caches without removing your browser history. Alternatively, you can clear the DNS cache from Safari by accessing the Settings app on your iPhone. Here’s how it can be done:
On Android
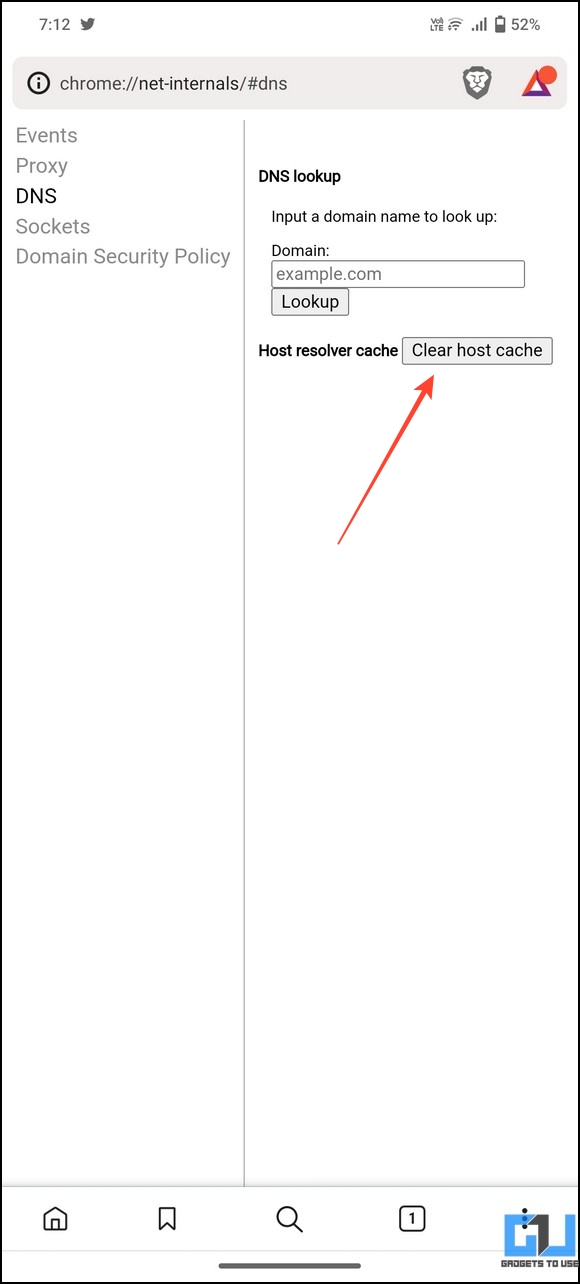
1. Open Google Chrome or any Chromium-based browser and type the following address in the search bar:
chrome://net-internals/#dns
2. Tap the Clear Host Cache button to clear the DNS cache on your smartphone.

On iOS
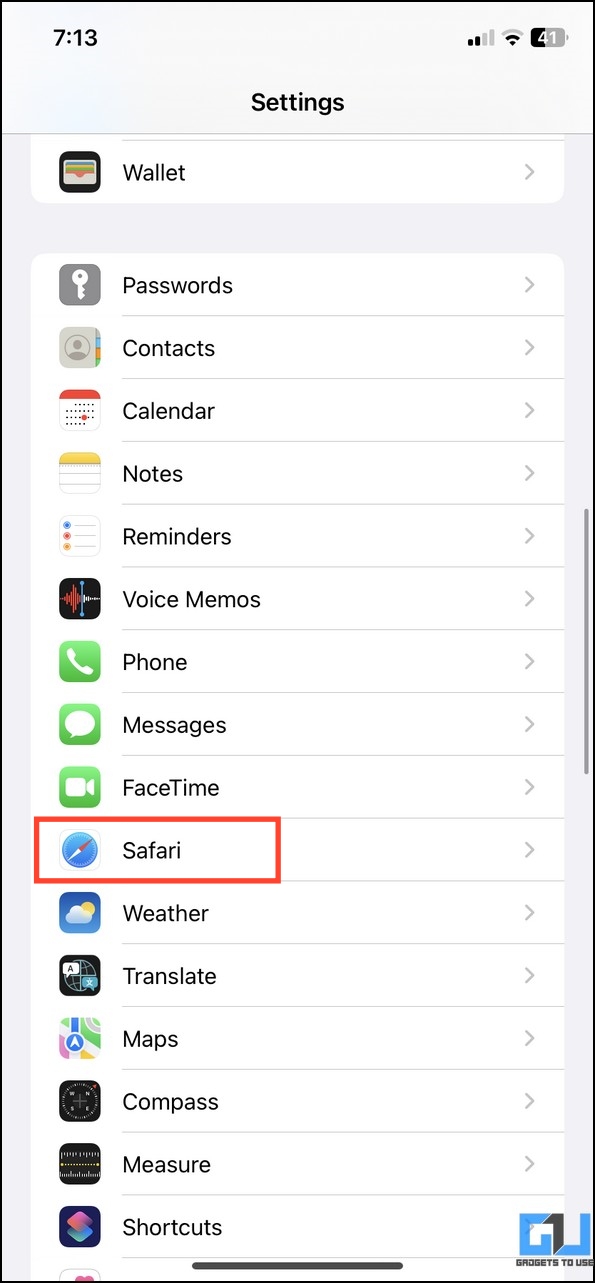
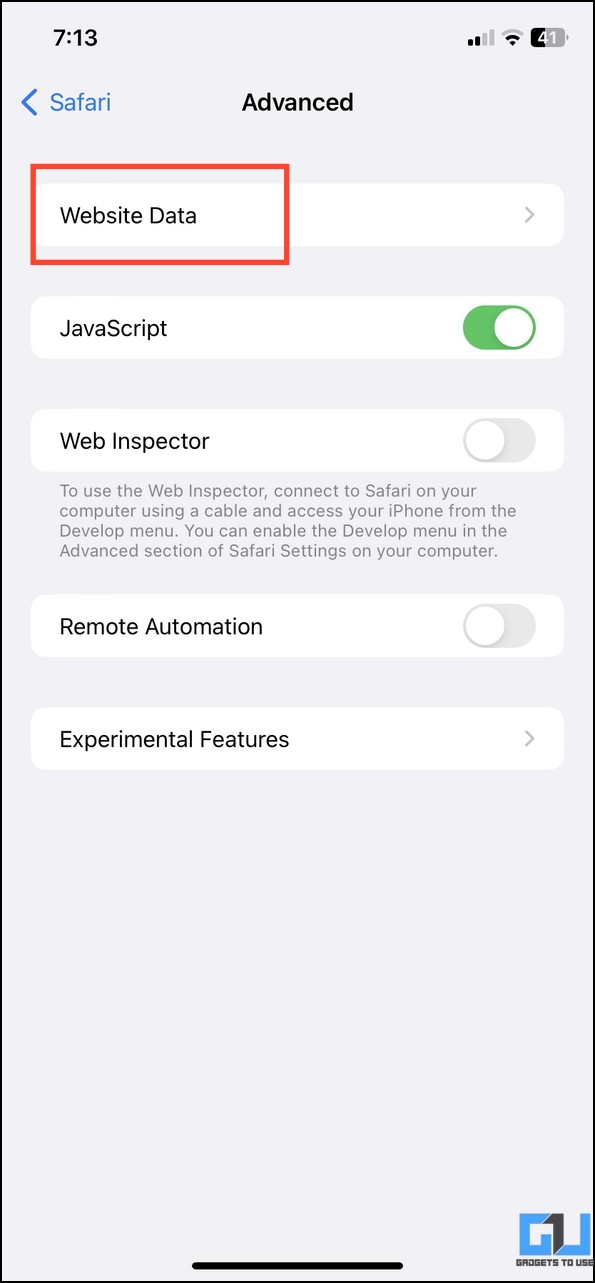
1. Open the Settings app and scroll down to open Safari settings.
2. Scroll down to the bottom and tap Advanced.
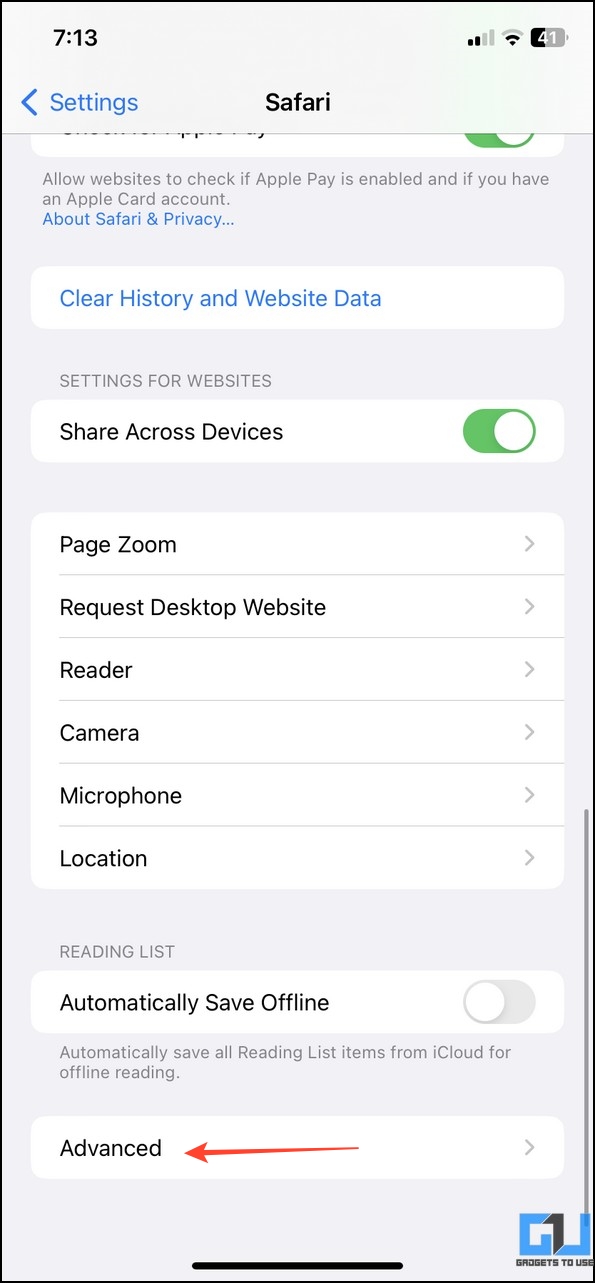
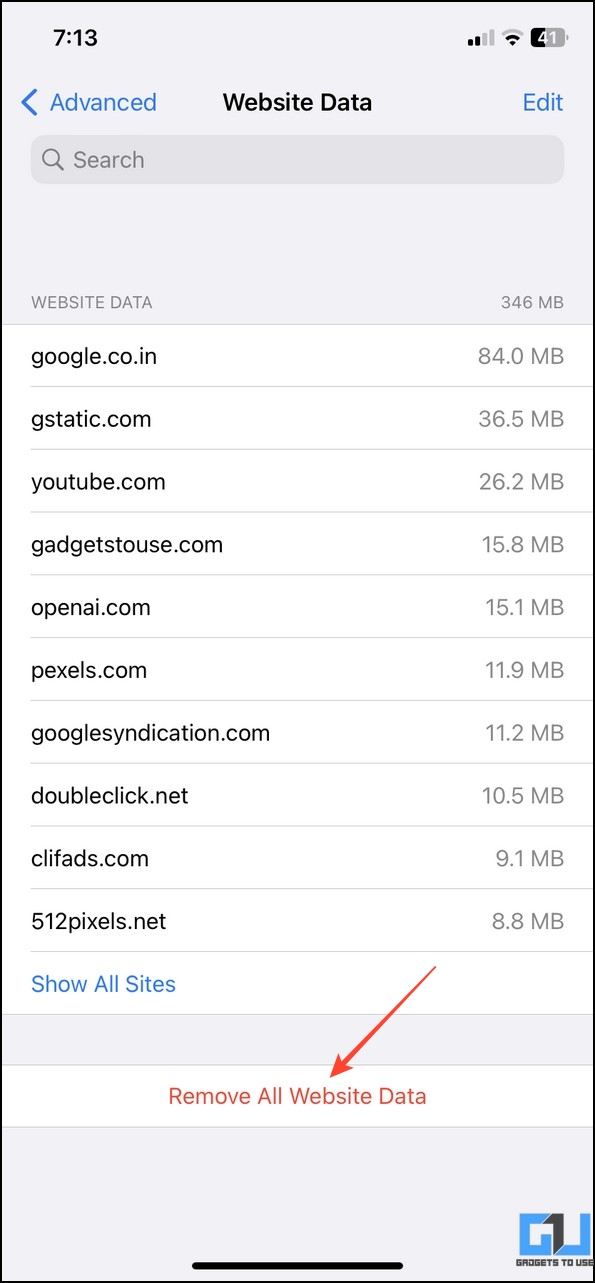
3. Tap Website Data and press the Remove All Website Data option at the bottom to clear the DNS cache on your iOS device.
Method 5 – Reset Network Settings (Android/iOS)
Resetting the network settings is another sure-shot method to clear the existing DNS cache on any smartphone. Follow these steps to reset network settings on Android and iOS devices:
On Android
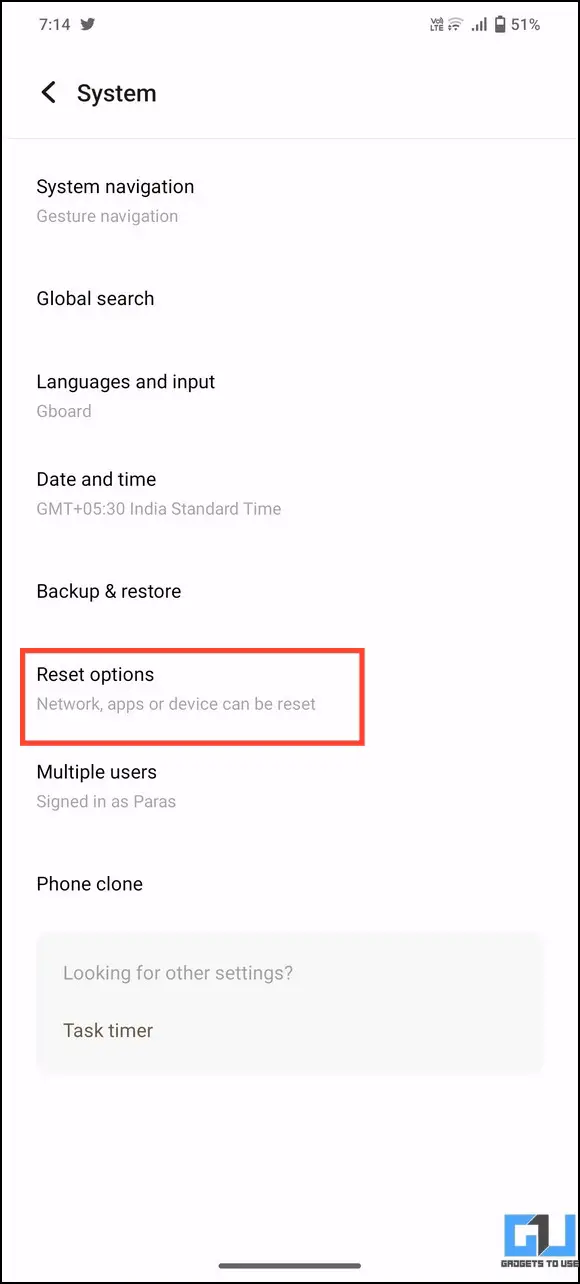
1. Open the Settings app and tap System.

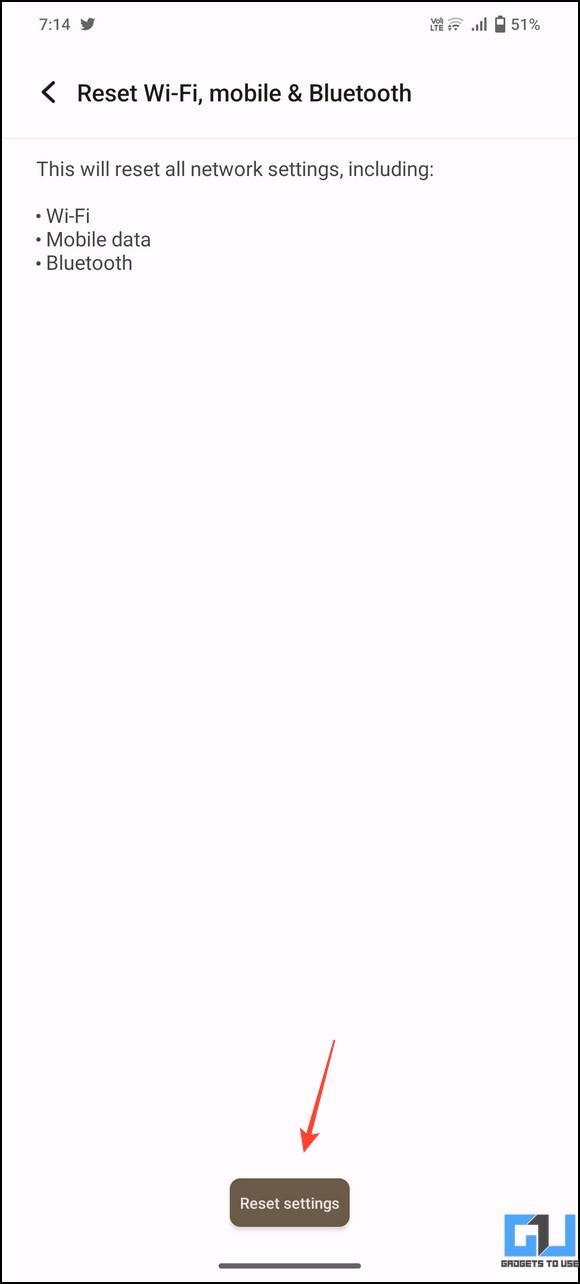
2. Press Reset Options and tap Reset Wi-Fi, mobile & Bluetooth settings.
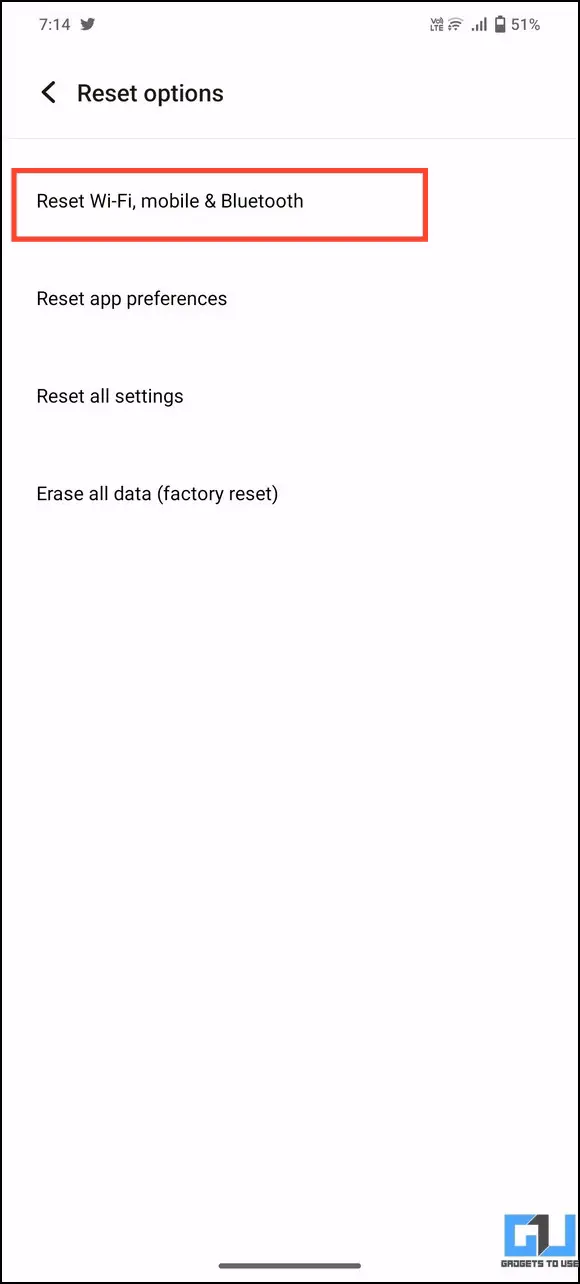
3. Finally, tap Reset Settings to reset the entire network settings, including the DNS cache.
On iOS
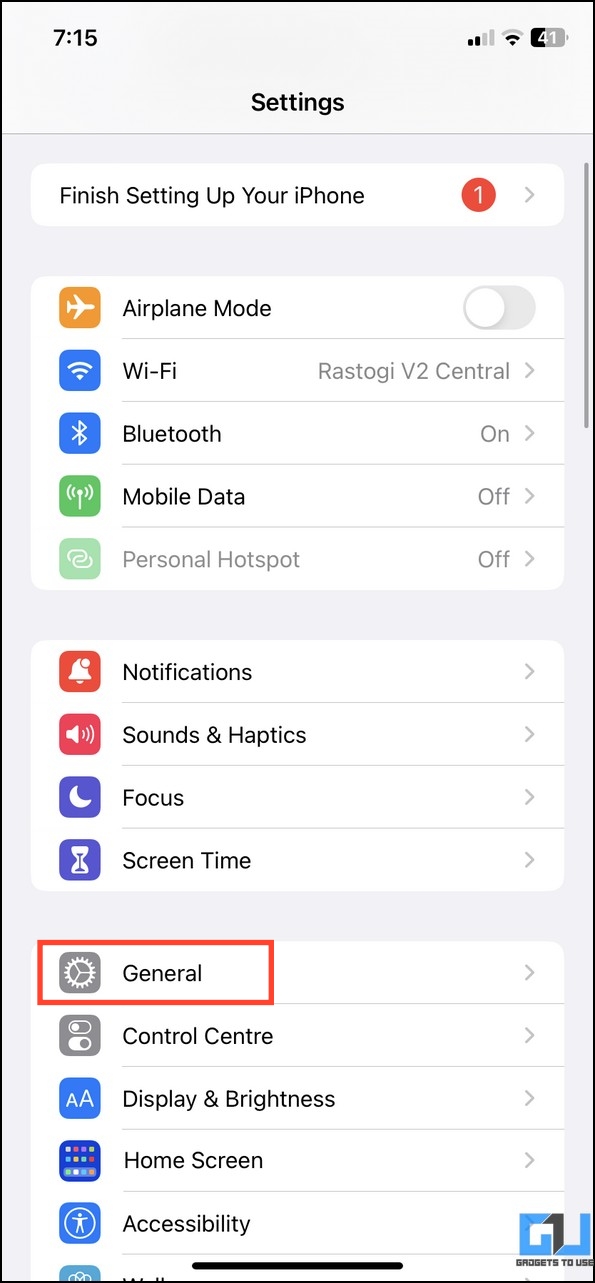
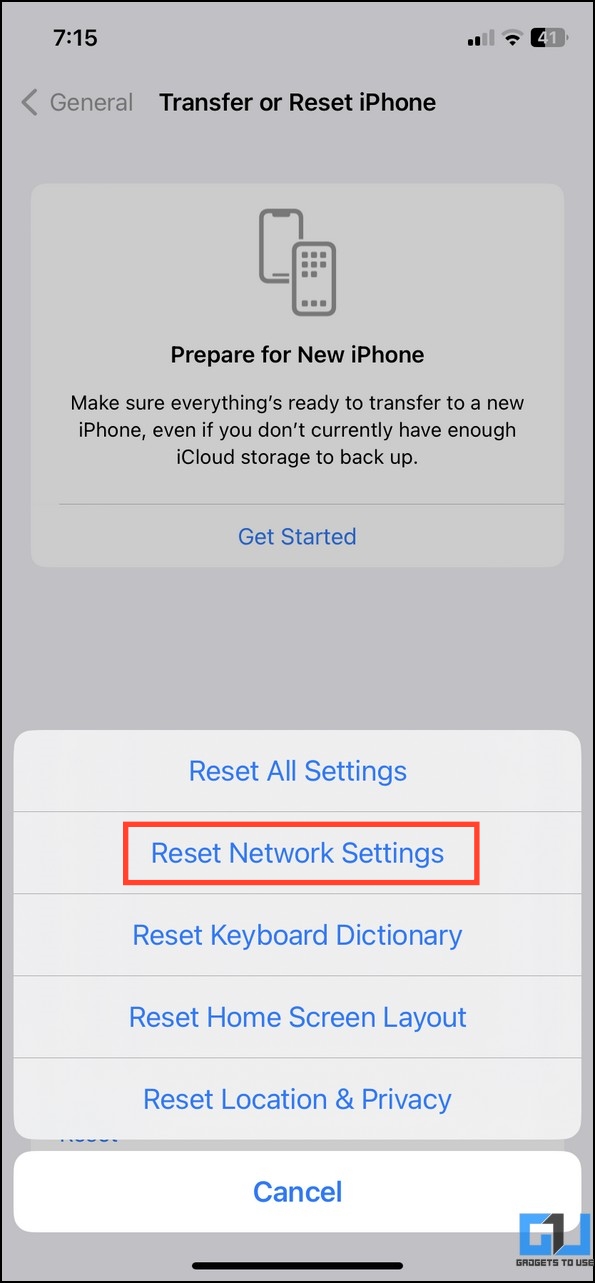
1. Open the Settings app and tap General.
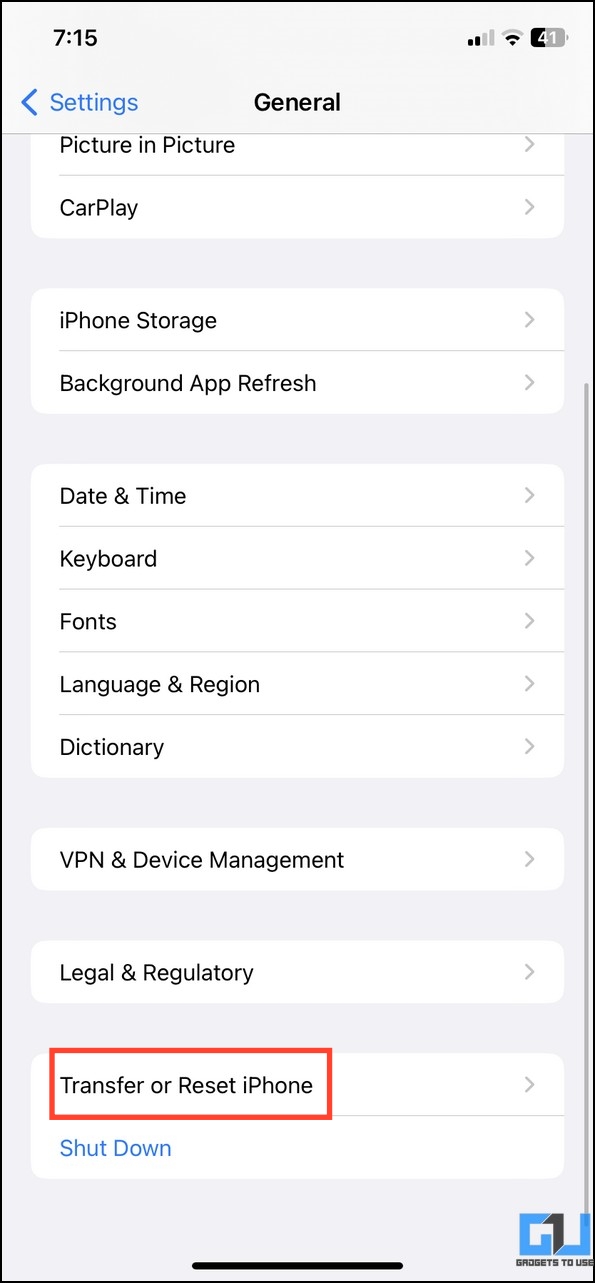
2. Scroll down to locate Transfer or Reset iPhone and press the Reset button.
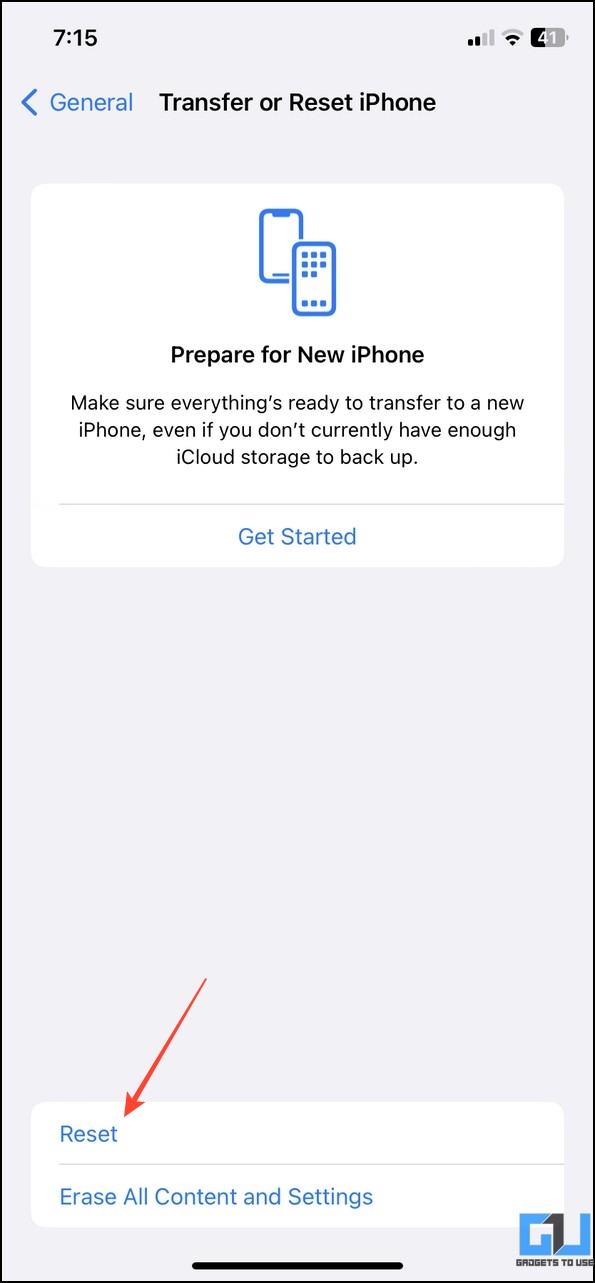
3. Tap Reset Network Settings and enter your phone’s passcode to reset it.

Method 6 – Clear Site Settings to Clear DNS Cache (Android)
If you don’t wish to reset the entire network settings, you can access site settings from your web browser to clear the DNS cache. Here’s what you need to do:
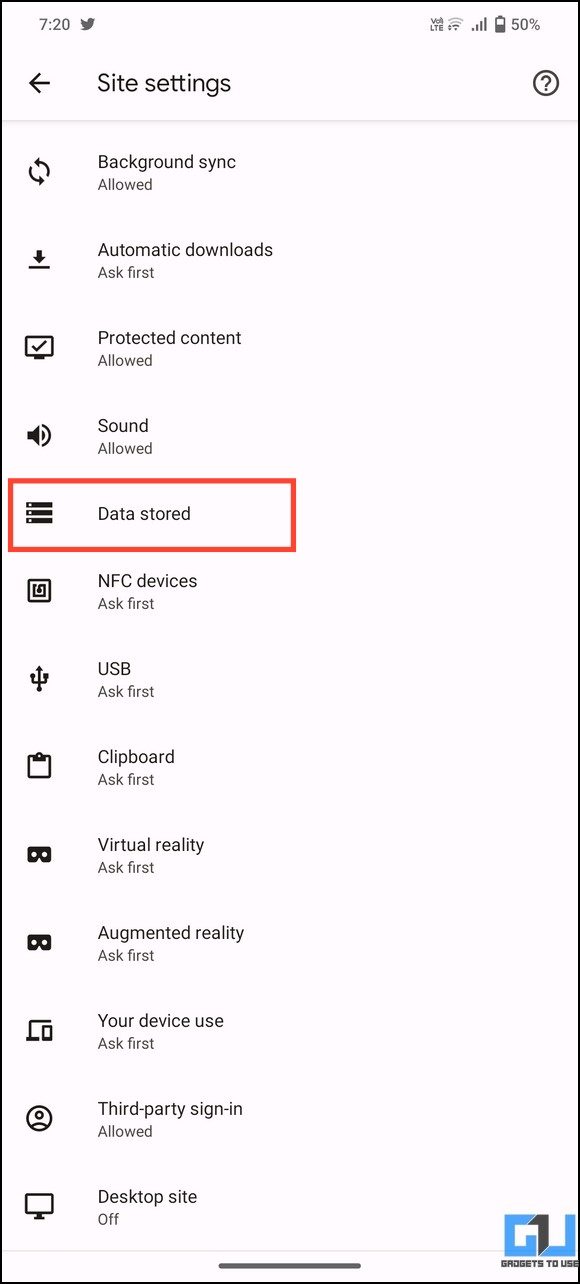
1. Open Google Chrome Settings using the three-dot menu and scroll down to locate Site Settings.


2. Tap on Data Stored and press the Clear All Data button to remove stored website data, including DNS caches.
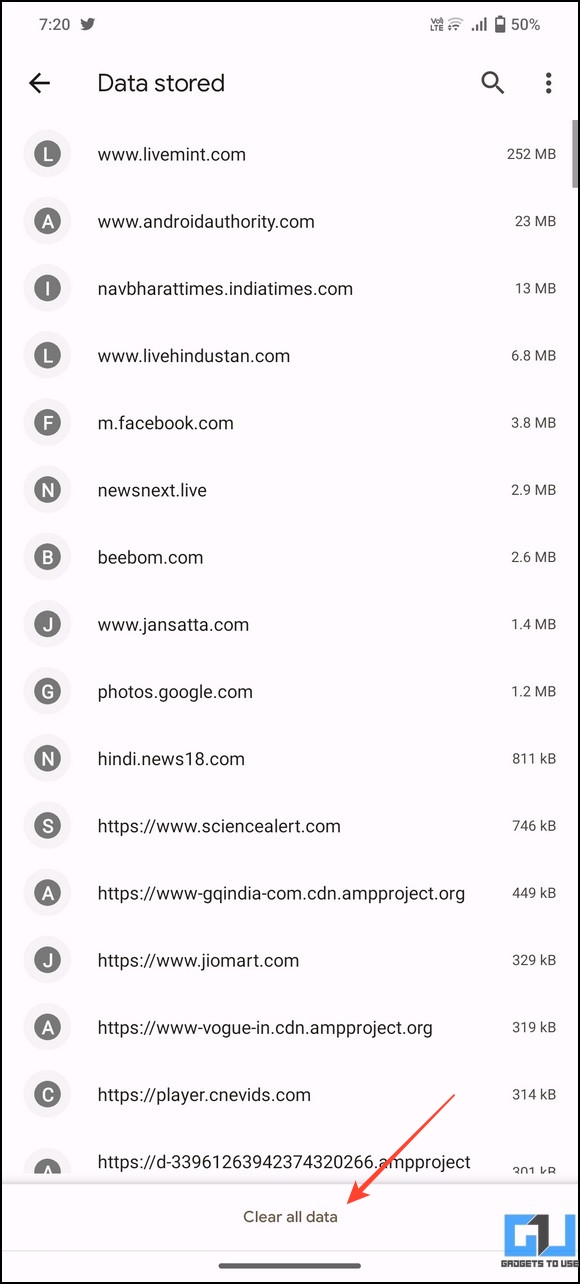
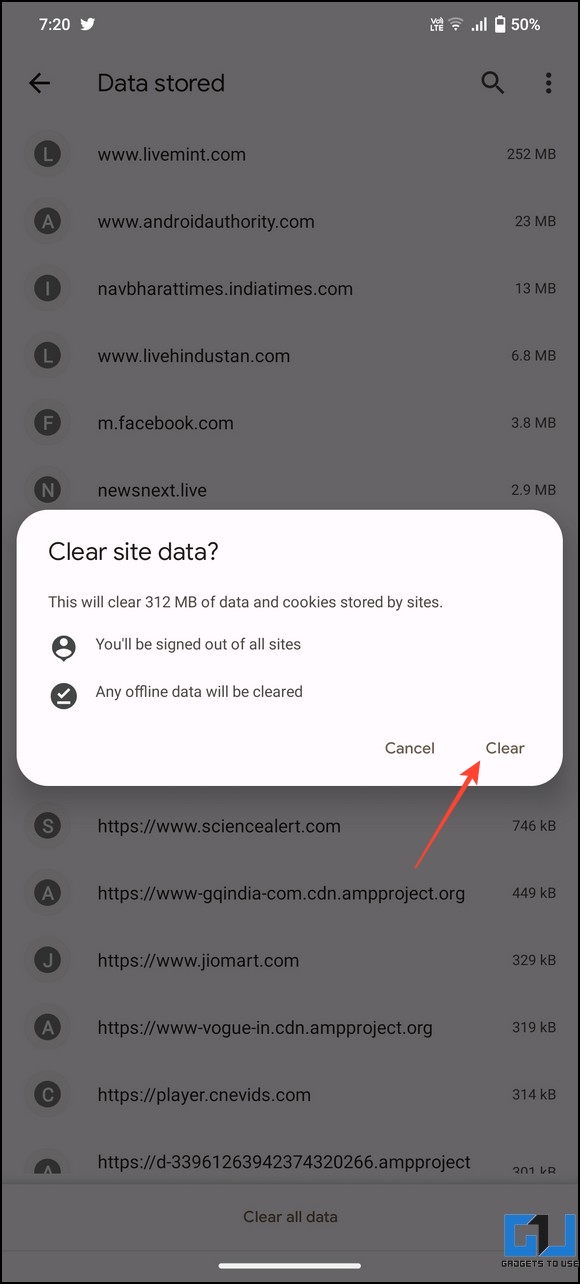
3. Press Clear to confirm the changes.
Method 7 – Change DNS Server (Android/iOS)
If you don’t wish to store the DNS cache on your smartphone for privacy reasons, you can switch to a different DNS server. Follow the below steps to change the DNS server on Android and iPhone:
On Android
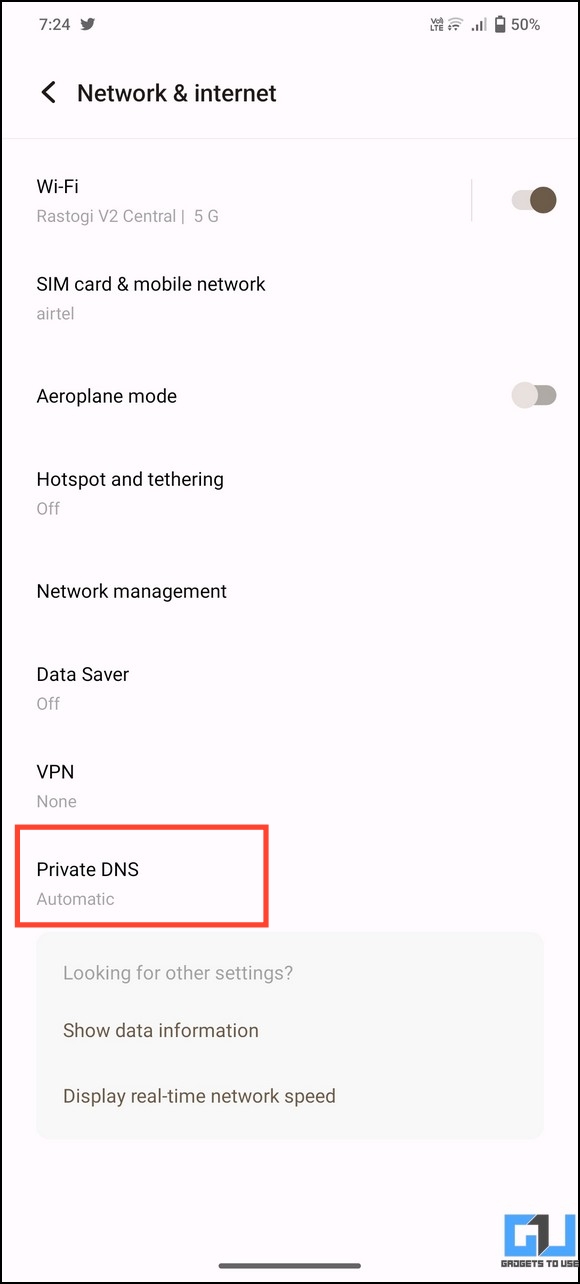
1. Open the Settings app and tap Network & Internet.

2. Scroll down to Private DNS settings and set it to a private hostname.
3. To avoid storing DNS caches on your smartphone, you can enter details of popular high-speed DNS servers such as OpenDNS, Cloudflare, and many more.

On iOS
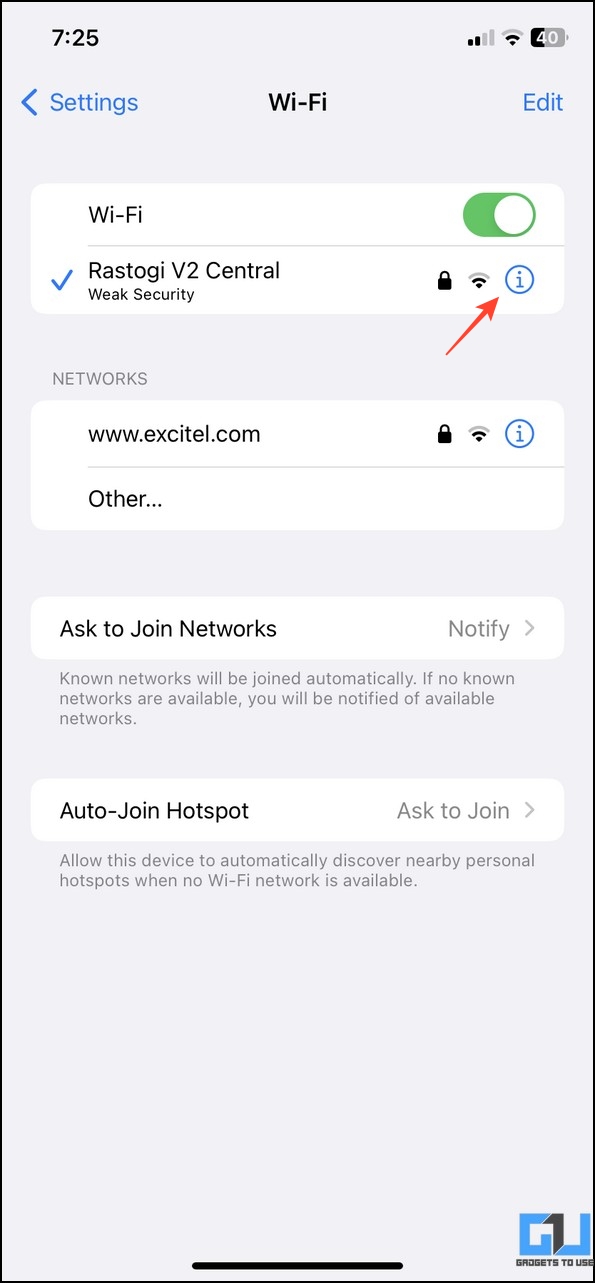
1. Open the Settings app and tap Wi-Fi.
2. Press “i” (information) next to the connected Wi-Fi name to access its settings.

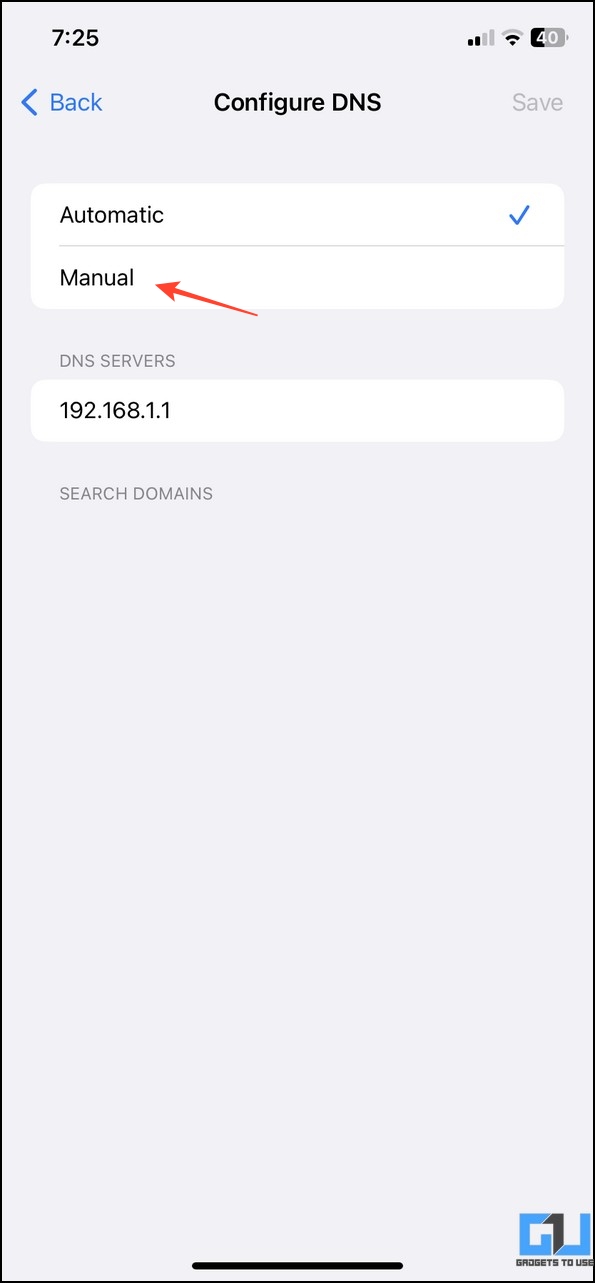
3. Scroll down to DNS and tap on Configure DNS.

4. Set DNS to Manual and tap Add Server to configure a new DNS server on your device.
5. Once configured, tap Save in the top-right corner to apply changes.

FAQs
Q. How to Clear the DNS Cache on Chrome?
You can remove the browsing history or use in-built features to clear the DNS cache on Chrome. Check the detailed steps above for more information.
Q. Can I Clear the DNS Cache Without Removing the Browser History?
Yes, untick clear browser history while clearing the browser data, or use chrome://net-internals/#dns to clear the DNS cache without removing browser history. Alternatively, you can reset network settings to remove existing DNS caches without clearing the browsing history.
Q. Does Using a VPN Clear the DNS Cache on Android?
Using a VPN doesn’t clear the DNS cache files on any smartphone. It encrypts the data to keep it away from unauthorized access.
Q. How to Know if DNS Cache Has Been Cleared From My Smartphone?
When you clear the DNS cache from your smartphone, websites will load faster without any delay, and internet speed shall improve significantly.
Q. How Often Should You Clear the DNS Cache?
There’s no defined time or interval to clear the DNS cache. You should do it when you feel websites are loading slowly or not opening. However, clearing it regularly will provide you with a smooth web browsing experience free of errors.
Wrapping Up
We hope this guide has helped you to restore web access by clearing the DNS cache on your smartphone. If you found it useful, spread the word with your friends and subscribe to GadgetsToUse. Also, don’t forget to check the below links for more useful troubleshooting articles on Android and iOS.
You might be interested in:
- 6 Ways to Turn Off Wi-Fi Calling On Your Android Phone
- 5 Ways to Force 5G Only On Your Android Phone
- 13 Ways to Fix iPhone Hotspot Turns Off Automatically
- 12 Ways to Fix 5G Enabled But Not Showing on Android and iPhone
You can also follow us for instant tech news at Google News or for tips and tricks, smartphones & gadgets reviews, join GadgetsToUse Telegram Group or for the latest review videos subscribe GadgetsToUse Youtube Channel.