Quick Answer
- You can use them as your crypto wallet address, you can use them to log in to the decentralized web, and use them as your username on social media websites.
- These domains have multiple uses, you can use them as a web address to host websites on Web3 or as a crypto wallet address.
- Once the transaction is processed, your NFT Domain name will be created and added to your account under the My Domains section, where you can mint it.
Unstoppable Domains is one of the biggest marketplaces to buy NFT-based domains that are unique, one-time purchases, and open up many possibilities in the Web3 and crypto space. For example, you can create a web3 crypto website or NFT domains using Unstoppable. In this article, we will discuss a detailed guide on how you can create, mint, and transfer your very own NFT Domain from Unstoppable Domains.
What are Unstoppable Domains?
Unstoppable Domains is an NFT marketplace where you can create and buy your own blockchain-based NFT Domains. These domains are more than just web addresses. You can use them as your crypto wallet address, you can use them to log in to the decentralized web, and use them as your username on social media websites.
Unstoppable already has a wide user base and a continuously growing community. And since the domains are essentially NFT, if you feel like you do not need them anymore, then you can sell them on OpenSea.
How are NFT Domains different from regular Domains?
Regular Domains
You do not buy regular domains, you lease them for a set period. These are your .com extensions that are currently used worldwide. They are controlled by DNS and do not have much use outside of being a web address. Plus, you will have to renew your lease every time it is about to expire.
Related Article | 5 Best Future Use Cases for NFT in 2022
NFT Domains
Unstoppable Domains are a one-time purchase. You do not have to renew it again, and once purchased, it’s you’re forever. Moreover, they are blockchain-based and decentralized so they are not controlled by anyone. These domains have multiple uses, you can use them as a web address to host websites on Web3 or as a crypto wallet address.
Now that we have cleared some confusion let’s jump into creating and minting your first Unstoppable domain. But before that, here are some things you will need to create your domain.
Creating NFT Domain
Prerequisites:
- Metamask Wallet
- Funds in Metamask wallet
If you don’t know how to create a Metamask wallet, then refer to this article.
Unstoppable makes creating your NFT Domain an easy process. Once you have created your Metamask wallet and added funds to it, then it’s just a matter of a few easy-to-follow steps. Let’s take a look at them:
Step 1: Type the name you want for your domain in the search box below. And then click Search.
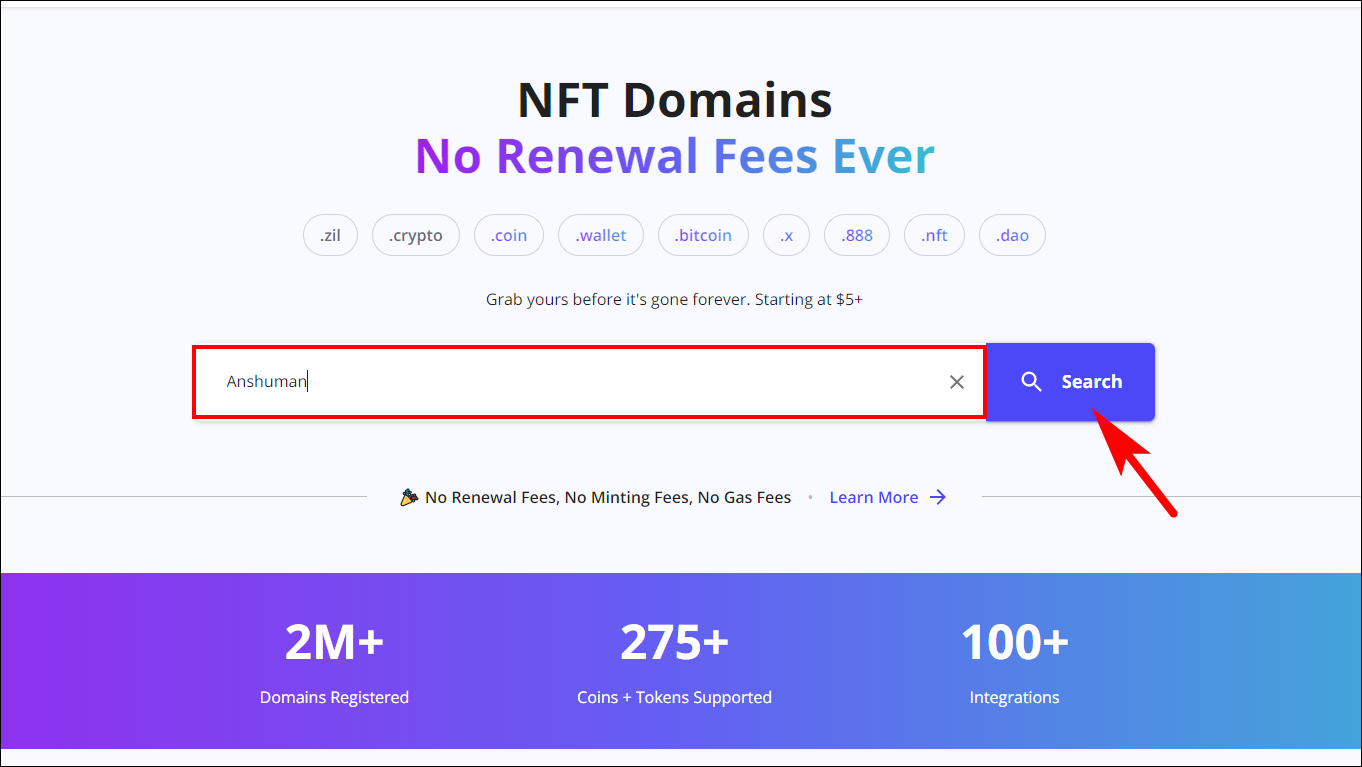
Note: Smaller domain names will cost more.
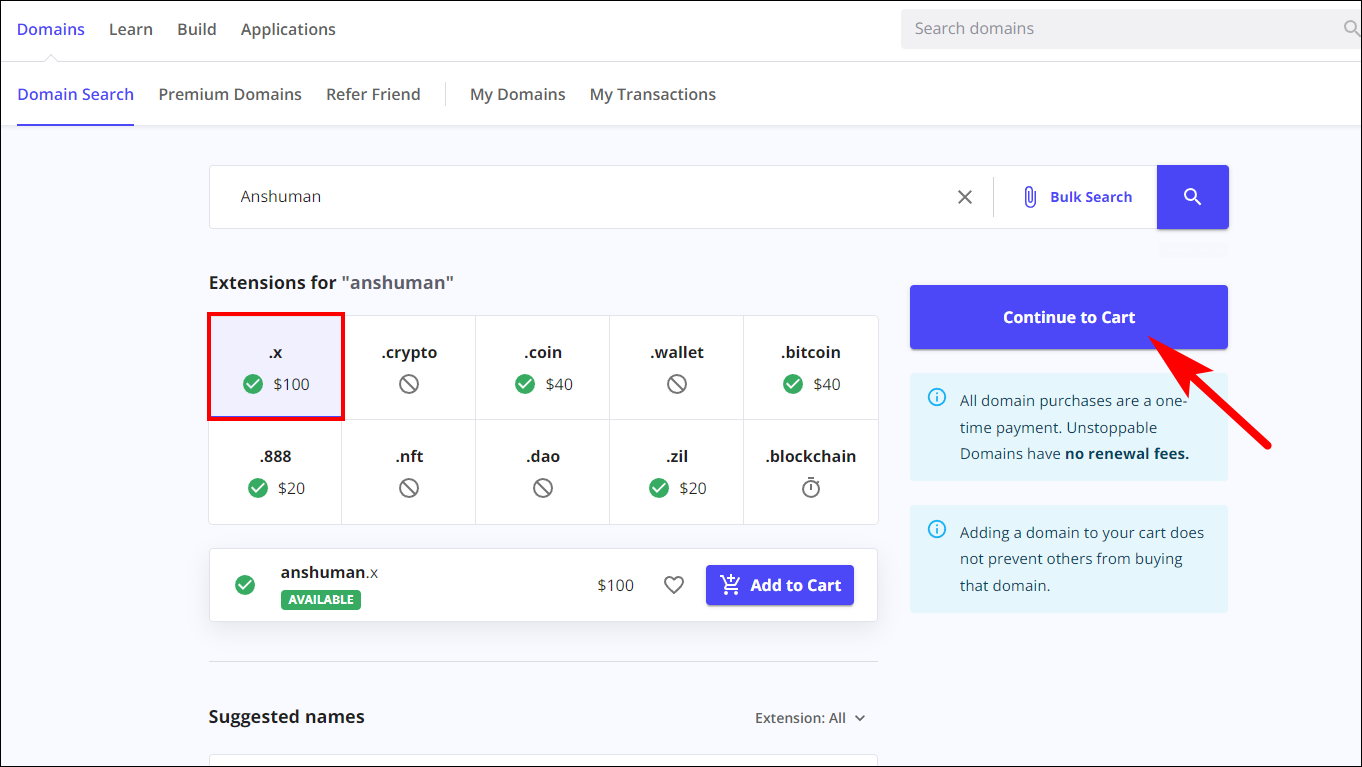
Step 2: Choose the domain extension from the available options and click on Continue to Cart.
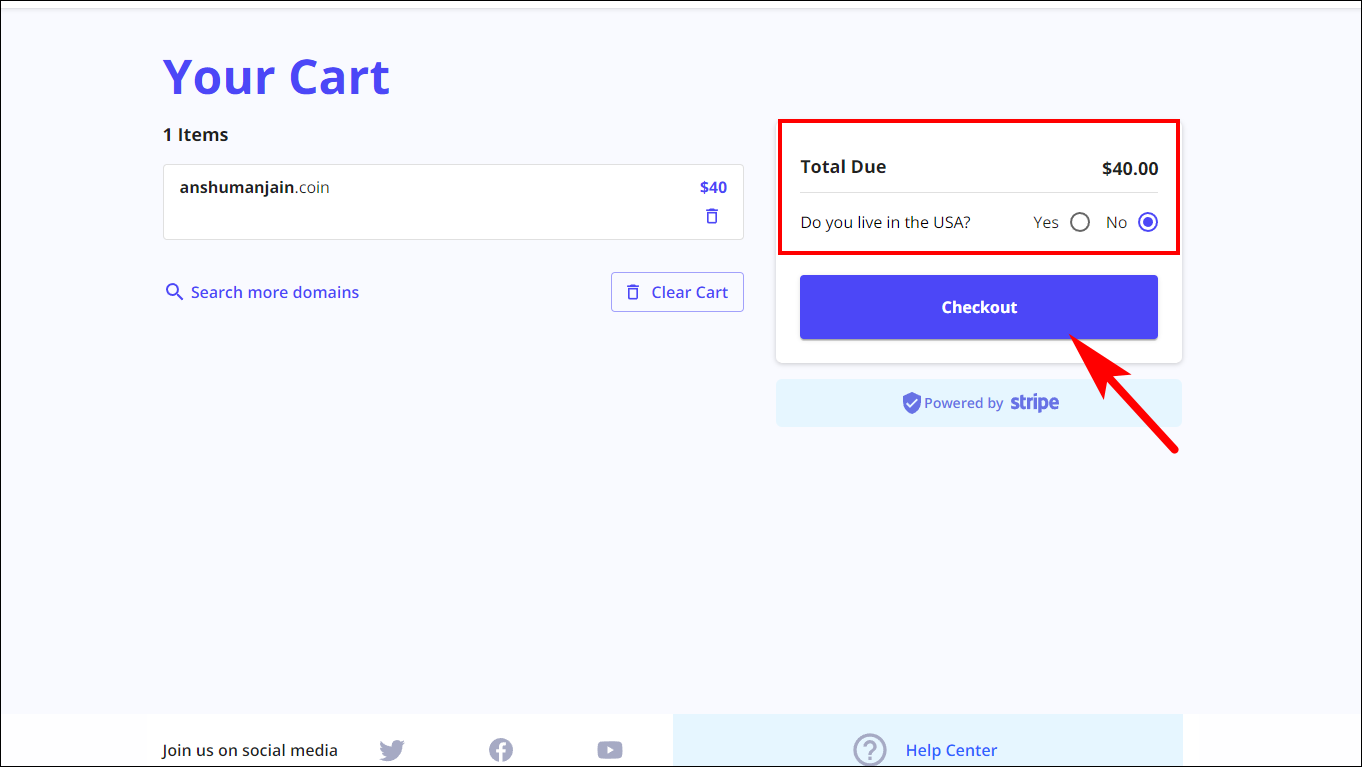
Step 3: Select Yes or No if you don’t live in the USA and click on Checkout. If you are a US resident, then you need to enter your zip code.
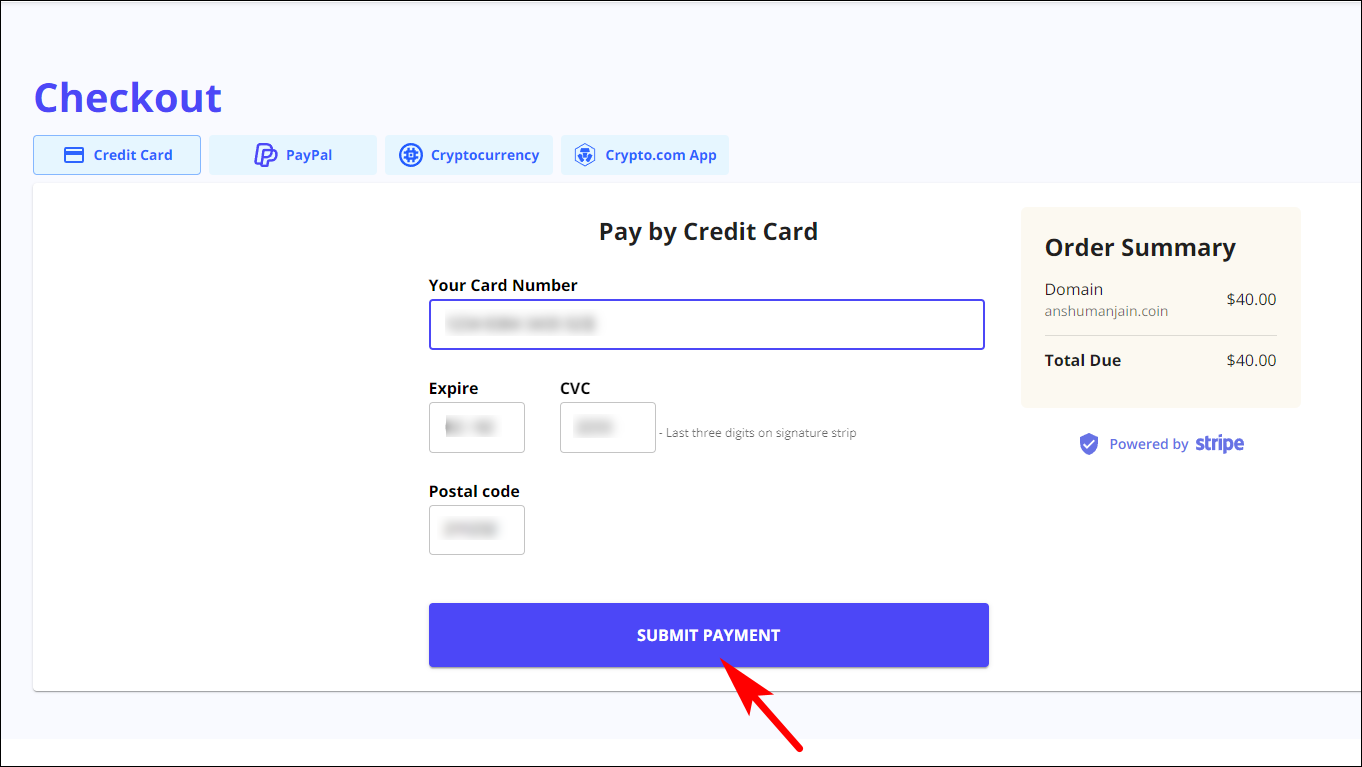
Step 4: Select your preferred payment method.
Step 5: Enter your details and click on Submit Payment to complete the transaction.
Great! Once the transaction is processed, your NFT Domain name will be created and added to your account under the My Domains section, where you can mint it.
Minting Your Unstoppable Domain
Once you have created your Domain name, you need to Mint it. Minting is registering your Domain name on the blockchain and linking it with your crypto wallet address. Once minted, you have full custody over the domain.
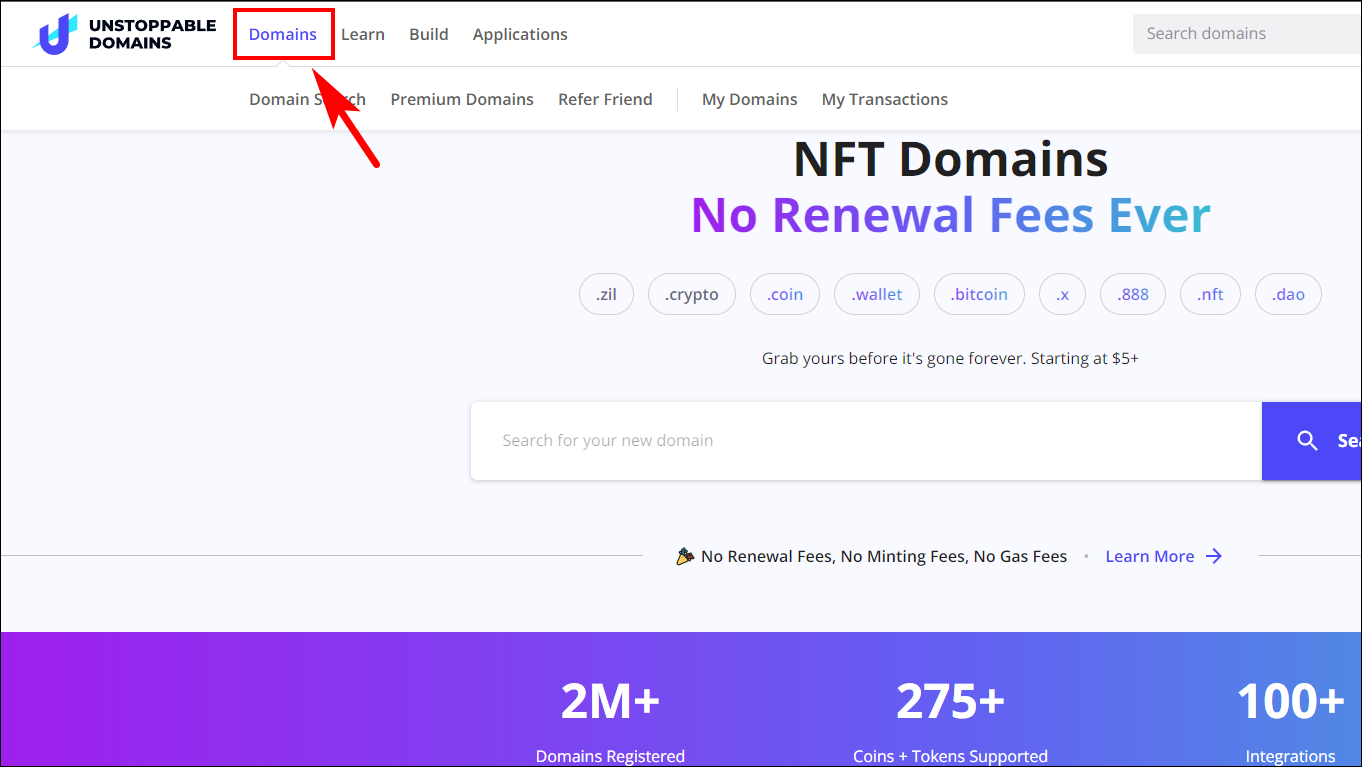
Step 1: On the Unstoppable Homepage, click on Domains.
Step 2: Go to My Domains.
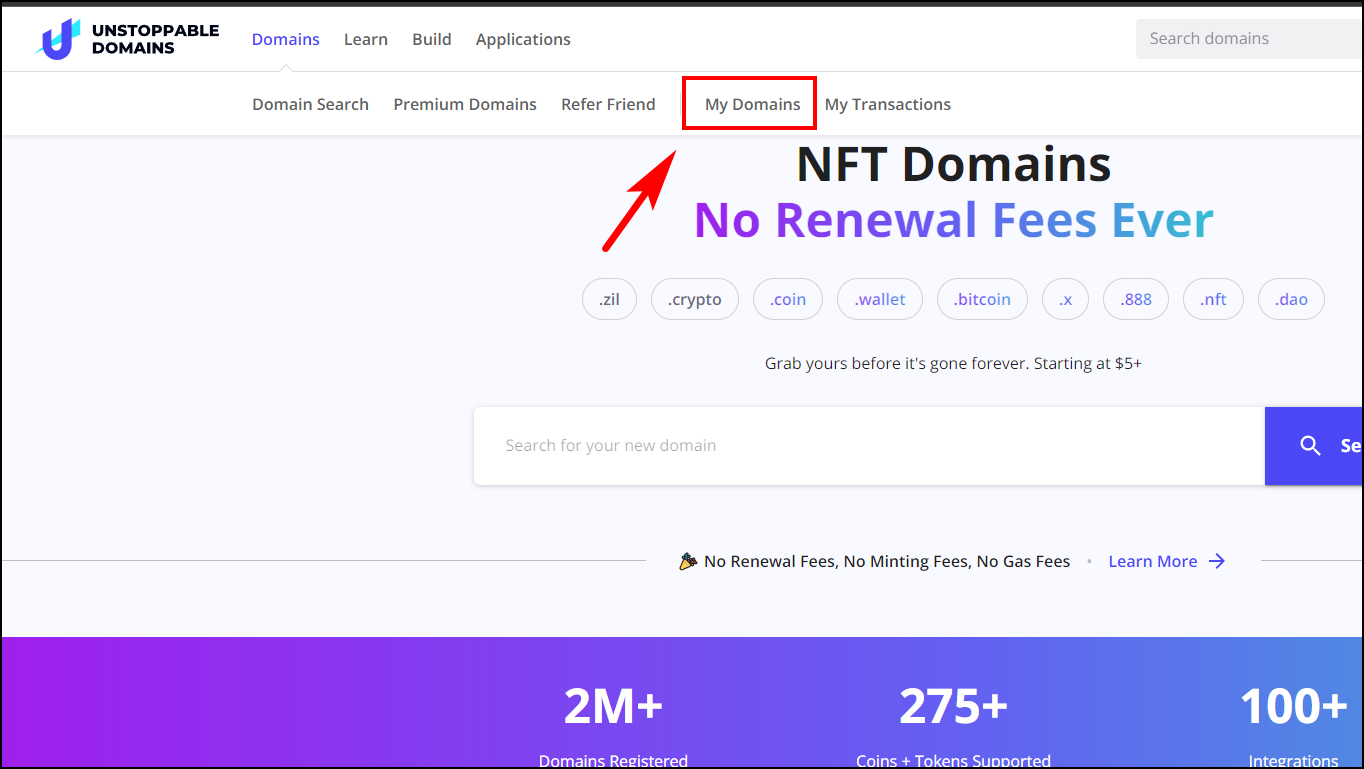
Domains that you have bought will show up here.
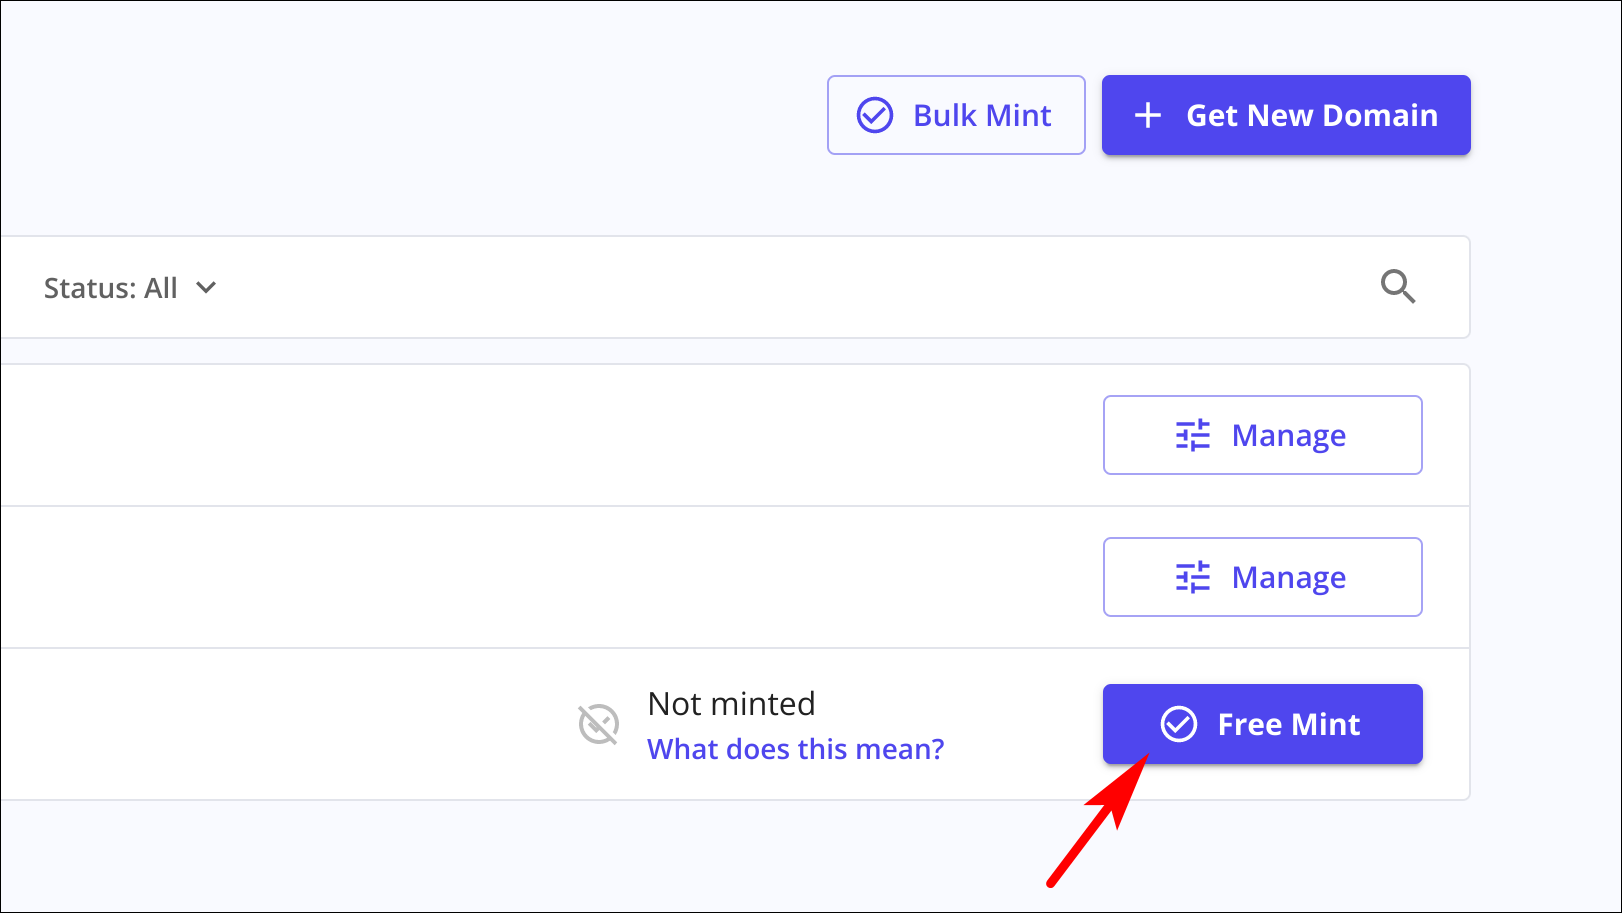
Step 3: Recently bought Domains will have an option to Free Mint next to them. Click on Free mint.
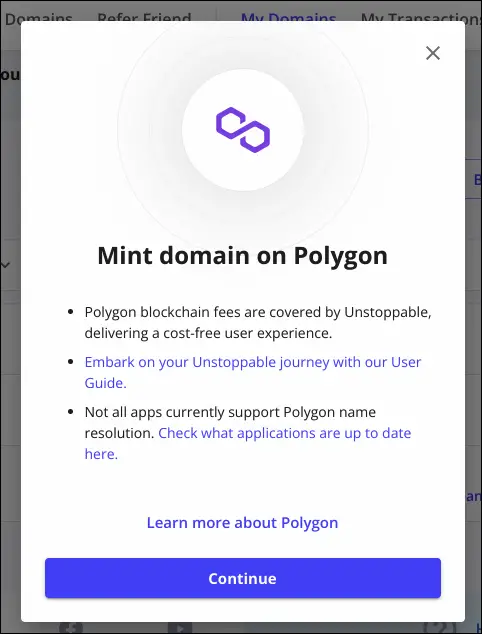
Unstoppable recently allowed using Polygon blockchain to mint the domains for free without paying the gas fees so we will be using that option.
Step 4: You will see a popup to Mint domain on Polygon, choose Continue.
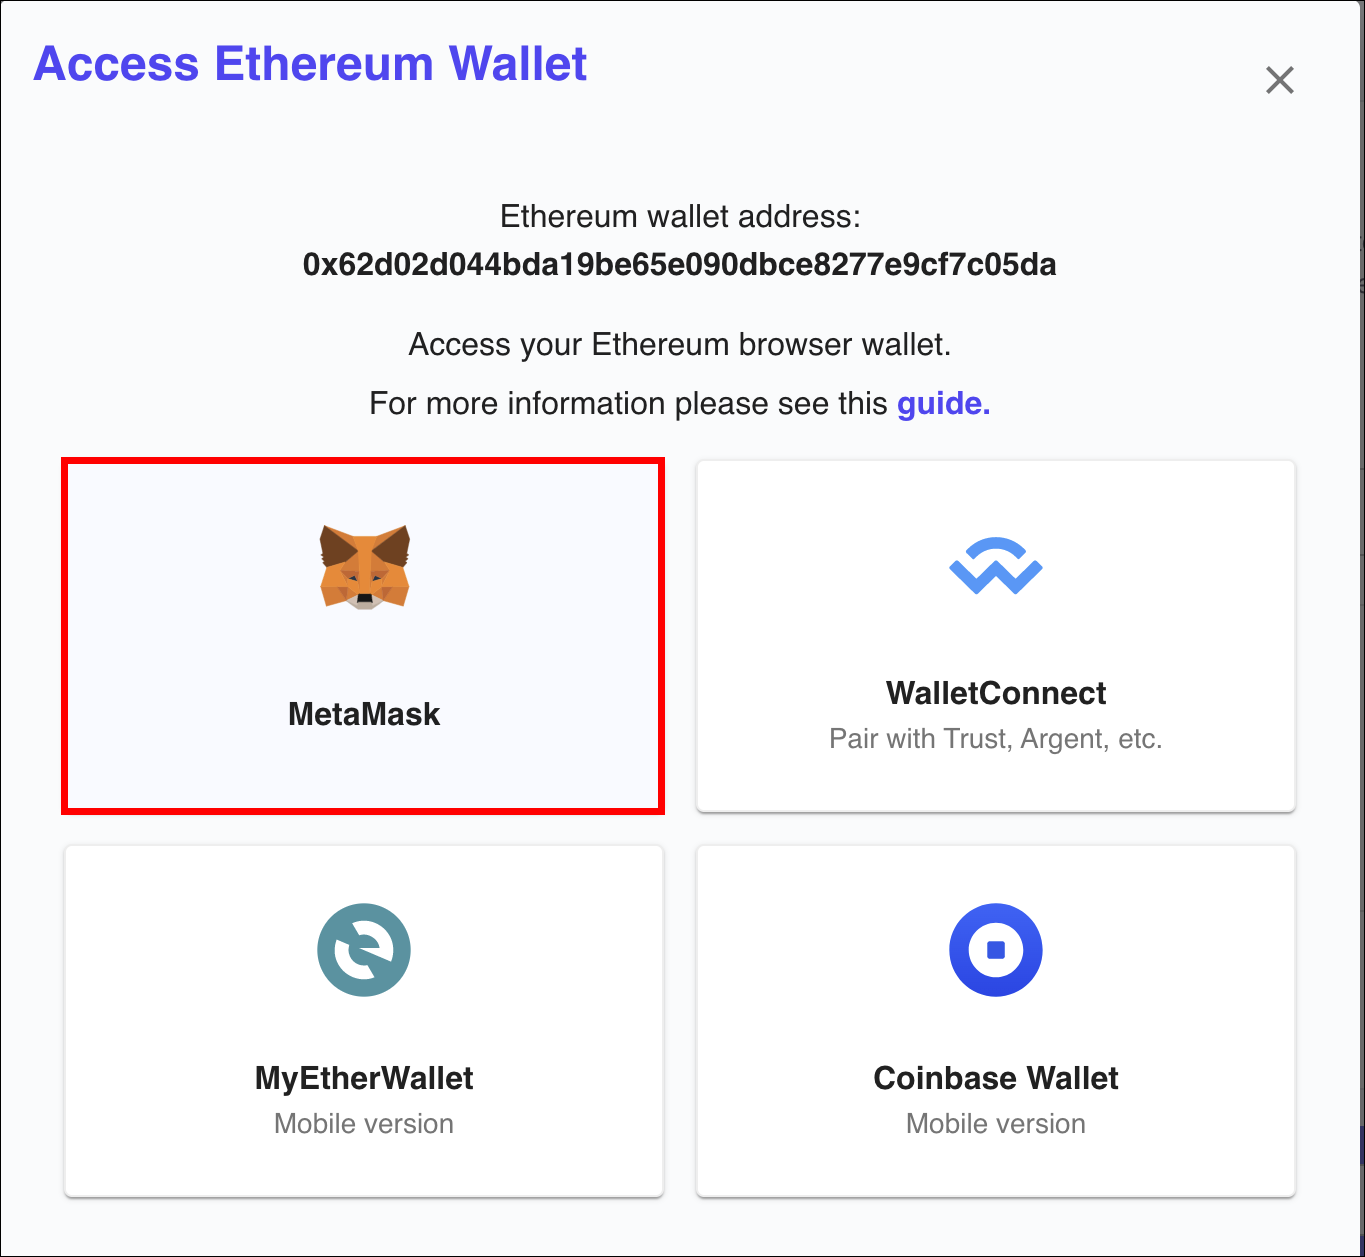
Step 5: Click on Add Wallet.
Step 6: Choose Metamask or any other Wallet that you use.
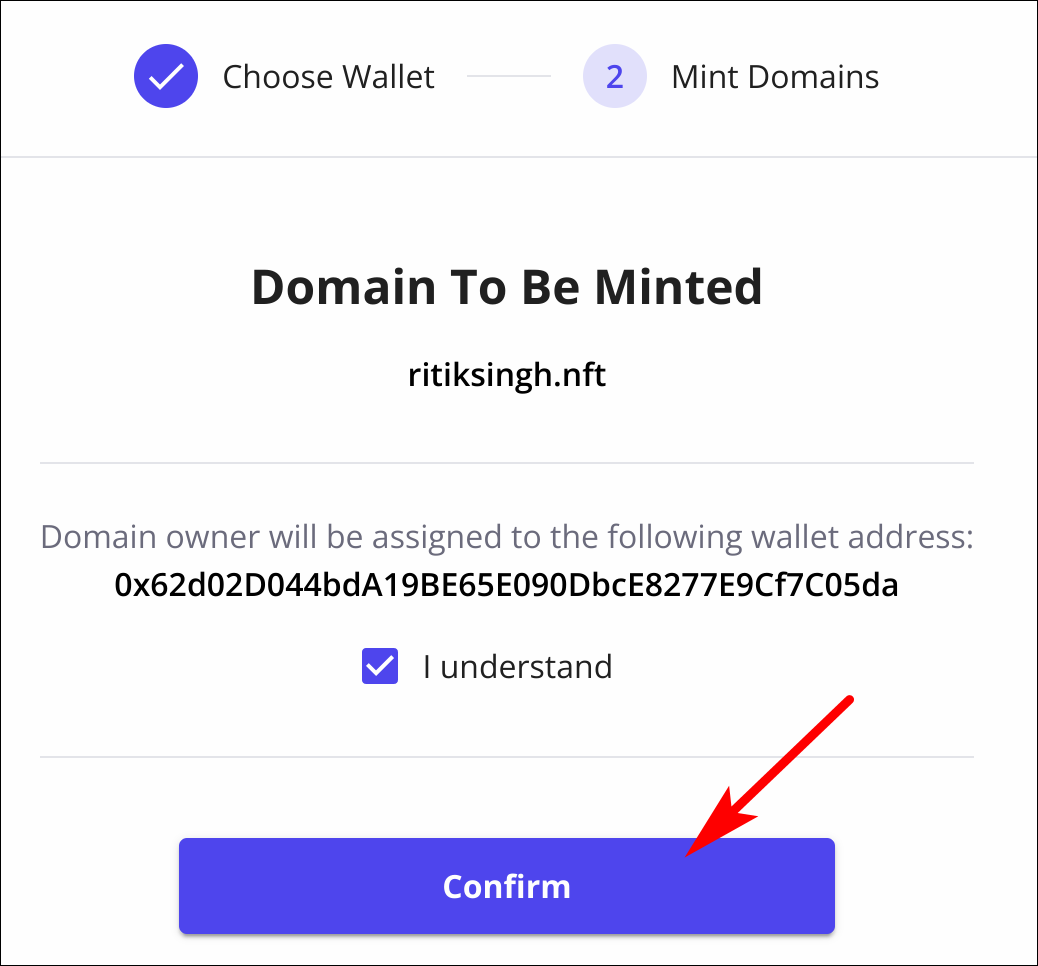
Step 7: Click on the checkbox under I Understand and then click on Confirm.
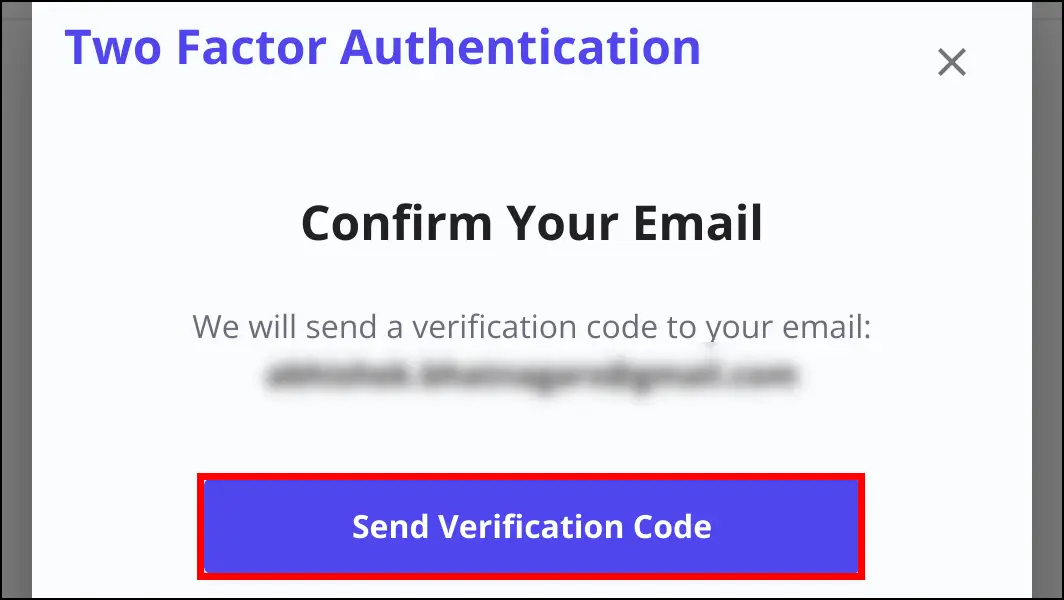
Step 8: Select Send verification code to send a code to your registered Email. Enter it to complete Two-factor Authentication.
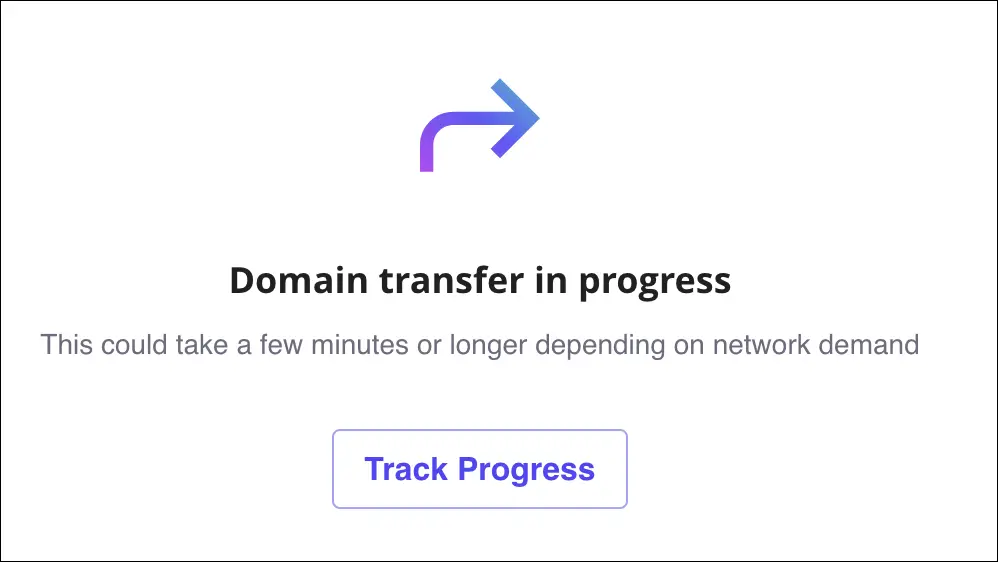
The Minting process will begin after this, you can Track Progress or go Back to Domains to wait while it finishes.

You can check the status anytime in the My Domains section. Once the Minting finishes, your Domains should show a Manage option next to them.
Transferring the Domain Names
Once the Domain is Minted, you can now transfer it to another wallet address quite easily. Here is how you can do it:
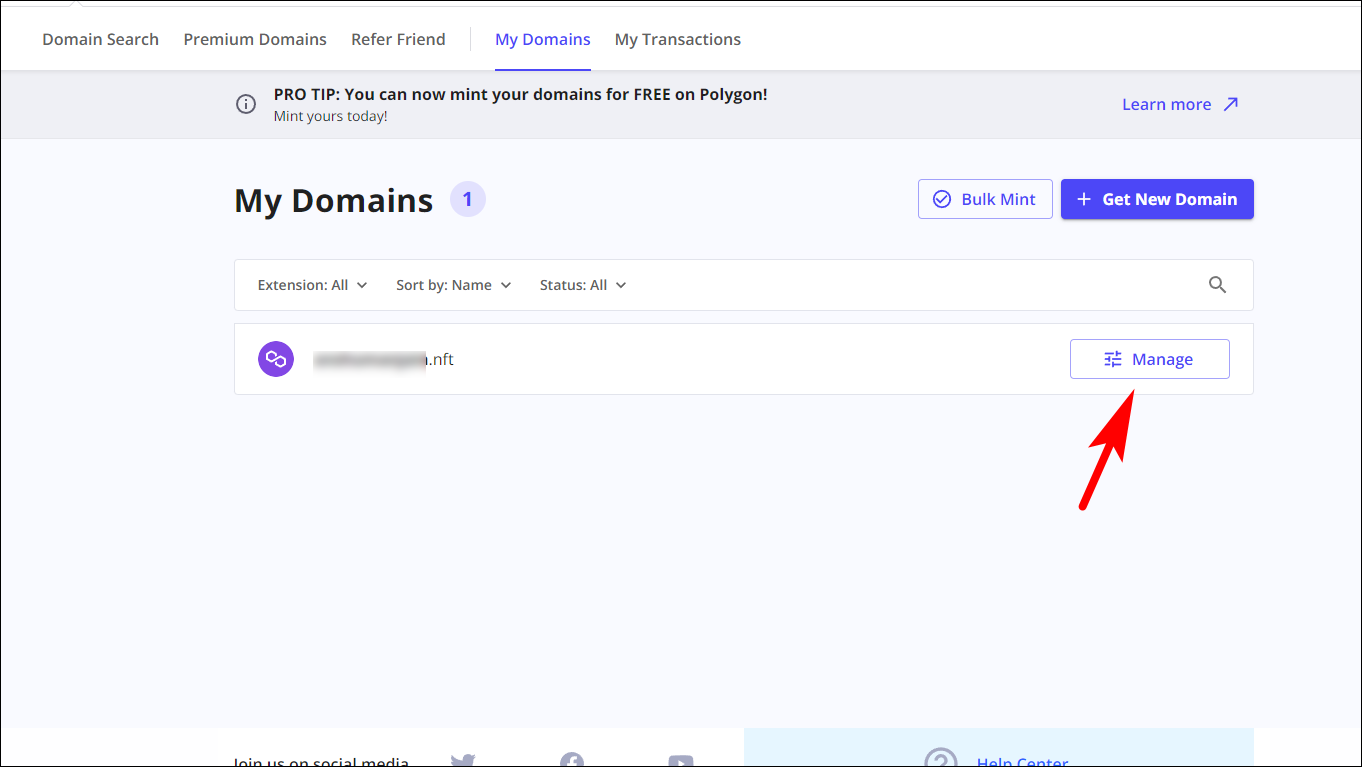
Step 1: From the Homepage, click on Domains.
Step 2: Go to My Domains.
Step 3: Click on Manage next to the Domain you want to Transfer.
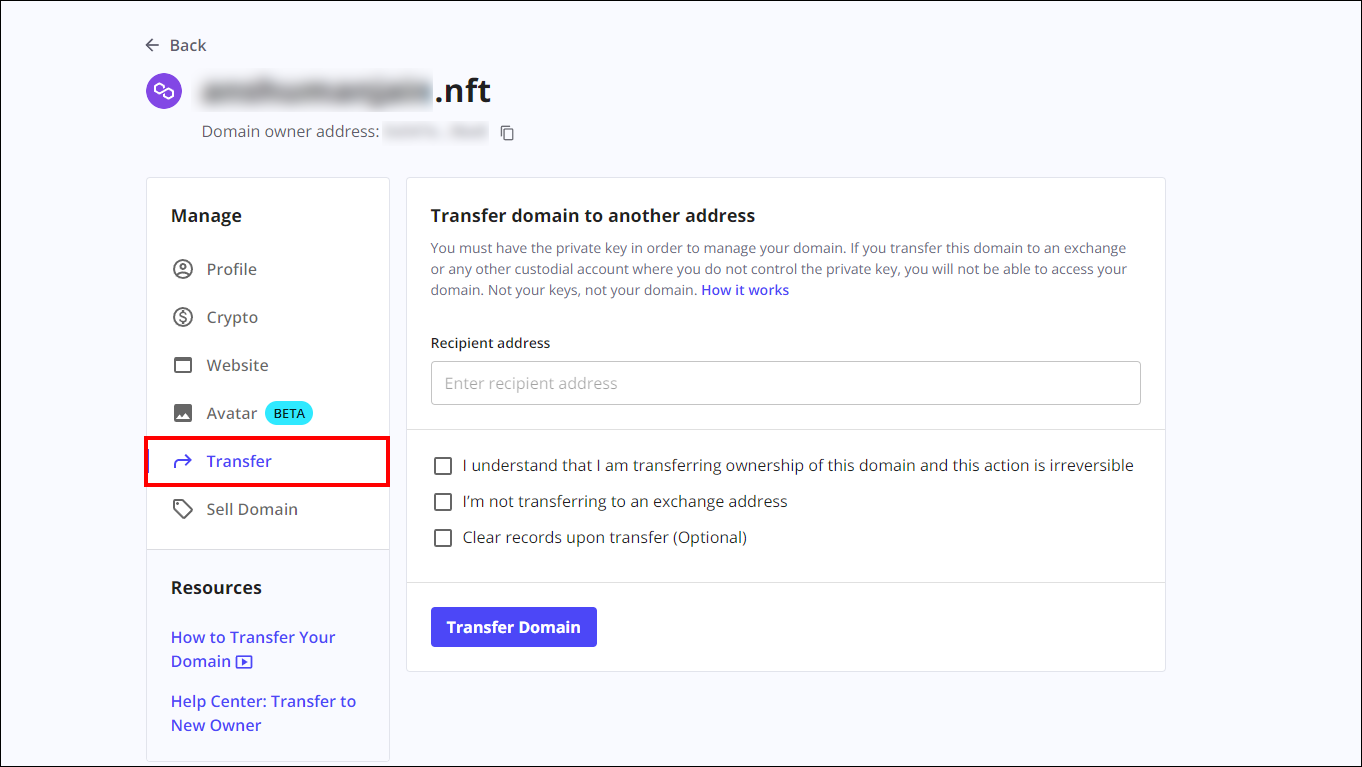
Step 4: Select Transfer from the sidebar.
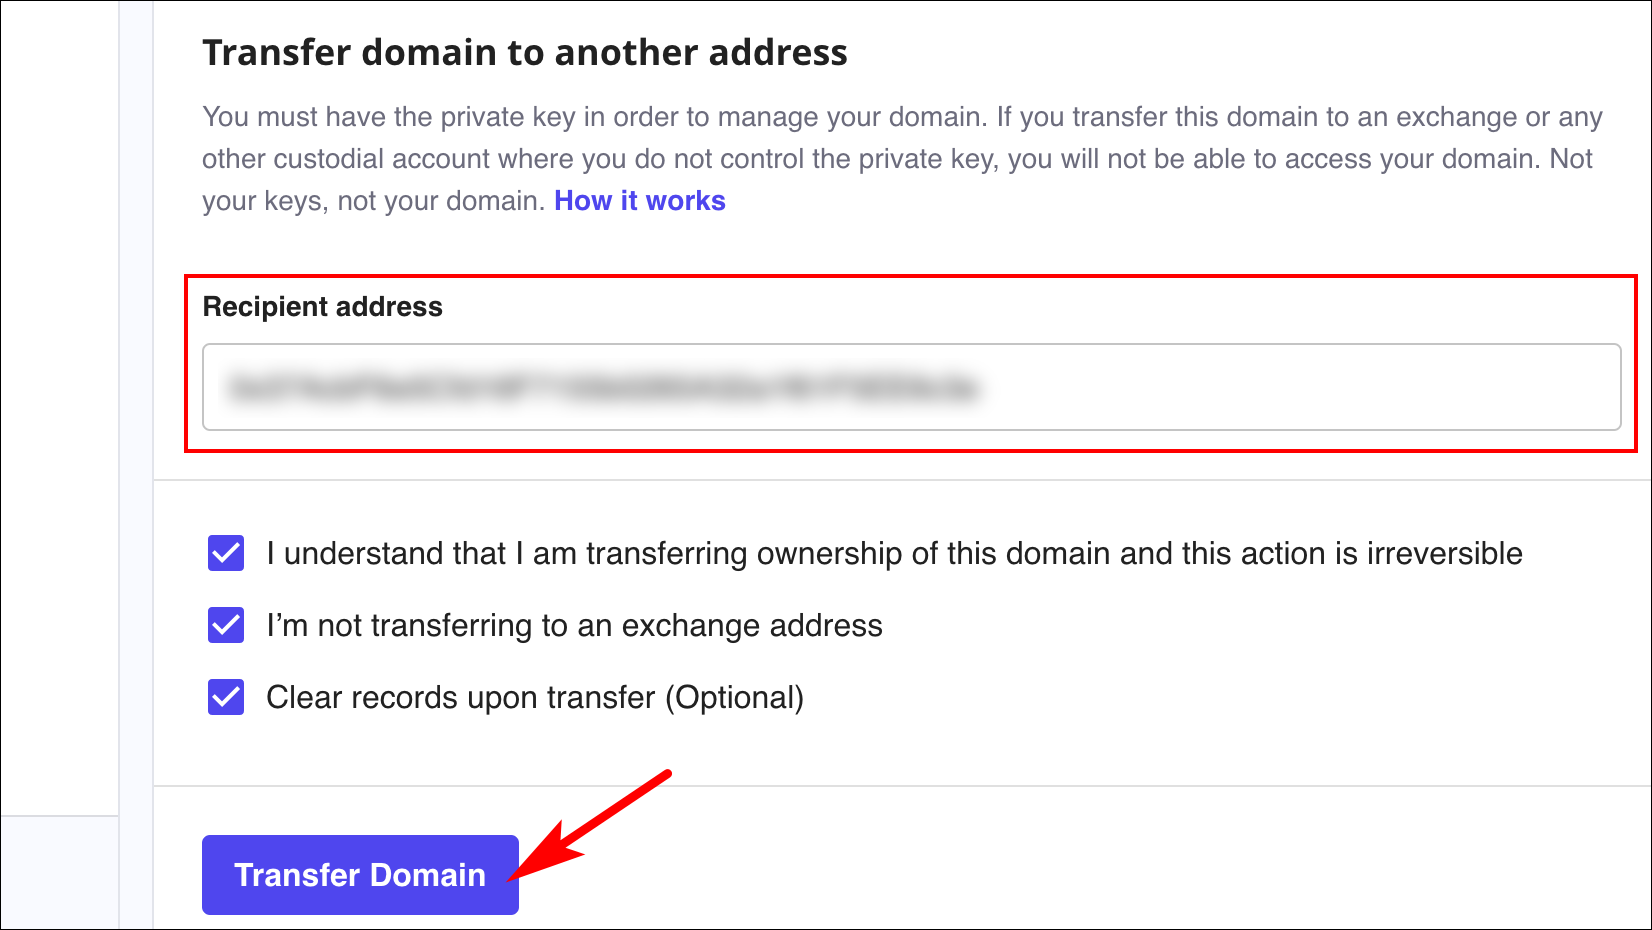
Step 5: Enter the Ethereum Wallet address of the Recipient and check the boxes below.
We recommend you double-check the address as this transfer is irreversible.
Step 6: Once you have made sure of everything, Click on Transfer Domain.
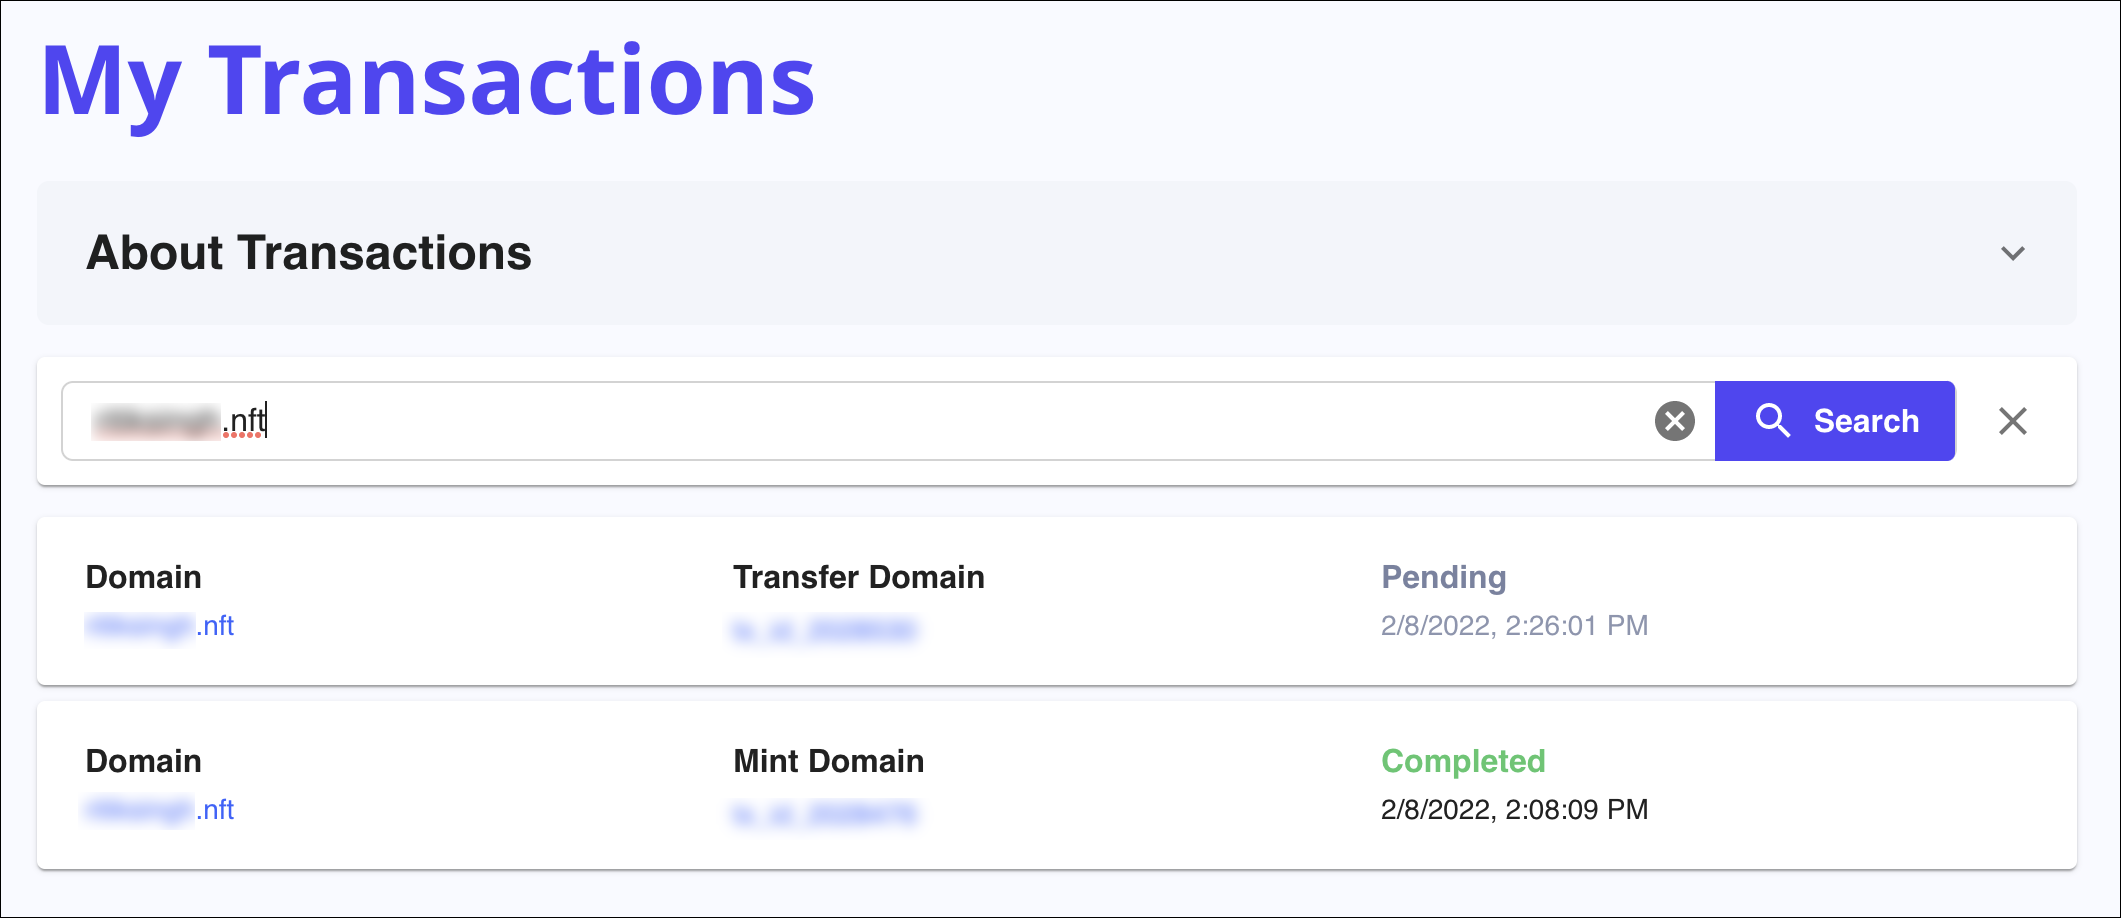
And that was it! The transfer process can take a while.
You can check its progress by going to the My Transaction section from the Domains menu.
Also Read | ENS Domains: How to Create, Register, and Buy Your Own ENS Domain
Wrapping Up
Unstoppable domains are one of the best name services that are currently available. One of the biggest advantages is that domain extensions are a one-time payment, and you can create a website easily within the marketplace. But what we appreciate the most is their approach of being user-friendly and helping the user understand their ecosystem.
You can also follow us for instant tech news at Google News or for tips and tricks, smartphones & gadgets reviews, join GadgetsToUse Telegram Group, or for the latest review videos subscribe GadgetsToUse Youtube Channel.