Do you often download files and take screenshots frequently but forget to delete them later? It can take a toll on your system’s memory or slow down your Windows in the long run. But fret not; this guide explains several nifty methods to delete old files automatically on Windows 11/10. Let’s get started.
Why Should You Automate Deleting Old Files?
Removing old files on Windows 11 can serve you with the following benefits:
- Free up unnecessary storage occupied by files you don’t need or access anymore.
- Delete screenshots older than a certain period automatically.
- It will contribute to ensuring that your Windows machine runs smoothly without any lags.
How Do I Delete Old Files Automatically on My Windows PC?
Automating old file deletion on Windows has become quite simple, thanks to various in-built apps and terminal commands. You can enforce storage sense on your system’s storage, use the official Microsoft app to manage files, or execute a few commands to get desired results. Let’s look at each of them in detail below:
Method 1 – Set up Storage Sense to Delete Old Files on Windows Automatically
The easiest way to delete old files automatically on Windows is to set up Storage Sense. Doing this will periodically remove temporary and unnecessary files in the Recycle Bin to free up disk space. Here’s how you can enable it.
1. Open the Settings app by pressing the Windows + I hotkey.
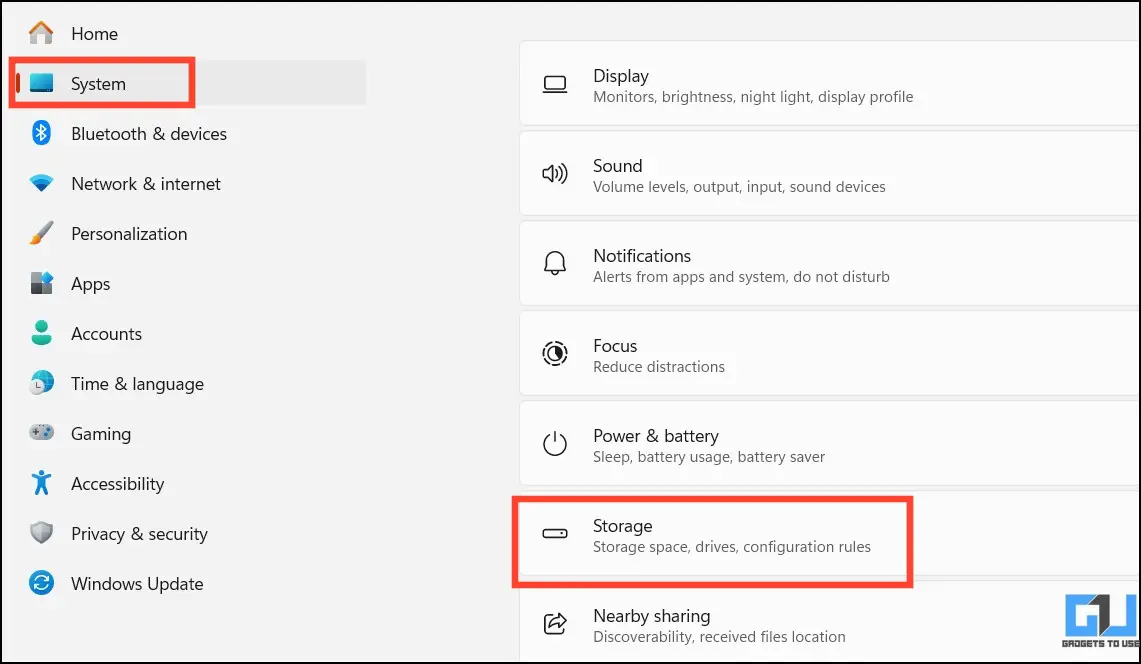
2. Next, expand System in the left sidebar and click Storage.
3. Click on Storage Sense to configure its settings.
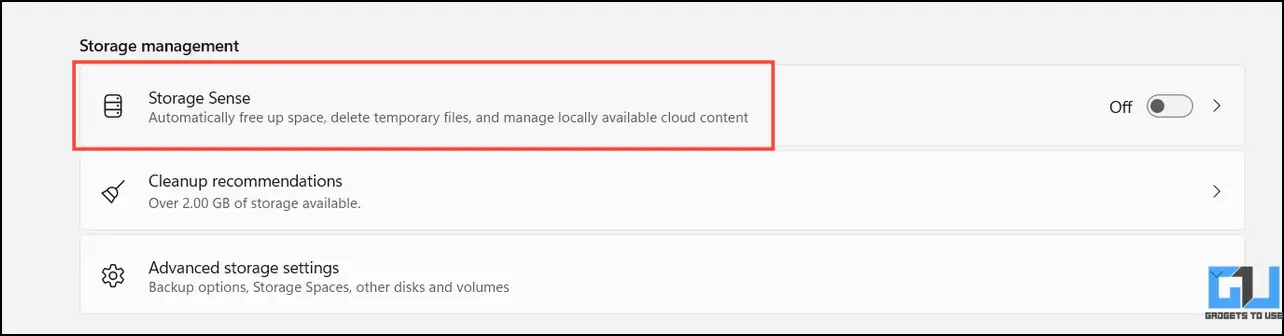
4. Turn on the Storage Sense toggle button to enable it.

5. To automate it, click the Run Storage Sense drop-down column and pick your desired repetition cycle.
6. Finally, you can set your desired period to automatically delete files in the Recycle Bin and Downloads folder if they haven’t been opened in a long time.

Method 2 – Utilize the Microsoft PC Manager App
Microsoft recently introduced its cleaning assistant, the PC Manager, which can help you delete cache files, temporary files, and other system junk with a single click. Its ability to run automatically makes it unique, so you never have to bother cleaning system junk yourself. Follow these steps to make the most out of it:
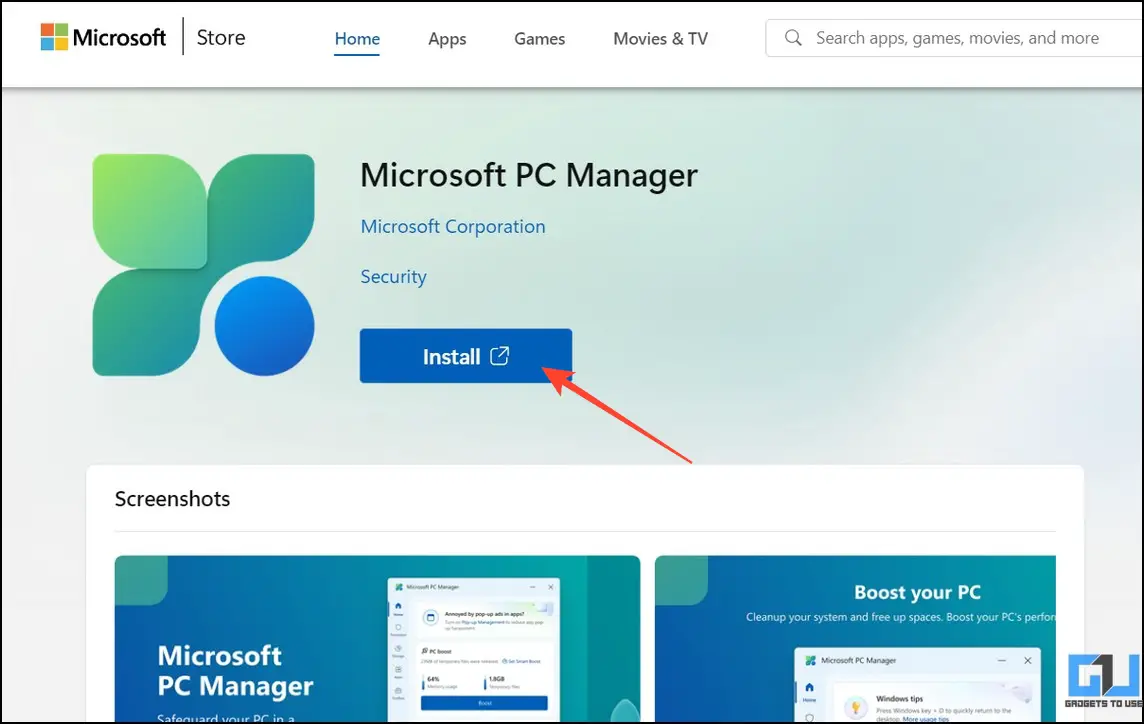
1. Install the Microsoft PC Manager app from the Microsoft Store.
2. Next, open the installed app.

3. Click Settings in the left sidebar and turn on Smart Boost to automatically boost your PC with the PC Manager app.
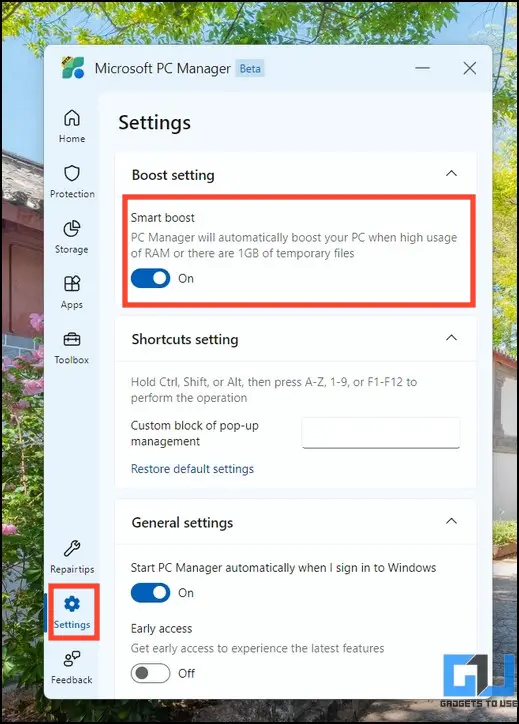
4. If you wish to do it manually, click the Boost button anytime to delete all the temporary files and free up memory usage.
Method 3 – Create a Schedule to Delete Old Files on Windows Automatically
If you’re tech-savvy and well-informed about Windows, you can create a system schedule to delete old files automatically on your machine. Here’s how you can do it.
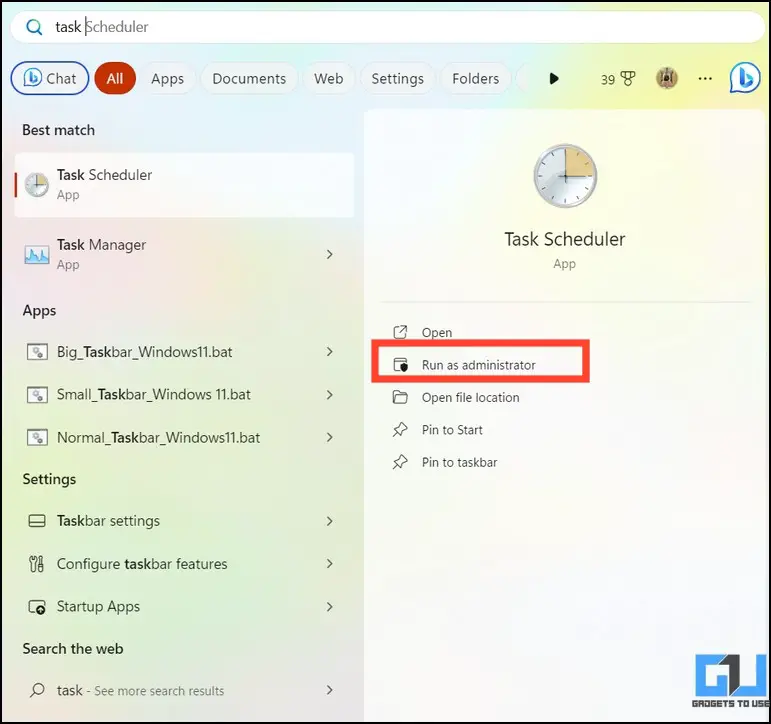
1. Press the Windows key and search for the Task Scheduler app to run it with elevated permissions.
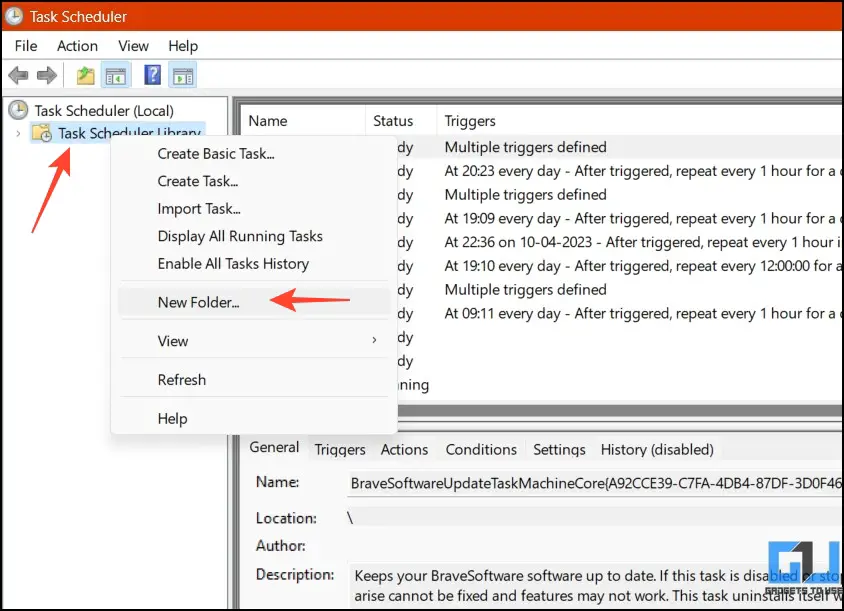
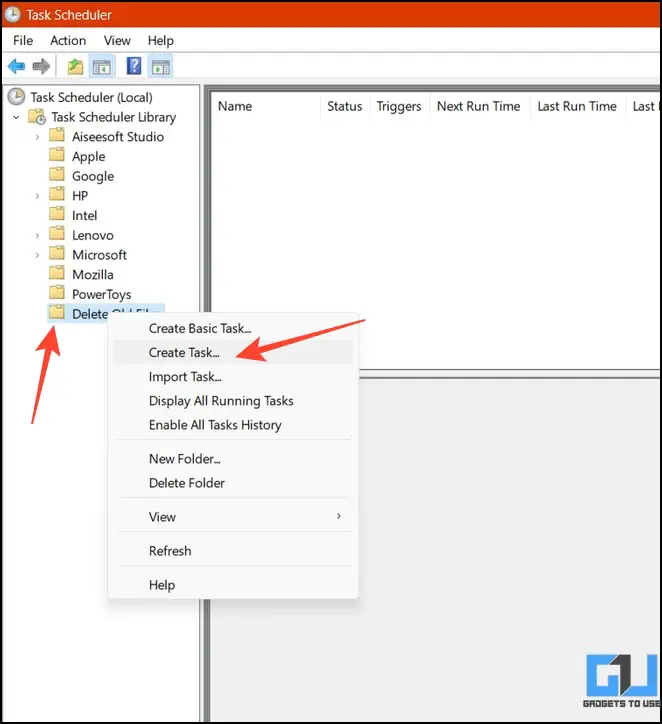
2. Right-click the Task Scheduler Library to create a New Folder.
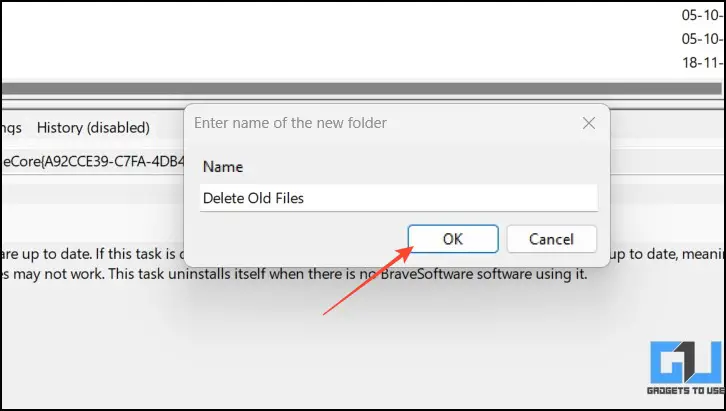
3. Provide a desired name to this folder. For instance, you can name it Delete Old Files.
4. Next, right-click the created folder to Create a Task.
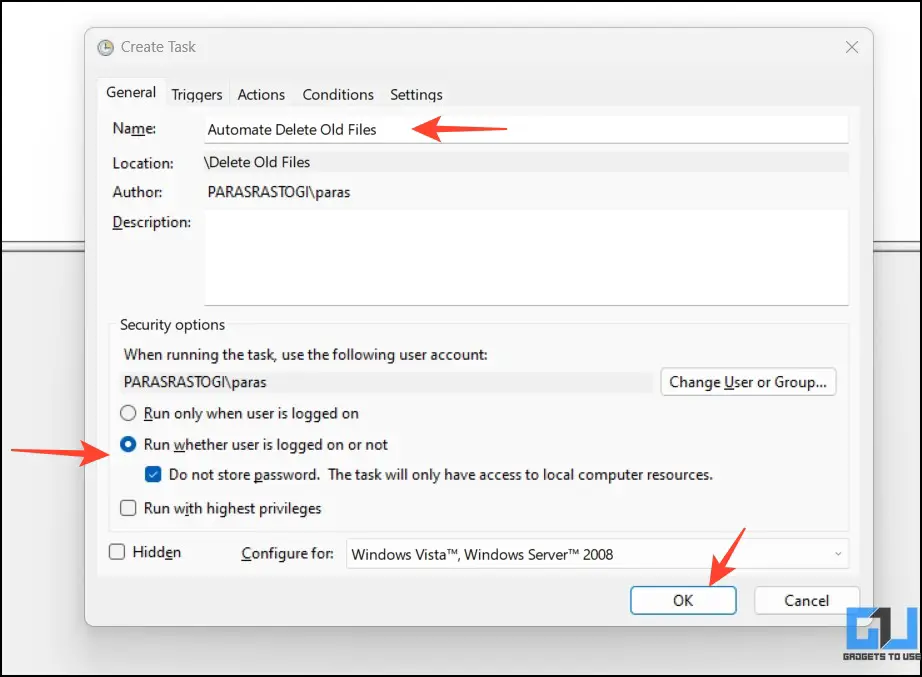
5. Give a unique name to this task and enable ‘Run whether the user is logged on or not” with the Do Not Store Password option checked.
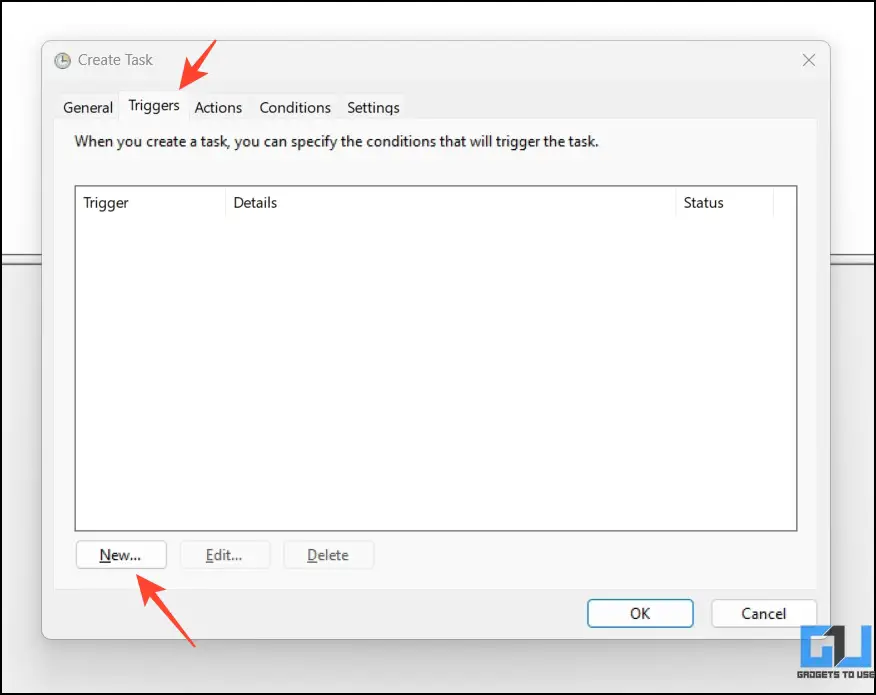
6. Switch to the Triggers tab to create a new Trigger.
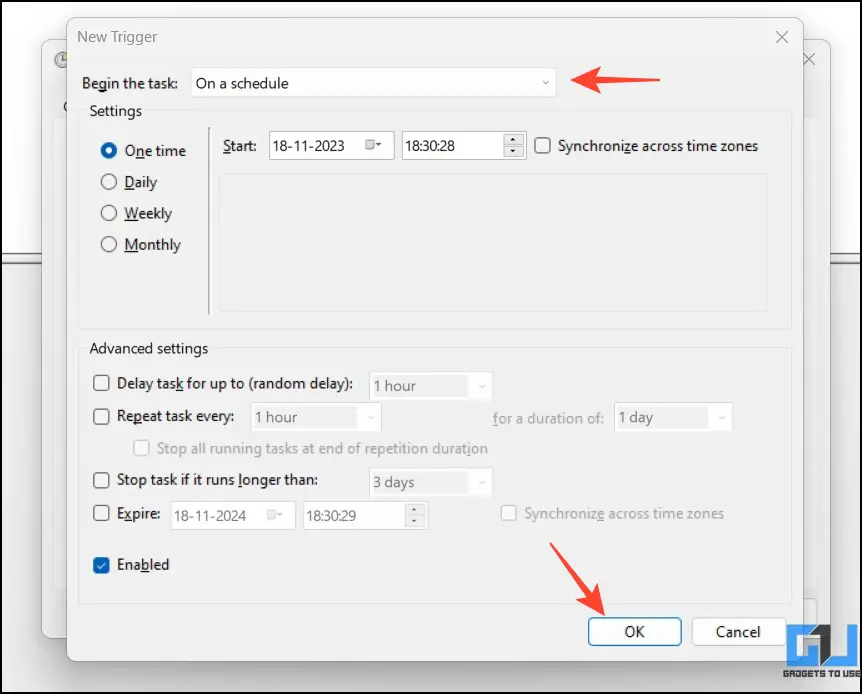
7. Set your preferred schedule to run the task and click OK.
8. Expand the Actions tab and click New to assign a new action.
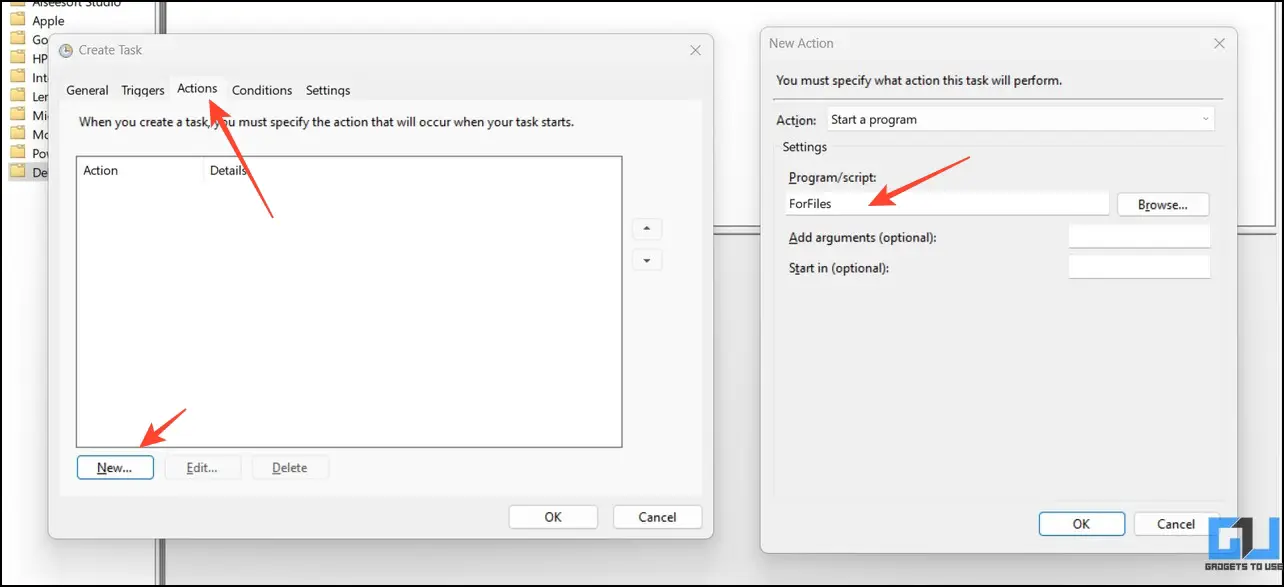
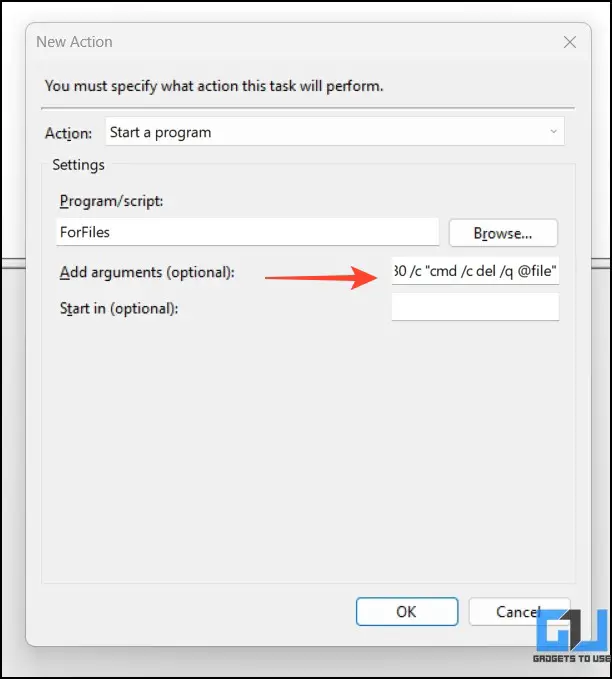
9. Set Program/Script to ForFiles and paste the following Argument followed by the OK button.
ForFiles /p “old file path”/s /d -30 /c “cmd /c del /q @file”
Command Tip: Replace “old file path” with your preferred directory and -30 with the last modified time. For example,
ForFiles /p “C:\Users\paras\Downloads\New folder” /s /d -30 /c “cmd /c del /q @file”
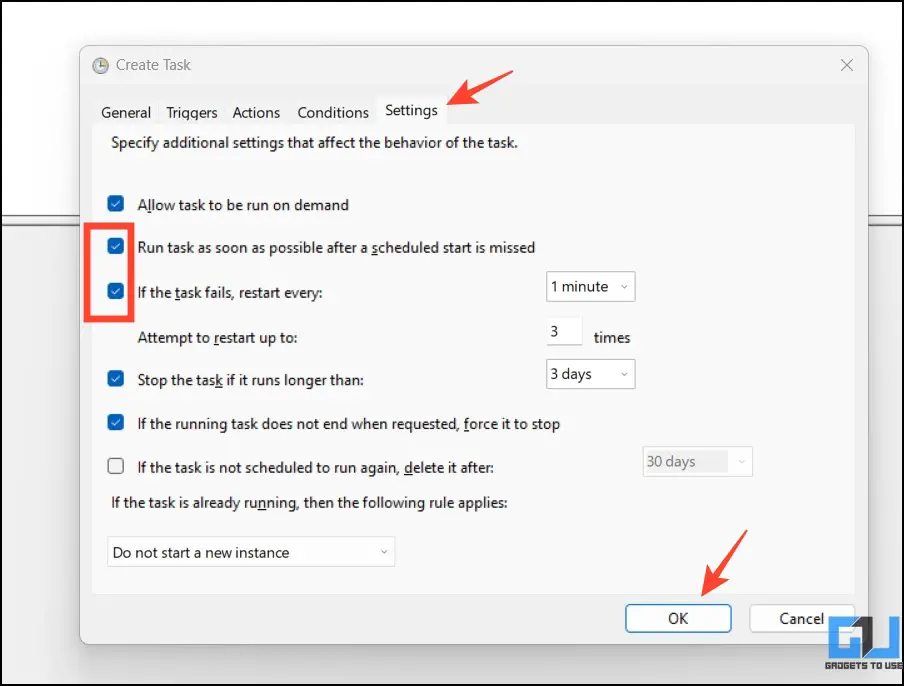
10. Finally, switch to the Settings tab and enable these additional checkmarks:
- If the task fails, restart every.
- Run task as soon as possible after a scheduled start is missed.
11. Click the OK button to save changes. Congrats! You’ve successfully created a schedule to delete old files in the selected directory on Windows automatically.
12. If you wish to revert changes at any point, right-click the created folder to Delete it inside the Task Scheduler window.

Method 4 – Use Command Prompt
Instead of automating or manually setting up a complex schedule, you can periodically execute a single command on the Command Prompt window to delete old files in any directory. Follow these steps for an easy fix:
1. Press the Windows key and search for Command Prompt to run it with administrative permissions.

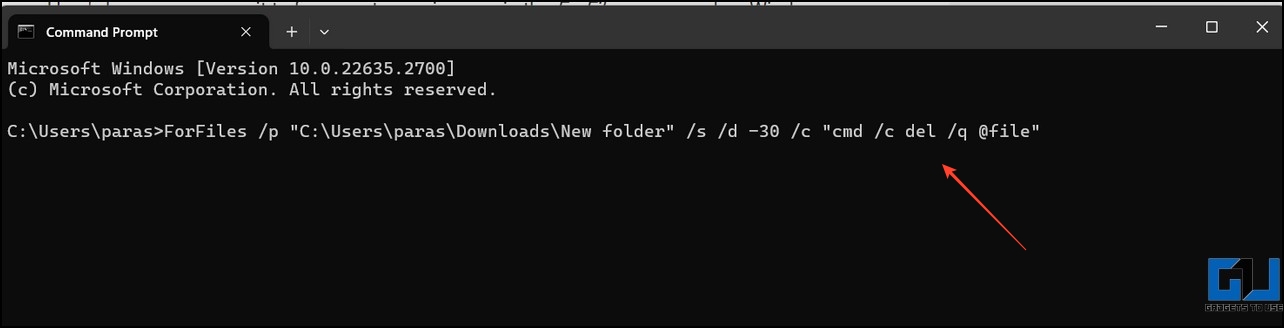
2. Execute the following command to delete old files in your picked directory:
ForFiles /p “old file path” /s /d -30 /c “cmd /c del /q @file”
Replace “old file path” = your desired system file/folder path; “d -30” is the last time for the modified file. For example,
ForFiles /p “C:\Users\paras\Downloads\New folder” /s /d -30 /c “cmd /c del /q @file”
Method 5 – Make Use of the Windows PowerShell
Besides Command Prompt, you can use the Windows PowerShell app to get the desired result. Here’s what you need to execute:
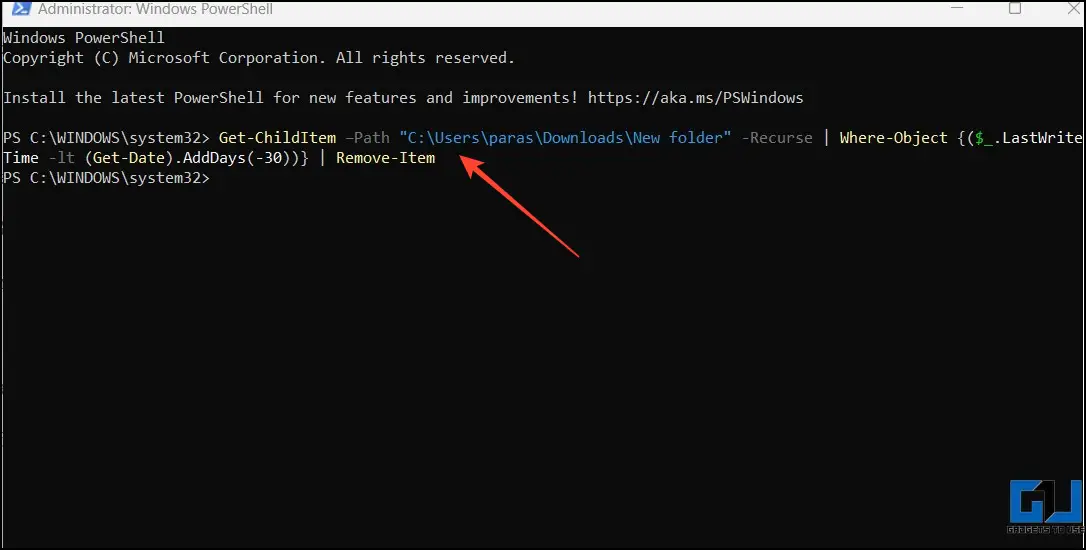
1. Open the Windows PowerShell app with elevated permissions and execute the following command:

Get-ChildItem –Path “old file path” -Recurse | Where-Object {($_.LastWriteTime -lt (Get-Date).AddDays(-30))} | Remove-Item
Replace “old file path” with your preferred file/folder path and -30 with the time. For instance,
Get-ChildItem –Path “C:\Users\paras\Downloads\New folder” -Recurse | Where-Object {($_.LastWriteTime -lt (Get-Date).AddDays(-30))} | Remove-Item
Method 6 – Install Free Third-Party Tools to Delete Old Files on Windows
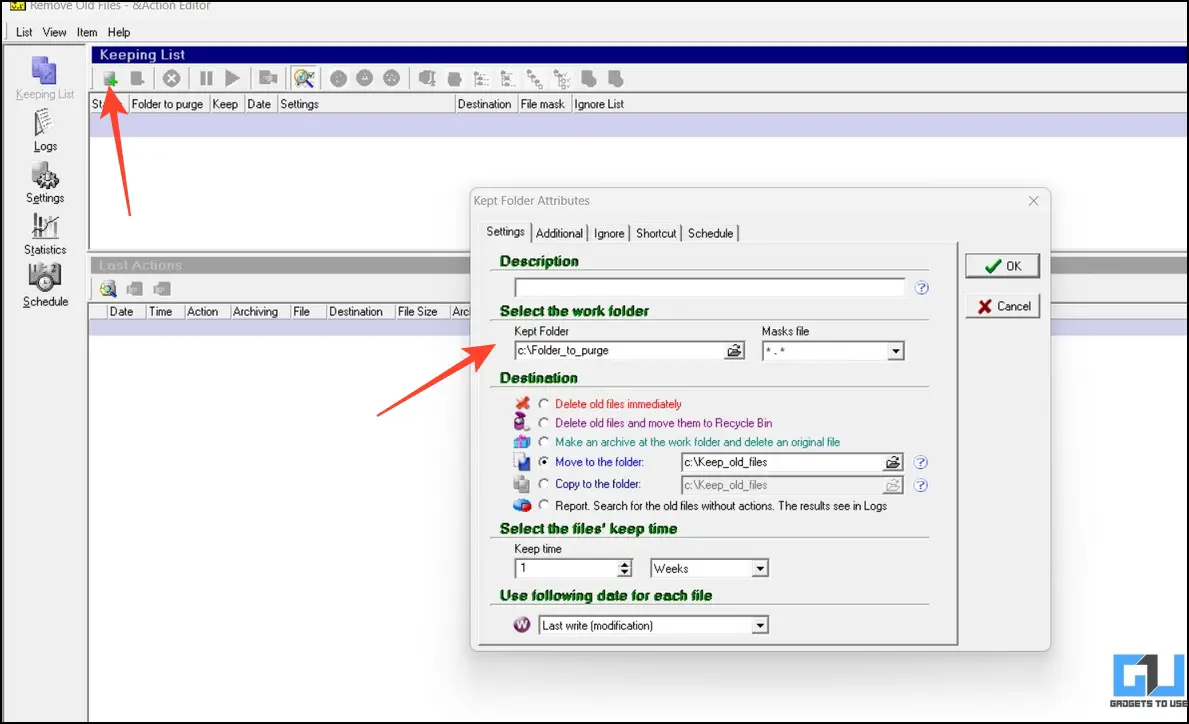
In addition to native Windows features and terminal commands, you can always take the help of third-party apps to delete old files in a system directory. The Remove Old Files is a remarkable app that can help you do the job quickly.
1. Download the Remove Old Files tool and extract it.

2. Run the installer and follow the on-screen instructions to install it.

3. Finally, click the + button under the Keeping List and assign the directory to delete files after the specified time automatically.
Method 7 – Delete Old Windows Update Files
Lastly, if you’re looking for a way to conserve more disk space after updating your Windows system, you can delete all old Windows update files by following these steps.
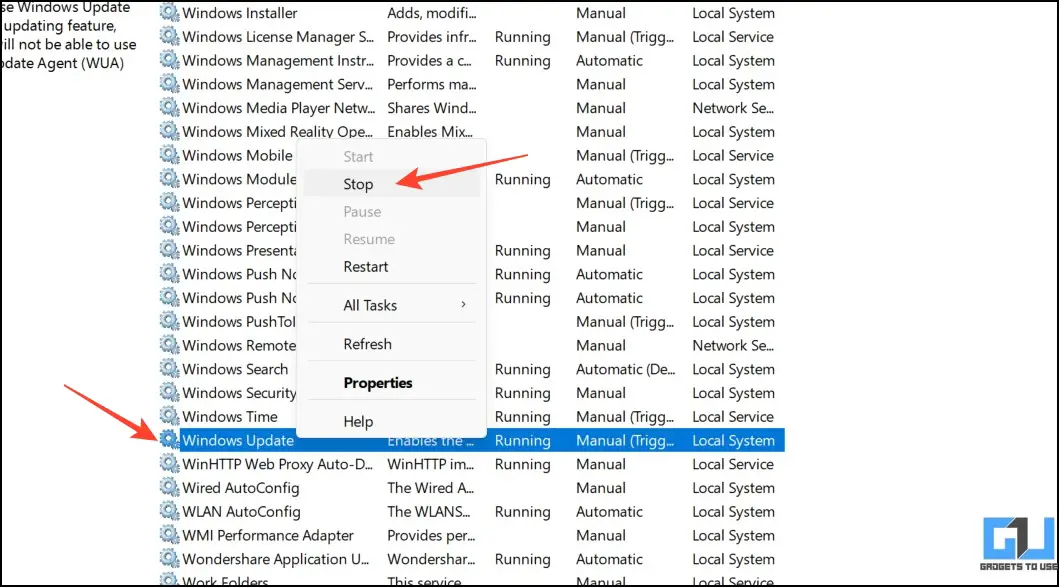
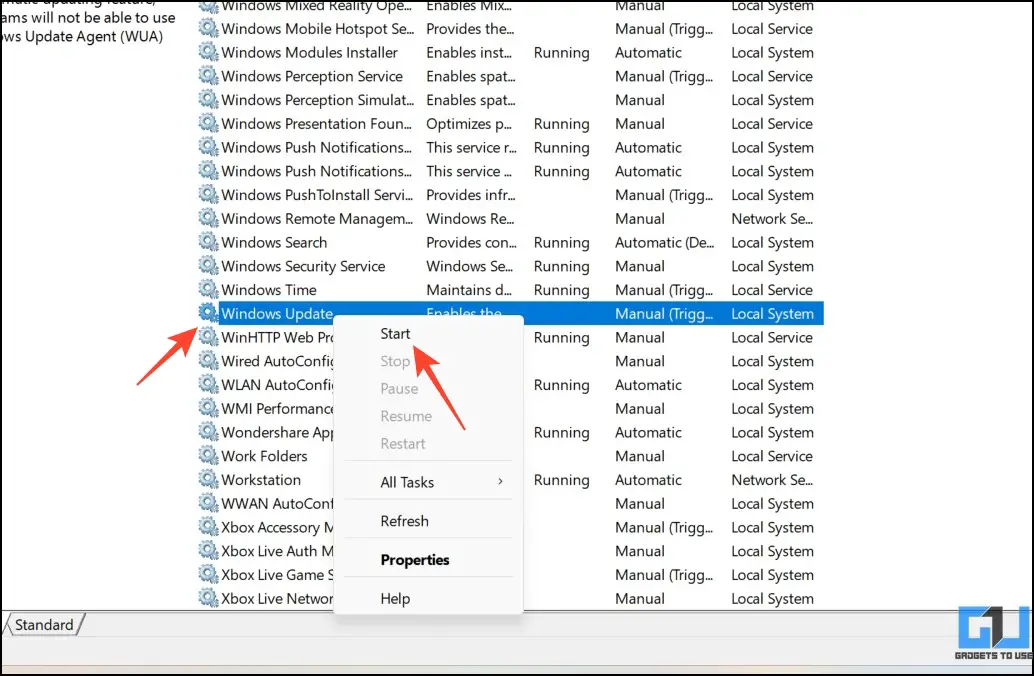
1. Press the Windows key and search for the Services app to open it.

2. Find the Windows Update service and right-click to Stop it.
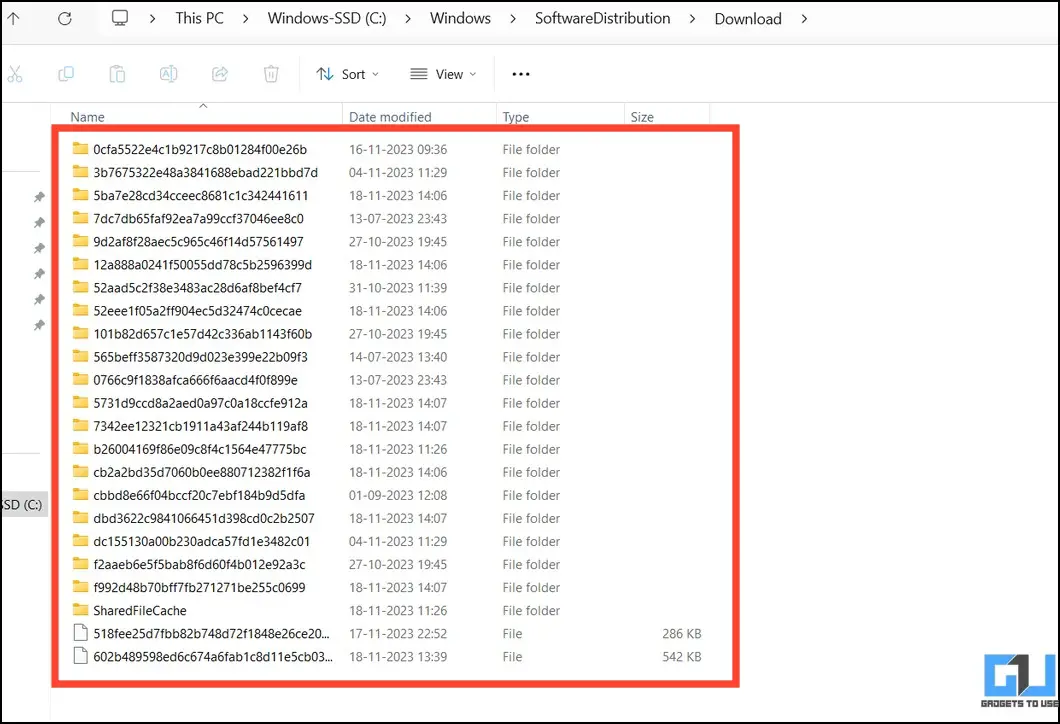
3. Next, open the File Explorer app and paste the following directory to locate all downloaded Windows Update files:
C:\WINDOWS\SoftwareDistribution\Download
4. Select all the files to delete them.
5. Finally, head back to the Services app and start Windows Update to start afresh.
FAQs
Q. How Do I Automatically Empty the Downloads Folder in Windows 11?
You can set up Storage Sense to delete files in your Downloads folder after certain days or create a schedule manually to get the same result. In addition, you can use third-party tools like Remove Old Files to empty the Downloads folder in a few clicks.
Q. How Do I Delete Old Files From the C Drive in Windows 11/10?
You can use various methods in this explainer to delete old files from the C drive. If you wish to do it once instead of deleting them periodically, execute the listed commands in the Command Prompt or PowerShell for instant results.
Q. How Do I Delete Old Windows 11 Update Files?
First, stop the Windows Update service from the Services app. Next, head to the “C:\WINDOWS\SoftwareDistribution\Download” directory to locate and delete all old Windows 11 update files. Finally, restart the Windows Update service to start afresh. For more details, check the last method in this article.
Wrapping Up
This brings us to the end of this explainer, where we discussed easy ways to automate deleting old files on Windows. If you find it useful, forward it to your friends and subscribe to GadgetsToUse for more informative reads. Also, don’t forget to check the below links for nifty Windows 11 tips and tricks.
You might be interested in:
- 6 Ways to Disable Copilot on Windows 11
- How to Install Android Apps using Windows 11 Subsystem
- 6 Best Ways to Connect Your iPhone to a Windows 11 PC
- 15 Ways to Fix Slow Start Menu Search on Windows 11/10
You can also follow us for instant tech news at Google News or for tips and tricks, smartphones & gadgets reviews, join GadgetsToUse Telegram Group, or for the latest review videos subscribe GadgetsToUse Youtube Channel.